OP
nkrell11
10+ year member
CarAudio.com Elite
- Thread Starter
- #181
Well here's what we will do this is a link to the build log album on Photobucket*http://s1271.photobucket.com/user/nkrell11/library/The Jeep Build*everything done will be uploaded here. I will switch to Flickr for everything from here on out.
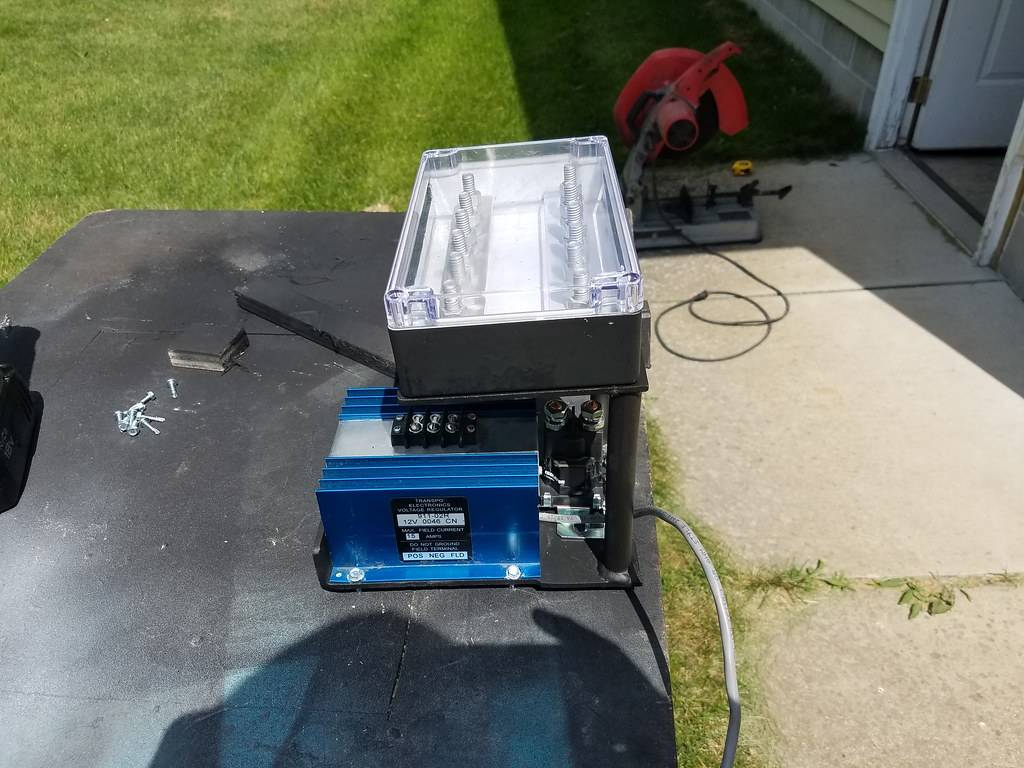
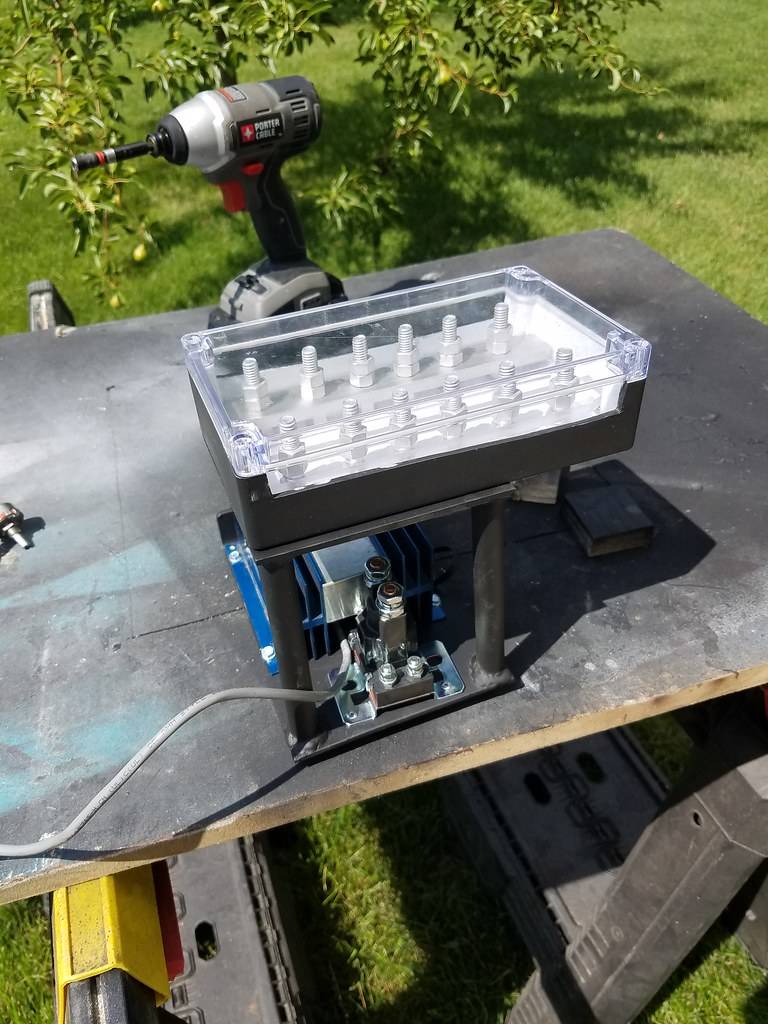
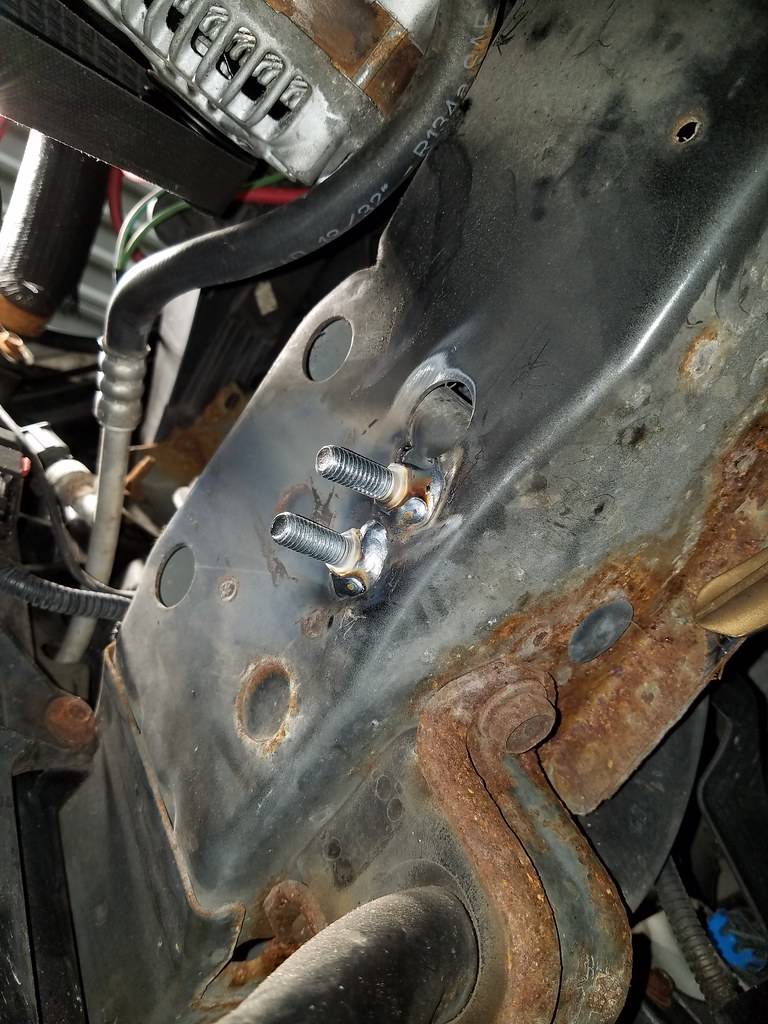
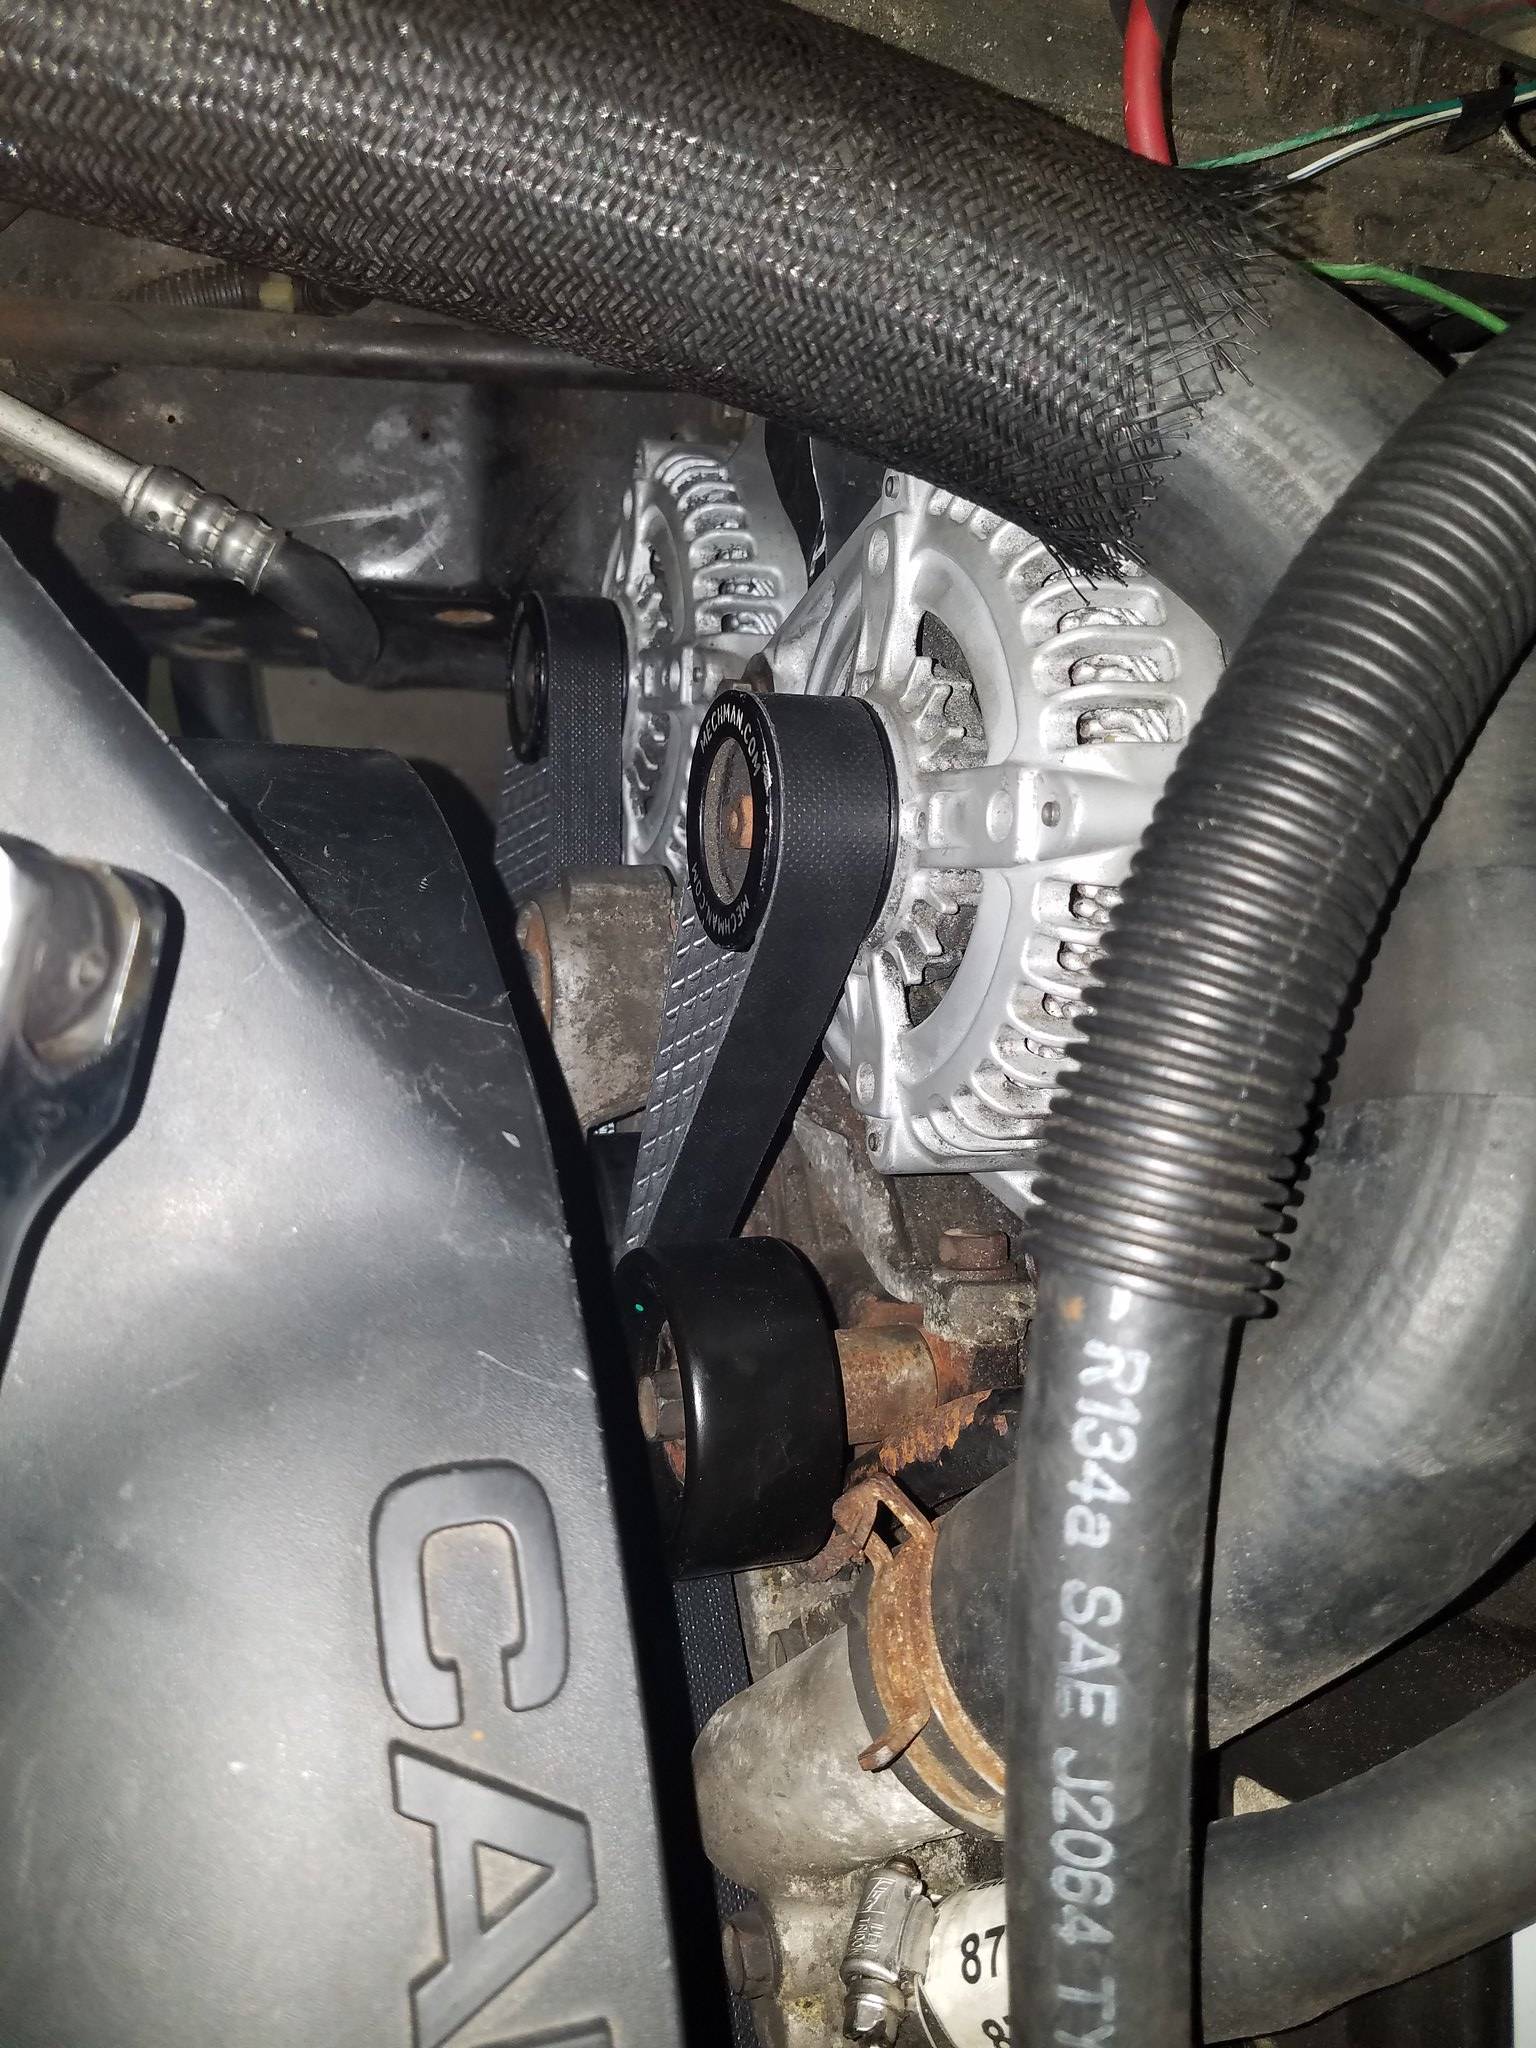
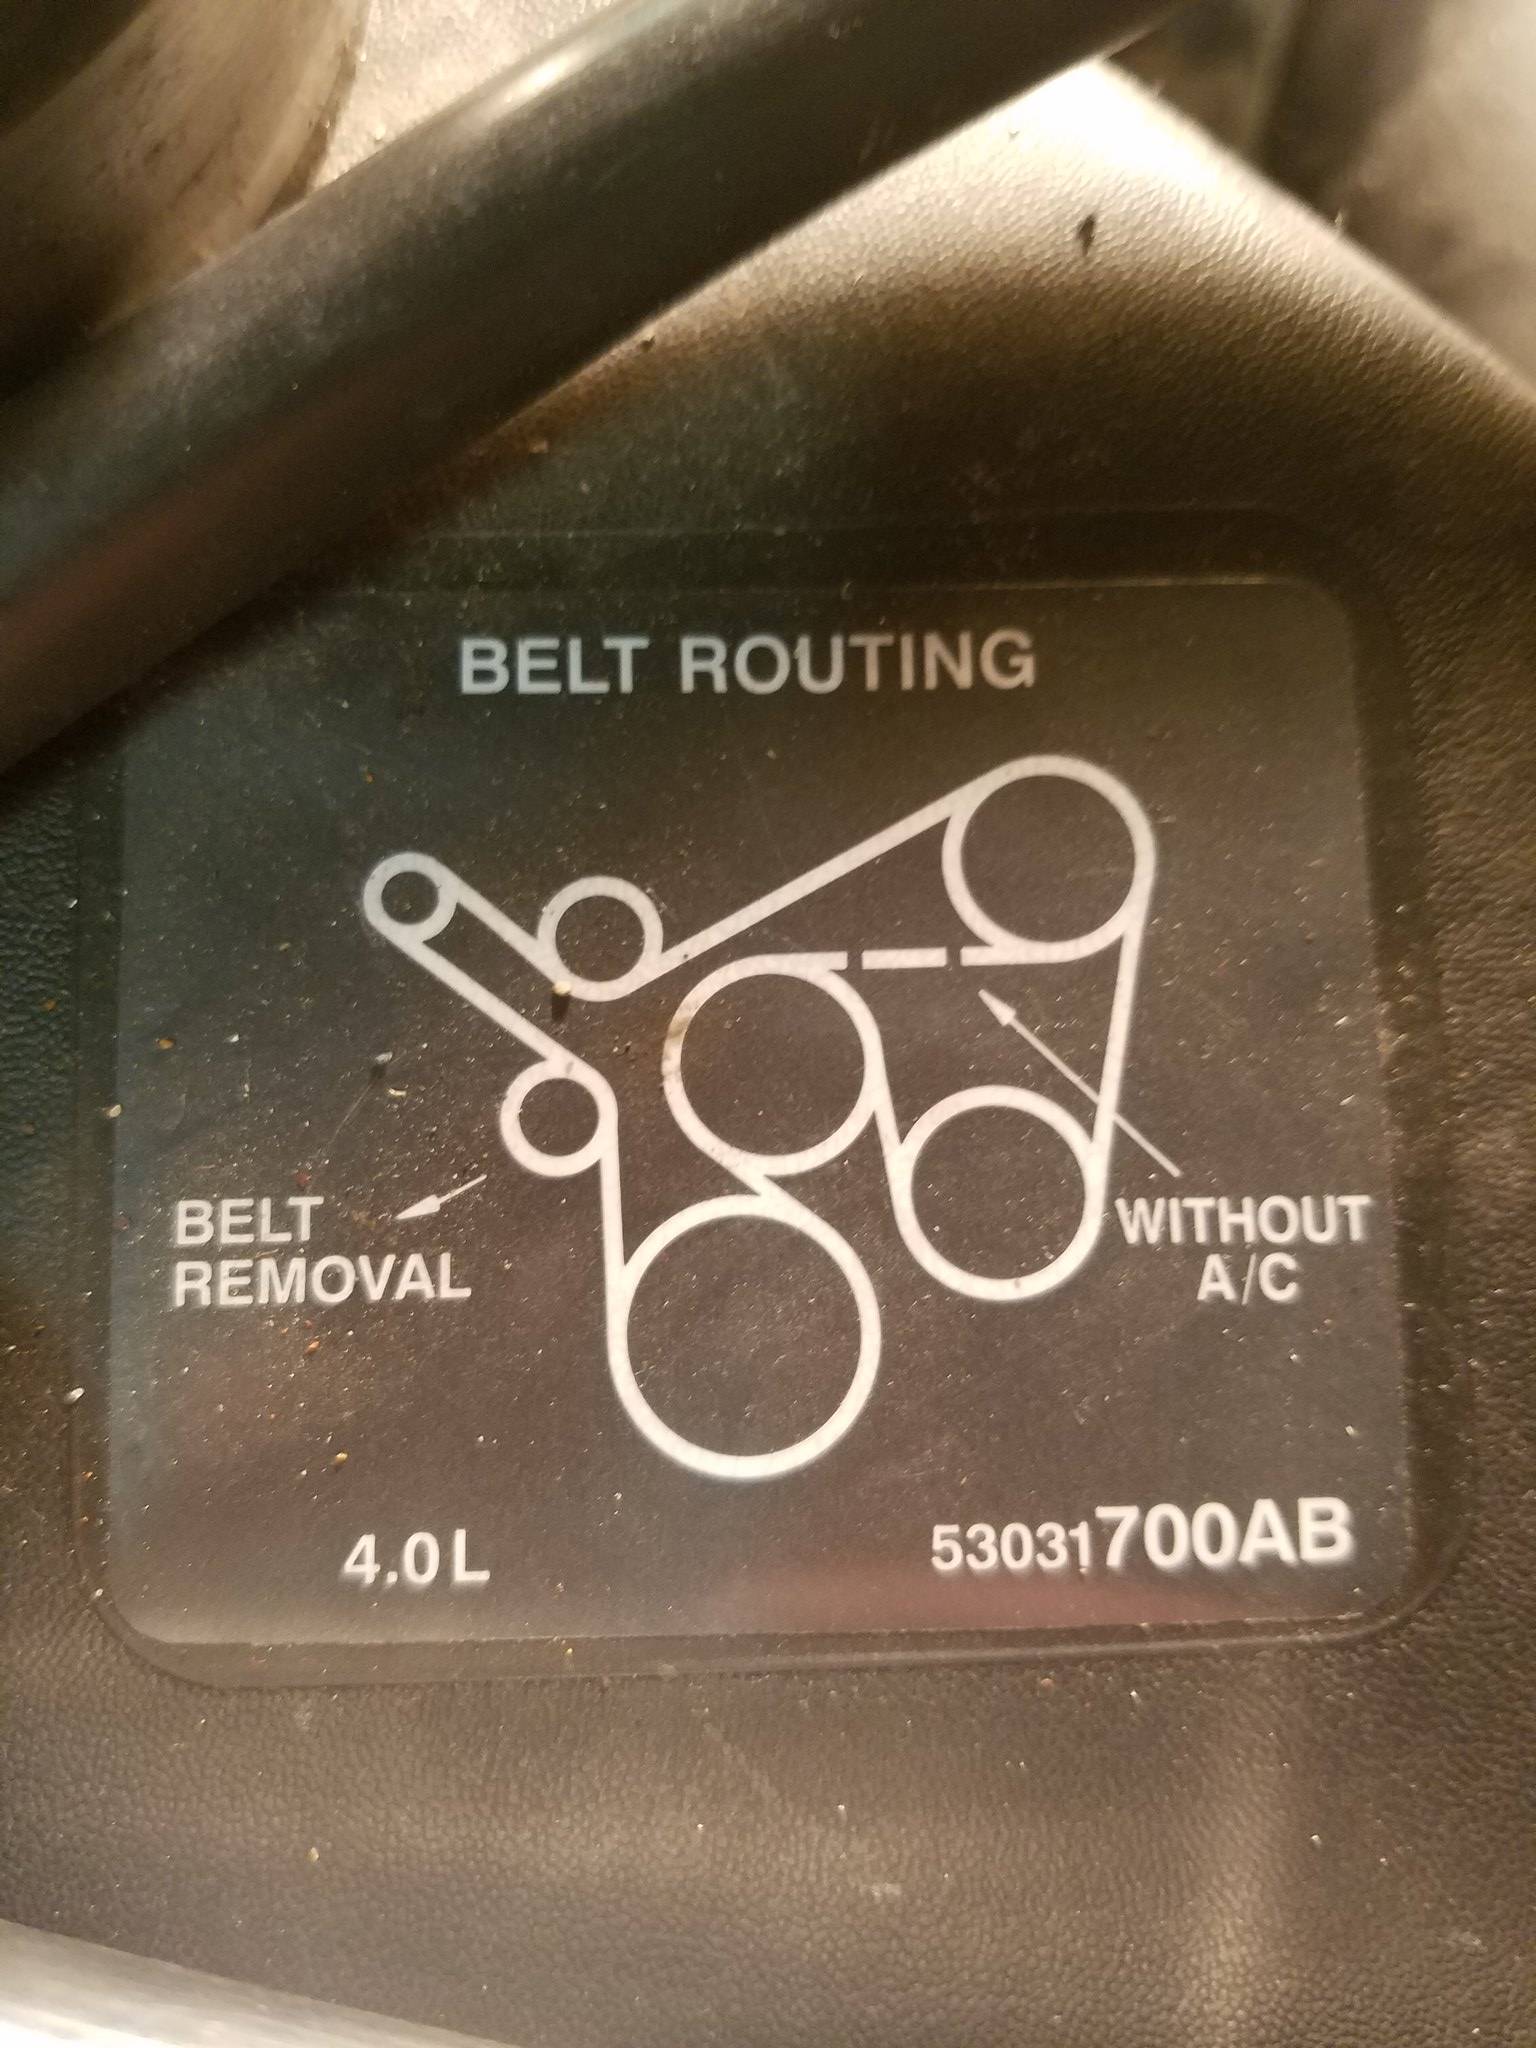
The dual alt setup is on I haven't wired up the transpo or anything but I did hook up the factory connections to test that everything would spin. All I needed was a slightly smaller idler pulley and a slightly longer belt as I bypassed my AC. I ordered a belt that was too long the first time but the second one I ordered fit like a glove. For anyone wanting to do what I did the parts I purchased were a Continental Elite 4060887 and a Dayco 89175.
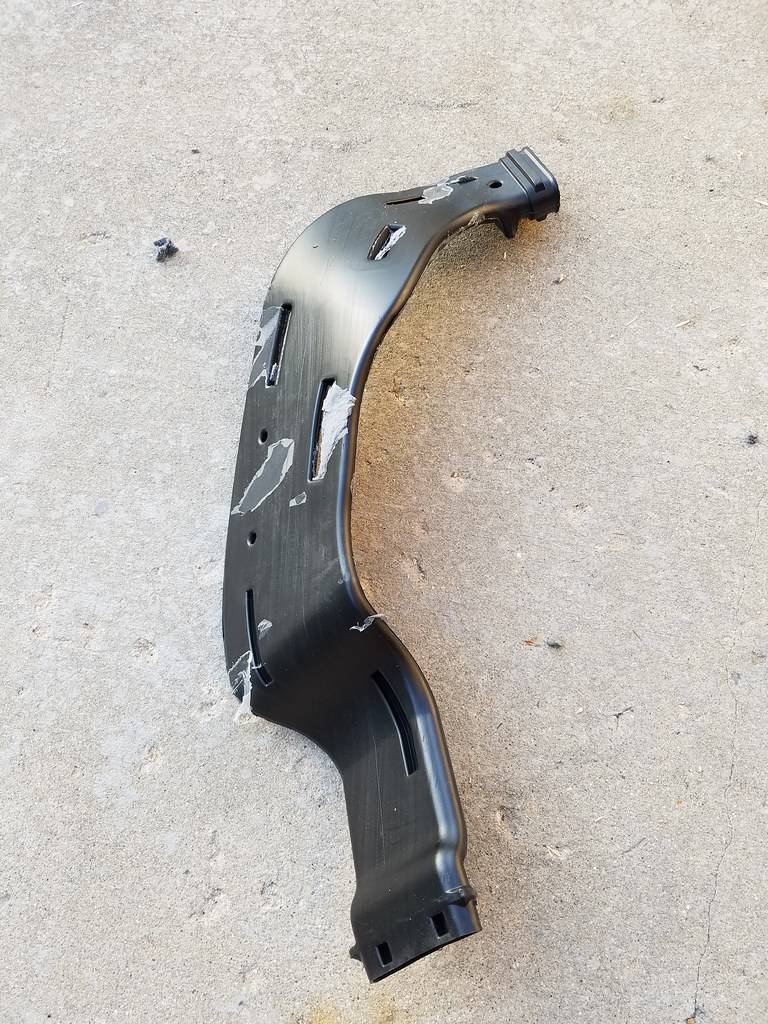
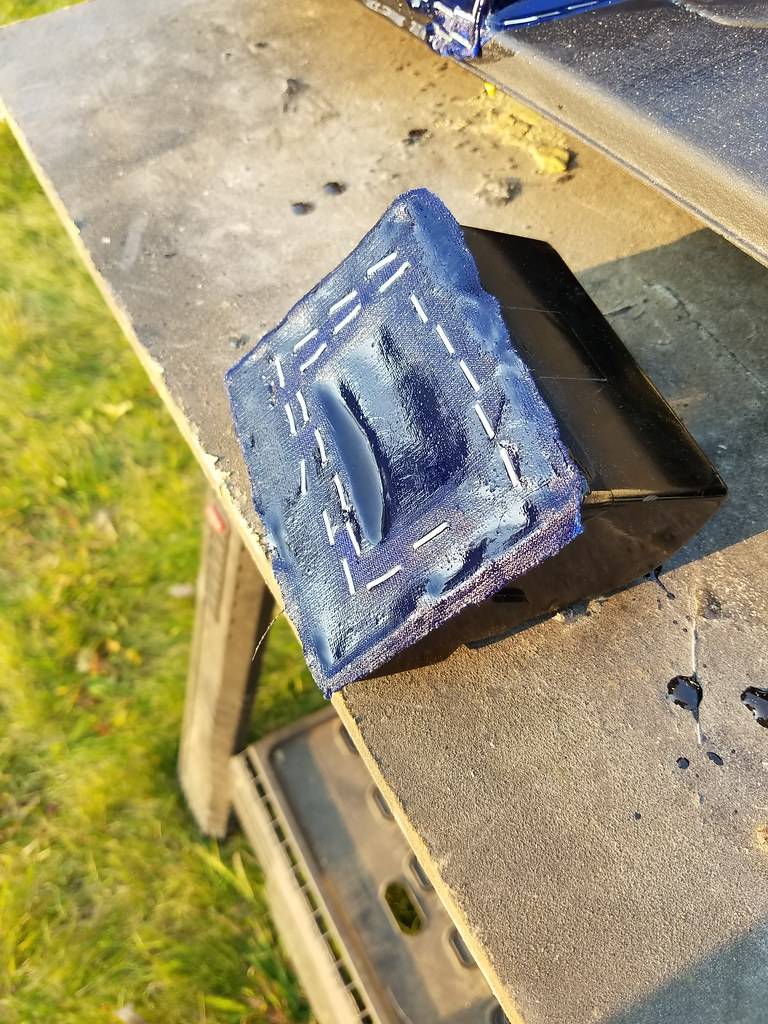
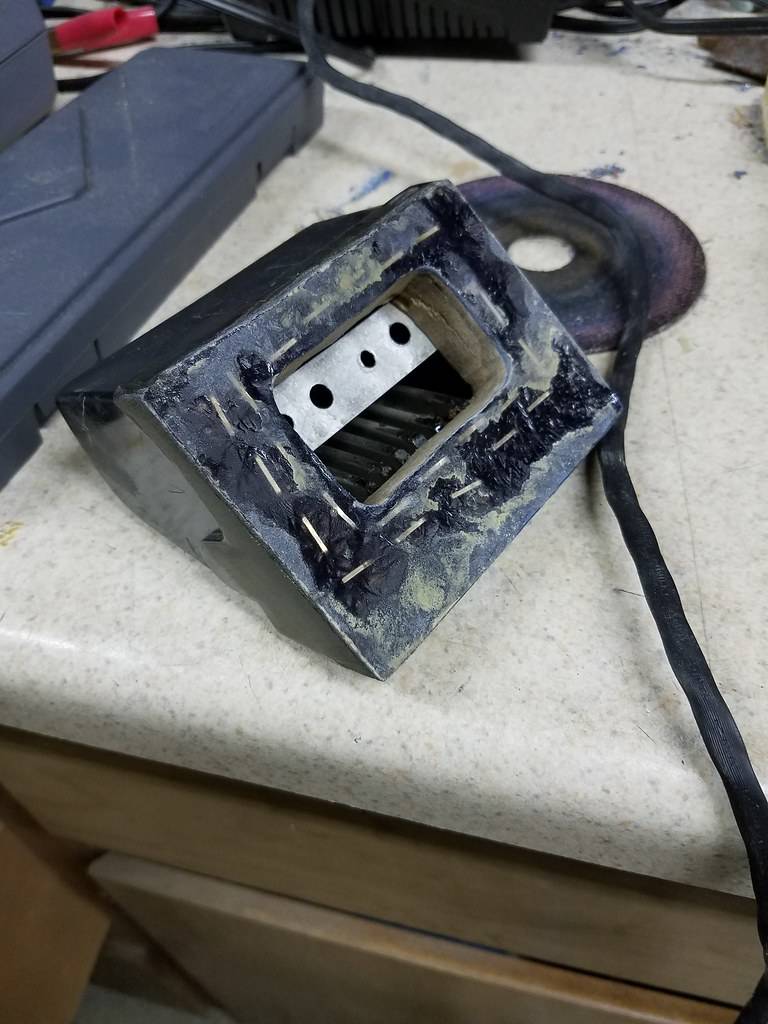
So if you guys remember correctly I bought a used stock alt bracket and was going to use it to locate an alt where my AC was. Well I scrapped that idea as it was going to be a pita but I did still use the bracket. After some heavy modifications this is what was left of it.
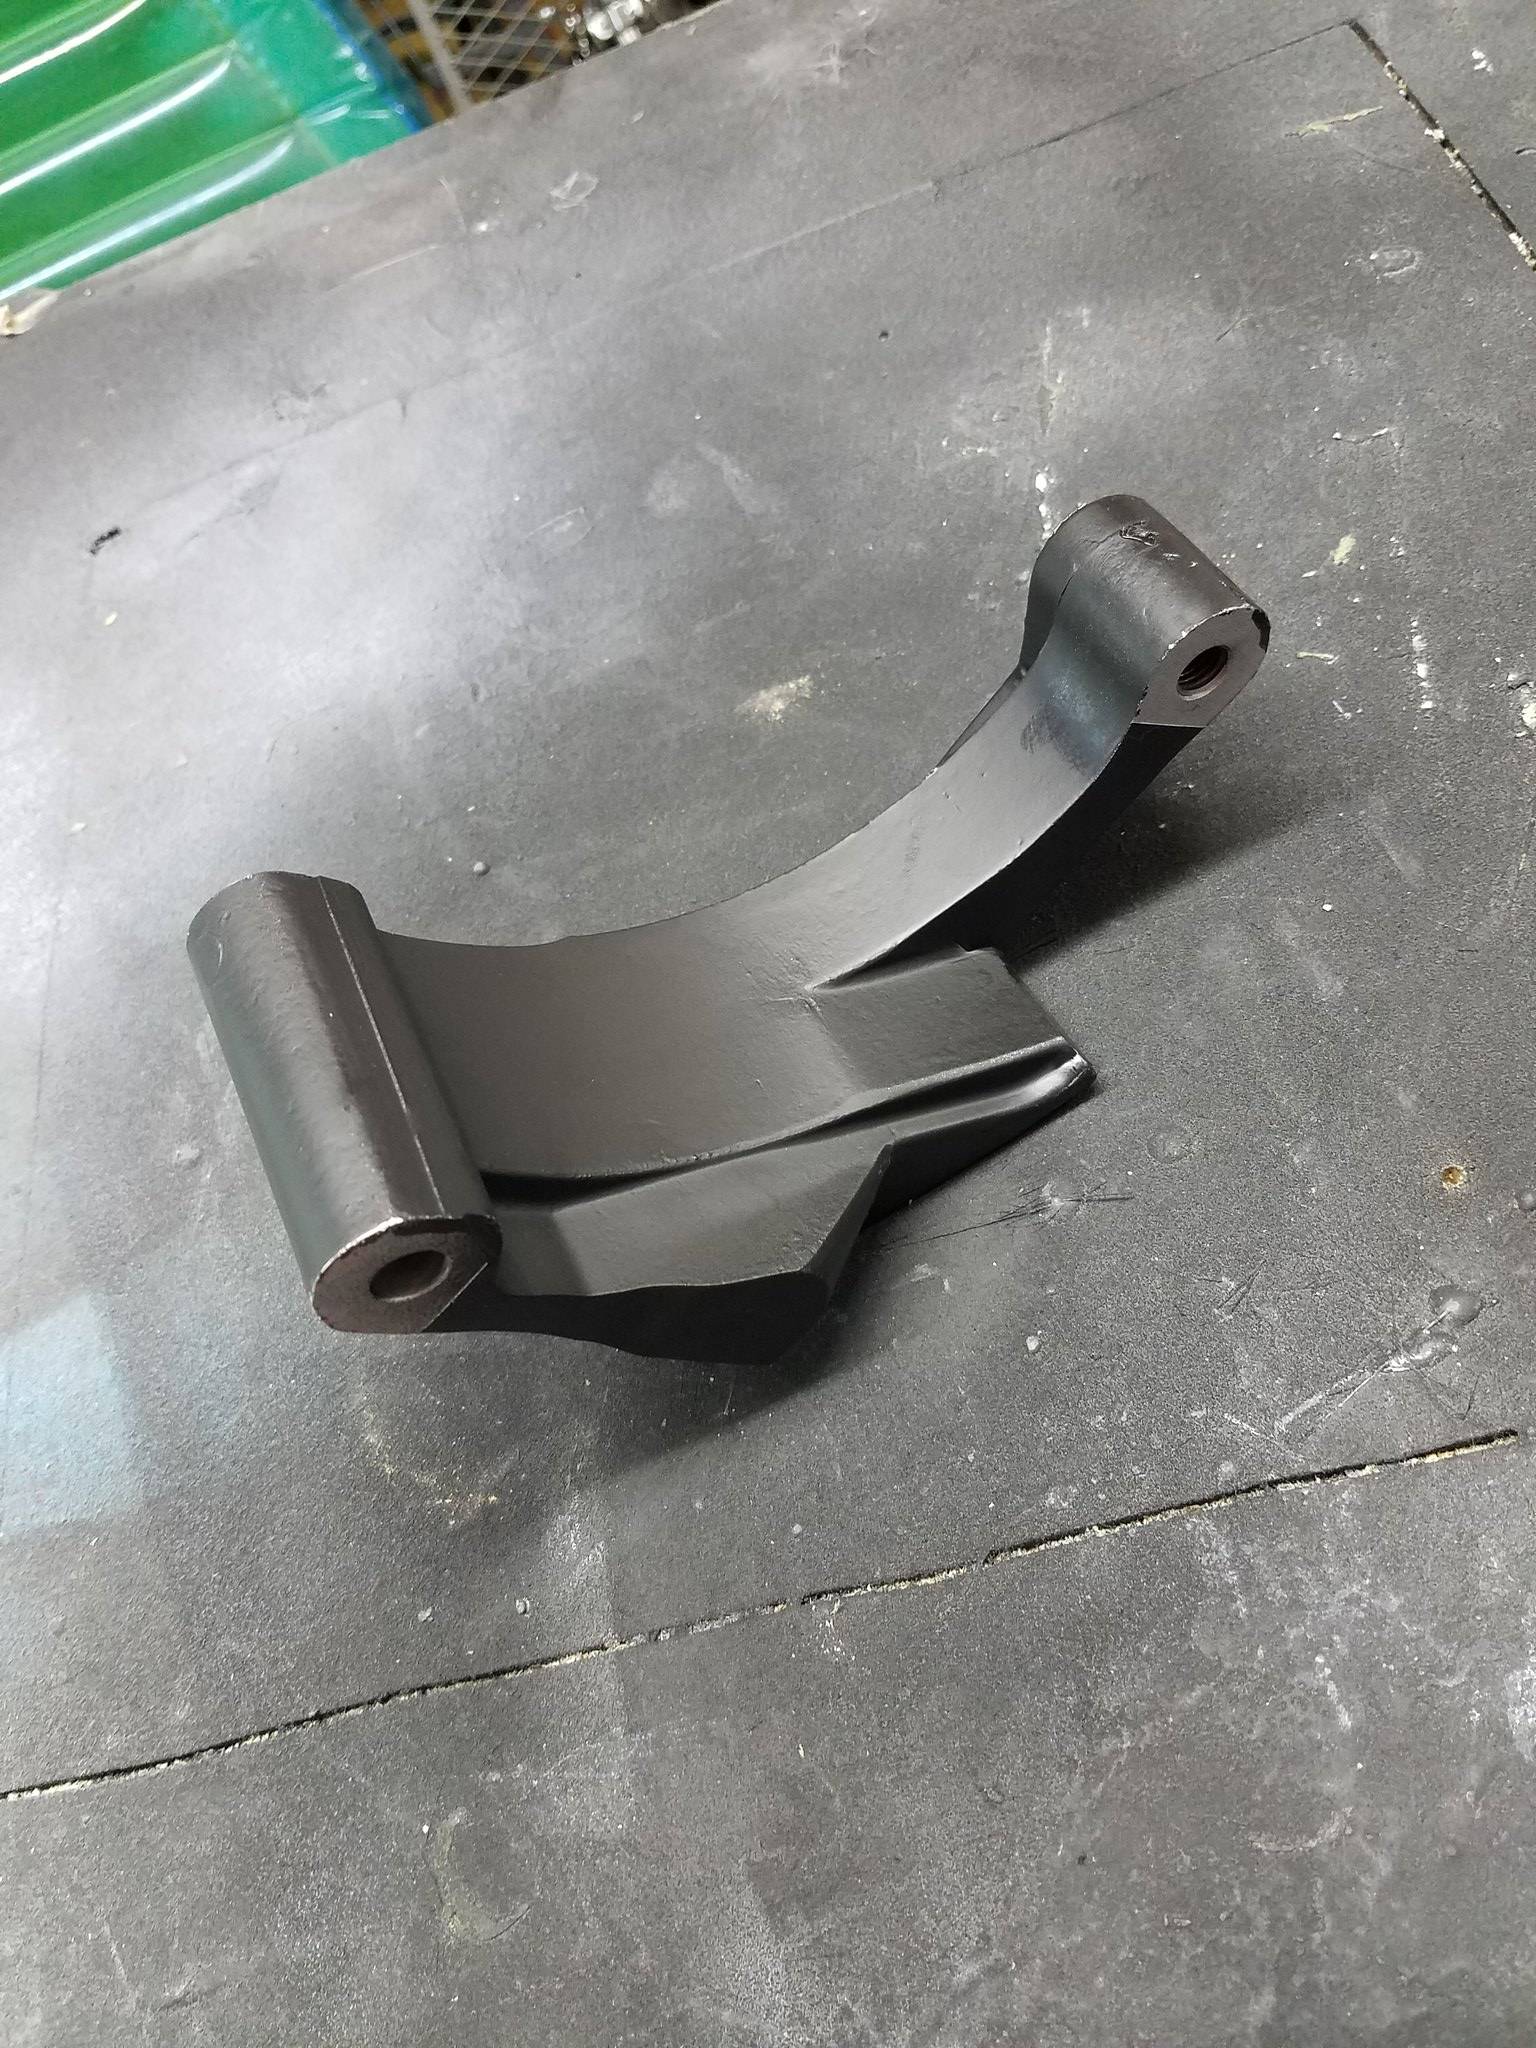
For some reason the paint didn't cure well even though it sat for 24 hours at least, but I wasn't going to take it back out to repaint it.
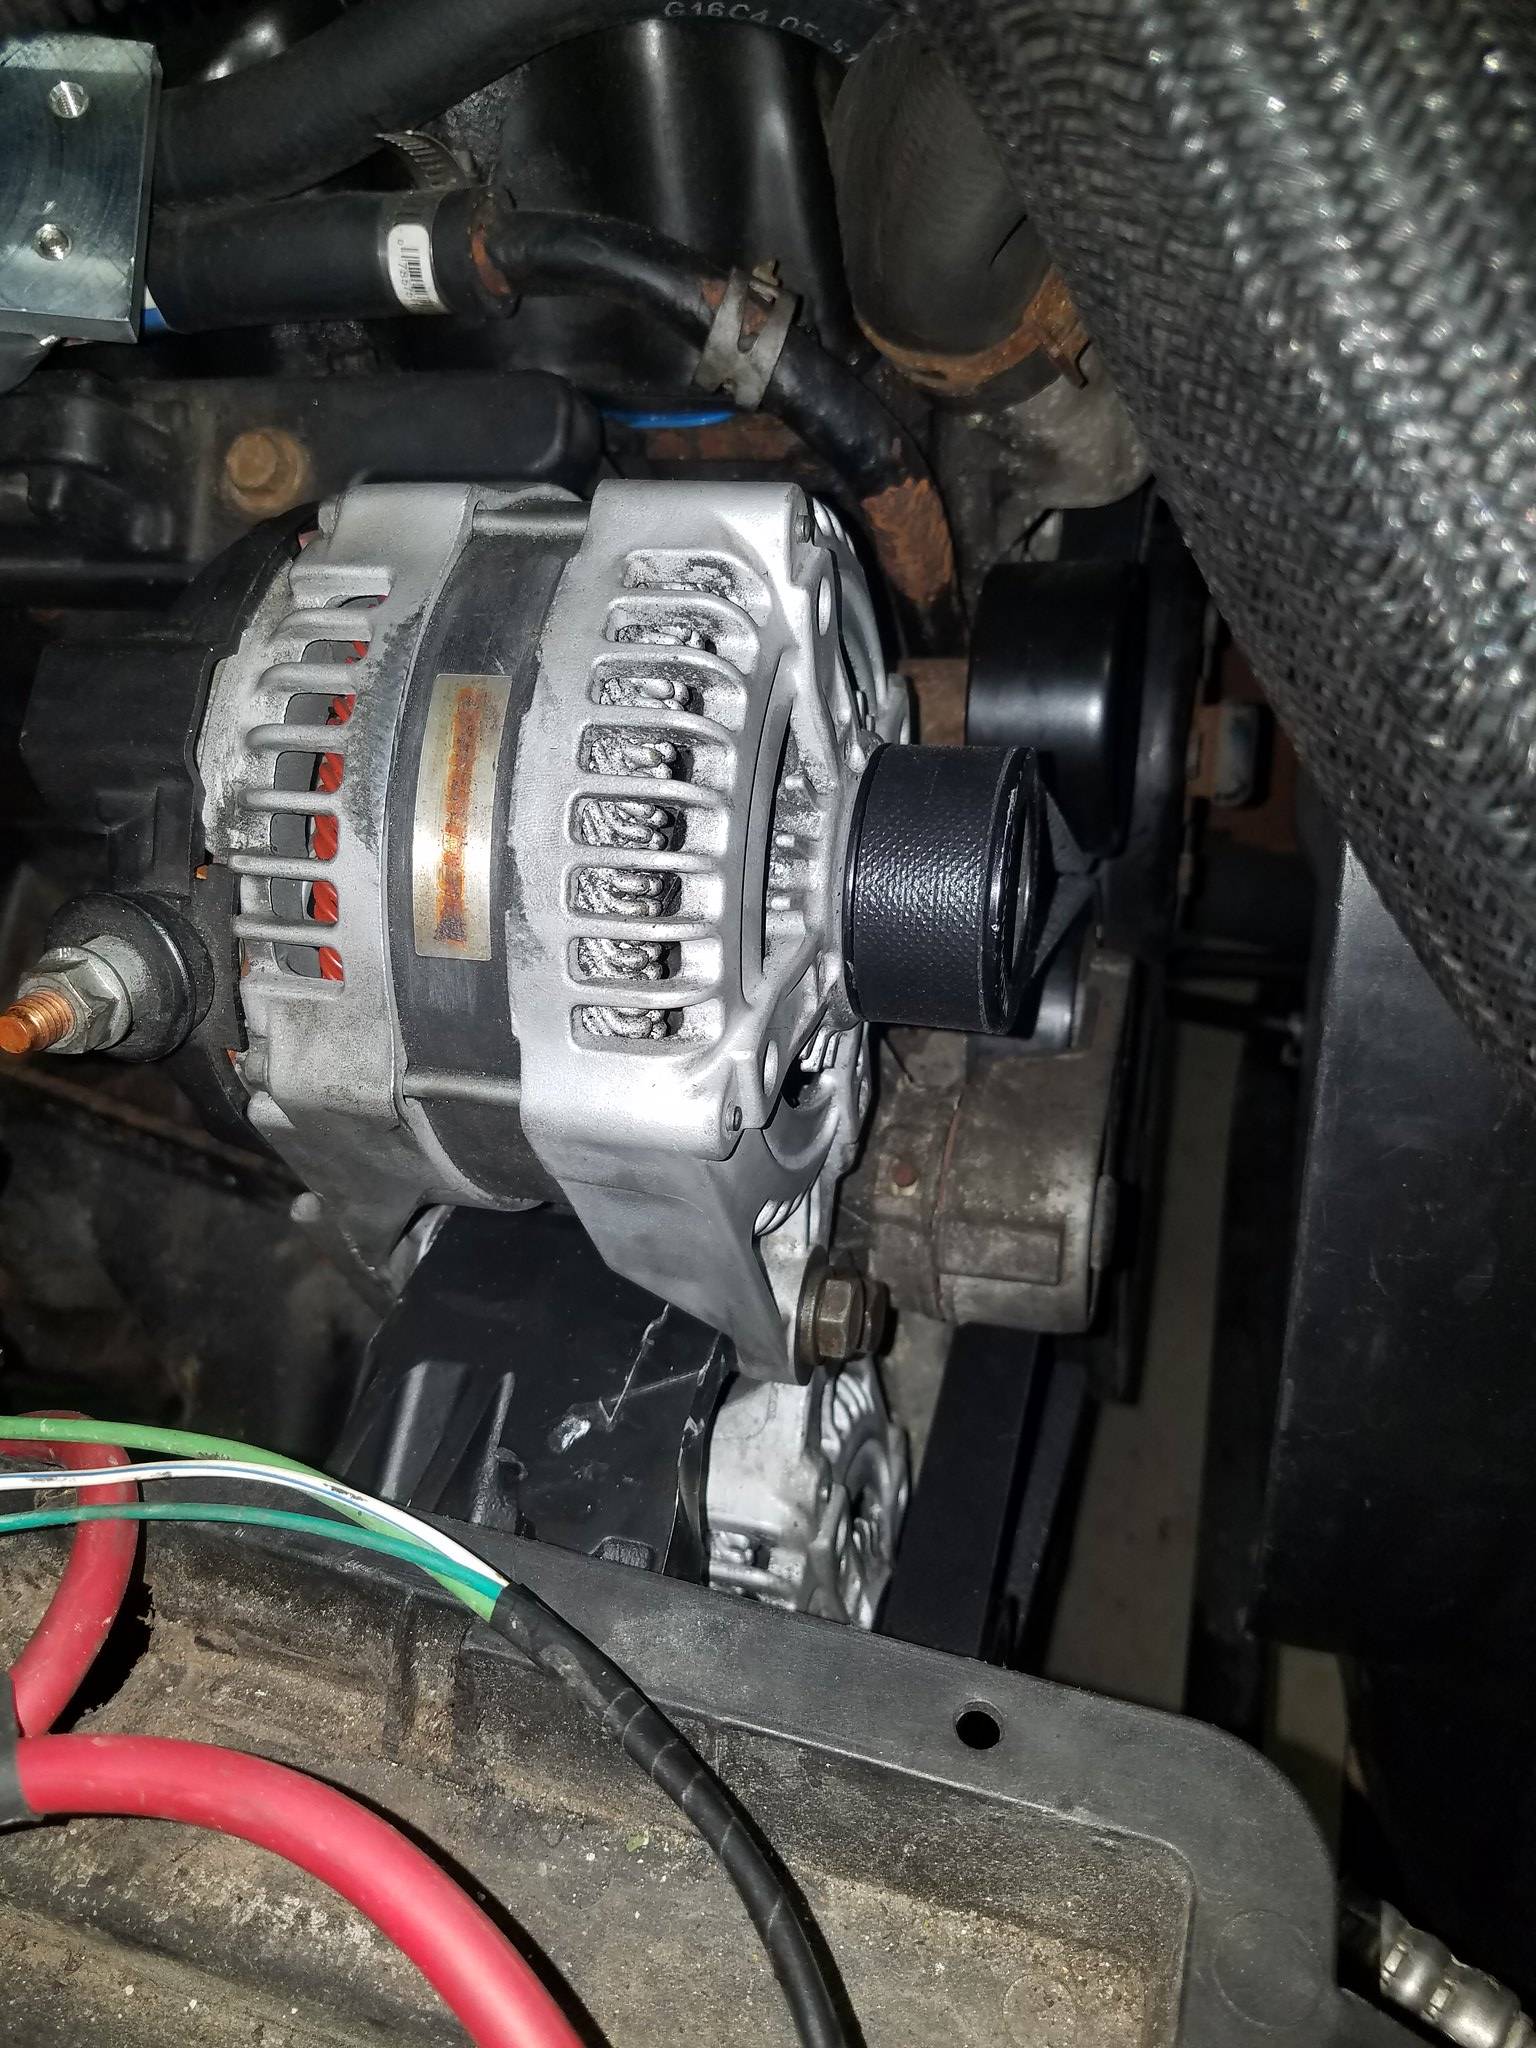
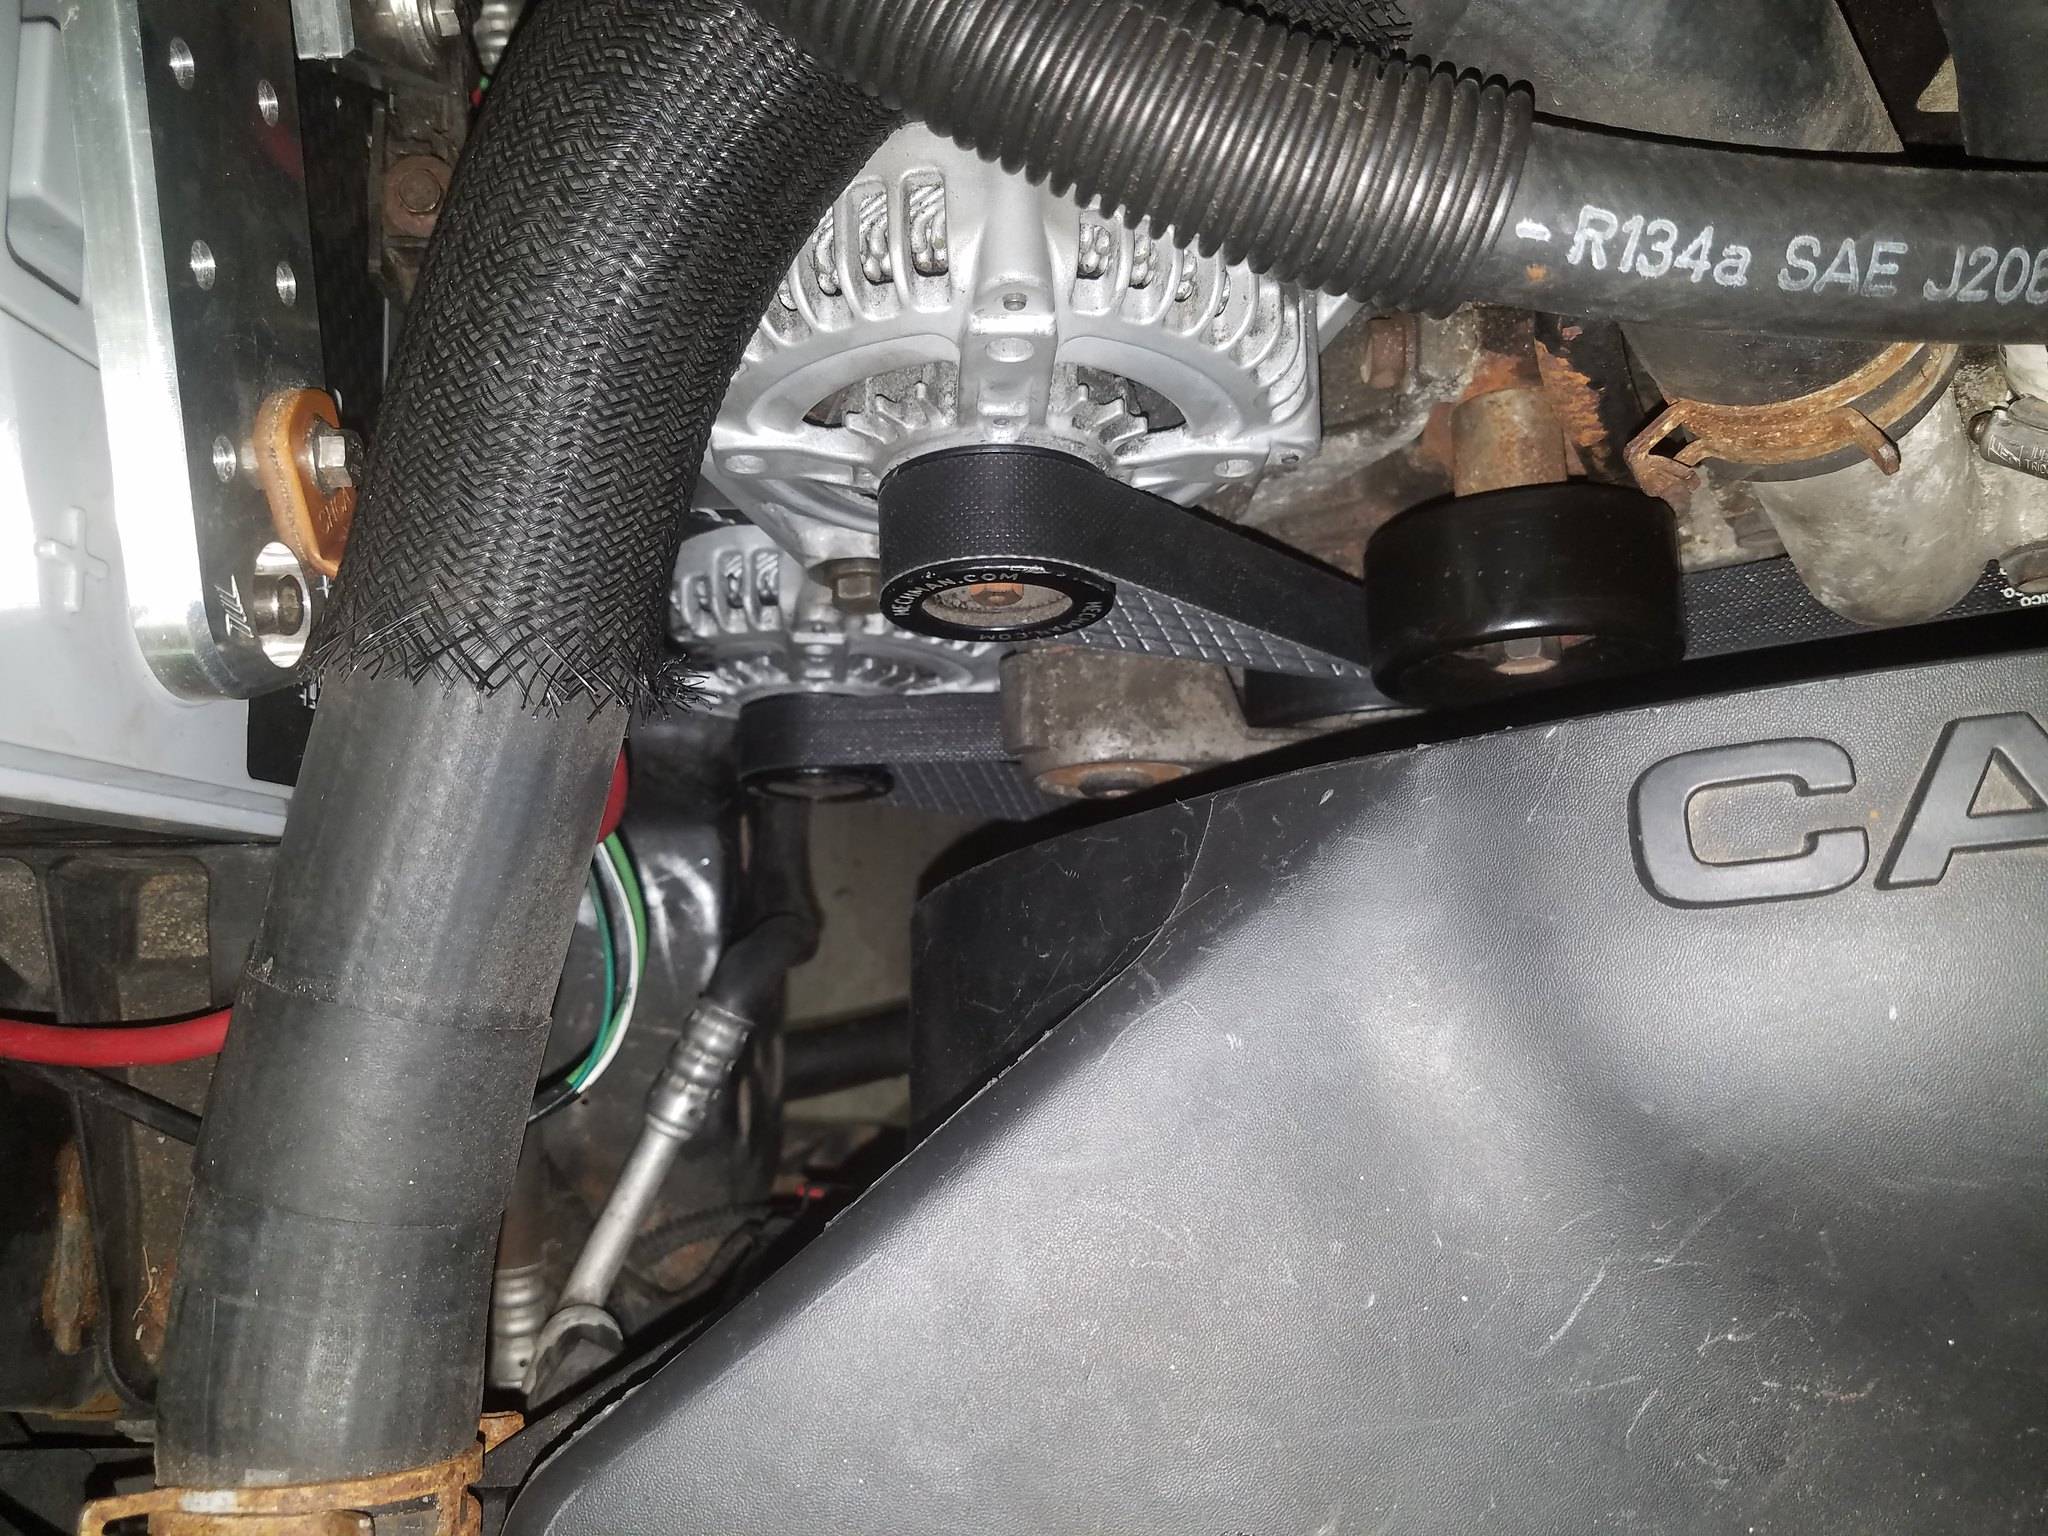
Oh also I chose to bypass the AC as it was easier and I don't really need it. Also it made it easier to guess the belt size I'd need.
The dual alt setup is on I haven't wired up the transpo or anything but I did hook up the factory connections to test that everything would spin. All I needed was a slightly smaller idler pulley and a slightly longer belt as I bypassed my AC. I ordered a belt that was too long the first time but the second one I ordered fit like a glove. For anyone wanting to do what I did the parts I purchased were a Continental Elite 4060887 and a Dayco 89175.
So if you guys remember correctly I bought a used stock alt bracket and was going to use it to locate an alt where my AC was. Well I scrapped that idea as it was going to be a pita but I did still use the bracket. After some heavy modifications this is what was left of it.
For some reason the paint didn't cure well even though it sat for 24 hours at least, but I wasn't going to take it back out to repaint it.
Oh also I chose to bypass the AC as it was easier and I don't really need it. Also it made it easier to guess the belt size I'd need.