RAMROD's Build thread - Dodge Charger

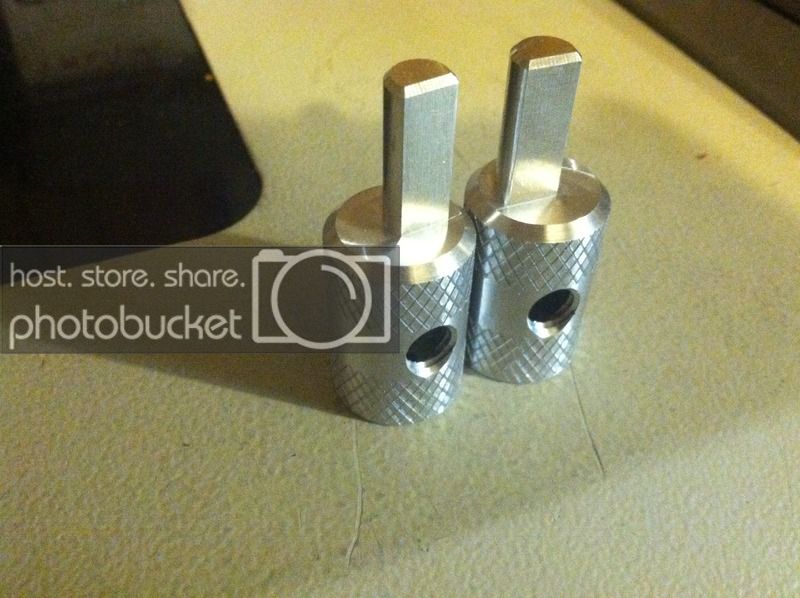
Got a little work done today and a snap shot of the ToolMaker Metalworkz reducers...

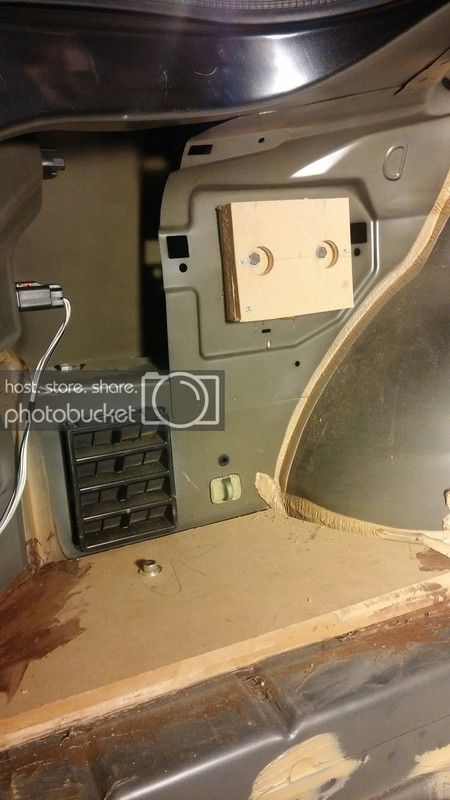
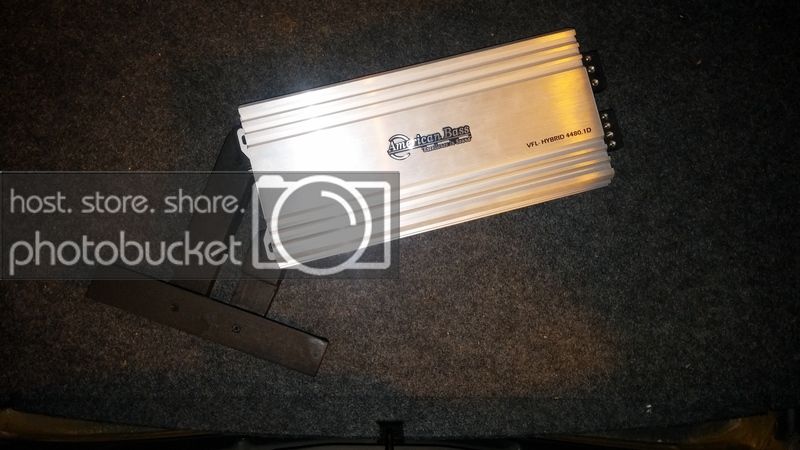
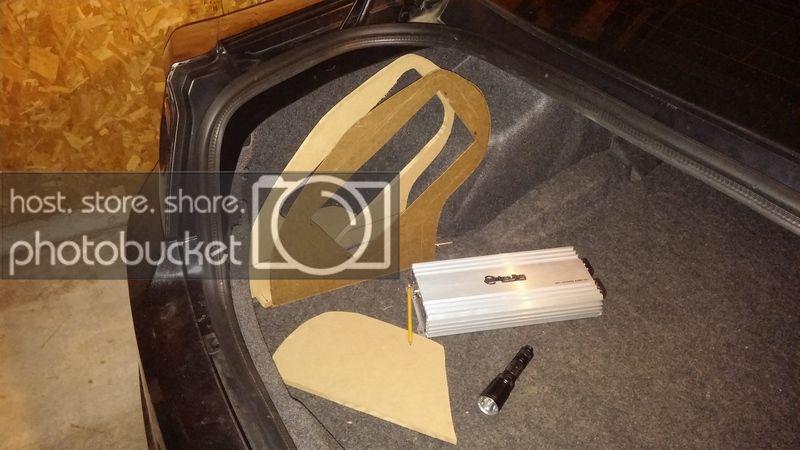
Reducers for the AMP

image_1.jpeg


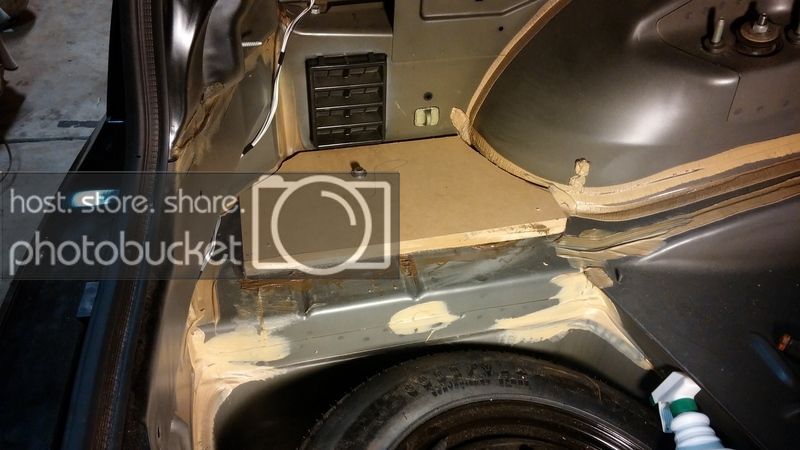
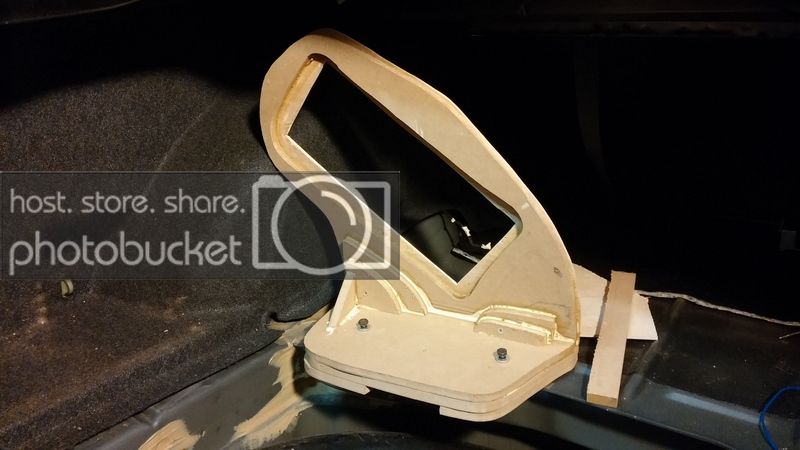
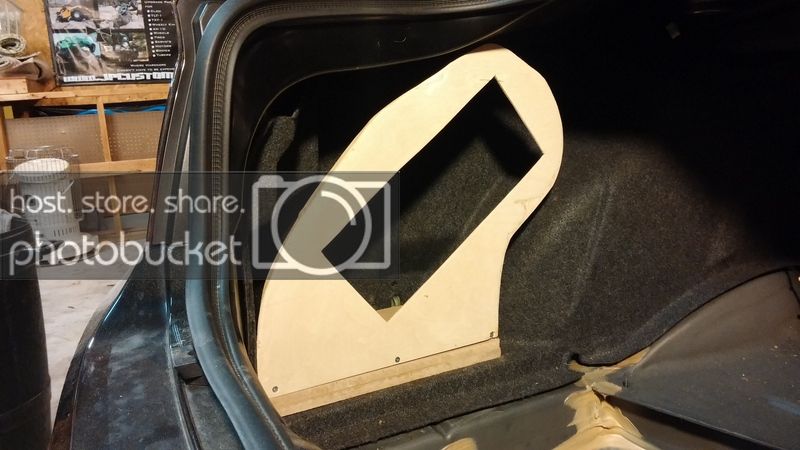
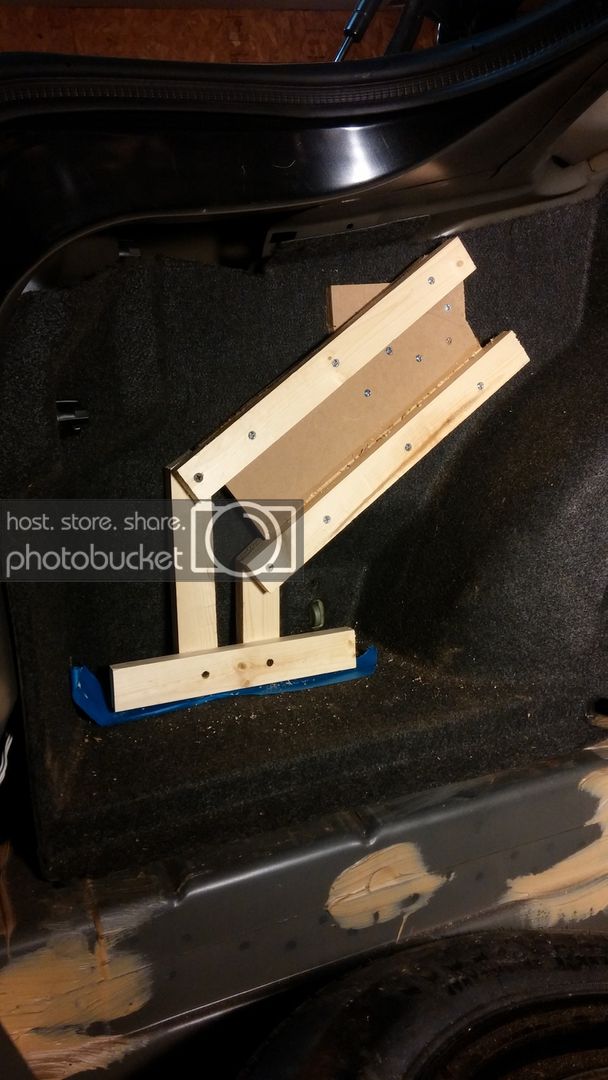
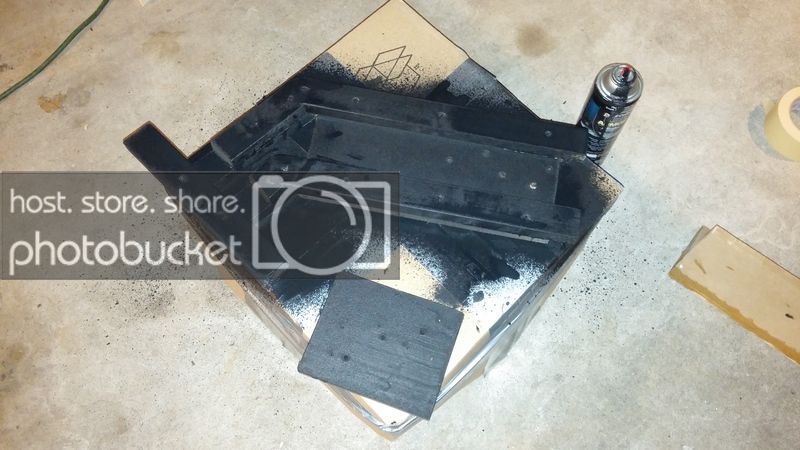
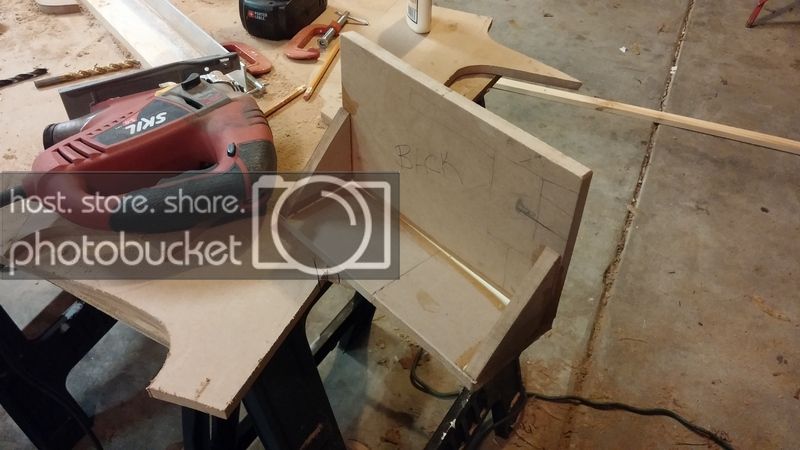
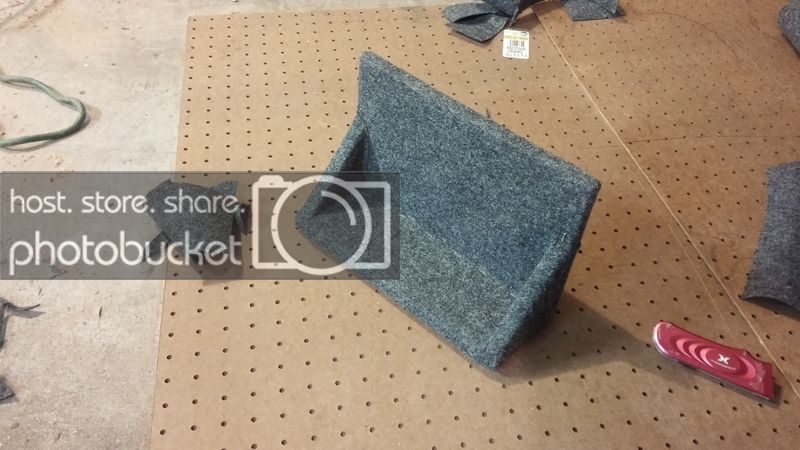
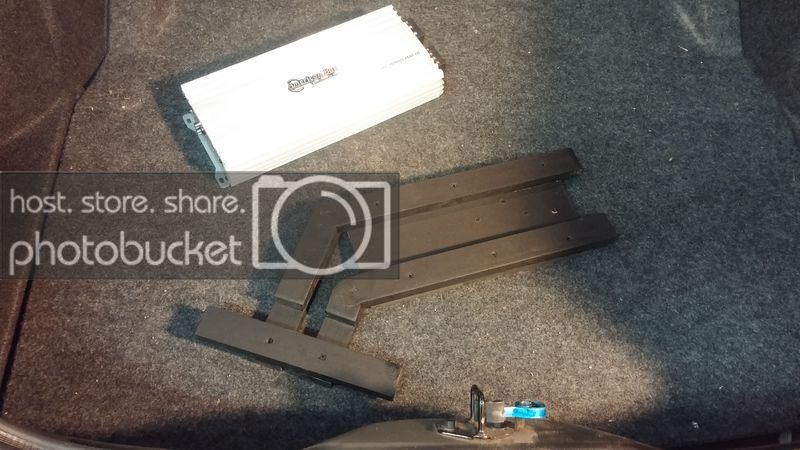
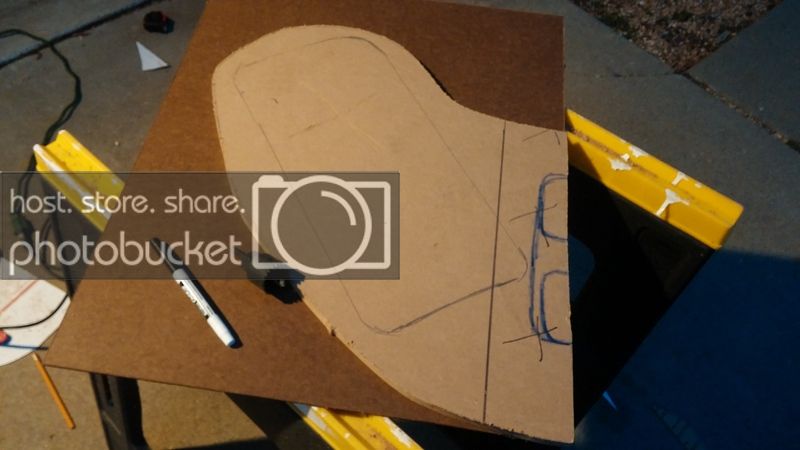
The Start of the Amp mount

20150330_194639.jpg


20150330_202048.jpg


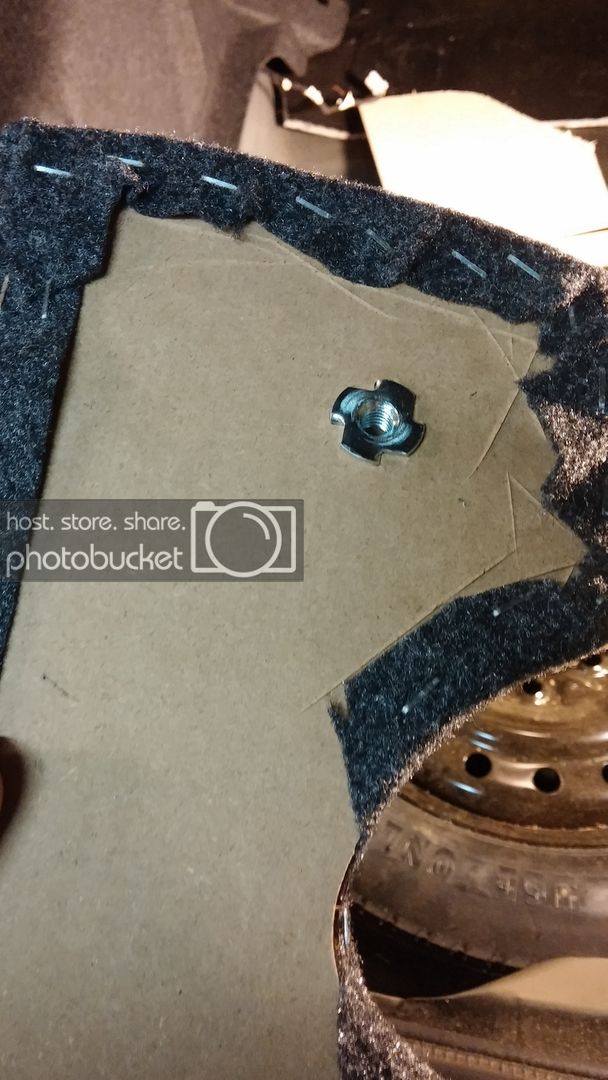
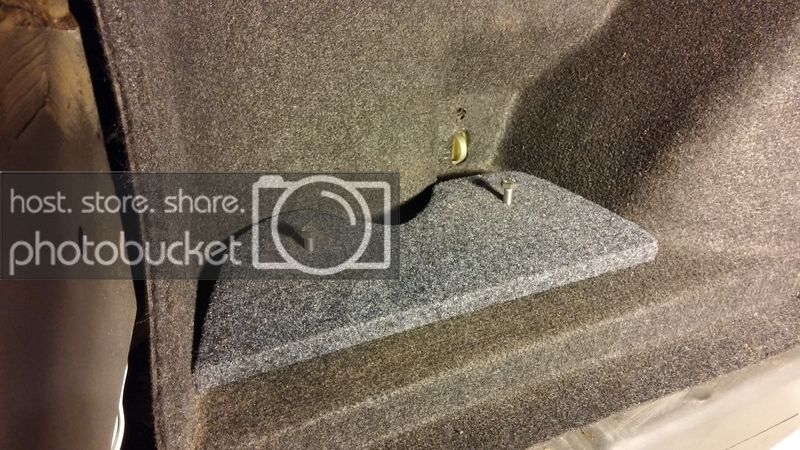
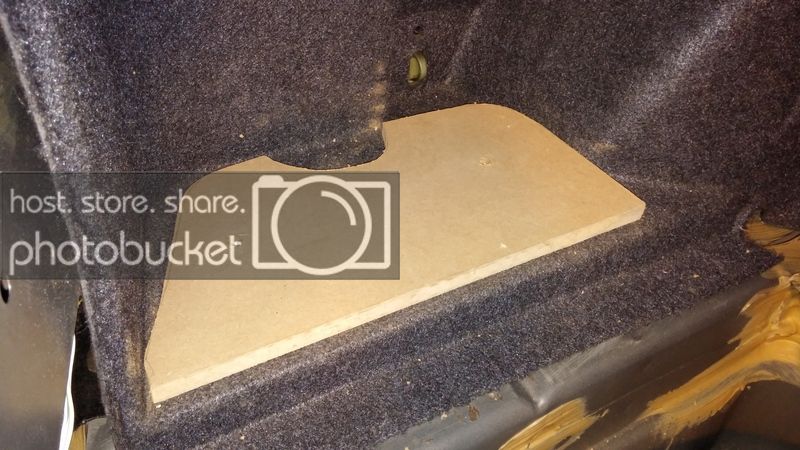
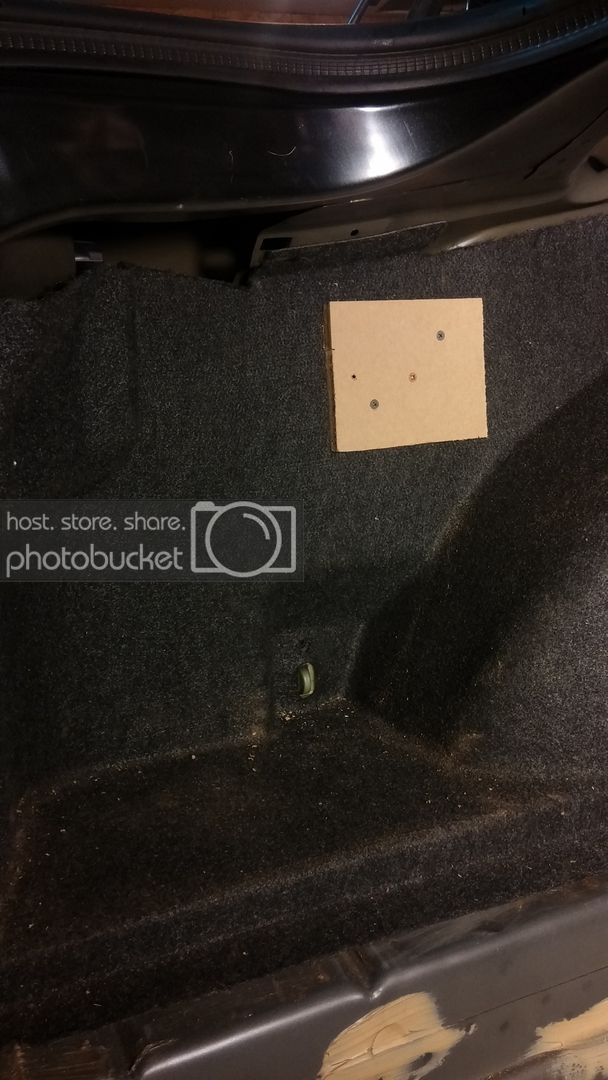
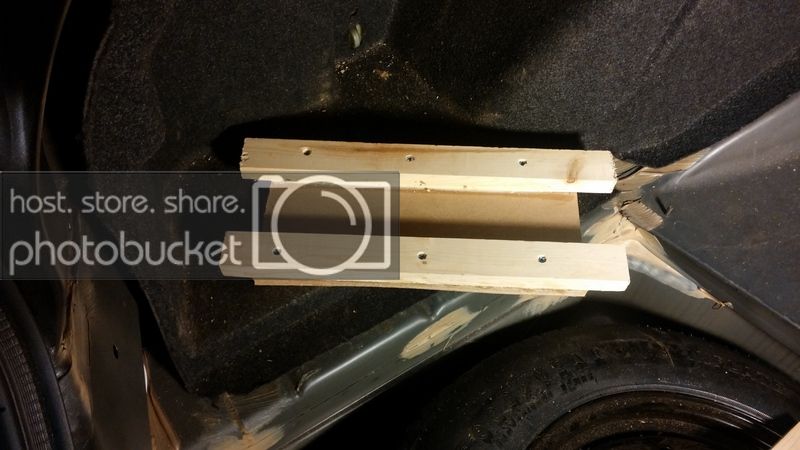
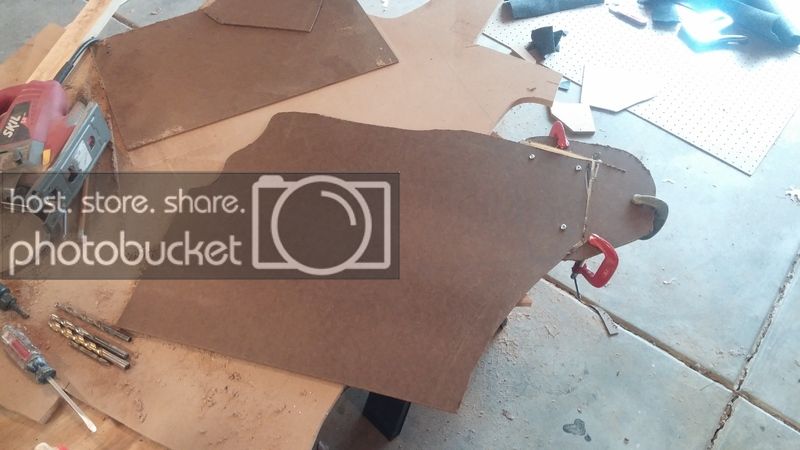
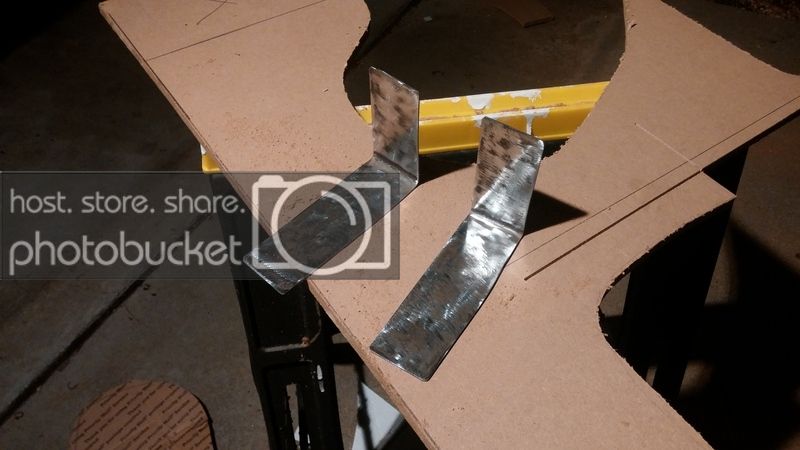
And the Enclosure bolt down brackets started a well. These will be mounted on the back side of the box and bolt to th floor.

20150330_202419.jpg


Very Nice work man.. Just be sure not to puncture the gas tank with drill bit when mounting the brackets.I did once accidental and it was a PITA to fix it.Drop tank and empty it out and pull pump and fill with water for 2 days,empty let set for a full day dry out and weld it back up with a mig,grind down hit with some rustoleum put all back in..o4 WS6..somehow i missed my measurement by a full inch???lulz,one my old rides.

 
Very Nice work man.. Just be sure not to puncture the gas tank with drill bit when mounting the brackets.I did once accidental and it was a PITA to fix it.Drop tank and empty it out and pull pump and fill with water for 2 days,empty let set for a full day dry out and weld it back up with a mig,grind down hit with some rustoleum put all back in..o4 WS6..somehow i missed my measurement by a full inch???lulz,one my old rides.
I'm just mounting them to the removable Floor in the trunk, not actually into the frame of the car.

 
Ok I had to build up the floor and level it to make a solid mount for the Amp..

I used one bolt through the floor and Bondo Fiberglass to hold it in place. I then made another layer that will be screwed into it. Sandwiching the factory carpet. I put Furniture nuts in it. So the Amp Mount will bolt to it. Two simple bolts can be removed to gain easy access to the backside.

Pulled the Factpry carpet out and sanded what I could down. The Bondo won't stick the rubber part of the Floor. So I ran one bolt through it.

20150403_195325.jpg


20150403_201352.jpg


20150403_193852.jpg


Here is with the floor built up and the carpet back down. Can't even tell.

20150403_204242.jpg


20150403_210618.jpg


Here is what the Amp Mount will bolt too.

20150403_210732.jpg


Kind of a mock up. This will be carpeted as well. With a Plexi glass window to show the Amp Guts. Then Have translucent Vinyl and will glow from a Blue LED Strip. Well that's the plan anyways.

20150403_203255.jpg


I'm mounting my Amp from the back Side with a Plexi-glass window...

Ok I thought I had this thought out good enough to work. Once I got it built I just didn't have enough room to reach my bolts...

Here is what I have so far.... I built a layer under the Carpet to have a Solid Base to mount to and fill the void between the carpet and trunk floor...

20150403_201352.jpg


Plan was to then make another layer on top of the carpet that screws into that Base. That layer has Barrel nuts in it.

So that would be the completed Base for my Amp Mount.

This is the Layer that the Amp Mount Mounts to.

20150404_212516.jpg


This is it with it all pulled out..

20150404_212443.jpg


but once all in I can't access those bolts with the Amp mount in...

20150404_212424.jpg


So the New Plan is to Start from Scratch and Build the Base up into an L-Shape and have the Face of the Amp Mount. Bolt in from the Face. That Make sense?


Anyone else have better idea's or tips... Bring it.. I'm listening... My First time getting this deep into a trunk set up.

 
Ok got a little work done today.. I'm not going to use plexiglass to show off the Amp Guts.. I'm going to mount the Amp like normal. Then make a Side Panel with a plexiglass window that will have Etched Glass Vinyl Saying MOPAR on it. Then have that backlit with Blue LED's.

So I had to make a mount on the Side of the Trunk to make a solid mount. I will try and carpet this amp mount just to make it look a little better. It will be hidden behind a panel anyway unseen.

The Base for the Amp Mount. It is Glued on with Bondo Glass and Bolted with nylon lock nuts from the back side. Everything is Glued and Screwed together.

20150407_212905_resized.jpg


This is just screwed through the carpet to the base.

20150407_213354.jpg


Then the Amp mounts to this...

20150407_213536.jpg


This is how to looks now. I will make an L-Bracket at the bottom that will screw into the Floor.

20150407_220032.jpg


Hey man, is that a XR? If so let me know how that thing sounds, I just got mine in yesterday.
Yes and Will do.. Still waiting on my Amp Wire to show up. Should have this thing bumping soon...

 
Got a lot done today..

-Silisoned the Trunk Vents around the edges.

-Smoothed up the Amp mount and Sprayed with Bed Liner

-Built and Carpeted Battery Mount

-Leveled the floor under the Battery mount

-Installed New Odyssey 1350 Battery

-Spray painted all wood under the Carpet

Just waiting on my Sound Deadener to place in a few spots.

20150408_201624.jpg


20150408_201654.jpg


20150408_201712.jpg


20150408_205701.jpg


20150408_205646.jpg


20150408_203922.jpg


new batter in.. Just need to up grade the wiring.

20150408_215754.jpg


Everything is pretty much done back here.. Just waiting on my Cables and Sound Deadener now.

 
Got more work done... Just waiting on the Sound Deadener now.. Then I can secure the Amp and battery in place.

20150409_135203.jpg


Amp Mount sprayed with bed liner.. just to clean it up a bit. Will be behind a false wall..

20150409_135354.jpg


20150409_135255.jpg


Start of the False Wall.. Will have a Plexi-glass Window when finished... Didn't have a large enough piece to so I had to add a little. Once covered with Carpet won't be able to tell any way..

20150409_171413.jpg


My Sound Deadener will be here tomorrow. Just not sure where in the Trunk I needed it yet. My Old set up didn't rattle anything, but it was just 10in Memphis on 500w. Moving up to a 12in and 1500w... But I'm porting through the rear deck. So it should take some pressure off the trunk. Just not sure how much.

 
Looking great man..Enjoying the build..Expect alot of movement with that little beast of an amp..Ill expect some panel movement and irritations headed your direction:thumbsup:.By the way.. that sub box looks fantastic..and that amp rack should look excellent when done.Have you thought of maybe placing a fan for some air movement in the trunk?can be easily be added just behind the amp out of sight..Ground to ground and poss to remote turn on..Stinger makes a 105 CFM for like $15-20 bucks from Sonic Electronix.Just thought Id ask due to trunk spacing may be warm at times.

 
Thanks I might do that if it's seems to be running out. The Back isn't covered at all.. So that does help. Do I just aim the fan at some of the Amp's Vents? I have a Computer sitting right here not being used.. Maybe rip the Fan out of it????

 
Activity
No one is currently typing a reply...
Old Thread: Please note, there have been no replies in this thread for over 3 years!
Content in this thread may no longer be relevant.
Perhaps it would be better to start a new thread instead.

Similar threads

Well, I've owned probably over 100 different drivers in the last 40 years and almost every single speaker in the NVX line-up over the last 8...
16
721
https://www.youtube.com/@therealmatty_s/videos
0
441
I think you're gonna have to get good with fiberglass or something, or find someone with a 3d laser scanner that can 3d print or mold you some...
7
898
I got to message a DD woofer builder a decent bit my last stent of box designing; they would send me designs to do for or with individual...
5
778
Currently Audison amps 500.1 and 4.300 with kappa 90csx 6x9 component set. Pair of morel 6.5 rear and a single 10” alpine type R.
7
844

About this thread

Ramrod

10+ year member
Senior VIP Member
Thread starter
Ramrod
Joined
Location
Ozark, Mo
Start date
Participants
Who Replied
Replies
134
Views
24,823
Last reply date
Last reply from
KINGDELL91
Image 5-2-24 at 8.16 PM (1).jpeg

slater

    May 2, 2024
  • 0
  • 0
Image 5-2-24 at 8.16 PM.jpeg

slater

    May 2, 2024
  • 0
  • 0

Latest topics

Top