joetama
5,000+ posts
The British Ear
So, I finally after lots of time thinking reading more thinking and finally purchasing got the parts to build my first amplifier. Most of the circuit boards came from a 3rd party source but all the components, power supply parts, case, & other electronics were built from scratch. I'm still working out some of the final design details mostly with the case & 'other' equipment.
It is going to be in the range of 200 x 2 @ 8 Ohms. It is MOS-FET powered with a simple driver stage & single power supply. I looked into a dual monoral design and the extra cost, size & weight didn't justify the benefits in power. But, I am building the power supply to be considerably oversized in comparison to the normal recomendations of the amplifier designer.
I'll post more information and pictures tomorrow maybe. I've got a busy week and don't know how much time I'll have to work on it.
*Update*
Ok, so I have one circuit board complete and have all the parts (I think) to finish everything.
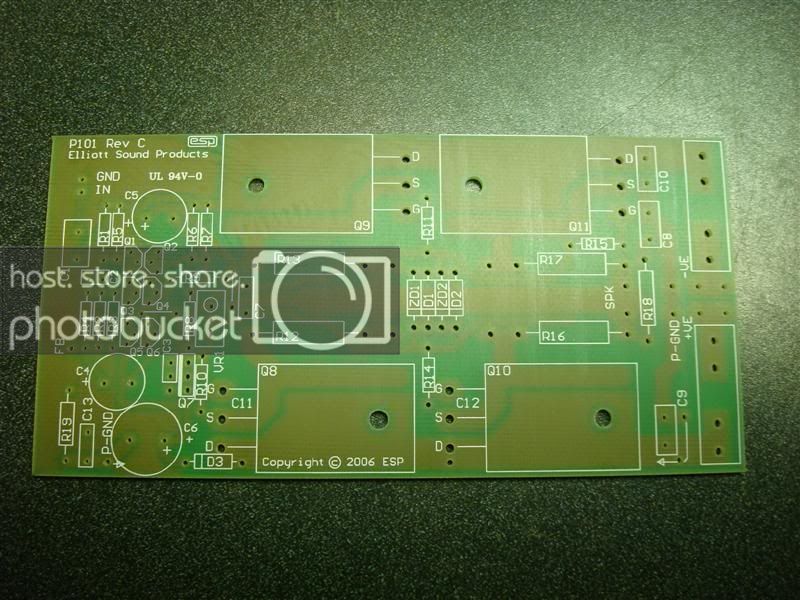
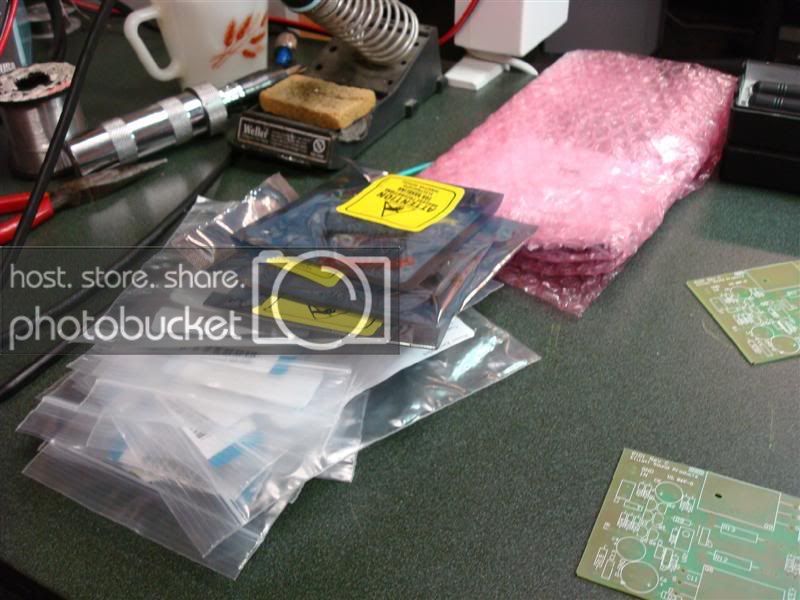
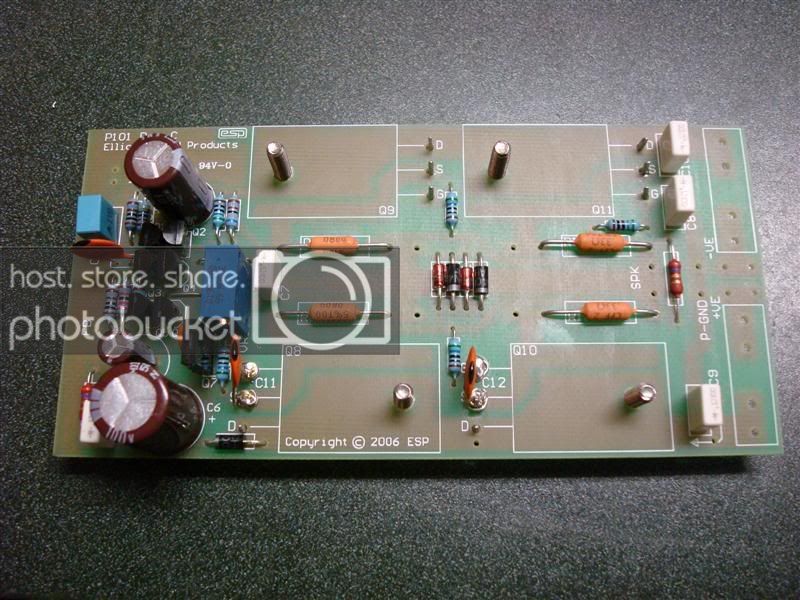
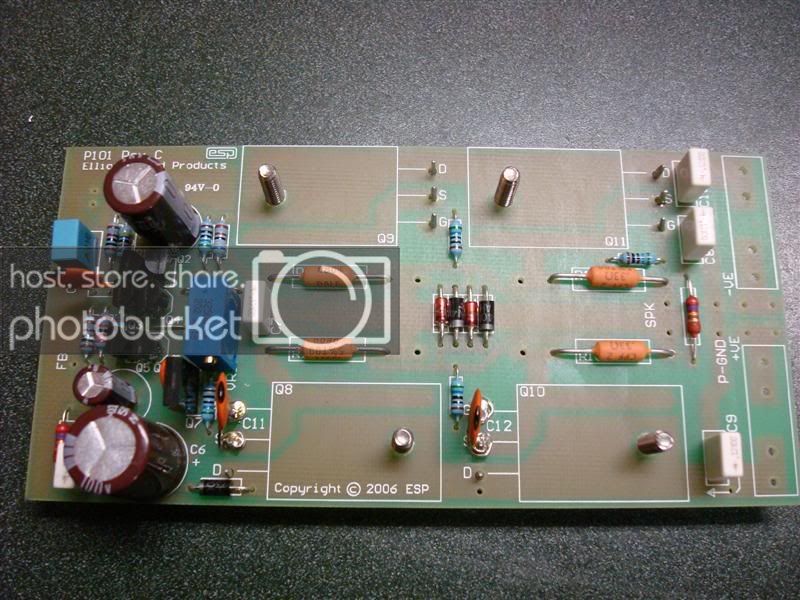
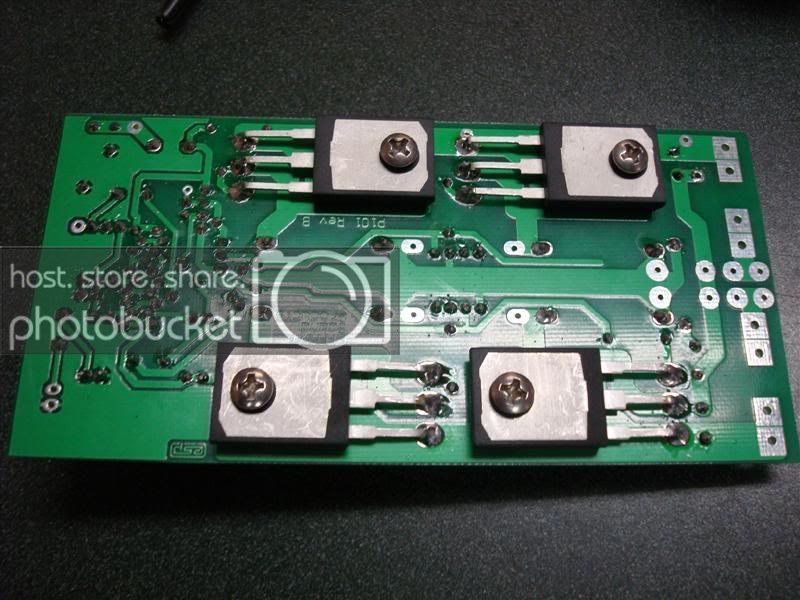
The amplifiers are a Rod Elliot Design. After doing a lot of looking around at several kits his seemed to be the nicest and followed the design idea that I liked the most, simplicity. I purchased the circuit boards from his website at ESP. They are "Project 101" 200 Watt MOS-FET amplifiers. I am using two of the circuit board amplifiers to make one stereo amplifier. I opted to use the ECX10N20 & 10P20 from Exicon as my main power MOS-FETs. They were very easy to obtain and weren't as expensive as I was thinking they would be. Great company to order from, shipped directly from the good ol' UK. I could have used the 2SK1058 & 2SK162, but they seemed harder to find and a lot of the places that were selling them were a bit scary, especially since there are a lot of fake transistors floating around the internet. I purchased most of the components from Mouser (company accounts rock //content.invisioncic.com/y282845/emoticons/fyi.gif.9f1f679348da7204ce960cfc74bca8e0.gif) and took a good amount of time narrowing down which pieces and parts to use. I ordered about 1.5-2x the quantity I needed and matched all the values as close as I could get them. This way I kept a very tight consistency between the two amplifiers.
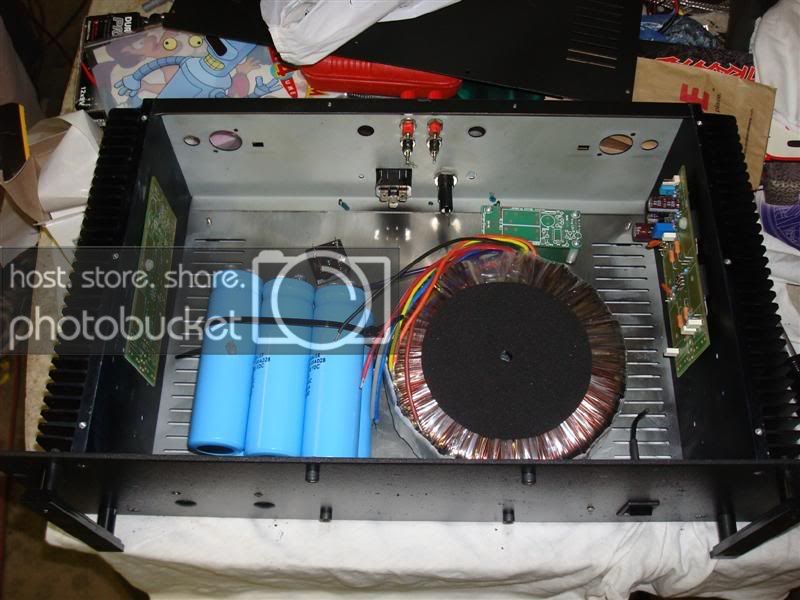
The case was easier than I originally hoped. I was going to build it from scratch out of aluminum sheet metal, however I found an old Ross Systems "MegeAmp 800" chilling in our warehouse which we took from an install we did. It wasn't working so I had no bad feelings about destroying an amplifier. I stripped all of the paint and refinished it with a 'rough' texture paint. The pictures don't do it justice but it turned out pretty **** nice. The only thing that angers me a little is that as I started my final coat of paint I ran out. SO after a quick drive to the store I am back and ready to paint only to find the nozzle on the can is screwed up. So, I might restrip the front and redo it with a can that works... //content.invisioncic.com/y282845/emoticons/frown.gif.a3531fa0534503350665a1e957861287.gif
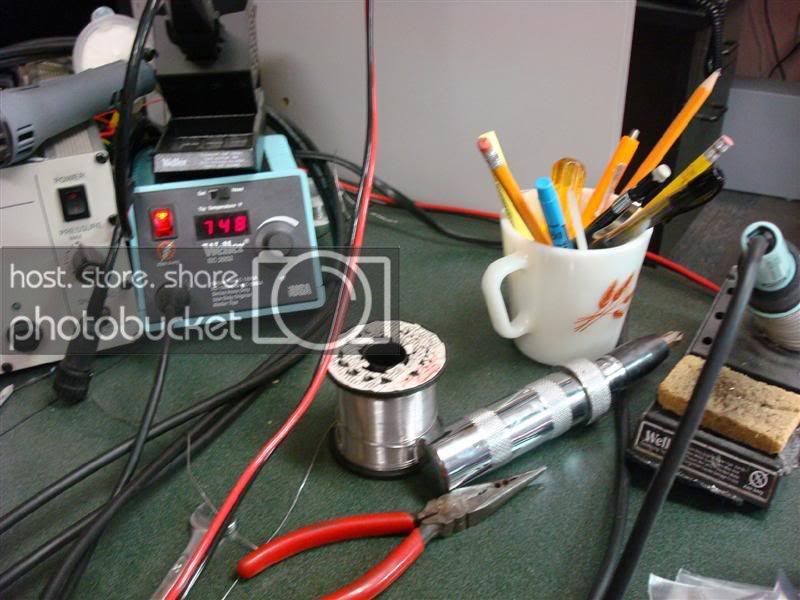
I am in the process right now of mounting everything in the chassis. I have to drill the holes for the transformer, transistor mounts, and soft start circuit. I need to start wiring and put the power supply together.
That's pretty much it for now. Will keep you updated!
It is going to be in the range of 200 x 2 @ 8 Ohms. It is MOS-FET powered with a simple driver stage & single power supply. I looked into a dual monoral design and the extra cost, size & weight didn't justify the benefits in power. But, I am building the power supply to be considerably oversized in comparison to the normal recomendations of the amplifier designer.
I'll post more information and pictures tomorrow maybe. I've got a busy week and don't know how much time I'll have to work on it.
*Update*
Ok, so I have one circuit board complete and have all the parts (I think) to finish everything.
The amplifiers are a Rod Elliot Design. After doing a lot of looking around at several kits his seemed to be the nicest and followed the design idea that I liked the most, simplicity. I purchased the circuit boards from his website at ESP. They are "Project 101" 200 Watt MOS-FET amplifiers. I am using two of the circuit board amplifiers to make one stereo amplifier. I opted to use the ECX10N20 & 10P20 from Exicon as my main power MOS-FETs. They were very easy to obtain and weren't as expensive as I was thinking they would be. Great company to order from, shipped directly from the good ol' UK. I could have used the 2SK1058 & 2SK162, but they seemed harder to find and a lot of the places that were selling them were a bit scary, especially since there are a lot of fake transistors floating around the internet. I purchased most of the components from Mouser (company accounts rock //content.invisioncic.com/y282845/emoticons/fyi.gif.9f1f679348da7204ce960cfc74bca8e0.gif) and took a good amount of time narrowing down which pieces and parts to use. I ordered about 1.5-2x the quantity I needed and matched all the values as close as I could get them. This way I kept a very tight consistency between the two amplifiers.
The case was easier than I originally hoped. I was going to build it from scratch out of aluminum sheet metal, however I found an old Ross Systems "MegeAmp 800" chilling in our warehouse which we took from an install we did. It wasn't working so I had no bad feelings about destroying an amplifier. I stripped all of the paint and refinished it with a 'rough' texture paint. The pictures don't do it justice but it turned out pretty **** nice. The only thing that angers me a little is that as I started my final coat of paint I ran out. SO after a quick drive to the store I am back and ready to paint only to find the nozzle on the can is screwed up. So, I might restrip the front and redo it with a can that works... //content.invisioncic.com/y282845/emoticons/frown.gif.a3531fa0534503350665a1e957861287.gif
I am in the process right now of mounting everything in the chassis. I have to drill the holes for the transformer, transistor mounts, and soft start circuit. I need to start wiring and put the power supply together.
That's pretty much it for now. Will keep you updated!