Phers1er's build log v2

Phers1er
10+ year member

Senior VIP Member
I'm starting my build back up and thought I would share some pics of my progress(just an updated version of the old build really).

Alot of the pics are from the last build because nothing has changed in those particular departments (I just added them to make the thread more thorough).

I don't really have much done and some of my equipment choices are still to be determined.

my system will be installed in my P.O.S. 02 cavalier and will consist of

Head unit: An Alpine 9831 from a previous system.

Processor:????

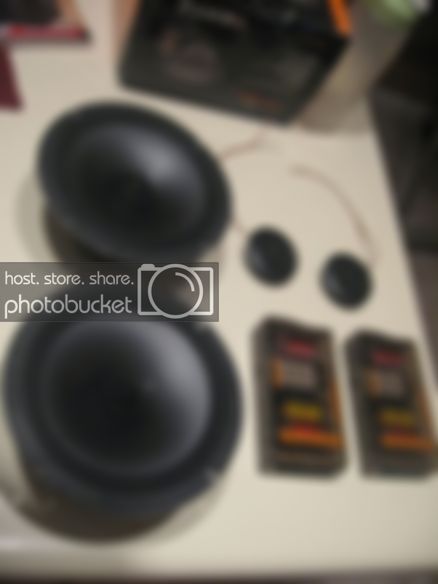
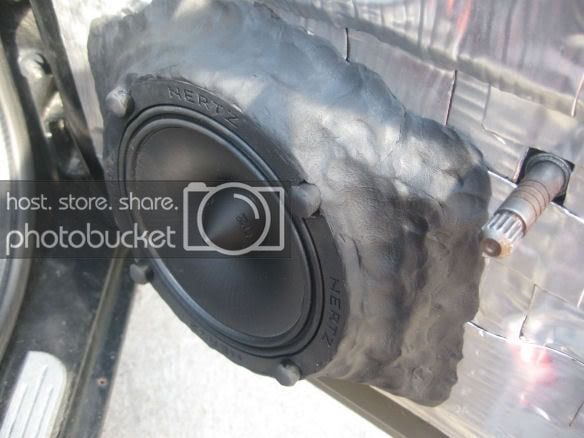
Front stage: Hertz HSK-165 (Active).Not sure If I'm going to stick with these but I'm keeping them for the time being.

Subs:????

Tweeter amp: TRU T-2.100

Mid-bass amp: TRU T-2.200

Sub amp: TRU H-1 Hammer
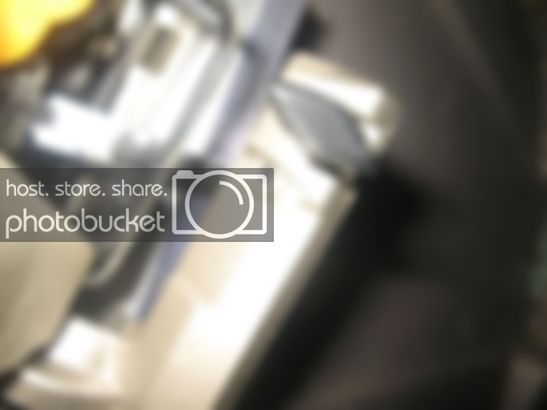
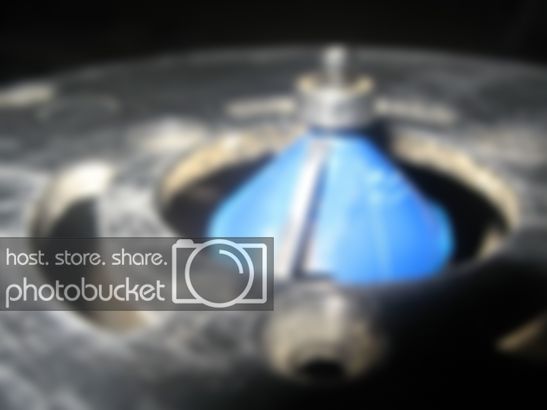
The Alpine CDA-9831

1-1.jpg


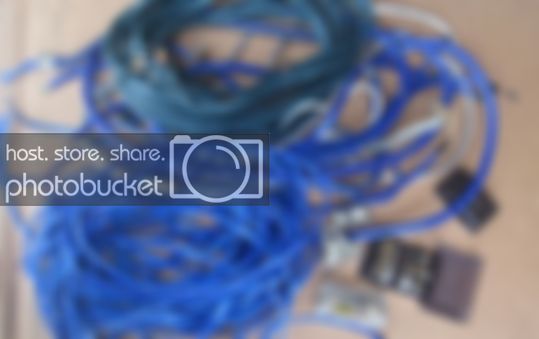
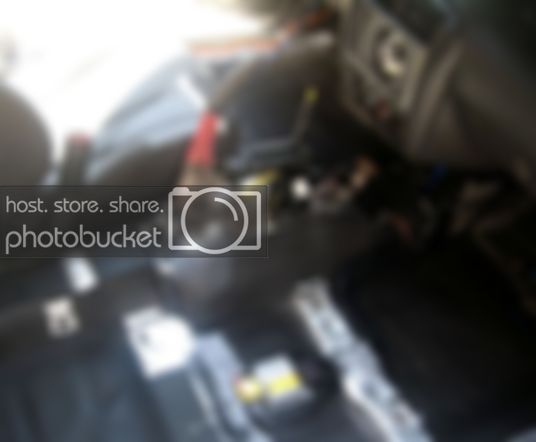
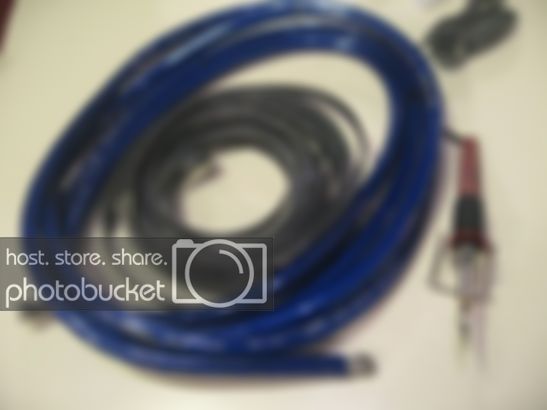
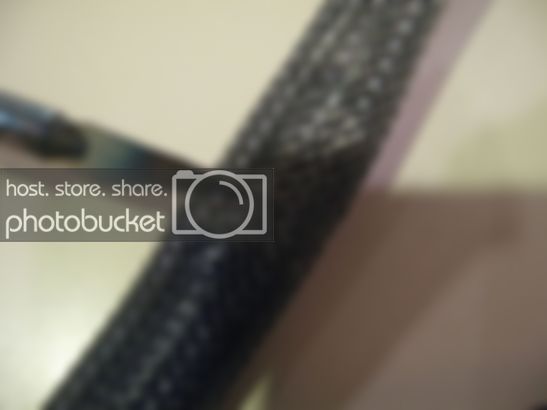
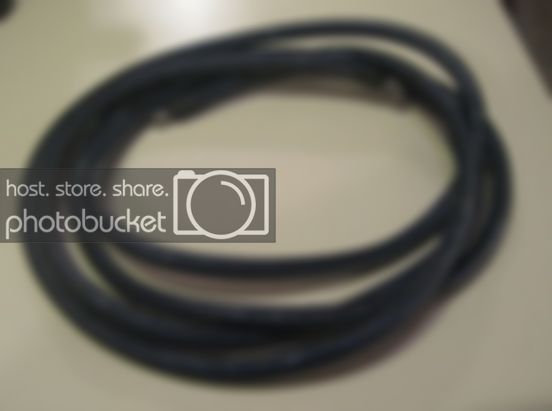
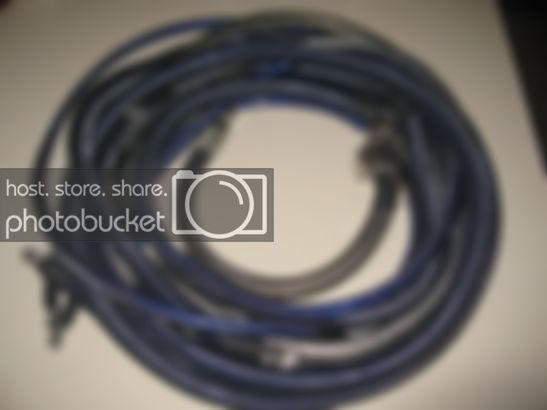
All connections have been soldered and insulated with heat shrink tubing. The small +/ - leads and Rca's in the pic are connected to a PAC IC-AV universal IPod adapter.

2.jpg


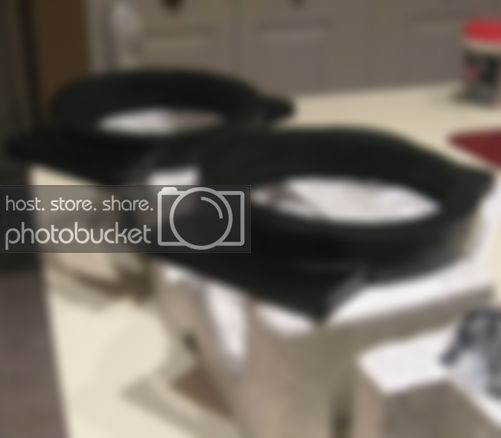
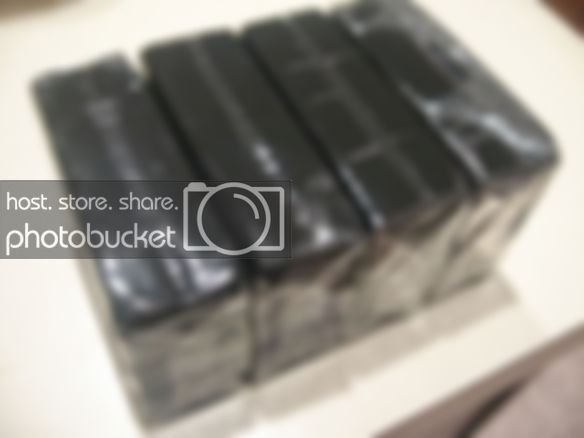
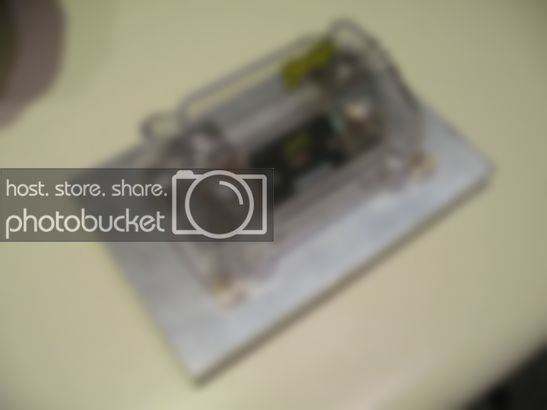
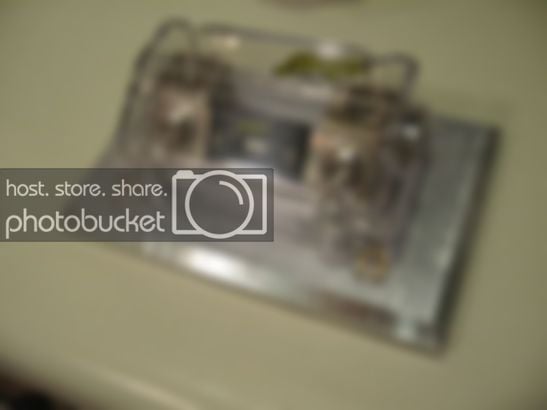
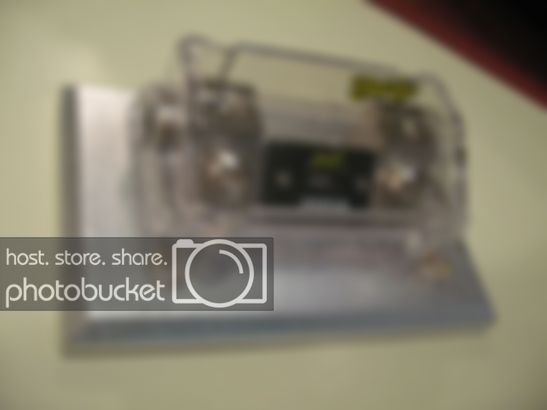
My old phoenix gold arx's (They are still in good shape so they are going back in).

8.jpg


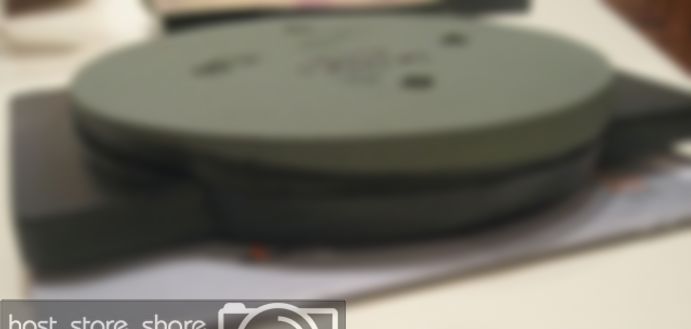
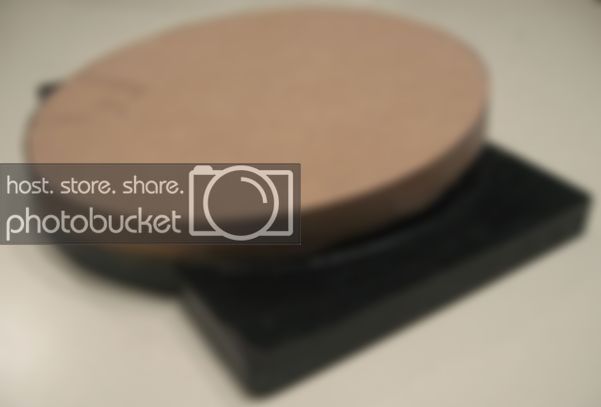
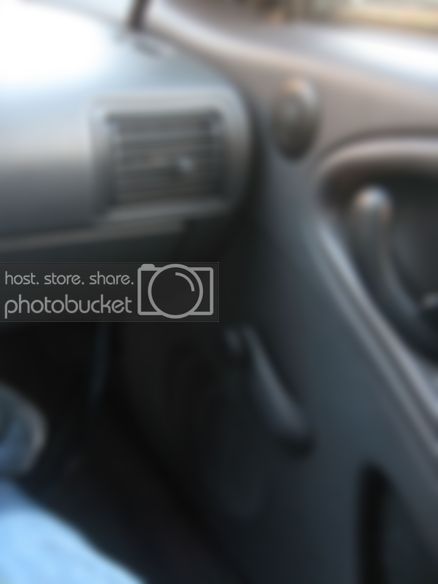
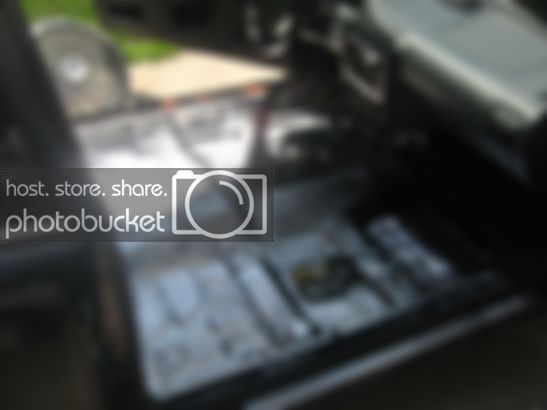
I ended up using a cheap dash kit but wanted it to look a bit different from the norm so I sanded it smooth and painted it satin black. I'm not really sure about permanently modifying my dash so this is the best its going to get for now.

3.jpg


Here it is painted.

4.jpg


5.jpg


Here are some amp pics

Tru T-2.100

9-1.jpg


11.jpg


10.jpg


Most of the internals are on the back side of the board I just did not feel like taking it completely apart.

12.jpg


Tru T-2.200

13.jpg


15.jpg


14.jpg


Same as on the T-2.100 just did not feel like taking the board out of the heatsink

16.jpg


amps continued:

Tru H-1 Hammer

17.jpg


18.jpg


19.jpg


20.jpg


21.jpg


IMG_3058.jpg


Still trying to figure out how to make the three of these amps look right together on a rack.

(It bugs me that they are different colors).//content.invisioncic.com/y282845/emoticons/frown.gif.a3531fa0534503350665a1e957861287.gif

 
Passenger side.

knu Konceptz 12 ga. wire

IMG_21791.jpg


IMG_21811.jpg


IMG_21821.jpg


4 lbs. of black non-drying clay

IMG_21831.jpg


IMG_21841.jpg


The little nylon spacers are to keep the dust cap/phaze plug from hitting the door panel.(for some reason it sticks out a little further than the mounting flange

IMG_21891.jpg


IMG_21921.jpg


I also added some 1/2" closed cell foam to the inside of the door panels (sorry no pics).

So far the doors seem pretty solid.//content.invisioncic.com/y282845/emoticons/biggrin.gif.d71a5d36fcbab170f2364c9f2e3946cb.gif

 
I removed all of my interior and old wiring so I could start on the deadening. I finished 3 layers on the fire wall, floor pan and under the rear seats but the trunk and roof still need to be done. I also laid down some 1/2" foam(the same stuff I used on the doors). I made sure to test fit the carpet, seats and panels before I glued it down so I would know where to leave the foam out to avoid fitment problems (This is why it looks patchy).

I wasn't really happy with the way the foam turned out, but I'm sure it will do the job just fine.

my old wires. I plan to reuse most of the wiring with the exception of a few things.

35.jpg


fyi...The center chanel is from the previous system and will not be staying.

36.jpg


foam

37.jpg


prep

38.jpg


spray adhesive

39.jpg


40.jpg


41.jpg


43.jpg


The seat is back in because this is my daily driver and I will not have time to finish today.

44.jpg


I wanted to figure out a better way to mount my fuse holder (It was mounted to the under hood fuse cover and was not very stable).

I had a scrap piece of aluminum laying around so I decided to use it to make a little shelf to hold it up.

45.jpg


46.jpg


47.jpg


48.jpg


49.jpg


50.jpg


51-1.jpg


52.jpg


Here's the fuse mount polished/sanded. its ready for paint.

60.jpg


62.jpg


Wire,techflex and my cheapo hot knife.

54.jpg


Cut(flexo recomends the use of a hot knife so this stuff does not fray. Mine sucks BTW).

55.jpg


Shrink

56-1.jpg


Done

57.jpg


I finished most of my power wire(ran out of heat shrink). Now I just have to do the rca's and speaker wire.

58.jpg


I plan to manage all of the wire with cable tie mounting pads atached with both the adhesive backing and trim screws.

59.jpg


btw:Sorry for posting every small detail that most could care less about.

Just trying to make the thread as complete as possible.

 
67.jpg


I made a bracket out of mild steel and painted it so I could mount the fuse holder and ran some wire.

Heres some pics of the fuse mount and battery installed. The air filter should tuck right under the fuse holder.

72.jpg


73.jpg


Heres the best shot I could get of the bracket .

74.jpg


75.jpg


76.jpg


77.jpg


you made the doors look soooo easy...//content.invisioncic.com/y282845/emoticons/drool.gif.b5e863e893038027711d4402f340dad0.gif

good looking build.

awesome attention to detail...

 
Activity
No one is currently typing a reply...
Old Thread: Please note, there have been no replies in this thread for over 3 years!
Content in this thread may no longer be relevant.
Perhaps it would be better to start a new thread instead.

About this thread

Phers1er

10+ year member
Senior VIP Member
Thread starter
Phers1er
Joined
Location
St. louis
Start date
Participants
Who Replied
Replies
33
Views
3,795
Last reply date
Last reply from
cbrei1023
IMG_20260516_193114554_HDR.jpg

sherbanater

    May 16, 2026
  • 0
  • 0
IMG_20260516_192955471_HDR.jpg

sherbanater

    May 16, 2026
  • 0
  • 0

New threads

Top