Using the clay bar will basically strip your car down to where you don't have any protection. Most people use the clay bar to remove overspray, tar, etc. Prior to using the clay bar you should wash the car, rinse of all soap residue and dry off(suggesting microfiber towels). Clay the car in sections, making sure you use a detailers lubricant with the bar. Once the clay bar becomes contaminated with residue from the car or by dropping on the ground you should use a different piece or you risk ruining your paint job. After you have completely claybarred the car, wash, rins and dry again before moving on to the swirl removal. I've copied and pasted information from autogeekonline.net, that should help you with the swirl removal. If you have Porter Cable and the appropriate pads, you will love to outcome of a little hard work.
How do I polish out swirls and scratches?
The following is a general guide to polishing. It will take you from compounding to polishing to finishing. If your paint problems do not require compounding, skip to polishing. If you’re not sure, start with polishing. Always take the least aggressive approach first! If you don’t get the desired results from polishing, then use a swirl remover and light cutting pad.
The pads pictured at the beginning of each section indicate what pads can be used to perform the job described. The Meguiars G110 and the Porter Cable 7424 have the same speed settings so the following guide applies to both machines.
Please note: Deep scratches and swirls, and severe oxidation will require compounding with a circular polisher. If you are inexperienced with this type of polisher, consult a professional. If your fingernail catches the scratch or swirl, it will require painting and must be repaired by a professional.
I. Compounding & Swirl Removal
Compounding involves using the most aggressive type of swirl remover, called a compound. Swirl removers can range from light to heavy. The application is the same.
Swirl Removers
Compounds
XMT Intermediate Swirl Remover 3
XMT Fine Swirl Remover 2
Pinnacle Advanced Swirl Remover
Wolfgang Total Swirl Remover 3.0
Poorboy’s Super Swirl Remover 2
Meguiars #9 Swirl Remover
XMT Heavy Duty Swirl Remover 4
Optimum Compound
Optimum Hyper Compound
Poorboy’s Super Swirl Remover 3
Meguiars #4 Heavy Cut Cleaner
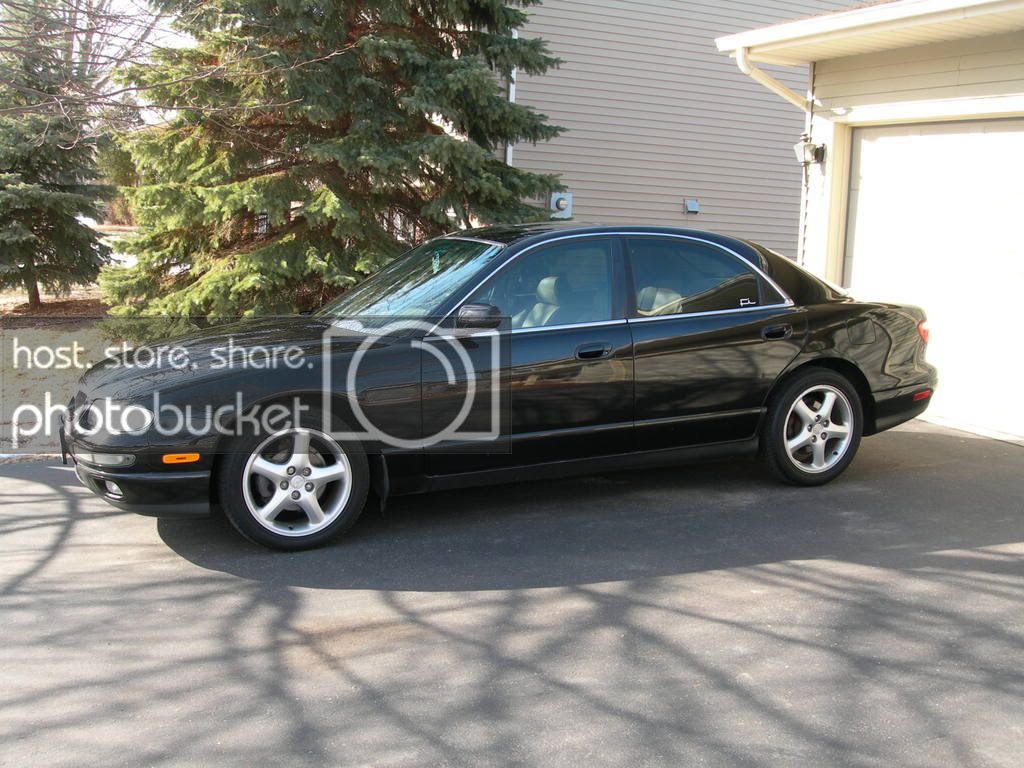
1. In the picture to the right, this is a serious case of swirls. Choose an orange light cutting pad and a swirl remover such as Wolfgang Total Swirl Remover 3.0 or XMT Intermediate Swirl Remover #3.
2. Apply a circle of swirl remover around the edge of the pad. Some will say apply a quarter size amount. You can even apply it directly to the paint. Ultimately you're going to spread it around so how the swirl remover gets on the paint is up to you. Spread the swirl remover over a small section (about 2 x 2 sq. ft.) with the polisher turned off to prevent sling.
3. Set the maximum speed on the polisher at 5. Turn the polisher on and work the swirl remover in a side to side, overlapping motion. Move slowly to give the abrasives time to work.
NOTE: The Porter Cable tells you if you're applying too much pressure. The pad will stop rotating. Lighten up on the machine and let it do the work for you.
4. When the swirl remover turns to a transparent film, the abrasives have broken down. Turn off the machine and lift it off the paint. Buff away the residue with a soft, Cobra Microfiber Towel and inspect your results. If you are not satisfied, repeat the process with the same product or a more aggressive compound (like XMT Heavy Duty Swirl Remover #4). If you still see no results, upgrade to the yellow cutting pad.
* If you used a compound, a light haze or dullness is normal. The next step will restore the gloss.
II. Polishing
Polishing improves the smoothness and gloss of the paint. Use a finishing polish if you’ve just compounded or if the paint just needs a boost.
If your vehicle is in great shape and you do not need a finishing polish, use Pinnacle Paintwork Cleansing Lotion or XMT Carnauba Finishing Glaze to enhance the gloss without abrasives.
PreWax Cleaners
Polishes
XMT Carnauba Finishing Glaze
Pinnacle Paintwork Cleansing Lotion
Wolfgang Paintwork Polish Enhancer
P21S Paintwork Cleanser
Wolfgang Finishing Glaze 3.0
Pinnacle Advanced Finishing Polish
XMT Ultra Fine Swirl Remover
Poorboy’s Super Swirl Remover 1
Optimum Polish
1. Use the white or green polishing pad on your polisher. Apply the polish of your choice to the pad or to the paint and spread it around with the machine turned off.
2. Set the maximum speed to about 4.5. You're not trying to cut. You're just trying to burnish the paint to a high gloss. Work in a side to side, overlapping motion until the polish turns clear.
3. Buff with a Cobra Microfiber Towel and check your results. If you can still see some haze, repeat the process. This time, be sure that the abrasives are fully broken down before you buff.
III. Finishing
You're nearing the finish line. Just a couple more steps will make your vehicle glow.
To lock in the shine, follow up with a wax or sealant. Application of any of these products will be as follows.
1. Attach a gray or blue pad to your Porter Cable 7424. Apply the product to the paint or to the pad. Spread it around the paint in a 2 x 2 sq. ft. section with the polisher turned off.
Waxes Paint Sealants
Pinnacle Souverän Wax
DP Max Wax
Pinnacle Signature Series II
P21S Concours Carnauba Wax
Poorboy’s Natty’s Paste Wax
Pinnacle Liquid Souveran
Wolfgang Deep Gloss Paint Sealant 3.0
Four Star Ultimate Paint Protection
Meguiars #21 Synthetic Sealant
Klasse High Gloss Sealant Glaze
2. Set the maximum speed to 3 or 4. You do not need speed to apply nonabrasive products. Spread the product over the paint until its sufficiently covered. There are no abrasives to break down. You are just trying to get even coverage.
3. Buff off the product with a Cobra Microfiber Towel or slip a Microfiber Bonnet over an unused pad. The bonnet is like having a microfiber towel on your polisher. Just be sure to put the bonnet over a clean pad so no products will seep through the bonnet.
Detailing Tips:
The polisher will do the work for you. There's no need to apply pressure.
Pad and product selection is not an exact science. The severity of the imperfections, the cut of the pad, and the aggressiveness of the product all factor into the final results. Don't be afraid to experiment.
Start with the least aggressive method first. Go to a more aggressive pad or polish only if necessary.