Phers1er's build log...

Phers1er
10+ year member

Senior VIP Member
I'm in the process of rebuilding my system and figured why not post a few pics.

There really has not been a game plan..... I'm kind of making things up as I go and hoping for the best. Any reasonable suggestions would be most appreciated.

my system will be installed in my P.O.S. 02 cavalier and will consist of

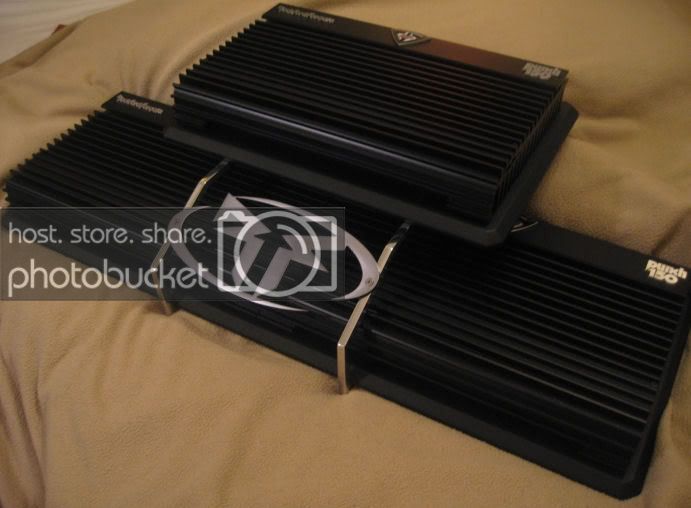
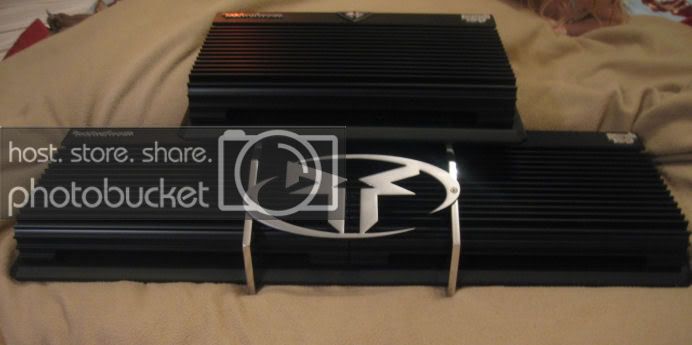
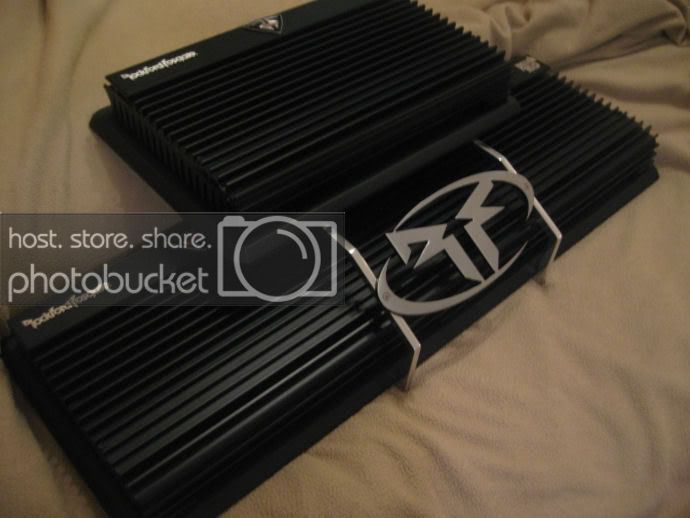
1-rockford fosgate 3sixty.2

1- set hertz hsk 165 comps

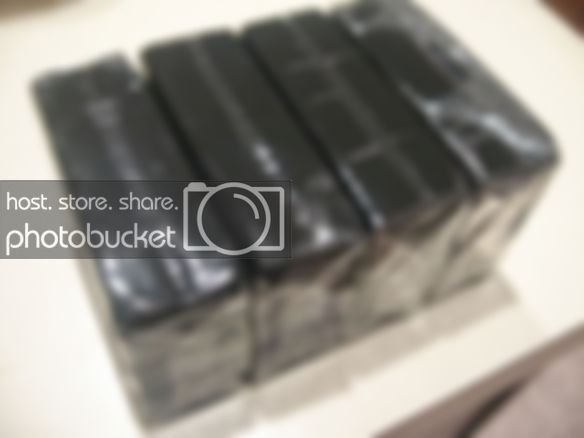
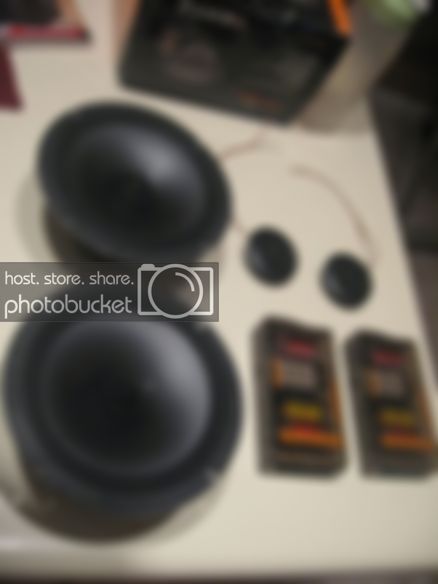
3- rockford fosgate 25th anniversary punch 150's

and a pair of SSA Icon 15's(awaiting recones at the momment.//content.invisioncic.com/y282845/emoticons/frown.gif.a3531fa0534503350665a1e957861287.gif)

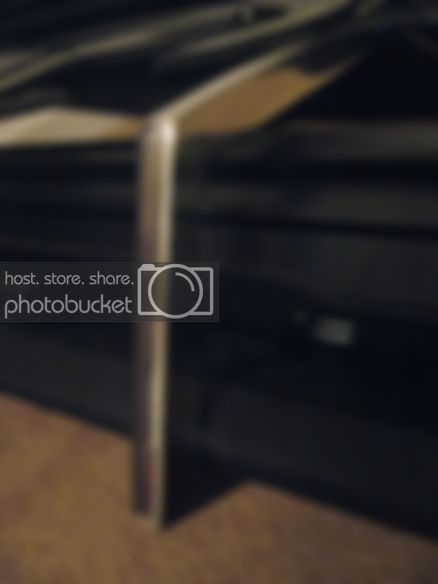
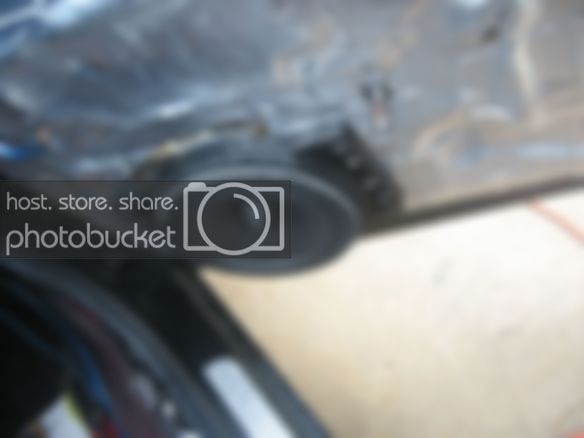
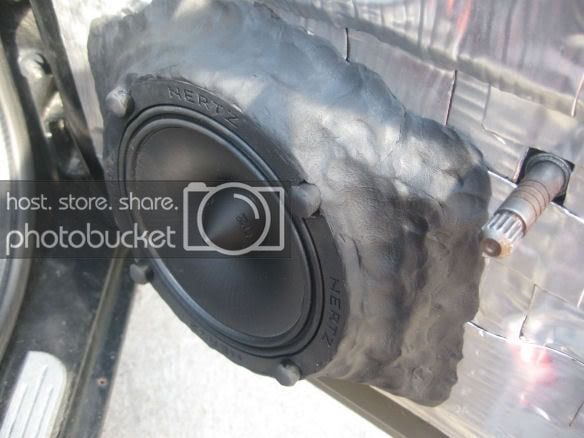
So far I have made some mounting brackets for the hertz mids and my amp rack.

more pics and updates will follow but I don't have alot of time to work on my car

so finishing this will be slow going.

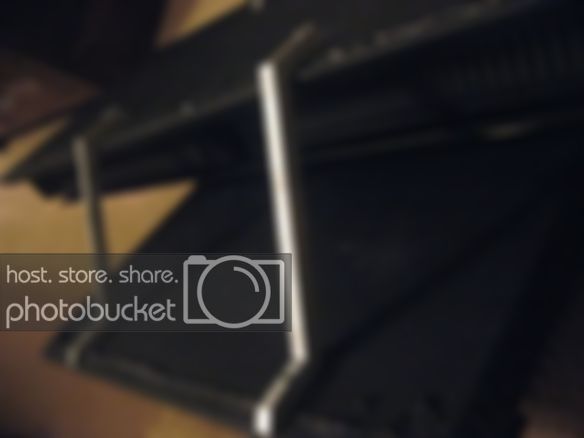
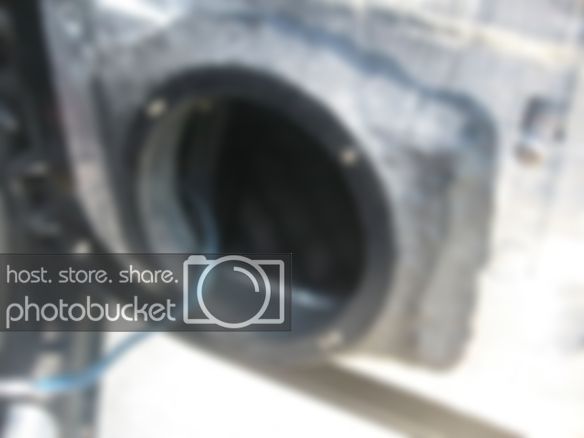
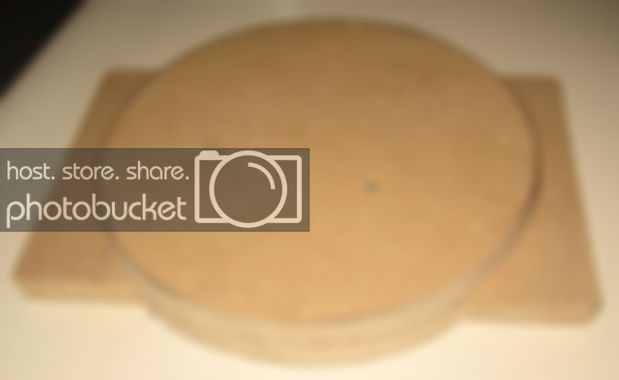
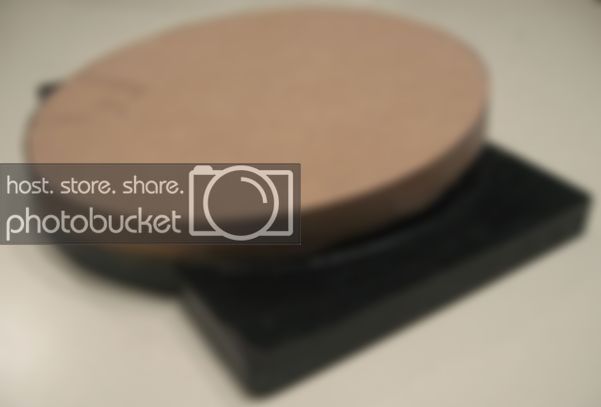
Here is how I made my caveman brackets.

IMG_21561.jpg


IMG_21571.jpg


IMG_21611.jpg


IMG_21651.jpg


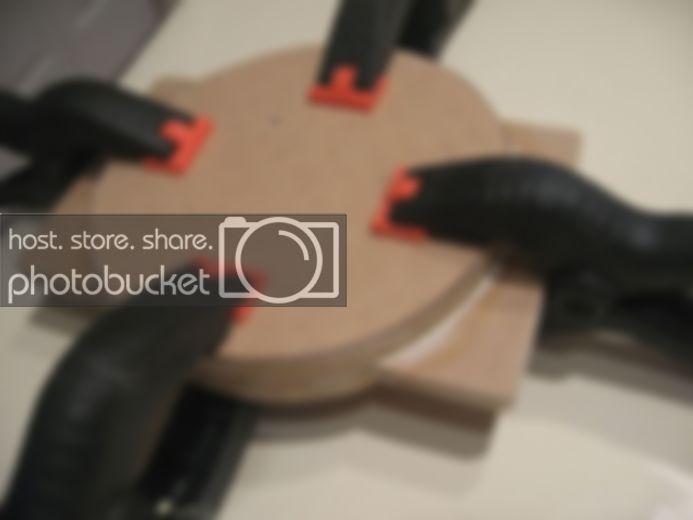
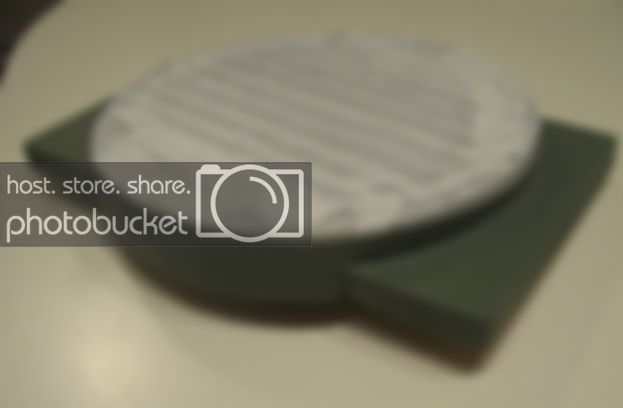
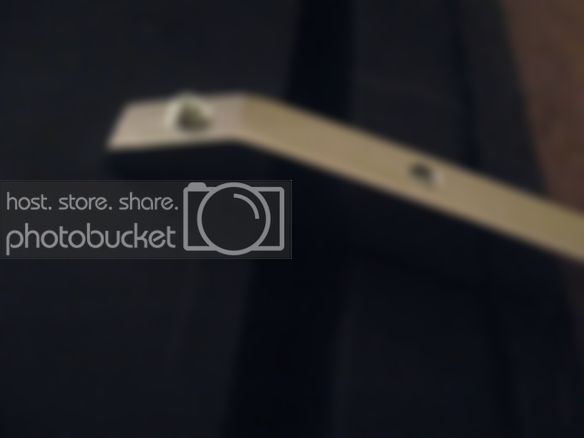
The green marks the angle I want cut from the bracket
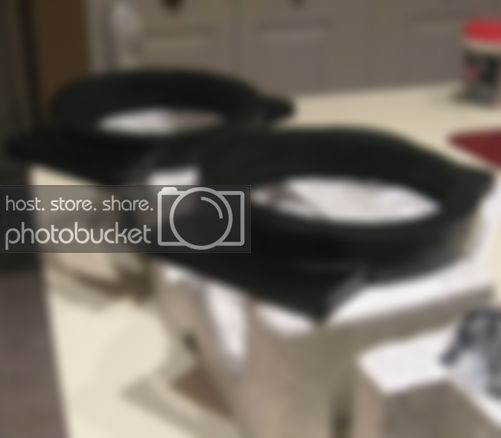
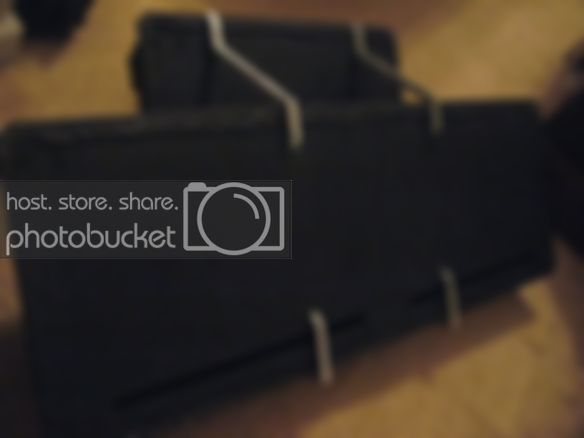
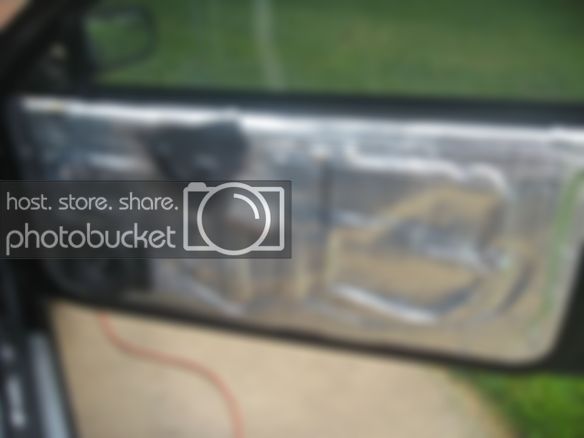
IMG_21661.jpg


IMG_21681.jpg


IMG_21691.jpg


IMG_21711.jpg


here's the comps.

IMG_21701.jpg


The amp rack was finished before I decided to post this stuff up so the best I can do is show how it is constructed.//content.invisioncic.com/y282845/emoticons/frown.gif.a3531fa0534503350665a1e957861287.gif

IMG_21781.jpg


IMG_21771.jpg


IMG_21761.jpg


IMG_21751.jpg


0305CL_AttiStudeRS01_z-1.jpg


IMG_21091.jpg


IMG_21101.jpg


IMG_21111.jpg


next: I'll be installing comps.

hopefully some time this week if its not too hot.

 
Whoah, how did you get that bracket cut at an angle? Good work btw.
Thanks man,

I did that on a band saw by standing it up on end.... and believe it or not I still have all of my fingers.//content.invisioncic.com/y282845/emoticons/biggrin.gif.d71a5d36fcbab170f2364c9f2e3946cb.gif

 
Thanks man,I did that on a band saw by standing it up on end.... and believe it or not I still have all of my fingers.//content.invisioncic.com/y282845/emoticons/biggrin.gif.d71a5d36fcbab170f2364c9f2e3946cb.gif
//content.invisioncic.com/y282845/emoticons/crazy.gif.c13912c32de98515d3142759a824dae7.gif

 
btw: I meant mention that this is my first atempt at a custom install so If you see something that doesn't look right. please let me know! Most of my stuff in the past has just been a no frills/just make it work type of thing.

 
Started on the doors today...

Passenger side.

knu Konceptz 12 ga. wire

IMG_21791.jpg


IMG_21811.jpg


IMG_21821.jpg


4 lbs. of black non-drying clay

IMG_21831.jpg


IMG_21841.jpg


The little nylon spacers are to keep the dust cap from hitting the door panel.(for some reason it sticks out a little further than the mounting flange

IMG_21891.jpg


IMG_21921.jpg


I also added some 1/2" foam to the inside of the door panels (sorry no pics).

So far the doors seem pretty solid.//content.invisioncic.com/y282845/emoticons/biggrin.gif.d71a5d36fcbab170f2364c9f2e3946cb.gif

 
Activity
No one is currently typing a reply...
Old Thread: Please note, there have been no replies in this thread for over 3 years!
Content in this thread may no longer be relevant.
Perhaps it would be better to start a new thread instead.

About this thread

Phers1er

10+ year member
Senior VIP Member
Thread starter
Phers1er
Joined
Location
St. louis
Start date
Participants
Who Replied
Replies
157
Views
16,084
Last reply date
Last reply from
mazzasec
1778578257023.png

Glen Rodgers

    May 12, 2026
  • 0
  • 0
Screenshot_20260511_212804_Amazon Shopping.jpg

Blackout67

    May 11, 2026
  • 0
  • 0

New threads

Top