Ford Explorer build

on1wheel01
10+ year member

Bang A Lang
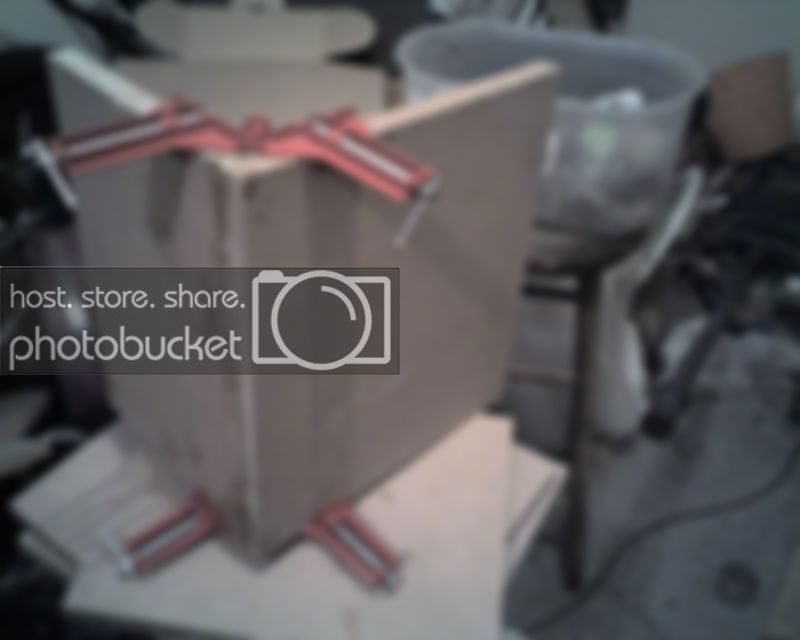
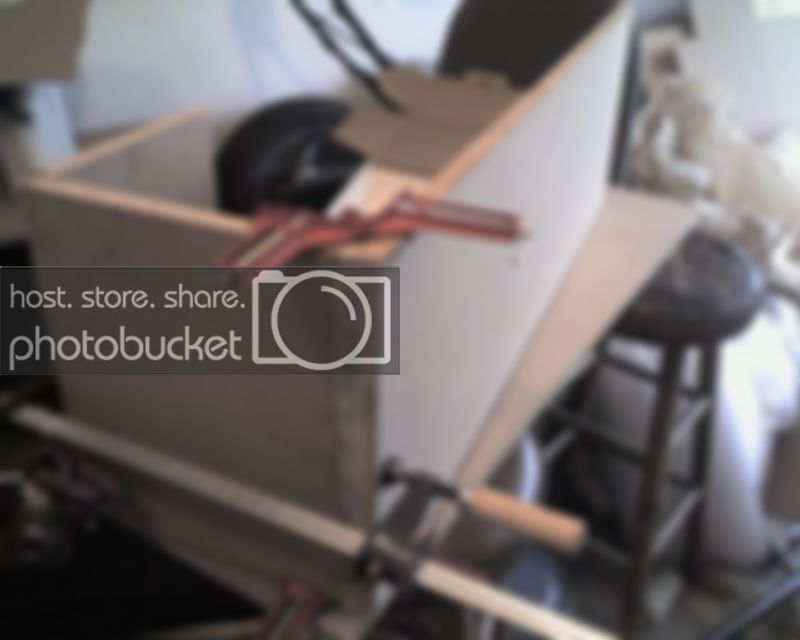
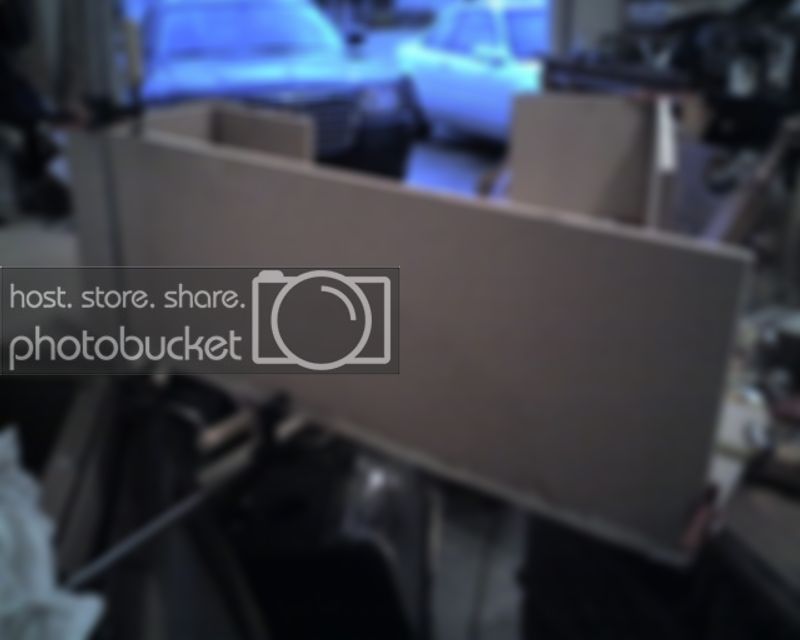
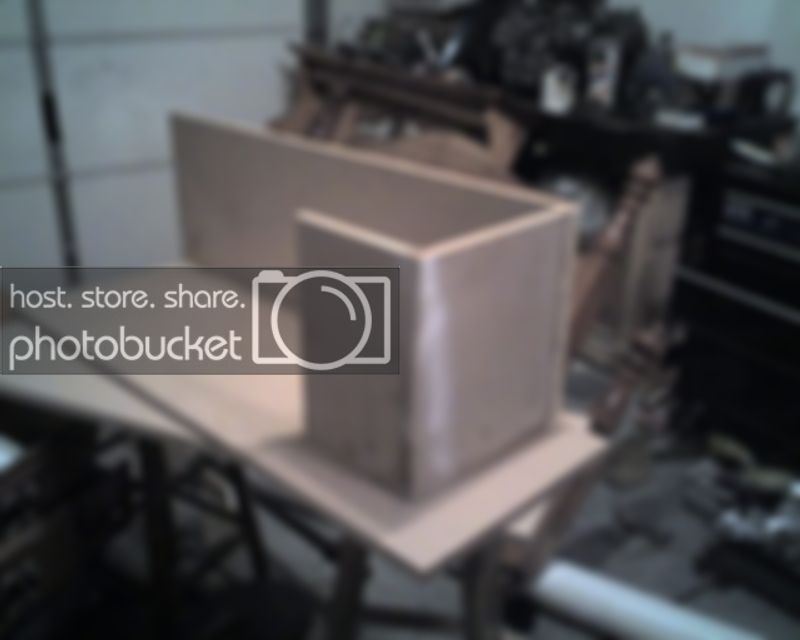
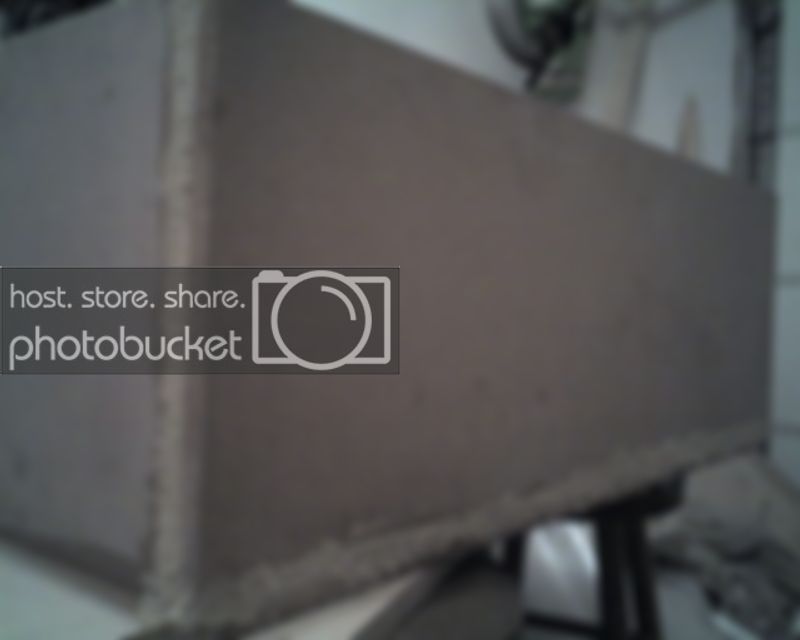
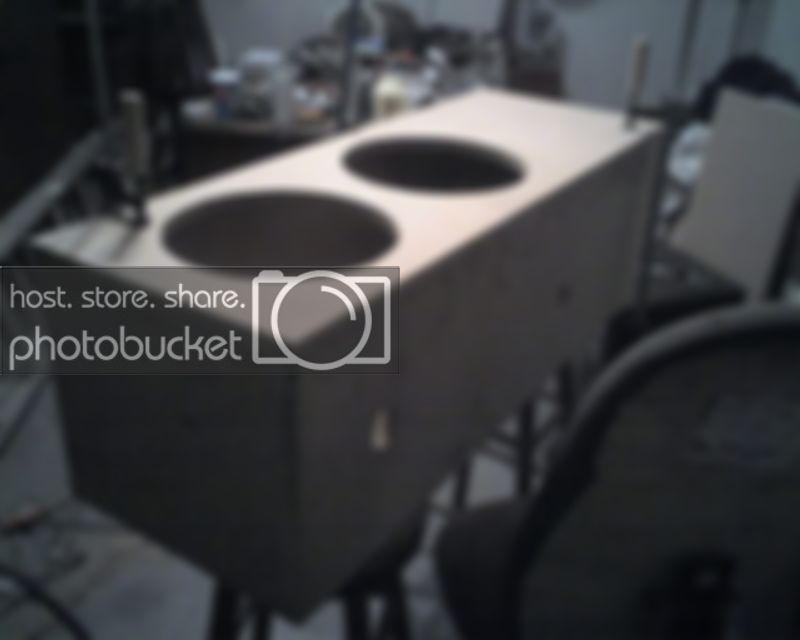
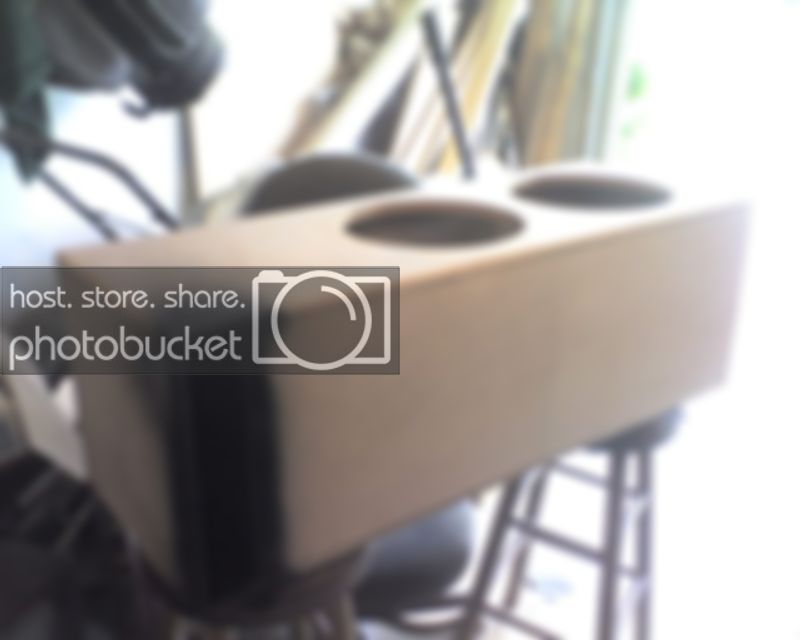
Well I'm building this box for a guy at work. It's for 2 American pro 12's(yea I know garbage). Going in a 96( i think) model. Box is going to be 41" wide 14" high, and 15" deep. Should be about 3.2 (or so) cubes after disp tuned at 30. Going to round the edges, fill up the seams with bondo, and paint her to match his seats. Also going to put some medium texture in the paint. So far I have the lt/rt sides cut, and the l1/l2 ports cut and glued. This will be my 5th box I've built, and also will the the first I am using no screws on(wish me luck). I must say it is a little sketchy getting the wood to line up with the corner clamps. Here is a shot of the progress so far
img017.jpg


lol yea i figured but I had enough 3/4 layin around to do the port walls and left/right sides, i should have 1/2 a sheet left over for the next project.

 
i hate those harbor freight corner clamps.my dad has an old set of american made corner clamps that work great.those harbor freight ones are a pain after using a good set.nice build man.

 
yea i may end up just buying some good ones but the 3' clamps work like a charm. I plan on getting a few more though as 2 is just not enough.

Here is a few shots of the progress so far. Gonna take a bit as im doing this in between my daughters naps and such. Got the front mounted to the bottom here
img021.jpg


Here is the same but from the back side of it
img022.jpg


Ahh and last I decided to go with shavings and wood glue mix to go seamless hope it works well,
img023.jpg


In the background is my cl, and the wifeys 300c(she wont let me touch it as far as modding goes what a shame)

 
Well got all the sides mounted and glued. I've put on a layer of mdf dust/ glue on the seams as suggested by many of you. Ill give it a day or so and start sanding. Box is looking good to me. It is a pain doing the no screw method but should be worth it. If oyu we're wondering all the wood around the clamp is just for a ghetto clamp.

img024.jpg


img025.jpg


Well got all the filler sanded off and smoothed over. And edges rounded. Just have to get the cut out's done. trying to find what the dimensions for the cut out is, the company is useless.
img029.jpg


Boring build I kno but watcha guys think? Here is a few shots first if of the top being put on
img031.jpg


Well I just finished sanding all the filler off, and rounding over and smoothing out the edges. Currently painting the port, got some nasty runs so gonna wet sand it once dry. Tape off and prime the box. This box has taken forever to build but I think it looks killer.

img032.jpg


Activity
No one is currently typing a reply...
Old Thread: Please note, there have been no replies in this thread for over 3 years!
Content in this thread may no longer be relevant.
Perhaps it would be better to start a new thread instead.

Similar threads

Yep, that will mark the third iteration of teh X series. i figured that was in the loop as they have been running out of stock on the last...
11
486
Ahhh, I had it in my head that it was 1 ohm stable for some reason.
41
2K
One fuse (the 300) goes close to the battery to protect the power wire...then close to the amp you'll add another fuse (whatever size the...
29
4K
It is in eBay. It is a bit more complicated. You clip off the gray blocks on your radio's harness and splice in the new harness by color matching...
7
1K
There is one more thing; you said you will be using the OEM amplifier for the front stage. If that is the case, then you may need an vehicle...
5
174

About this thread

on1wheel01

10+ year member
Bang A Lang
Thread starter
on1wheel01
Joined
Location
Mooresville nc
Start date
Participants
Who Replied
Replies
19
Views
1,729
Last reply date
Last reply from
on1wheel01
IMG_1154.png

GoldCountryCA

    May 5, 2024
  • 0
  • 0
IMG_1153.png

GoldCountryCA

    May 5, 2024
  • 0
  • 0

Latest topics

Top