Enclosure Build Log for WALKS UP!!!!

vitveet
10+ year member

CarAudio.com Veteran
Hello CA.com! First off, this is kinda rare for me to do b/c I'm always way to busy and rushed up to do build logs for all my customers here and other places! He put in a request for this so of course I have no problem doing it for him! Very cool guy and easy to communicate with over the computer I must say!

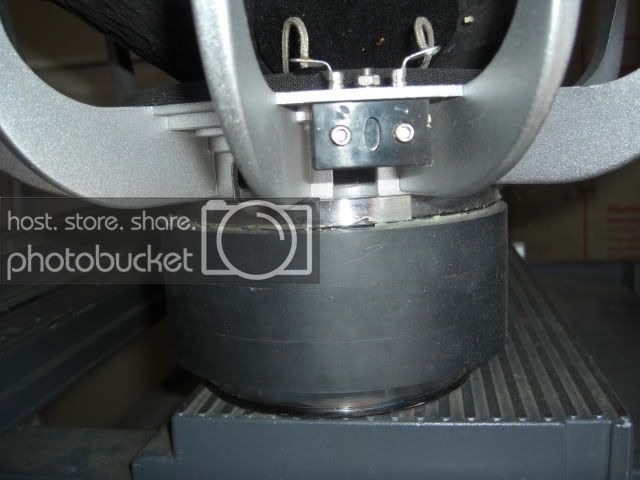
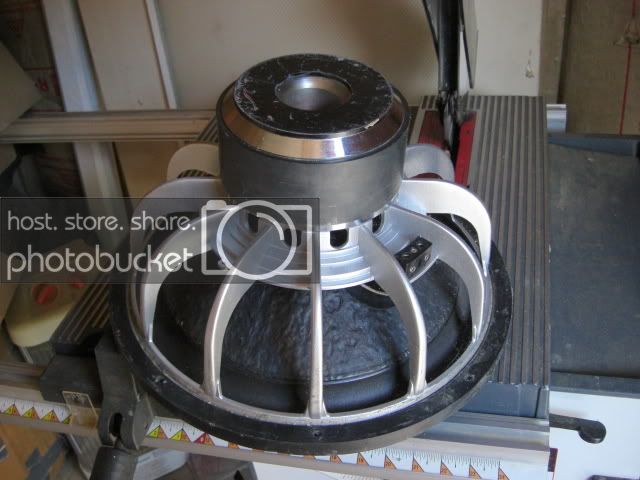
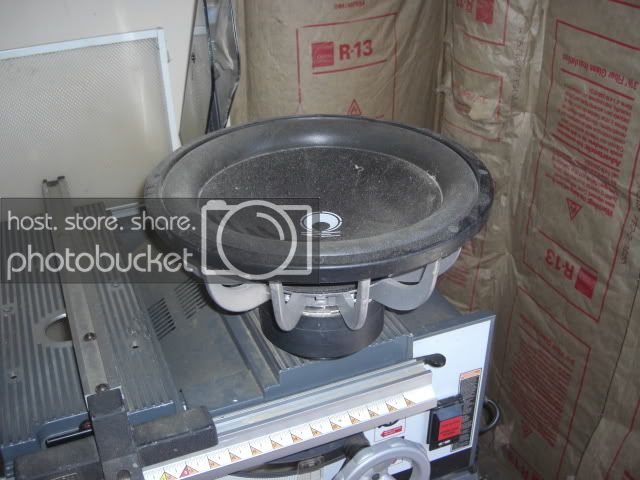
Ok, now to the enclosure information: This enclosure is for a BEAST of a sub first off! If I have this right its for a TC3000 12!!! The final enclosure specs are 2.2 cubes of internal airspace tuned to 31 hz. Has a 2.5" wide port with 32.5 square inches of port area. External dimensions are 32.25" wide, 14.5" high and 15" deep.

The sub is facing back and will sit on in a flush mounted baffle! Carpeting is black and the enclosure is housing a spring loaded terminal cup. Final enclosure weight was right at 55 lbs (b/c of the LONG port)!!!!!

Now on to the pics!

Here's the platform of the enclosure...both sides, bottom, front and back:

CIMG9904-1.jpg


Here's 2 pics of the actual port painted. The painting is very smooth and thick but the camera, IMO, doesn't make it seem that way! Maybe it's time to up grade from my 10.1 MP Casio camera:confused://content.invisioncic.com/y282845/emoticons/redface.gif.62fdbfe1a101588a808c4cff71bcb942.gif!!

CIMG9906-1.jpg


CIMG9907-1.jpg


Here's a pic of the 2 baffles. One cutout is right at 12.7" (which is the outside diameter of the overall sub) and the other is 11.25" (which is the actual cut out of the sub):

CIMG9908.jpg


This is the cutouts actually cut out!

CIMG9909.jpg


This is a good pic of the flush mount cutout and the reg. cutout all in place!

CIMG9910.jpg


The next 4 pics are of the completed (minus the carpet) enclosure:

CIMG9911.jpg


CIMG9912.jpg


V.

 
CIMG9913.jpg


CIMG9914.jpg


Here's the finished product after the carpeting!

CIMG9916.jpg


Closer pic:

CIMG9917.jpg


Rear end shot:

CIMG9918.jpg


These two shots are of the packing. Packed with nice, thick pieces of cardboard with each side protected to ensure a safe trip from NC to Cali! Also has 2 layers of plastic to protect her just in case it goes through any rain or sat down in any rain or mud puddles (like some shipping carriers so generously do)!!!

CIMG9919.jpg


CIMG9920.jpg


The enclosure was built over the weekend and shipped first thing this (Tuesday) morning. It was ready to go early Monday morning but the shipping depot wasn't open Monday for Labor Day of course. Should be on his door step Friday sometime if no delays occur! I'm hoping it gets there on time b/c from my understanding, it's supposed to be a "little" surprise for someone!

Thanks again man! Good working with you on this and hope you receive it safely and hope you enjoy it! LMK when you get it and get the sub going! She'll def. sing one mean tone in the enclosure! VERY solidly designed and build and as always, built with the 'sound' portion of it in mind first!

V.

 
not trying to be critical or anything ..

But did you actually drill and countersink your screw holes ?

did you have any pattern or rhythm to putting in those screws ?

did you actually sillicon / seal the interior edges fully ?

did you sand smooth the joints ?

appearing to me i can see your edges popping thru the carpet, your sillicon is unevenly applied, your painted port looks that way because you didnt seal the wood, or sand it down flushly you also painted over screwswithout wood filling the holes or even sinking the screws your edges are unfinished, didnt even sand the scraps off , and you did not pre drill yourscrew holes as i see cracked wood ..

 
not trying to be critical or anything ..
But did you actually drill and countersink your screw holes ?

did you have any pattern or rhythm to putting in those screws ?

did you actually sillicon / seal the interior edges fully ?

did you sand smooth the joints ?

appearing to me i can see your edges popping thru the carpet, your sillicon is unevenly applied, your painted port looks that way because you didnt seal the wood, or sand it down flushly you also painted over screwswithout wood filling the holes or even sinking the screws your edges are unfinished, didnt even sand the scraps off , and you did not pre drill yourscrew holes as i see cracked wood ..
maybe a career ending epic pwnt going on here.

 
Excellent job there! That will be one satisfied customer!

The carpet job looks flawless. That's the one part that I never clutch when building an enclosure (even though I only built 3). Is there an adhesive that is used to make it lay perfect?

Anyway, great job!

 
not trying to be critical or anything ..
But did you actually drill and countersink your screw holes ?

did you have any pattern or rhythm to putting in those screws ?

did you actually sillicon / seal the interior edges fully ?

did you sand smooth the joints ?

appearing to me i can see your edges popping thru the carpet, your sillicon is unevenly applied, your painted port looks that way because you didnt seal the wood, or sand it down flushly you also painted over screwswithout wood filling the holes or even sinking the screws your edges are unfinished, didnt even sand the scraps off , and you did not pre drill yourscrew holes as i see cracked wood ..


wow what a nit picky ****er.q

 
LMAO your comin to right? LOL.. make sure to bring your roller and any extra secondskin u got //content.invisioncic.com/y282845/emoticons/laugh.gif.48439b2acf2cfca21620f01e7f77d1e4.gif
Fug that. We aren't the 3 musketeers. Josh is supposed to come and pick up my roller. I only have half a sheet of damp pro left anyway.

 
Activity
No one is currently typing a reply...
Old Thread: Please note, there have been no replies in this thread for over 3 years!
Content in this thread may no longer be relevant.
Perhaps it would be better to start a new thread instead.

About this thread

vitveet

10+ year member
CarAudio.com Veteran
Thread starter
vitveet
Joined
Location
NC
Start date
Participants
Who Replied
Replies
17
Views
2,343
Last reply date
Last reply from
tez4life
IMG_20260516_193114554_HDR.jpg

sherbanater

    May 16, 2026
  • 0
  • 0
IMG_20260516_192955471_HDR.jpg

sherbanater

    May 16, 2026
  • 0
  • 0

New threads

Top