donpisto's '01 Accord Build Log (Alpine, Zapco, TC Sounds)

i used to have a accord just like that, best thing to do on those lights is black em out imo, and theres some pretty sweet front lights for that model the black halos they look nice, and u deff need to be sitting on some shoes
I thought about blacking out the lights, but was not sure how it would look and I really didn't want to do it and not be satisfied and then have to buy OEM lights, which can get pricey. I would also like to put rims, but I would also want to lower it a tad as well so it doesn't look awkward, but I'm not going to because it's a grand I can save and use towards something with more of a priority.

 
hey don, what model are those zapco components?

nevermind, read over your first page. i was just skimming through your thread looking at pictures at first.

 
I mixed some sludge activator with the gallon of spectrum and wow, that stuff is thick! I put on some gloves and spread a nice and thick layer on the front wheel wells, along with a layer of spectrum before that, another thick layer of sludge on the top and bottom of the rear deck, and a thick layer on the trunk lid. Tomorrow I will add a layer of sludge to the rear wheel wells and if I have any leftover I will do the trunk bottom of the rear deck for sure and either the hood or the trunk lid again.

I think the trunk lid is fine though, it has a layer of Damplifier, 5 layers of Spectrum and one layer of sludge. I also put a layer of damplifier, 2 layers of spectrum, and 1 layer of sludge on the firewall on the engine side, but since there is so little room to work with I was only able to do pretty much the top portion. I would really need for everything to come out, well mainly the engine, in order to do the entire firewall as I would like. That would kill a great amount of road noise.

I also installed the projector lights and they are brighter and the beams are wider than the stock. I still have to connect the wires for the little circles that light up. I do need help with that though. If anyone knows how I can get the positive/power wire connected so that it turns on when the headlights turn on I'd really appreciate it. I will have some pictures up of what I did yesterday and what I will do tomorrow up around noon or so. I plan to wash my car so it won't have layers dirt either //content.invisioncic.com/y282845/emoticons/smile.gif.1ebc41e1811405b213edfc4622c41e27.gif

 
Haven't posted in a while, but I've done little work here and there. I put the splash guard back onto the hood, installed the head lights and cold air intake, and deadened a bit more.

Pics of headlights installed:

IMG_1716.jpg


IMG_1717.jpg


IMG_1728.jpg


IMG_1726.jpg


IMG_1722.jpg


IMG_1723.jpg


IMG_1725.jpg


I put a layer of damplifier, 2 layers of spectrum, and 1 layer of sludge on the firewall (engine side), but unfortunately I couldn't do the entire firewall, just the top portion which probably covers about 10-15% of the entire firewall. I would need to pull out the engine in order to do the rest and I'm not wanting to do that at all. It's hard to see the difference between the before and after pictures, but nonetheless, here they are.

IMG_1704.jpg


IMG_1712.jpg


I mixed up the sludge activator with the spectrum and man, that stuff is THICK! I did some thick layers on all the surfaces I covered and did so by putting on a latex glove and spreading with my hand. Much easier and quicker than using a putty knife. I did the front wheel wells with 1 layer, though may have been two, I can't quite remember. Also when I had done the wheel wells before with spectrum, I did the front quarter panels as well. I did the front quarter panels with a layer of sludge too. I actually noticed a difference once doing the layer of sludge on the quarter panels.

Sludge on the wheel wells

IMG_1708.jpg


The top of the rear deck with one layer

IMG_1709.jpg


The bottom of the rear deck with two layers

IMG_1711.jpg


The trunk lid with one layer

IMG_1710.jpg


I still have some left, so I'll probably do the bottom of the rear deck again or the trunk lid...i'll do both if I have enough though.

I also put deadener over some of the holes in the rear doors. I didn't bother with sheet metal because I didn't feel like it and I still have some deadener left over, about 7 sq. ft. I'll have to figure out where that will go.

I have not worked on the baffles yet either...well, I actually was yesterday until my cousin brought over his sister's 6 month old. She was sitting in my car playing video games, rather my cousin was playing, she was pretend playing, and I didn't want to do any wood cutting while she was around. I did cut parts of the door panel where the mids might be be touching the panel. If it doesn't rain today I will work on the baffles.

 
Yeah, the trunk lid itself has a lot. 1 layer of damplifier, 5 layers of spectrum, and 1 layer of sludge. After the majority of the deadener was installed, I noticed a huge difference once I did the bottom of the rear deck. Literally, no more vibrations that I could hear of. I still have to do something about the metal bar where the bumper is by removing the double sided foam. That will reduce rattles from the outside. Once I get the enclosure built, it will be mounted on the floor board rather than inside the wheel well, which seems to add rattling at the moment.

I also put rattle pad on top of the rear deck, under the stock cover. I need to finish making the cut outs and get the stock cover clipped in. I'm debating whether or not I should put the 3rd brake light (the one on the rear deck). I have been driving without it for quite some time now and some rattling maybe coming from it hitting the rear glass (quite a bit of flexing). I guess I can try it out first with it in there, and if it creates rattles, then I'll leave it out and cover the rear deck with my own carpet to cover up the holes.

I might cut out the floorboard today, depends on how much work I get done with the baffles, rather how much or little they piss me off.

 
Just got done working on the baffles and it was going quite well till I had actually cut them out and did a test fit. Everything went downhill from there. With two baffles, a total of 1", the mid had perfect clearance depth-wise. Unfortunately, the basket was still hitting the door so I figured I'd give it a shot and add another 0.5" baffle. The mid went in perfectly, no issues.

Just by looking at it, it looked like it extended quite a bit. I put the door panel on and it doesn't come near fitting on properly. I cut part of the door panel again, and even accidentally cut part of the exterior of the door panel, //content.invisioncic.com/y282845/emoticons/frown.gif.a3531fa0534503350665a1e957861287.gif, and it still would not fit. I have about 1" of a gap to fill.

My only option that I can think of is to cut a good chunk out of the dark brown (lower) portion of the door panel around where the baffle would go. I know the baffles are in squares in the pictures, but even if I cut them in the shape so it would fit inside the huge hole (where the speaker grill used to be) it may not work because of the mounting holes. As I'm typing this, I'm thinking that it might be possible to actually do that, but I'll have to double check some other day.

I actually do have a second option, which is to have a shop or maybe even another DIY'er who can make this all look real nice. If anyone knows they can do this type of work and make it look real good, let me know.

Also, if anyone has any ideas, feel free to blurt it out. I'm open to suggestions, because there may be things I'm not thinking of that could help me a great a mount.

Anyhow, on with the pictures. Here's a picture of what the mid WOULD look like if everything fit properly.

IMG_1765.jpg


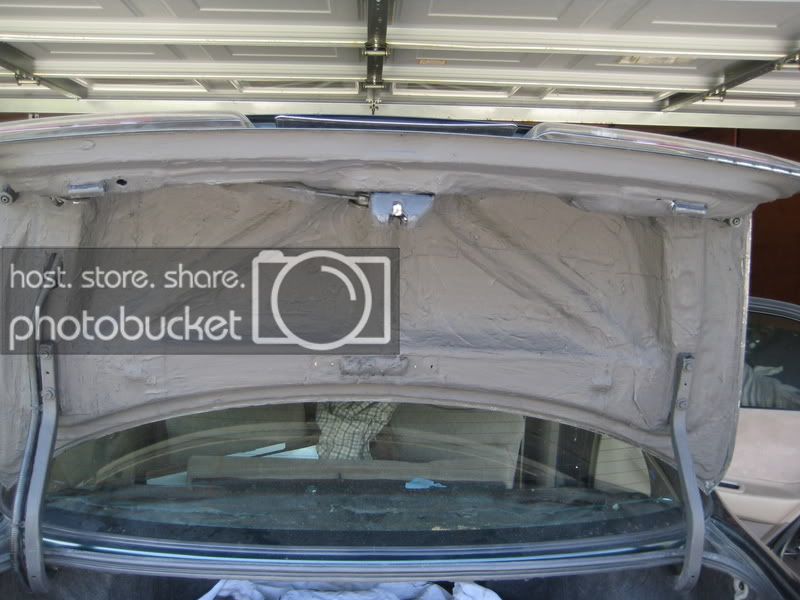
Side view of the gap

IMG_1766.jpg


Top view of the gap

IMG_1768.jpg


Side shot

IMG_1773.jpg


Where I screwed up like an idiot and cut through the door panel

IMG_1774.jpg


Baffles with the door panel off

IMG_1775.jpg


IMG_1776.jpg


IMG_1777.jpg


Maybe cut the part of the panel that its hitting an remove a baffle or 2
Removing a baffle will not work since the basket will be hitting the door. I've cut the panel quite a bit and if I cut any more, it might look odd. Shortly after I posted this, WattsLOk187 called me up and we had a good chat. Gave some great ideas and I'm going to take some of them. He mentioned moving the mid closer to the middle of the door. Only way doing this is by moving the mid up and back, so some cutting of the door will be necessary. I really never wanted to go that route but it seems the most logical.

Also, I'll either have the bottom portion fiberglassed or cover it with cloth. The bottom piece is actually two pieces. The pouch is a separate piece so it can come off. I'll just use grill cloth. I probably won't start this out till next week or so. I gotta come up with an exact plan and follow it. Hopefully all goes well. In the meantime there is not much to do, except for putting deadener on the back of my tail lights, which I completely forgot. I have some Damplifier and sludge leftover, so that should take care of that. I'll probably re-do my big 3 as well.

 
Activity
No one is currently typing a reply...
Old Thread: Please note, there have been no replies in this thread for over 3 years!
Content in this thread may no longer be relevant.
Perhaps it would be better to start a new thread instead.

About this thread

donpisto

5,000+ posts
CarAudio.com Veteran
Thread starter
donpisto
Joined
Location
Los Angeles, CA
Start date
Participants
Who Replied
Replies
313
Views
22,166
Last reply date
Last reply from
dragnix
design.jpeg

WNCTracker

    May 22, 2026
  • 0
  • 0
IMG_2118.jpeg

WNCTracker

    May 22, 2026
  • 0
  • 0

New threads

Top