2014 Accord Sport SQ Build keep_hope_alive

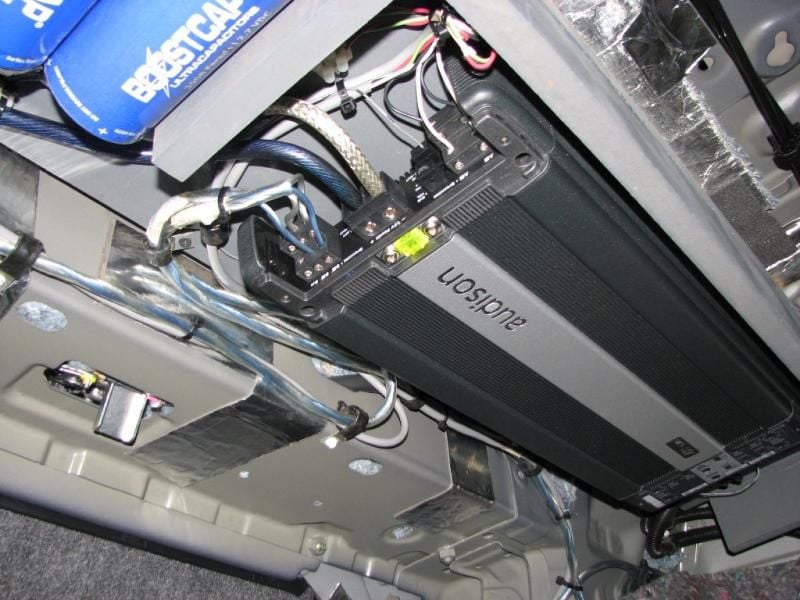
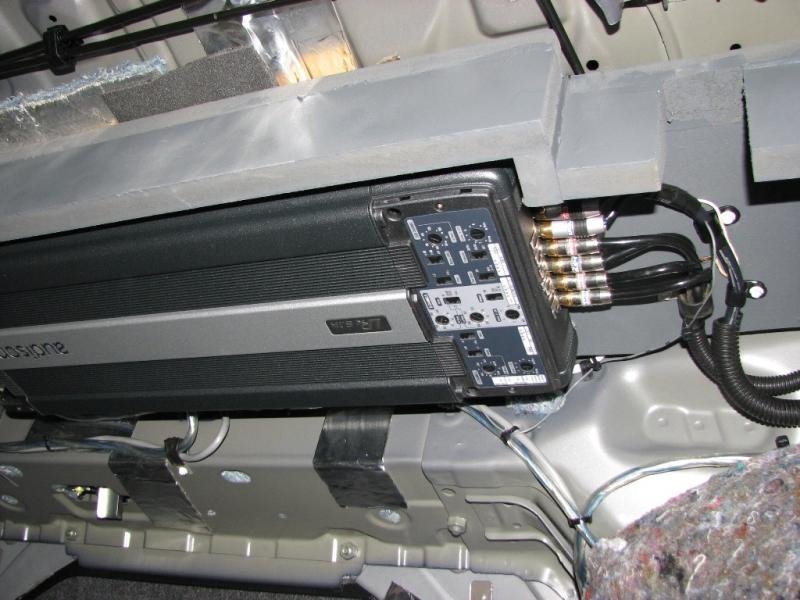
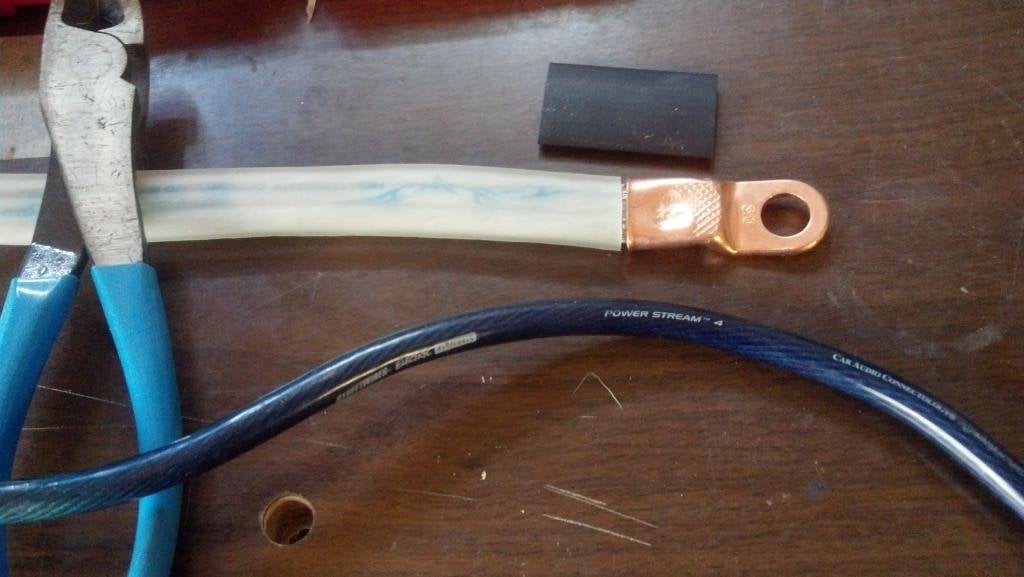
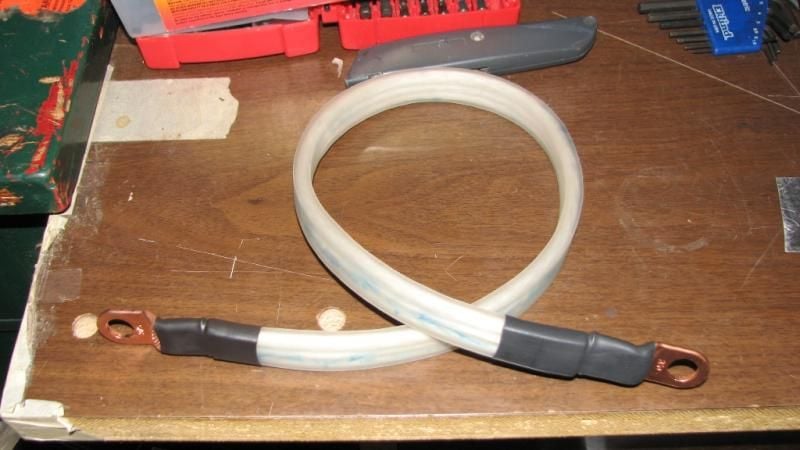
got a wide 1/0 cable that needed 3/0 copper terminals that i flattened/crimped in a vice then dented with a ballpeen hammer then covered in heat shrink.

IMG_20140729_123725_833.jpg


AmpGrounding001.jpg


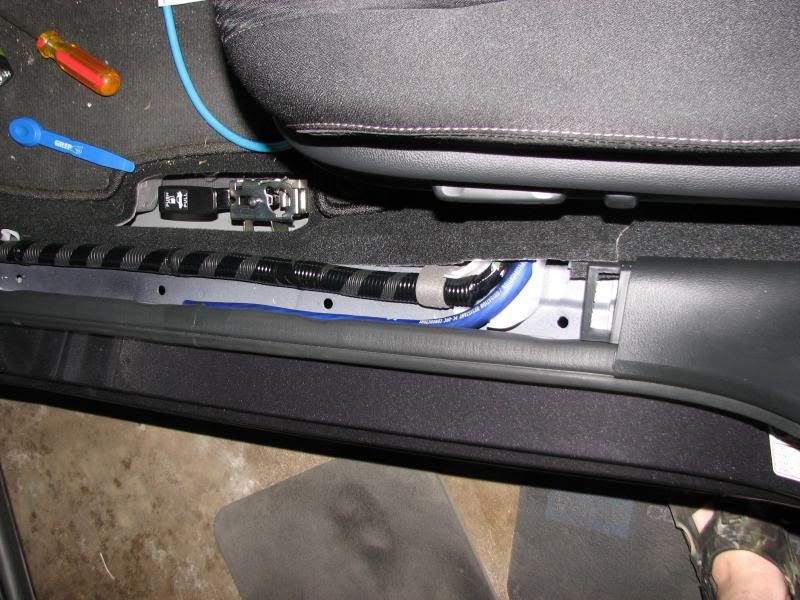
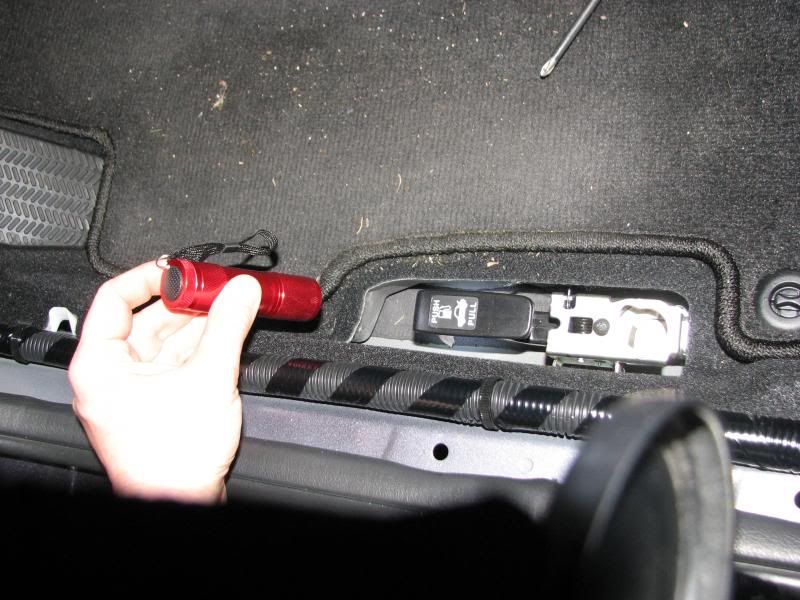
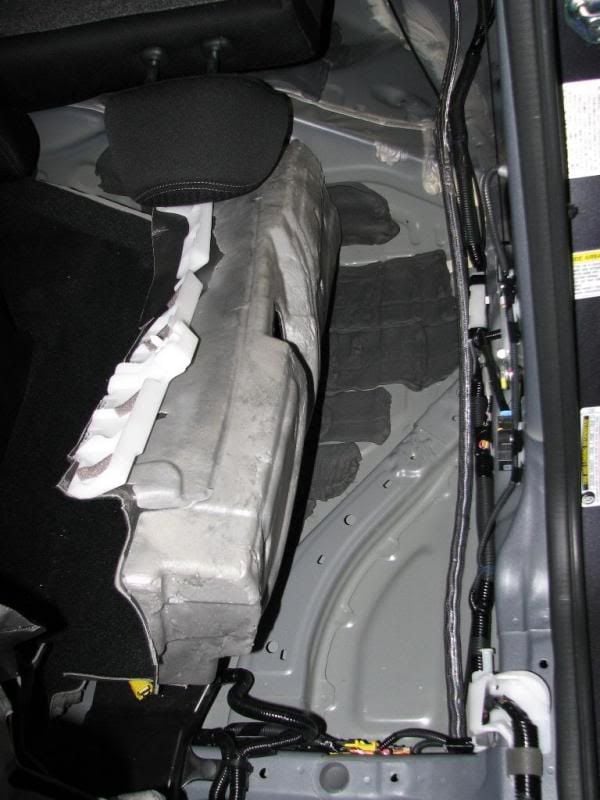
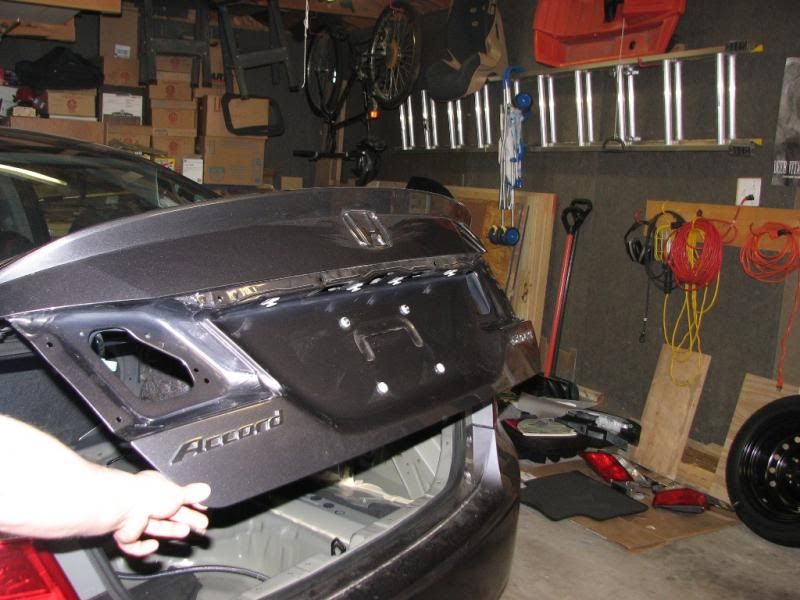
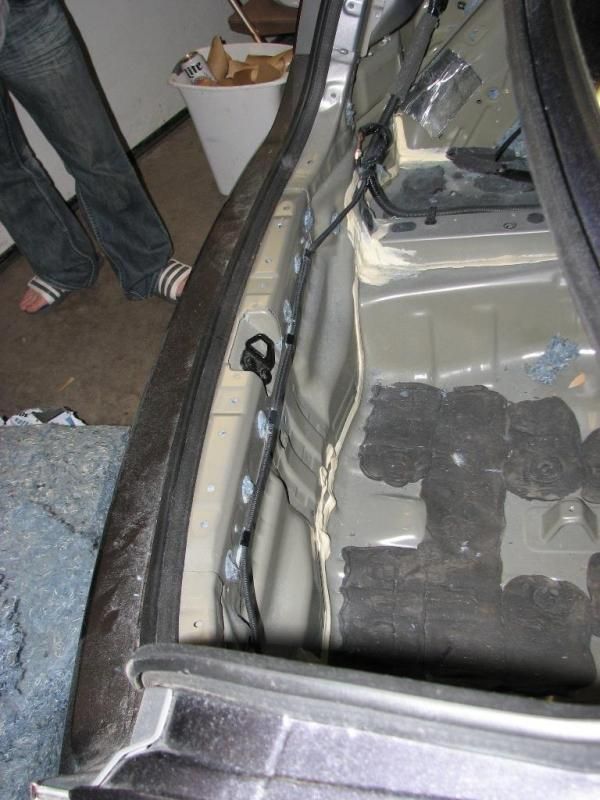
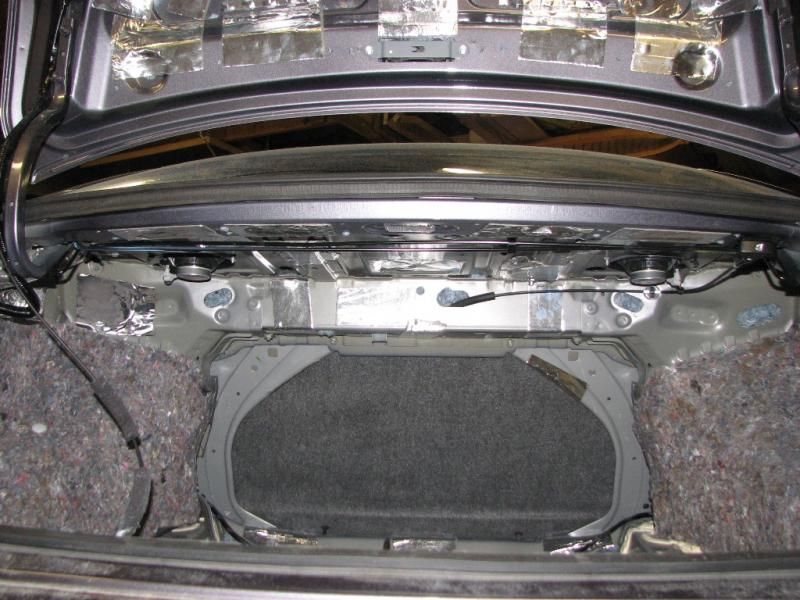
sanded the floor and used a Grade 8 bolt and nut.

AmpGrounding002.jpg


AmpGrounding003.jpg


AmpGrounding004.jpg


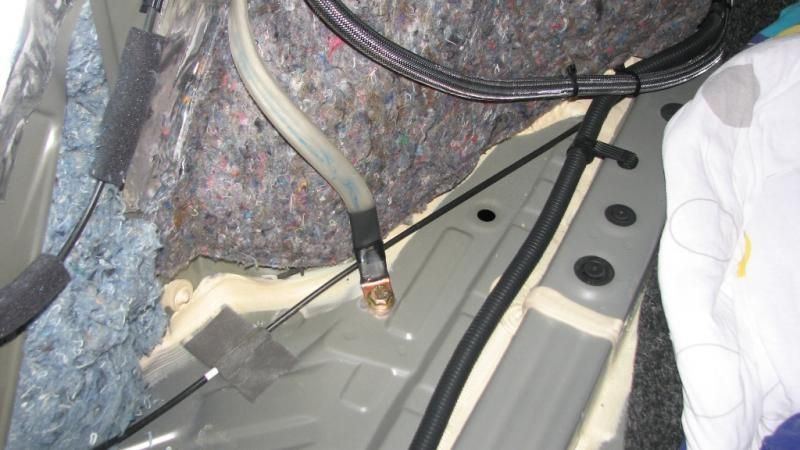
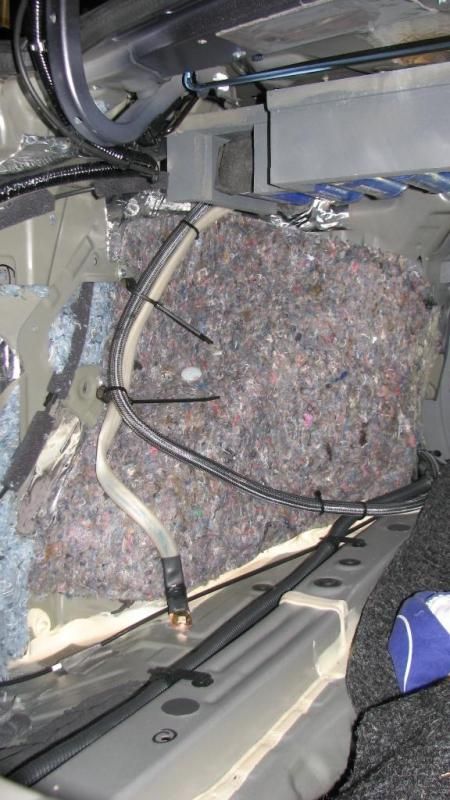
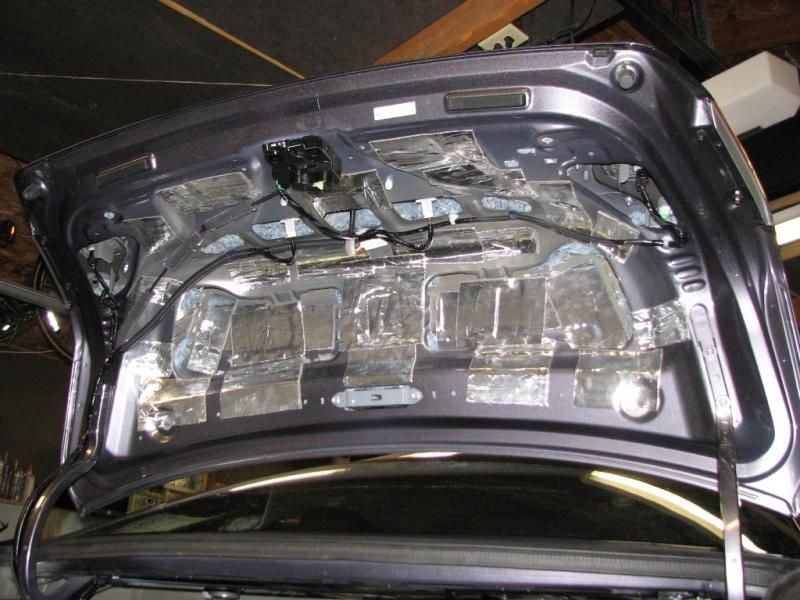
terminated the ground at the ultracap then continued to the amp.

AmpGrounding008.jpg


AmpGrounding006.jpg


AmpGrounding005.jpg


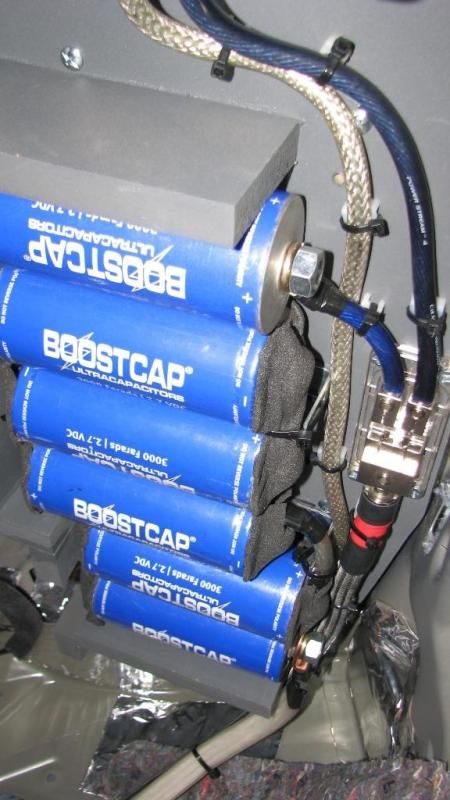
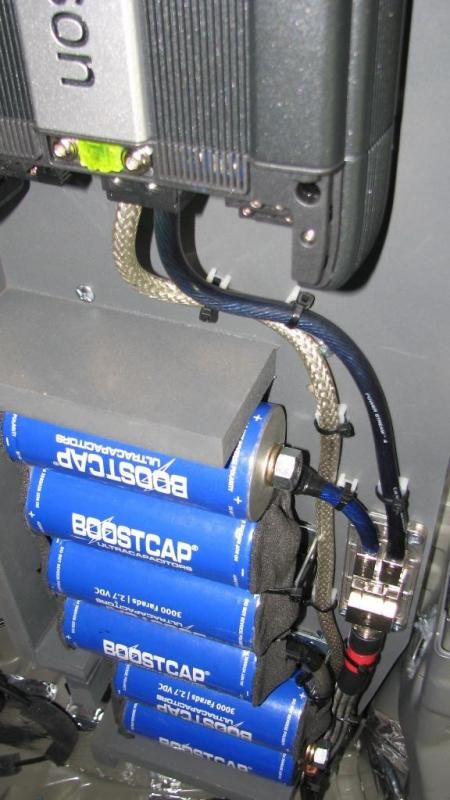
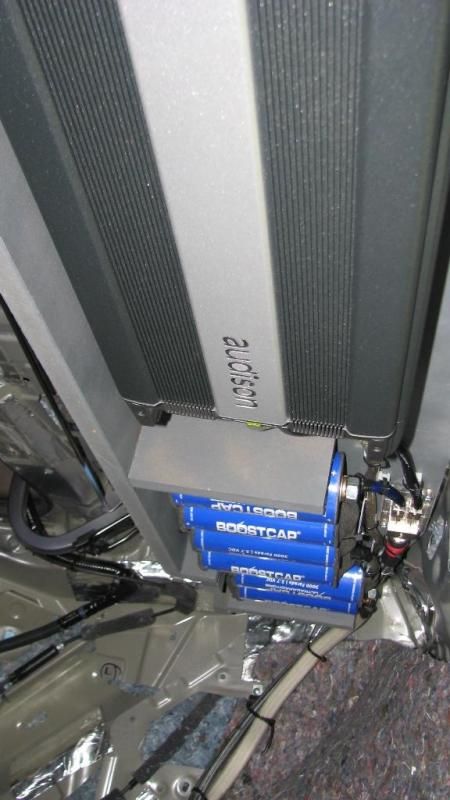
power and ground is 4awg on the amp rack and will be fused at 100A. a 100A fuse will be on the ultracap feed also and using a MAXI holder allows for a quick disconnect.

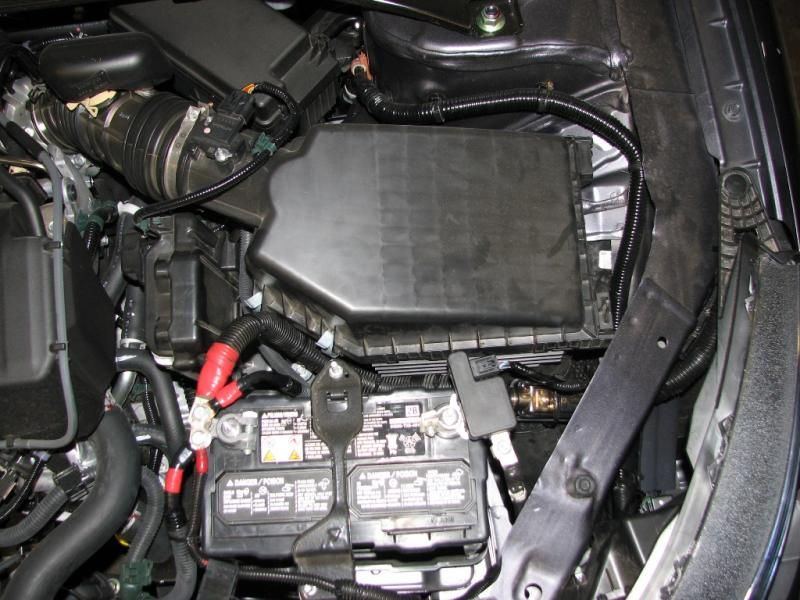
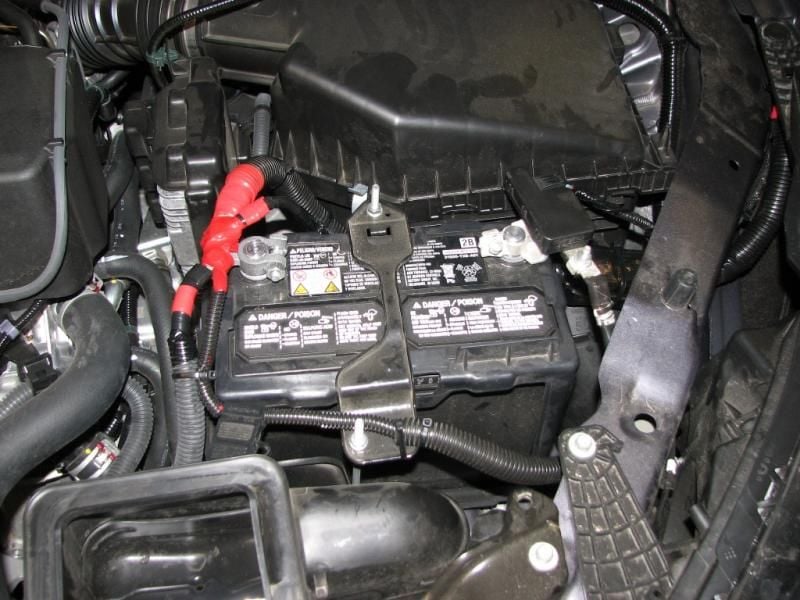
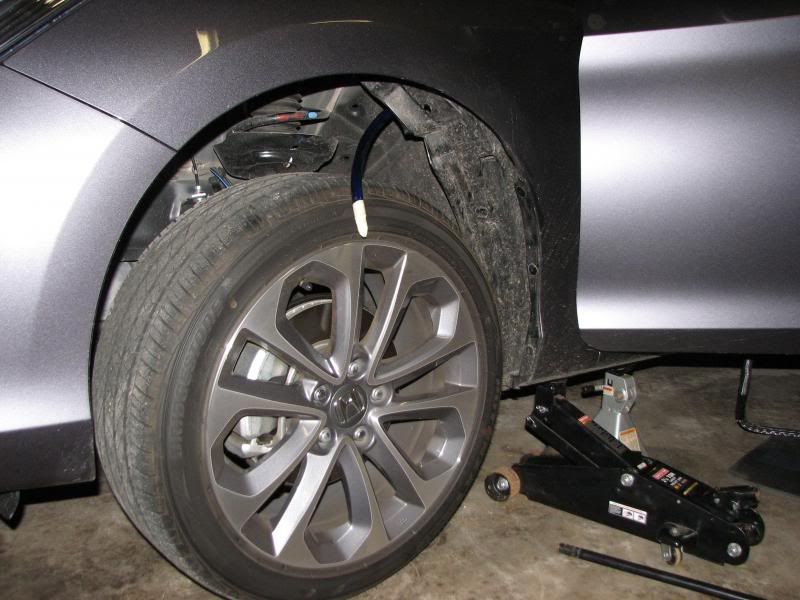
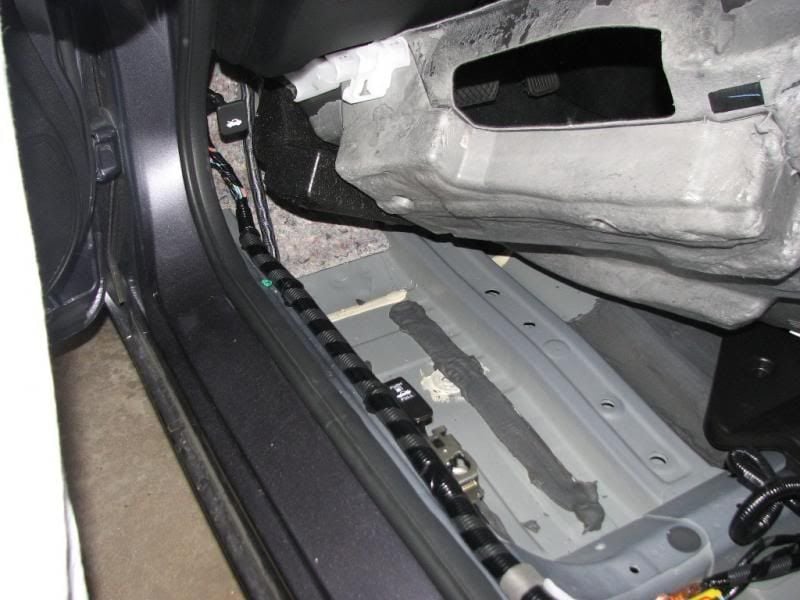
i did some measuring last night to look for a good ground. used 2 awg to get from the battery negative back to the trunk and included test lead resistance. my fluke measured 0.2-0.3 ohms. testing various grounding locations, including where i chose, i did not get a measurable difference of more than 0.1 ohms. given the tolerance of the meter, that's pretty good.

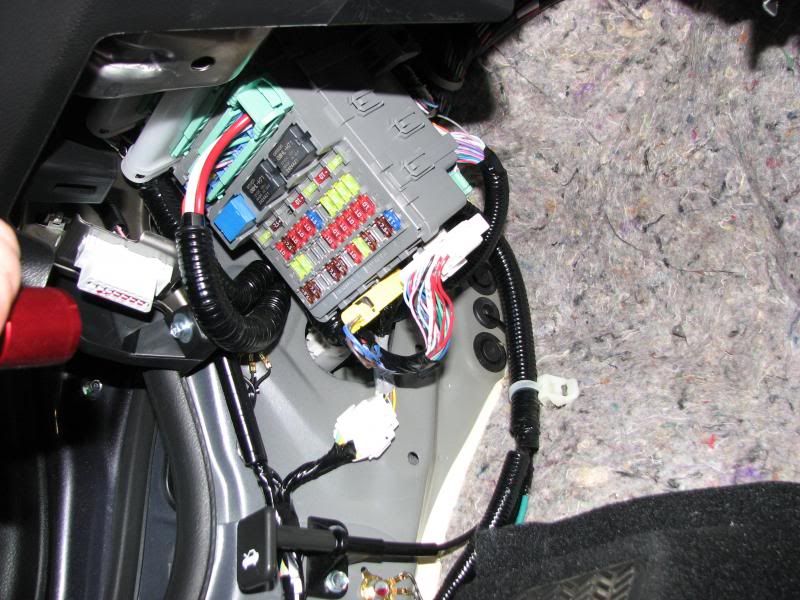
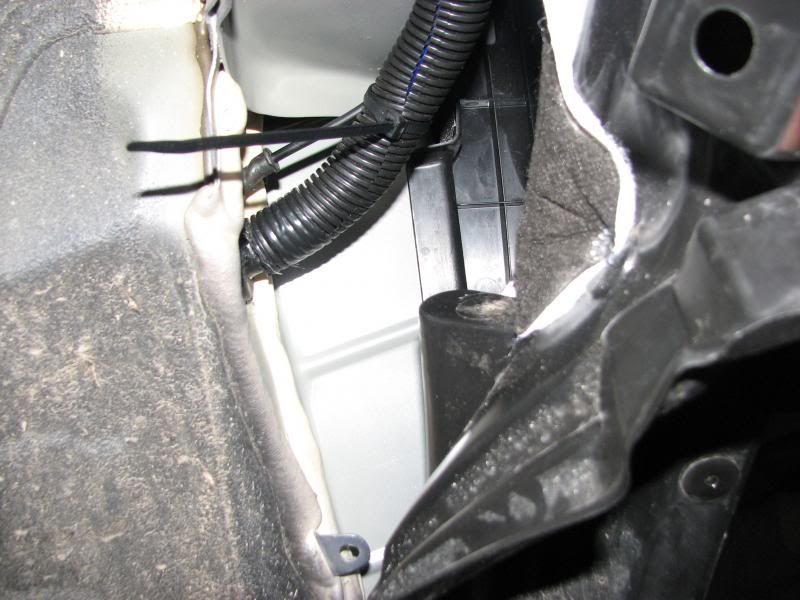
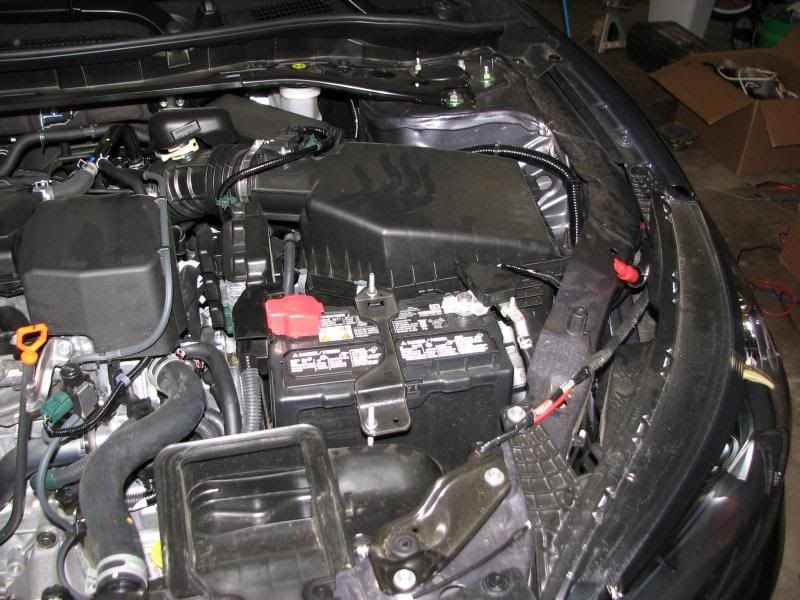
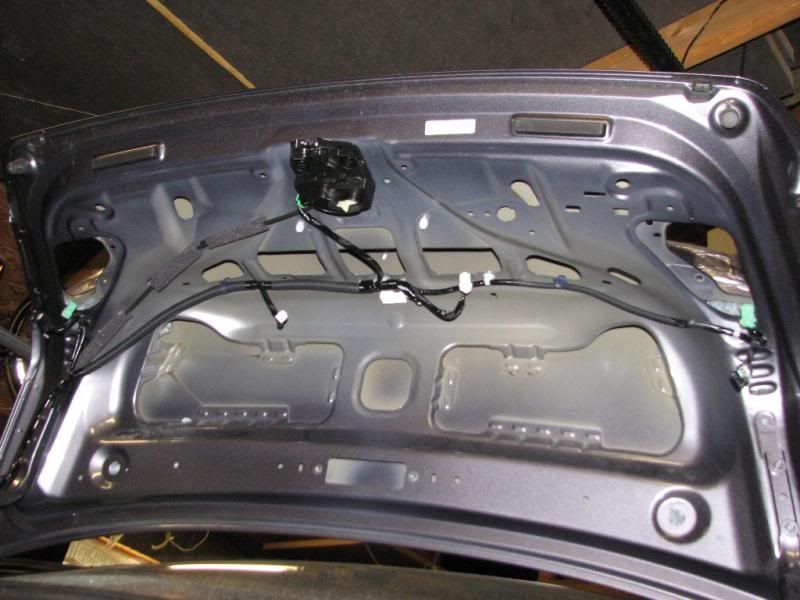
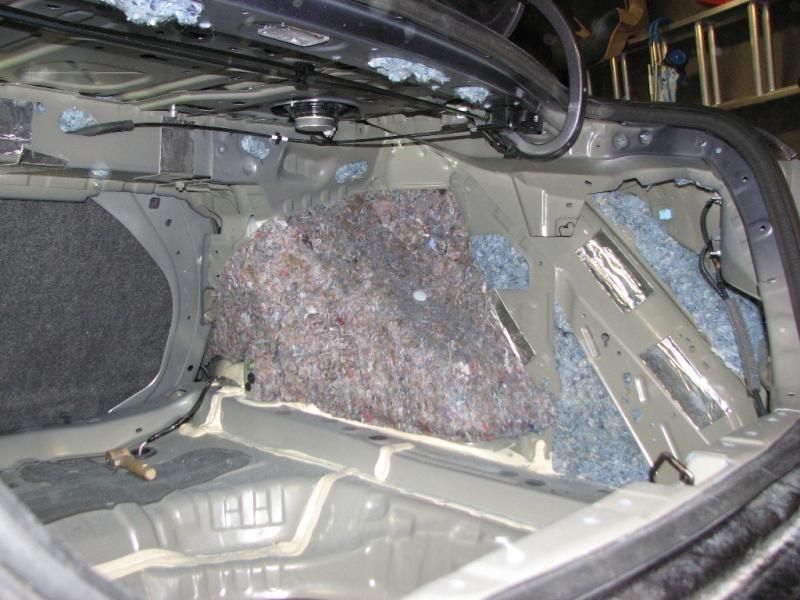
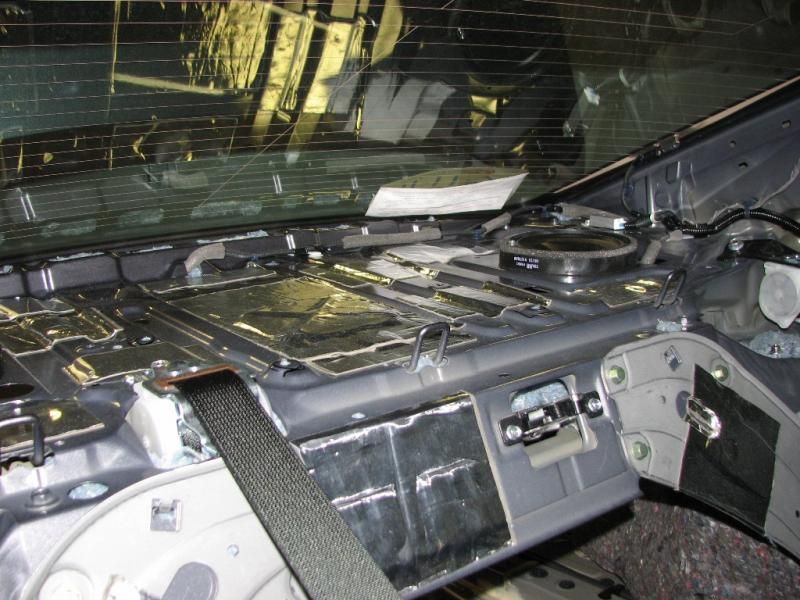
i've located the factory grounds and engine bonding jumpers. they will be upgraded soon.

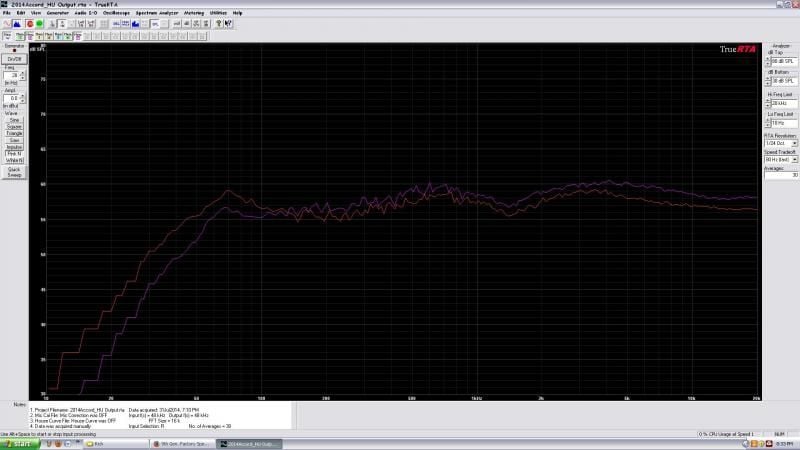
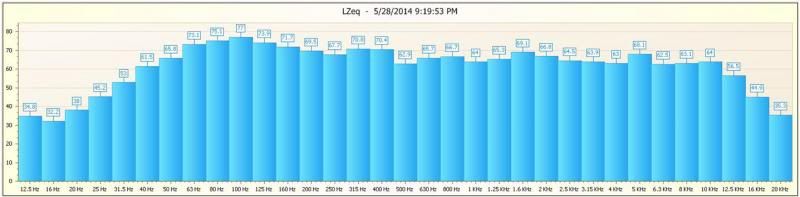
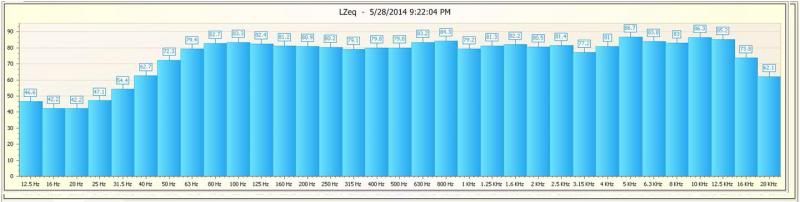
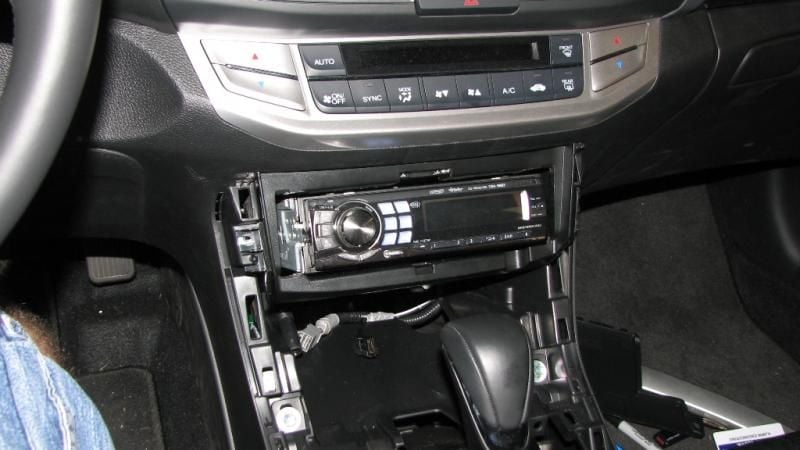
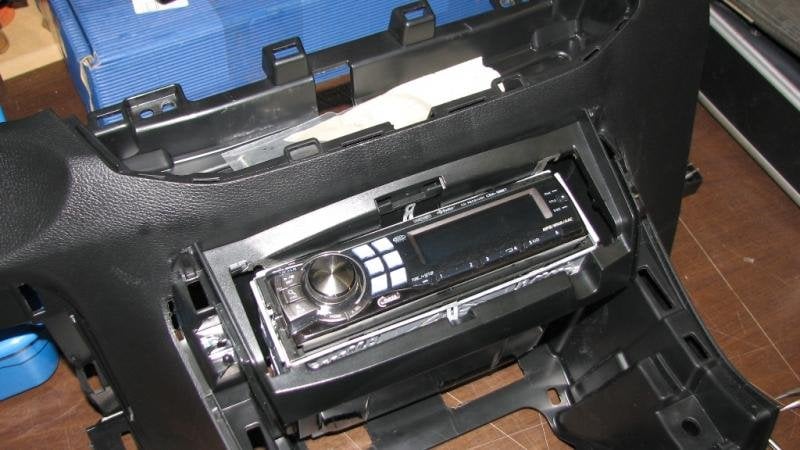
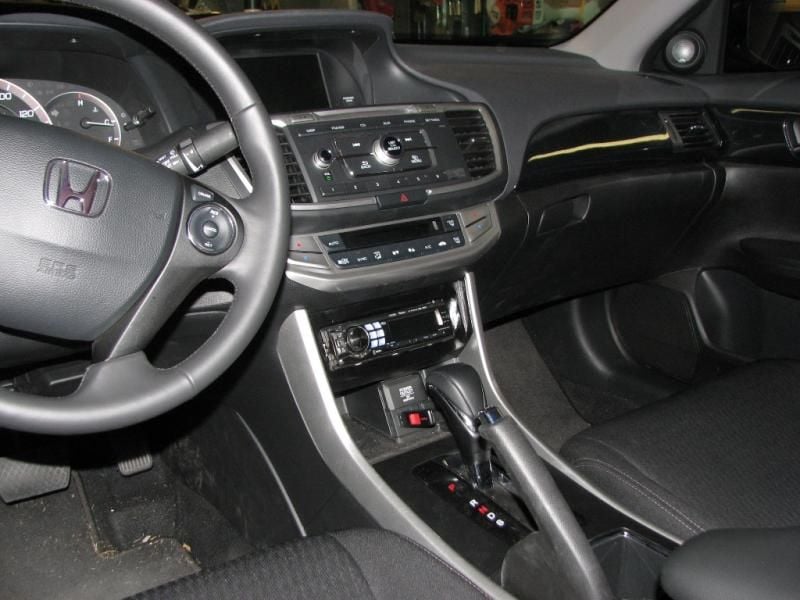
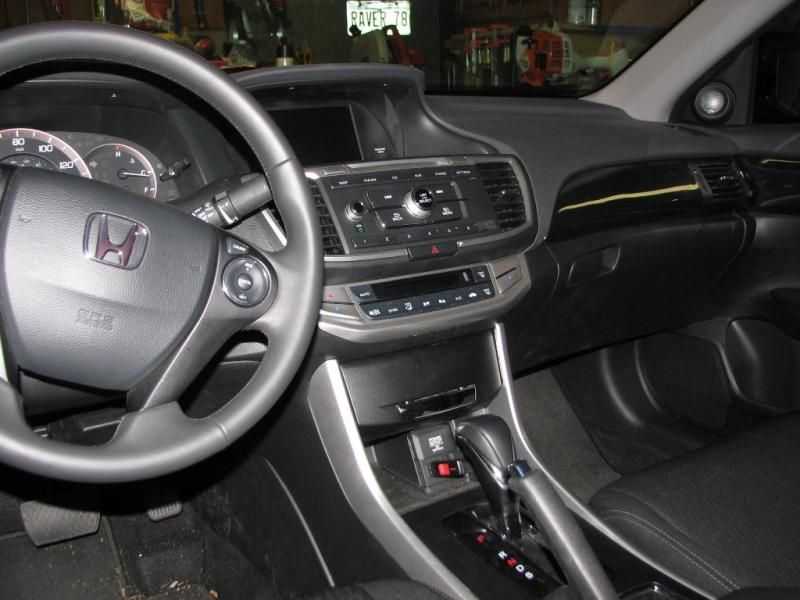
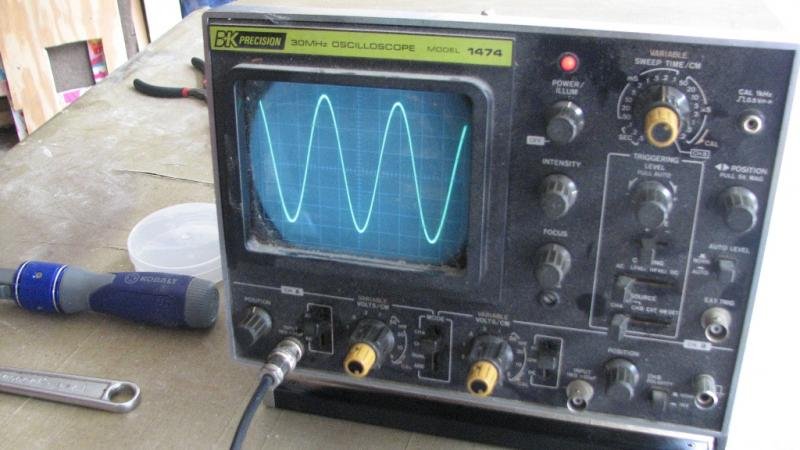
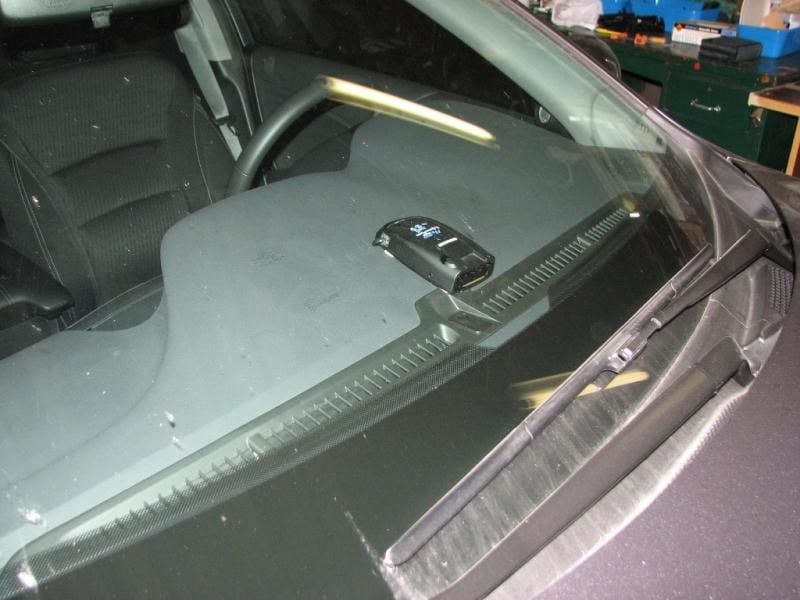
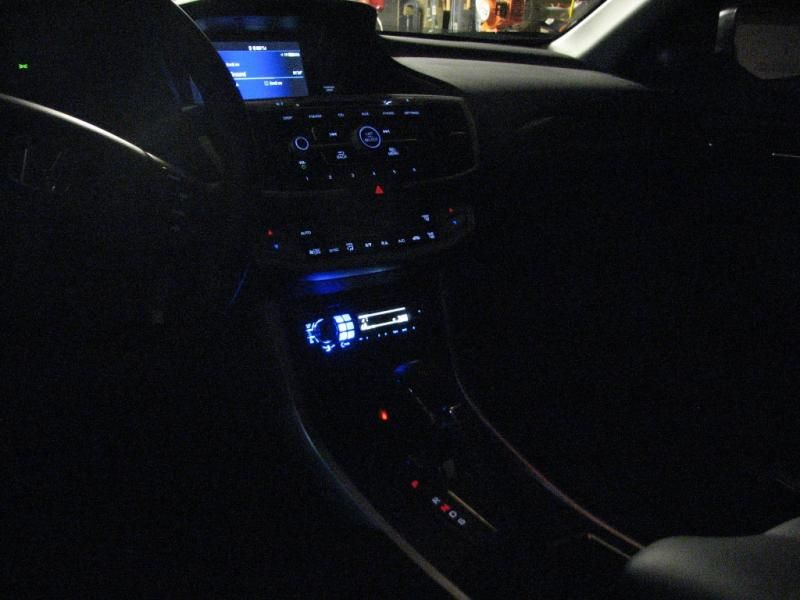
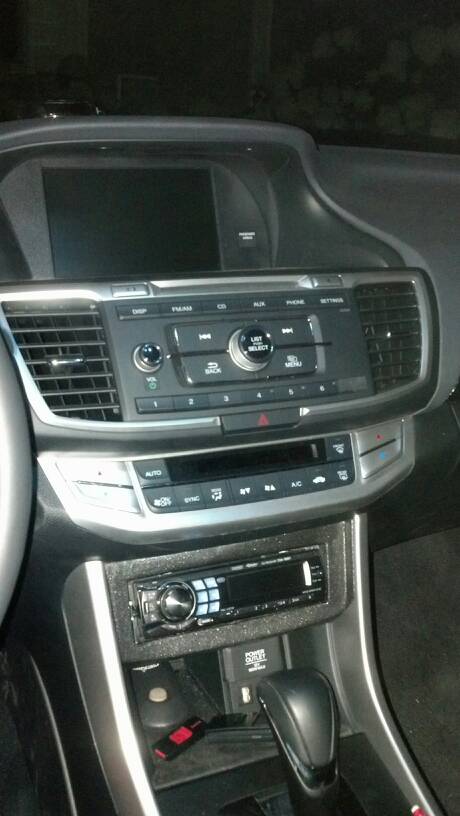
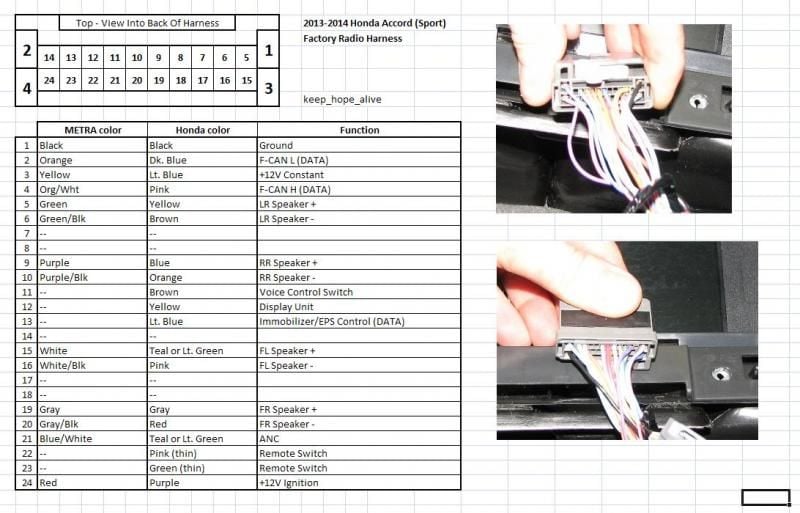
next i will install the LOC and do some RTA and oscilloscope testing on the HU output to characterize it's frequency response through the LOC. remember, the end goal is for the CDA-9887 to feed the Audison and be a clean source while the factory system feeds the 9887 AUX input for general listening, BT, etc. testing will determine if i'll use the HU volume or the 9887 volume. i already have the PAC interface to use the steering wheel controls for the 9887 if need be, though my preference is to use the 9887 as a preamp and use the factory HU volume control. in the end, system noise will determine what path i end up on.

i'll likely have an iPod with lossless demo music stashed in the dash and connected to the 9887 directly. I also have the KTX-100EQ and will use it if need be.

 
setup is as follows:

factory output direct from the HU into a David Navone 2 channel LOC. RCA from there into a SoundDevices USBpre ($600 preamp). A dedicated laptop running TrueRTA uses the USBpre as the input device. that is the purple line. Volume 30 of 40.

Observed clipping at Volume 33 through an oscilloscope.

the red line is direct from the factory output into the USBpre through a speaker wire to RCA adapter. Volume was reduced to 17 in order to closely match level of the RCA.

2014AccordHUOutputPinkNoise.jpg


this kind of *****.

when i measured the output of the factory system using the factory speakers, thi sis what i measured with the Casella CEL-633C

measured in front of my face

Track18ancoff.jpg


i measured this 6" from the driver side woofer with the door open

Track18ancoff6indoor.jpg


---------- Post added at 04:44 PM ---------- Previous post was at 04:44 PM ----------


the stock head unit testing has convinced me to put the 9887 in.

so i removed the pocket, cut it up, and am now prepping it

cover removed

AccordDash011.jpg


mockup

AccordDash014.jpg


cutting

AccordDash023.jpg


putting the sleeve in

AccordDash025.jpg


AccordDash027.jpg


starting the fill process

AccordDash028.jpg


empty dash

AccordDash020.jpg


spent a weekend working on adding the CDA-9887.

more work on the mount - some bondo fill

AccordHU002.jpg


AccordHU010.jpg


not sure i like this color and there are still some imperfections that i need to sand out

AccordHU013.jpg


but i had to button the car up for a trip on Monday so this is where it is right now

AccordHU022.jpg


these head units need some sort of trim ring but i suspect only three sides of the trim ring will actually fit. there is more work to be done but removing the deck isn't that difficult.

a lot of time was spent wiring new power distribution. i use a relay powered by the head unit 12V ignition feed to generate a new switched ignition source. i added a fuse block with separate outputs for the radar detector, GPS, PAC SWI-JACK, Navone LOC, and the 9887

AccordHU012.jpg


AccordHU018.jpg


AccordHU020.jpg


well boys and girls, we have power.

i'm still not happy with the HU mount. despite more sanding and fill there are still some imperfections. and i went with a satin black that is still too glossy for the dash. so i got a can of flat black for the next time i pull it out.

AccordHUfinal016.jpg


i modified the cover for the factory pocket to make a removable cover for the HU to make it look like stock when parked. the cover has a CCF backing and neo magnets glued to it behind foam. two more magnets inside the mount provide plenty of holding power.

AccordHUfinal017.jpg


amp is wired and powered.

AccordHUfinal013.jpg


AccordHUfinal014.jpg


the crossovers are left over from when the comps were powered from the deck. they can be removed and repackaged now.

AccordHUfinal012.jpg


did some scope testing with each output and also the AUX in from the factory output and LOC. no clipping at full volume on the Alpine (typical). HU output clips the Alpine AUX in at volume 21 out of 40 - overdrives the input. The stock deck clips at volume 33 of 40.

AccordHUfinal010.jpg


battery wiring for now

AccordHUfinal022.jpg


AccordHUfinal023.jpg


GPS and radar detector wires hidden

AccordHUfinal024.jpg


AccordHUfinal027.jpg


illumination looks pretty good

AccordHUfinal019.jpg


AccordHUfinal018.jpg


---------- Post added at 04:46 PM ---------- Previous post was at 04:45 PM ----------


5enu9aje.jpg


Revised the mount again, added material around the faceplate and went back to the metallic paint.

disconnected and reconnected the PAC SWI-JACK and it worked! must have been a loose connection at the harness. got it programmed and good to go.

 
the factory rear seat has a hard plastic cover behind the armrest and a solid metal backing. i've noticed SUBSTANTIAL bass reduction with the seat up vs. down. in all of my cars, i make the rear arm rest a pass through for bass. this car is no exception.

luckily, Honda built this car to be re-upholstered with minimal effort. fabric just clips in place. pretty nice.

two 12mm bolts hold the rear seat in place

AccordRearSeatHole009.jpg


fabric has hard plastic lips that clip over metal tabs

AccordRearSeatHole001.jpg


AccordRearSeatHole002.jpg


the sides have interlocking plastic guides separating black from charcoal fabric, they separate easily

AccordRearSeatHole003.jpg


the plastic piece just sits in place. i lifted the bottom out then rotated to remove the top

AccordRearSeatHole005.jpg


rear metal exposed

AccordRearSeatHole006.jpg


rear metal cut with a dremel and cutting wheel

AccordRearSeatHole007.jpg


BXT II deadener to lower resonance and a layer around all sides of the opening so it's smooth and safe.

AccordRearSeatHole008.jpg


you can't see it but in the bare picture above there are some tack welds on either side of the new hole. there is a metal bar running vertically there. the rear seat metal has the ability to rattle against that bar. so i crammed some fabric between the two in three places along each (Between welds). it was audible while knocking on the metal. it is silent now.

reassembled with ease - there was factory black fabric behind the plastic cover so no additional work was required.

AccordRearSeatHole010.jpg


while i was copying, it looks like i may have missed some intermediate steps

two spare grommets located next to the hood latch wire and grommet.

2014AccordPowerWire004.jpg


Inside, the routing is fairly simple. I think I can fit it along the sill on the opposite side of the factory wiring, then follow a factory path down to the floor through a white channel.

2014AccordPowerWire021.jpg


Turns out this is a very quick and easy route for power wiring and likely a route used for the Touring Accord's Cruise Control Radar wiring. jacked up the front corner of the car and I removed 5-6 of the inner fender lining to gain access.

2014AccordPowerWire022.jpg


2014AccordPowerWire036.jpg


I secured the power wire every 5-6" using zip ties to the hood latch cable. The power wire is protected in split loom while inside the fender and engine bay then protected by techflex while inside the cabin.

Besides pulling the 1/0 power wire, I also pulled 9 other wires through the second grommet. These wires will be used for alarm and other functions.

2014AccordPowerWire039.jpg


2014AccordPowerWire044.jpg


i really like how Honda put sound absorption on the backside of every panel.

2014AccordPowerWire001.jpg


it's even inside the inner fender.

and the floor mat is 2" thick

2014AccordPowerWire003.jpg


i made a pin-out of the stock deck as well

2014AccordHarnessDiagram.jpg


rear lights removed for more deadening access

2014AccordNaked011.jpg


2014AccordNaked012.jpg


trunk lid deadened and stuffed - it's rock solid now

2014AccordNaked014.jpg


outer sides deadened and stuffed (still need to treat what's left)

2014AccordNaked015.jpg


2014AccordNaked016.jpg


rear cavity stuffed

2014AccordNaked017.jpg


rear deck deadened and stuffed

2014AccordNaked019.jpg


2014AccordNaked020.jpg


2014AccordNaked021.jpg


I got a lot more deadening to do, but the rear is already sounding better.

 
Excellent build. Really like the way you integrated the 9887 with the factory deck and made it hidden. What kind of differences did you notice front firing the sub and rear firing it before you cut into the metal? How well does that sound deadening work after you stuffed the trunk? I might need to get some of it. Is it expensive? Thanks

 
Excellent build. Really like the way you integrated the 9887 with the factory deck and made it hidden. What kind of differences did you notice front firing the sub and rear firing it before you cut into the metal? How well does that sound deadening work after you stuffed the trunk? I might need to get some of it. Is it expensive? Thanks
thanks, the 9887 integration has worked very nicely.

the rear seat GREATLY attenuated bass. back vs. forward is typical boomy vs. tight, respectively. it is currently facing the rear passenger corner for the best overall response. the pass-through gave me response close to what it was with the seat down.

the ultratouch insulation is VITAL for a non-resonant car. i stuffed it as full as i could around the trunk - and the result is dramatic. the trunk lid sounds like a 4x4 block of wood now. people use polyfill but that stuff performs very poorly acoustically.

Beautiful work as always. Looking forward to seeing the rest!
thanks. i need to make a beauty panel for the amp rack with windows for the amp and ultracaps. i will build a sealed fiberglass enclosure in the rear passenger corner - the box pictured is temporary. the front doors are done. i will do some more finishing on the HU mount so i can make a flat black match factory.

 
Activity
No one is currently typing a reply...

Similar threads

I thought you had two amps?? What happened to the wood that you were going to have H.depot cut out?? Looks different to me for some reason. Do you...
9
2K
This is the max fuse sizes for the knu wire. The kca 4awg kit can supply 100amp to the rp1200.1 but it won't have enough left over for the rp75.4...
26
3K
Another option is to get the 4 channel amplifier and purchase 2 surface mount speakers for the rear deck and 2 for the front kick panels. Running...
3
962
I just ordered a Sony XM-GS4 amp for the Focal door speakers. The Mosconi Pico 2 powers the factory subwoofer, and sail panel tweeters. I'll post...
3
655
Did you consider using the PAC AmpPRO 4, AP4-CH31? It will connect between factory amp and head unit and allow you to have RCA outputs for the amps.
5
1K

About this thread

keep_hope_alive

Premium Member
Acoustics Engineer
Thread starter
keep_hope_alive
Joined
Location
Quad Cities, IL
Start date
Participants
Who Replied
Replies
291
Views
157,002
Last reply date
Last reply from
keep_hope_alive
Screenshot_20240422_221646_Facebook.jpg

Bobbytwonames

    Apr 23, 2024
  • 0
  • 0
1713846388212.png

Random4thGuy

    Apr 23, 2024
  • 0
  • 0

Latest topics

Top