2012 Toyota 4Runner SQ+ build

Progress is going slow but at least I'm making some.

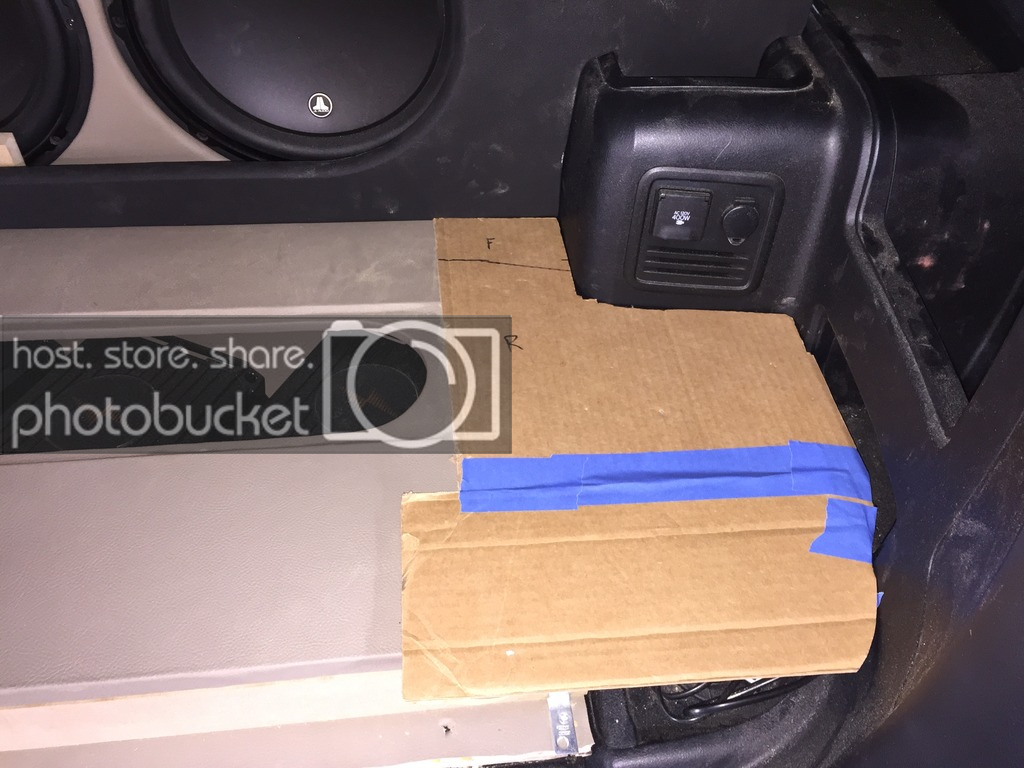
First off was installing rivet nuts to give me something to bolt my new "floor" down.

2FAC2DA7-4AAA-491C-A34C-EDE28E4885BC_zpsvujac4xz.jpg


3F7AAAB5-82C7-4181-AA16-2F1B2850D607_zpsxctyutjy.jpg


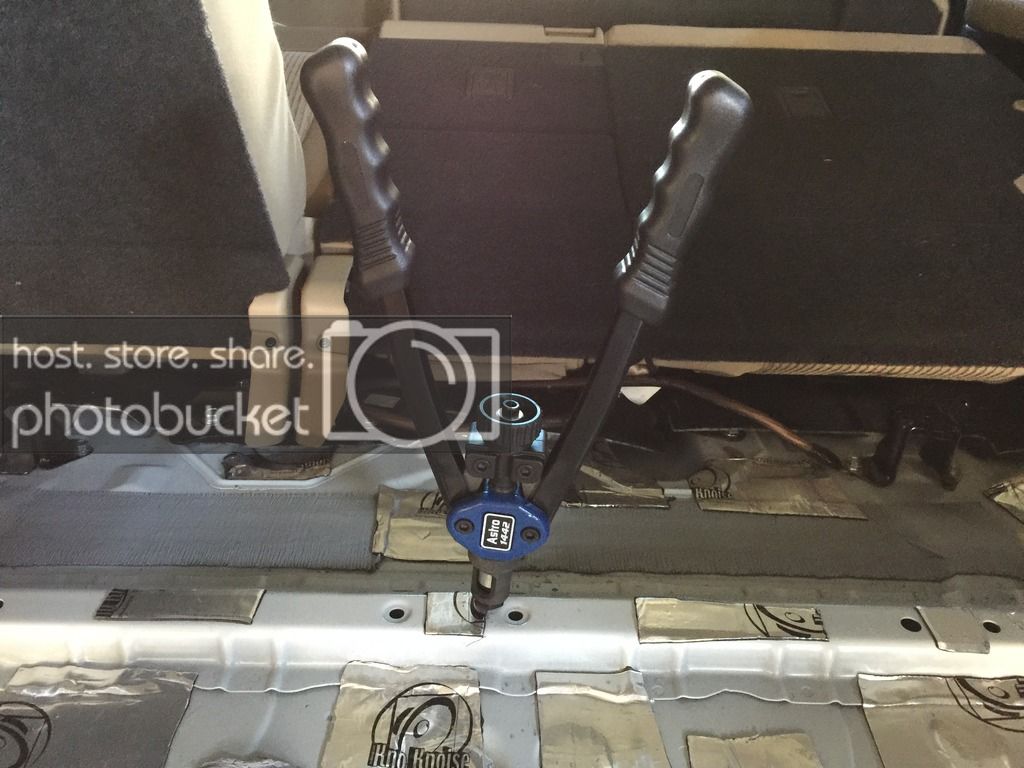
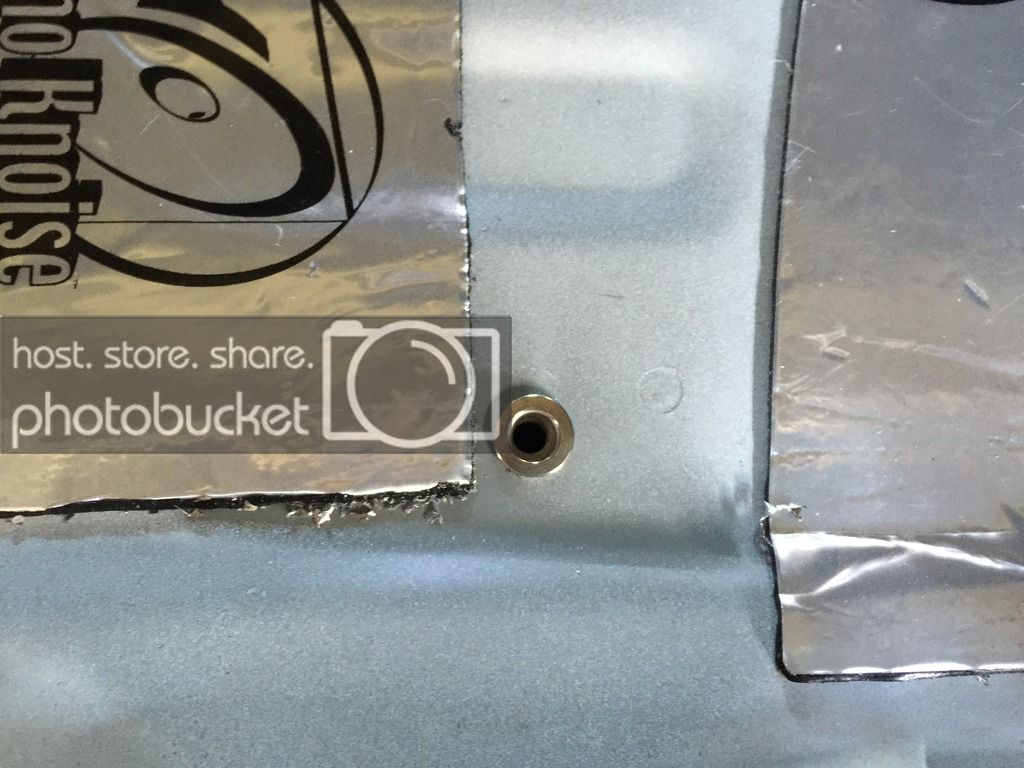
If you look close you can see all six.

3F7AAAB5-82C7-4181-AA16-2F1B2850D607_zpsxctyutjy.jpg


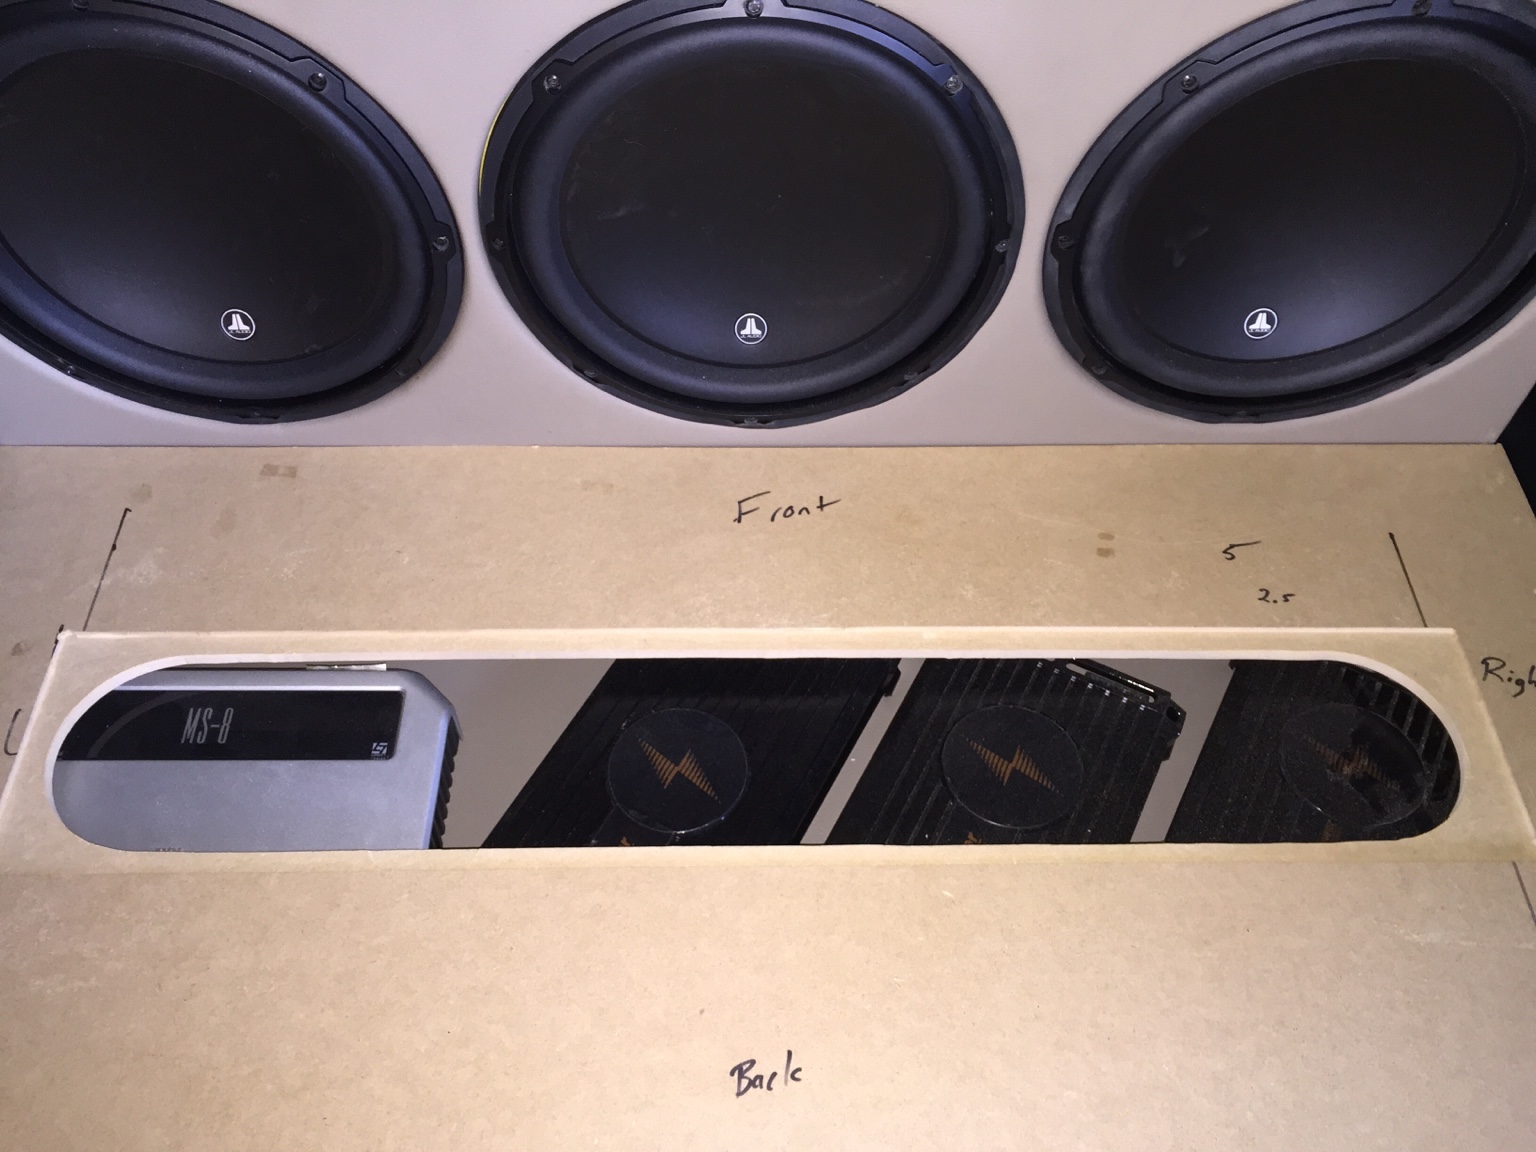
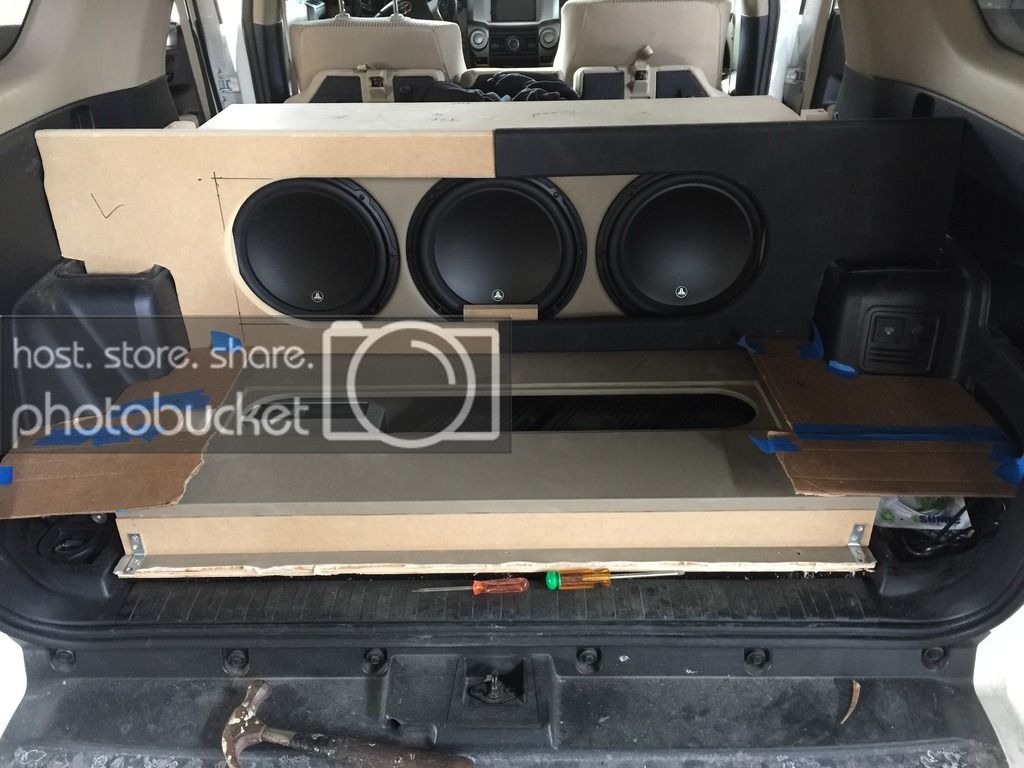
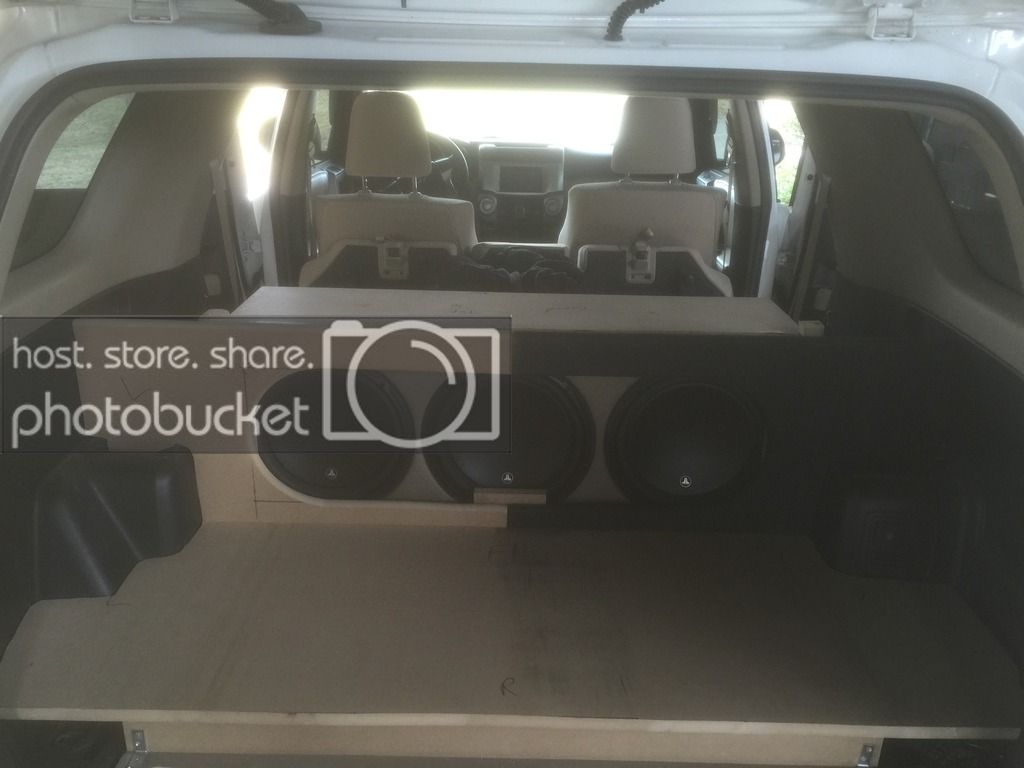
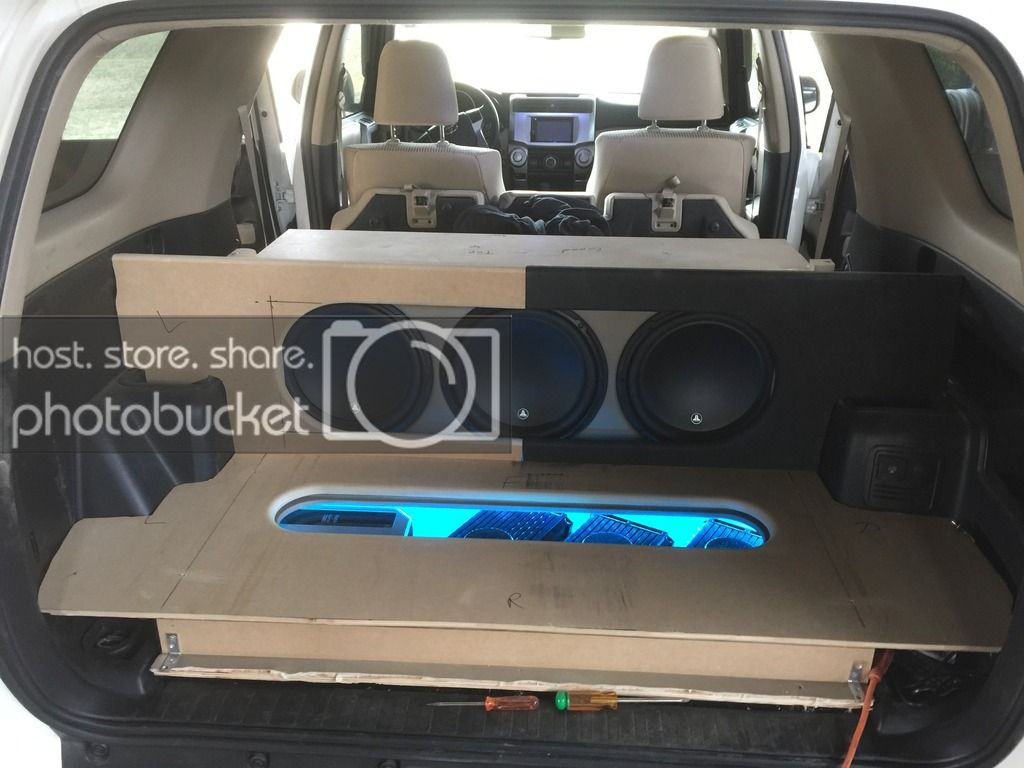
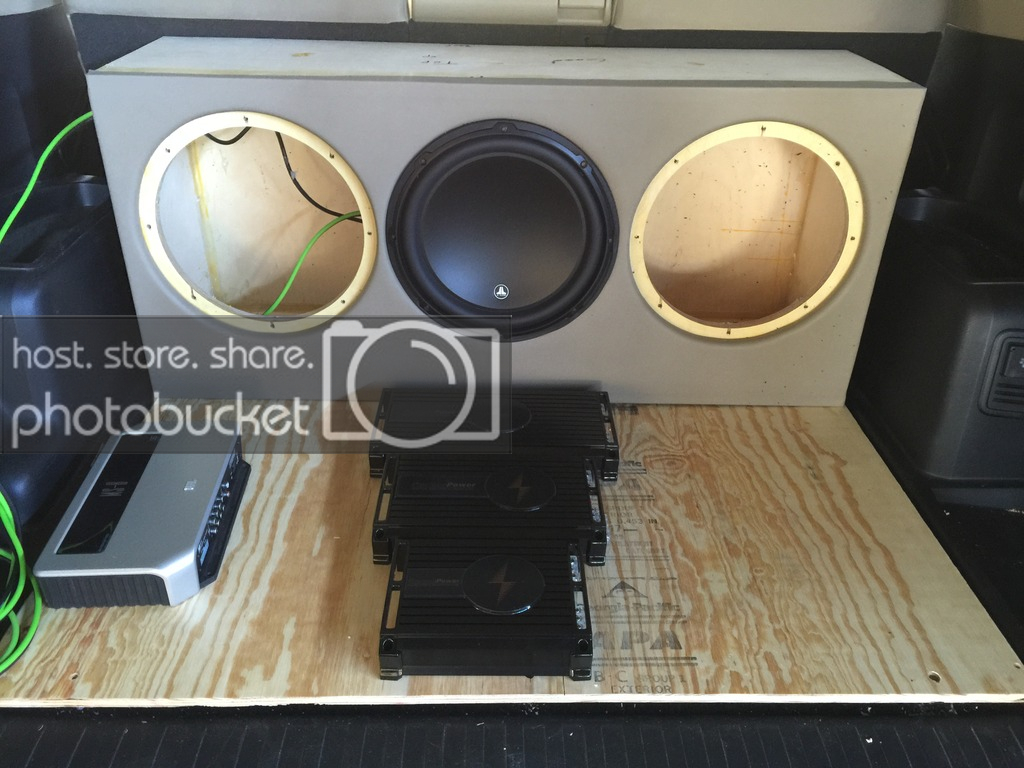
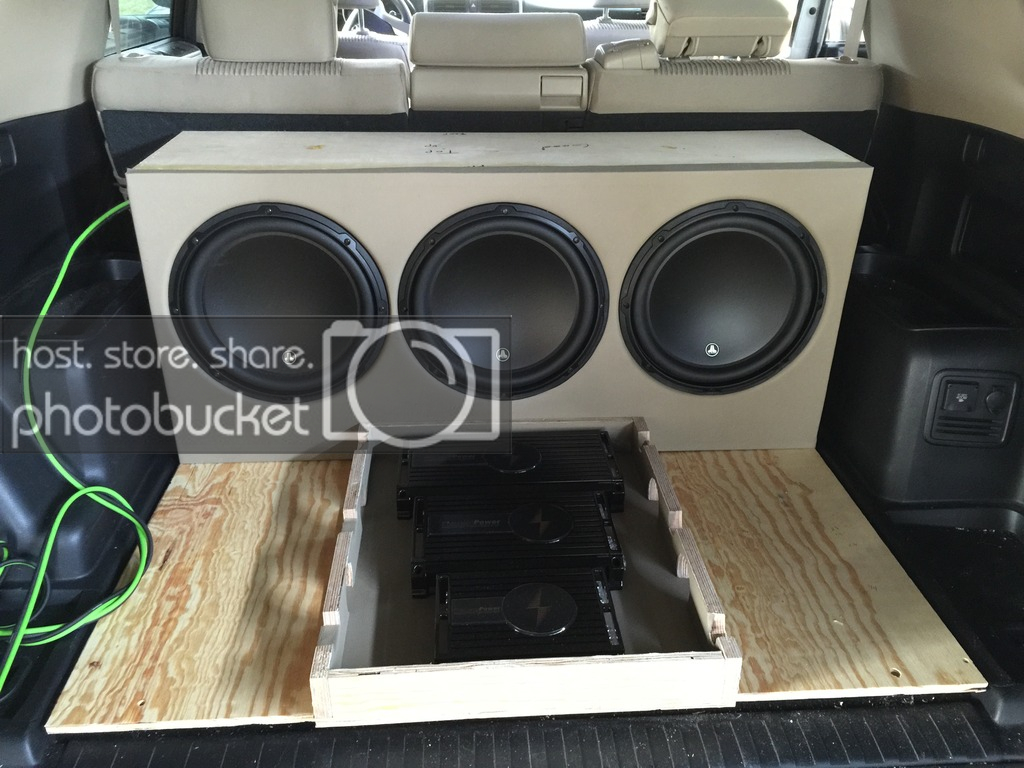
Next was mounting the sub box.

ECE35522-33DC-47D6-950A-2609B0F05B44_zpslqrwaqti.jpg


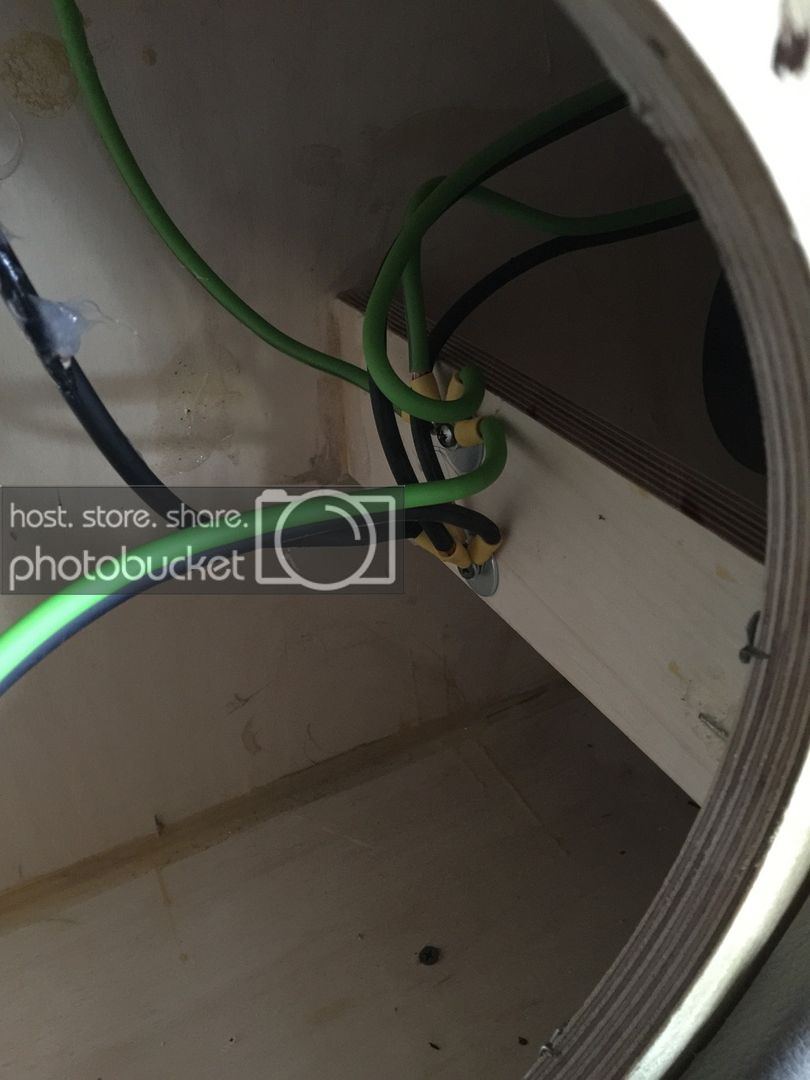
This shows the wiring inside the box, nothing special.

CE6257F9-AB11-4C7E-82F9-D1D8E18C530B_zpssvxxf4sr.jpg


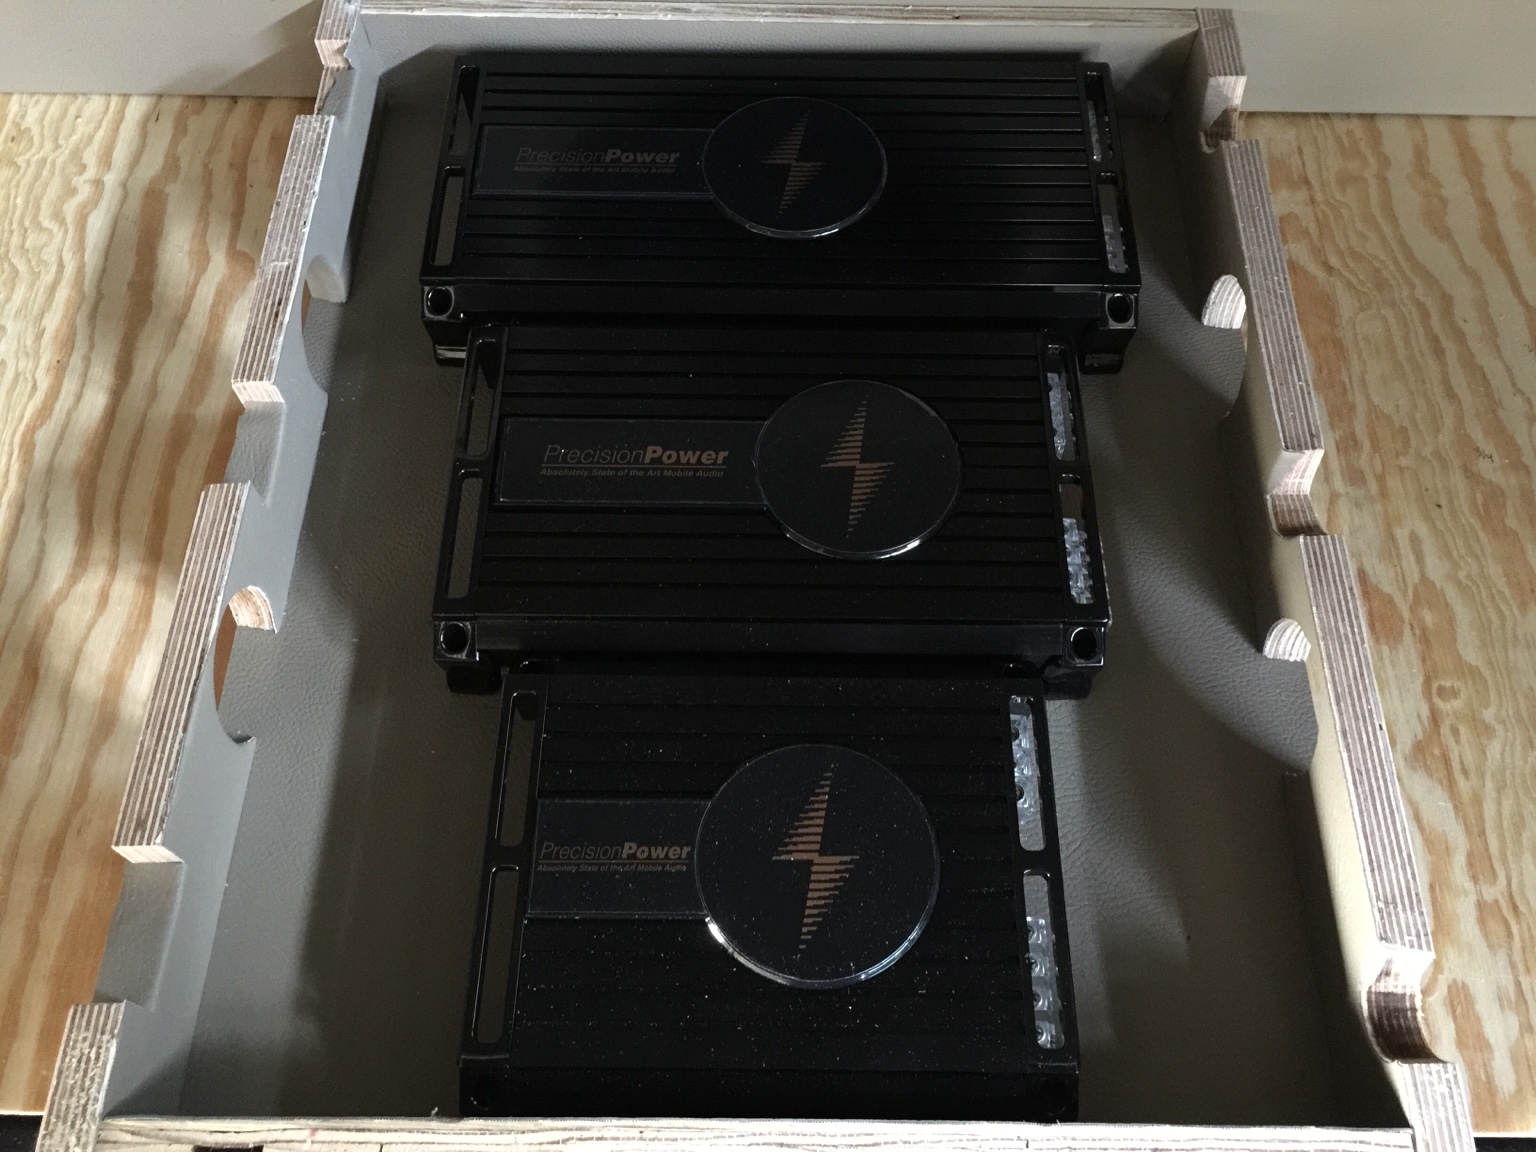
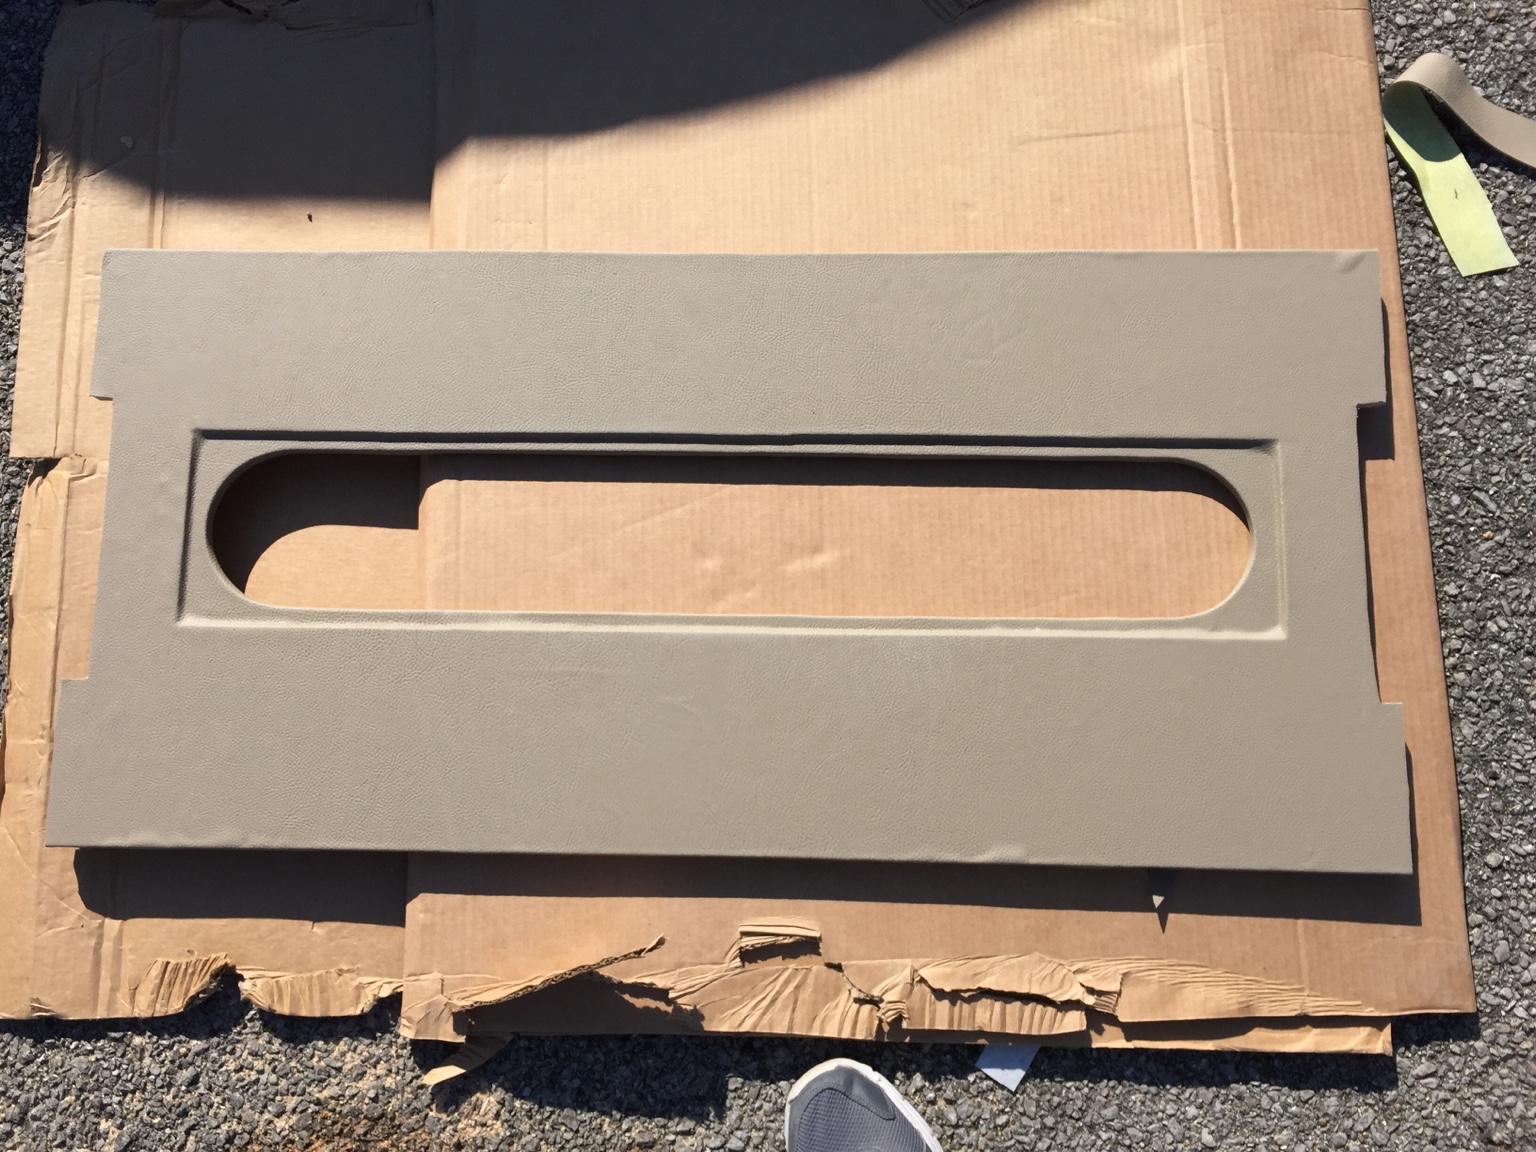
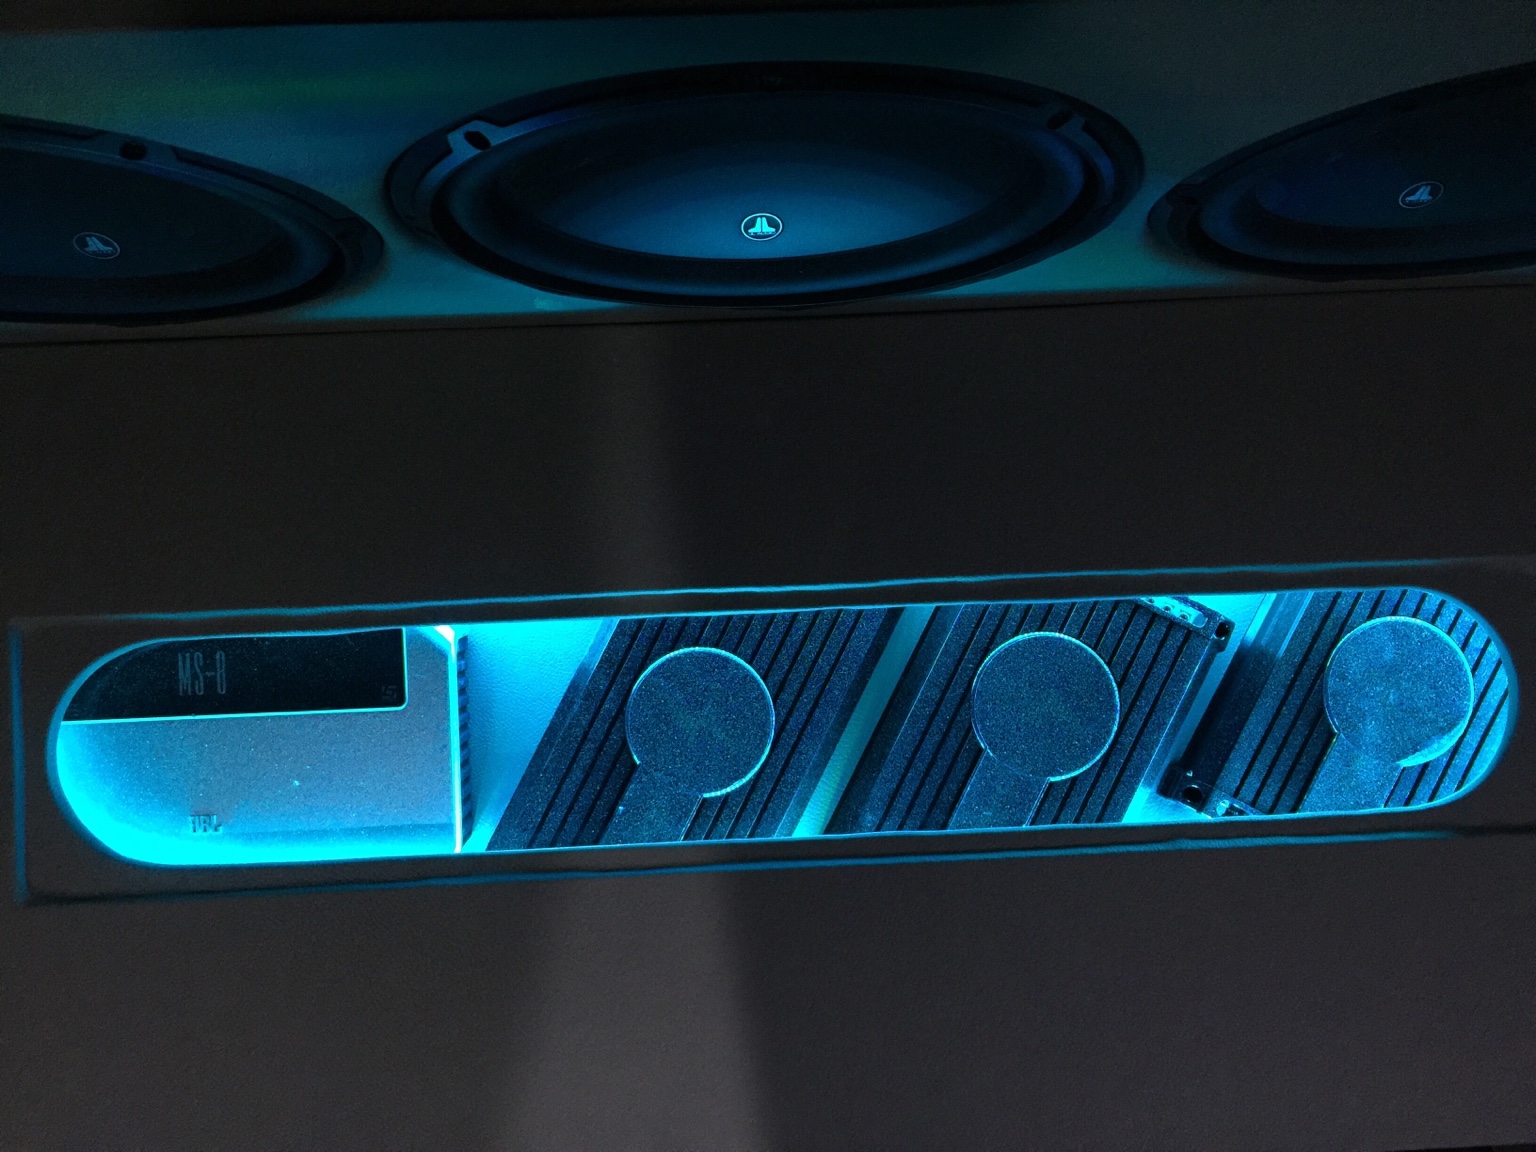
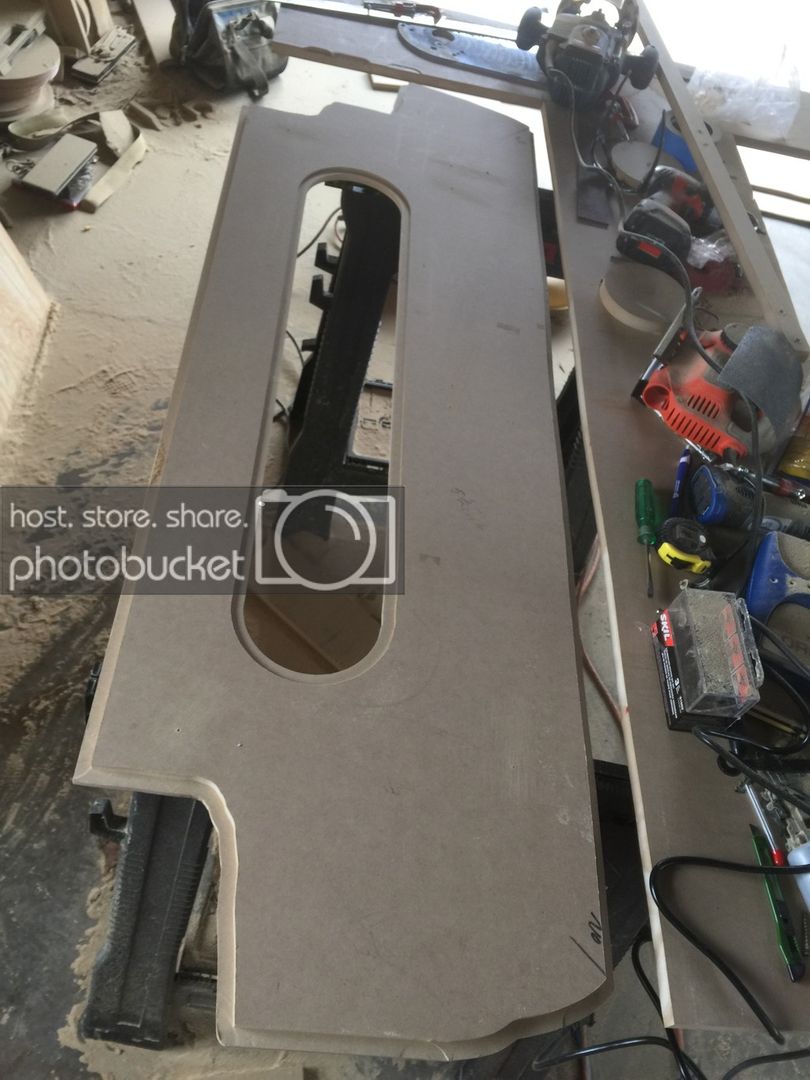
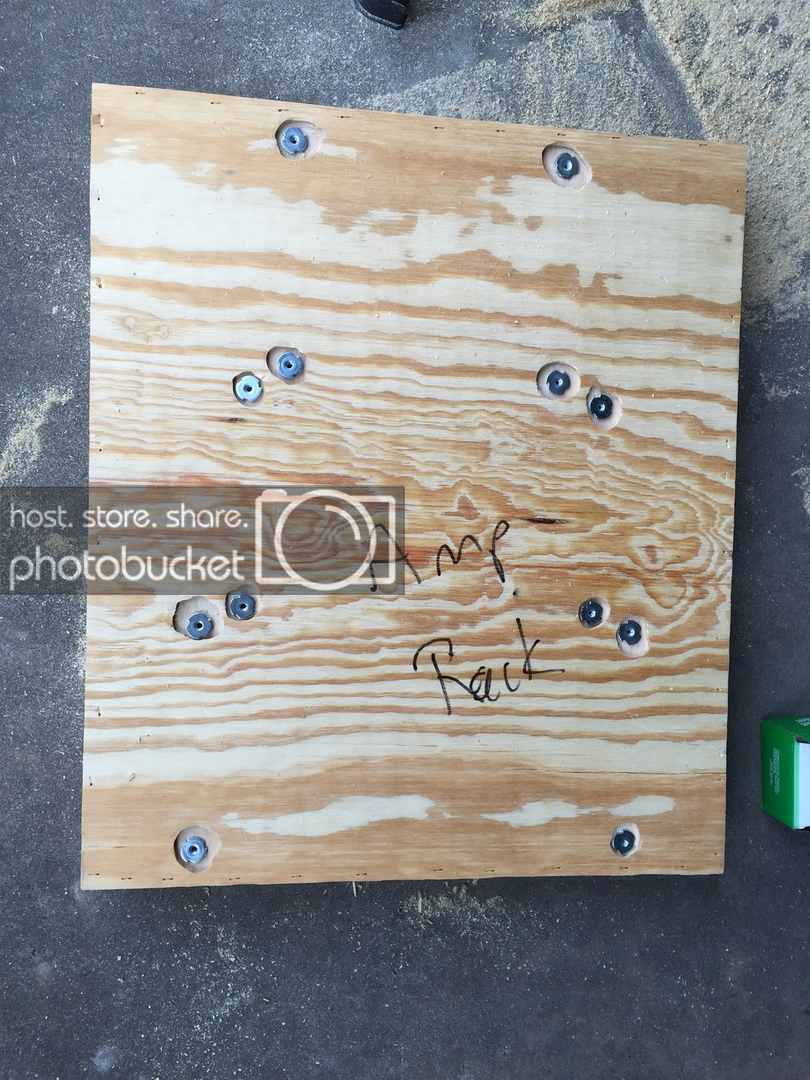
Here is the amp rack, has cutouts for wire and for four fans.

584C251A-1817-4CCA-A3F2-3A82F5FA6279_zpsbqu3gz2c.jpg


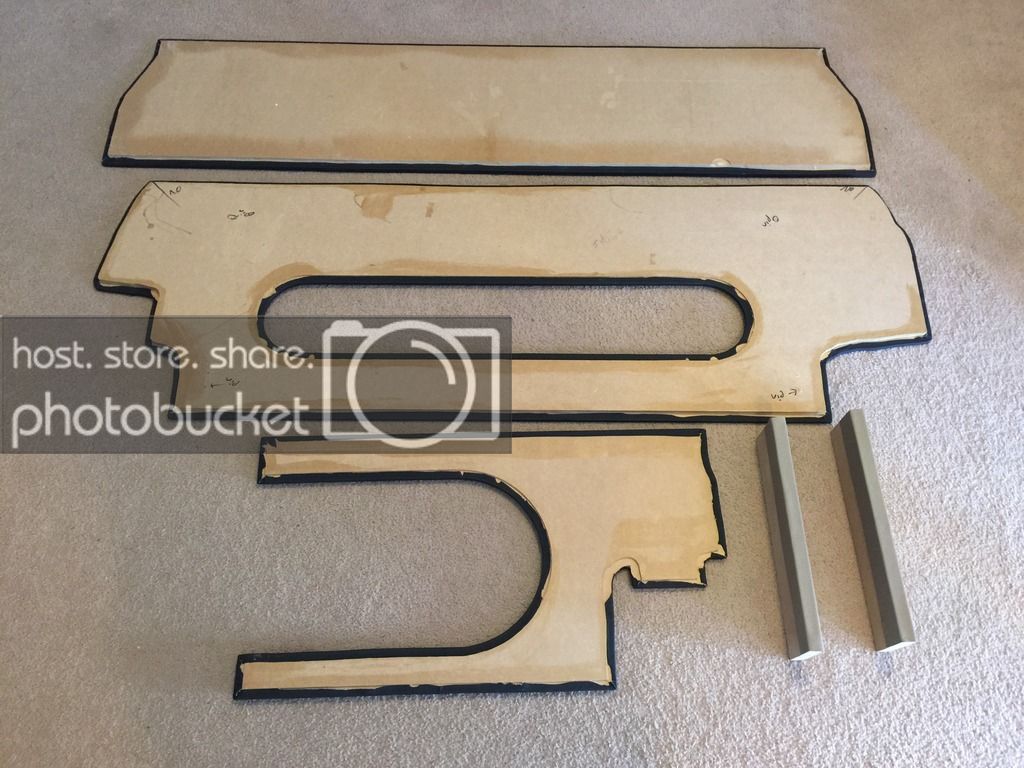
Here is a picture of the back to show the t-nuts.

7B95E774-43E7-4D70-A952-8DE00C82D1FC_zpsym4jykcs.jpg


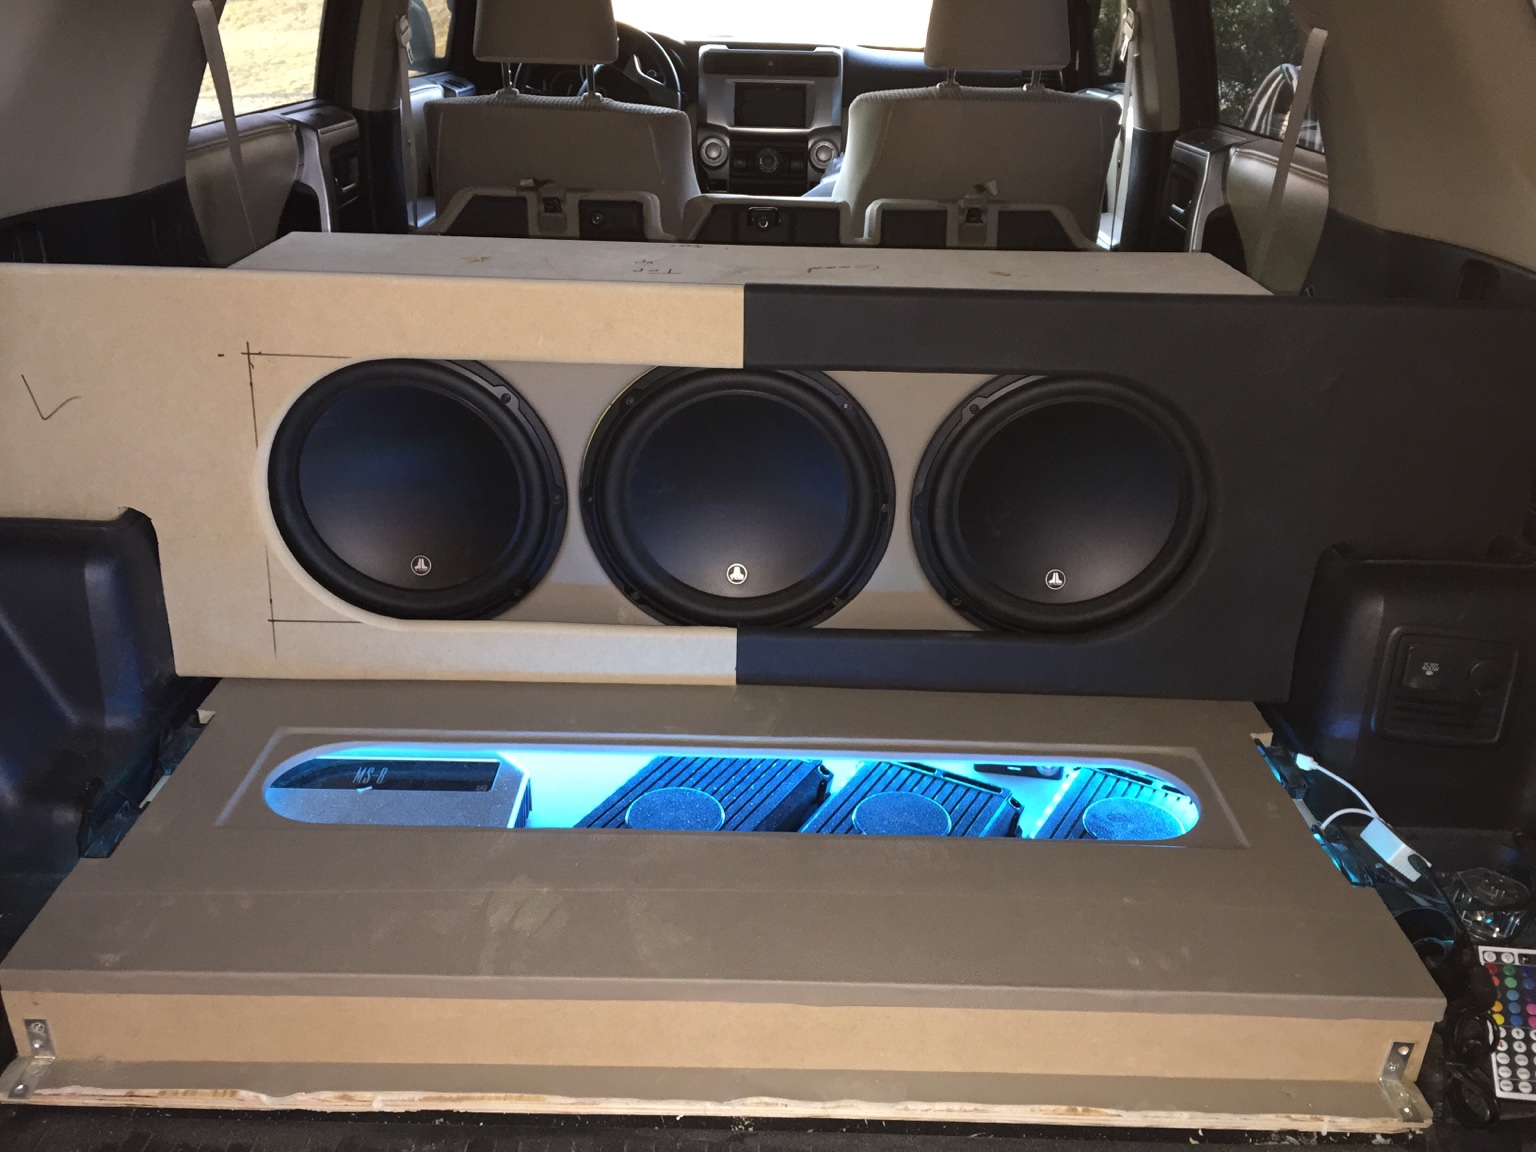
Amp rack mounted. Unfortunately the security screws I purchased aren't long enough to mount the amps so I get to spend some more money. //content.invisioncic.com/y282845/emoticons/biggrin.gif.d71a5d36fcbab170f2364c9f2e3946cb.gif

0DDC3F7F-E68A-4361-847E-C2BD43961C13_zpswckmi9sr.jpg


Spent some more time on it today. The first thing I did was throw away the amp rack I made yesterday. With the uneven logos it just wasn't going to work.

05dc266ef08d546732be1c01c8d00912.jpg


I decided to try angling the amps instead. I still need to play with the positioning but it's getting better.

ba39eb4225d64314200977fc6c5a30ac.jpg


I love how this cover piece came out. Too bad it will barely be visible once I'm done.

7171c65d00ed54b4dbc44dffd4ecba5c.jpg


I managed to get the sub cover panel cut out and half covered prior to running out of daylight.

e76dbf1f80678213d4085567cda4f43c.jpg


0aa50bbe6f712ecaae670dfb2236b3c3.jpg


looks good seeing all of the progress in a thread instead of pieces on FB.
Thank you. It's certainly a learning process. This is my first time attempting anything like this in over fifteen years. It's amazing how much things have changed.

 
I just have to say that I find it somewhat amusing that every time I think I'm done spending money I end up on Parts Express or Amazon placing another order.

So far this week I have ordered the following:

1/4" Polycarbonate lexan 6"x34"

1/4" Polycarbonate lexan 16"x16" (had to meet the minimum $30 order)

Six 3/4" neodymium magnets

CA glue

CA Accelerator

ANL fuse holder

Cable ties with screw mounts

Two NVX RCA cables

Two 8 position Terminal blocks

Black & Decker Jig Saw

Three M6x100mm screws

14 Sq feet KnuKonceptz Kno Knoise deadener

 
Lookin' excellent bud.

Your table with 2 ft of snow on it reminds me of a giant cake lol

I need to find me some of that 3/4" birch....can't seem to find any here.

 
Lookin' excellent bud.
Your table with 2 ft of snow on it reminds me of a giant cake lol

I need to find me some of that 3/4" birch....can't seem to find any here.
Thank you. We are expecting some more snow this weekend, it *****. I don't have a garage so I have to work around the weather. Luckily I do have a large carport.

For the birch I had to buy mine from a counter top shop. It wasn't cheap but hopefully it is worth it. I really hate that I had to cover it, that is some beautiful wood.

 
Spent some more time on it today. The first thing I did was throw away the amp rack I made yesterday. With the uneven logos it just wasn't going to work.
0aa50bbe6f712ecaae670dfb2236b3c3.jpg
I would try switching the middle and farthest right amps in your lineup. The middle one is shorter so in the corner, you wont see the end of it. At least that's what it looks like from the pics. Good work so far though. I haven't been on this site in years, so it's nice to see good work going on. I'm glad you are one of the few that is using the "deadener" correctly and not just covering the interior with it!

 
[quote name='LaserRed38']I would try switching the middle and farthest right amps in your lineup. The middle one is shorter so in the corner, you wont see the end of it. At least that's what it looks like from the pics. Good work so far though. I haven't been on this site in years, so it's nice to see good work going on. I'm glad you are one of the few that is using the "deadener" correctly and not just covering the interior with it![/QUOTE]

[quote name='nateboogie']Looks great !! Keep the pics coming . I love this kind of diy . Good luck with the rest .[/QUOTE]

[quote name='LaserRed38']Or just keep the amps vertical and not slanted?[/QUOTE]

Thanks for the comments, always appreciated.
@LaserRed38, I'm going to try swapping the positions, hopefully that helps. Vertical is always an option as well. PPI could have made this much simpler by simply centering the logo's. However, they didn't therefore it's up to me to figure something out that I can be happy with. As for the sound deadening material, most people tell me that 25% coverage is plenty. I hope they are right. :D
 
I just came inside after spending a few hours working in freezing temps, upper teens, low twenties. I did manage to get some work done though. I have to admit, I **** at making trim panels but I'm doing my best. I think once I vinyl the pieces tomorrow it will look alright.

First off, amp cover panel.

06B77F52-147F-4673-878B-BD58389F0818_zpsofhkcc3v.jpg


A84FFF2F-64AC-4C65-8A41-F6061AAC64A6_zpszhzsnlki.jpg


D219E083-4AFF-41A6-A2F9-2B6022E83339_zpsu4e4ymcd.jpg


To finish it off I used a rabbet bit on the underside to make it easier to wrap and rounded off the amp viewing cutout. I did the cutout 1/4" larger than the lower panel to show off the accent vinyl on the lower piece.

FB0854E3-7005-47F0-9A71-15A9B7188944_zpsv3zhlfwk.jpg


B55F5E13-4206-4475-9D78-200976F35606_zpsknal2bfn.jpg


758911AF-7BAC-4F0F-9306-8BF2CF317631_zpskhy1ytq9.jpg


I also made the top cover panel to go on top of the sub box. It's not that exciting so I only took one picture.

70D35203-7ACD-4679-95C6-D5B045821E8B_zps4f0drajj.jpg


It's five degrees outside. It's a good day to stay inside and wrap some panels. //content.invisioncic.com/y282845/emoticons/biggrin.gif.d71a5d36fcbab170f2364c9f2e3946cb.gif

16572121-89AA-4407-8551-2A0DCFF210CF_zpsf4g7ow0u.jpg


0E7262F6-7125-48D9-A4BE-AB5A8AB394DF_zpsb3nymuvo.jpg


Activity
No one is currently typing a reply...
Old Thread: Please note, there have been no replies in this thread for over 3 years!
Content in this thread may no longer be relevant.
Perhaps it would be better to start a new thread instead.

Similar threads

Disconnect the RCA's or hi-level input to the JBl amp. turn the system on, If the noise continues, it's a ground or noise issue with the amp.If it...
1
483
Thanks for the link to this video, I've seen this one before but it's not for component speakers which is what I'm going to install and the part...
4
578
Try crutchfield.com and use the application that gives you replacement options for system components. I ripped out the entire system in my Mustang...
2
975
It is in eBay. It is a bit more complicated. You clip off the gray blocks on your radio's harness and splice in the new harness by color matching...
7
1K
Nice, much better looking version Ford than its American counterpart. Go down to the local stereo shop and tell them you want to the work yourself...
1
994

About this thread

lowcel

10+ year member
Senior VIP Member
Thread starter
lowcel
Joined
Location
Charleston, WV
Start date
Participants
Who Replied
Replies
169
Views
22,798
Last reply date
Last reply from
Bacovish
IMG_0692.jpg

just call me KeV

    May 1, 2024
  • 0
  • 0
IMG_0691.jpg

just call me KeV

    May 1, 2024
  • 0
  • 0

Latest topics

Top