You are using an out of date browser. It may not display this or other websites correctly.
You should upgrade or use an alternative browser.
You should upgrade or use an alternative browser.
-
28Participant count
-
Participant list
lowcel 10+ year member
Senior VIP Member
legendndisguise 10+ year member
Funky
We're getting hit with the snow now. Great looking build so far. I'm debating on doing the same for tweeters during my build, hopefully next spring.
lowcel 10+ year member
Senior VIP Member
- Thread Starter
- #19
Thank you.We're getting hit with the snow now. Great looking build so far. I'm debating on doing the same for tweeters during my build, hopefully next spring.
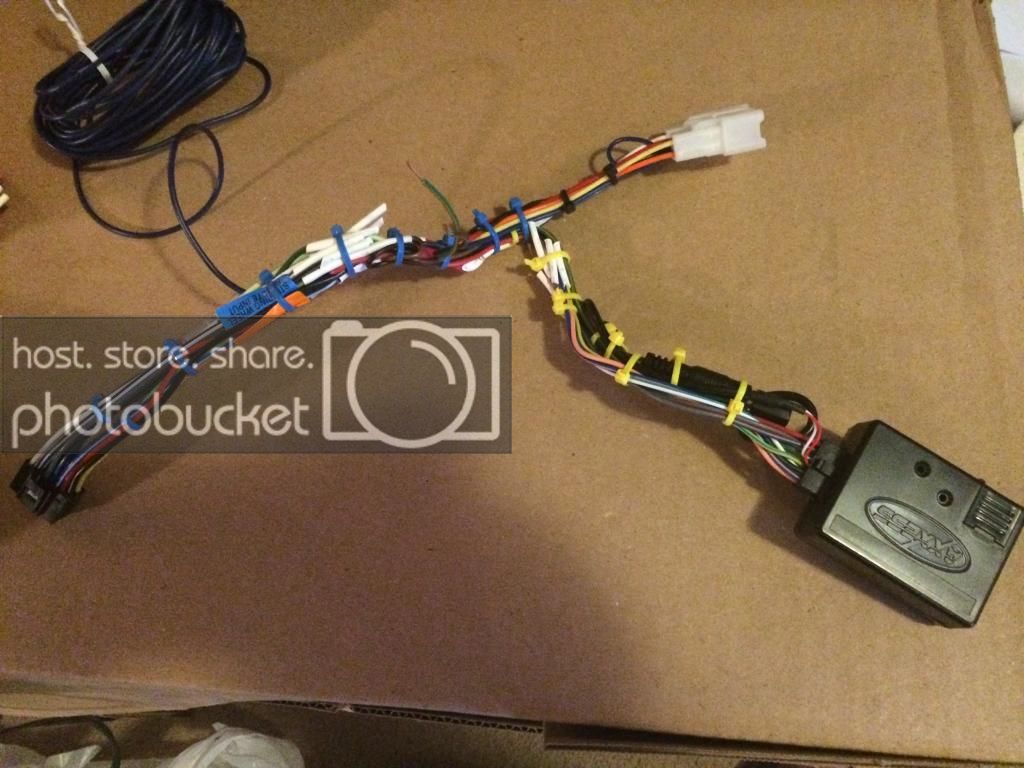
Even though I'm not able to do anything today I did manage to find a picture showing that all connections for the radio are soldered with heat shrink. I guess I will need to print this picture off later for the judges. Seems like a good idea to put it in this thread so it will be easier to find.
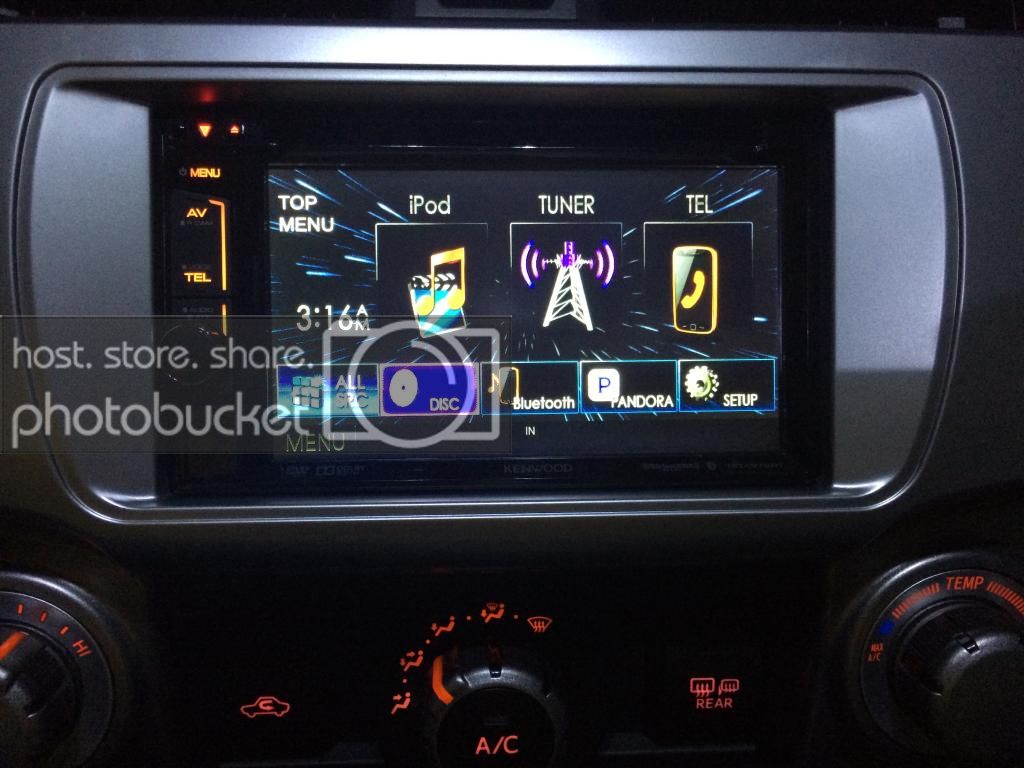
Just for the heck of it, here is the deck installed.
lowcel 10+ year member
Senior VIP Member
lowcel 10+ year member
Senior VIP Member
- Thread Starter
- #22
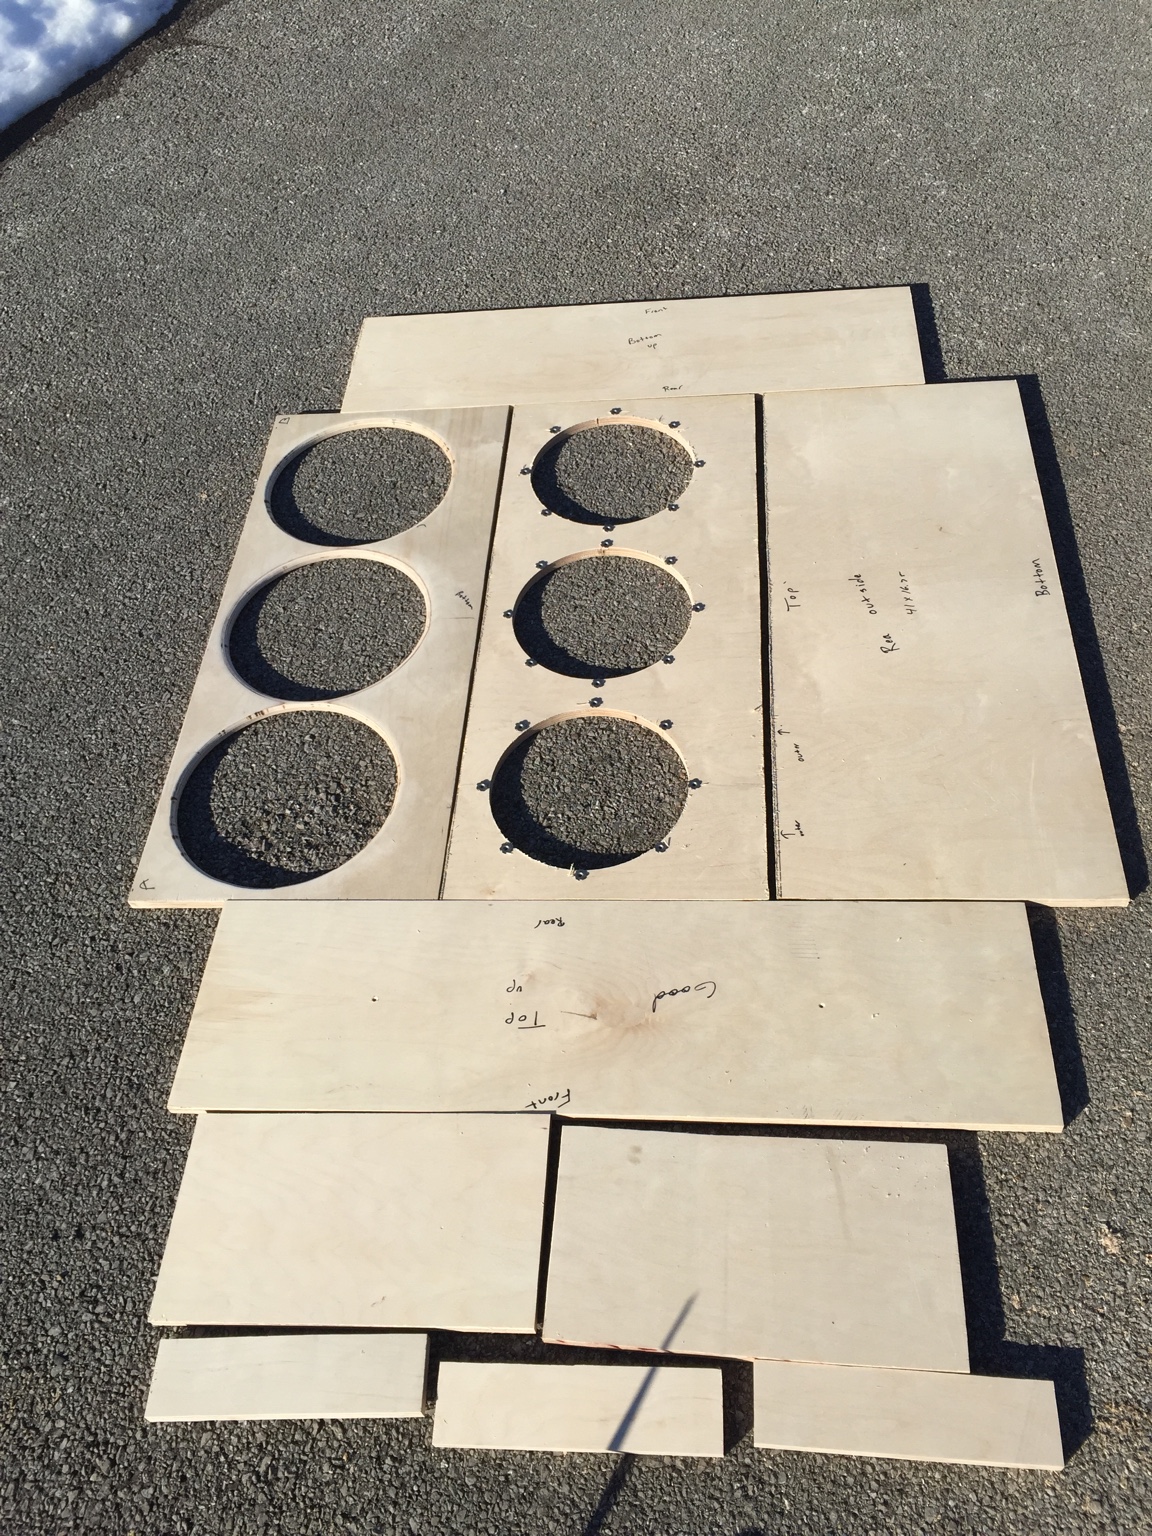
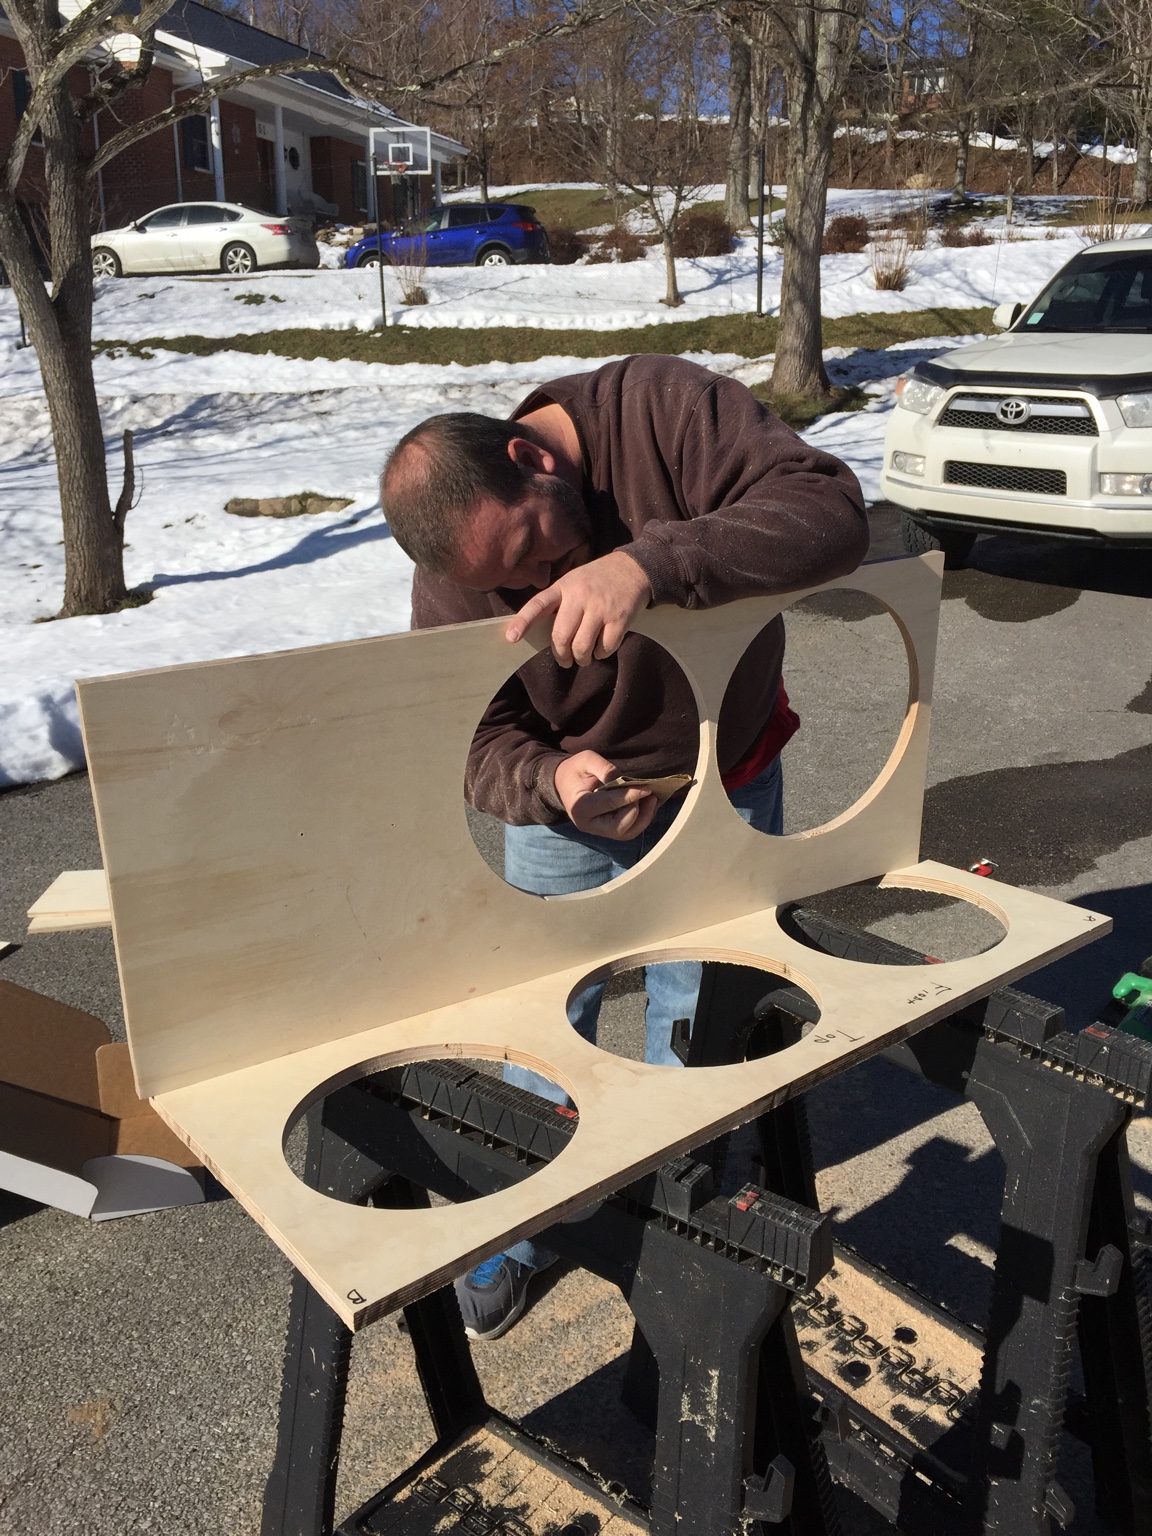
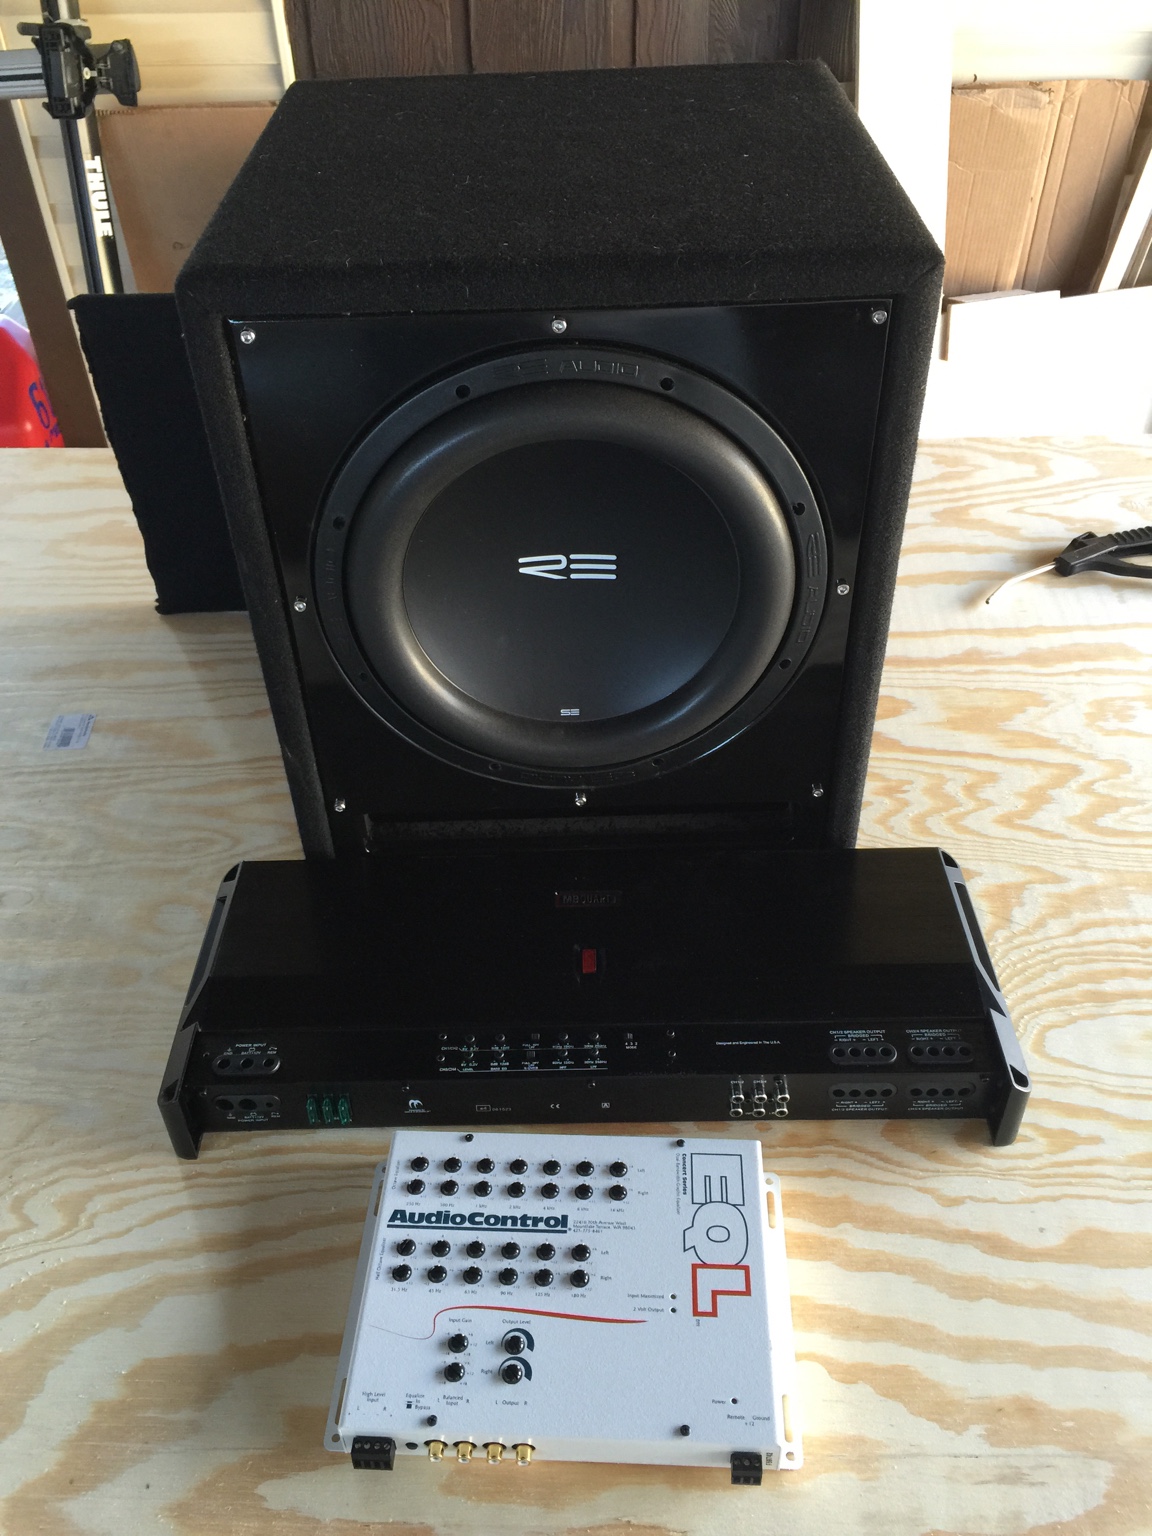
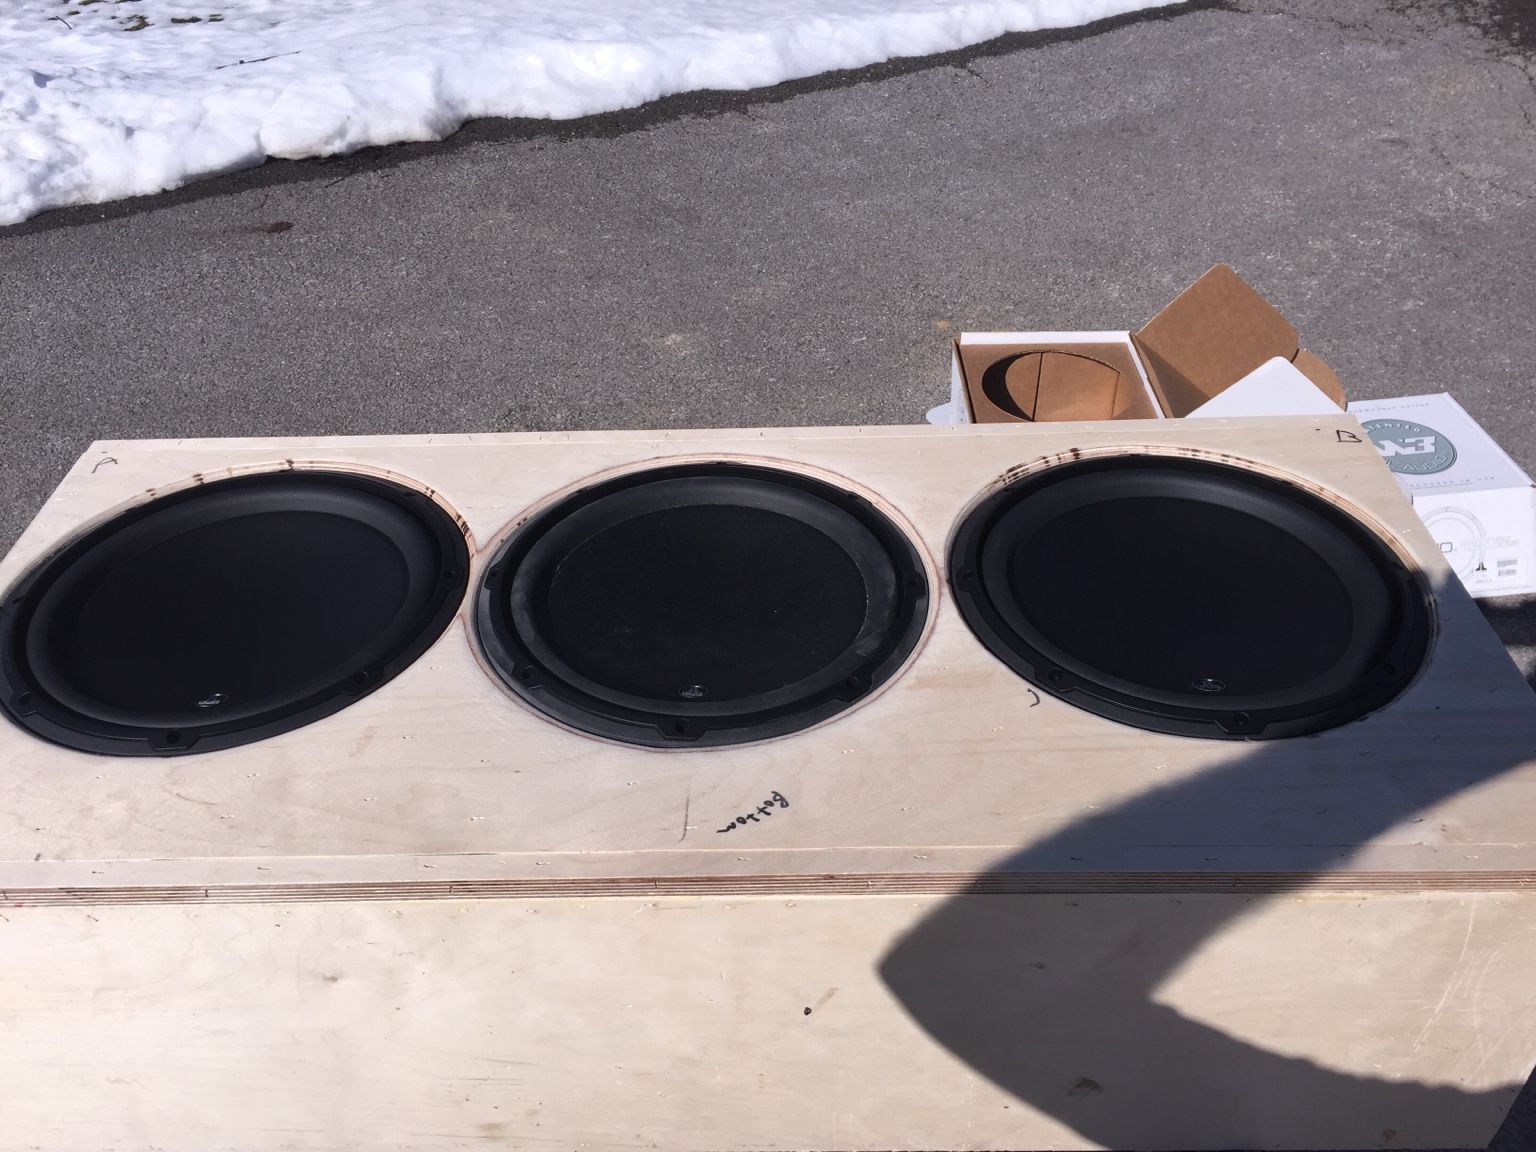
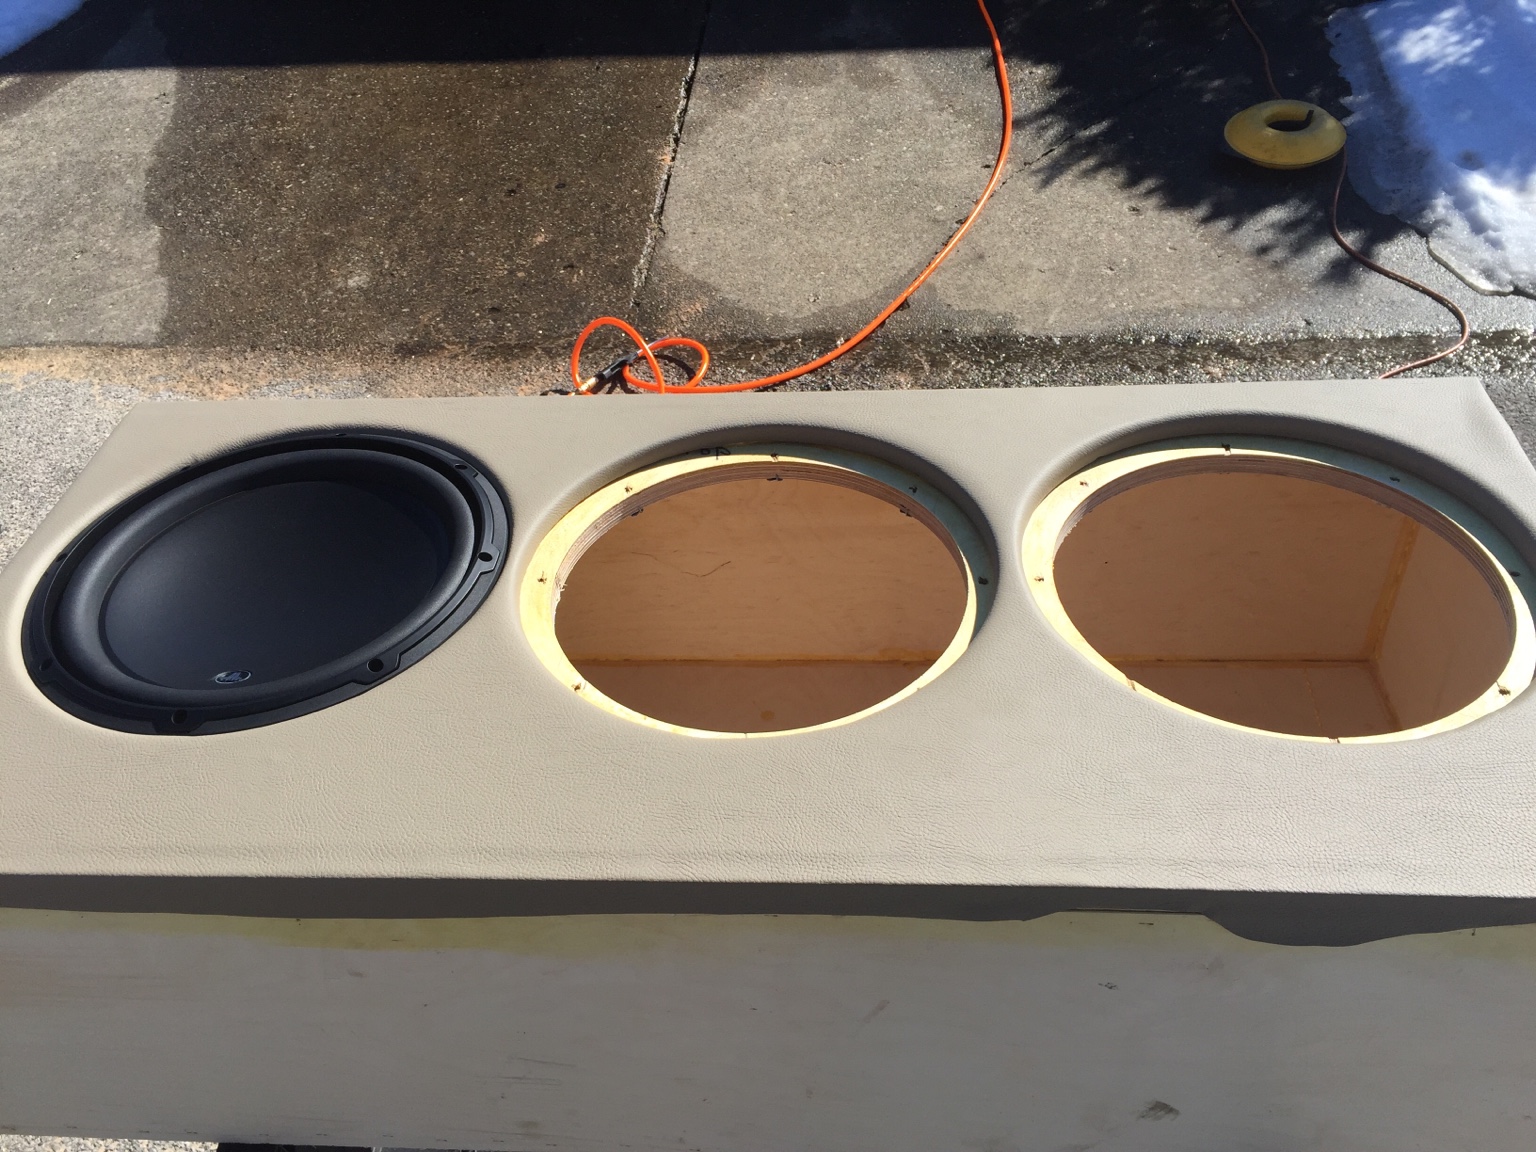
Finished my enclosure today. I spent over two hours sanding the middle hole due to the measurement o the JL page being incorrect.
With that said, this was the first enclosure I have ever built using a router, table saw, and Brad gun. I'm sold!!!
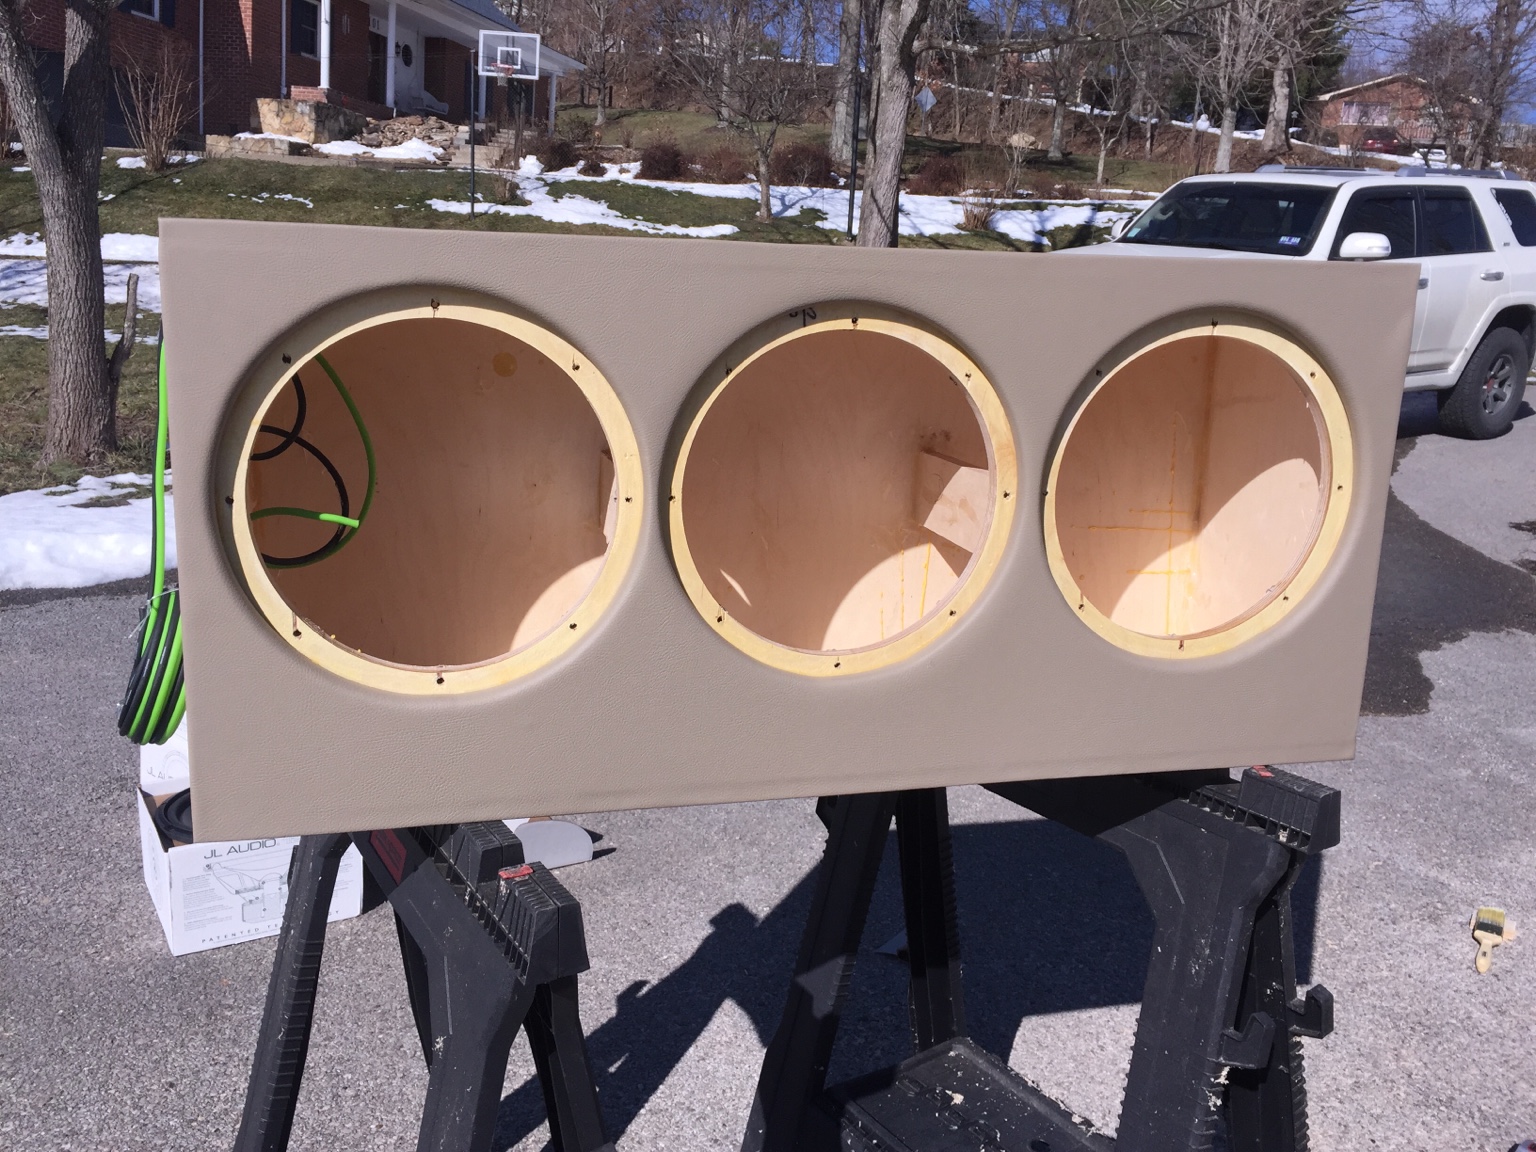
With that said, this was the first enclosure I have ever built using a router, table saw, and Brad gun. I'm sold!!!


Buick_66
Member
lowcel 10+ year member
Senior VIP Member
- Thread Starter
- #25
Thank you.Nice job with the vinyl. Got any techniques to share with the class?
To start I used a 3/8" roundover bit on the front of the outer baffle. On the rear of the outer baffle I used a rabbet router bit. This made the vinyl job much easier. On the vinyl I used DAP Weldwood Landau glue. I applied it to both the enclosure and the vinyl. I then laid the vinyl on the enclosure (while fighting the wind) and smoothed it out with a wood roller. I then cut plenty of slits in the sub openings and then heated the vinyl and smoothed it out with my fingers around the inside of the sub opening. Once I had it how I wanted, which only took a couple of minutes for each opening, I took the knife and cut along the rabbet cut which made it very easy.
Honestly, I think the key is the Landau glue. It is more expensive but it is worth the money.
---------- Post added at 04:09 PM ---------- Previous post was at 04:08 PM ----------
Thank you.Love that enclosure
Buick_66
Member
Activity
No one is currently typing a reply...
Similar threads
Disconnect the RCA's or hi-level input to the JBl amp. turn the system on, If the noise continues, it's a ground or noise issue with the amp.If it...
- Started by oldAlpine
- Wiring, Electrical & Installation
- 1
- 481
Thanks for the link to this video, I've seen this one before but it's not for component speakers which is what I'm going to install and the part...
- 4
- 578
Try crutchfield.com and use the application that gives you replacement options for system components. I ripped out the entire system in my Mustang...
- Started by Furgis
- General Car Audio
- 2
- 975
It is in eBay. It is a bit more complicated. You clip off the gray blocks on your radio's harness and splice in the new harness by color matching...
- Started by NIN900rr
- Wiring, Electrical & Installation
- 7
- 1K
Nice, much better looking version Ford than its American counterpart. Go down to the local stereo shop and tell them you want to the work yourself...
- Started by UnderdogGarage!
- General Car Audio
- 1
- 994
About this thread
- Start date
- Participants
- Who Replied
- Replies
- 169
- Views
- 22,787
- Last reply date
- Last reply from
- Bacovish

