Spooney
10+ year member
CarAudio.com Veteran
Finally made the decision to go ahead with the IB build after thinking it over for a long time. The car is a 2008 Chevy Impala and the back seats do not fold down so the front of the baffle doesn't need to be pretty, just functional. Thanks to the guys over on diyma for the great info and the little push I needed to make this happen. For the most part this is just going to be a slew of pics without a lot of descriptions. Please feel free to ask any questions you like and keep in mind this is not 100% complete yet.
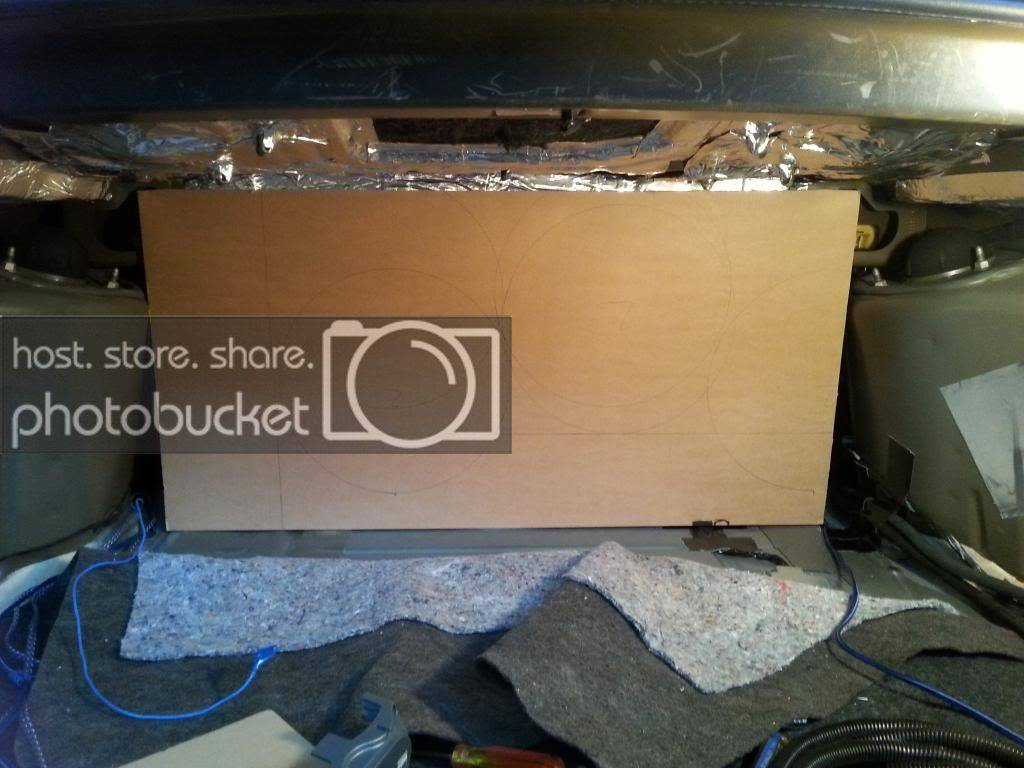
It all started with this piece of cardboard. Got my baffle size down with this:
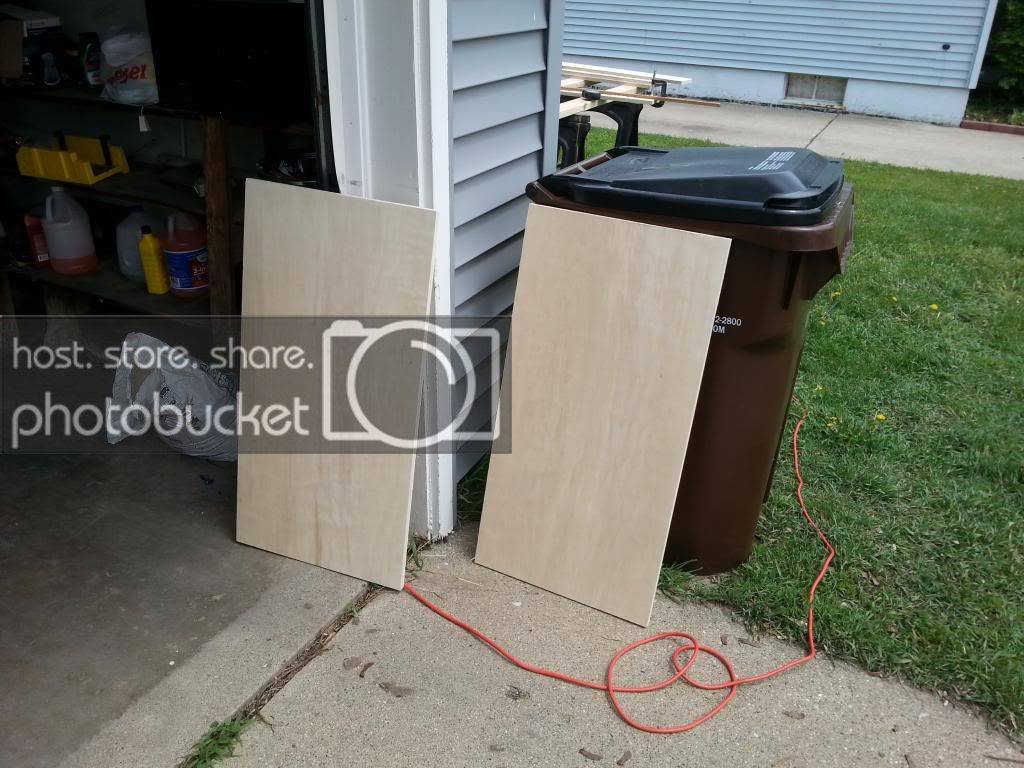
Panels cut for the baffle:
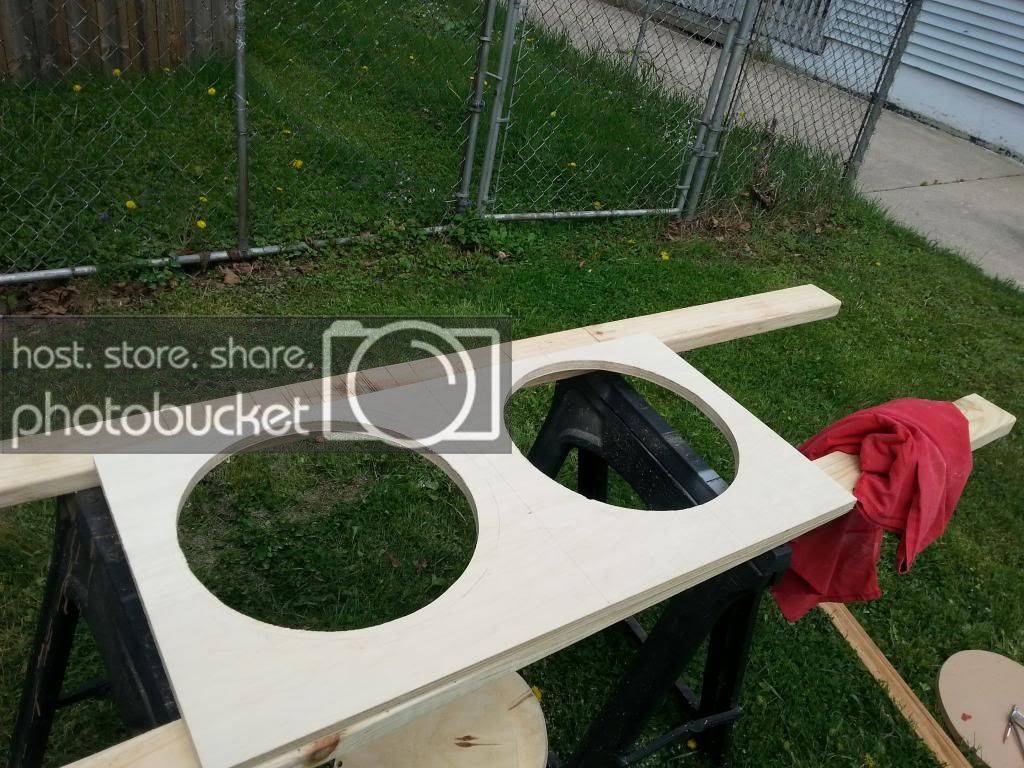
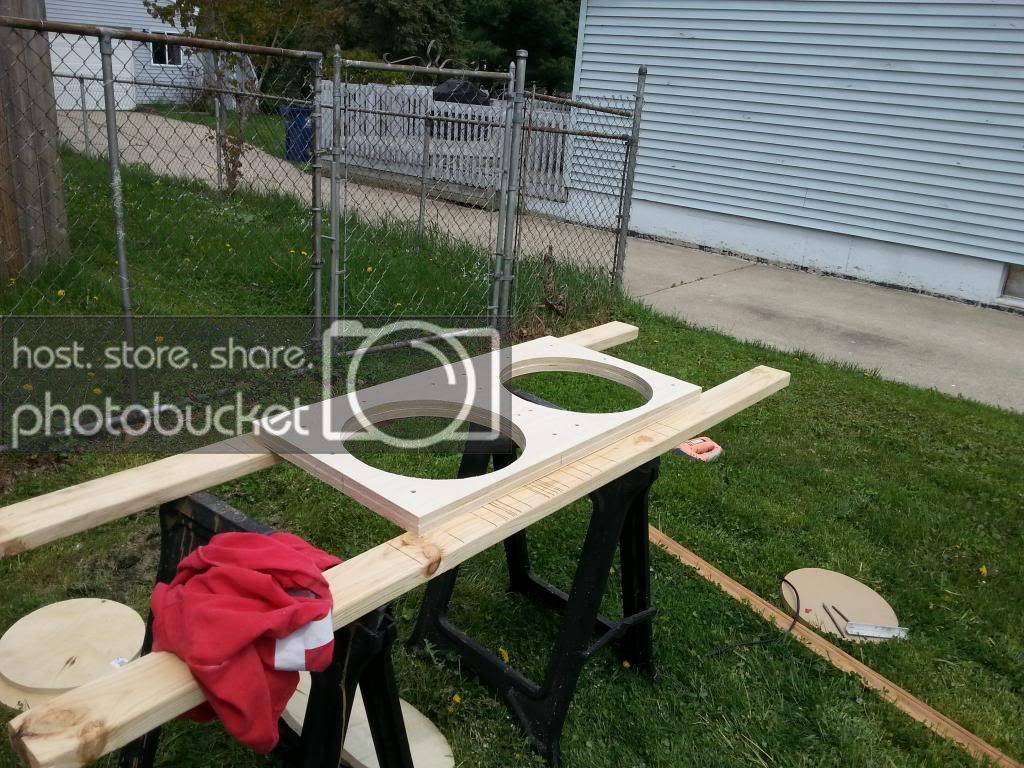
Cutting out the holes for the subs:
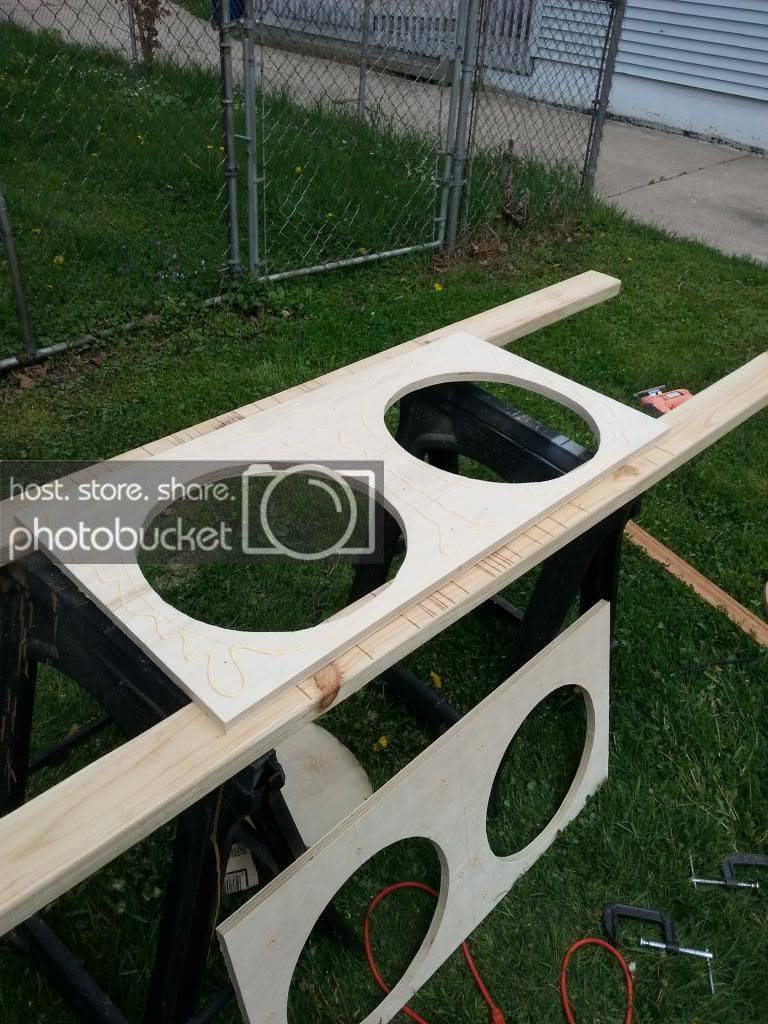
Getting ready to laminate the layers together:
Two become one:
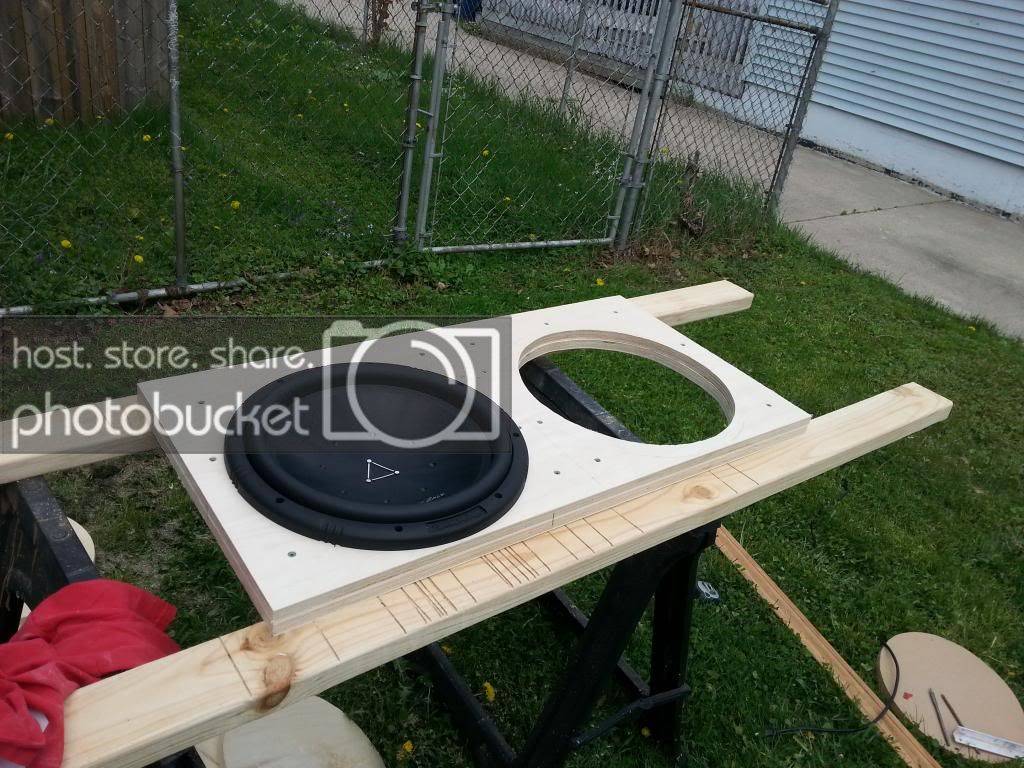
Checking the fit:
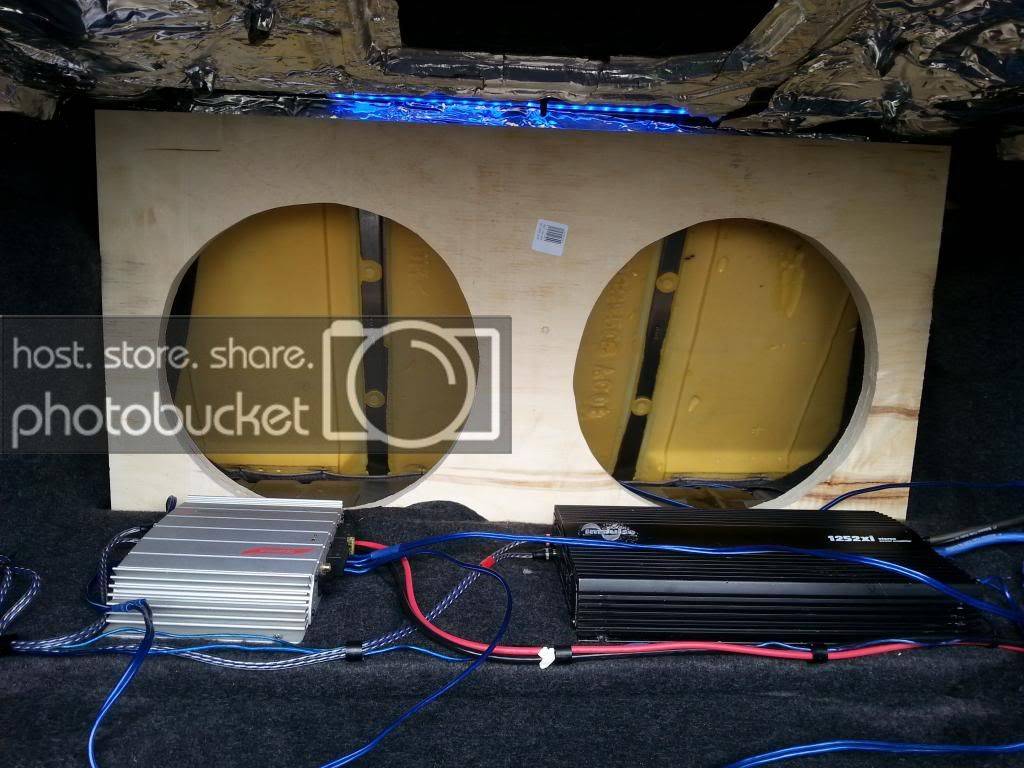
Test fitting the baffle in the car and a shot of my temp amp setup:
It all started with this piece of cardboard. Got my baffle size down with this:

Panels cut for the baffle:

Cutting out the holes for the subs:

Getting ready to laminate the layers together:

Two become one:

Checking the fit:

Test fitting the baffle in the car and a shot of my temp amp setup:


