My Car Install

watching some video's to refresh before I move to the next step.


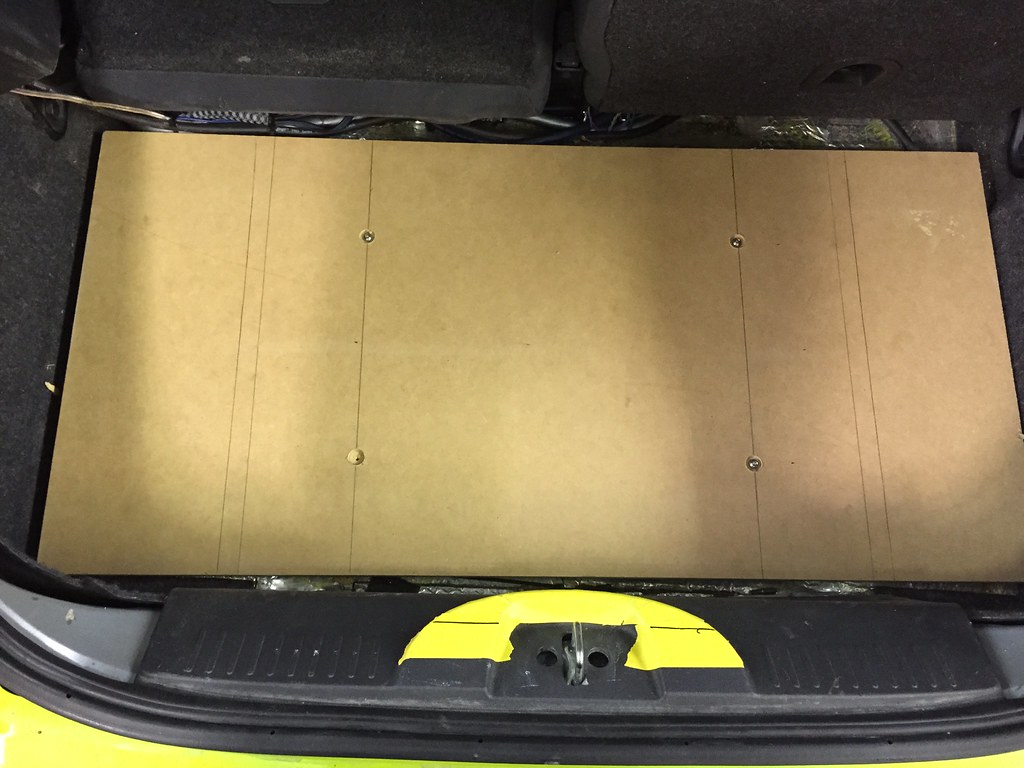
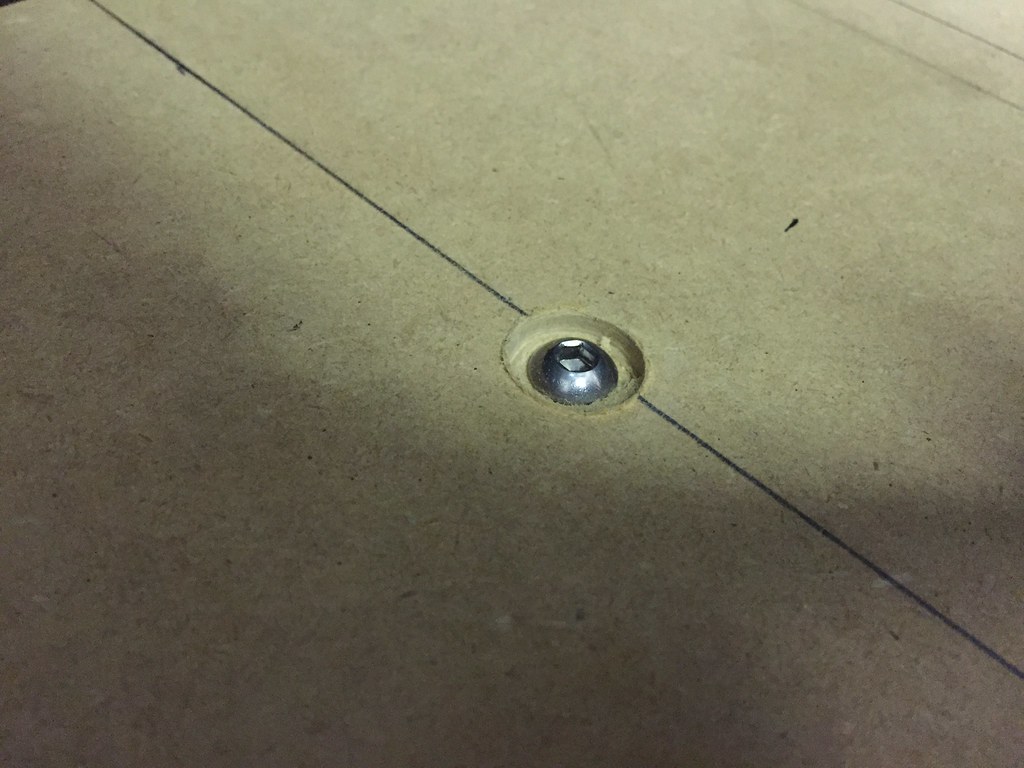
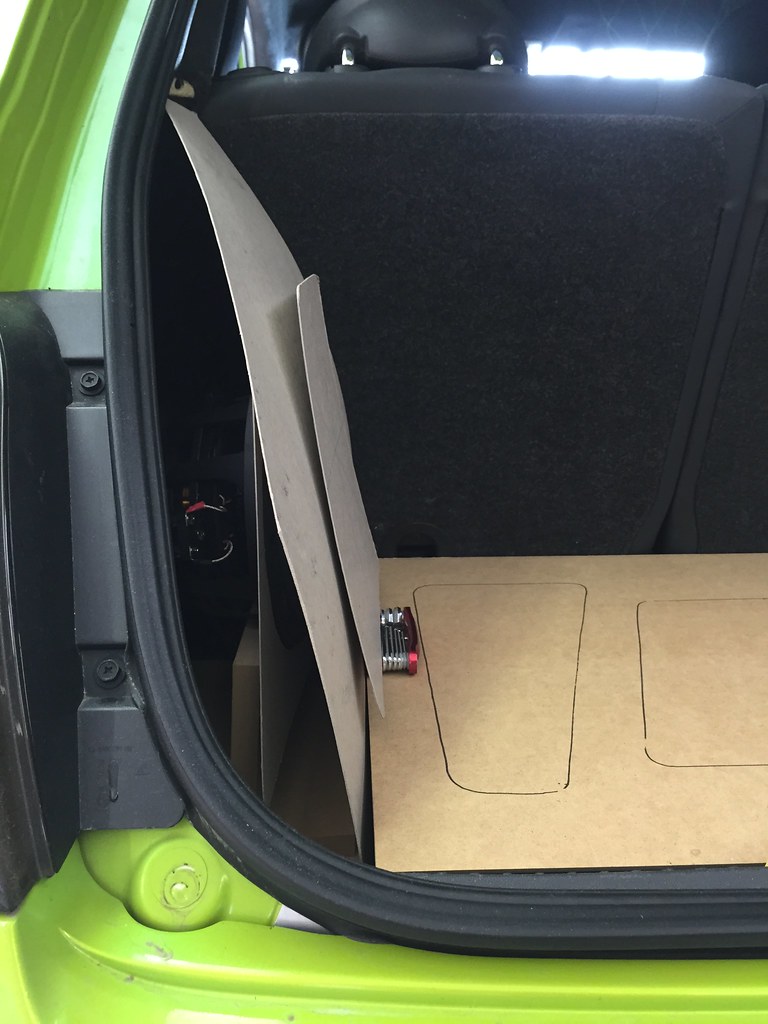
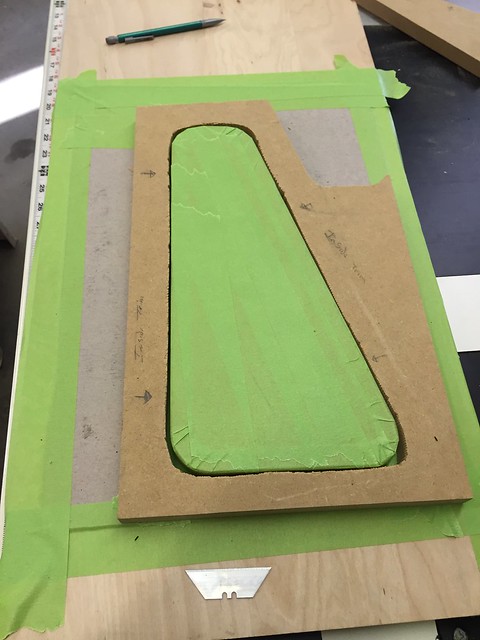
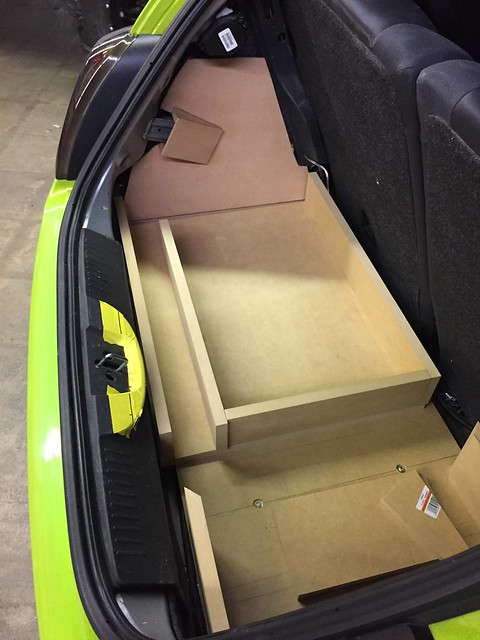
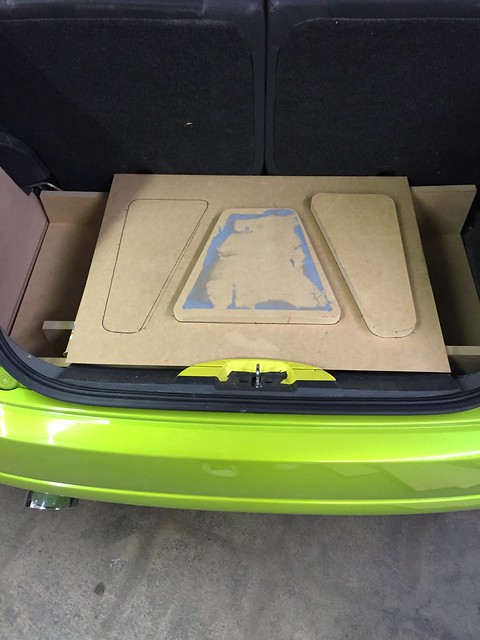
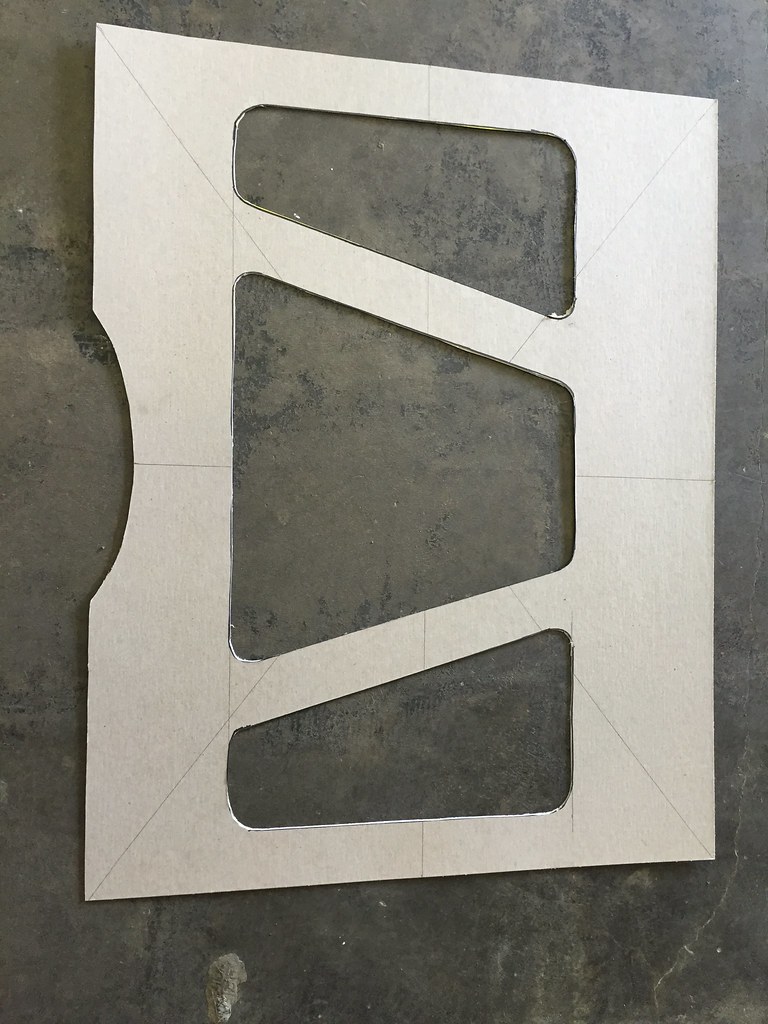
I have the base of the floor made and I used threaded nutcerts to mount it to the cat so it will be the same every time I pull it out and reinstall it.

more pictures soon..

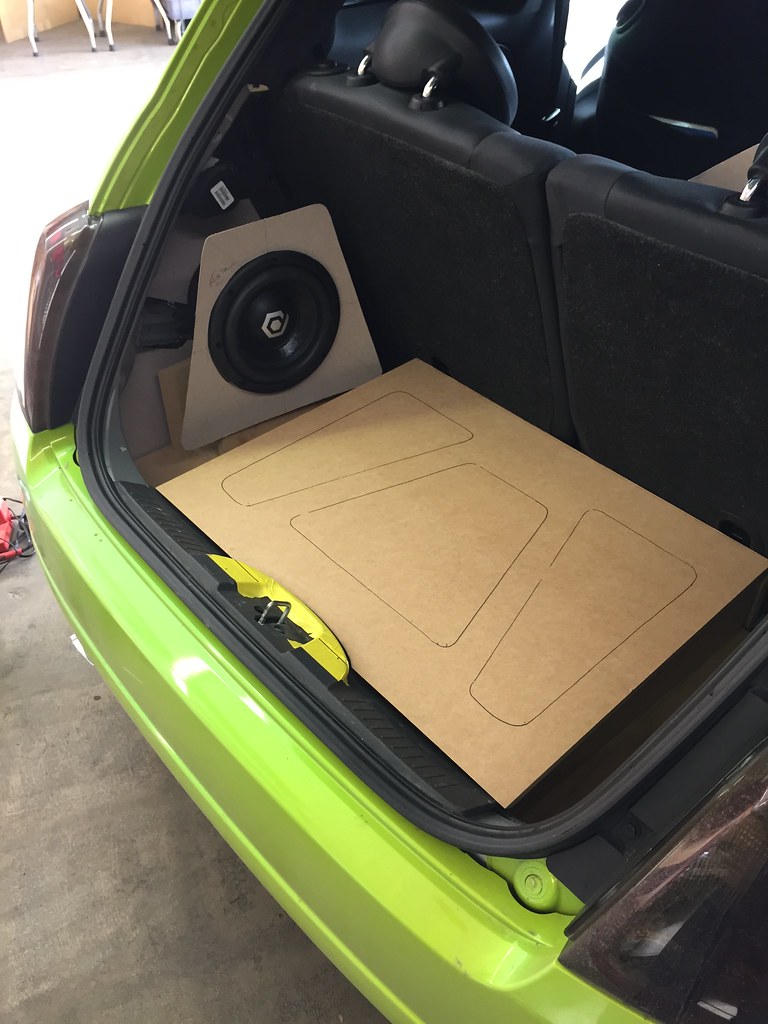
8" subwoofer going on the left side of the hatch area.. this will be the main display

16194809683_5bcdd7be5c_b.jpg


Not sure why my pictures will not load..

More updates soon!

here is a link to the pictures.

You can see I ran the Jigsaw backwards to get a rough edge to hold the bodyfiller to the MDF so I can get a good match and I will not need to worry about the filler pulling off or moving.


Here is the picture of my new shape and In/Out templates.


I Made a foundation to mount everything to and used a nutcert gun to install threaded certs into the floor i used 1/4-20 bolts


another shot of the floor I used Forstner Bits to make a perfect fit for the bolt head.


//content.invisioncic.com/y282845/emoticons/wave.gif.002382ce7d7c19757ab945cc69819de1.gif:wave://content.invisioncic.com/y282845/emoticons/wave.gif.002382ce7d7c19757ab945cc69819de1.gif Hi sir, Another Fiat owner right here. Nicely done on your car. I just slap infinity basslink in mine and call it a day lol
 
One of my goals with this install is to make it fully moduler.

I am looking to keep the install about the same, but have the ablity to change the subwoofer enclosure without having to redo the full install again like I have in the past.

More updates soon

 
Got a bit done in my hour I have after work..

I was able to make the floor, mock up the subwoofer enclosure.

(.75^ tuned at 35hz)

Flush mounting the subwoofer, curved face the the trim that will cover the subwoofer enclosure..

Thinking of a way to add the shop logo into the install.. Will see


Going to get up early to get more done.. Here is what I got now..

Getting ready for router work on the main parts..

Used temple tape to hold the parts in place, used Sonus Matter filler to fill the gap between the routered finished part and the rough cut trim for the inter cut, I used a Kent double sided tape 2x to gap for (2) parts in vinyl.

I sanded it in the soft stage and will pop it in the morning..

16331277453_7527b004fb_z.jpg


16765140239_b641f02ba0_z.jpg


Last edited by a moderator:
Here is what I got done before work.

Back wall finished, I have a few more parts mocked up but not finished yet.. I hope after work..

16748635767_d44849a485_z.jpg


Both in/out templates

16335914223_ff750c271e_z.jpg


Mocking up the floor making sure its all lined up and fitting good.

16768322048_c44a46d3c7_z.jpg


Activity
No one is currently typing a reply...
Old Thread: Please note, there have been no replies in this thread for over 3 years!
Content in this thread may no longer be relevant.
Perhaps it would be better to start a new thread instead.

About this thread

Axxistroy

Car Audio System Designer
Thread starter
Axxistroy
Joined
Location
Durango, Co
Start date
Participants
Who Replied
Replies
38
Views
6,230
Last reply date
Last reply from
troy_audi0
IMG_0503.jpeg

DEW123

    May 7, 2024
  • 0
  • 0
IMG_0489.jpeg

DEW123

    May 7, 2024
  • 0
  • 0

Latest topics

Top