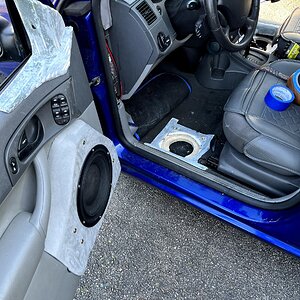
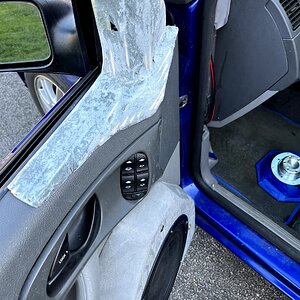
lost in a wire daze

I’m still confused on what’s working / isn’t. A lot to take in with your description / photos. It's a simple install, but none of us are there in person so it makes it a little more difficult.

Is the head unit powering on / producing sound to the factory speakers?

Is it just the subwoofer / amp you installed that is not working?


Notes from what I see.


The ground looks questionable. Paint / anti-rust coatings can make bolted on brackets a bad ground, so I’m not sure from what I see in the photos. Though it may not be an issue at all.


RCA cables; head unit appears to only have one RCA sub output, so an RCA Y splitter would be handy here. Maybe not 100% necessary, but I'd use one.

The little module in your second photo with heatshrink on it, with black, yellow, and blue wires coming out looks like a bypass delay unit for the parking brake wire. Check which wire the blue wire connects to on the head unit. Might just be the remote wire you want for the amp.

I don't think I need to add anything else about the wire nuts / head unit wiring, the others already made it clear.

Harbor Freight sells a dirt cheap multimeter, I got one 22 years ago as a young teen and it worked for reading basic voltage and resistance. Without a meter you are blind, especially if you don’t know what you’re doing. With it, you can see if the B+ and Ground are passing power, and if the remote terminal is getting power, and trace the circuit from there as needed. It doesn’t tell how solid the connection is, but when something is not powering on at all, you can find where the voltage is missing / lost. And of course the resistance / continuity checks can be handy as well.

I upgraded to better meters when I was able to, but these work and still very handy for light use like this, and not out much at $5. Take the battery out when not in use so it doesn't leak / destroy the meter, and the meter will last for years.
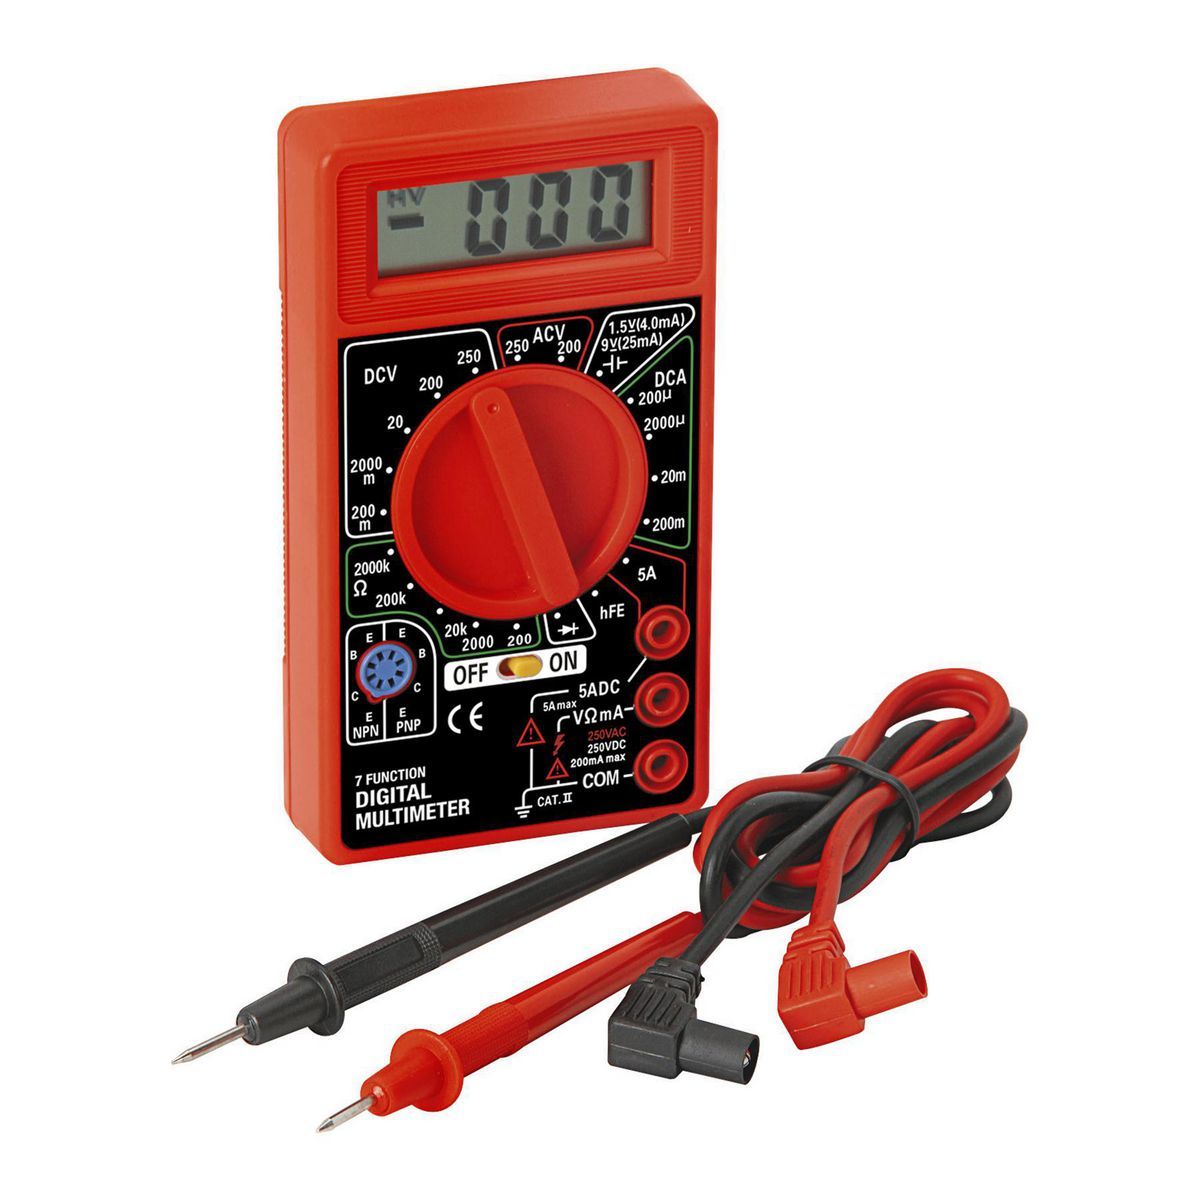

All the amp needs to turn on is, +12V / Ground, and +12V on the Remote terminal. Pretty simple to test if you can do so carefully and not short wires out.
 
I’m still confused on what’s working / isn’t. A lot to take in with your description / photos. It's a simple install, but none of us are there in person so it makes it a little more difficult.
The gist of it is, he has an aftermarket radio connected to the OEM system. They used an aftermarket connection harness specific to his truck to avoid cutting OEM wires. I do not see an LOC but it seems the radio was working fine. Only issue is the new amp.
All he has to do is connect his RCAs to the L-OUT and R-OUT behind the radio, then connect them into the amp's RCA input. Next is to move the ground to a seatbelt bolt.
I would leave the wirenuts as they are. I use wirenuts frequently and they bite pretty hard when tightened snugly.
I thought it was just the amp, but sometimes best to re-confirm.

Wire nuts can for sure bite if they fit the wire well, enough to where I don’t think even in a car would vibrate them off, but I wouldn’t trust someone inexperienced to use them, and why gamble when there are methods that guarantee a solid connection. At the very least I’d suggest some electrical tape to help keep them from coming off, just in case.

I use wire nuts for doing some basic testing occasionally, definitely handy, but it’s cheap enough to do some proper crimp connectors and or solder.
 
I use wire nuts for doing some basic testing occasionally, definitely handy, but it’s cheap enough to do some proper crimp connectors and or solder.
I had a Coustic 4 amp system and had nothing on hand but wire nuts for the power wires on the amp. Under the amp board, it did look awkward seeing big blue wirenuts looking like fruits of some sort.
 
Ok. we have a way to move forward so let's get to the shopping list. I wanted to do this yesterday but I had my ass chained to an o-scope all day at work. This is a list of basic tools you will need and it's the kind of things you will probably only need to buy once in your life. We're going to assume you'll want to use more of this down the road and continue this hobby so I will offer links to kits of material which can be purchased cheaply. Long post but it will be jampacked full of other info you can use.

Let's start with the easy stuff. Odds and sods
1. Heatshrink. This link is to a full kit of different sizes that you need. As I mentioned in the previous posts you can use a lighter or hair dryer to shrink this material. When you apply heat make sure that it is evenly spaced on the wires you have connected and there is no visible wire showing. Apply even heat in a left to right pattern. You will see the heatshrink flatten. Rotate the two wires while applying heat so it shrinks evenly and completely. If using a lighter do not allow direct flame on the heatshrink. (Important!)
MILAPEAK 650 PCS Heat Shrink Tubing Kit, UL Approved Heat Shrink Tube Wire Wrap, 2:1 Ratio Electrical Cable Sleeve Assortment with Storage Case for Long Lasting Insulation Protection (8 Sizes, Black): Amazon.com: Industrial & Scientific

2. Zip ties. These are essential when running wire from the front to the rear of the car, organization, and appearance. We want all of our wires routed safely and cleanly if possible.
Amazon.com: HMROPE 100pcs Cable Zip Ties Heavy Duty 8 Inch, Premium Plastic Wire Ties with 50 Pounds Tensile Strength, Self-Locking Black Nylon Tie Wraps for Indoor and Outdoor : Electronics

3. Electrical and Tesa tape. You should have a roll of both handy. Tesa is great for wrapping wire in bundles and has many other purposes. I'll leave a link to the tesa and trust you to source the electrical tape.
Wire Harness Automotive Cloth Tape - Adhesive High Noise Resistance Heat Proof Chemical Fiber Fabric Electrical Tape for Wrapping Wiring Harness/Insulation/Car Engine (0.75″82′Pack of 1 Piece): Amazon.com: Industrial & Scientific

4. Wire connector kit. It's worth the money to have one of these around the house. You can use this for speaker and wire connections.
Amlits 300 PCS Insulated Wire Electrical Connectors - Butt, Ring, Spade, Quick Disconnect - Crimp Terminals Connectors Assortment Kit: Amazon.com: Industrial & Scientific

5. 8 guage connectors. It's cheaper to buy in bulk.
Amazon.com: 20pcs Barrier Spade Fork Terminal Connector 8 GA AWG Gauge Crimp Red Black Boots : Industrial & Scientific

TOOLS
1. Wire cutters. (I don't use my strippers to cut wire as a general rule) I would reccomend buying two. The second link is for a pair of "finish/flush cutters. They are great for tight spaces and you would be surprised how often they come in handy.
Mr. Pen- Wire Cutter, 6 Inch, Wire Cutters, Diagonal Wire Cutters, Flush Cutter, Nippers, Side Cutters, Flush Cutters, Diagonal Cutter, Cutting Pliers, Floral Wire Cutter, Wire Pliers - - Amazon.com
VCELINK Small Wire Cutter Spring-loaded GJ706BL, Precision Flush Cutter Pliers, Diagonal Cutters for Electronics, Jewelry Making and Model Sprue, Soft Copper Wire Snips, 5-Inch - - Amazon.com

2. Wire strippers. When we strip wire we want to use the proper hole for cutting the insulation on the wire. This is indicated on the cutters. Close the jaws completely and rotate them in a CW-CCW motion while holding the wire. Dont pull. It will stretch the wire insulation and can break strands of wire.
IRWIN Vise-Grip Wire Stripping Tool / Wire Cutter, 8-Inch (2078309), Multicolor - Wire Strippers - Amazon.com

3. Crimpers. This will cost a couple bux but you will have them for 20 yrs. So it's worth it. You may go nuts next year and do a huge system once you expand your knowledge base
IWISS AP-50BI Battery Cable Ring Terminal Crimper for 8, 6, 4, 2AWG Copper Cable Lugs, Heavy Duty Wire Lugs and Battery Cable Ends - - Amazon.com

Give this a butchers' (closer look) and get back to us if you have any questions.
 
Last edited:
Activity
No one is currently typing a reply...

Similar threads

Just make sure you don't buy a cheap eBay alternator. They advertise a higher max output but almost always put out less amperage at idle than your...
27
2K
To me.. It looks like the Allen head screws are in the terminals on the speaker inputs on the amplifier. The negative looks like its in there and...
5
1K
In order to answer your question, I would need to know what model (e.g. SW4200, SW7524DVC). Also, are you looking to make a ported box or sealed?
3
2K

About this thread

ghosthirty7

CarAudio.com Newbie
Thread starter
ghosthirty7
Joined
Location
Sacramento
Start date
Participants
Who Replied
Replies
21
Views
1,841
Last reply date
Last reply from
just call me KeV
IMG_0632.jpg

just call me KeV

    Apr 19, 2024
  • 0
  • 0
IMG_0629.jpg

just call me KeV

    Apr 19, 2024
  • 0
  • 0

Latest topics

Top