Another NS3 Build: Funky 2-Way

Well after I noticed that the inside layers of the second cabinet weren't lining up, I taped them all together and ran them on the router again.

IMG_6758.jpg


Then i used a 3/4" square poplar dowel to make blocks for the screws to go in through the back panel. I ran them on the router to match the inside countour.

IMG_6771.jpg


IMG_6772.jpg


And cut them into 1" blocks.

IMG_6773.jpg


The original layout, which would eventually get changed.

IMG_6774.jpg


I ran the blocks on the router with a sanding drum, just to clean them up a bit.

IMG_6775.jpg


And clamped them in

IMG_6777.jpg


IMG_6778.jpg


Once I was done with that, I glued the baffles on each speaker. I had to be cautious not to mess up that clean edge around the woofers.

IMG_6782.jpg


IMG_6779.jpg


In lieu of an actual drill press, I ghettorigged drill bits with tape so they could fit in the router. I clamped the base to the workpiece and use the plunge base as my drill press. I had to get perfectly straight holes for the mounting screws.

I countersank each hole about 5/16" to accommodate some oversized stainless screws.

Complete with burgerlighter.

IMG_6788.jpg


IMG_6789.jpg


I think I may have figured out how I'm going to do the mounting bracket. I've been pricing ones out, and I'm not really too excited about paying out the ass for good wall mounts.

I started out looking in the cabinet harware, but nothig really caught my eye. But when I went by the metal stock, I noticed the threaded rod and got an idea.

I got a short 3/8" piece and used a vice, a big ass socket, and a rubber mallet to bend it into the shape I wanted. I'm not sure if I'll stick with carriage bolts or just use threaded rod, but I think I'm going to use two pieces for each speaker, centered behind the woofers, which leaves the area behind the tweeter free for binding posts.

IMG_6791.jpg


I found exactly what I wanted while browsing around at Home Depot. I found stainless threaded rod, and although it was pretty expensive ($8/3ft) , it was exactly the kind of thing I was looking for.

Someone suggested that I use the rods themselves for my binding posts, which I think I'm definitely going to do.

I'm trying to find some stainless steel fender washers, but the ones at Lowes are in packs of 5 and cost like $5. I'm going to try and find some singles somewhere. I plan on getting a 5/26" washer for the 3/8" rod, then drill the center out a bit and thread the washer, so I can thread it onto the rod and have it welded, instead of having a washer and nut on the back of the speaker.

I think I'm going to make the wall plate out of MDF or something, as it's what I have laying around. I was going to originally go with some steel or aluminum plates for the wall, but if I'm going to use them for conductors I need them isolated.

IMG_6793.jpg


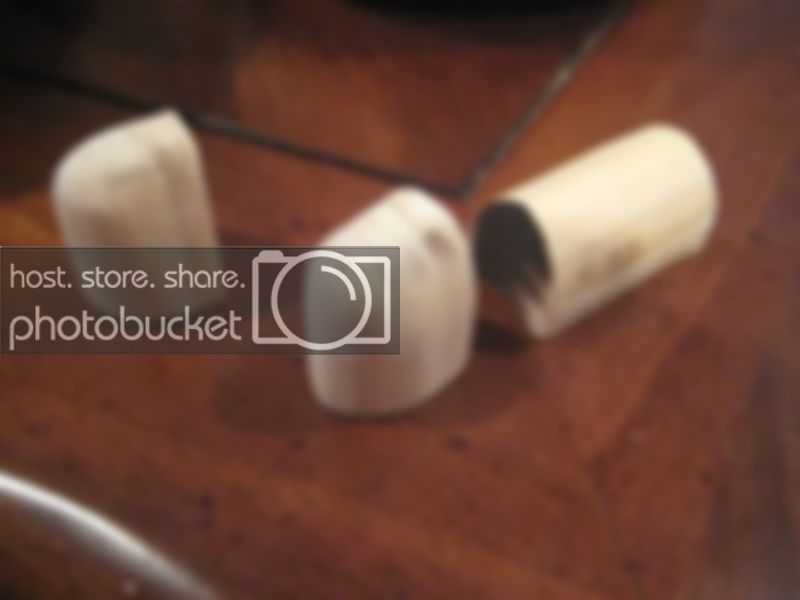
I bought some cheaper regular steel threaded rod to get right before bending the stainless. The first one I bent came out pretty well, although my method of bending was pretty crude... beating it with a rubber mallet while in a vice next to a big socket. The second I put in and tried to bend broke, I tried again a few inches up and it broke again. So, I went and got more rods, and picked up some pipes to slide over the rod whie bending.

IMG_6809.jpg


IMG_6810.jpg


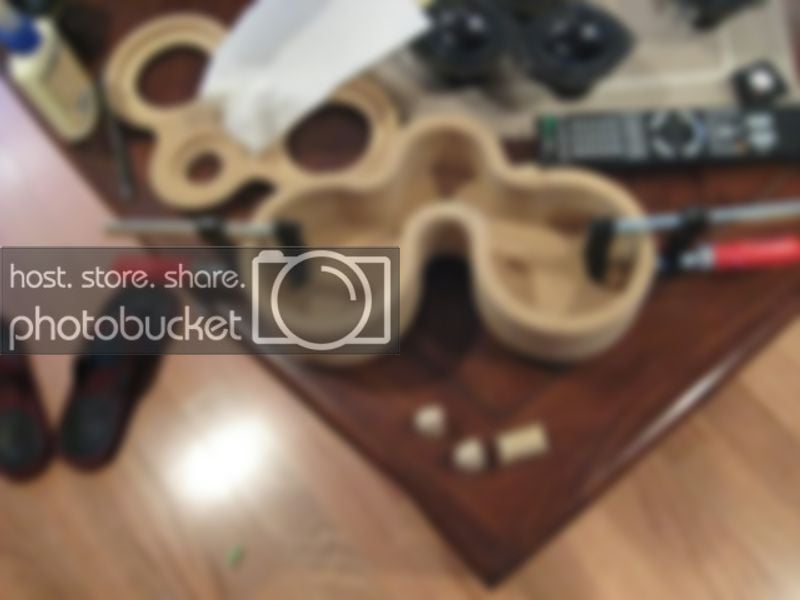
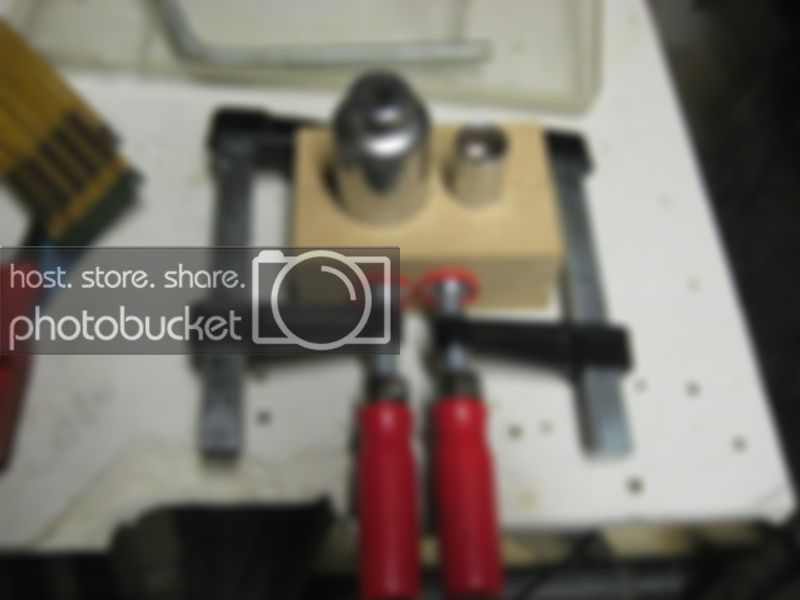
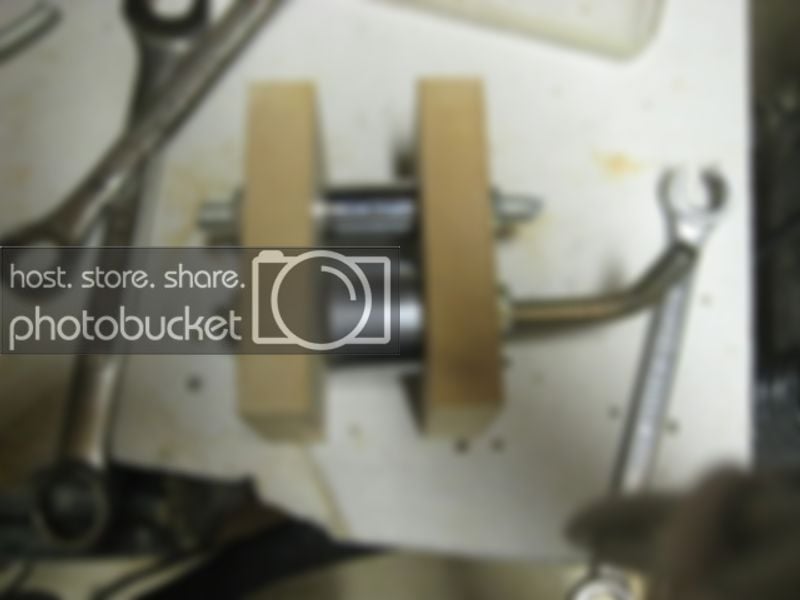
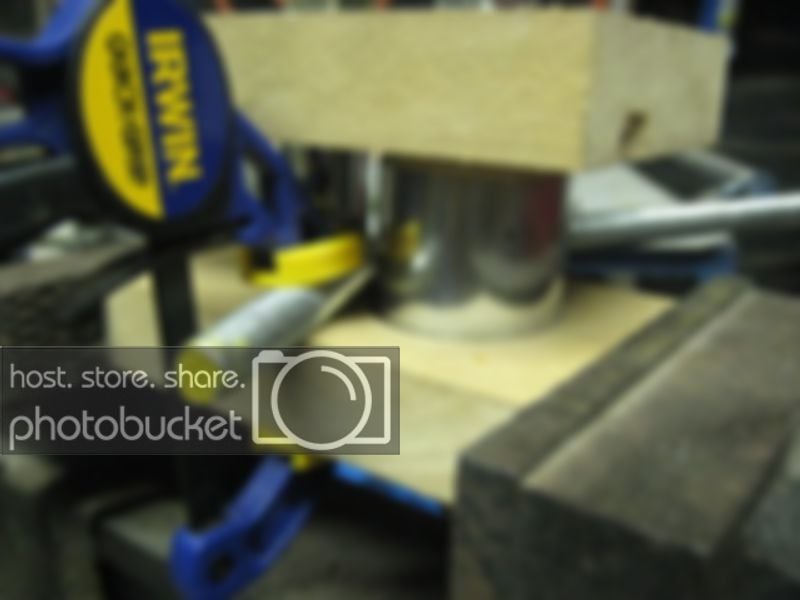
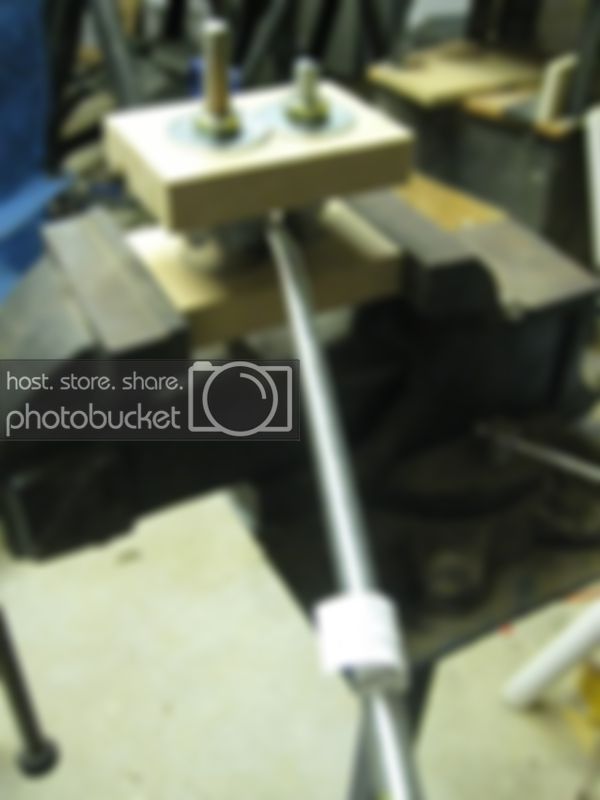
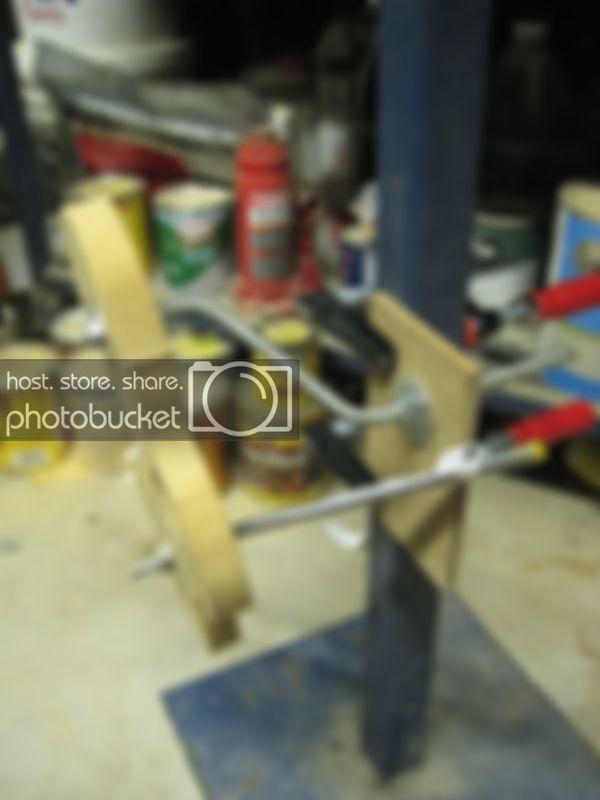
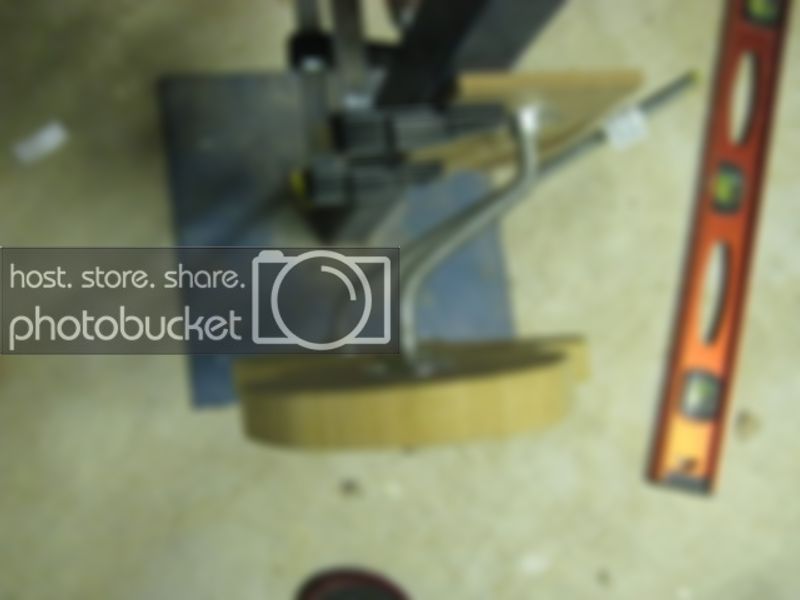
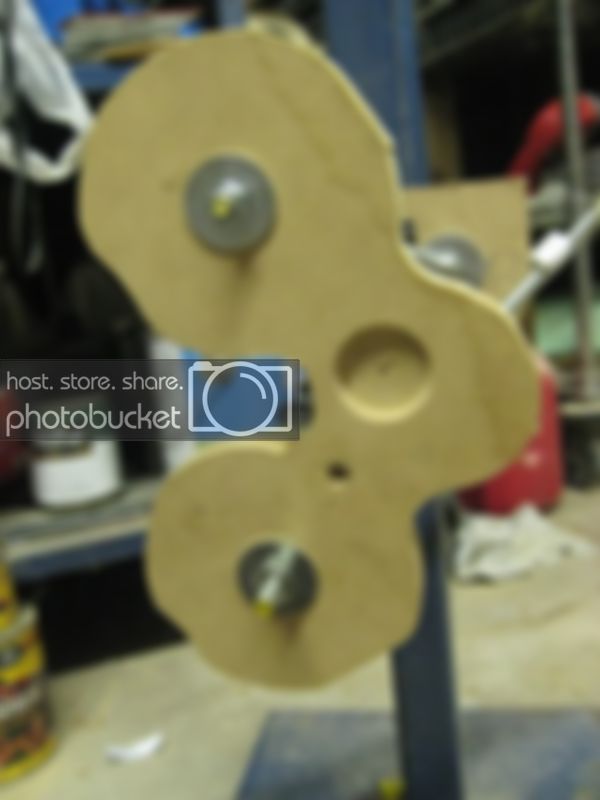
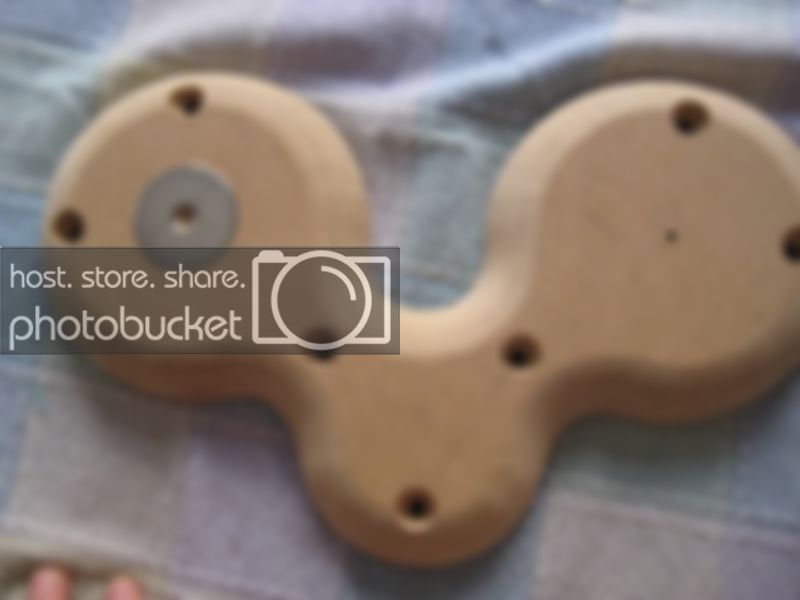
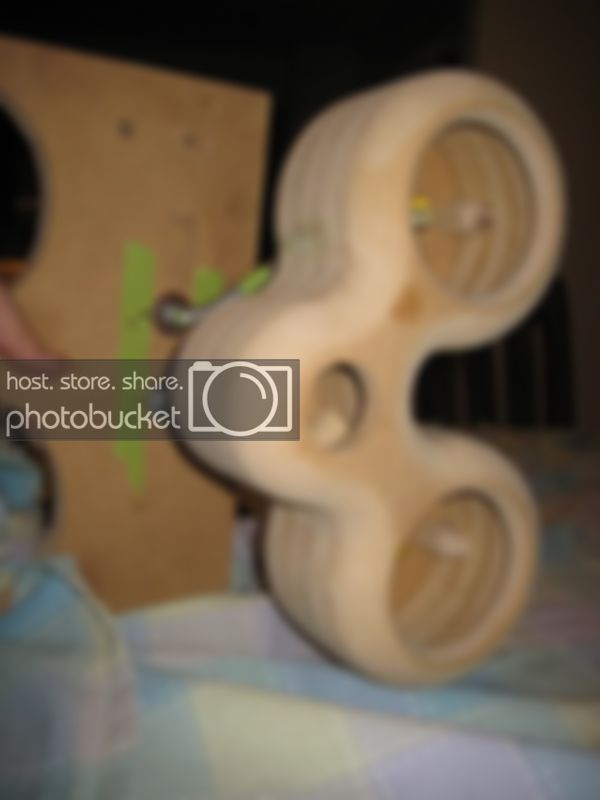
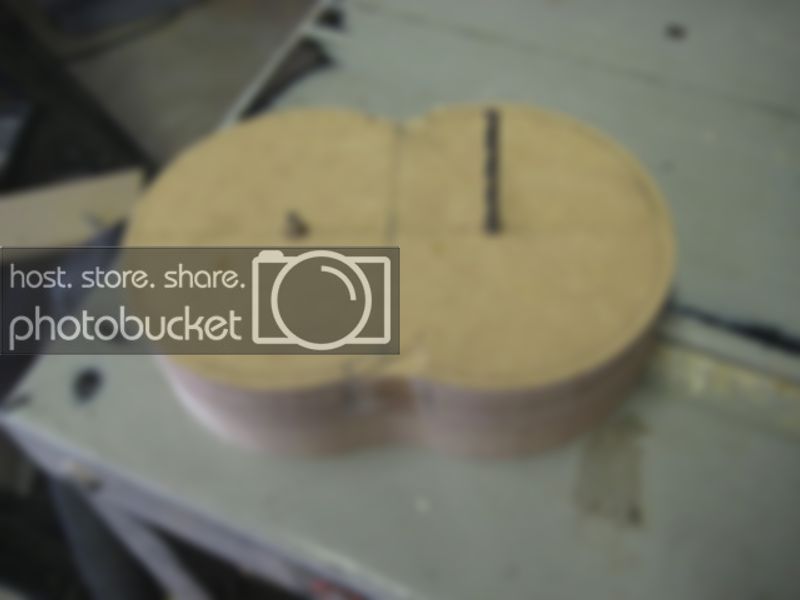
I then decided to make a bending jig for it, and just bend with the pipe. I routed holes for the bits to sit in, and the whole thing is bolted together using the broken threaded rods. I put that whole thing in the vice and bent it, resulting in a much nicer looking radius, and no marring from the hammering or the vice.

IMG_6812.jpg


IMG_6813.jpg


IMG_6816.jpg


IMG_6817.jpg


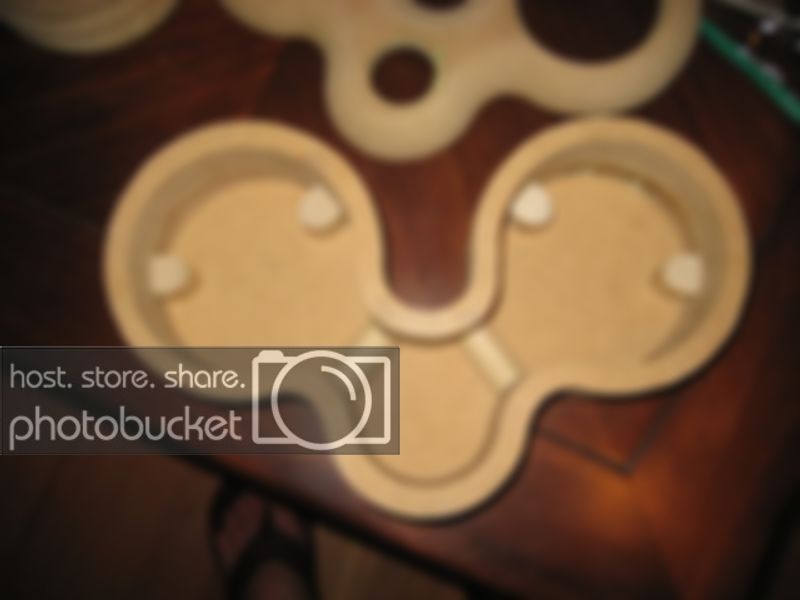
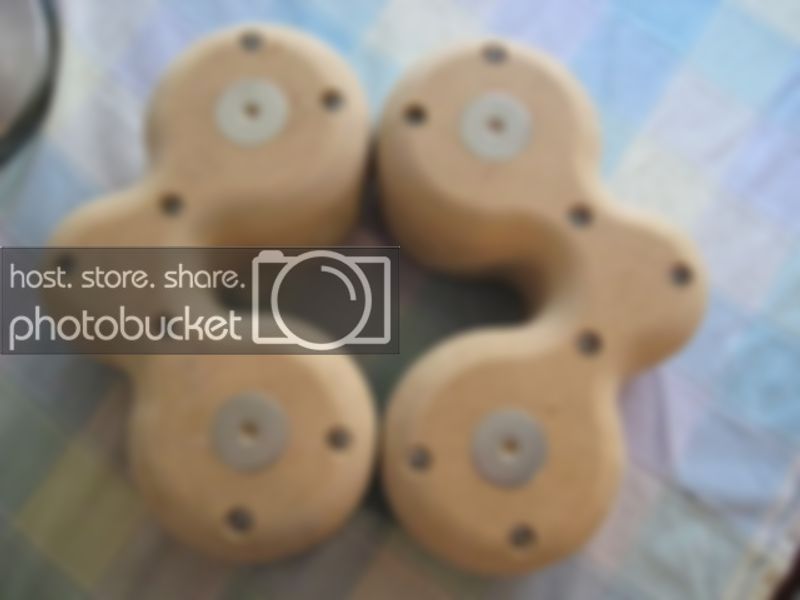
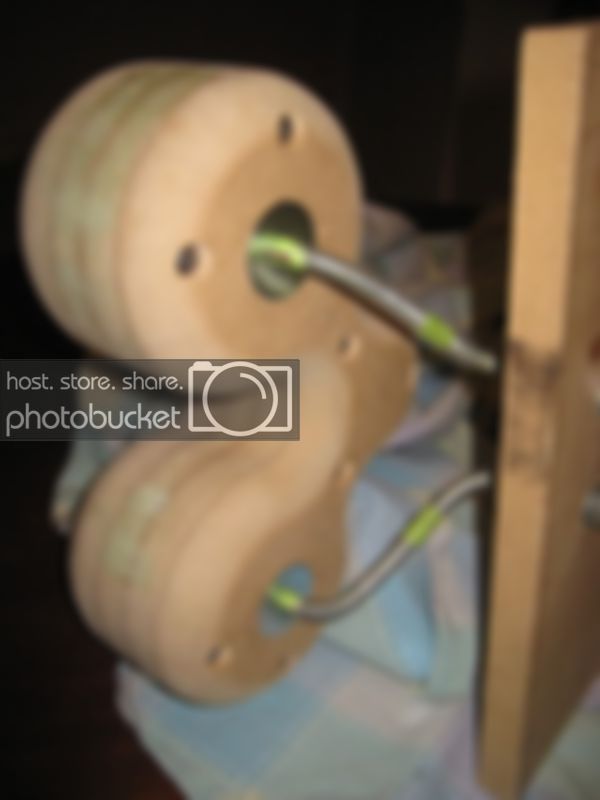
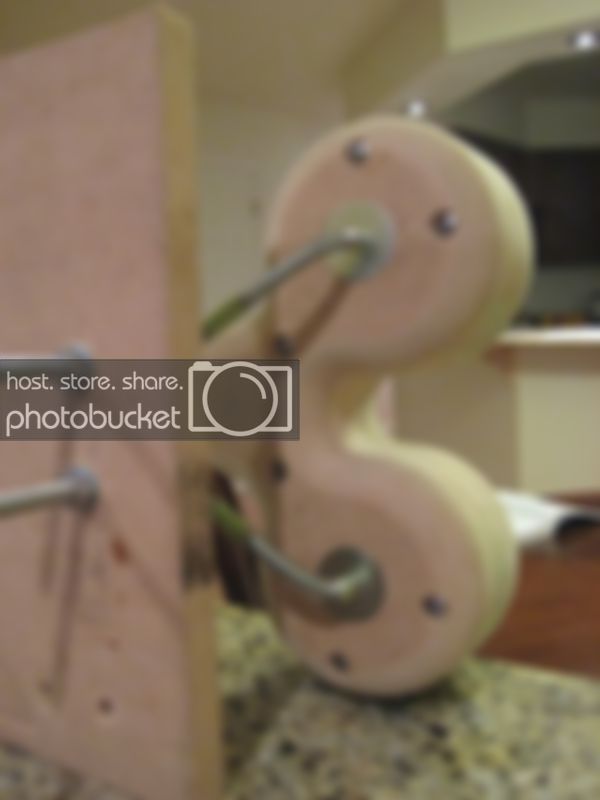
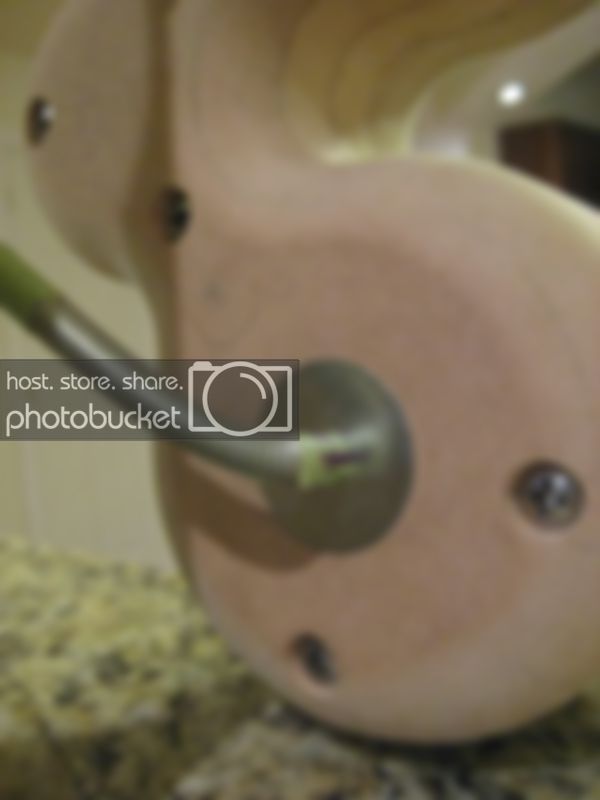
I think I will be able to use just the washers on the rod without welding, which would be expensive and may screw up the finish. I used 5/16" fender washers and threaded them, so they hold when bolted from behind. The washers will be flush with the surface on the speakers and wall plates.

IMG_6803.jpg


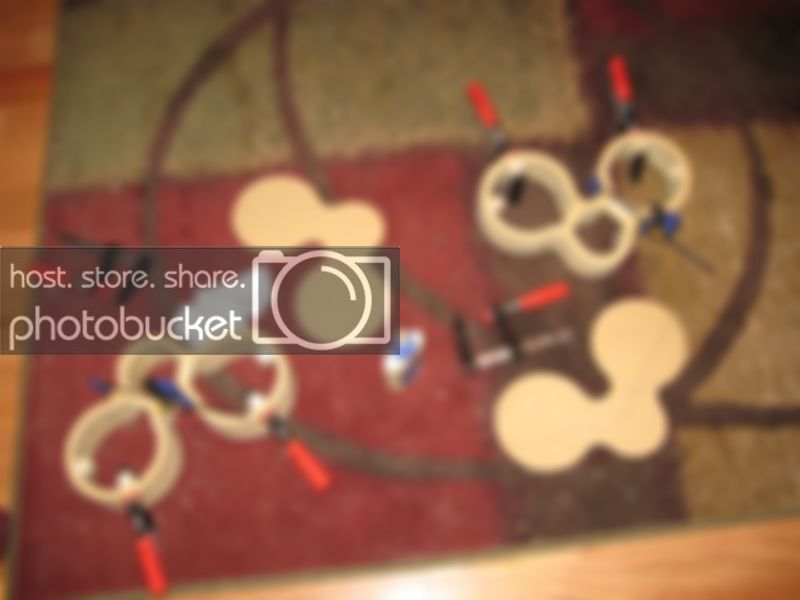
I think I will still rebend the top bar, as the one bent with the jig has much smoother bends, and I'd like them to match when starting with the stainless steel.

IMG_6818.jpg


IMG_6819.jpg


IMG_6820.jpg


I routed out recesses for the stainless washers and used the clamps to force them in, as I left them tight. It looks and feels really good.

IMG_6821.jpg


IMG_6822.jpg


IMG_6823.jpg


IMG_6824.jpg


I also finally figured out how I'm going to get all four rods bent correctly. I"m going to make all four with identical bends, then simply bolt it together, and torque with clamps until it is in the right position.

 
ingenious. maybe put some heat-shrink tubing on the rods when you are all done for a nice matte black look.

awesome so far! make me a set of 5 for surround sound lol.

 
ingenious. maybe put some heat-shrink tubing on the rods when you are all done for a nice matte black look.
awesome so far! make me a set of 5 for surround sound lol.
If it's worth it, I'm down. I'd love to do this **** for money.

 
VERY nice craftsmanship. Only potential issue I see is the very tightly press fit washers. Assuming you plan to prime/paint then the fit will get MUCH tighter and possibly chip the paint trying to reinstall them. Would hate to see you run into issues with the finish after all that hard work...

 
Activity
No one is currently typing a reply...
Old Thread: Please note, there have been no replies in this thread for over 3 years!
Content in this thread may no longer be relevant.
Perhaps it would be better to start a new thread instead.

Similar threads

They managed to turn Covid into a wedge issue.
1
14
Pioneer lists the wattage different than sonic. Pioneer says That amp listed will do great with these speakers. You can play em at 125w no...
4
1K
I think you will be just fine to be honest. Id run it and check it after hammering on it quite a bit and check the temp on the wire by hand to see...
2
1K

About this thread

hempy

10+ year member
bass wiener
Thread starter
hempy
Joined
Location
nola
Start date
Participants
Who Replied
Replies
52
Views
3,424
Last reply date
Last reply from
hempy
fixed.jpg

Popwarhomie

    Apr 29, 2024
  • 0
  • 0
done.jpg

Popwarhomie

    Apr 29, 2024
  • 0
  • 0

Latest topics

Top