My Car Install

Axxistroy

Car Audio System Designer
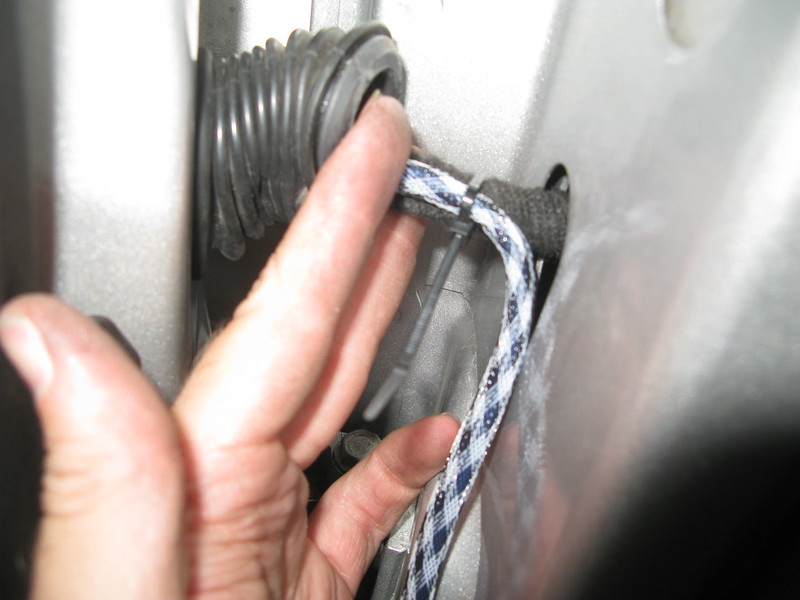
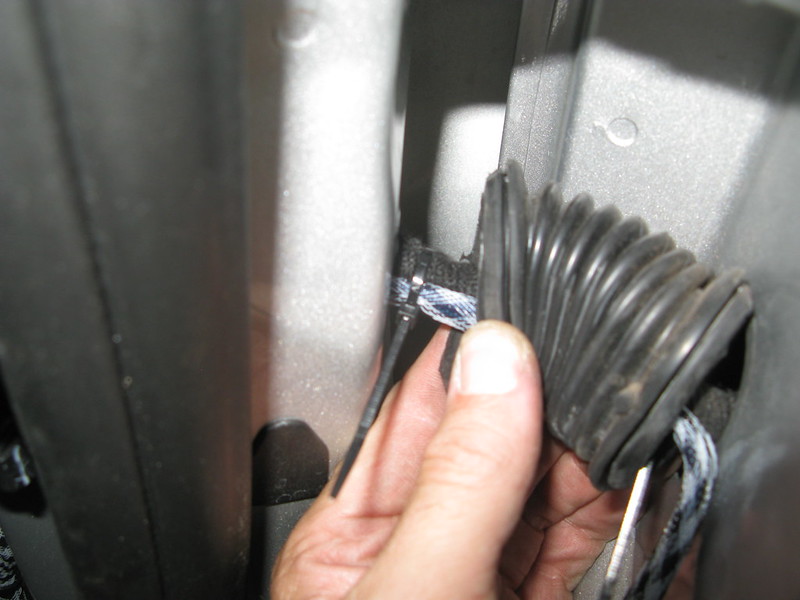
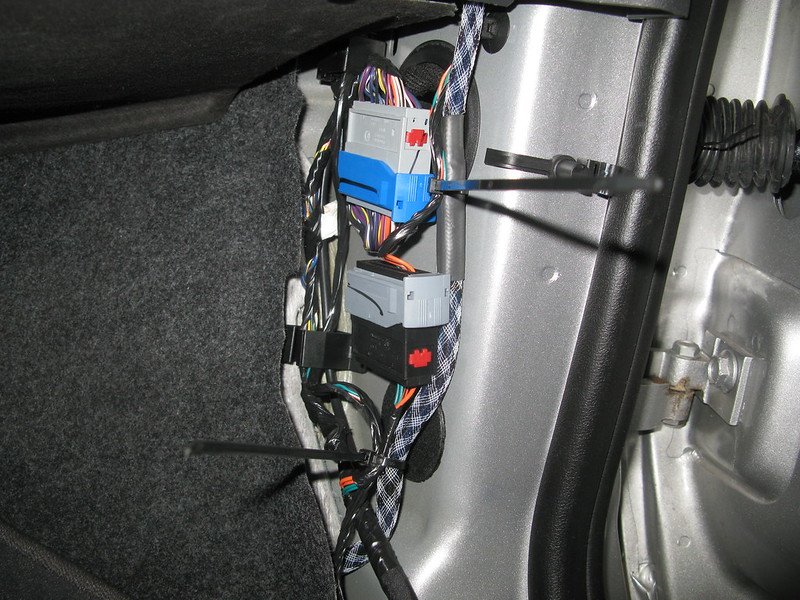
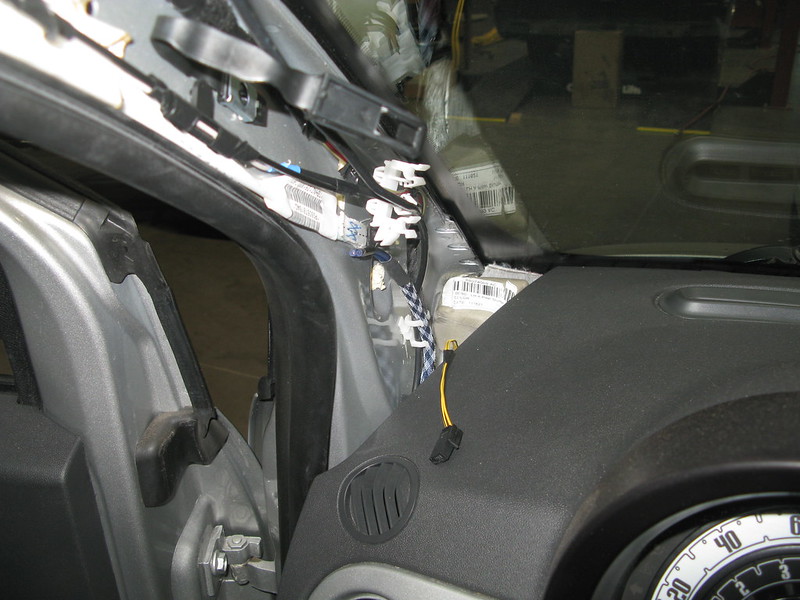
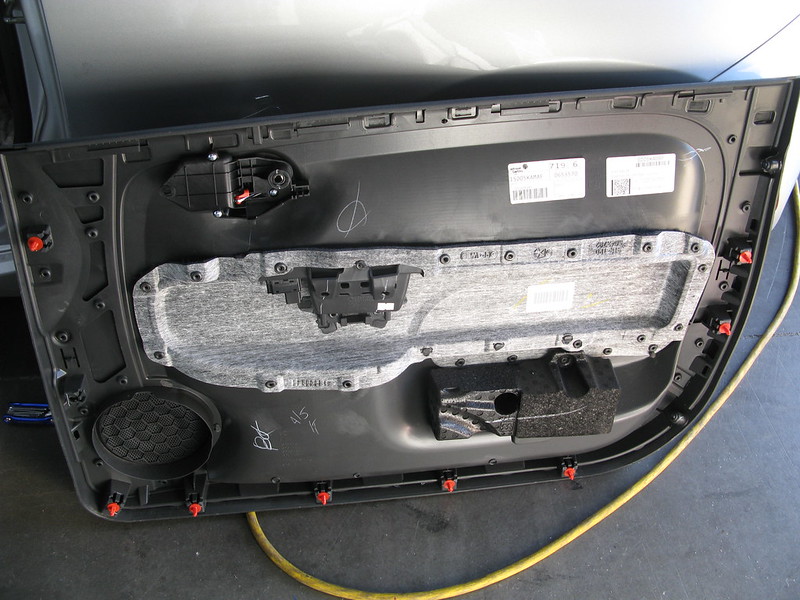
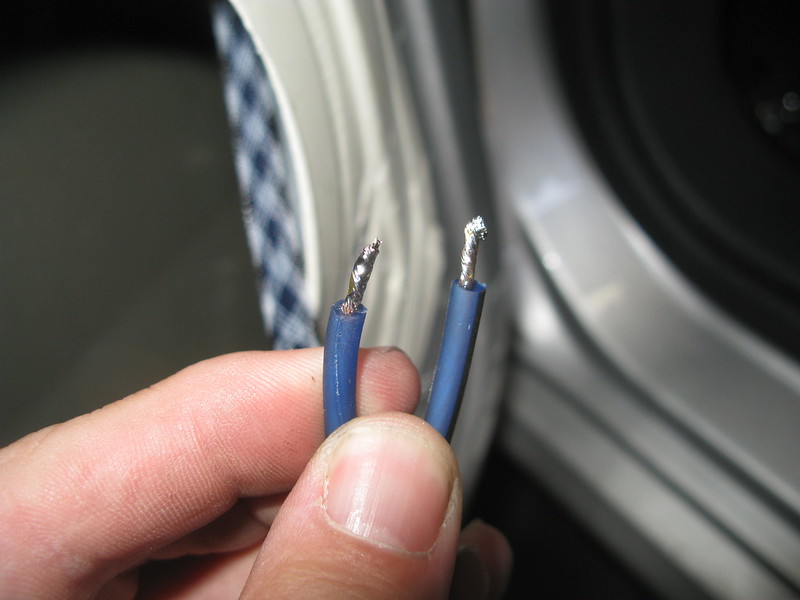
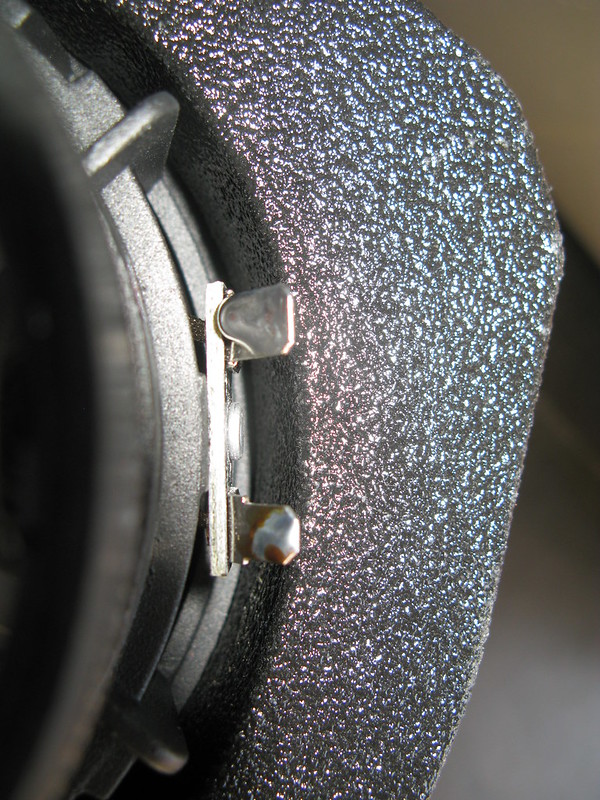
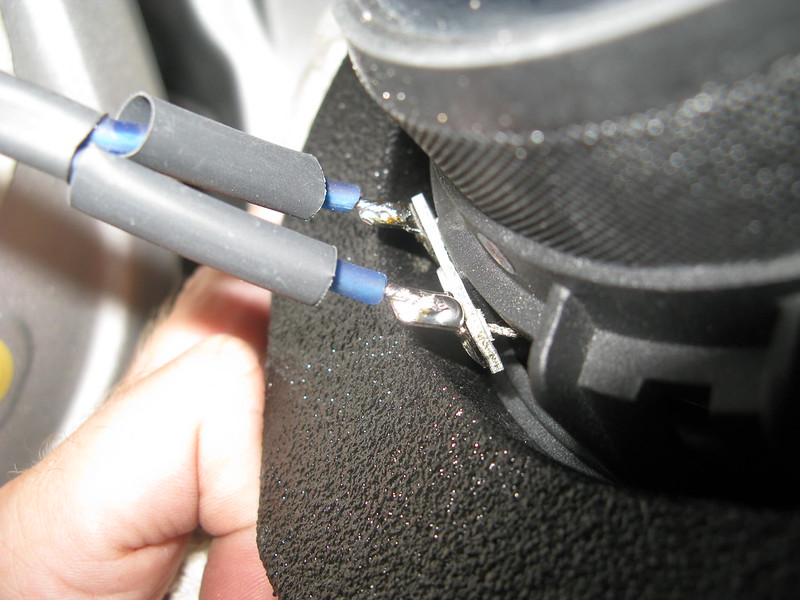
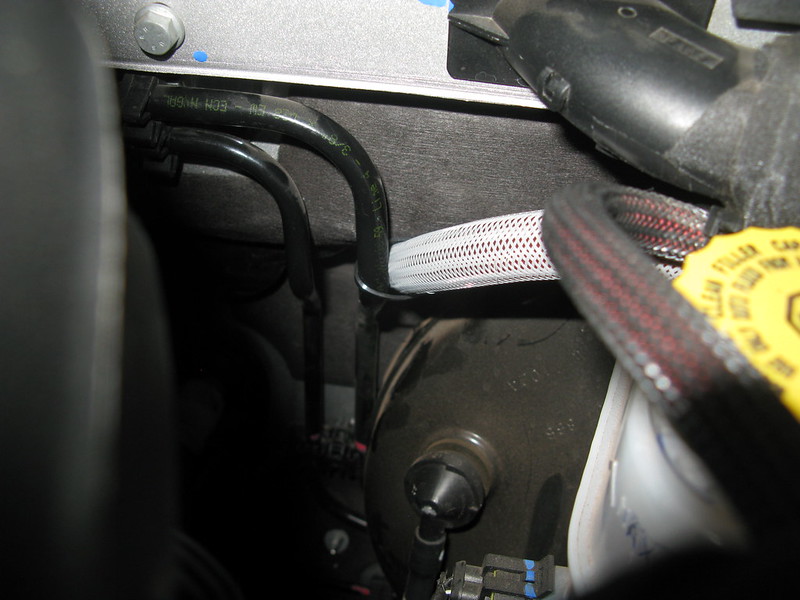
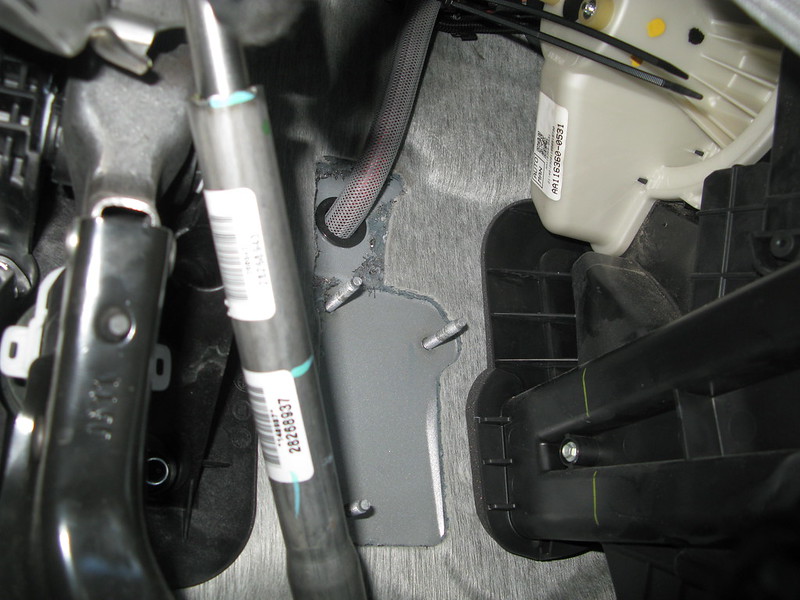
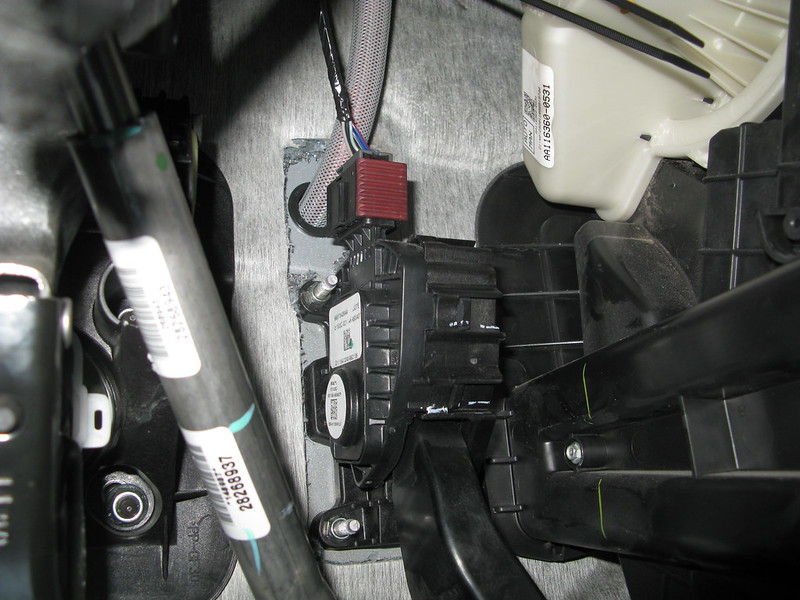
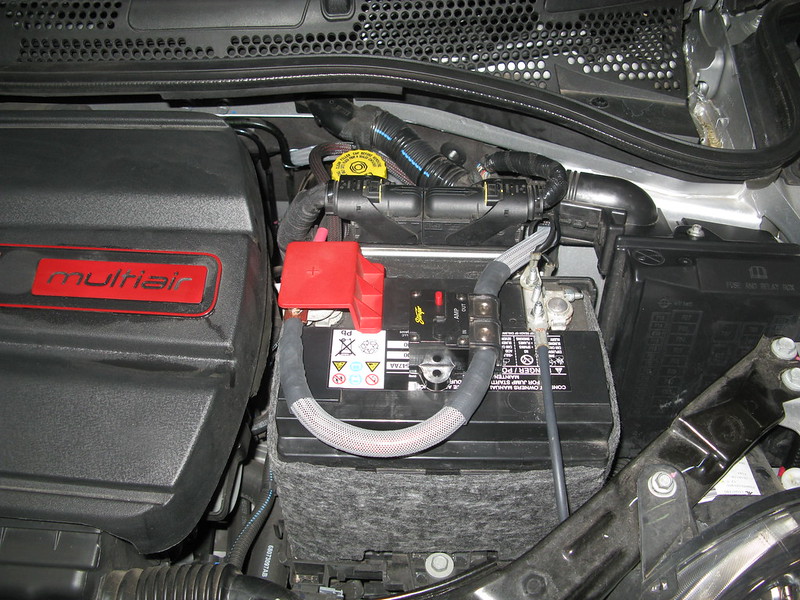
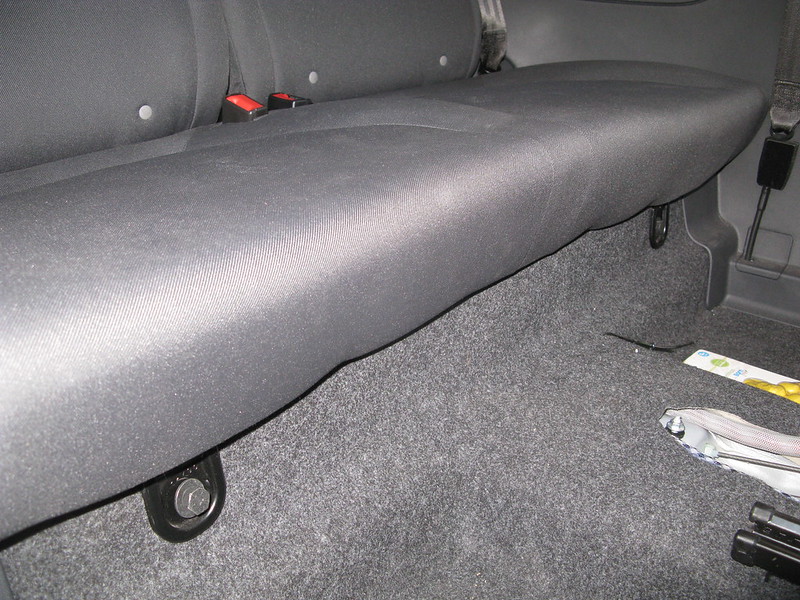
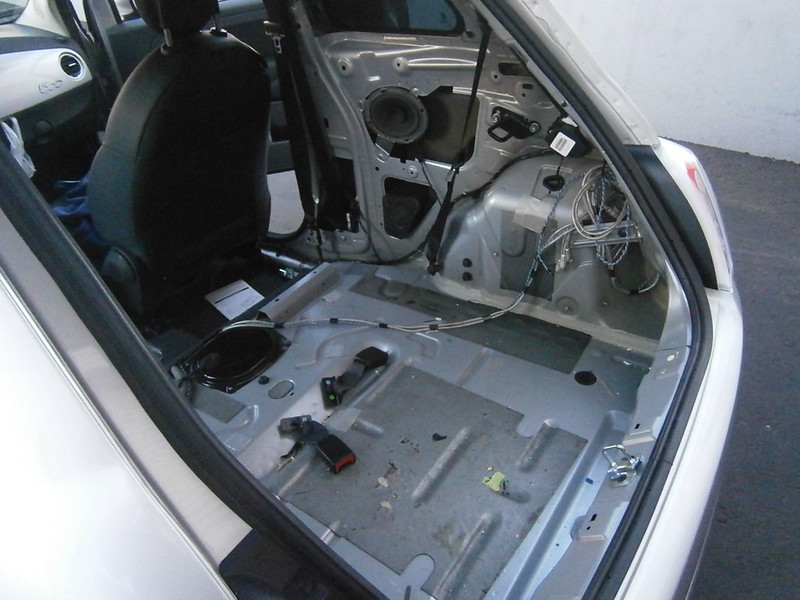
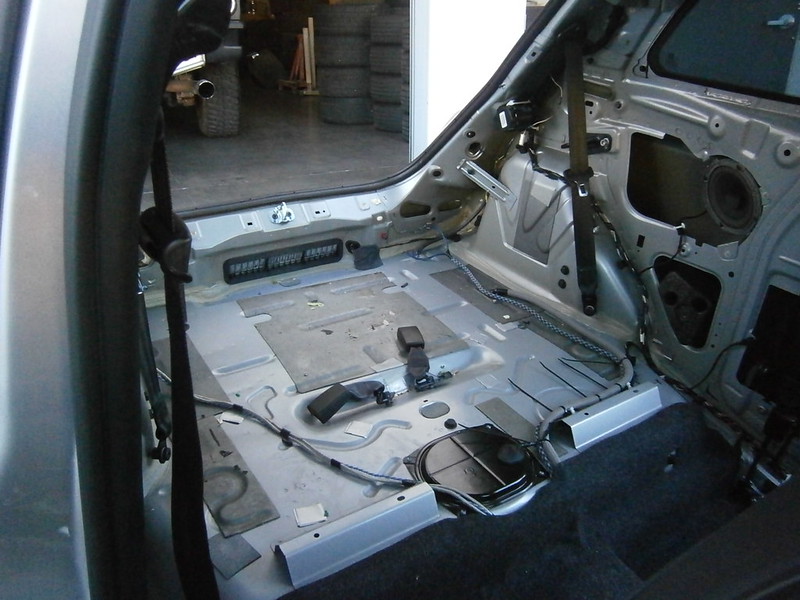
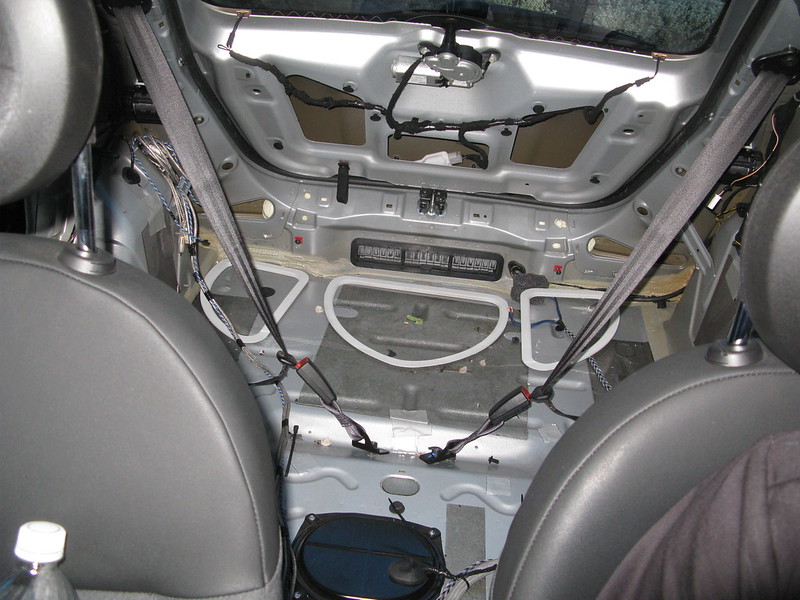
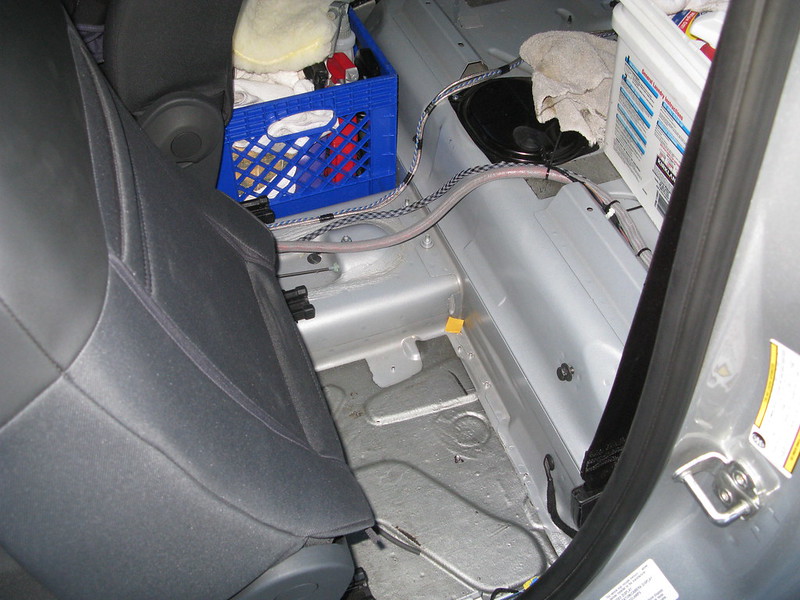
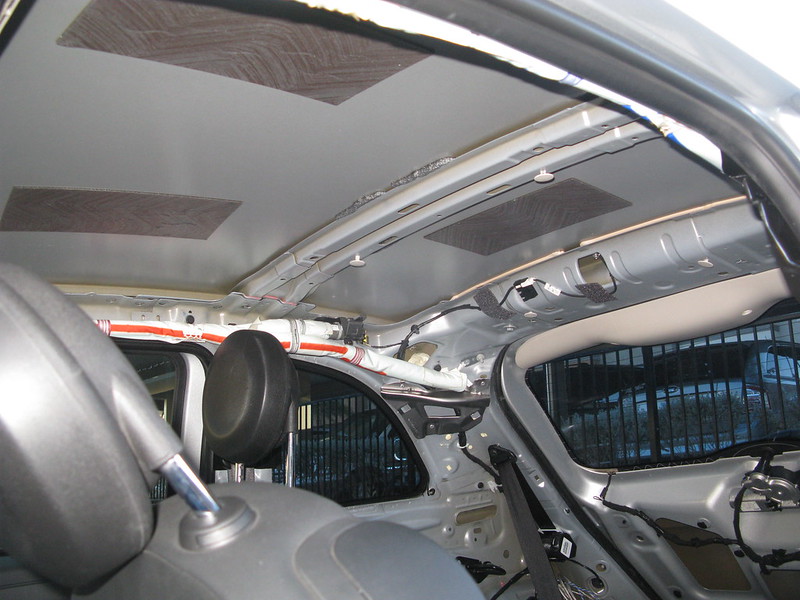
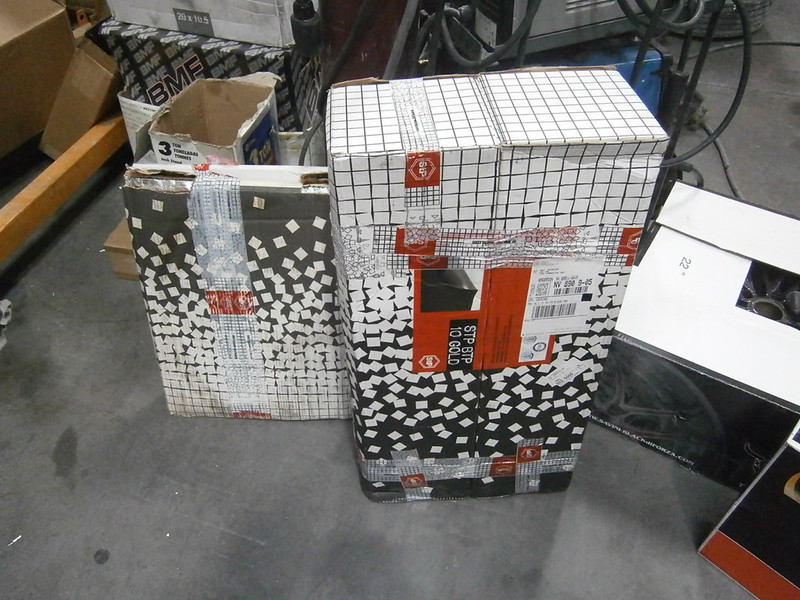
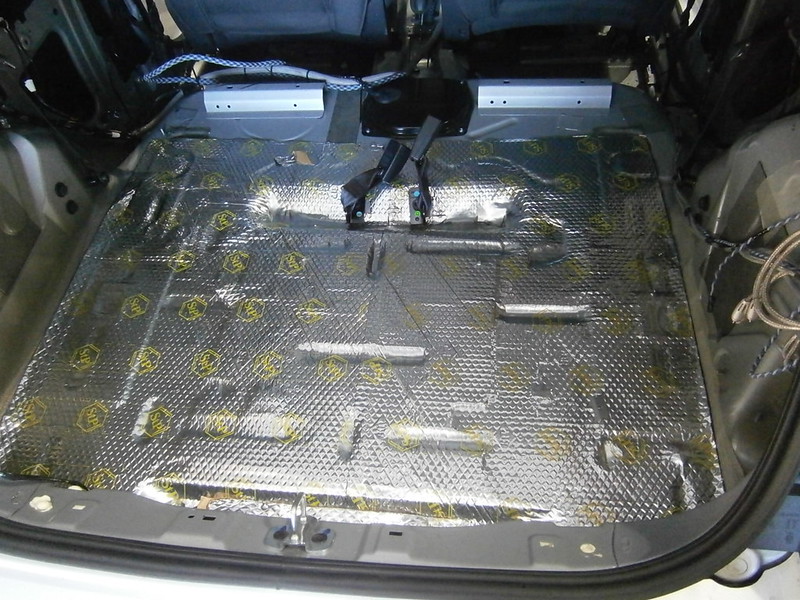
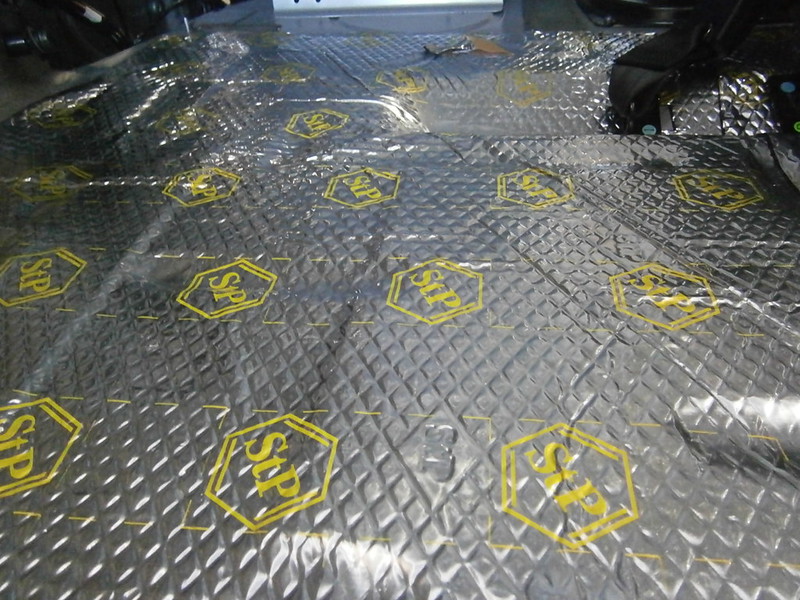
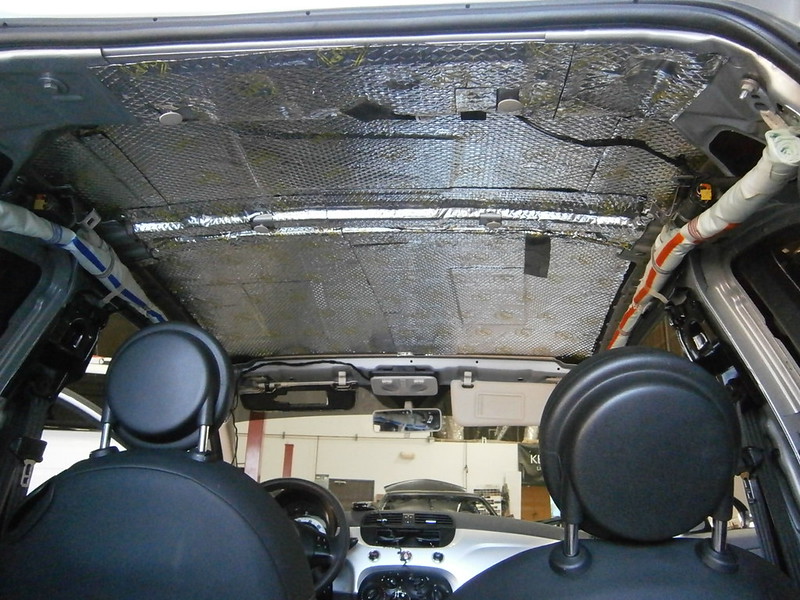
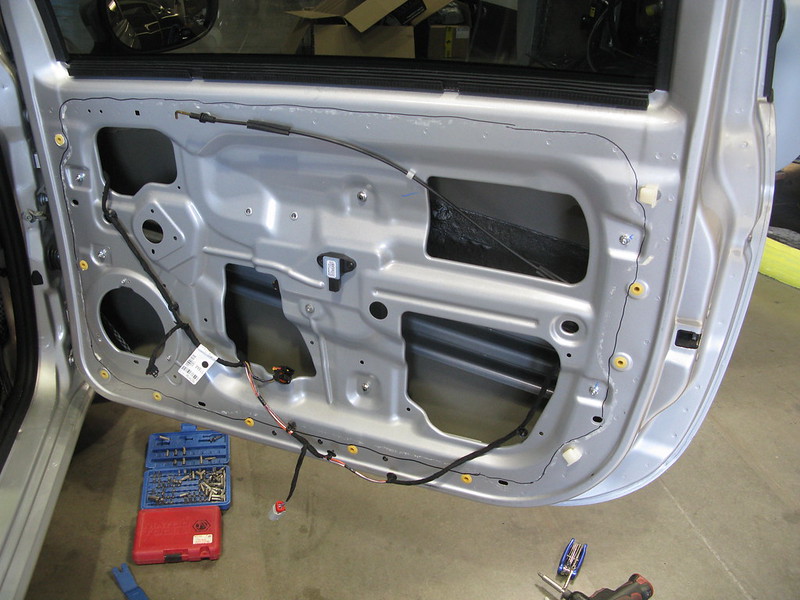
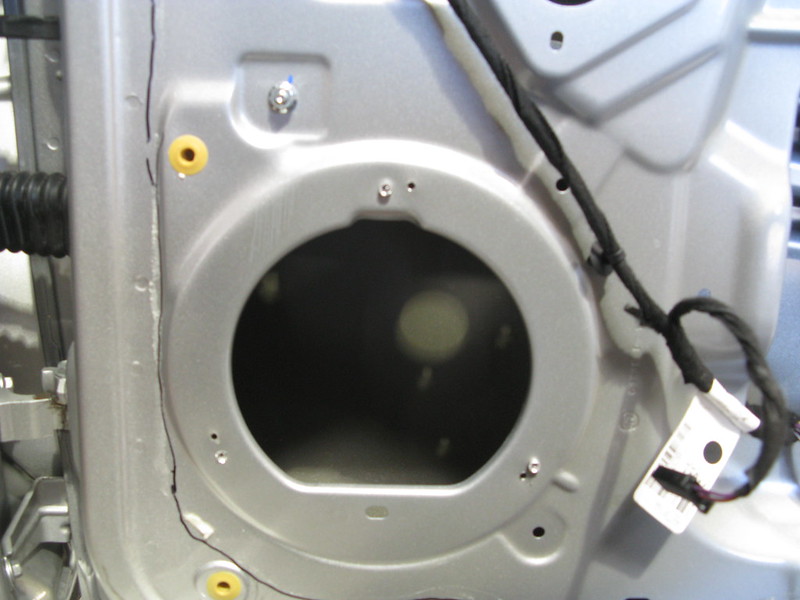
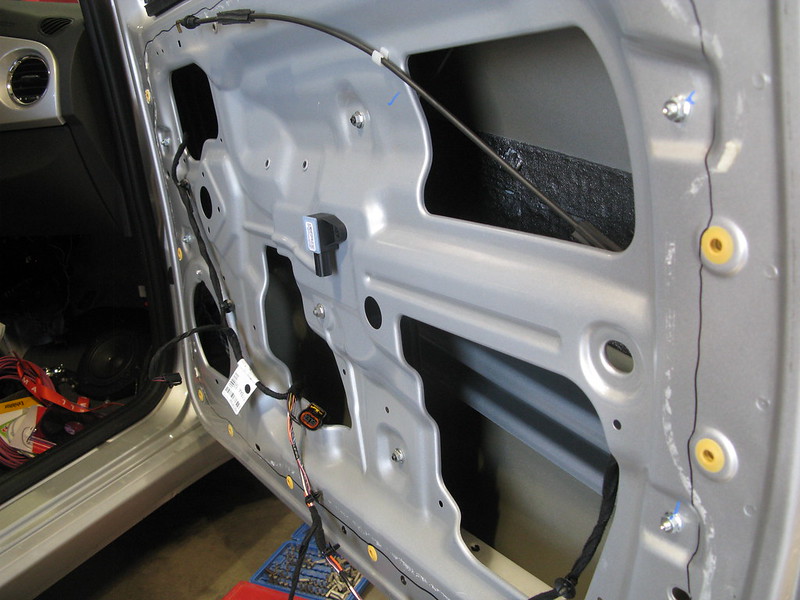
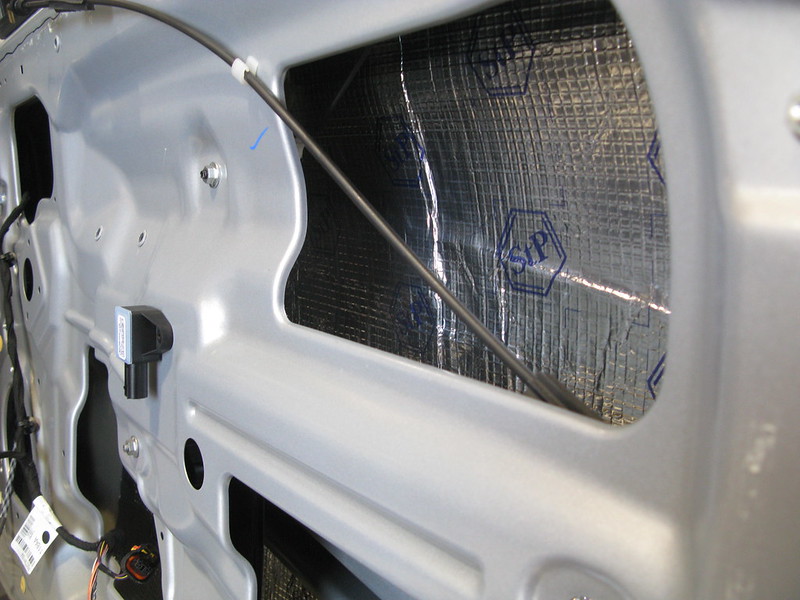
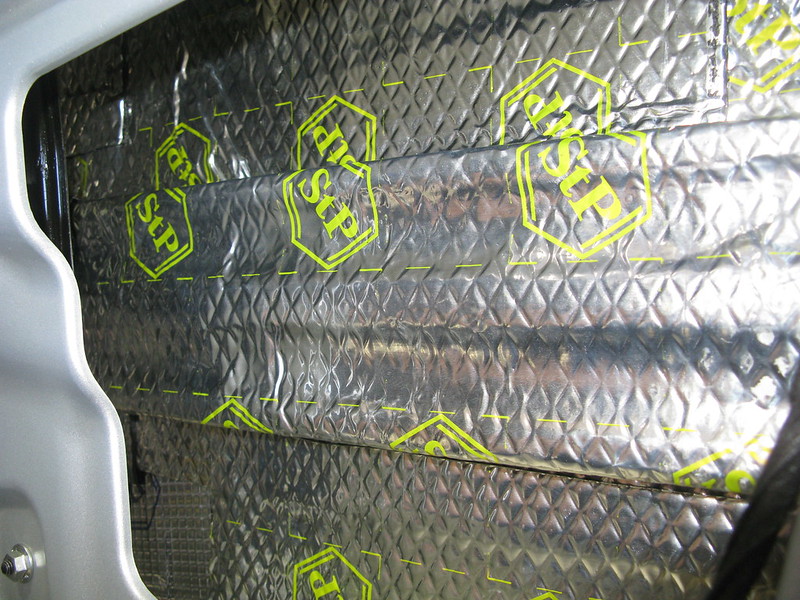
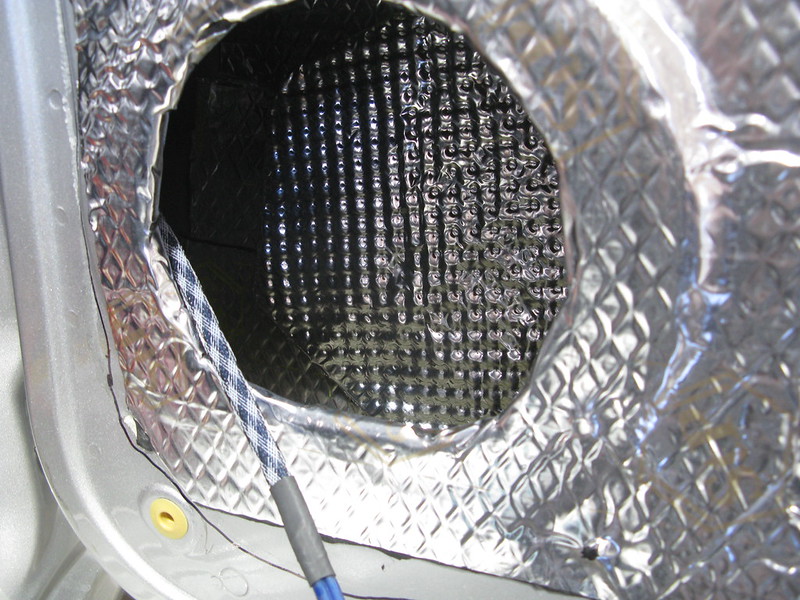
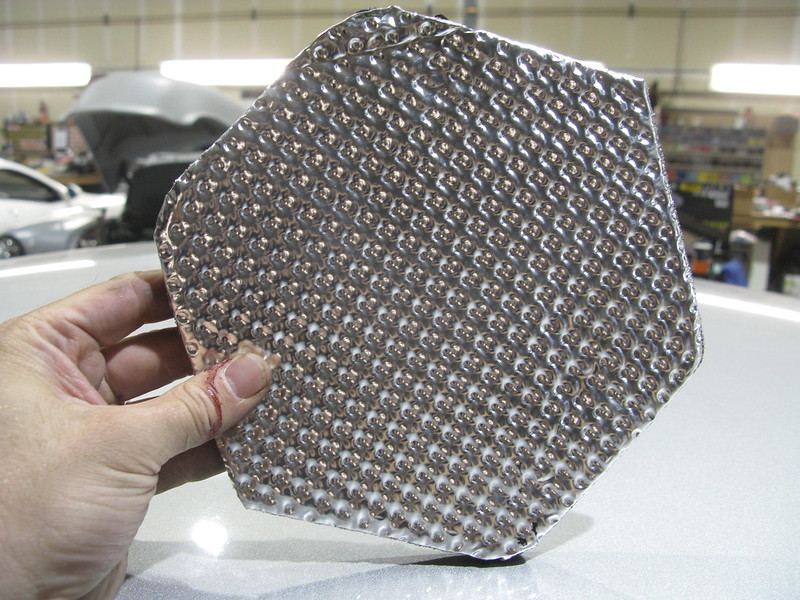
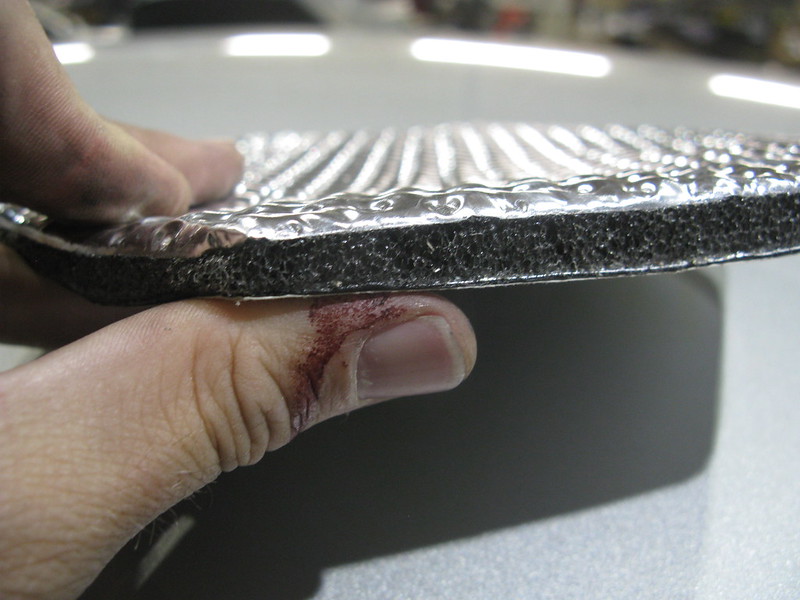
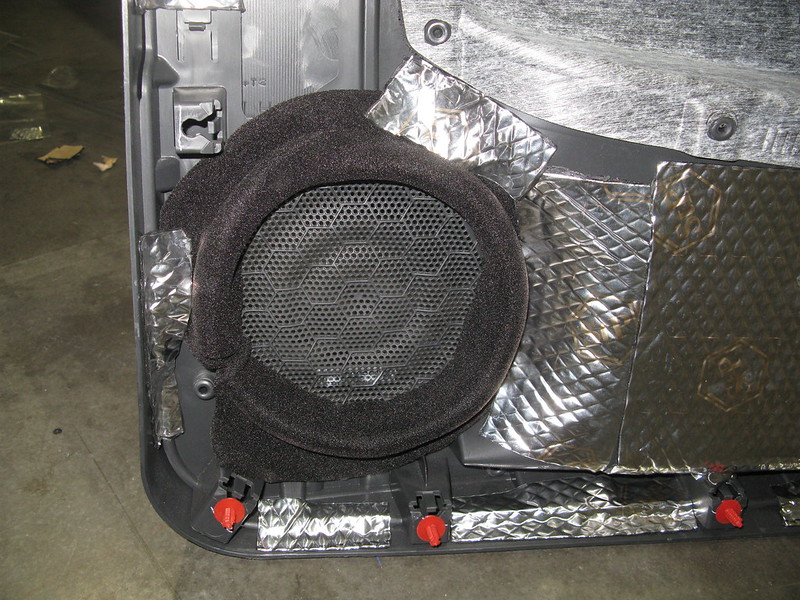
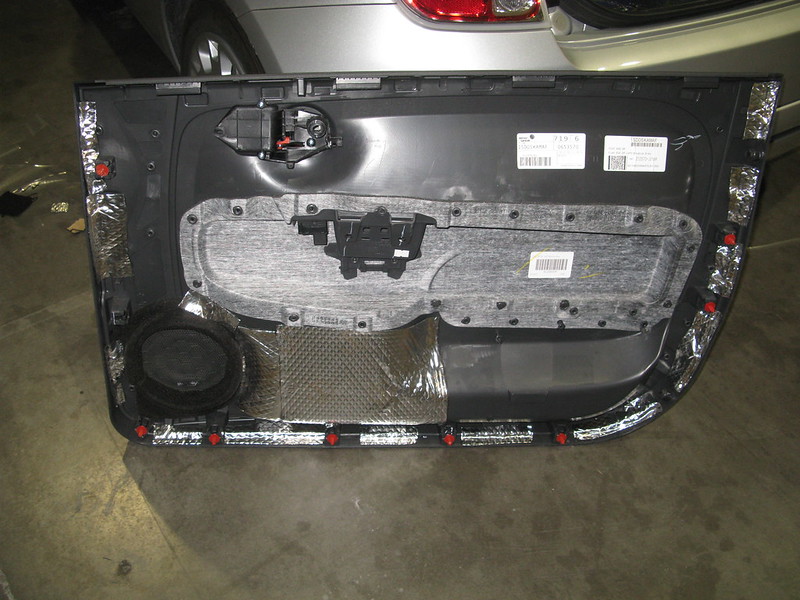
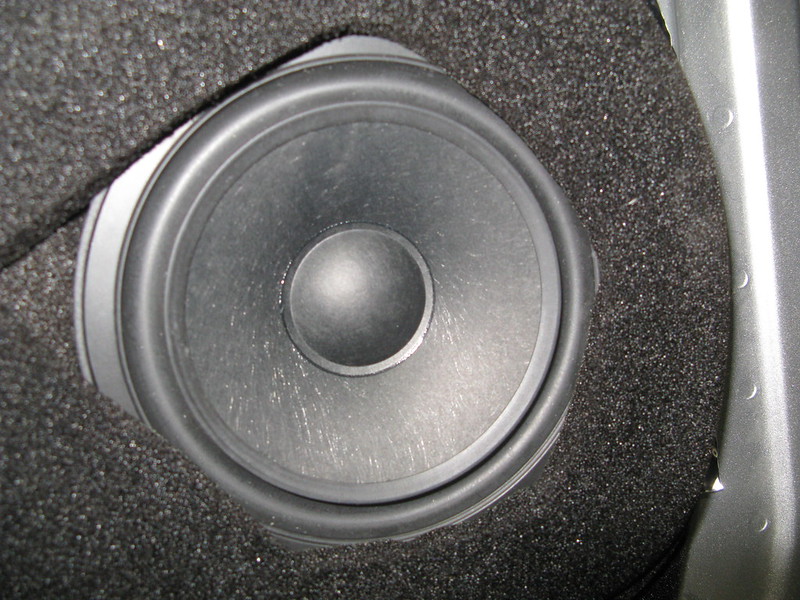
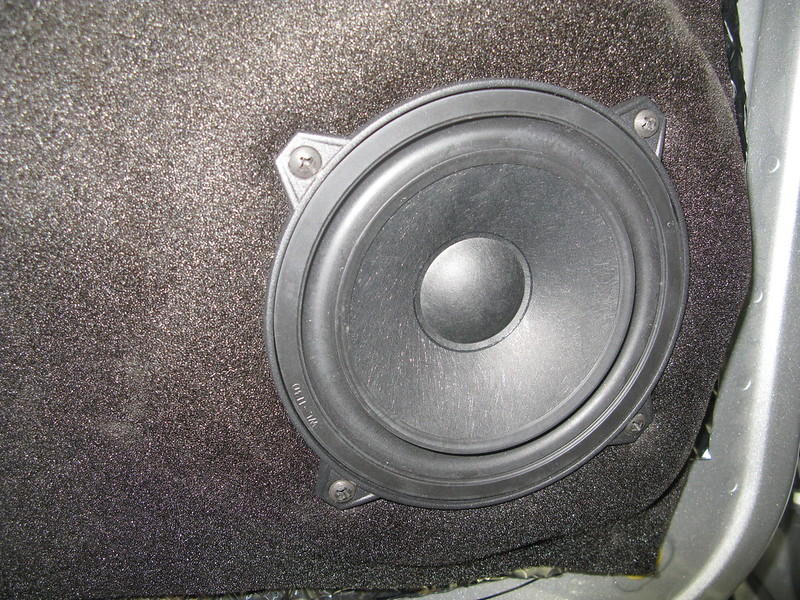
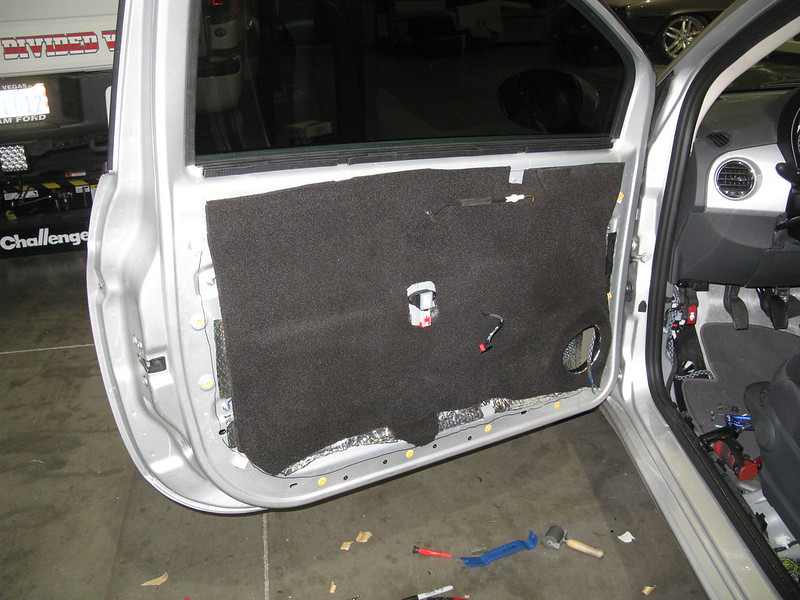
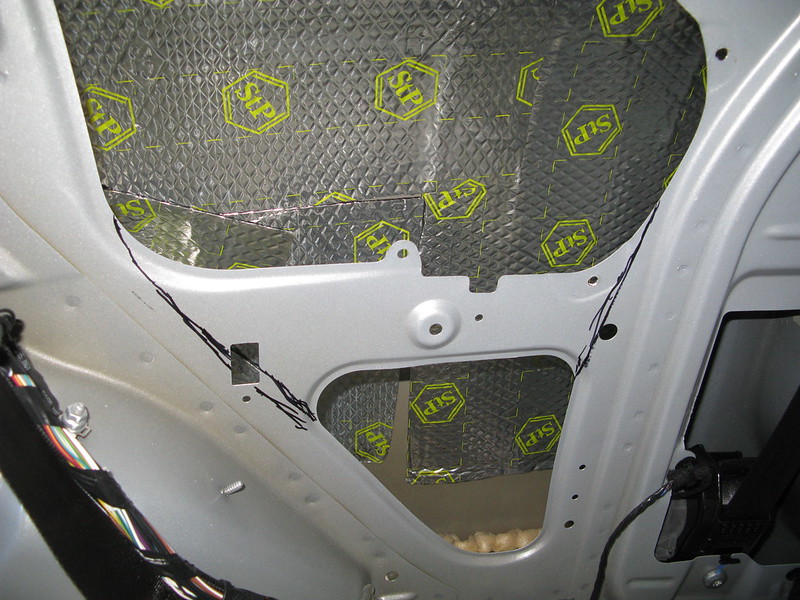
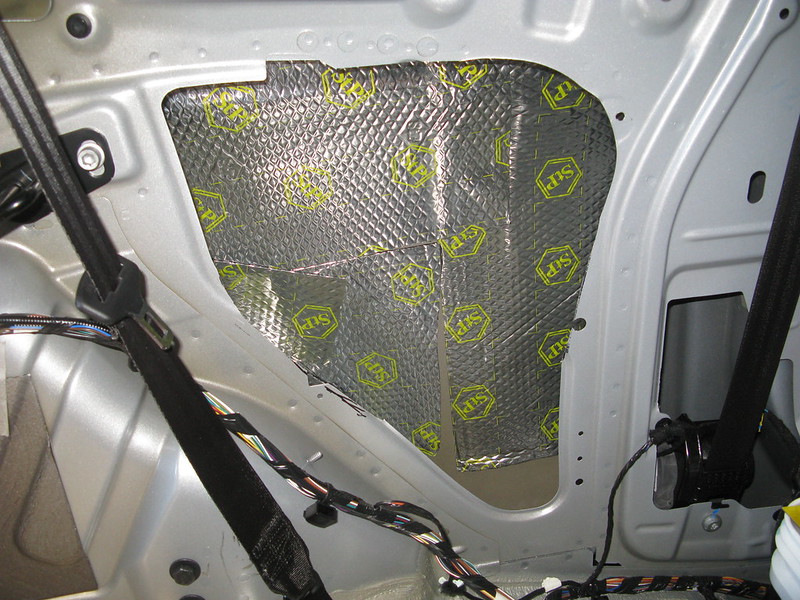
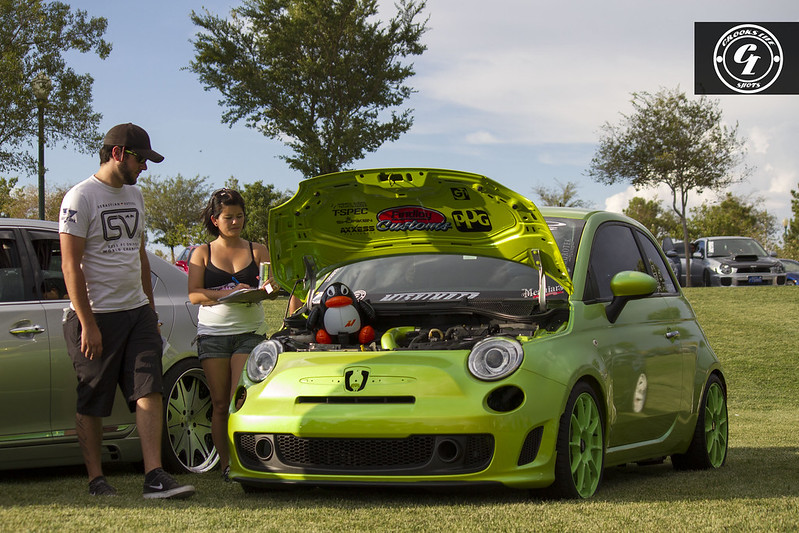
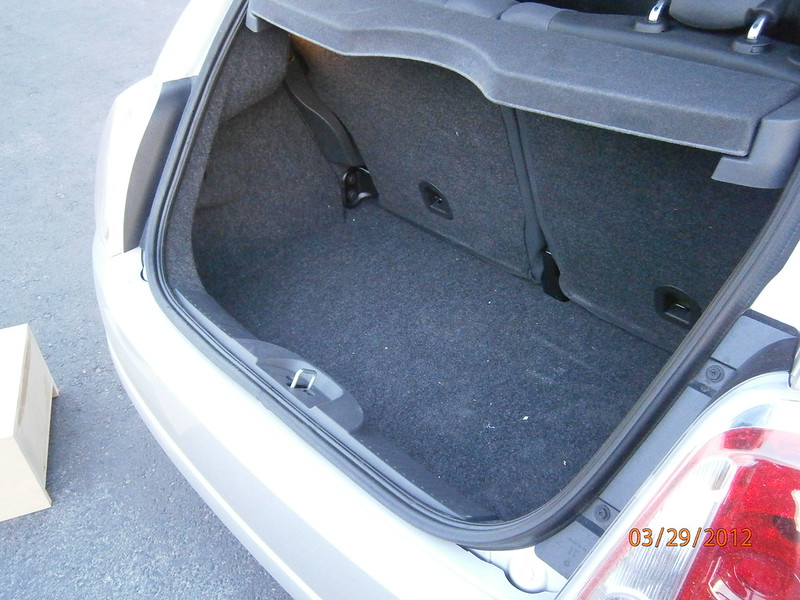
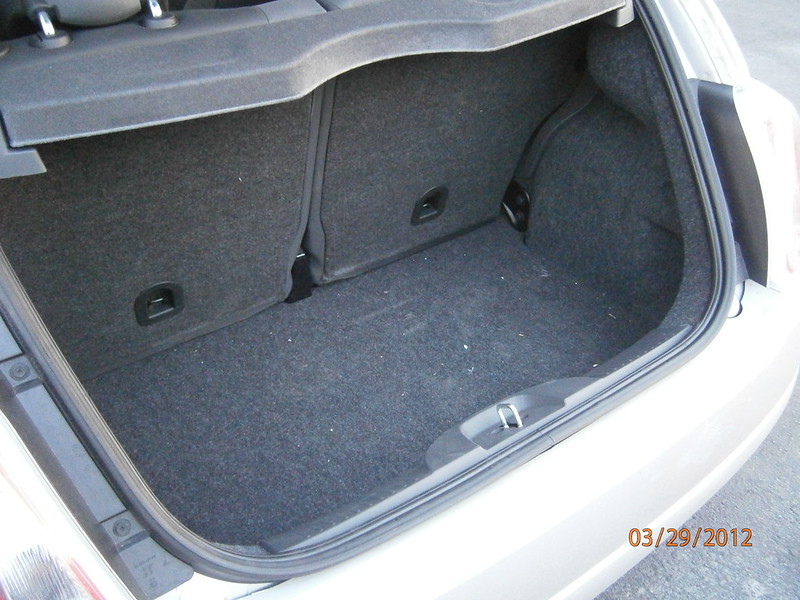
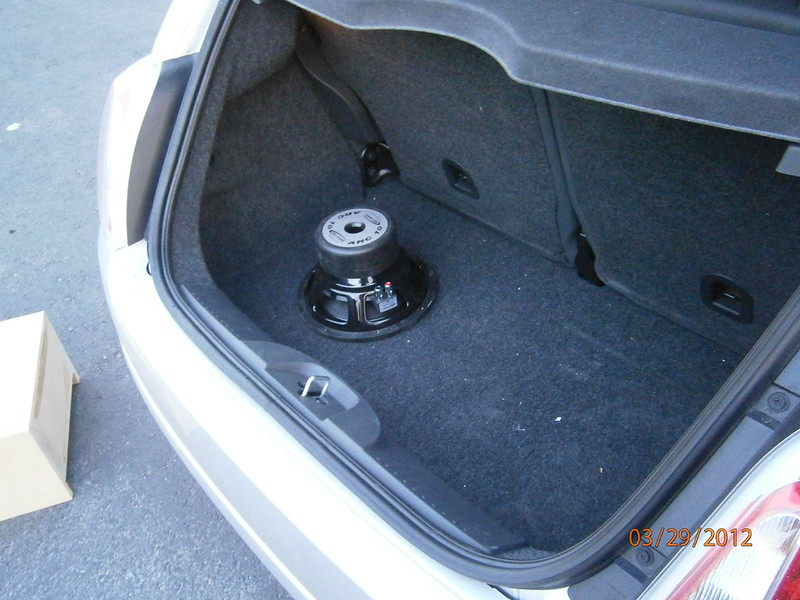
So I have a 2012 Fiat 500, I have the install as of now but will be changing it soon..
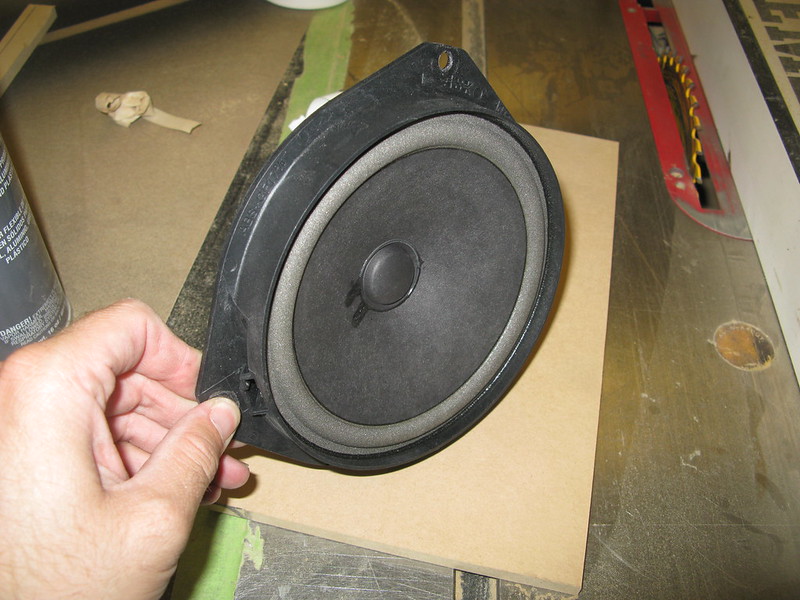
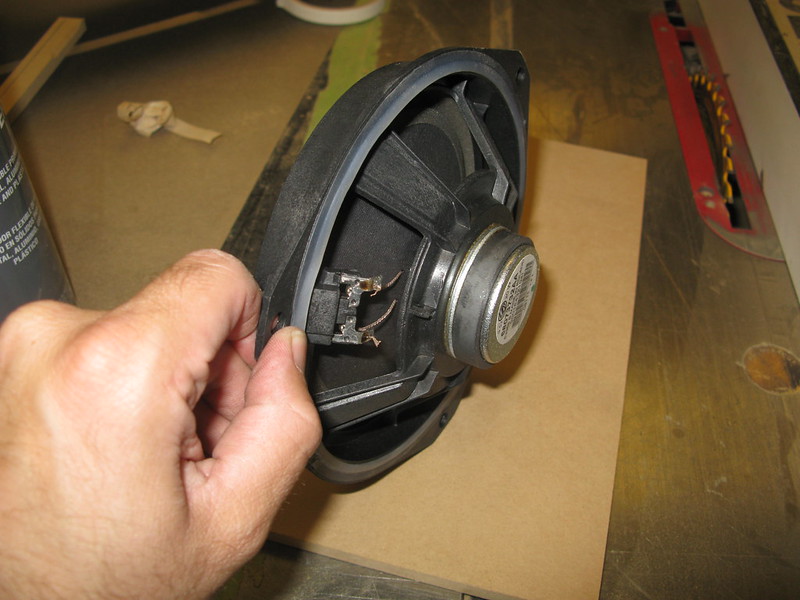
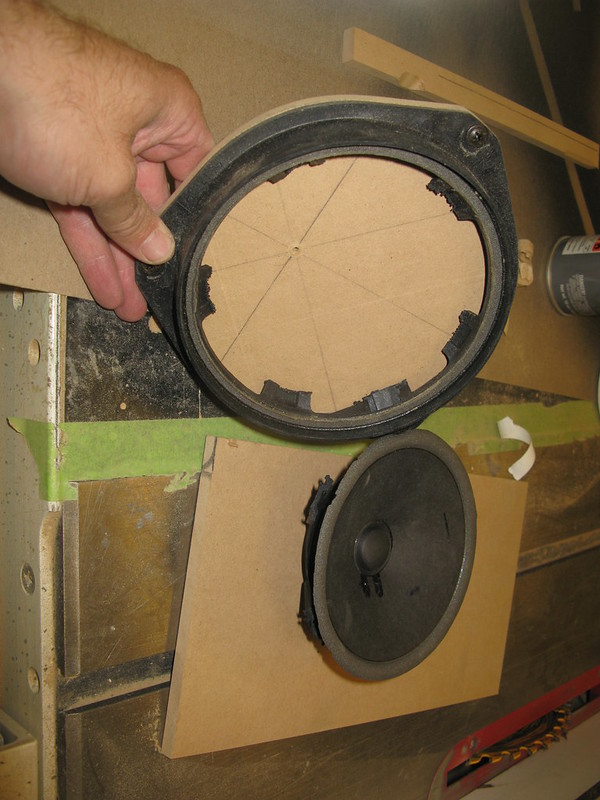
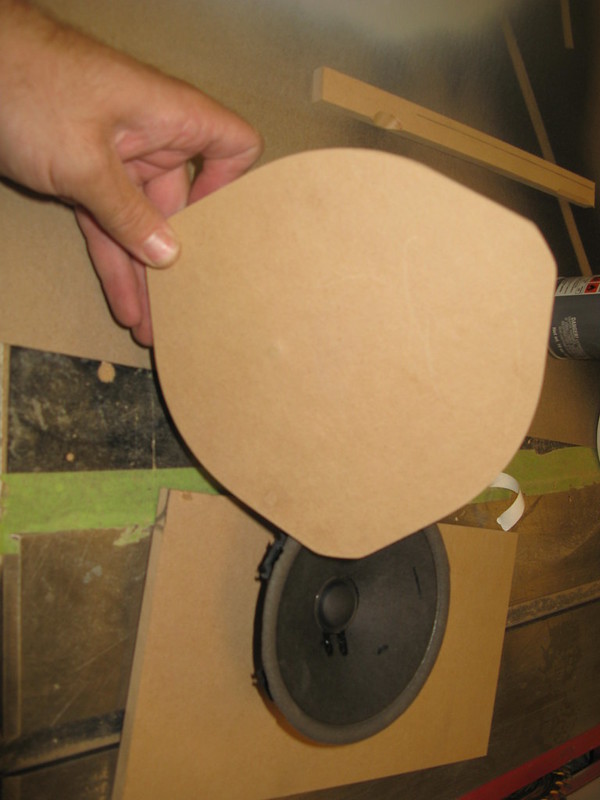
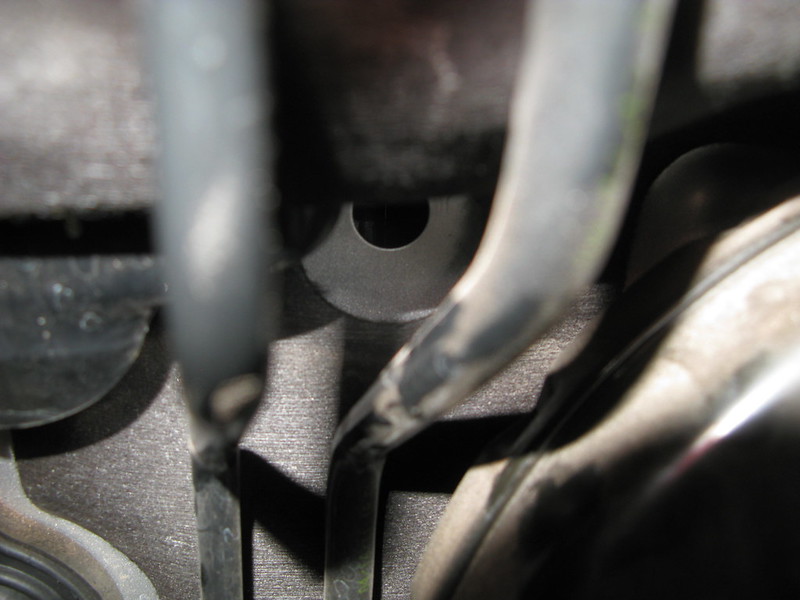
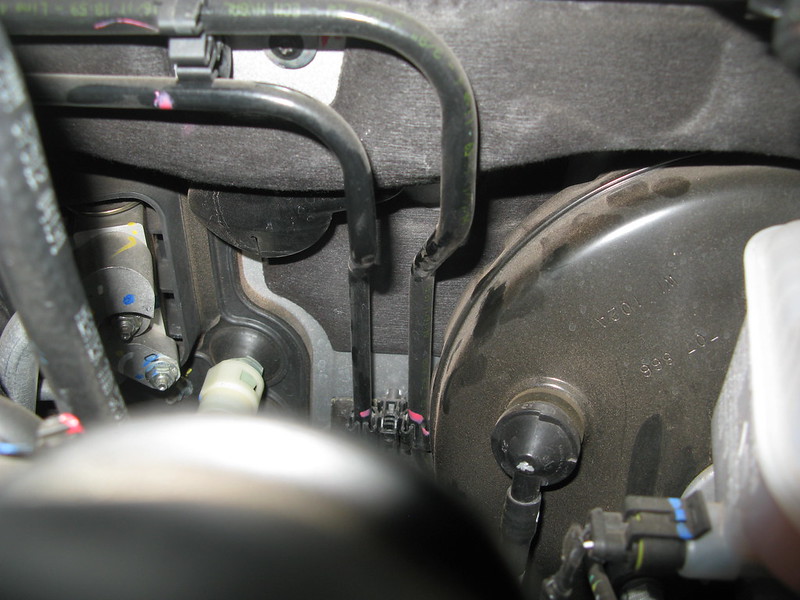
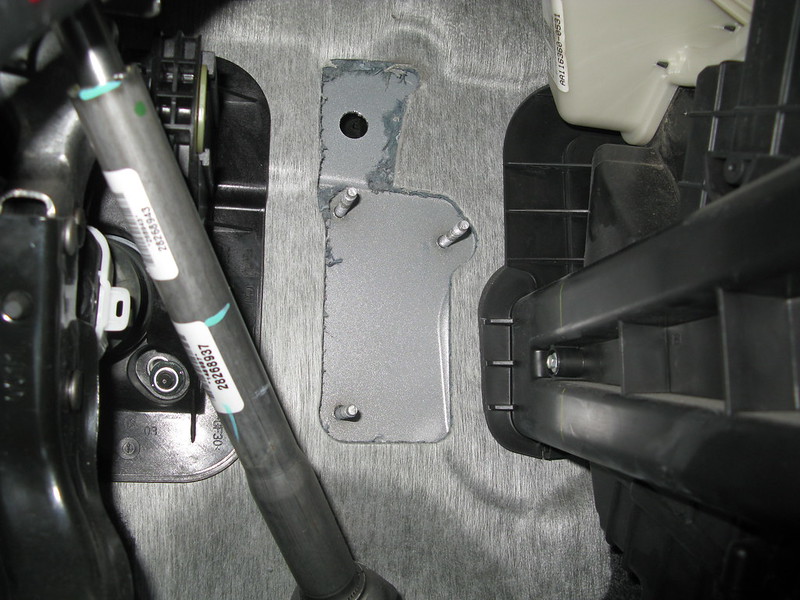
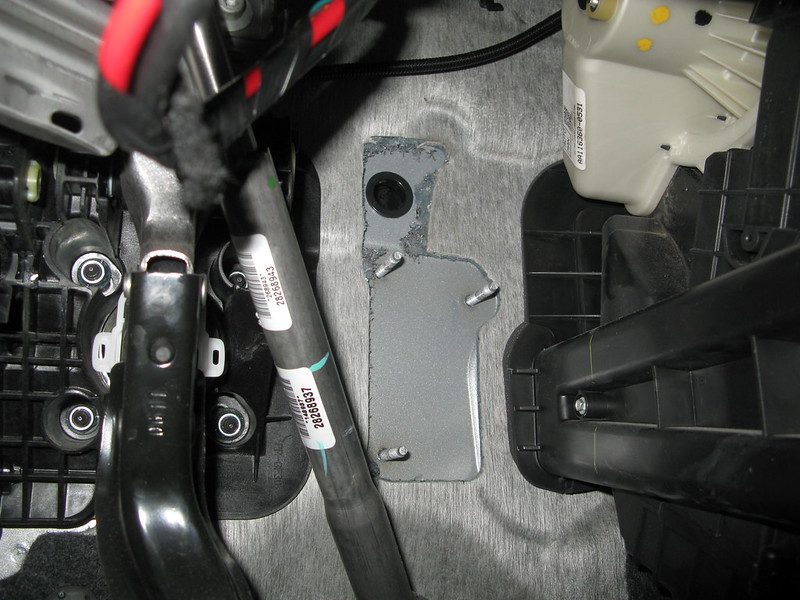
here we go!!

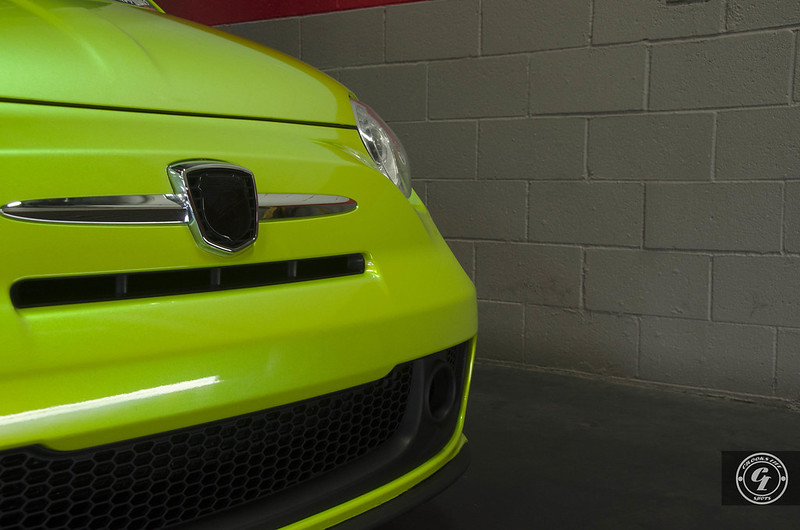
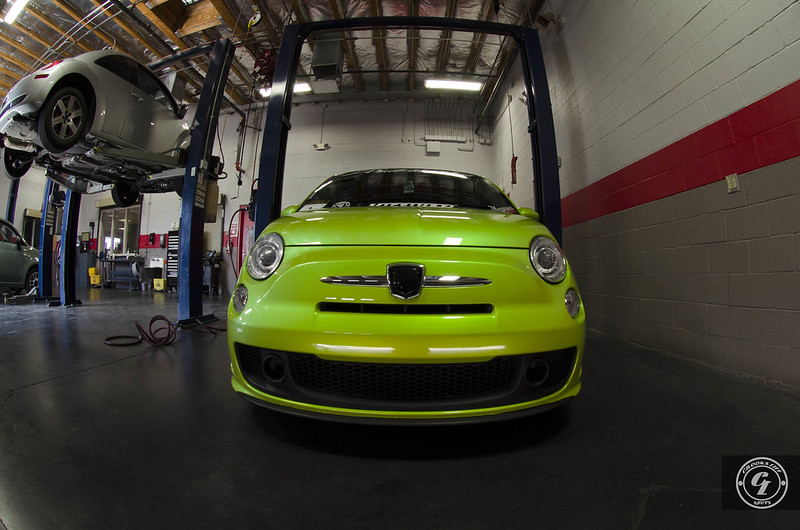
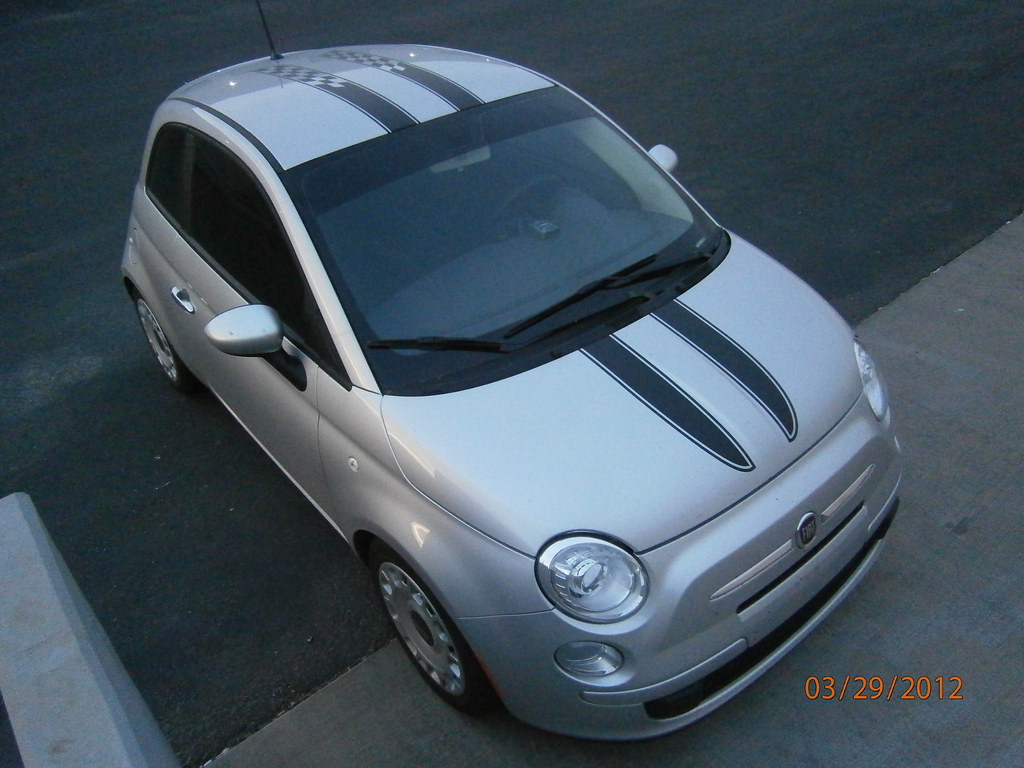
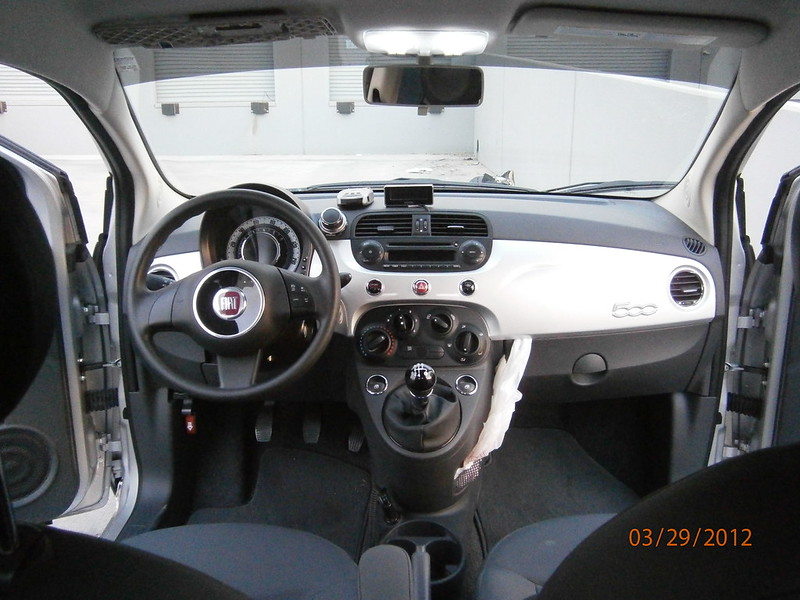
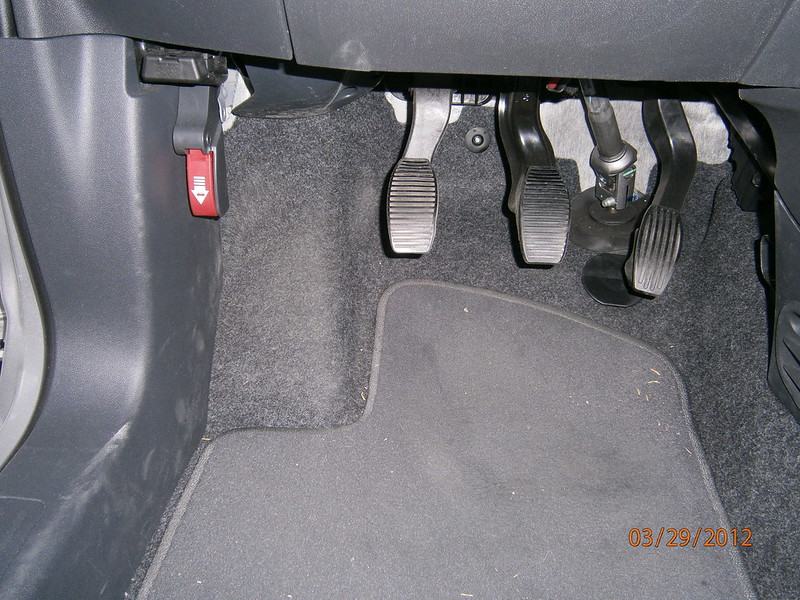
First here it is the day i got it..

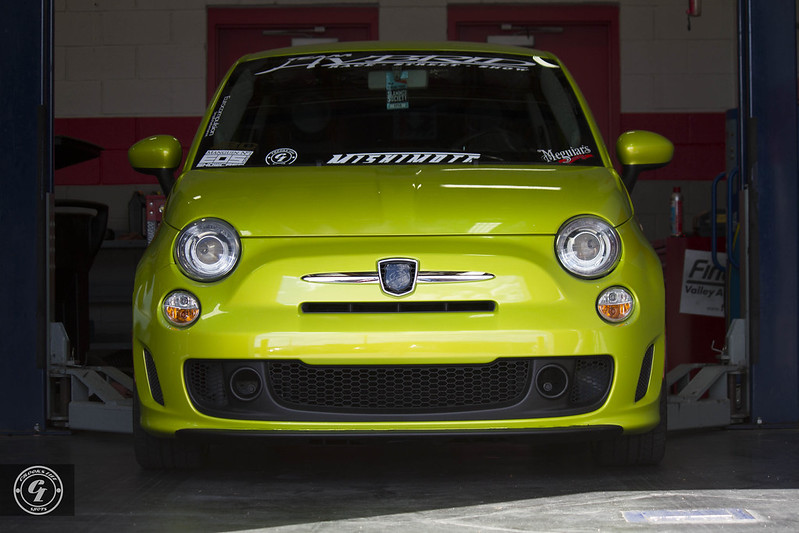
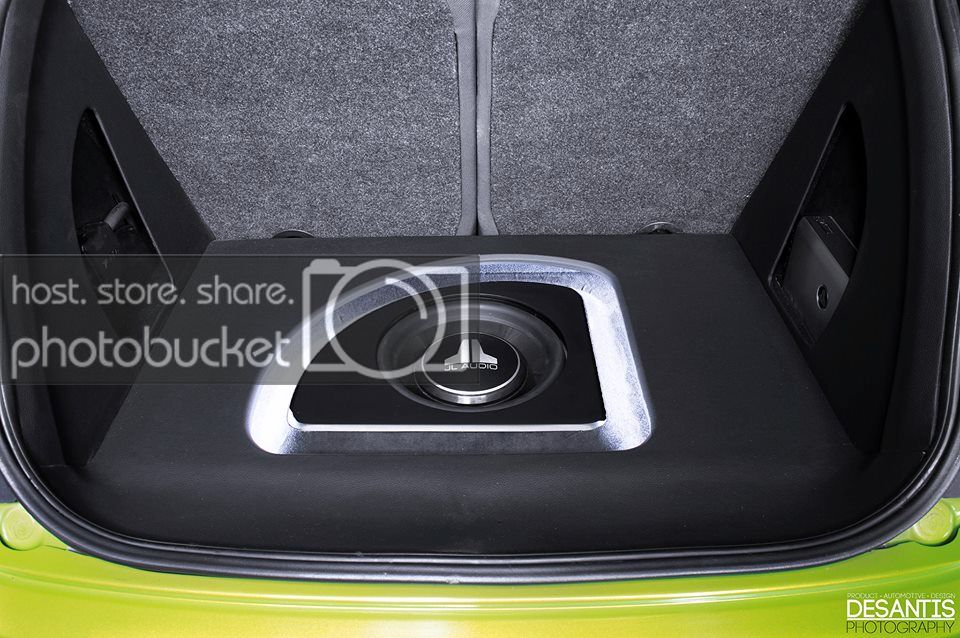
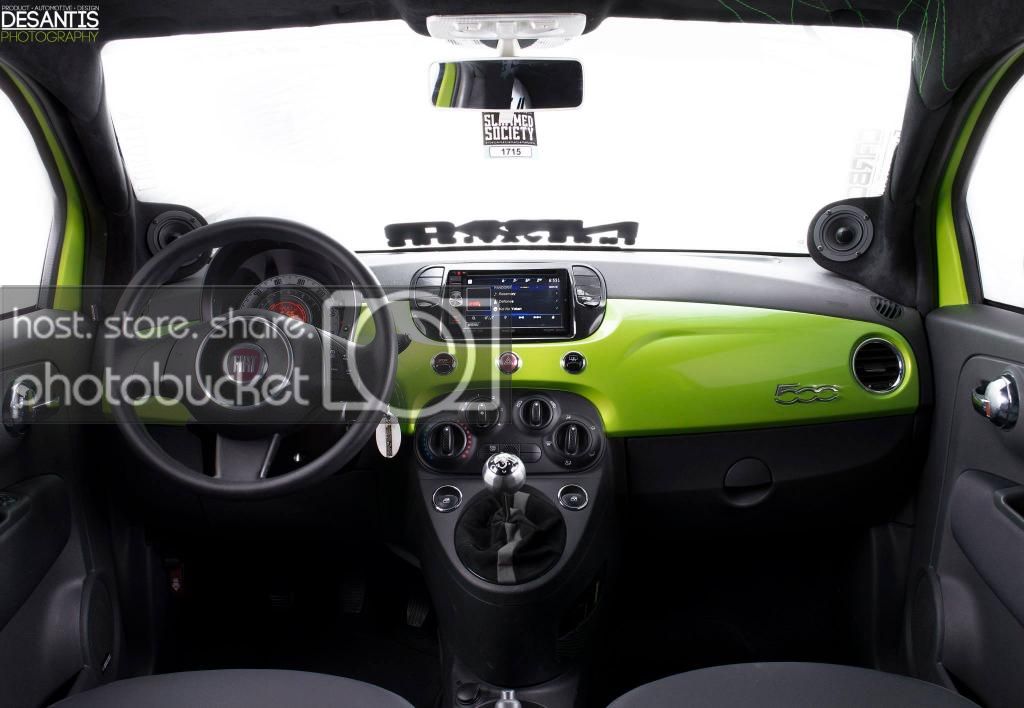
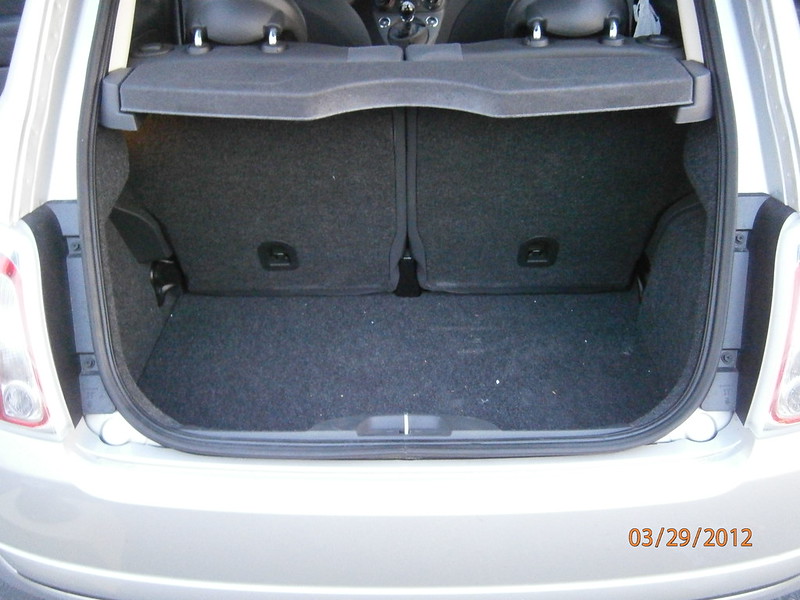
Pictures of the car (More refrence size pictures soon)

7025529413_e99d3cdabb_b.jpg


7025530379_1a2dd87eb9_c.jpg


6879430736_4c75b7e5cd_c.jpg


6879431472_102d504182_c.jpg
[/b]

7025532049_5b263bfa74_c.jpg


7025531357_399a24a396_c.jpg


7025528955_f1e9ab078f_c.jpg


7025529181_94d8d0f8cf_c.jpg


the OEM speaker


7312792214_7c8e7b3215_c.jpg


7312792000_02aeb63d42_c.jpg


Needed to modify the speaker so I could make a perfect templet..

FYI you can install a speakers upto 5" deep in this door..

7312791872_6f01fcb83b_c.jpg


ok now I have My templet for the Fiat 500..I will finish them after work tomorrow

If you need adaptor rings made PM me I can hook you up..

7312791654_1c77cdac3f_c.jpg


---------- Post added at 03:30 PM ---------- Previous post was at 03:29 PM ----------


Ok so a bit done today, ran the speaker wire for the Midbass and tweeters, I found a spot for the crossovers.

Now I am just waiting for my >>STP Sound Treatment

Made the Speaker templet and the base for the midbass drivers..

7325095364_496da06061_c.jpg


7325100552_3565b43a22_c.jpg


7325100674_388f213446_b.jpg


7325099538_ec06415cf1_c.jpg


Got a bit done after work, Thanks to 4-The-Truck in Henderson, Nv for the Line-X spray!!

Here we go

7353393654_d833917a3e_c.jpg


7353393562_34a8651f98_c.jpg


7353393056_b2751bccd5_c.jpg


Tined the speaker leads

7353392834_46a220b419_c.jpg


Tined the Speaker Terminals

7168183447_93d31f4ffa_c.jpg


Soldered on Heat shrink to make it safe, Negative wire has the Black trace

7353392408_45fae3ba69_c.jpg


7168183089_6585696291_c.jpg


Speaker mounted I am thinking of Nut Serts for the final speaker mount to the door..

7353392138_deb3c8460c_c.jpg


7168182241_56eb16d0b2_c.jpg


So the other day I got my old power wire out and cleaner it up, now covered in Grey Texflex, I have some pictures showing the proper way to run wire in the Fiat 500.

I Mounted my breaker temp till I get a chance to make the custom bettery holder.


Ok get under the dash find the Burgundy plug Lock, pull and lift.. to remove the connector, you will need a razor knife to cut the fire wall cover away.

7356549872_12a9d13867_c.jpg


Here are some shots from the engine side.

Looking between the (Black Brake lines) you can see the rubber grommet.

On the second picture you can see on the right hand side under the lip the cutout in the firewall cover.

7171334765_c7a6a1b35a_c.jpg


7356549716_b1b2bf0f29_c.jpg


Use a 10mm deep socket to remove the throttle, I used a Snap ring grommet with rubber seal got it off ebay for $1.30

7171334571_4322a09423_c.jpg


7171334455_d37146c1ff_c.jpg


Sticky pad with ziptie mounted on the under side. (used 90^ bit holder)

7171333959_ca96e68ab2_c.jpg


I used (3) Zipties to mount the 0awg wire to the power harness under the dash II

7171333611_2bc43a1995_c.jpg


The finished product.. I ran the rest under the console and under the rear seat.. more pictures later

7171333375_460430fd6c_c.jpg


7356549310_3bfa580dfc_c.jpg


OK so I could not wait any longer, I had to get my power wire run.

I went thru my storage and got a nice run of Stinger 0/1awg wire and a breaker

I also ran the speaker input wires to the back..

Waiting on more techflex to show up before running my RCA's and remote turn-on wires back.

I will finish mounting them after the sound treatment is done.


Here are the pictures..

Tools needed: 16mm socket, Ratchet, flushcuts & zipties

Remove the (2) 16mm Bolts lift up and pull out.. its easy dont forget to put the seat belt conections back in place!

7367188984_f24e77c2a6_c.jpg


7367189084_62567fb981_c.jpg


7181964891_b0b60023a5_c.jpg


---------- Post added at 03:33 PM ---------- Previous post was at 03:32 PM ----------


So here we are..

ready for the sound treatment..

7456448334_06f51fdd10_c.jpg


7456448220_5bc7f45dec_c.jpg


7456448436_05a1fa368e_c.jpg


---------- Post added at 03:33 PM ---------- Previous post was at 03:33 PM ----------


OK still waiting on my Sound Treatment to show up..


But the car is GUTTED!!

here are the pictures of the rest of it..

Thinking of doing 8" subs in the rear speaker location...

After the STP Treatment I will fasten all the speaker, RCA & power wires

7488036768_237a22a0a6_c.jpg


7488036148_f240b1eb9b_c.jpg


7488035404_a3cc626ce3_c.jpg


7488034768_13f145c92f_c.jpg


7525526258_cca632bba4_c.jpg


7525526880_a83b849fd9_c.jpg


7525529644_046b3fca86_c.jpg


7525530840_26a026d20a_c.jpg


7525531082_e88628db75_c.jpg


7525531944_bd57ca8337_c.jpg


---------- Post added at 03:37 PM ---------- Previous post was at 03:37 PM ----------


Whoops missed one..

7525531652_6d3f2b0eb0_c.jpg


Also looking to install an 8" sub in the rear speaker location, So I did some trimming... quick shot with the tape said I can get just about .5^ so I should be good... here are some pictures..

7525536076_706d35e3d2_c.jpg


7525535806_fa99ba63a2_c.jpg


7525535484_7ec0209056_c.jpg


dam, very nice car. it looks allot better with that paint and rims. but wow very small. but should get loud because its small.keep the pics coming.....
I hope to get started soon, I am glad you like the car/install.. next one should rock!

 
Activity
No one is currently typing a reply...
Old Thread: Please note, there have been no replies in this thread for over 3 years!
Content in this thread may no longer be relevant.
Perhaps it would be better to start a new thread instead.

About this thread

Axxistroy

Car Audio System Designer
Thread starter
Axxistroy
Joined
Location
Durango, Co
Start date
Participants
Who Replied
Replies
38
Views
6,224
Last reply date
Last reply from
troy_audi0
1000007733.jpg

Mr FaceCaser

    Apr 26, 2024
  • 0
  • 0
Pod on dash 1.jpeg

Doxquzme

    Apr 26, 2024
  • 0
  • 0

Latest topics

Top