Welcome
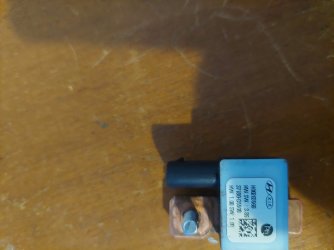
I can share my experience w a sensor on my impala. It’s a current sensor on the negative, it reads voltage coming back through the ground to tell the body and engine control modules at what rate to charge. Having ac on or rolling up the windows, headlights, radio cranked all will vary the charge rate.
My sensor ring originally had the ground from the starter and the wire from battery negative. The sensor has a lead that plugs into something and goes somewhere lol. It also was crimped into the batter negative. My mistake came by crimping the sensor negative into the replacement 0 ga. That messsed it up. I tried all kinds of things that inevitably worked but were costly and unnecessary. Still solid but, the problem was resolved when I moved the sensor negative to a solid ground in the chassis. It’s almost like having the bigger wire caused uncertainty in the negative read.
I chased ground loop, changed routing, sizing and the fix came when I eliminated the ground I mimicked w the main battery ground integration into the sensor negative by separating them.
It’s now 4/0 from alternator to battery. 4/0 from battery to chassis then 0ga fused going back to feed the amps. I’m back the ground is made at a hole in the metal section between trunk and passenger compartments using 4/0 then distributed to a second battery, capacitor and on to amps.
Summary is you can work around the sensor but it may cause some chasing around if you get fluctuations in your charging system at minimum draw from the system.