robbythedude
Member
Hey,
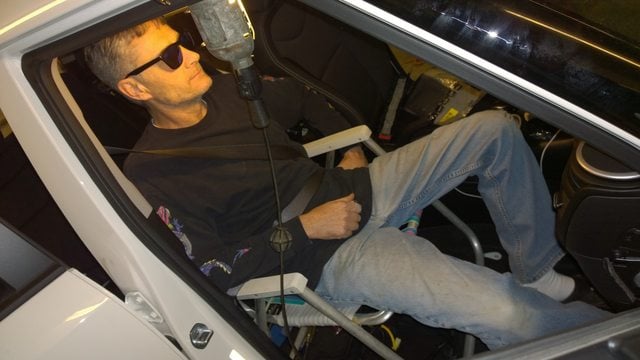
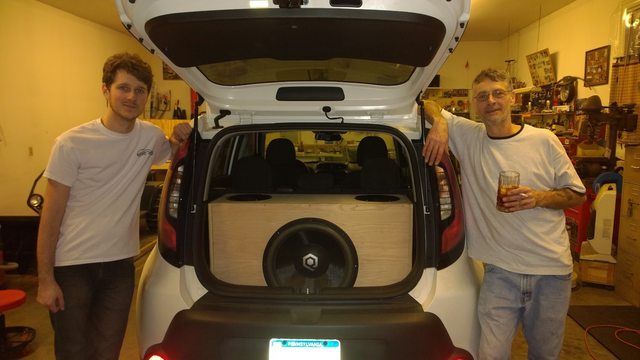
Last week was entirely spent ripping my car apart and upgrading all the audio tenfold with my father. A first ever father/son audio project. I was going to post a day-by-day sort of log, but instead I am going to log pictures into sections of relevance and how it was done. I was to lazy for a day-by-day log... As my first 18" project comes to an end, there will be much more for Soul in the future.
The build is completely SoundQubed equipment with a Pioneer headunit.
Subwoofer: HDC3.118 Copper Coil Subwoofer
Mids: QP-MR6.5
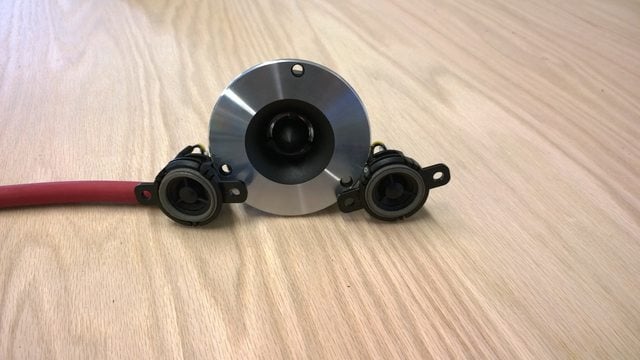
Tweeters: QP-TH25 "SuperTweeter"
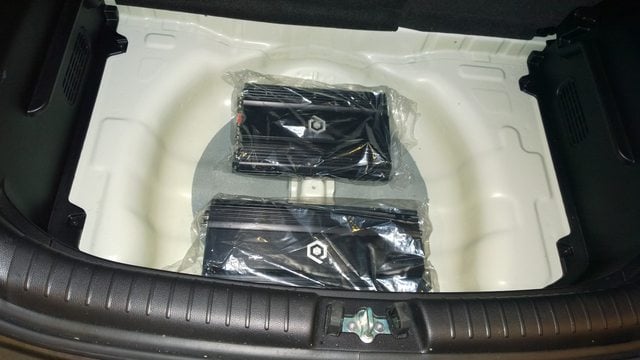
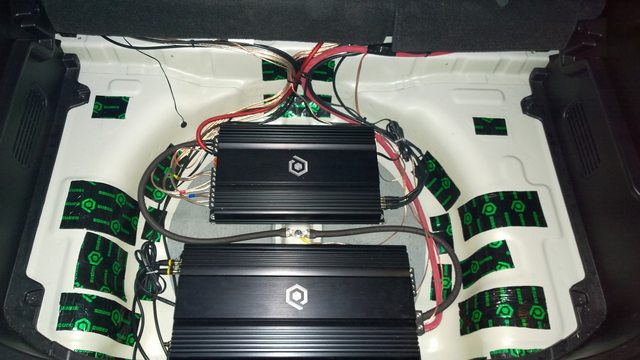
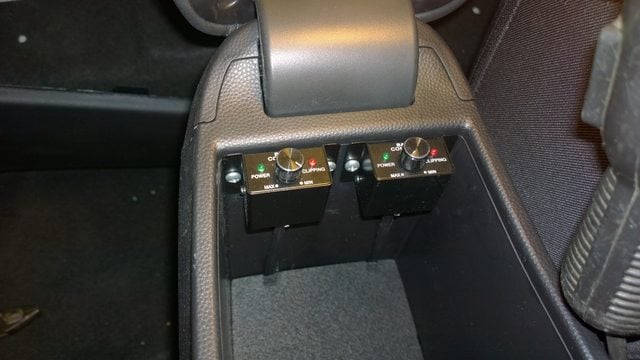
4-Channel Amp: Q4-90
Monoblock Amp: Q1-2200D
Headunit: DEH-P980BT - Premier™
High Resolution Album: Soul 2014
Index
Doors (below)
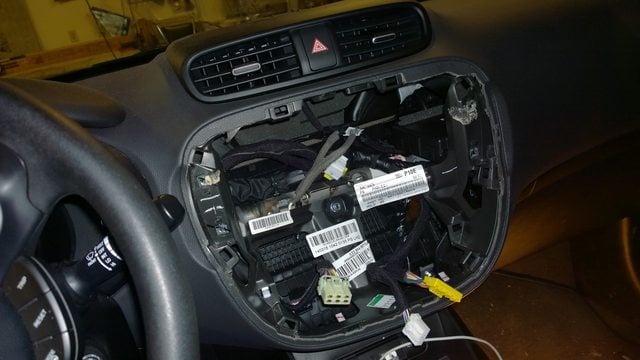
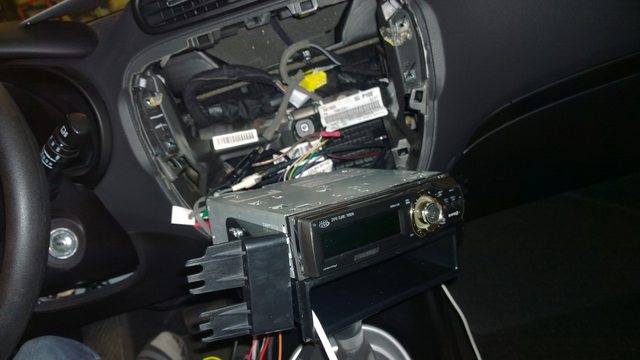
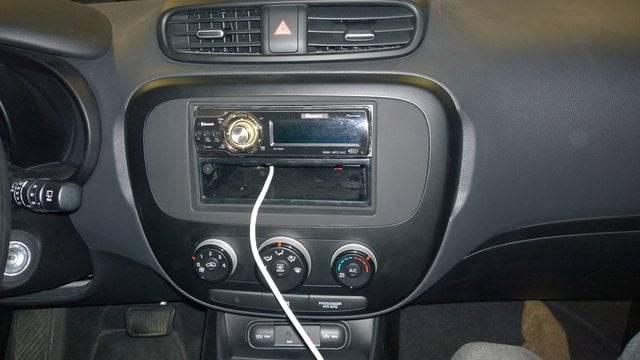
Headunit
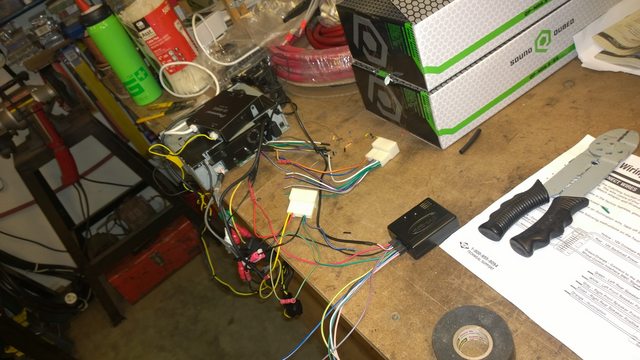
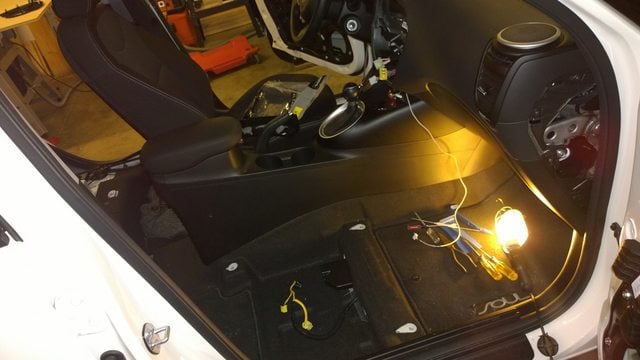
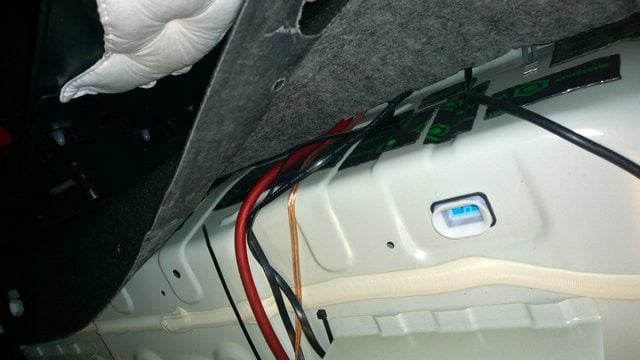
Wiring
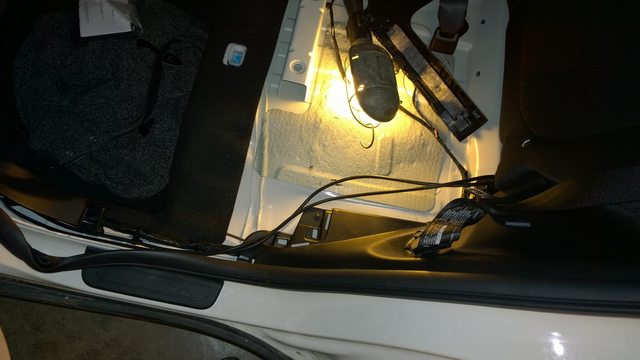
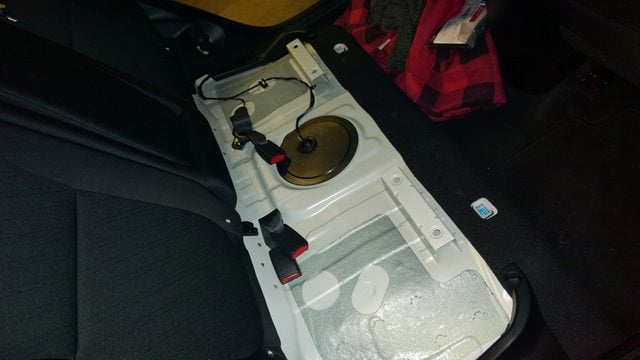
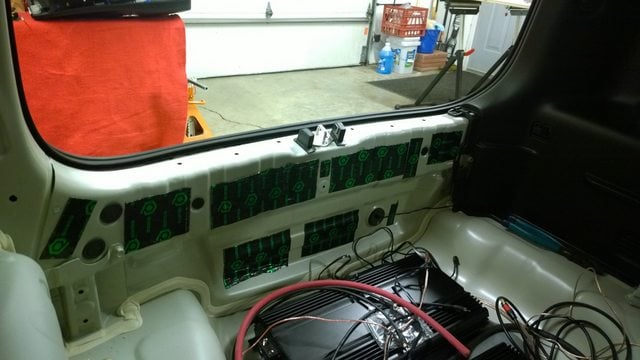
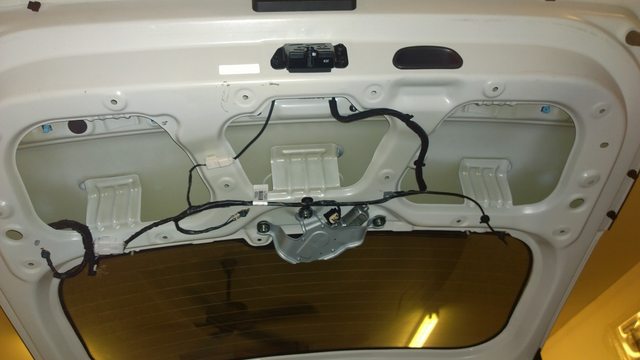
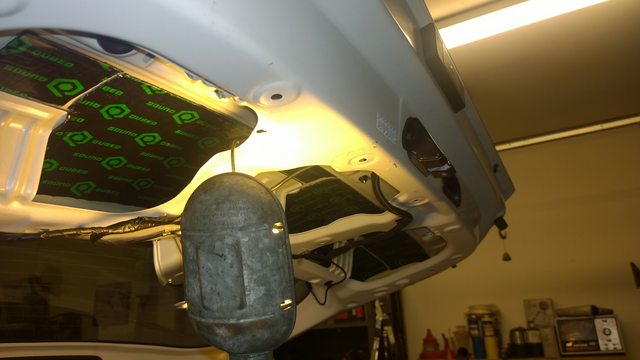
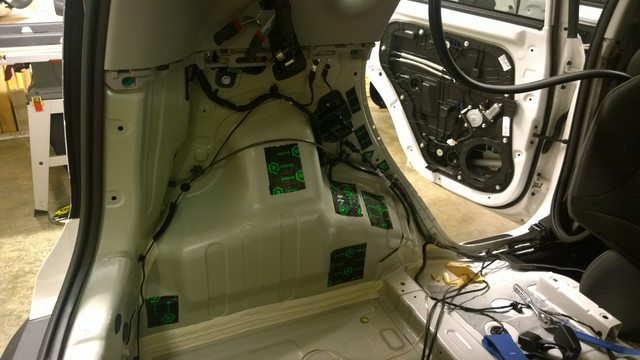
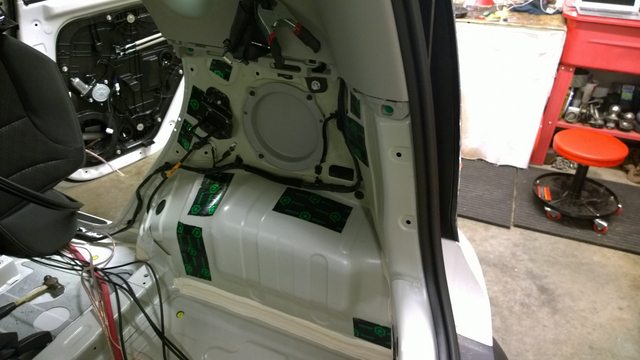
Deadening
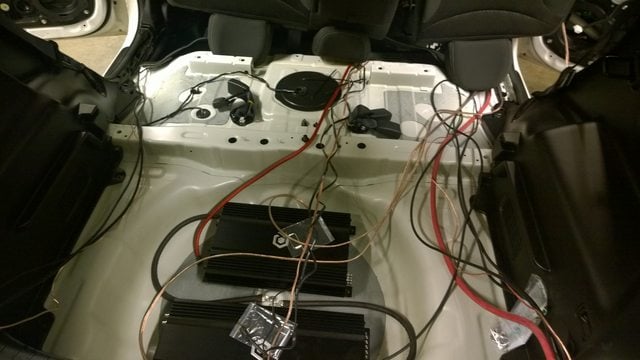
Amp Mounting
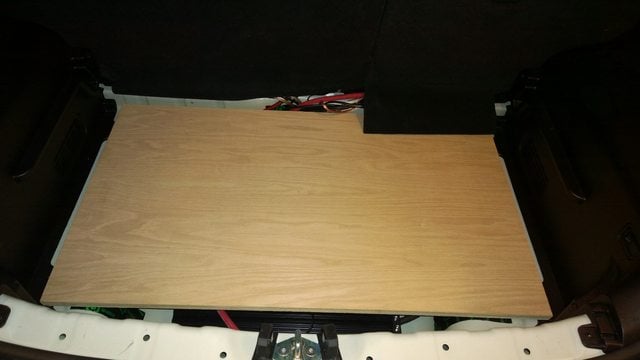
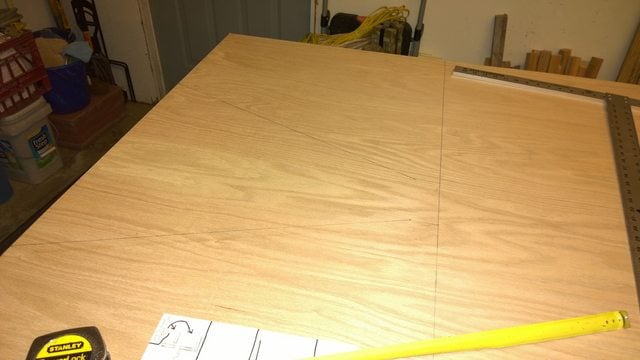
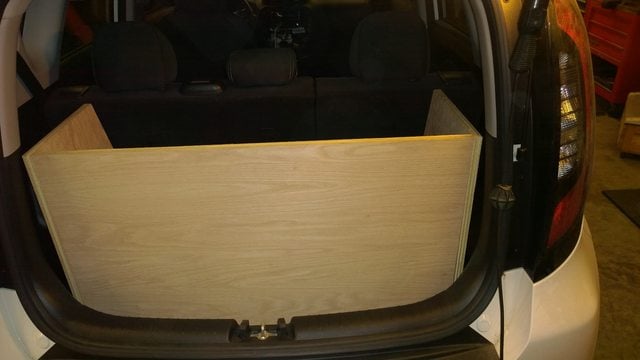
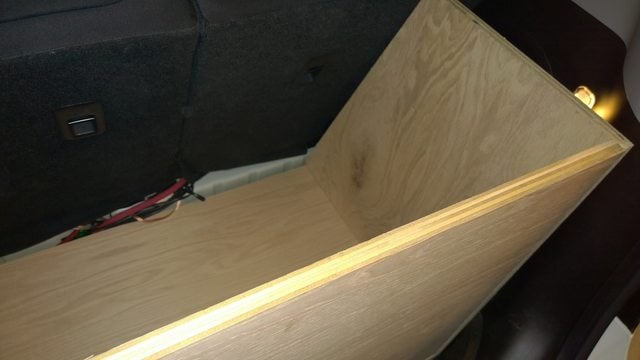
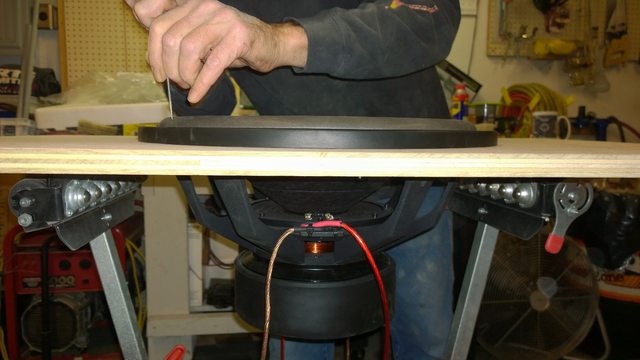
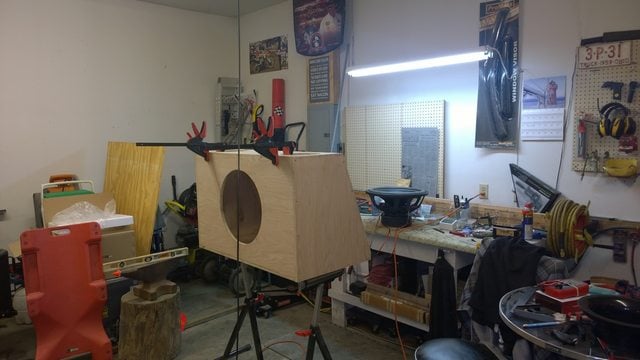
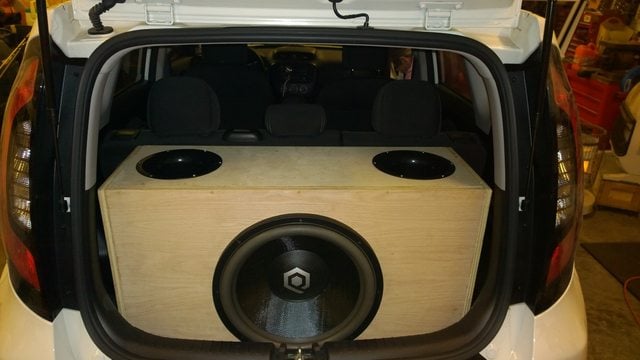
Box Build
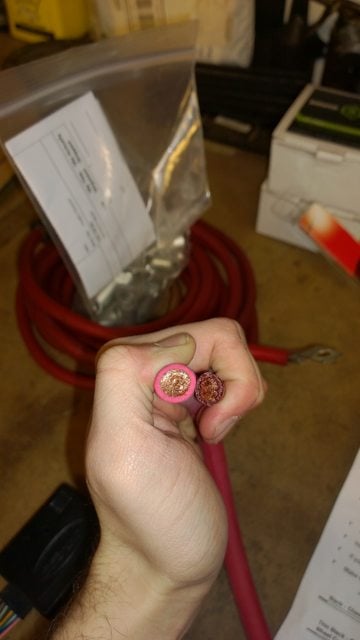
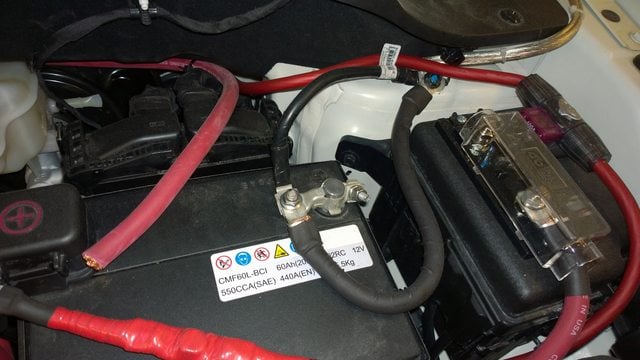
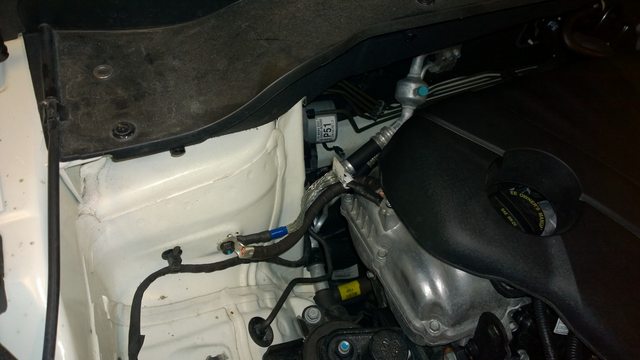
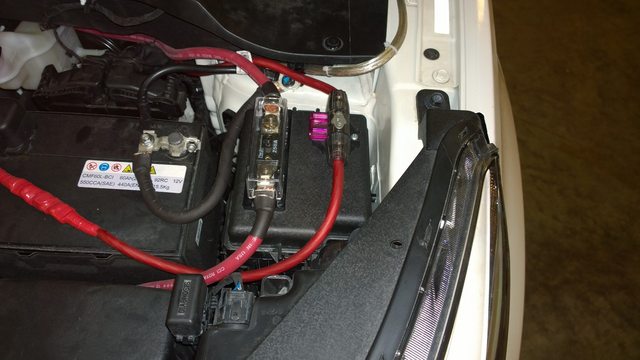
Big Three
Misc
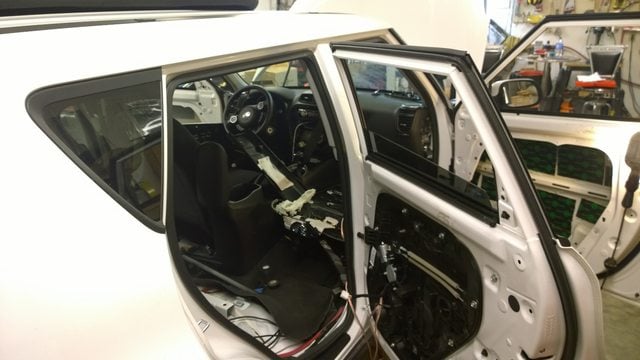
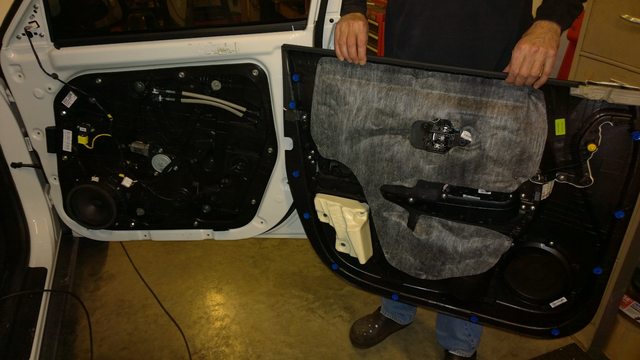
Doors
Speaker was mounted to the plastic...Ripped the speaker from the plastic, dremel the ****, and got new screws.
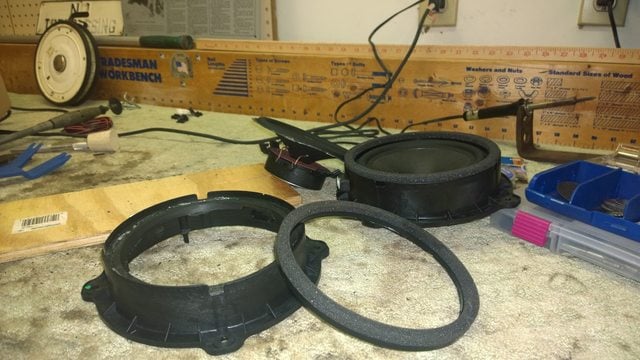
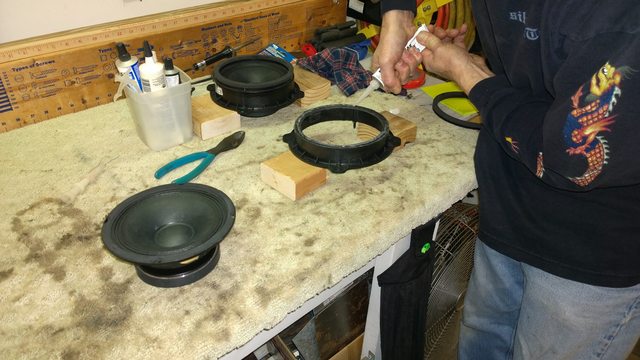
Mounting the new 6.5" to the OEM bracket. Finished speaker in back, no going back to OEM speakers.
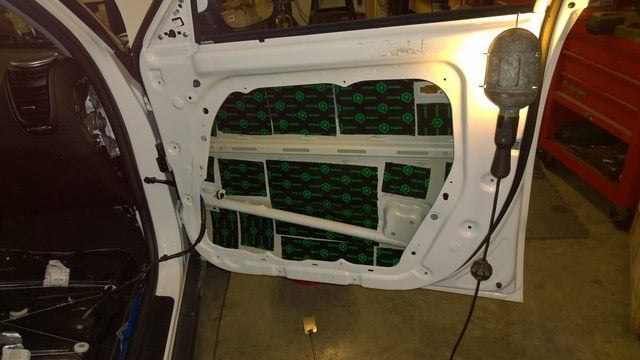
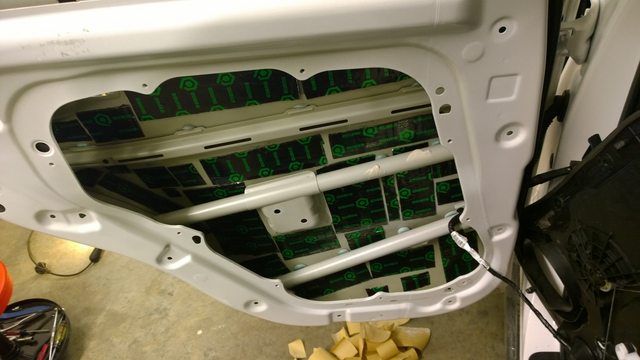
Here you can see OEM sound deadening. Bottom right of panel you can see plastic speaker ring that presses into the foam of speaker bracket.
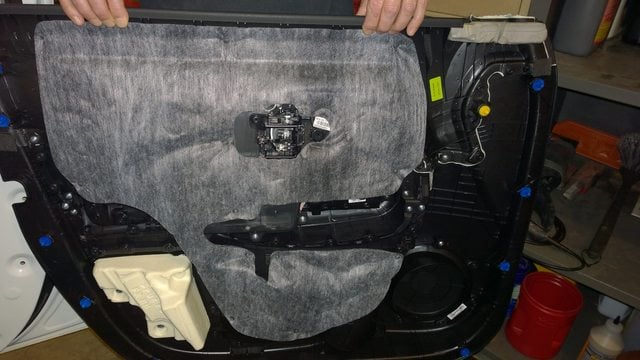
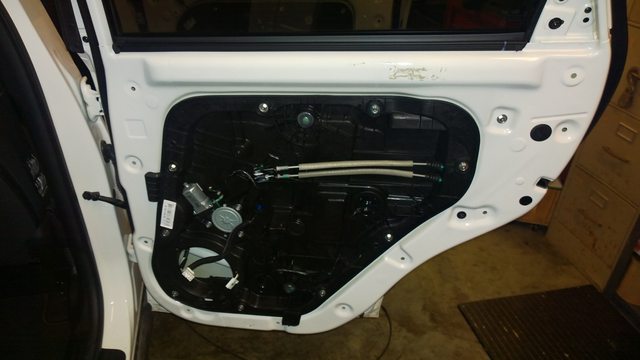
This is not necessary.....A huge pain in the *** this plastic piece was. The speaker mounted here, not a big deal. BUT, to deaden behind this on the sheet metal required the removal of the windows, door handles, plugs, etc...

Here you can see where the foam presses against the door frame plastic.
No different, but the speaker is removed.
It looked allot bigger on the outside, but this is all I have... Ended up pulling em out and putting the closure back together.
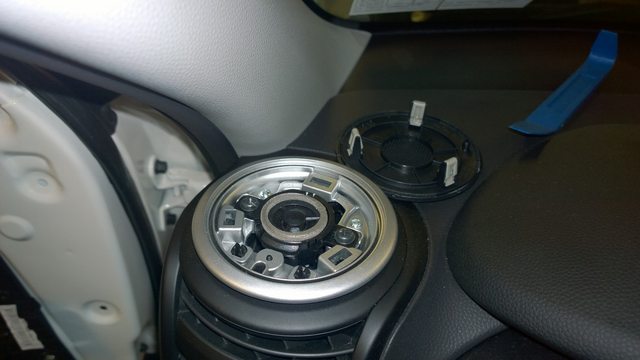
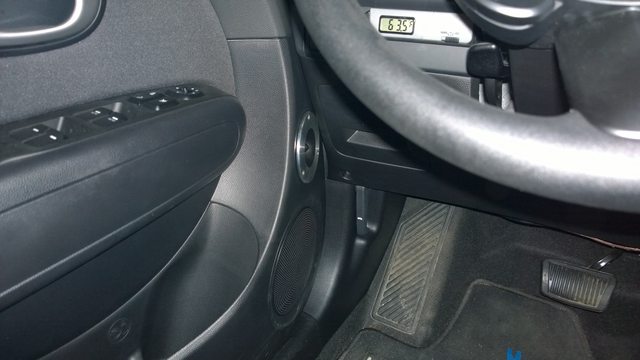
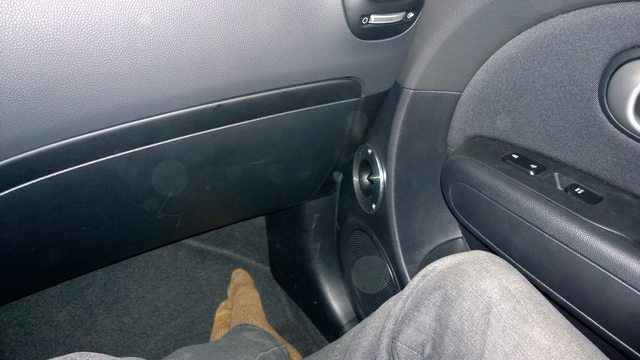
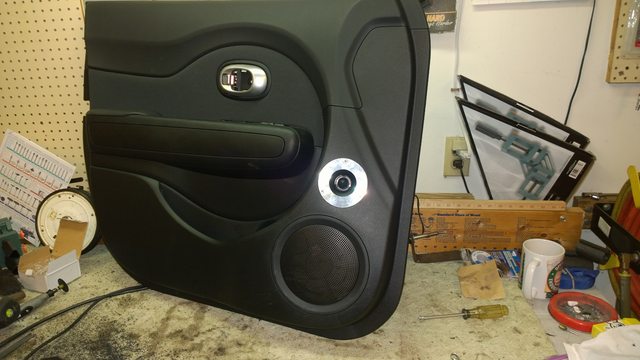
Big tweeter was not going to fit in that dinky OEM hole. So, one was made for them right above the 6.5" speaker
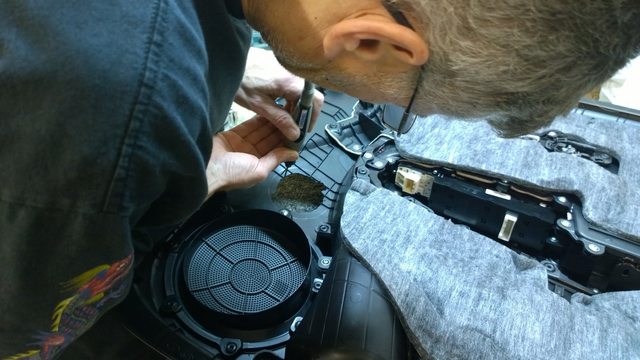
Looks really nice, I could not be happier with the outcome of this.
Last edited by a moderator: