How I recone a sub

hispls
5,000+ posts

CarAudio.com Veteran
Flames and such welcome. I've done a few of these and the only failure I have is dustcap popping off when I try to use the CA glue on that. Amazing goop is far supperior for that purpose. I know a lot of guys use other glues for different parts. I like the CA glue with the activator spray since it's strong and I don't need to clamp and wait.

DSC06963.jpg


DSC06964.jpg


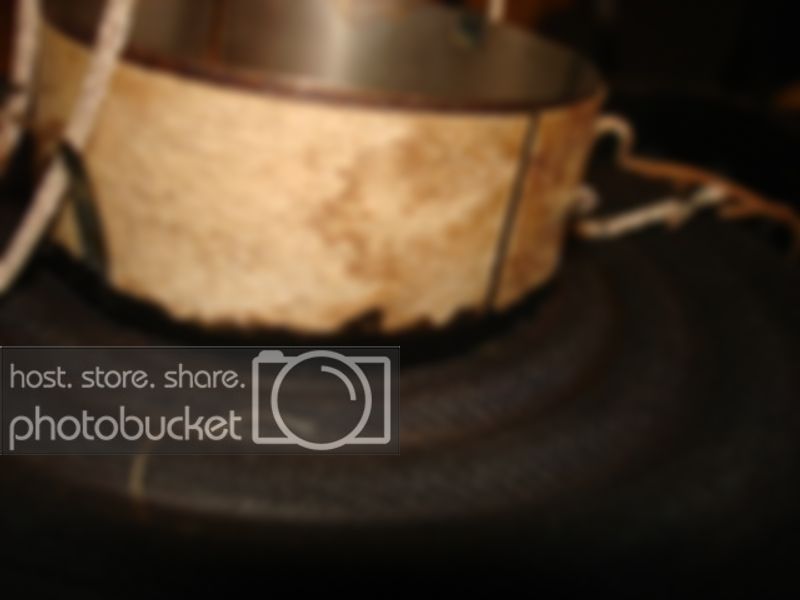
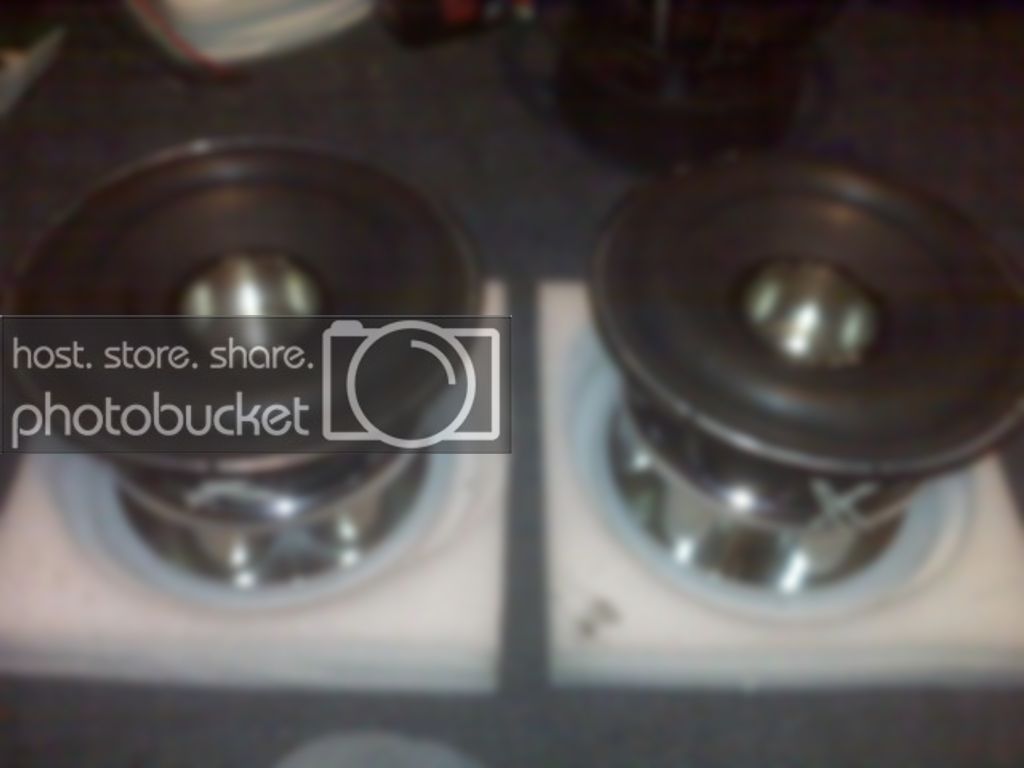
'02 Shocker USA Sig 15". I use a hammer and chisel and a dremmel with a sanding wheel to clean up the baskets. The black rubberized CA glue from hobbyline.com and Sundown Z series softparts. I allready glued the spider without a lead to the spider with a lead. Was using NS cones, etc. but I was hoping that slightly lighter parts would yeild a little more efficiency (initial testing is promising)

DSC06965.jpg


DSC06966.jpg


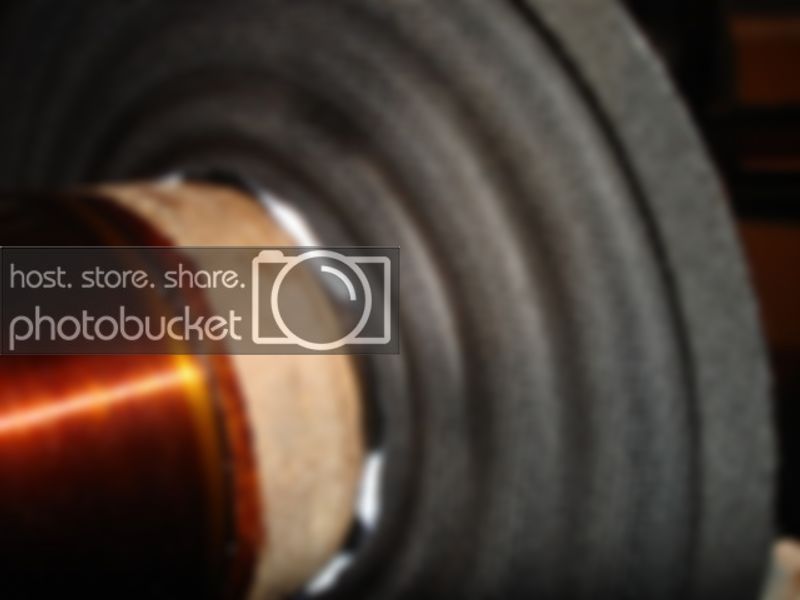
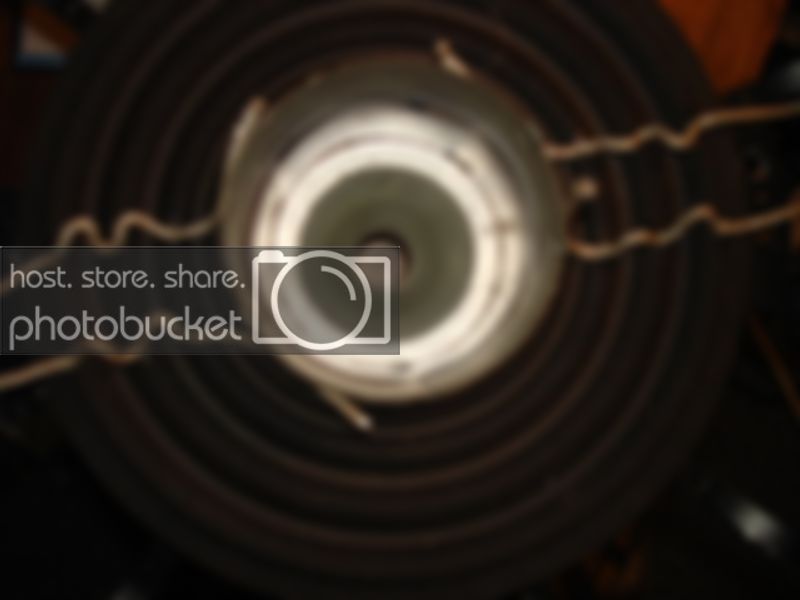
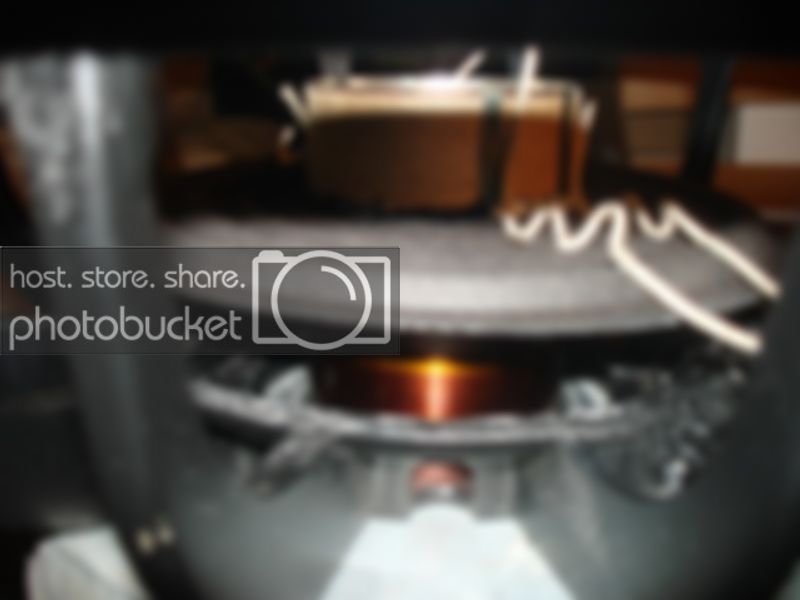
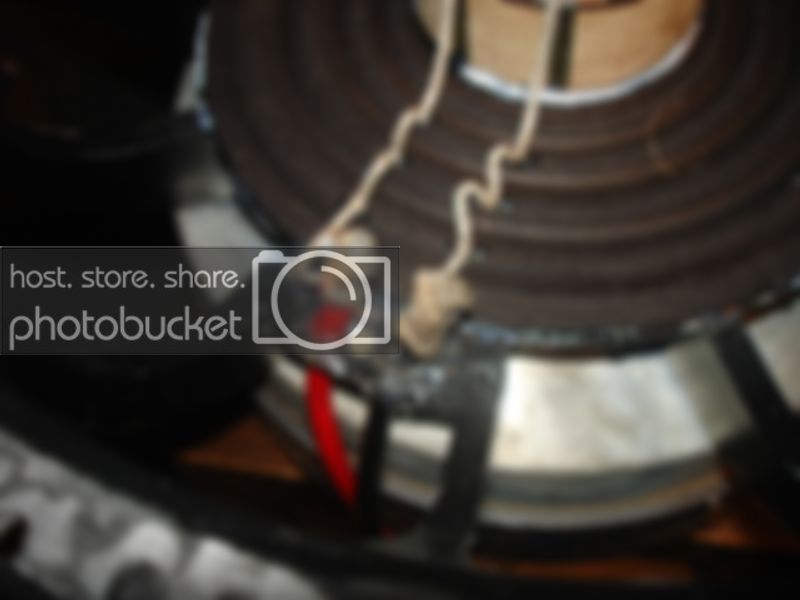
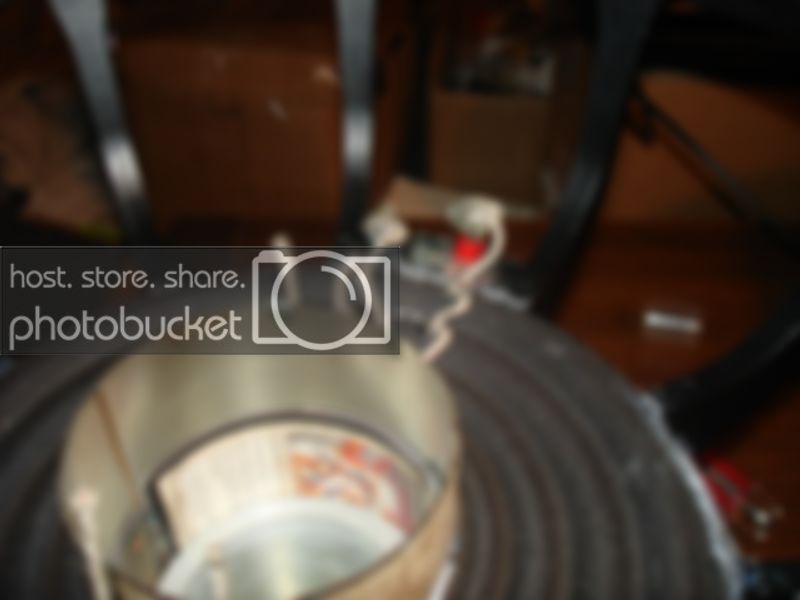
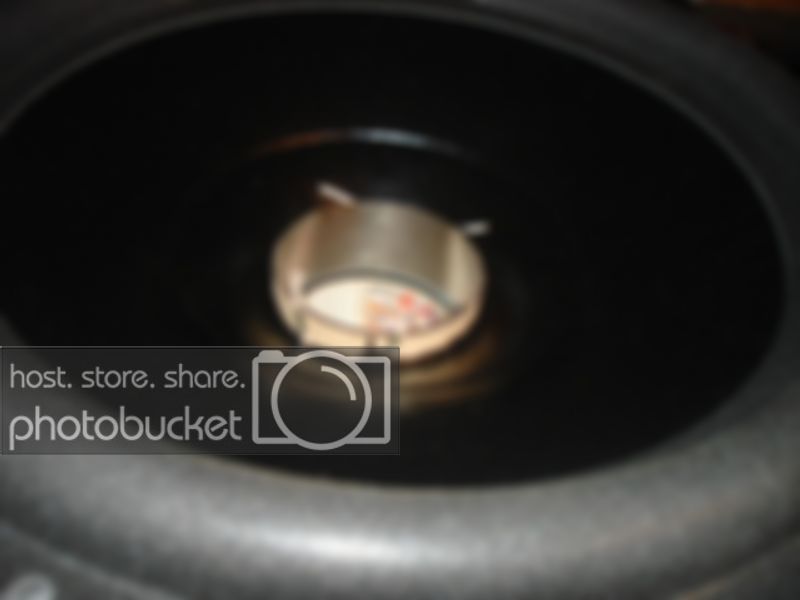
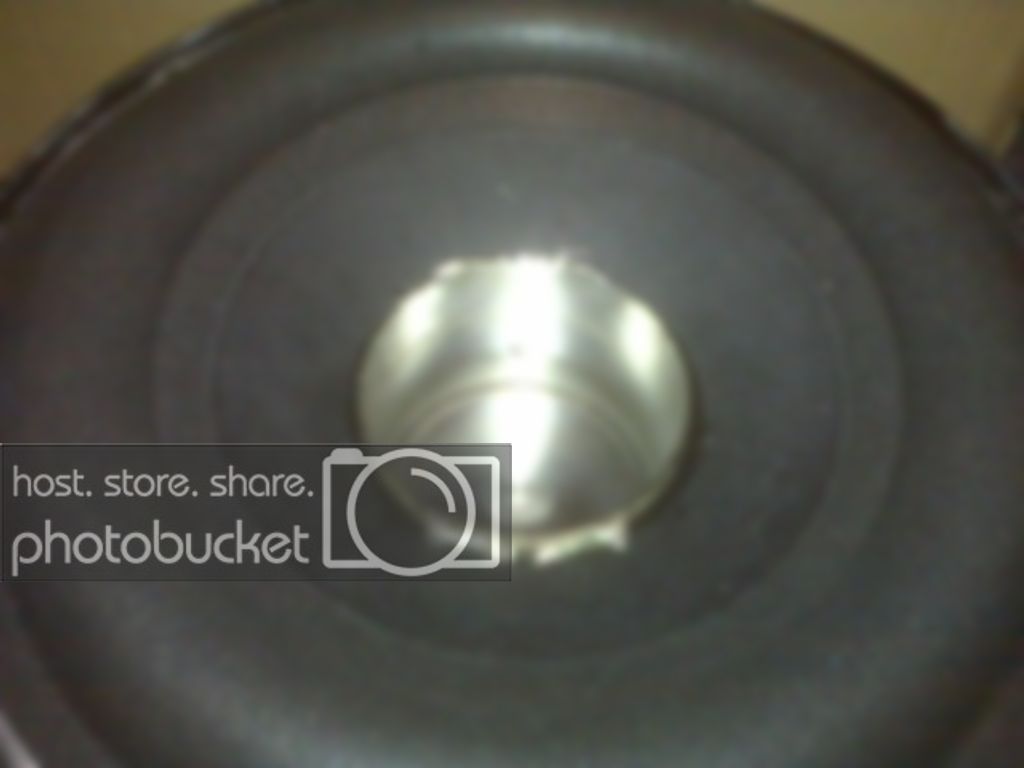
I've centered the coil in the gap and have it roughly positioned on the coil. I set it in place and shim it up (using Magic cards this time...I've used manila envelope cut up, I suppose you can use whatever as long as it's even on all sides) Next I tack the coil in place and pull it out to put a good bead of glue on either side.... protip make sure you line up the coil leads with the tinsels

 
DSC06967.jpg


DSC06968.jpg


Again, the CA glue with the activator sets instantly but does look a bit white. I try to not use as much activator on parts that might show.

 
DSC06969.jpg


DSC06972.jpg


DSC06974.jpg


Next I set it back up and shim it again leaving enough margin to get some glue on the landing. Just about enough time before the glue sets to slip it down in place and give it a few squirts of the activator and press it down firmly. Protip...make sure you line up the tinsels with the terminal spots on the basket.

DSC06975.jpg


DSC06976.jpg


I basically wrap the copper wire around the tinsel and add a big gob of solder. At the moment I don't have the proper equipment to solder to aluminum, but this seems to be adequate. A generous dolop of hot melt glue will keep the terminals in place and prevent shorts should they get bent over or something.

DSC06978.jpg


DSC06981.jpg


Cone glued in place and I just lift the surround and use CA underneath. I haven't had one fail yet with the CA glue and this stuff doesn't seem to deteriorate these surrounds. Ideally I'd use something different and clamp and wait overnight, but I'm a bit impatient.

DSC06982.jpg


I glue the hell out of where I wrap the coil lead around the tinsel and stick it down well. Without a big goober of glue on this I've had them fail in the past. I'm really trying to keep the mass down on these or I'd do a big bead of Amazing Goop around the joint (which has worked quite well for me before).

DSC06983.jpg


Shims pulled and dustcap glued on. I tried to use the CA glue so I could beat on it right away but that popped off quickly. Amazing goop seems much better at dustcaps.

Pair of these in my Jeep Grand Cherokee in appx 6 cube tuned to 45hz off a DC 2000.1. 14.4V in at .5 ohm nominal a little over 1 ohm with rise. doing 148.7 legal (on music at @ 53hz). I know I can squeeze a few more tenths by dropping the back seats and I know I can get a couple more tenths at 55hz, but my CD kept skipping at 55hz @ 147.5 so I'll need to put my test tones on USB stick and test more.

Assuming I don't smoke anything this week I will get a recorded score at a show this weekend....I'm shooting for 149 even (.3 over my last best with this amp/box). Sadly I'm limited to music only in my format.

Anyway, just figured I'd post up a pictorial of a functional recone step-by-step.

 
Nice, I just did my first recone a few days ago. Your solder job doesn't look too hot though lol.
Ugly as hell, but solid enough. I think a lot of ppl use some sort of crimp connector. I also hear that the "cold solder" type things will do aluminum, but the one that does is supposedly 300$ or more.

I think soldering to terminals might be much easier as well, but again, push terminals don't clear the motor.

 
good job. I have only done drop-in kits but how do you know where on the former to glue the spiders and cone?
you placethe coil location at the saturation point of the combined magnetic fields. You kinda gotta think of it spaciallly as a deterorating magnetic field eminating from each slug and keep the coil stationed center in the middle of them all.

oh and to the thread OP, you might want to try Maxicure Thick clear instead of that black ****. The thick clear doesnt burn your eyes anywhere near as bad as the black **** and holds just as well. Plus the black stuff has a short shelf life (found out the hard way, bought 3 extra and they dried up before I even used them //content.invisioncic.com/y282845/emoticons/frown.gif.a3531fa0534503350665a1e957861287.gif )

 
you placethe coil location at the saturation point of the combined magnetic fields. You kinda gotta think of it spaciallly as a deterorating magnetic field eminating from each slug and keep the coil stationed center in the middle of them all.
oh and to the thread OP, you might want to try Maxicure Thick clear instead of that black ****. The thick clear doesnt burn your eyes anywhere near as bad as the black **** and holds just as well. Plus the black stuff has a short shelf life (found out the hard way, bought 3 extra and they dried up before I even used them //content.invisioncic.com/y282845/emoticons/frown.gif.a3531fa0534503350665a1e957861287.gif )
I'm just positioning the coil where the original one was seated (lining up the center where the center was). As it happens it's about halfway up the top plate of this motor.

Good thing I'll use up most of this black stuff. Actually I had used the extra-thick clear stuff in the past with good results (and fair shelf life even opened) but the local hardware store is out and since a lot of ppl say the rubberized stuff is better for high vibration I figured I'd give it a try. So far so good, though I'll make it a point to not to keep my last bottle of black stuff sitting around too long.

Also if anyone has a picture of what the magnetic flux lines of a speaker magnet look like a link would help.

 
my first recone was the 9515g didnt come out gorgeous but no coil rub and no failure
My first few attempts were pretty ugly too. I'm confident next time I do this they'll be even better.

Their new home:

DSC06985.jpg


DSC06986.jpg


Special thanks to Jacob for parts and widow decals!

 
Nice bro. I have a few tips for ya that I use.

First.... Those flat tabs for the coils work absolutely great just by bending tinsel lead over and tucking the copper tab around and against the former. Then just a dab of solder on ea side and glue after.

Pic of a recone I did yesterday

IMG00856.jpg


Then once I get to that point I Epoxy the triple joint. I like to fill it up full to the top of the former makeing sure to engulf the tinsel/voicecoil connection.

IMG00858.jpg


For surrounds and caps I like Goop. Its truly amazind sheyot lol Because goop doesnt dry instantly I use clothes pins from the dollar store to hold until dry...approx 20 mins and cures overnight.

IMG00860.jpg


Hope you dont mind me posting in here lol Theres no truly wrong way of going about reconing as long as the end result is a clean sounding strong woofer.

 
Activity
No one is currently typing a reply...
Old Thread: Please note, there have been no replies in this thread for over 3 years!
Content in this thread may no longer be relevant.
Perhaps it would be better to start a new thread instead.

Similar threads

Hi, i have a b2 hn8p speaker and its blown, i was wondering if anyone has a reconekit or a suggestion for similar conekit so i can fix my speaker.
0
312
They all say they are in stock but they aren't. Just like my SSA Zcons and Evils were "in stock" but had a super long build time.
12
1K
Yeah I had torn one down and used my digital calipers to measure coil size ID & OD and winding height and spiders all had it written down and had...
4
1K

About this thread

hispls

5,000+ posts
CarAudio.com Veteran
Thread starter
hispls
Joined
Location
Central Maine
Start date
Participants
Who Replied
Replies
21
Views
3,929
Last reply date
Last reply from
hispls
IMG_0692.jpg

just call me KeV

    May 1, 2024
  • 0
  • 0
IMG_0691.jpg

just call me KeV

    May 1, 2024
  • 0
  • 0

Latest topics

Top