What’s up ladies and gentlemen of the car audio world? Today I bring to you the all inclusive Fiberglass Amp Rack 101 Lesson! Allow me to insert my shameless plug and say that if you enjoy any part of this tutorial, or learned something new, please post a comment, rank this thread, and share with your friends! Also I love when I get new subscribers on my YouTube channel! (The SECRETS of Car Audio Fabrication! - YouTube ) Other than that let’s review what you will learn shall we?
When it comes to making the Beauty Panel skeleton you are going to want to utilize techniques like router tricks to make pieces that fit within one another perfectly. You will also want to use techniques that allow you to mesh similar pieces of wood into one another to create separate pieces of the amp rack so that the amp rack is an assembly, rather than one permanently conjoined part. Having an amp rack that is multiple pieces that are joined together by bolts and screws is much more effective than an amp rack that is glued or otherwise permanently joined. You want to have access to the equipment.
The methods and steps to effectively doing this are outlined in the following video:
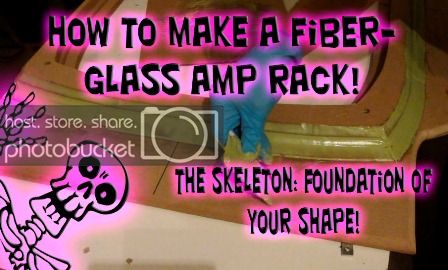
How to build a wooden skeleton foundation - Amp Rack 101 - Car Audio Fiberglass How To - YouTube
Once you have all your skeleton pieces built for both supporting the equipment and hiding the equipment you are going to want to prepare the skeleton for fiberglass, the professional way.

