Complete build log (toyota sequoia)

Okay and also since I haven't posted really any progress picture beside the stuff I've ordered I figured I would post some pics of a few boxes ib build for my buddies scion iq. (I know how much you Guys love picture)

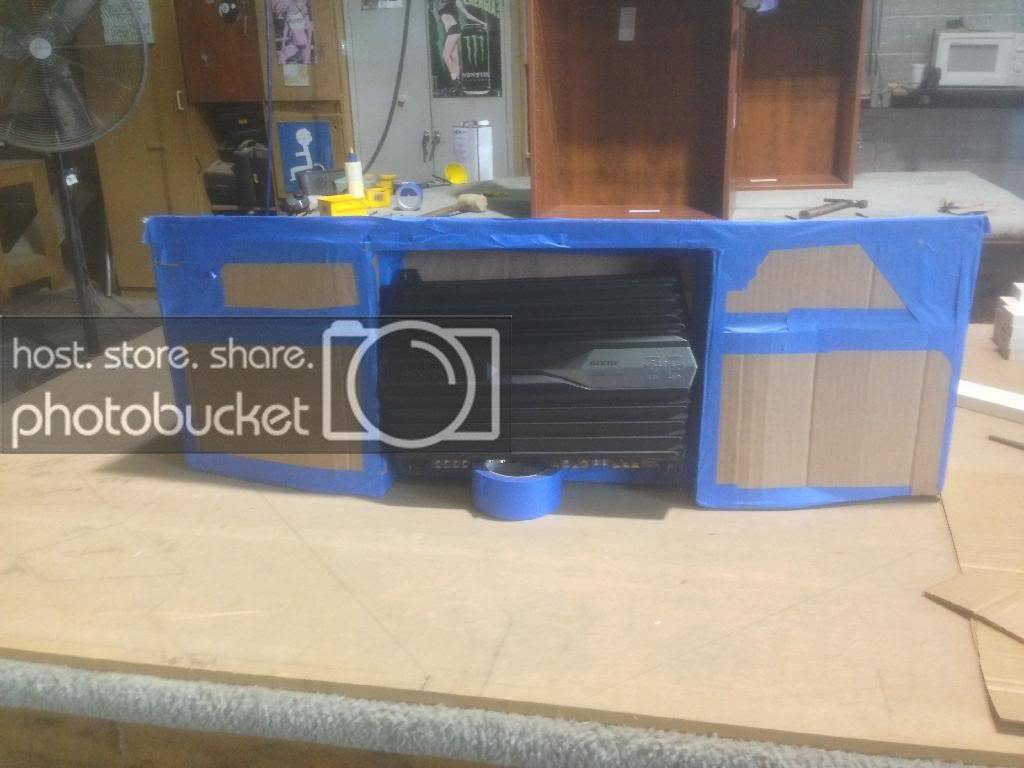
This first one we built for 2 rockford 10's please ignore the crappy sony explode amp in the amp hidden amp rack we made that's all he had at the time

Just a cardboard template made to scale. First time I've personally used one and I will use them again


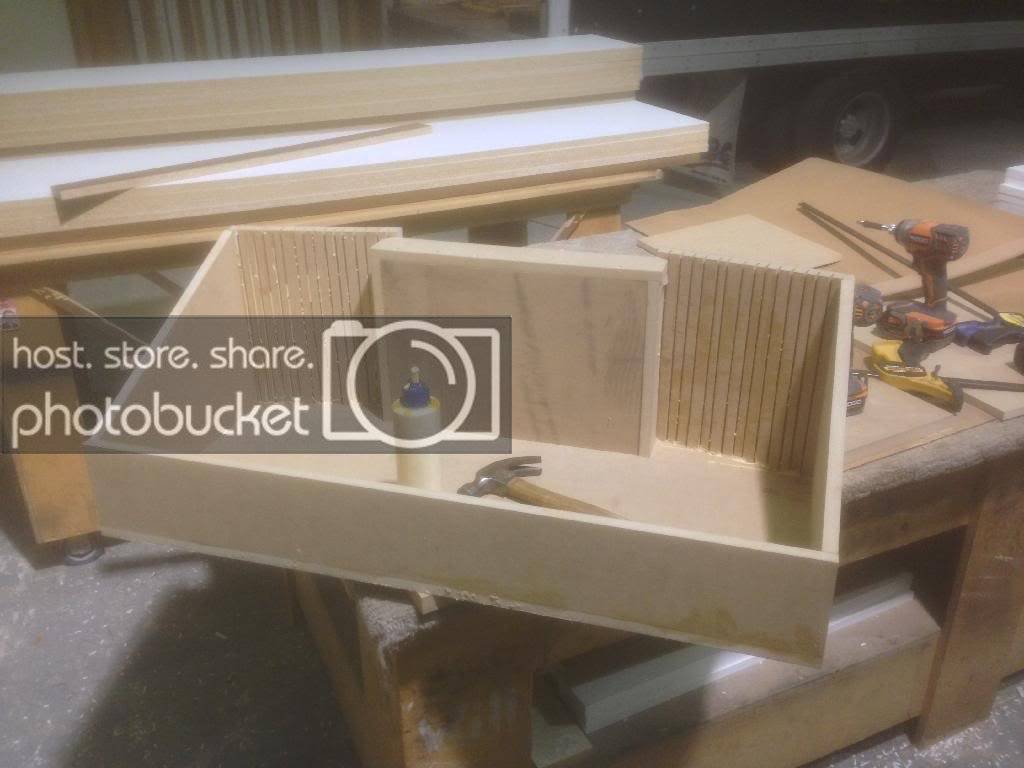
Curved the back walls just slightly to fit the sape of the back of his car better. First time doing this and it went so so


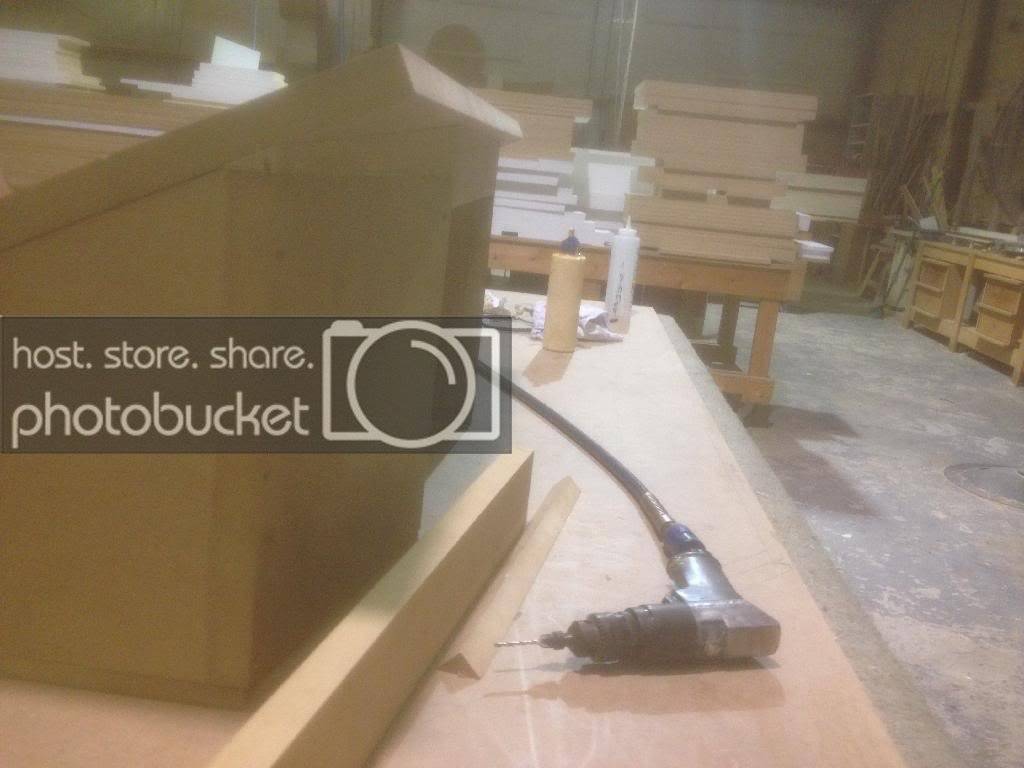
Fitting the top on. Man this thing had a ton of compound angles. Good thing our boss lets up use the shop after hours


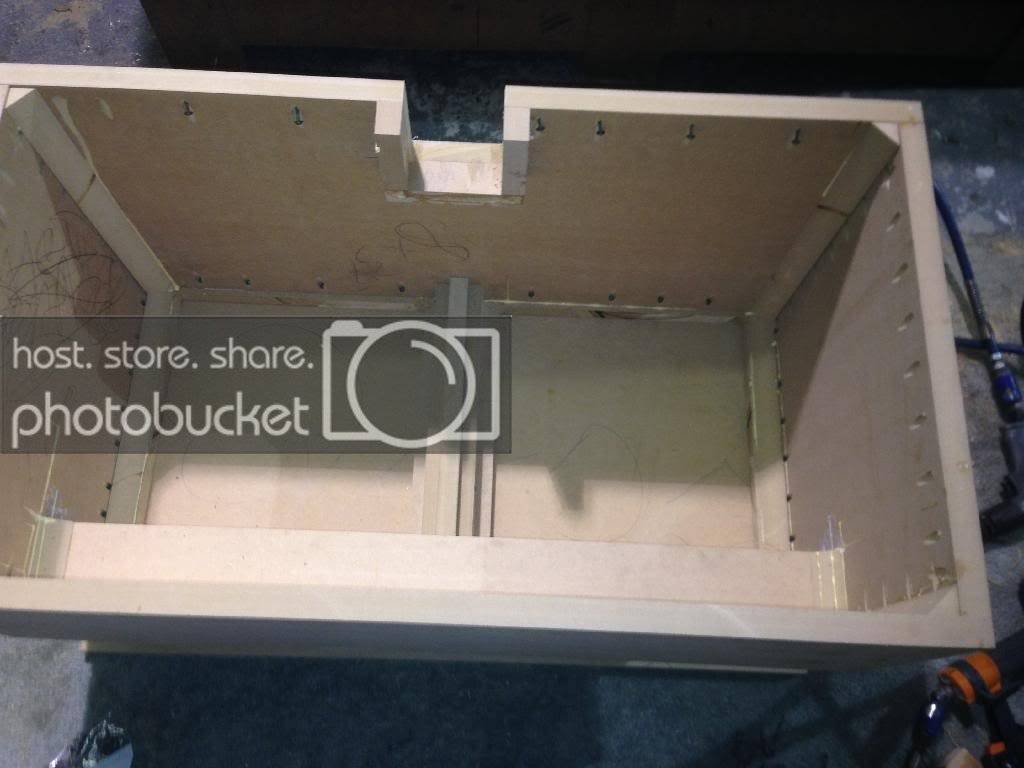
This is the last picture I have. Flared the port with quarter round molding came

Out pretty good. Wish I could find the finished picture

Of this thing. I was impressed with it especially being my first box that wasn't just a square


This is the most recent one we made for 2 l7 15's and yes I know there are and over killed amount of kregg screws in this thing. And we also added glue blocks on every side


Yes. Way above the window line and still to scared to wall. 9 cuft total after displacement. This thing is huge and weighs a ton. I'm still trying to get him to wall the thing. Maybe after he gets the 4 sa12's


Nice neon green garden hose you chose for your sequoia! Looking good so far, I'll be keeping an eye on this. That box for the scion looks great as well. Very well done! Like my grandmas steak!

 
Nice neon green garden hose you chose for your sequoia! Looking good so far, I'll be keeping an eye on this. That box for the scion looks great as well. Very well done! Like my grandmas steak!
Thanks man.

 
Okay so I got some good progress done today well night I should say. My and my

Buddy did my big three upgrade. This was a first for the both I think it went pretty good. I do have a question though.

When I did the alternator to battery I ran two runs of 1/0 taking the stock connection off. I noticed that there was a small wire that ran from the back off the alternator to the Battery. At first we did not

Hook this to the battery and the vehicle didn't start. After connecting it again it started right up.

I have a voltage meter running to my amp. And was settling at 13.9 volts. But after driving for about 1/4 mike and stopping at a light it started to drop to like

11.9 with no music playing at all. I figured it might be because I had my

Battery out for so long and the fact that it was sitting on the cold concrete (apparently a bad thing to do)

So after driving around for about 15 mins I was running a 14volts which I am testing from the amp. And with music on full tilt I was running at about 13 to 12.5 with the biggest drop to about 12 (seemed to depend on the bass notes) but I was still disappointingly getting some

Slight light dimming when stop for a few seconds (about 30 seconds).

Could not running the factory main wire from the alternator to the battery effect this in some way. I tried to be as specific as possible so you guys have a better idea of what I'm Asking and what I did.

Here's some picture of what we did

We drilled a hole at the top of the terminal ring and heated it up with a propane torch and melted sauter into the hole.


We then heat covered the wire in tech flex. which is surprisingly grease resistant. And then heat shrinked the ends with heavy duty tubing

With adhesive


Out with the old in with the new. Roughly 4 aug stock compared to

The new knukonceptz wire


Ran a new chassis ground. Sanded down the ground point and secured the ring terminal tightly. No the are three grounds in total. Factory ground to frame. Added frame ground, and beefed up factory fender ground.


A little sloppy for My liking untill I get some toolmaker battery terminals.


And just one more comparison picture


Okay so I had to take a long trip today around 400 miles. I'm no longer have the voltage drop. I really believe it was just my battery needing a real good long change to it. Once again I will state my volt meter is running to my amp. I was getting a solid 14 volts while driving *at the amp, and around 13.7 at the amp while sitting still. And with music

At full tilt it doesn't go below 12.6 volts. Big improvement to my 13.5 constant volts and drops as low as 11.5 when music on full tilt. Still need to run the 1/0 wire to my

Amp and my second battery so hoping for a much bigger change after that.

 
So I got some good progress done this weekend. It's all a learning experience for me so far.

Mounted the isolator. Really the only place under the hood I could find for it. I didn't wanna

Have it in the car because I'm trying to limit the the clutter inside. It's an nvx 500 amp isolator.


Taking out the old 4 gauge and gonna clean up this mess up wires. I'm gonna order 100ft spool on tech flex soon and make it all much nicer looking.


I really didn't want to do this but I had to run the wire on the outside of the car. Went to Home Depot and bought the wire cover and some clips to screw it the the bottom on the truck. I could have ran it into the car. But I didn't wanna have a lump under it.


Getting all the wire cut to length and put the end on for the rear battery. I dont

Know how I don't have a picture of it but ill make sure to post it

Later


i enjoy your thought process on putting your power wire inside that thick rubber type sleeve to go under the car - may i suguest to you tho - to add drain vent holes every 2 foot on that outer sleeve. nothing big - just maby a 1/8" drill bit to allow moisture that gets inside that sleeve to be able to drain out as i suspect over time it will fill up with water / moisture and could potentialy ruin your nice run of 0 guage

 
i enjoy your thought process on putting your power wire inside that thick rubber type sleeve to go under the car - may i suguest to you tho - to add drain vent holes every 2 foot on that outer sleeve. nothing big - just maby a 1/8" drill bit to allow moisture that gets inside that sleeve to be able to drain out as i suspect over time it will fill up with water / moisture and could potentialy ruin your nice run of 0 guage
I guess I could have taken more pictures to explain I ran the tubing up into the engine bay. And heat shrinked it to cover the opening. The tubing was just big enough to get the wire in it. And the other end I ran into the back of my truck. And heat shrinked the ends *** well. The only open ends are the one under the hood. And the other being inside the back of my truck.

I got the idea of using the tubing from a build log I seen on here. Can't remember which on. But I've gotten a lot of good ideas from the build logs people post.

 
Okay so got the 4th order built. Didn't add too much bracing and didn't glass the inside like I wanted to. I just didn't want to put a whole bunch of time into it when it was my first

Time

Building a fourth order and I wasn't sure how good it would come out.

But after this I'm am defiantly a fan or the 4th order!


Well...How does it sound?...what amp pushing them?

sounds great. im a 4th order fan forsure now. i have a kenwood kac8105d on the two subs. gonna be ordering the some stuff sometime this week an amp will be one of thoses things. plus looking at some 270 amp alts.

 
alright so i know this build is going pretty slow. but im on a budget and buy things as i get more money. here is some pics off the box again. it was flexing like crazy so i decided to take it back out and resin it and added some dowel supports.


really need some practice with carpeting

 
Activity
No one is currently typing a reply...
Old Thread: Please note, there have been no replies in this thread for over 3 years!
Content in this thread may no longer be relevant.
Perhaps it would be better to start a new thread instead.

Similar threads

  • Locked
Send me all the items. Once I receive them, I will verify everything in your classifieds. If someone buys them, I will ship out. You would just...
3
1K
I guess I asked for that when I declared myself a noob. I mean the interior side of the firewall which is heat shielded with Lizard Skin.
19
3K
Well, I've owned probably over 100 different drivers in the last 40 years and almost every single speaker in the NVX line-up over the last 8...
16
1K
https://www.youtube.com/@therealmatty_s/videos
0
646
I think you're gonna have to get good with fiberglass or something, or find someone with a 3d laser scanner that can 3d print or mold you some...
7
1K

About this thread

4bannger

10+ year member
Senior VIP Member
Thread starter
4bannger
Joined
Location
FLA
Start date
Participants
Who Replied
Replies
29
Views
6,149
Last reply date
Last reply from
4bannger
20240604_170857.jpg

metalheadjoe

    Jun 5, 2024
  • 0
  • 0
Screenshot_20240605_200209_Adobe Acrobat.jpg

Dylan27

    Jun 5, 2024
  • 0
  • 0

New threads

Top