And for the photos.. I'll just copy and paste everything from my imgur account..
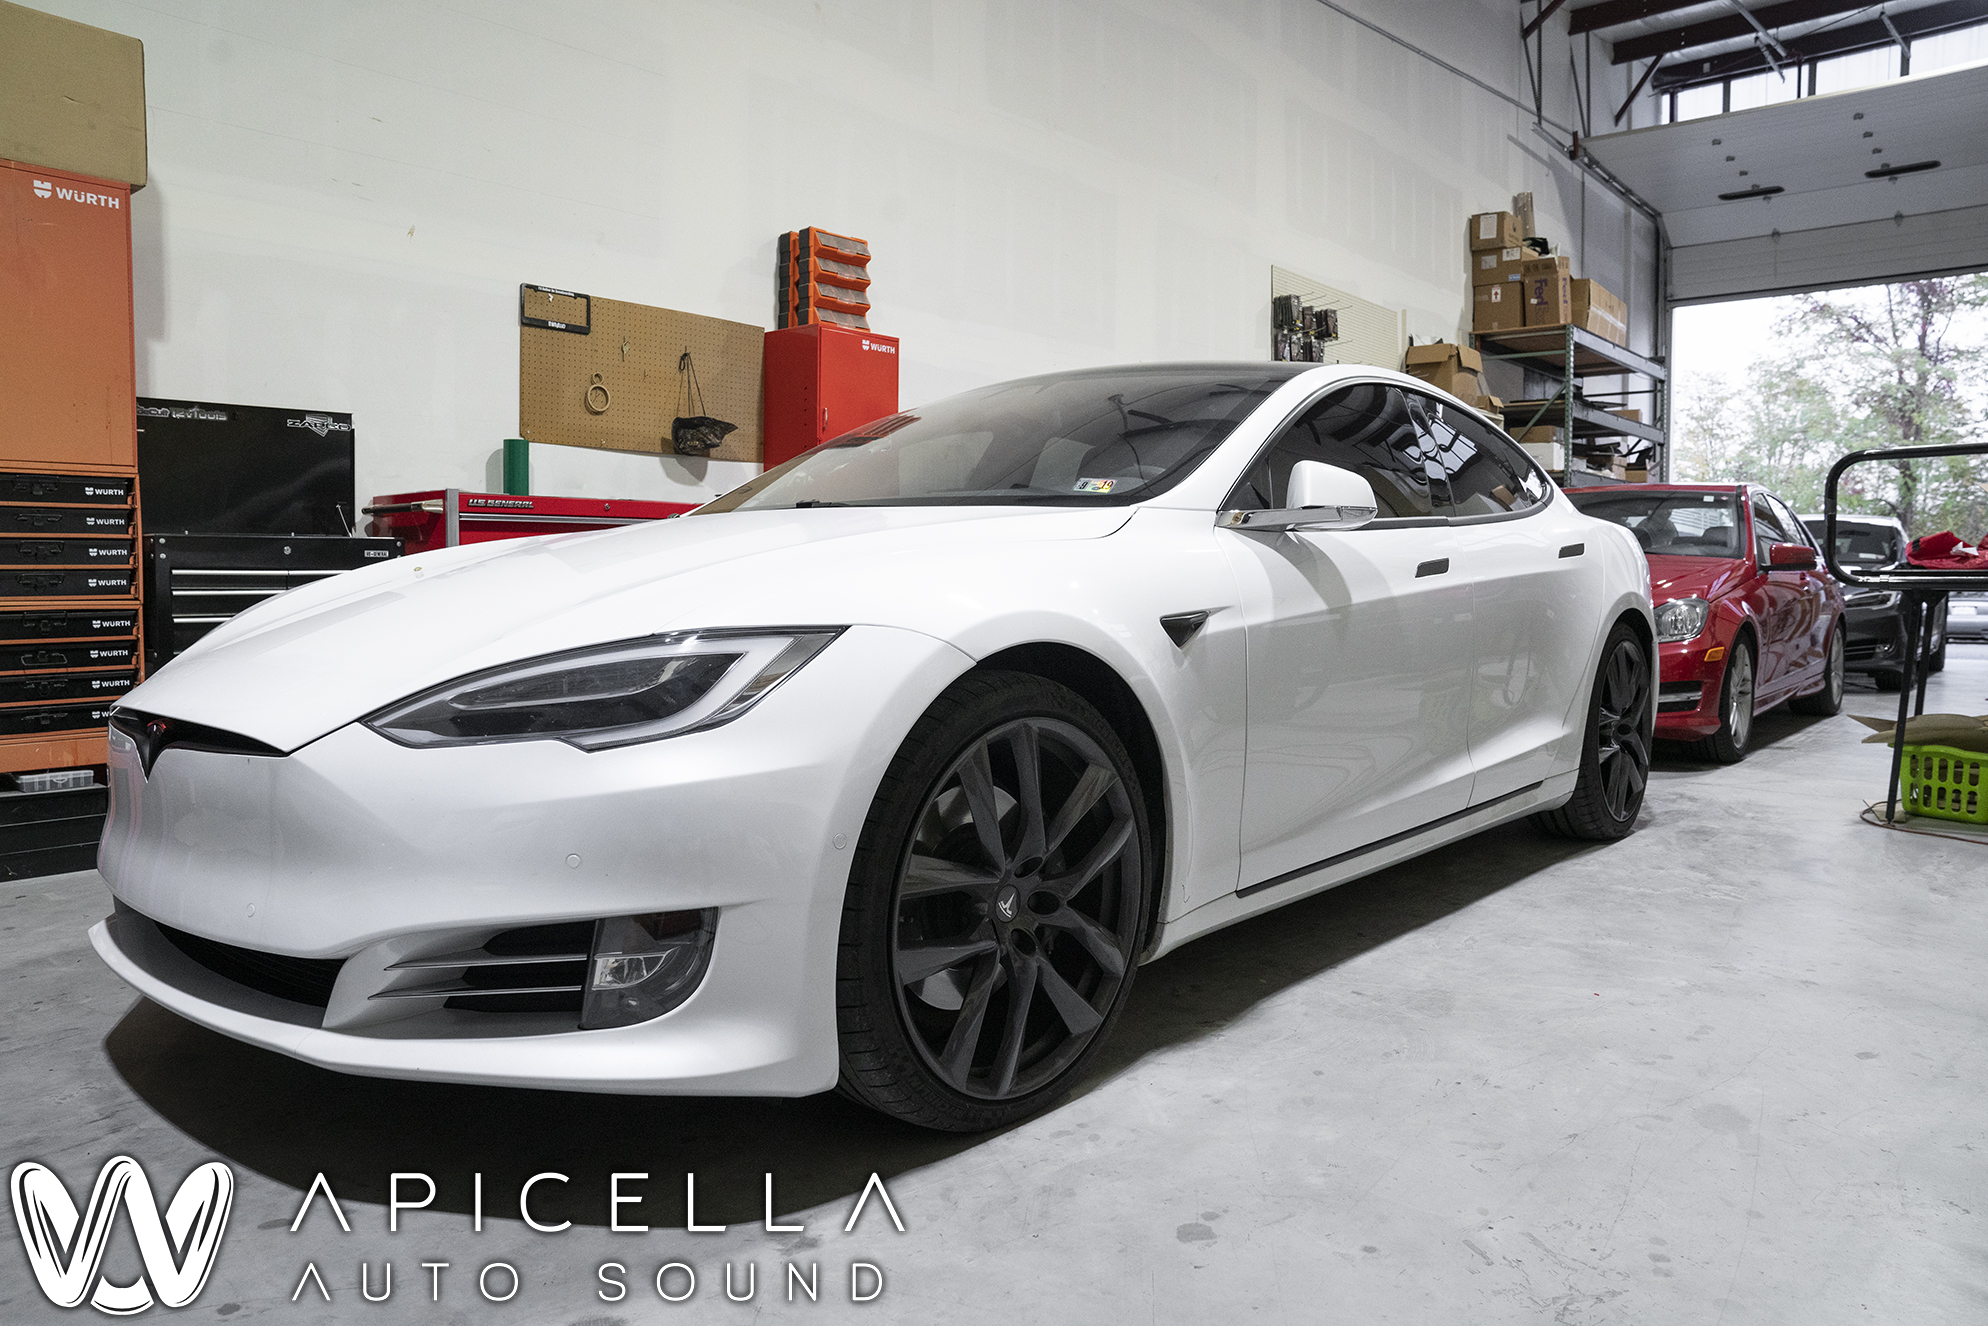
Hey guys, we are back with another build log. This time its Ron's Tesla Model S. I met Ron a few years back at one of the northeast
DIYMA get togethers. He recently purchased this Model S and of course the first thing he needed to do was upgrade the poor excuse of a "Premium" OEM sound system. We used some of his equipment that came out of his Audi, and some of it was new. What we used is as follows..
. Fiio M11 into Audison SFC (converts coaxial to optical), as well as the OEM radio
. Helix P-SIX Mk2 with Helix Director
. Zapco Z-1KD
. Audiofrog GB10
. Audiofrog GB25
. Audio Development W800NEO
. Audiofrog GB12D2
. ResoNix Sound Solutions sound deadening
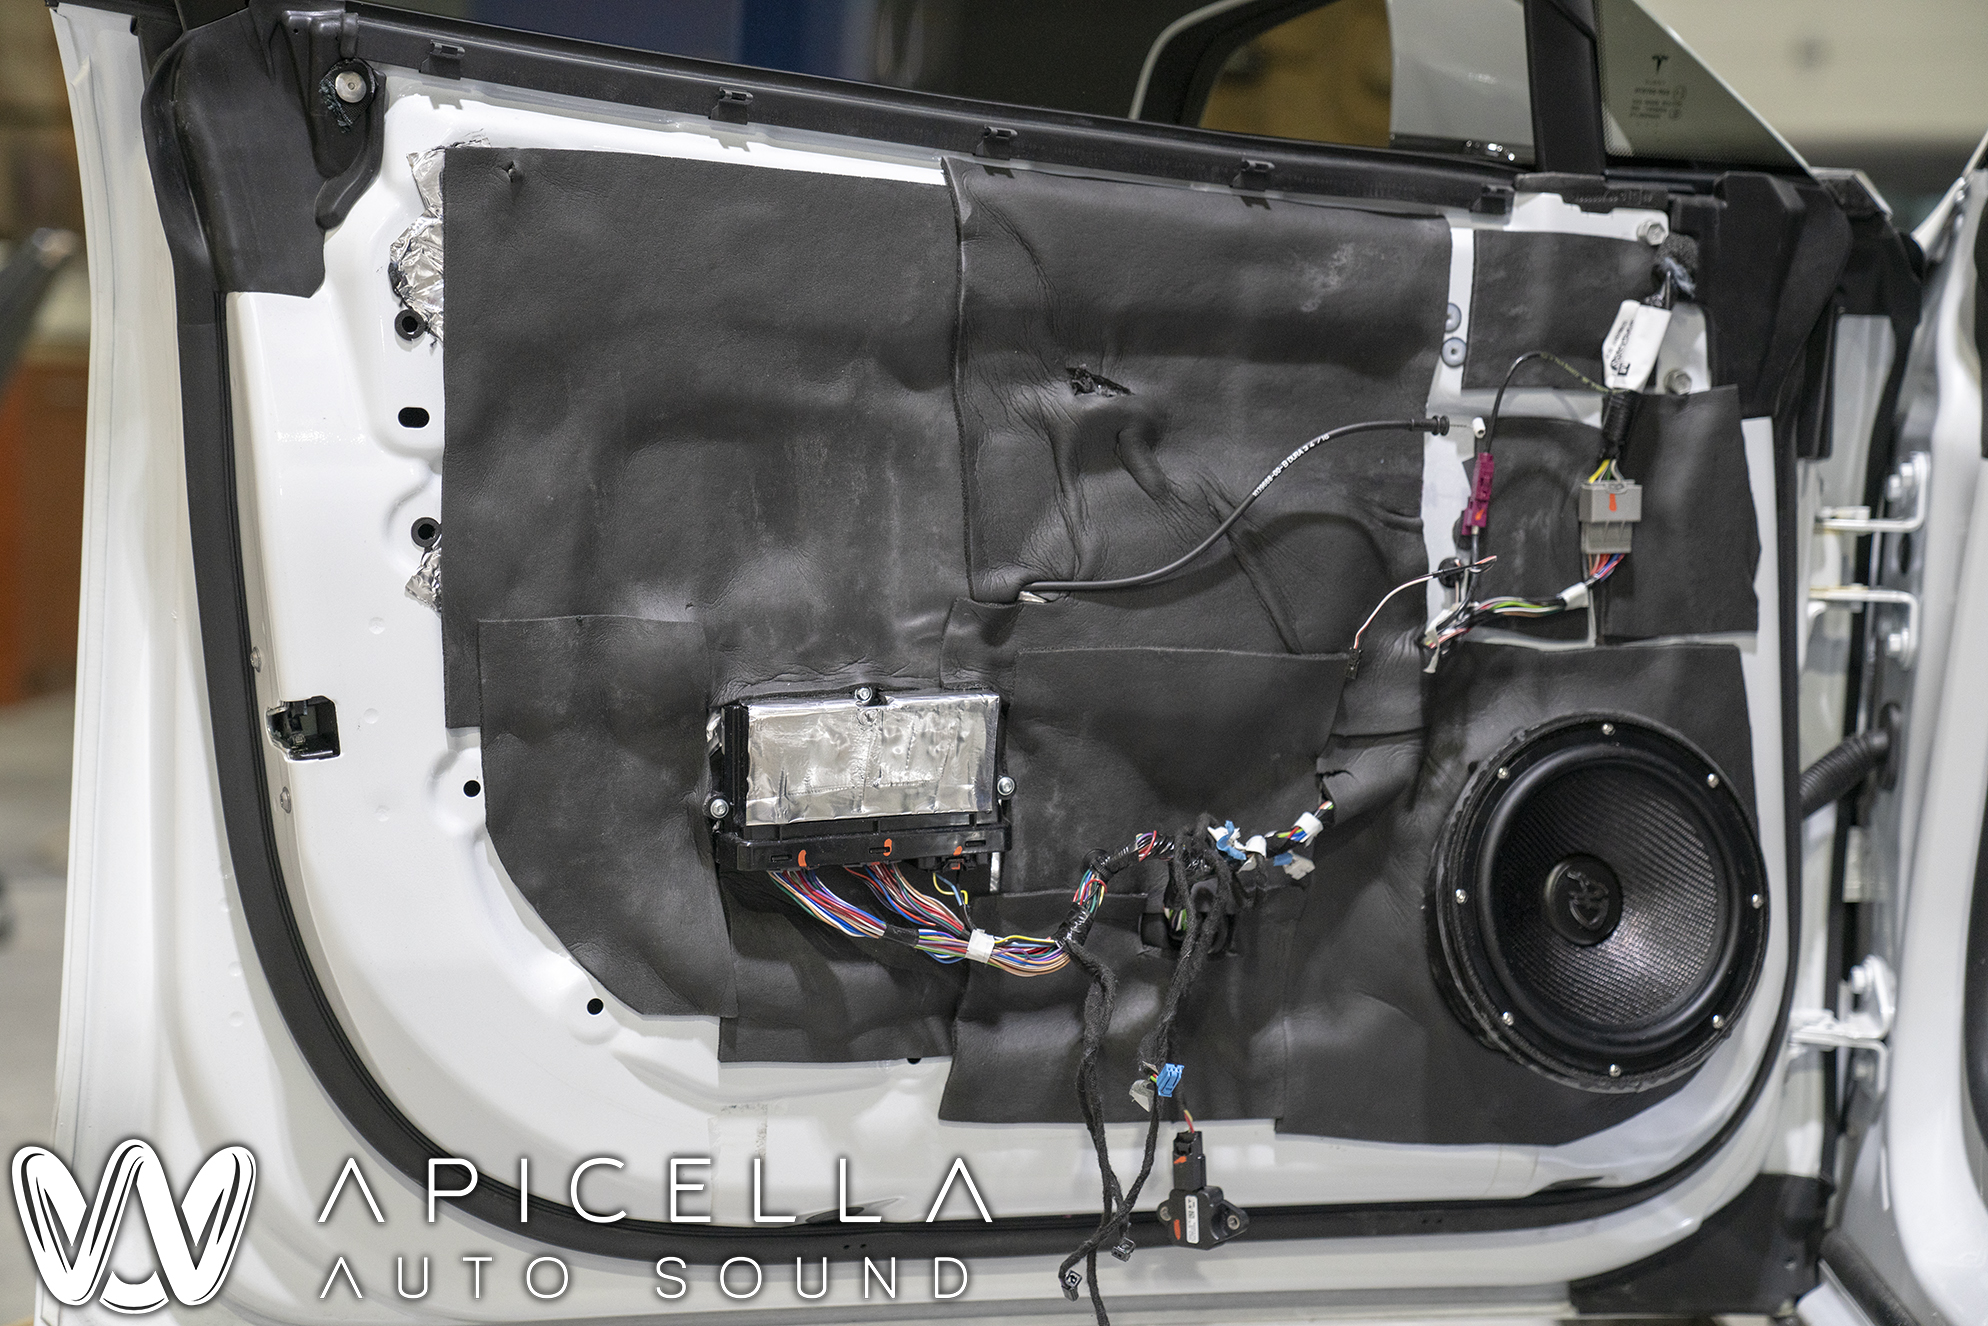
First things first were the doors. We decided to use the Audio Development W800NEO to cover midbass frequencies. The OEM drivers in the Premium OEM system are 8", so fitting these isnt very hard. These were mounted on composite baffles to prevent them from deteriorating over time while also being strong and rigid enough to provide a suitable surface for such a powerful driver. The doors were treated with products ResoNix Sound Solutions. The outer door skin was treated with ResoNix CLD Squares and ResoNix Rope.
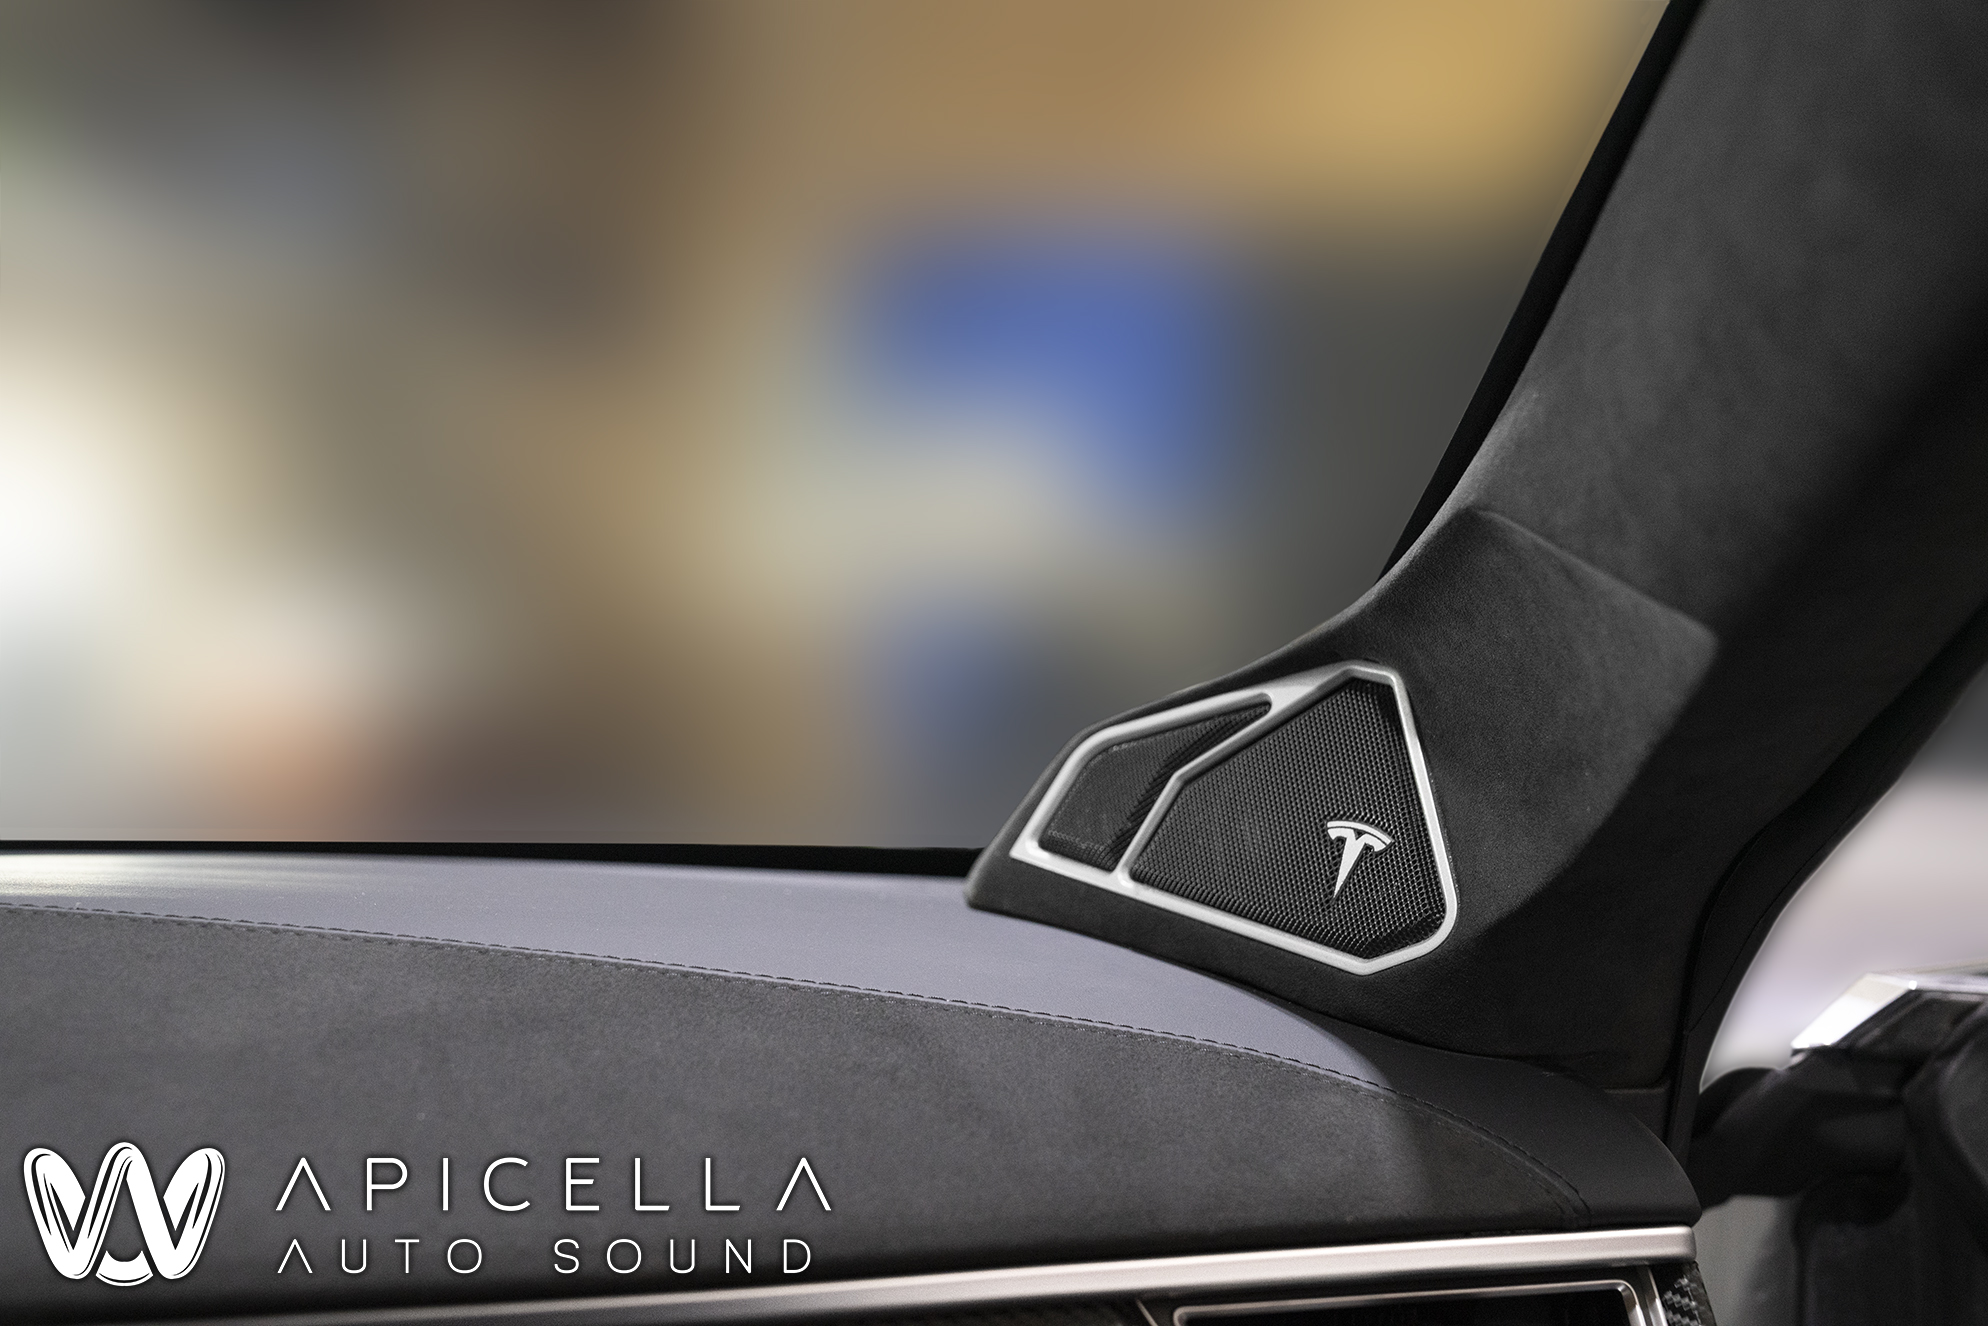
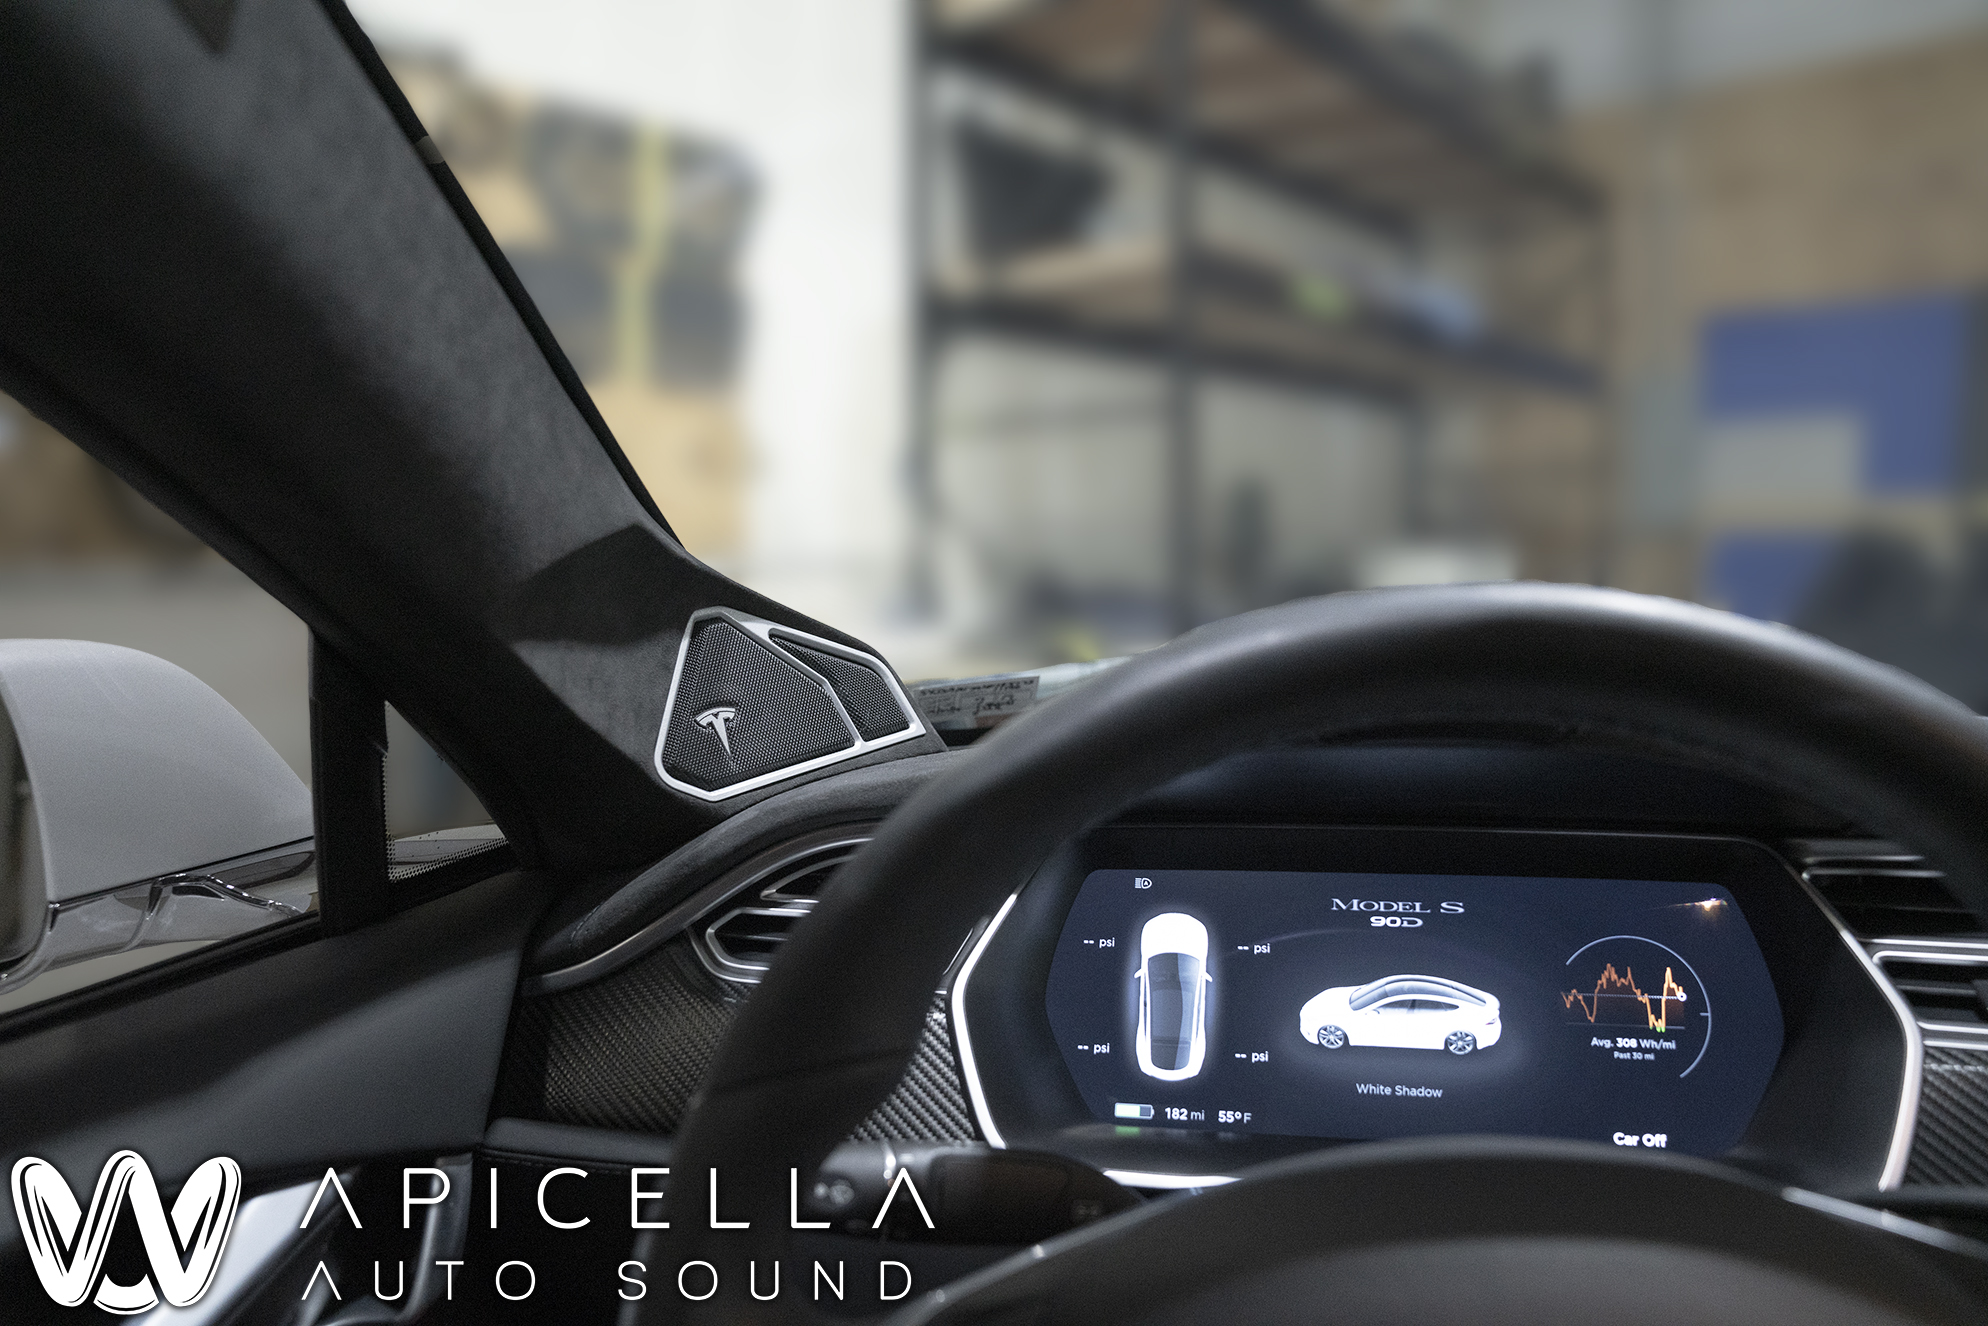
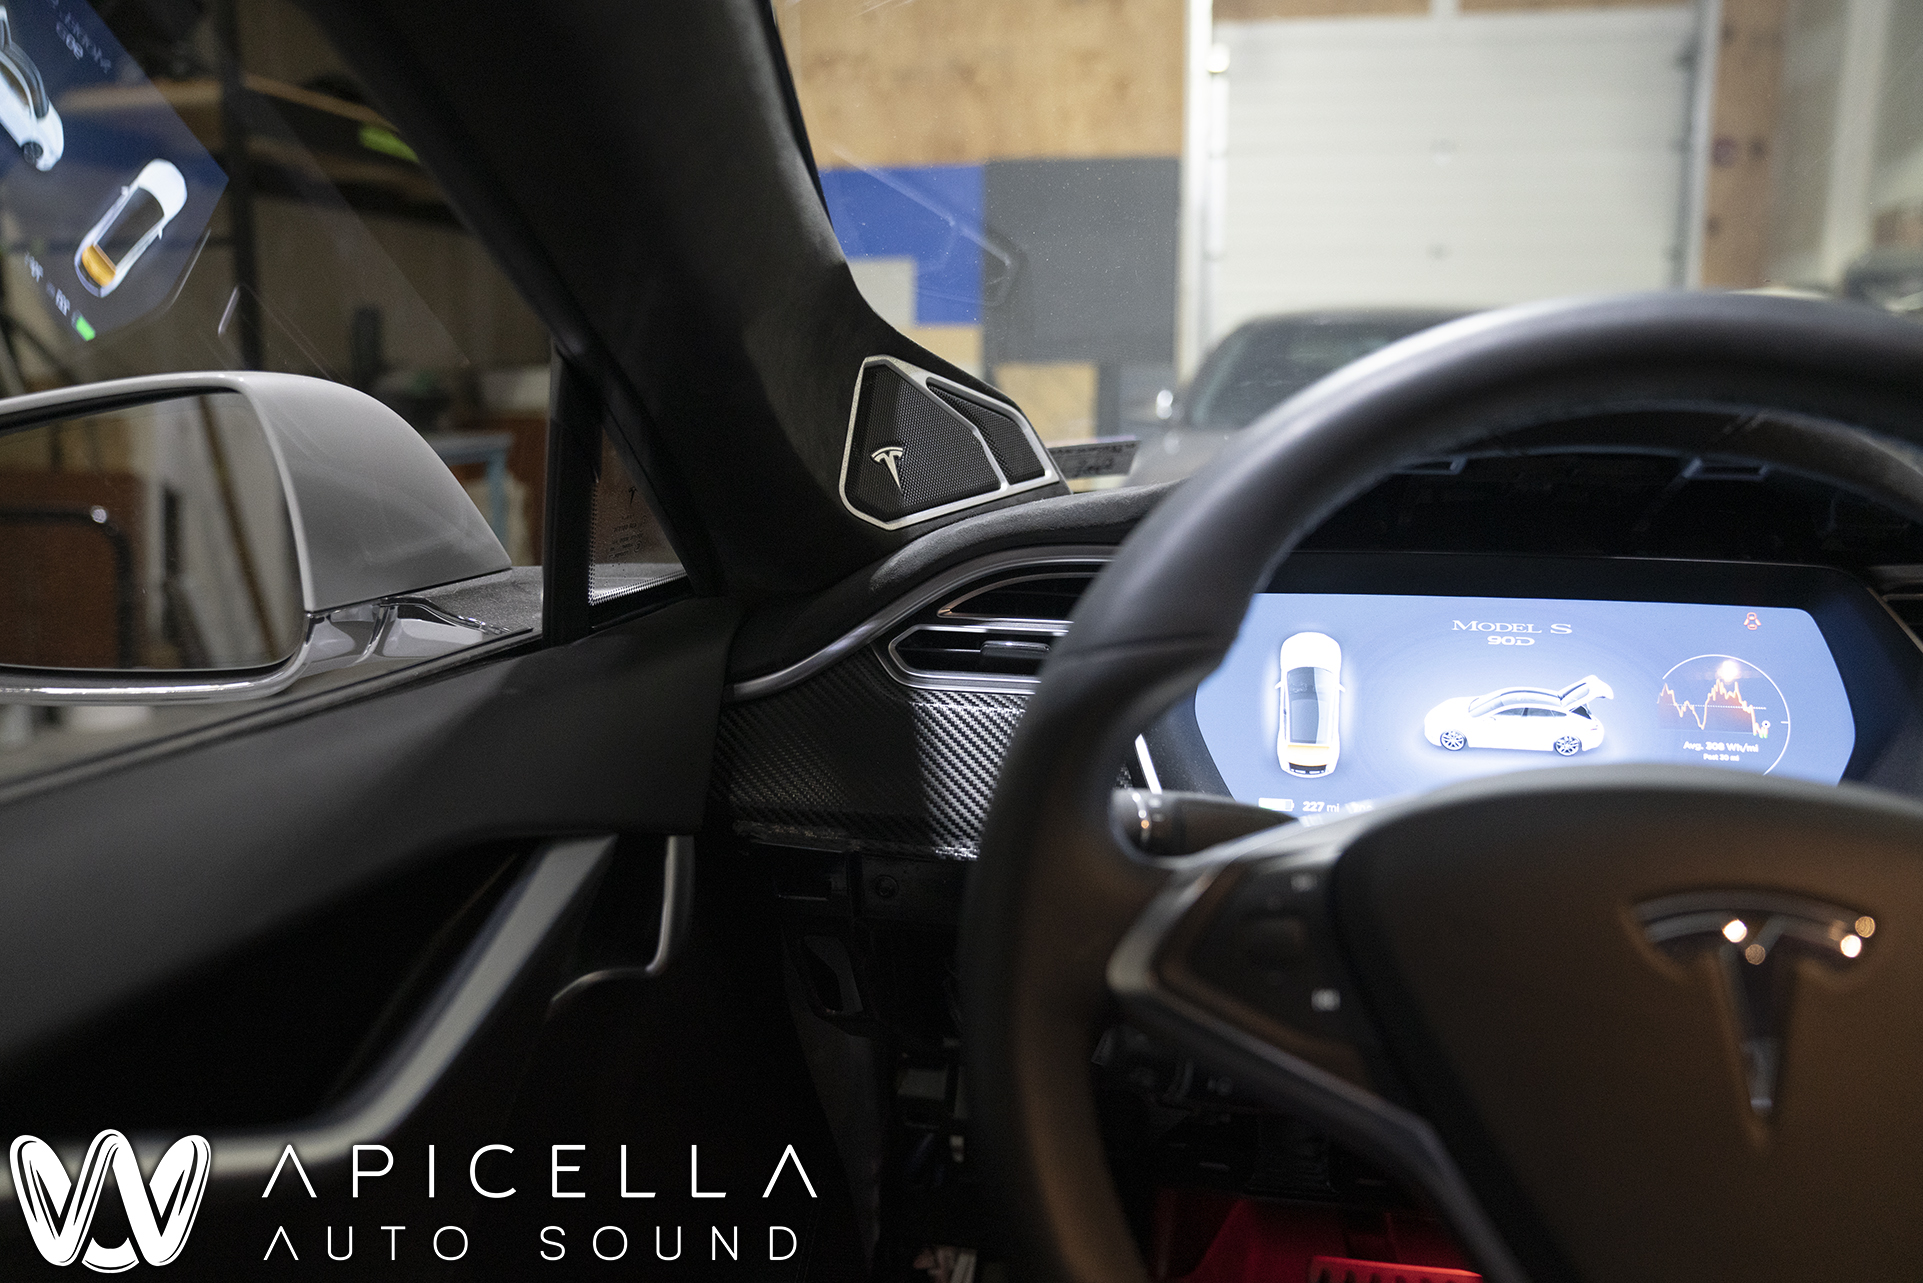
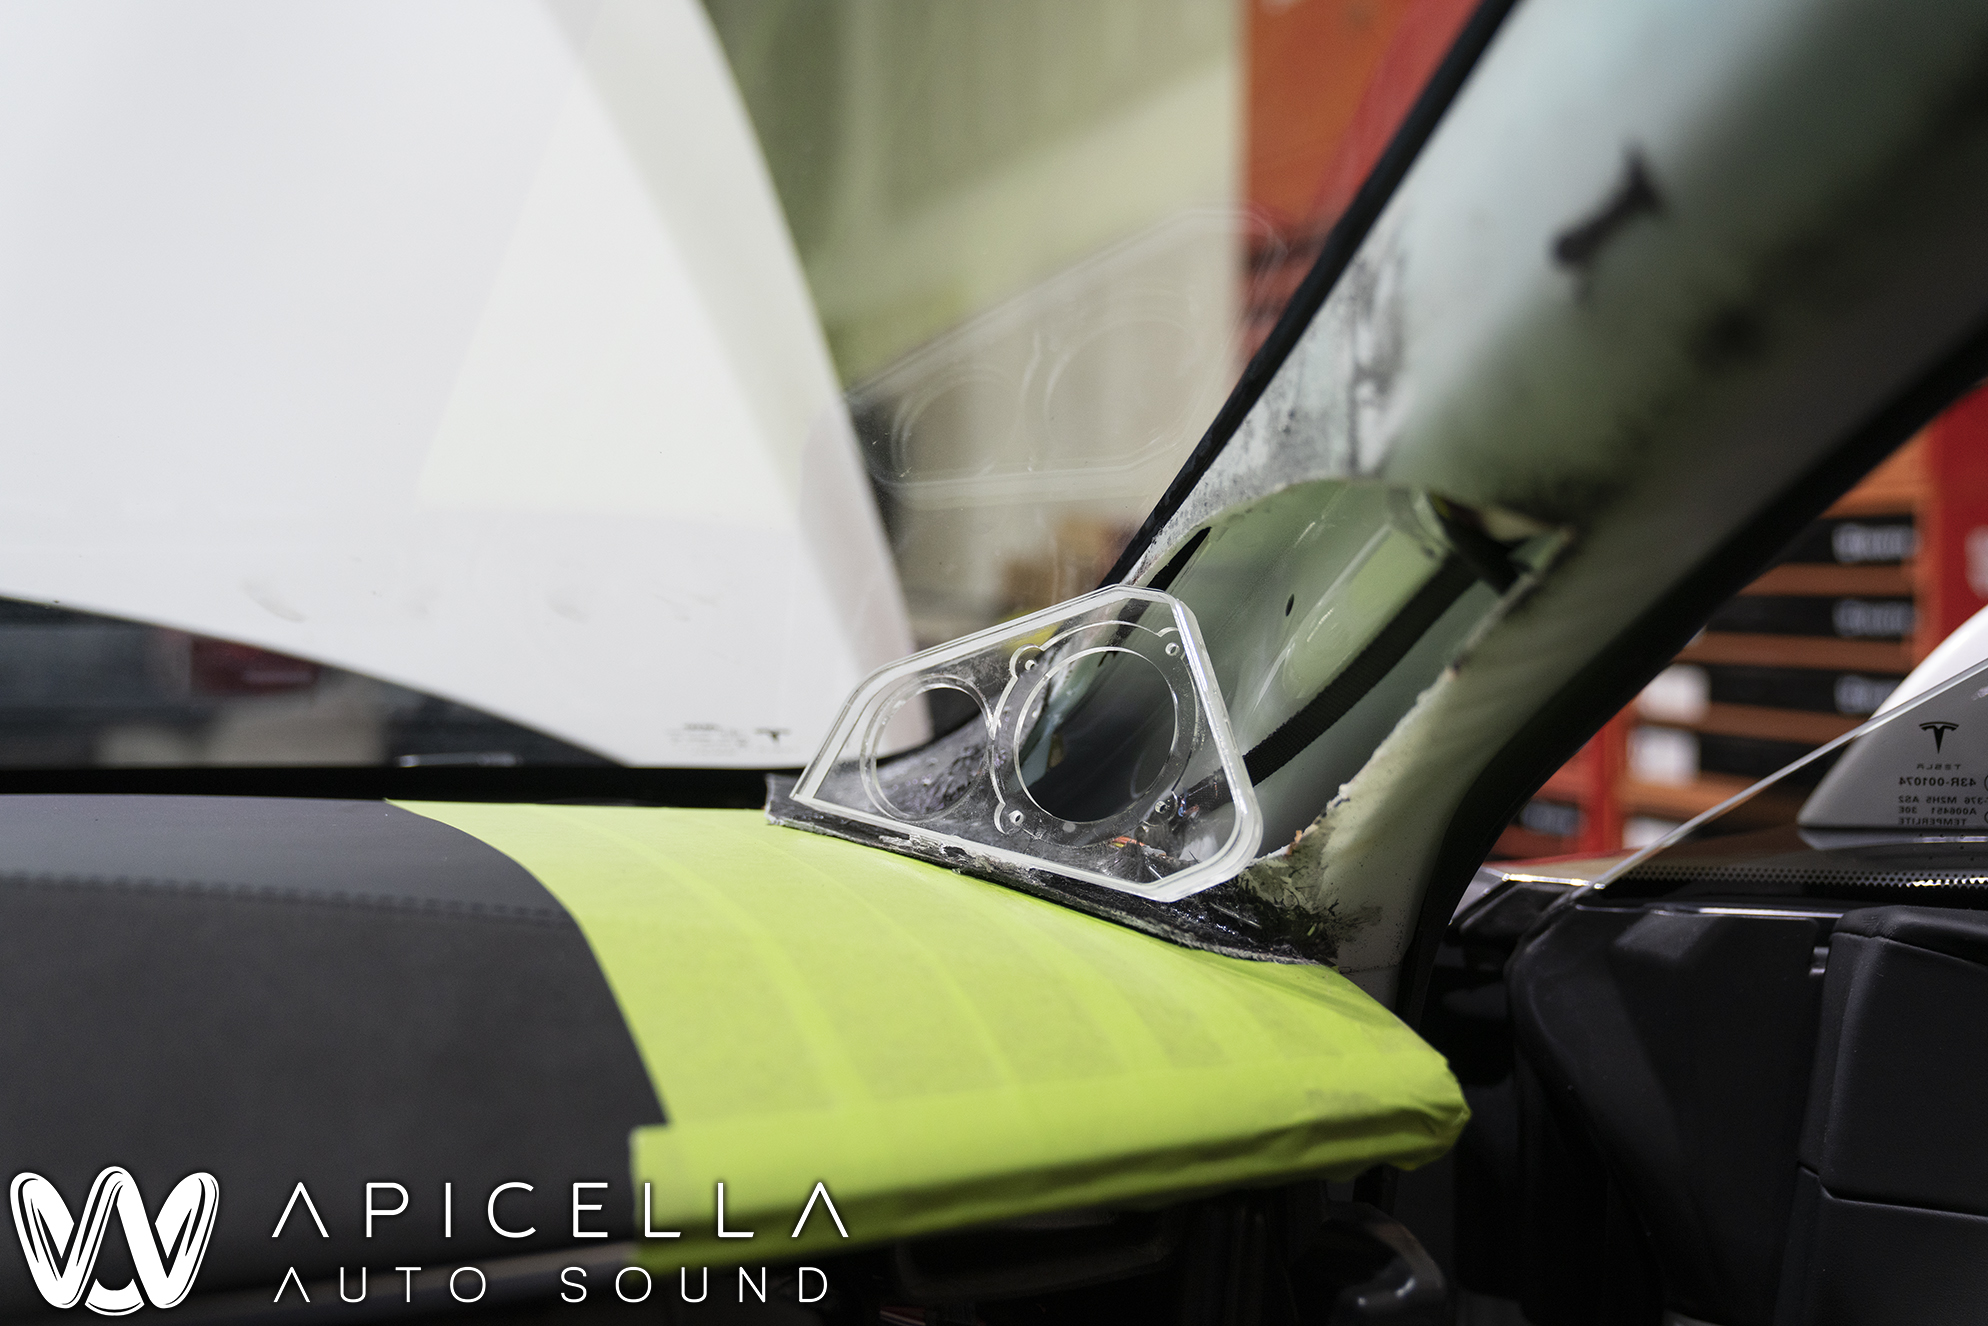
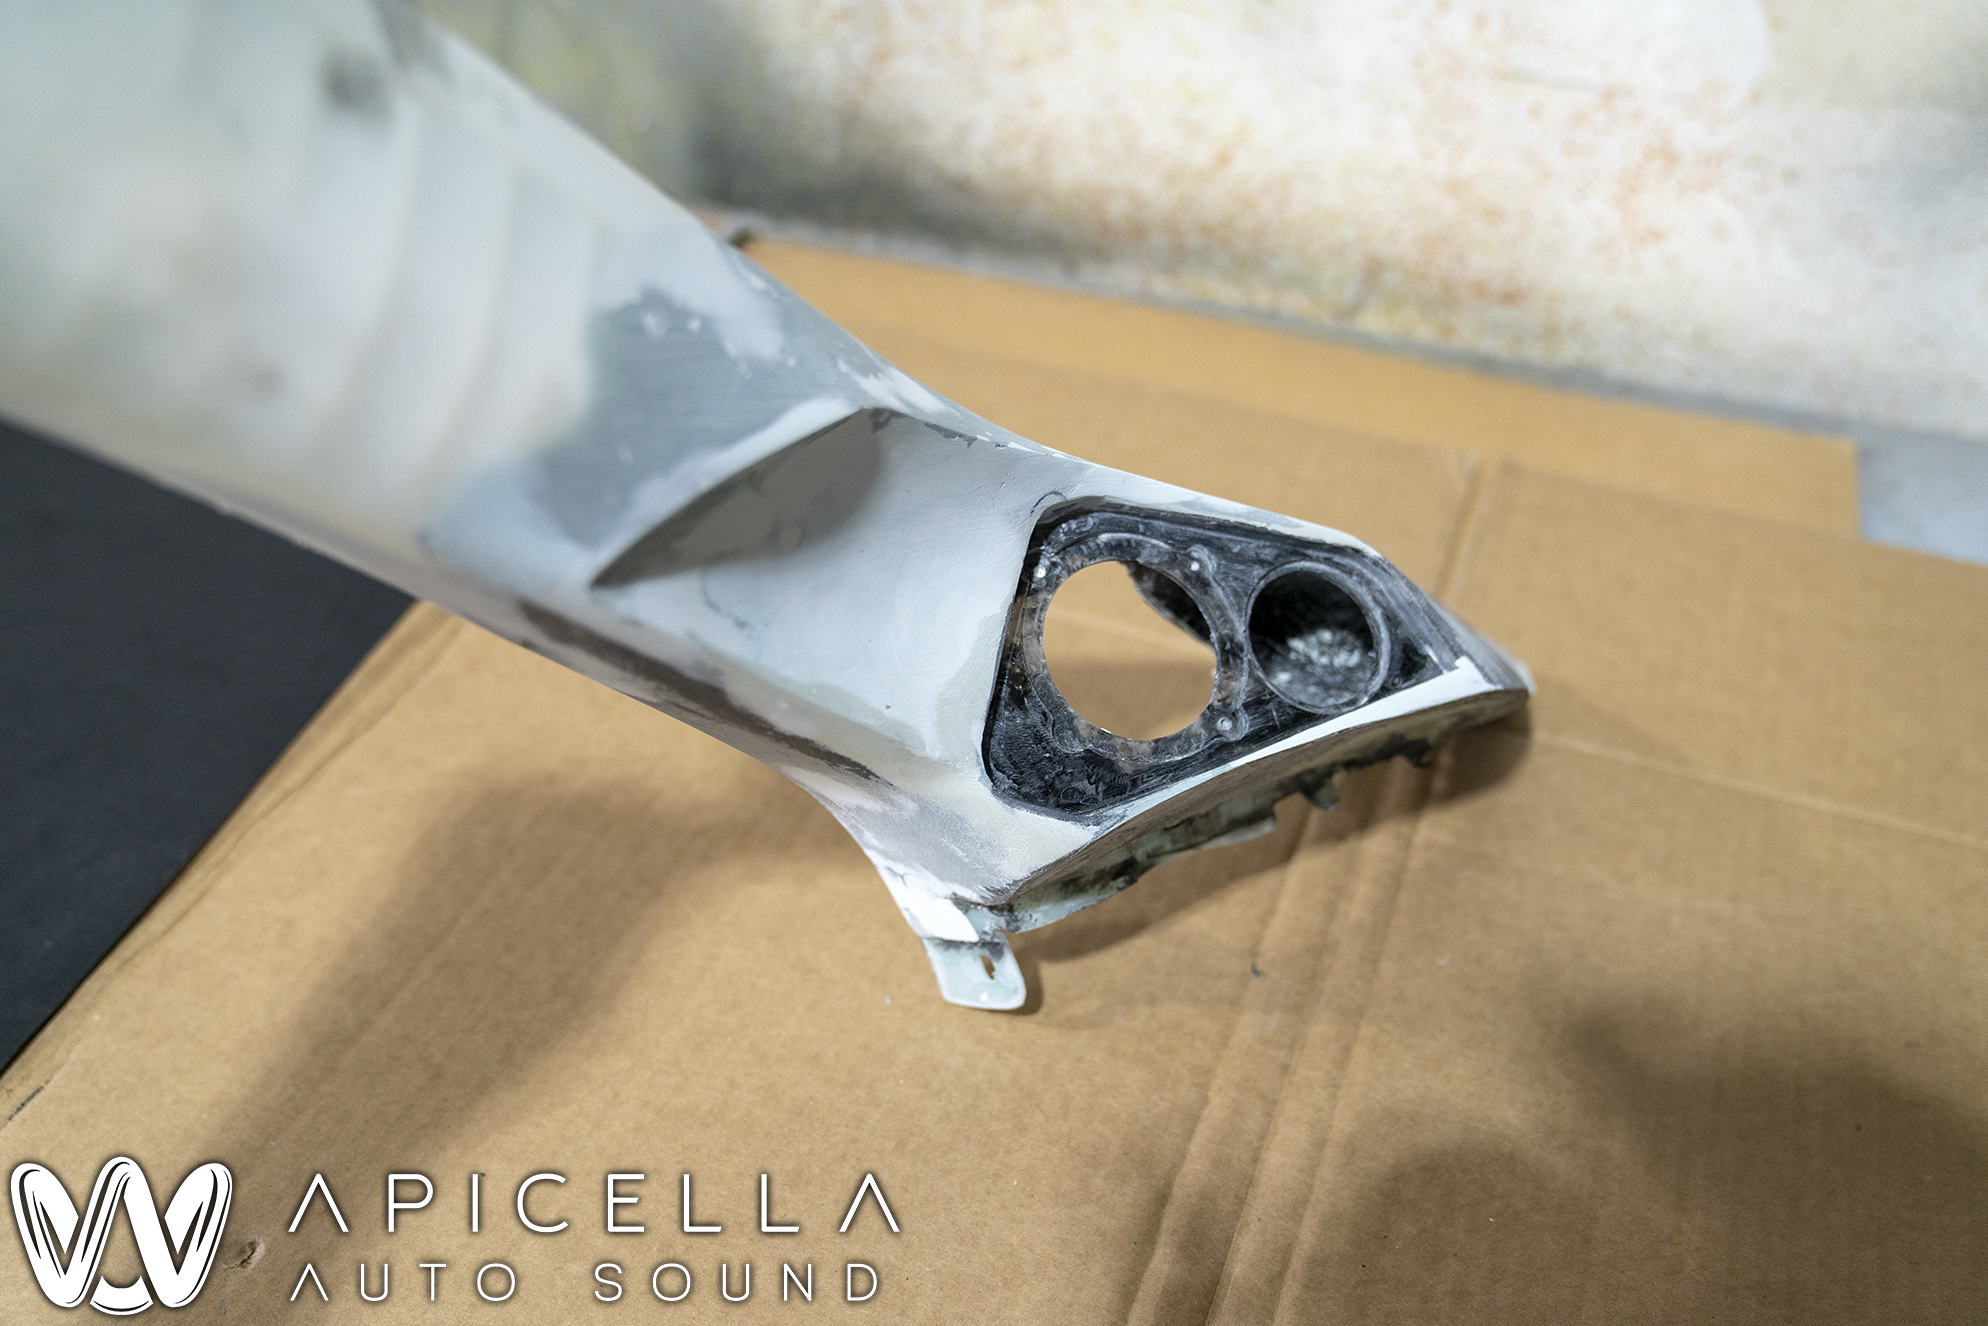
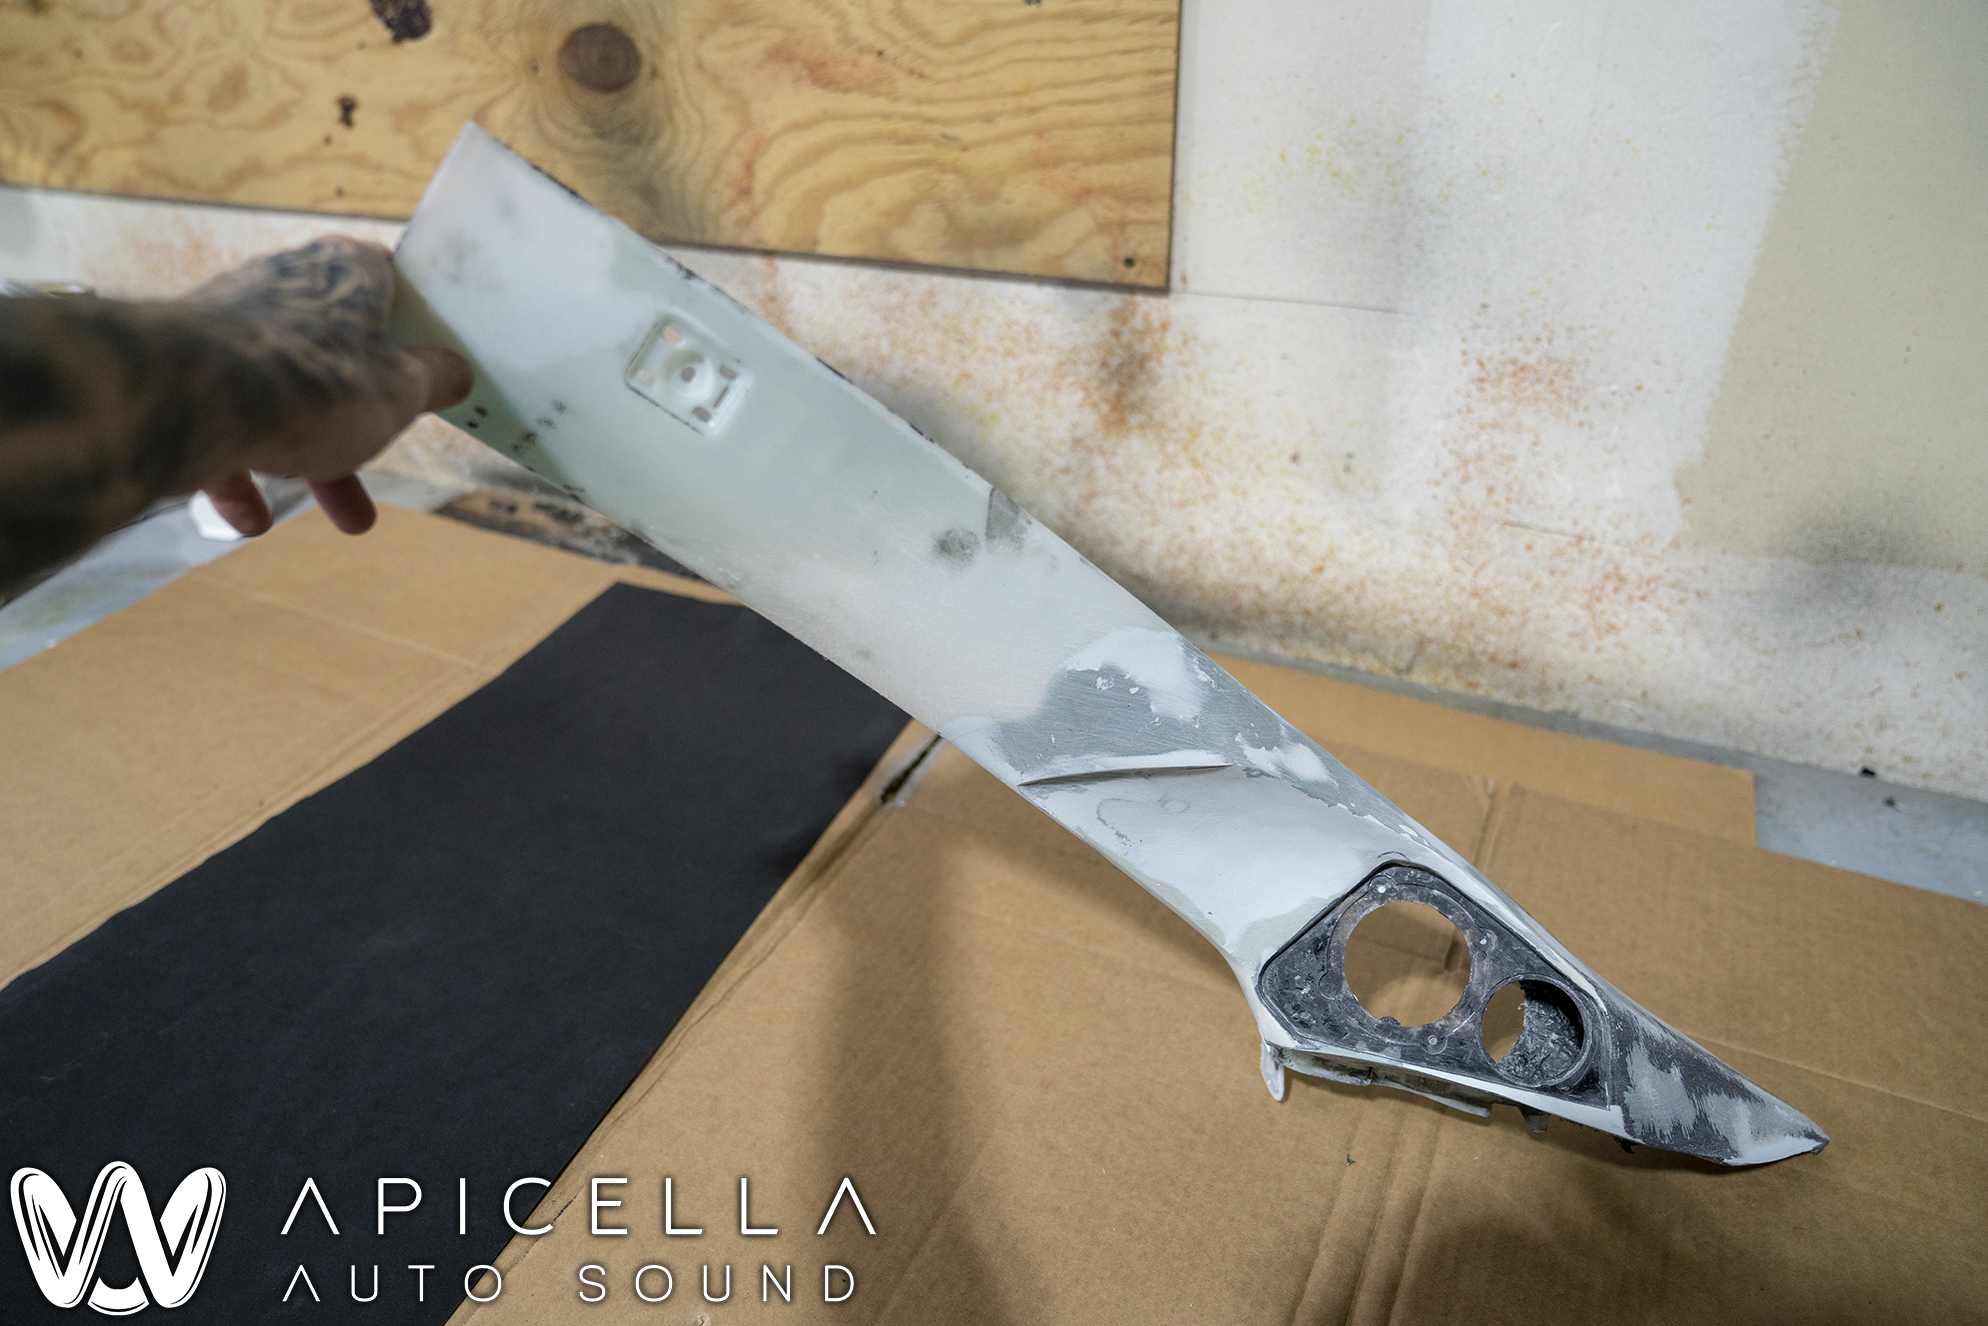
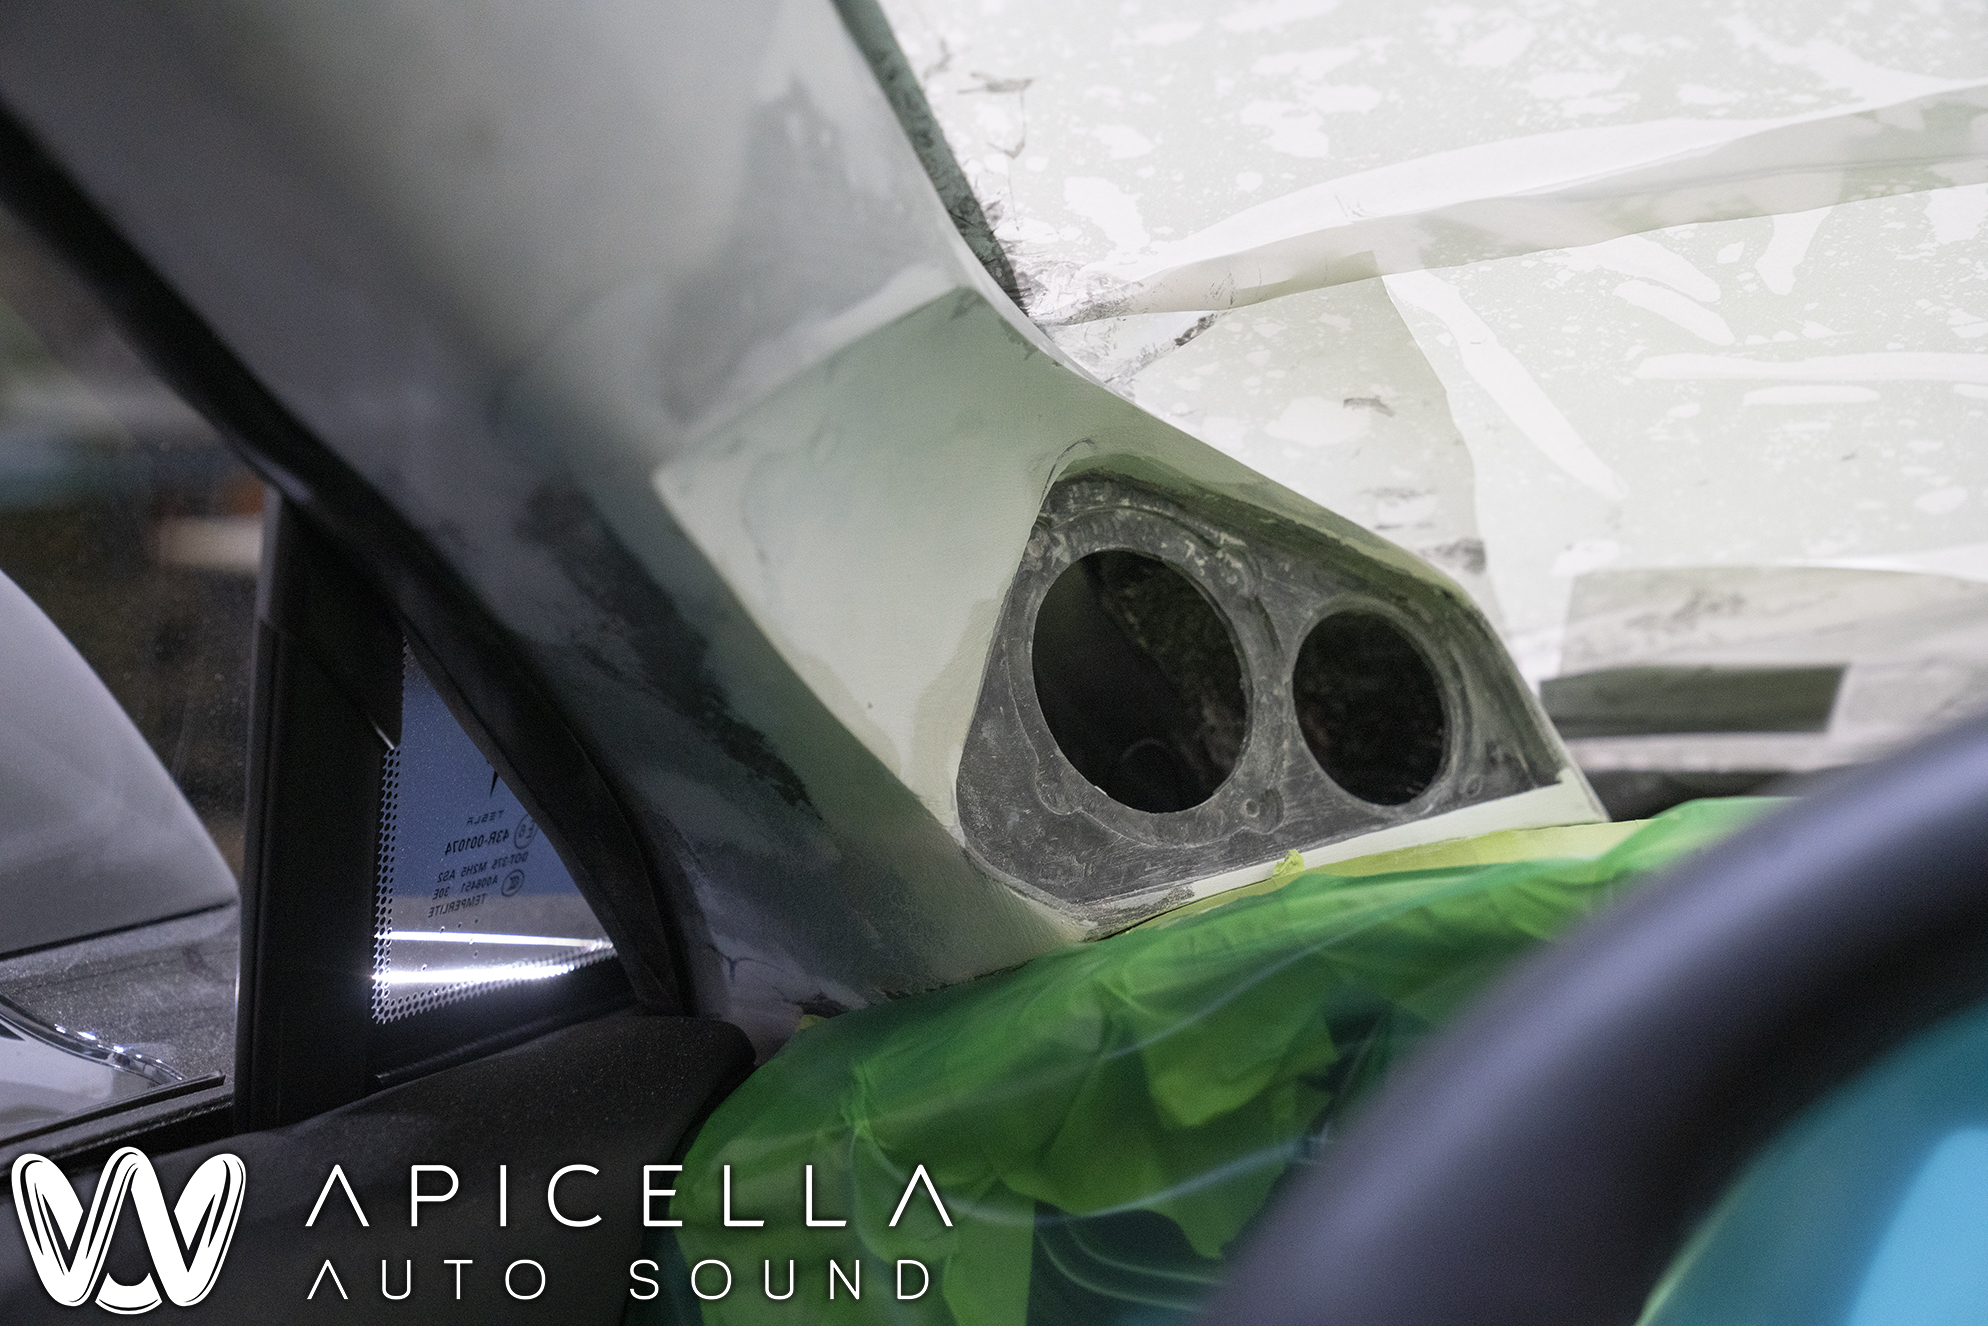
Next up were the pillars. These house Audiofrog GB10's and GB25's. There are a few design aspects that went into creating these. One of the requirements from Ron was something along the lines of "I want YOUR pillars". Essentially, he was giving me creative freedom and wanted something that looked great. Awesome, as i love getting challenged when it comes to pillars. We ended up going for an "OEM Plus" look - something that looks like it could be a factory, but is in fact one-off. We used cues from the dash and trim in the vehicle to come up with the overall shape and design, which you will see in photos below. That said, the next part of the design is on the acoustic side of things. We originally wanted to mount the drivers in a vertical arrangement, but that proved to be pretty much impossible while keeping aesthetics in check. That being said, i decided to push the drivers as far into the dash/windshield corner as much as possible. What this is doing is getting the drivers as physically close as possible to the prominent reflecting boundaries. What this does is it pushes the comb filtering as high up in frequency range as possible, and everything below that is mostly unaffected by the early reflections (in relation to the distance to said reflecting surface to X frequencies wavelength). This proved to work very well once we got to tuning the car, as there wasnt much eq required to flatten out the response.
The not so obvious reason that we didnt go with OEM locations for midranges and tweeters in this car is because our experience has shown that the Tesla OEM midrange locations cause some nasty cancellation in the upper midrange. This is usually not the case in most cars, but the distance of the driver from the windshield and the shape of the windshield/dash cause a not so preferable response in the Model S that is nearly un-fixable.
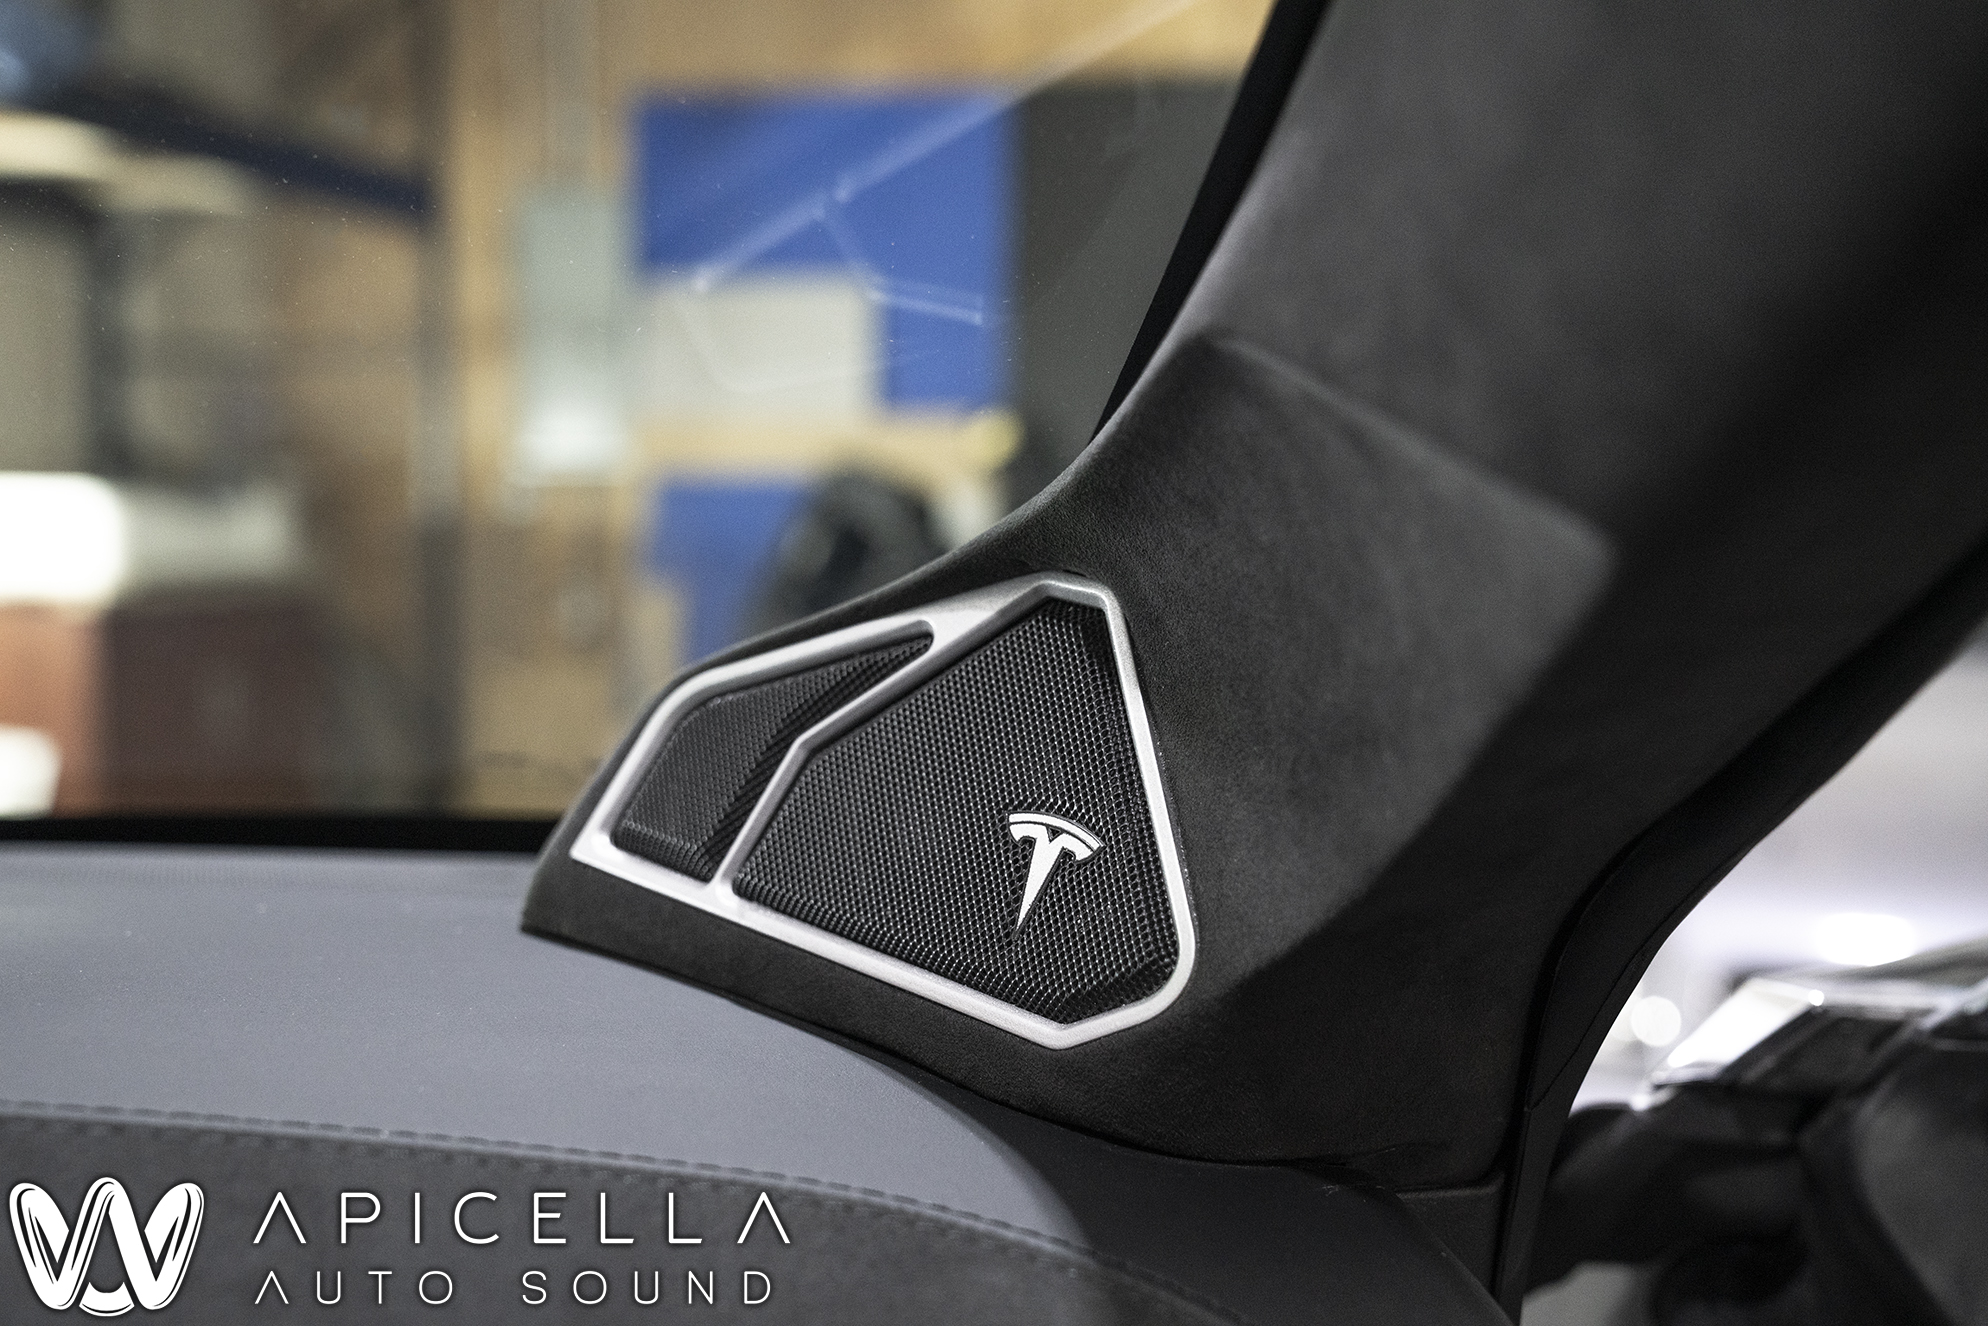
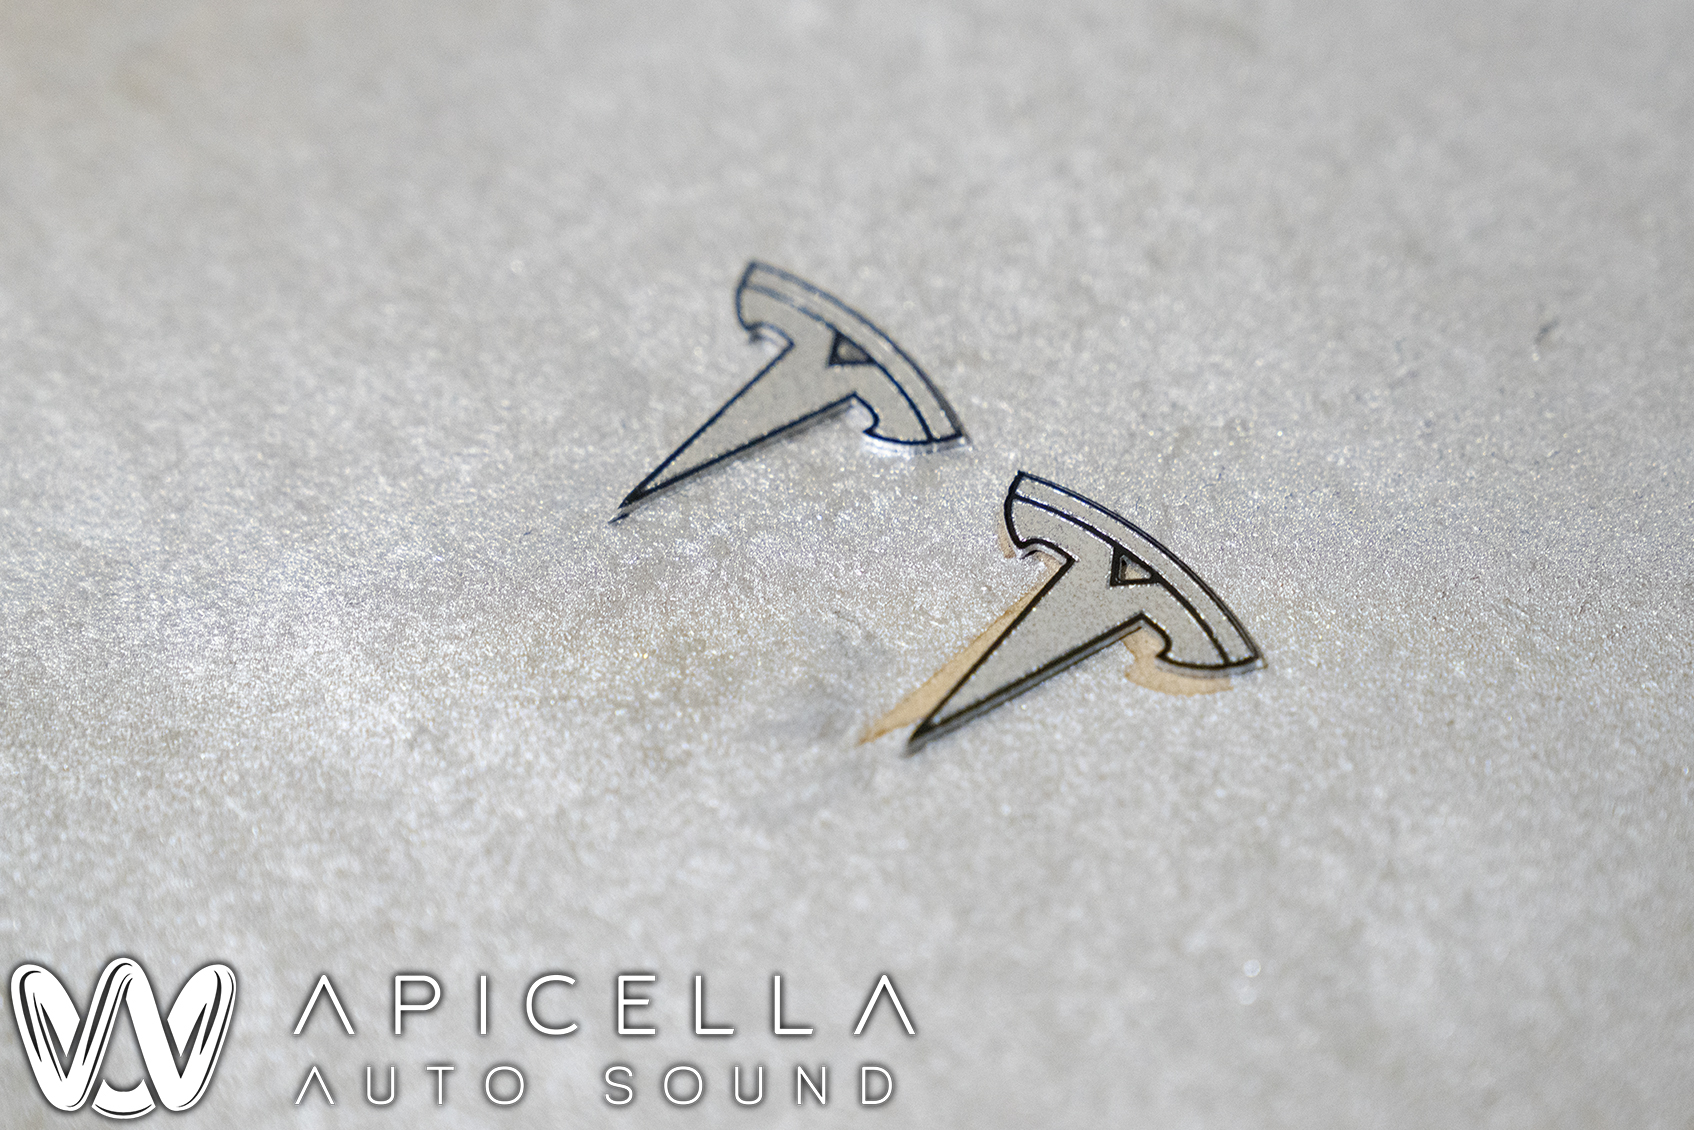
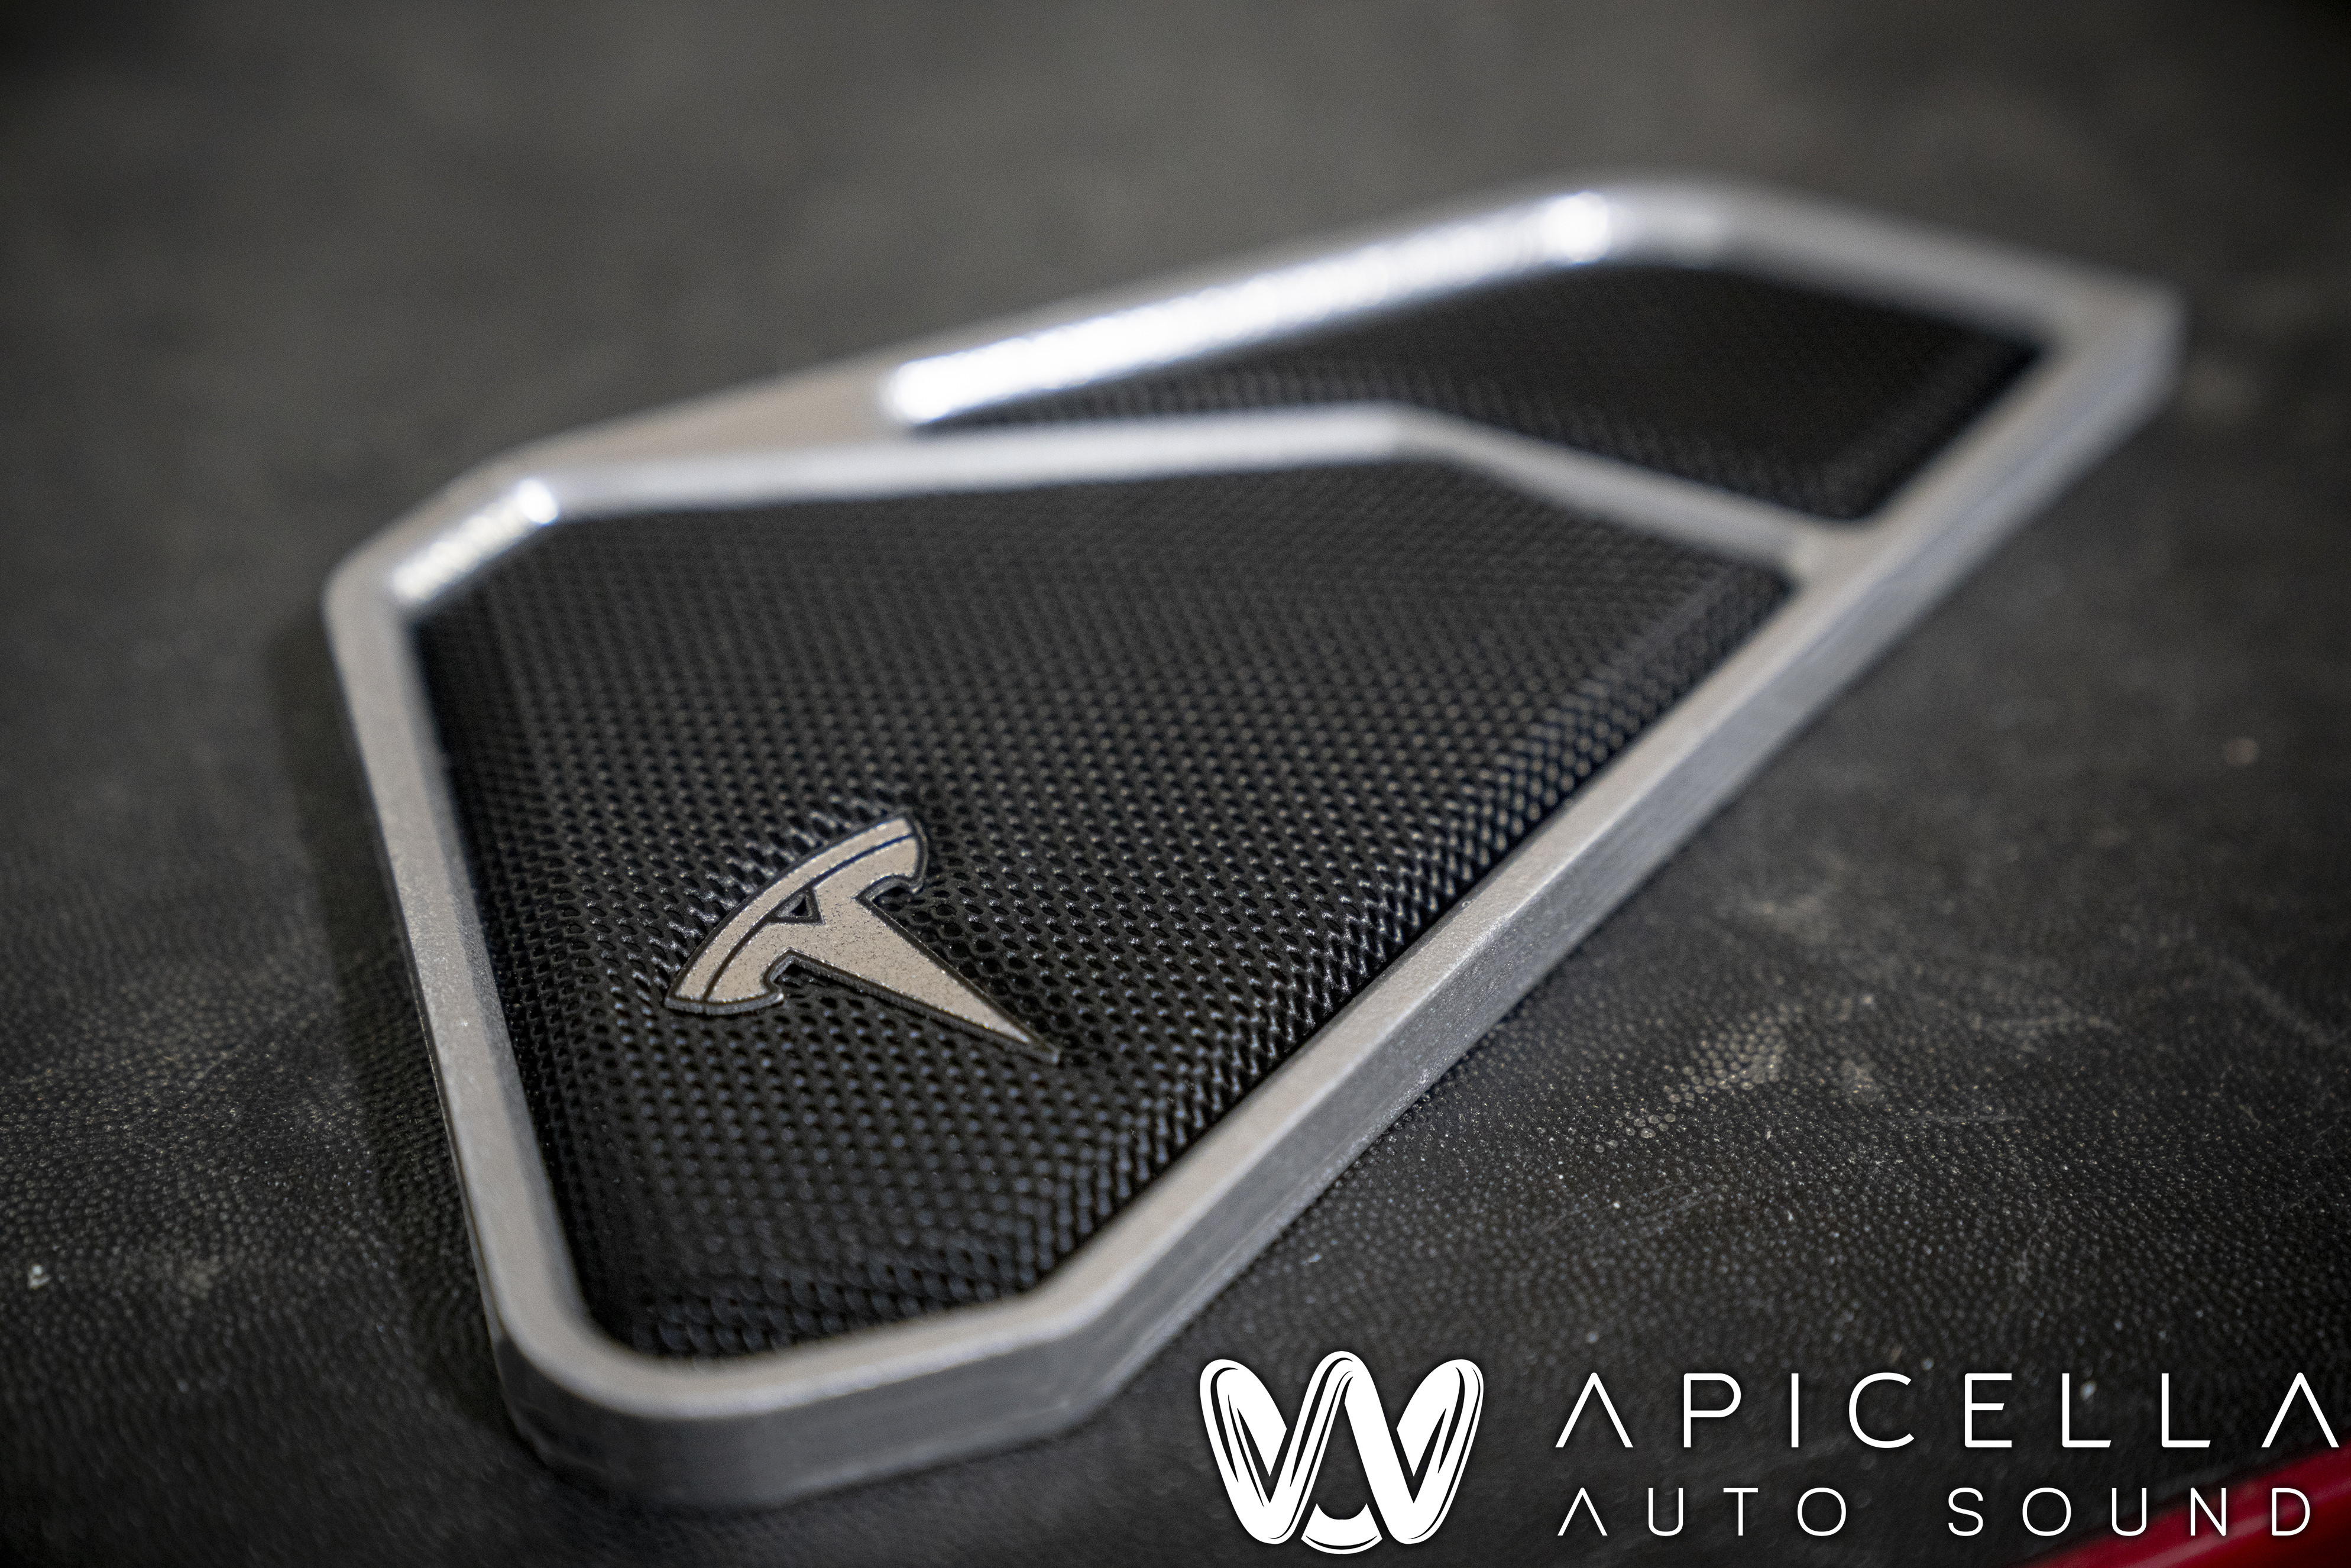
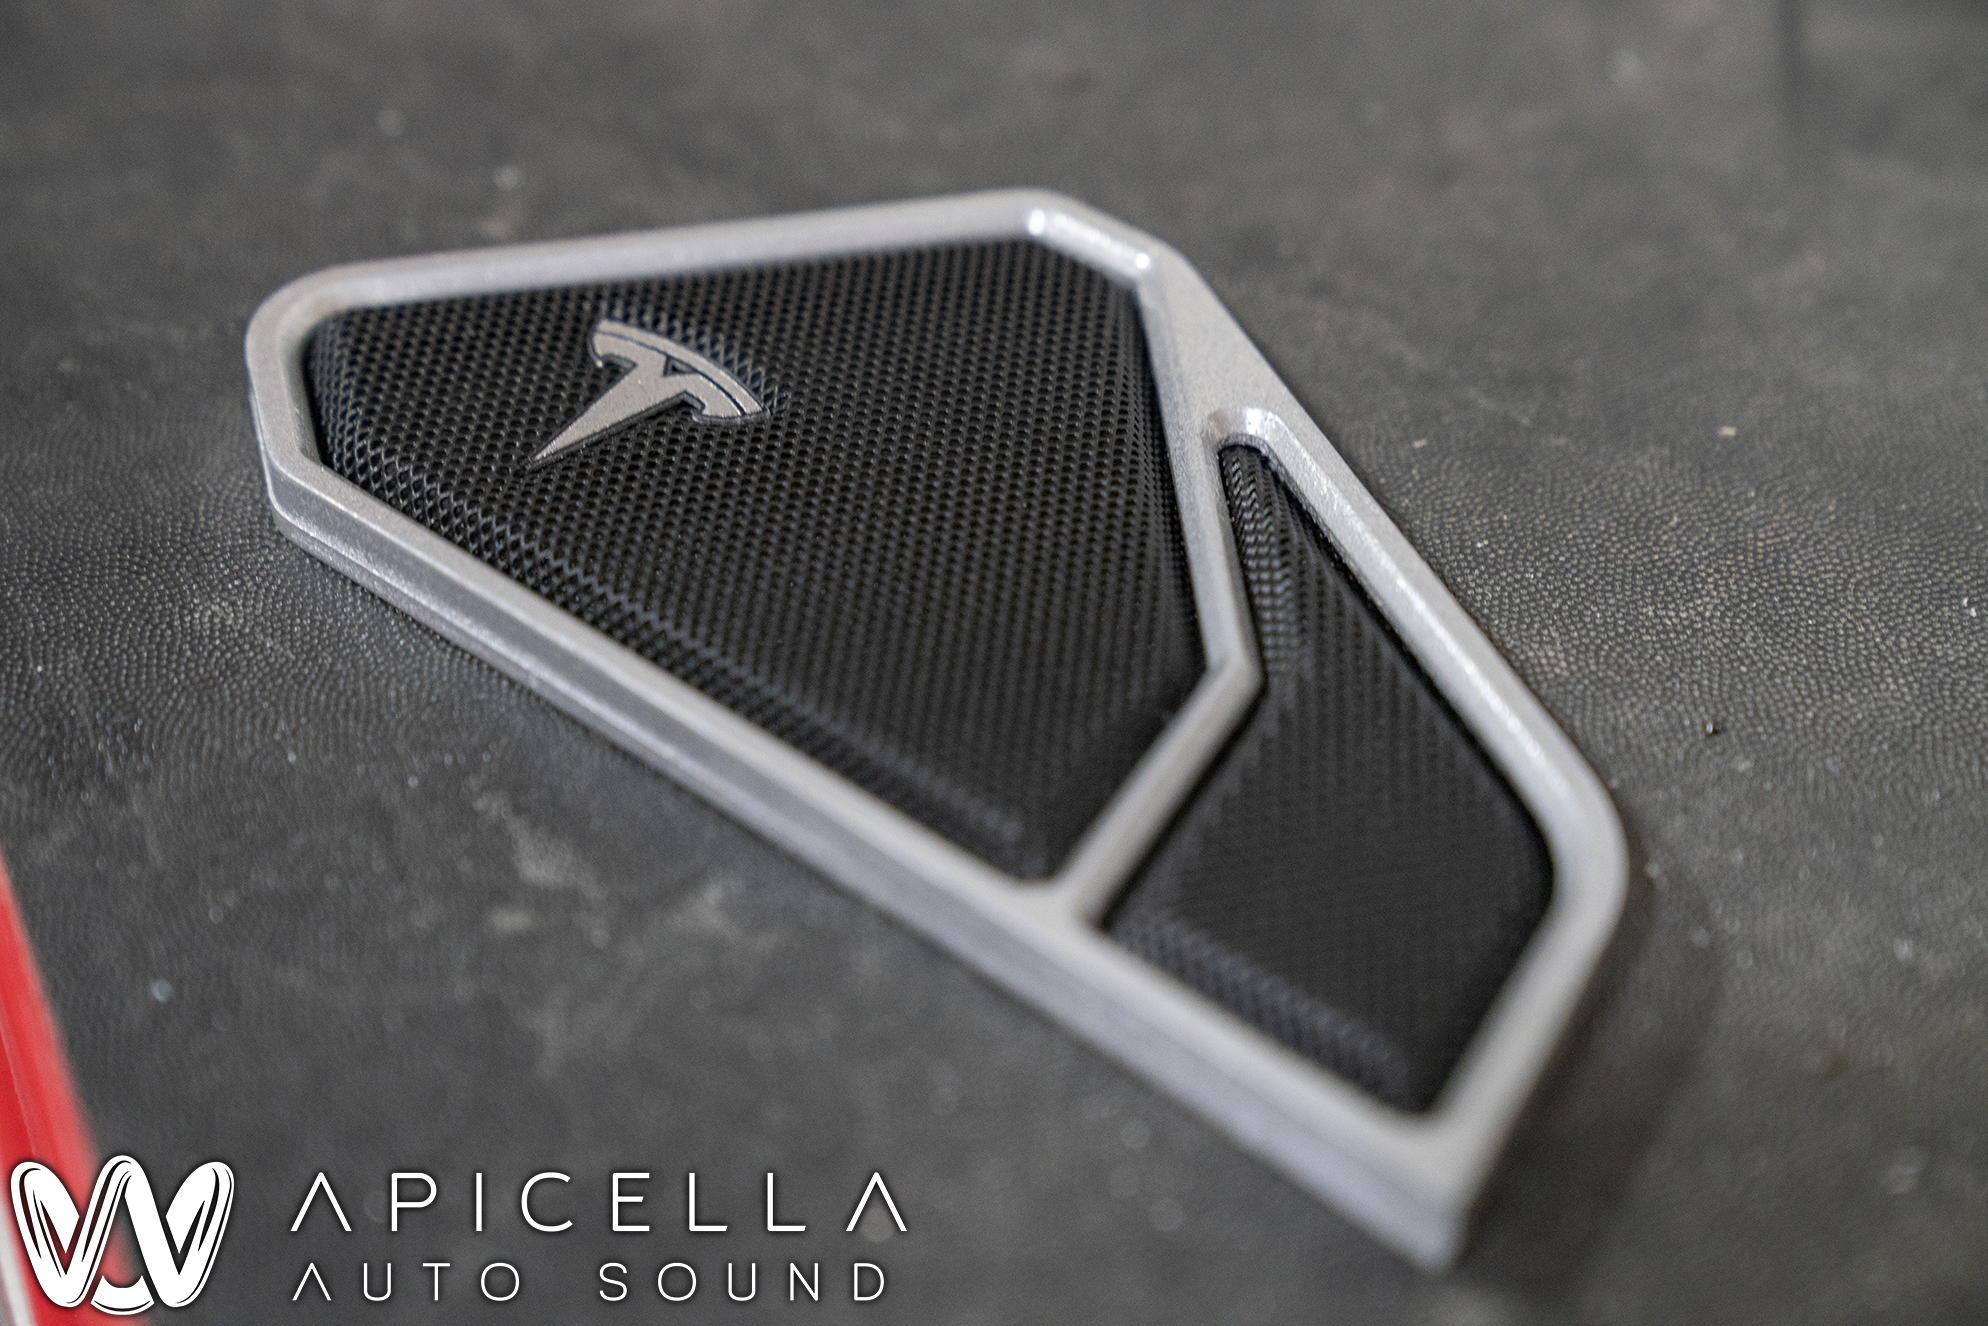
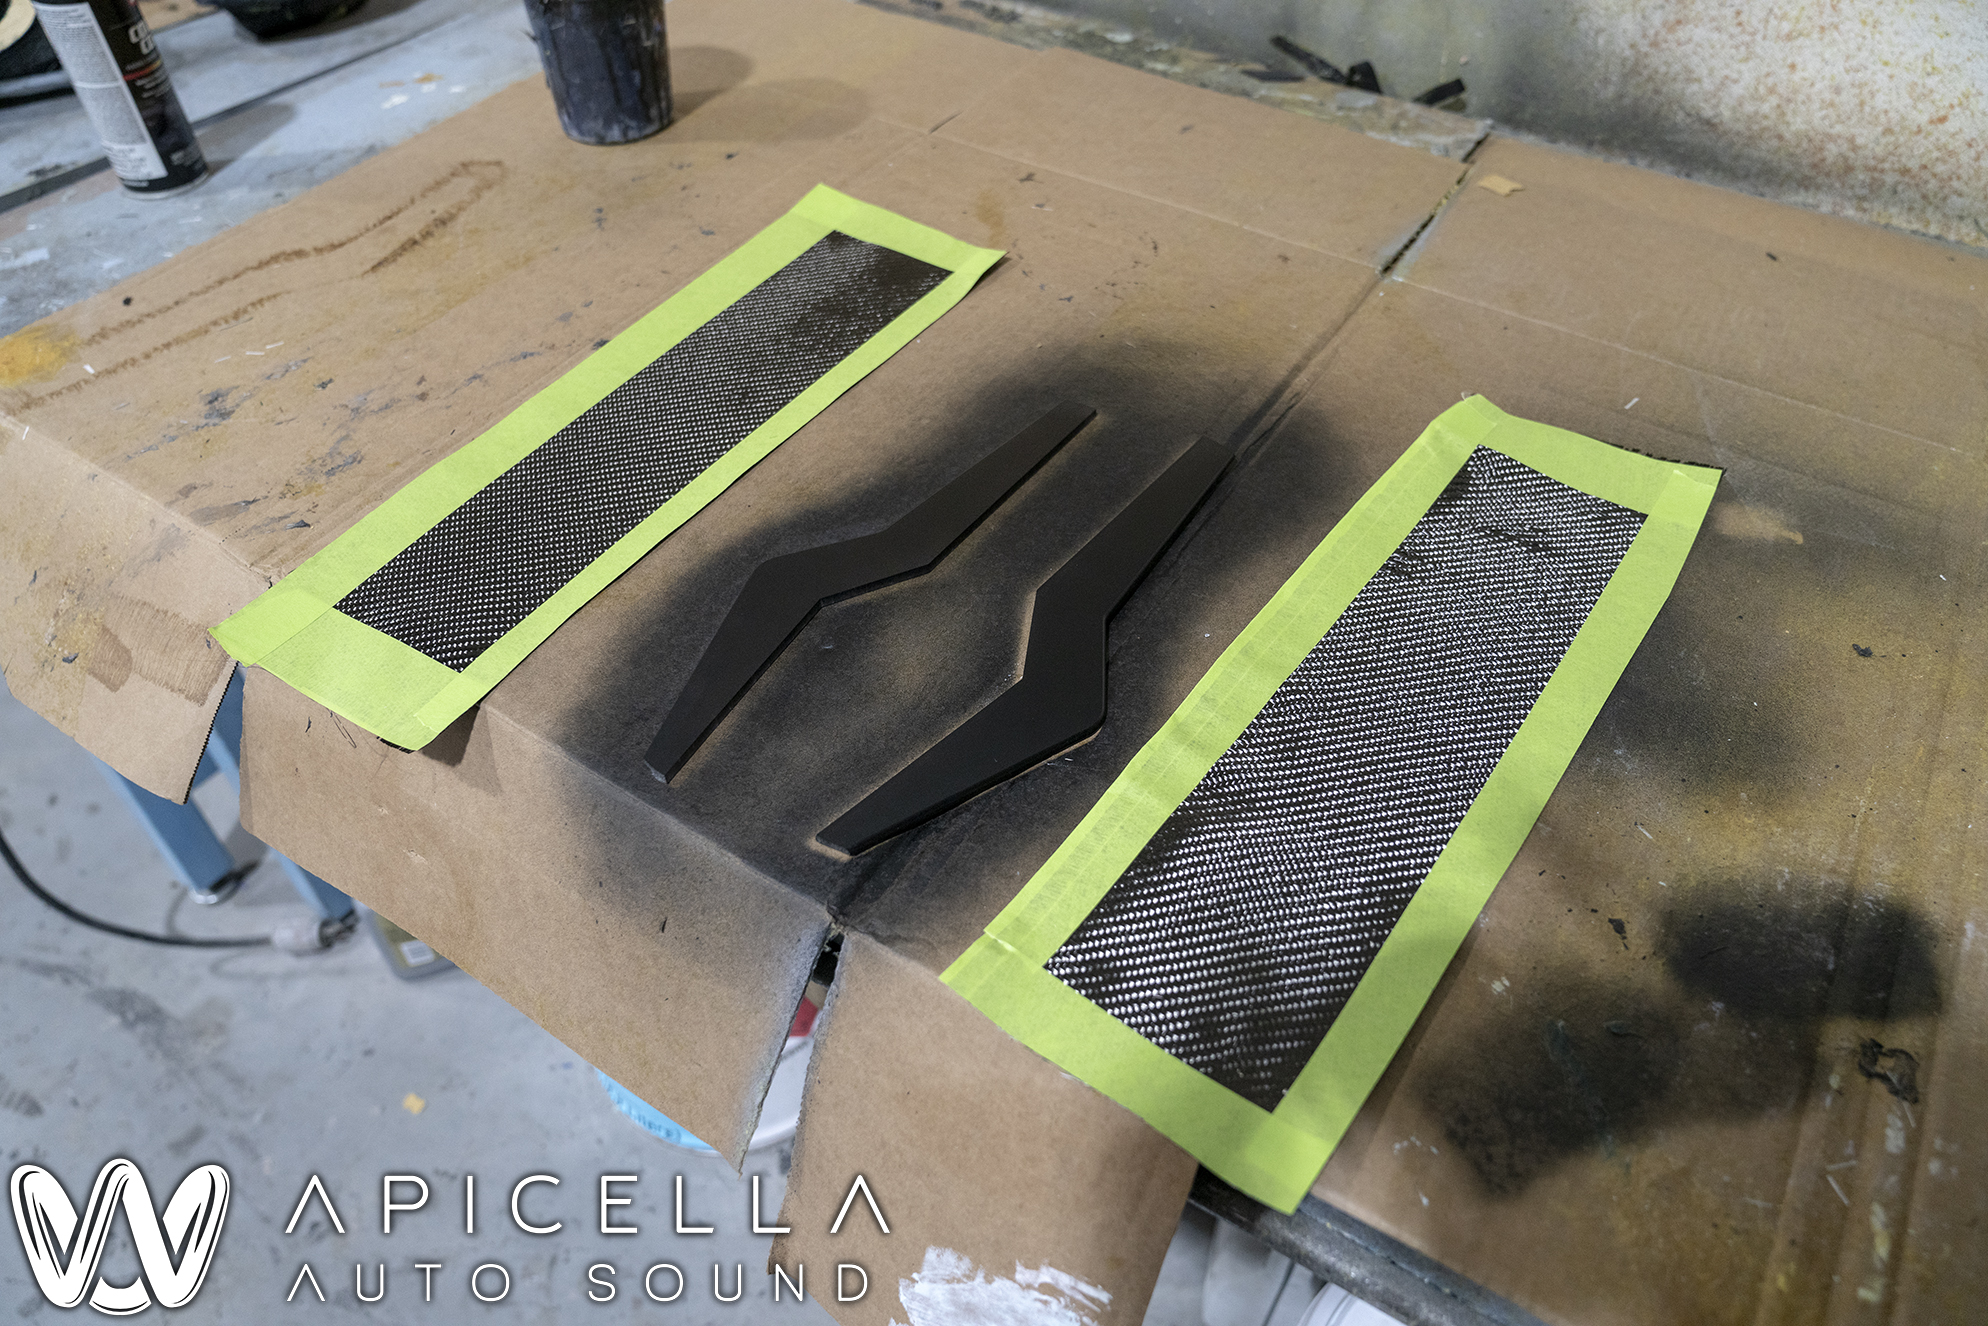
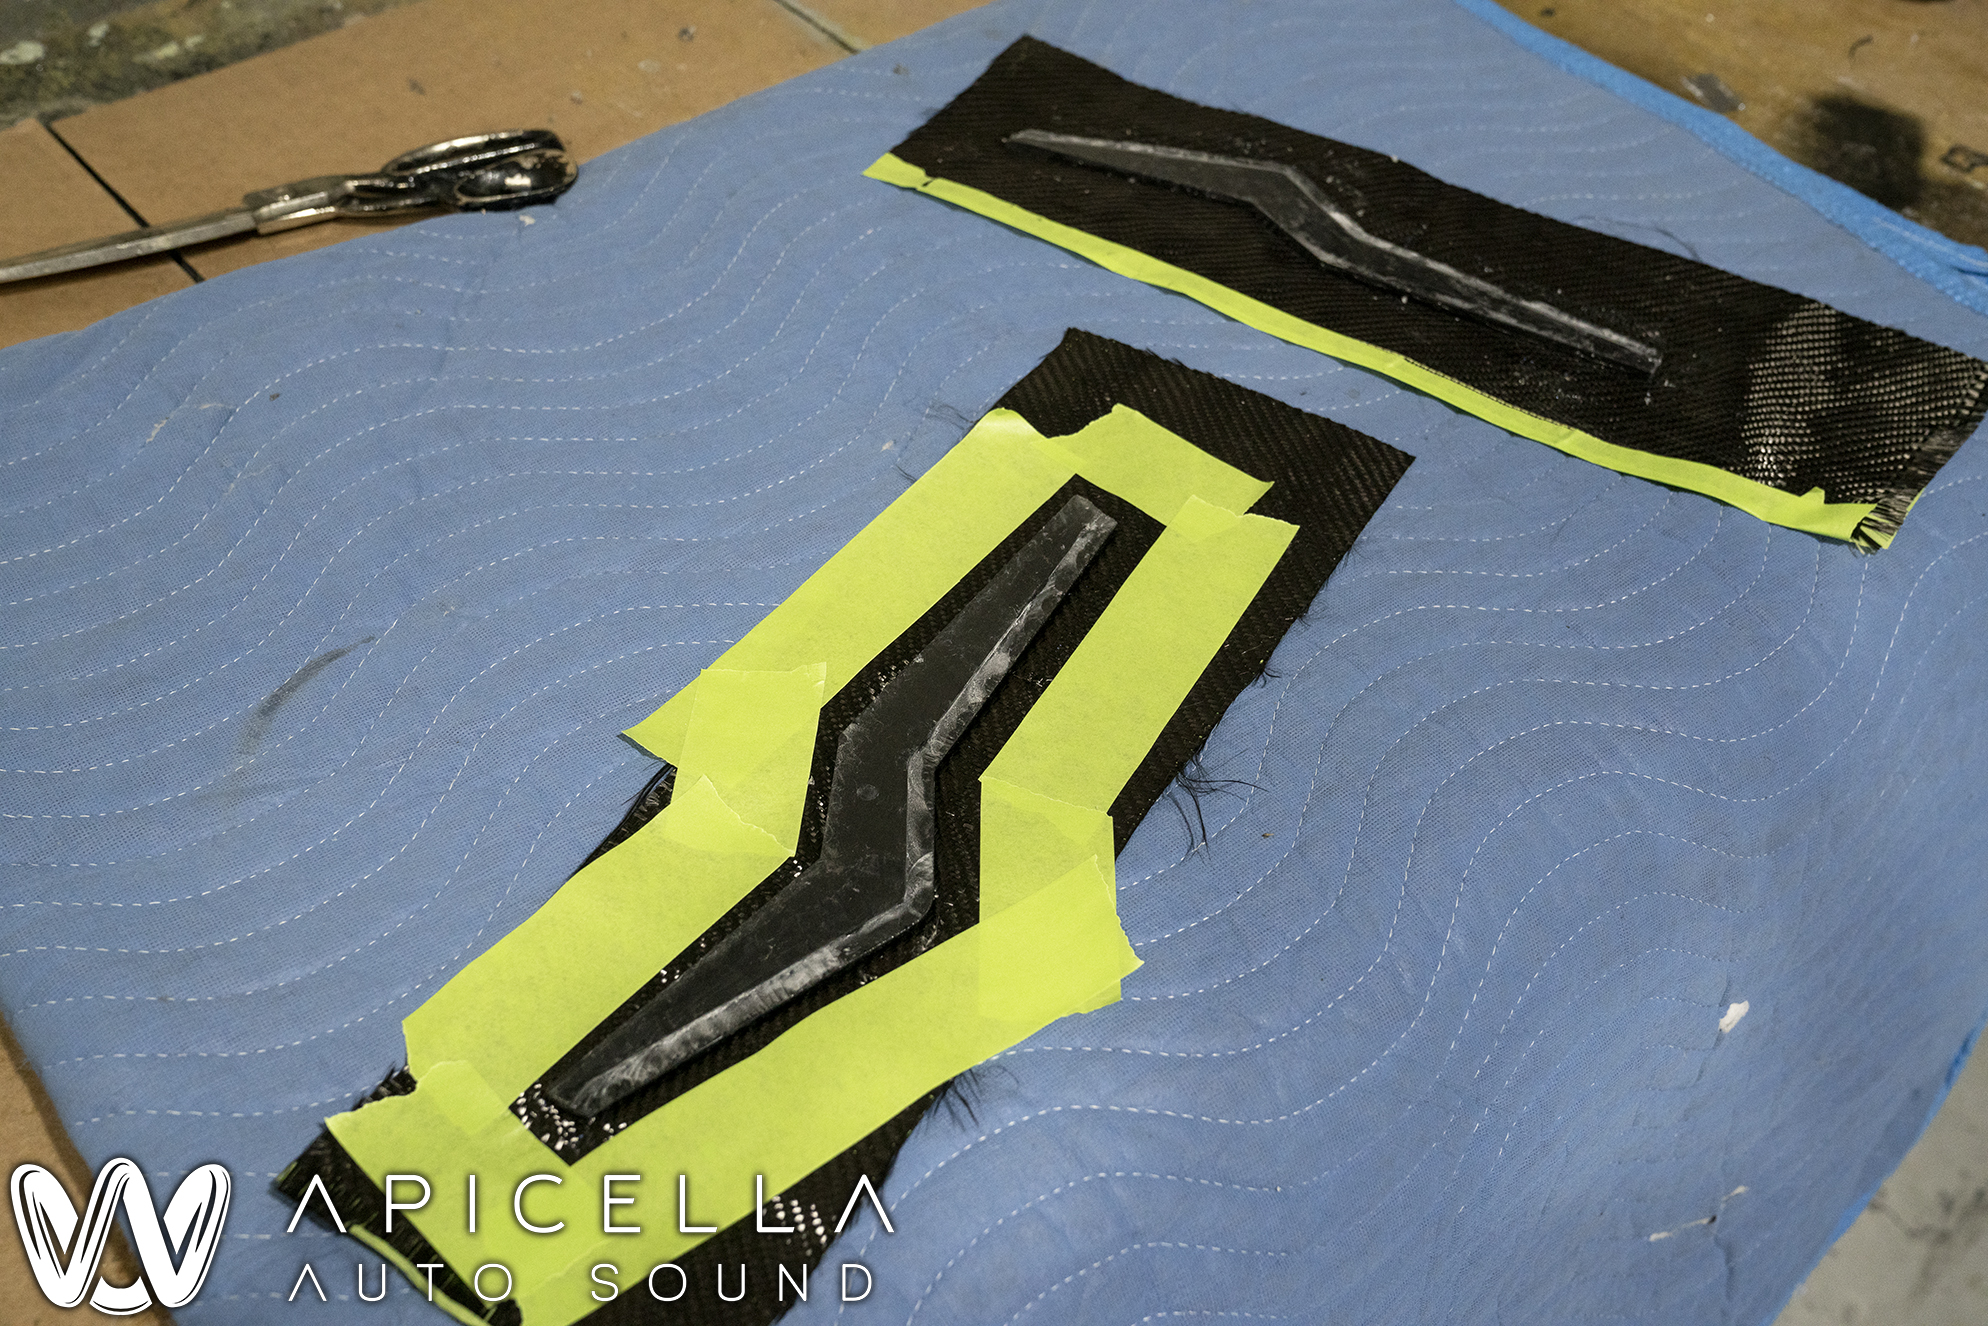
Next up were the grills for the pillars. As said before, the shapes are inspired by the OEM shapes and trim in the car. What you cant really see in these photos, is the level of detail that went into these. For starters, there is a press to house a Tesla logo within the main grill which was already pressed. This is easy to spot. What isnt so easy to spot in photos is the angle of the shapes in relation to the angle of the perforations of the grill material.. they match. Not only do the angles match, but we managed to get the "lines" of the perforations to be directly on the edge of the chamfers that are on the bottom of the grill, and the outside angle of the grill. I show exactly what i mean in a photo below. Another small detail that is nearly impossible to see, is that the hole in the center of the Tesla logo that is placed on the grill is lined up perfectly with a hole in the grill. I dont even remember how many tries it took me to get these this perfect. If you look closely in the second photo, you can see the indent for the Tesla logo, which were cut on the laser and painted to match.
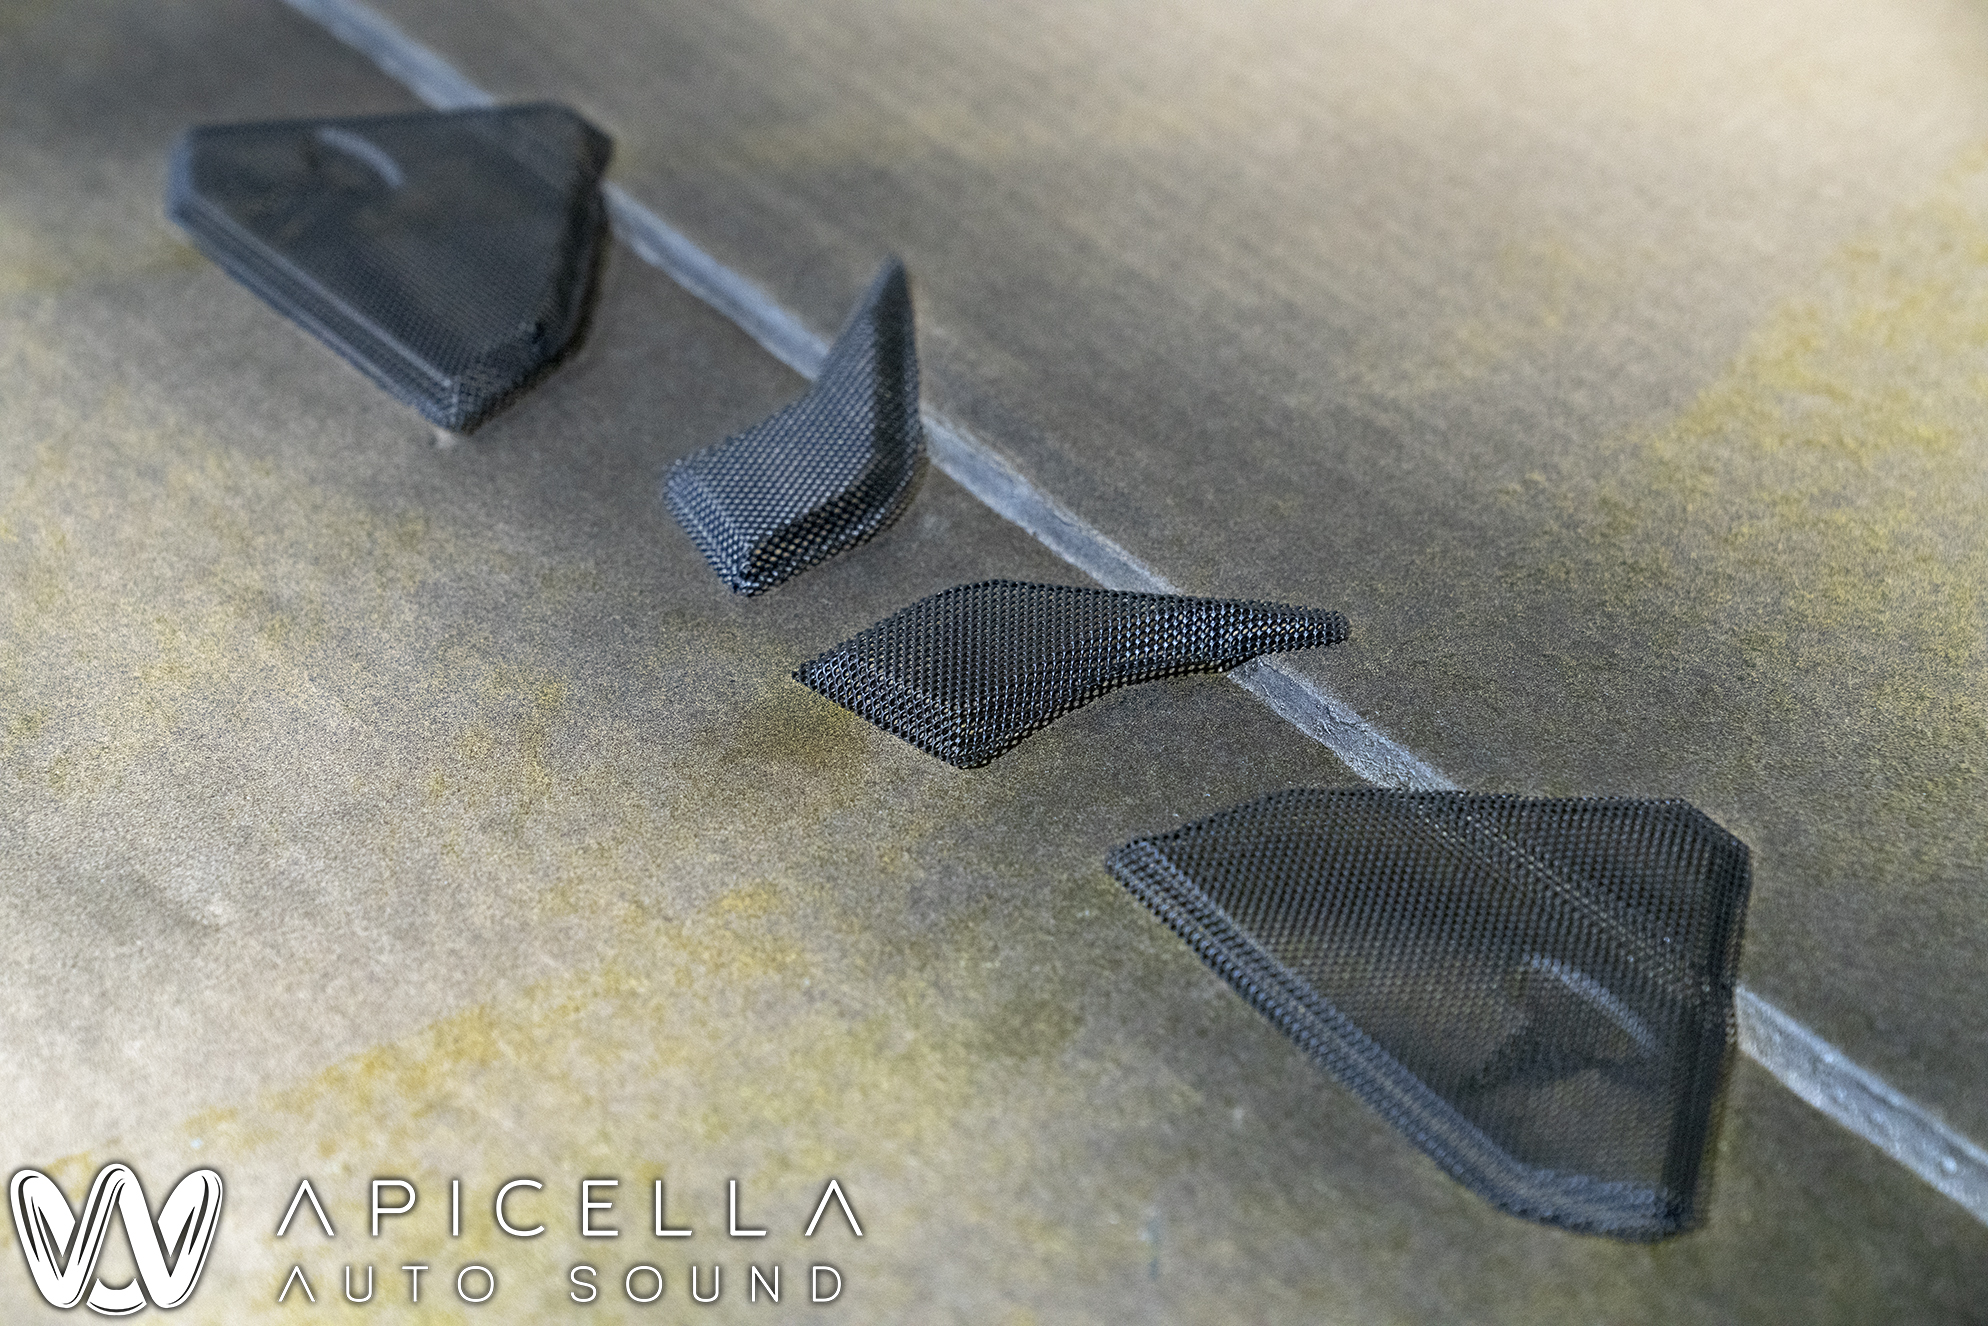
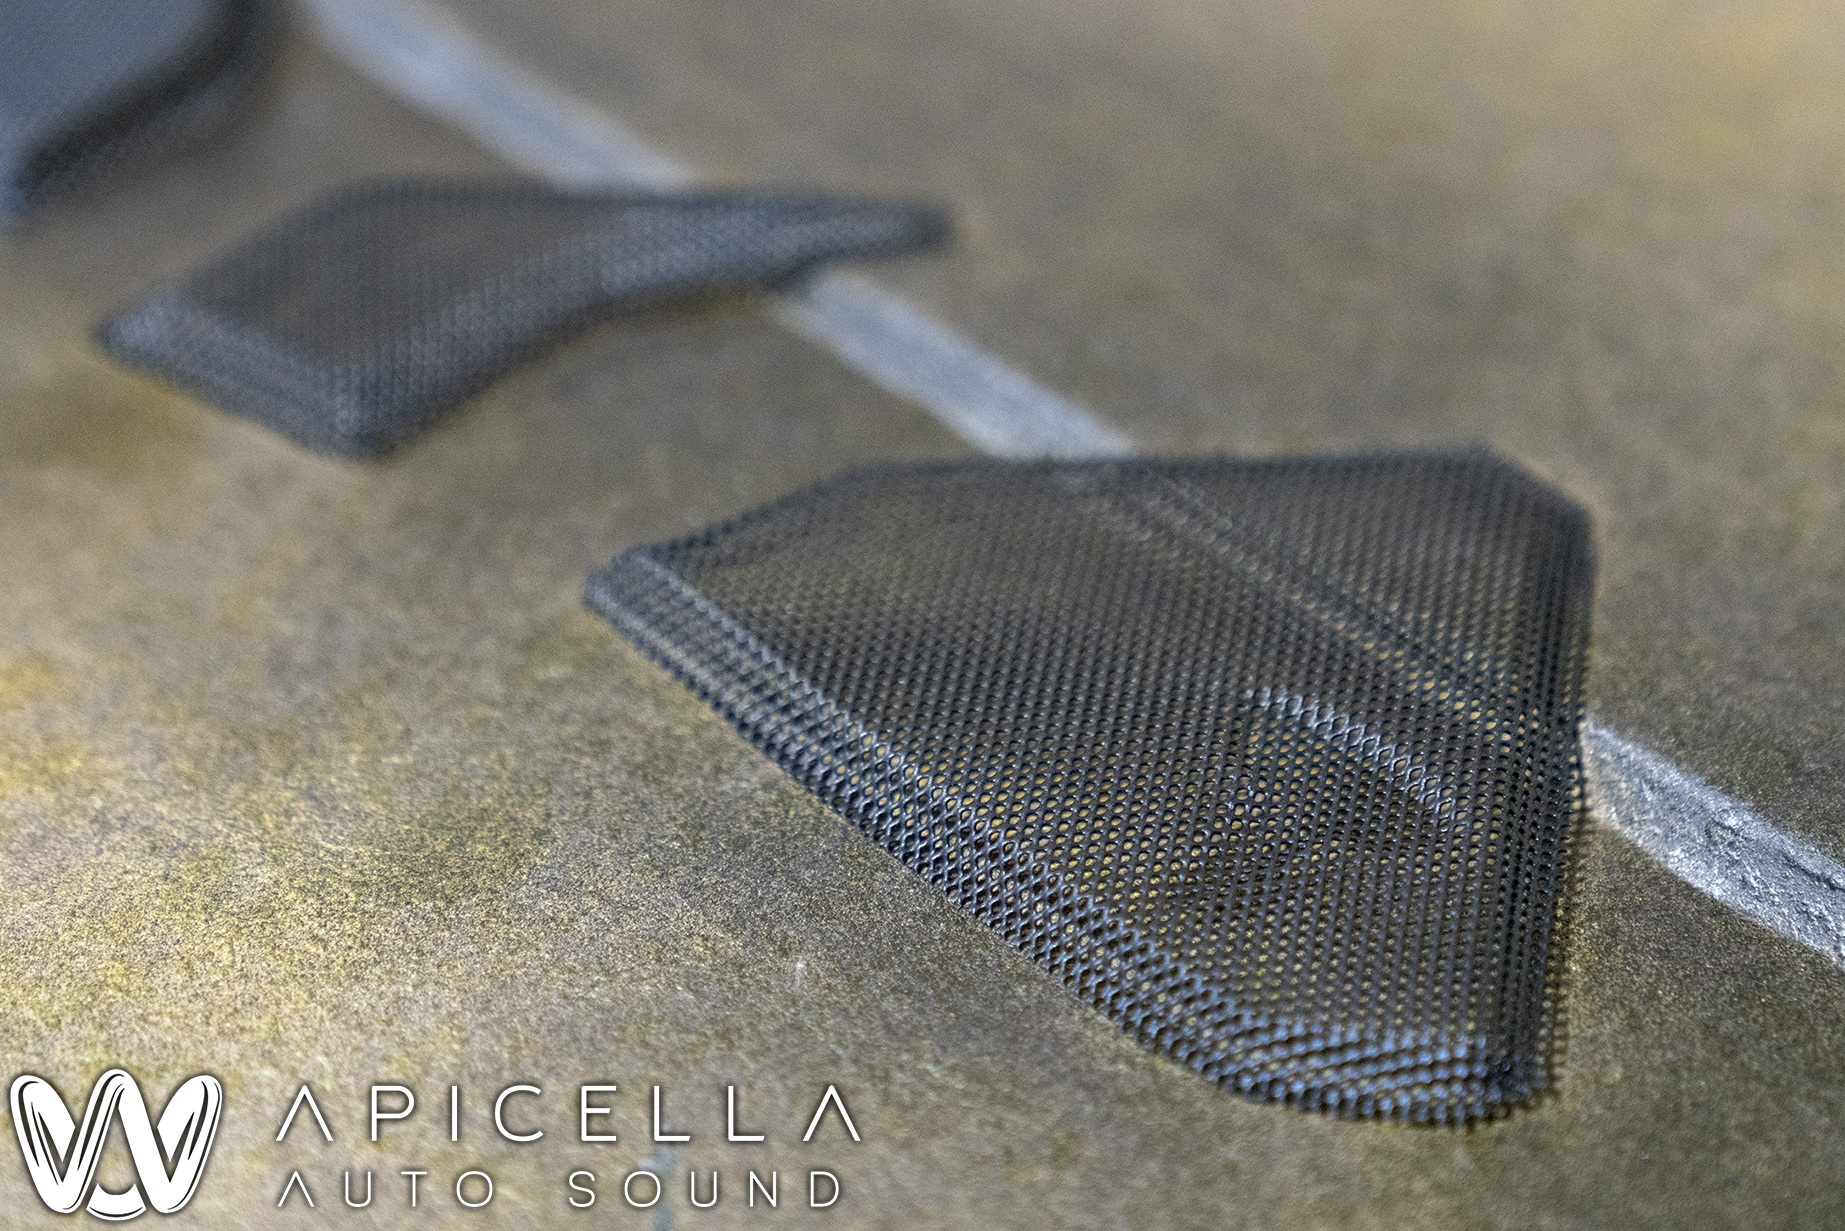
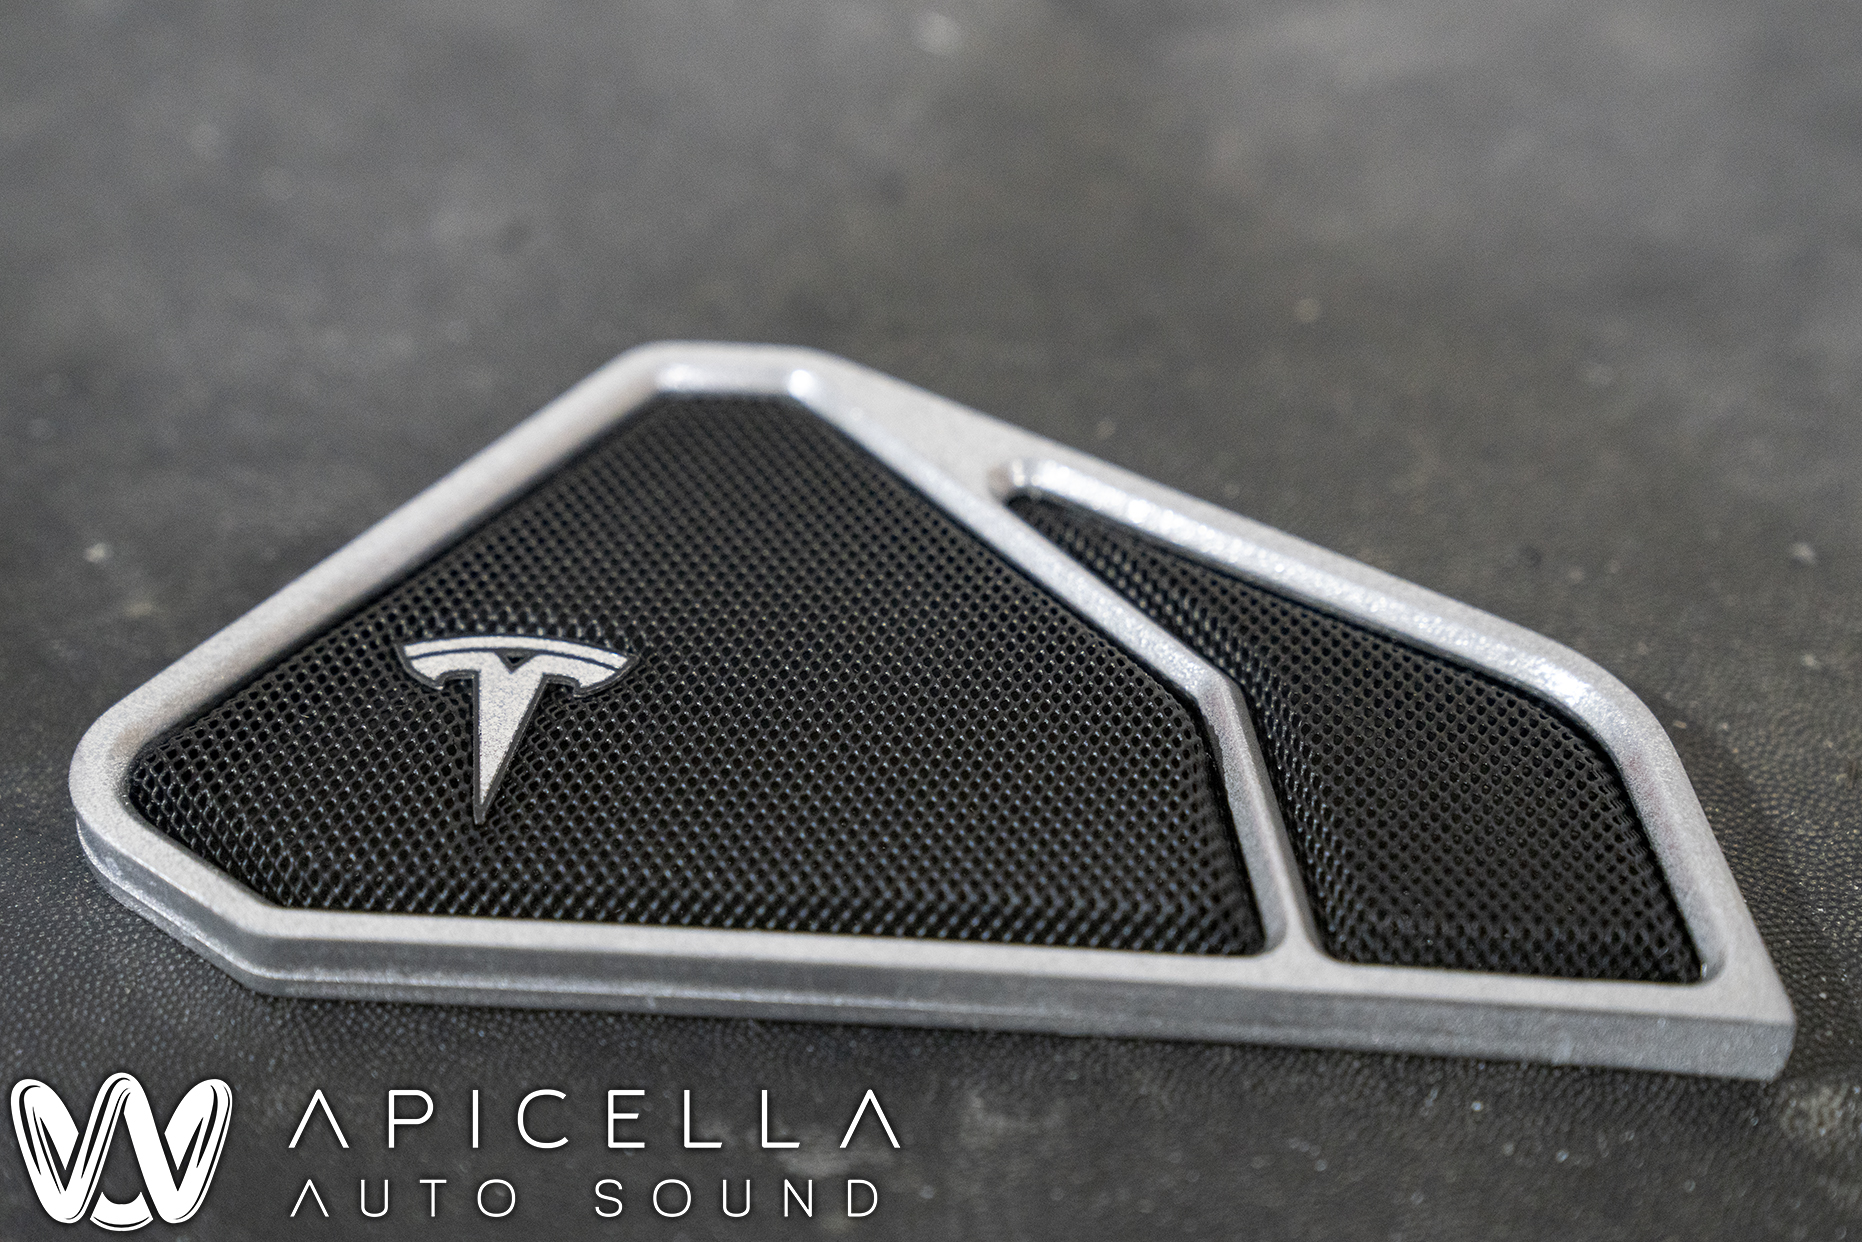
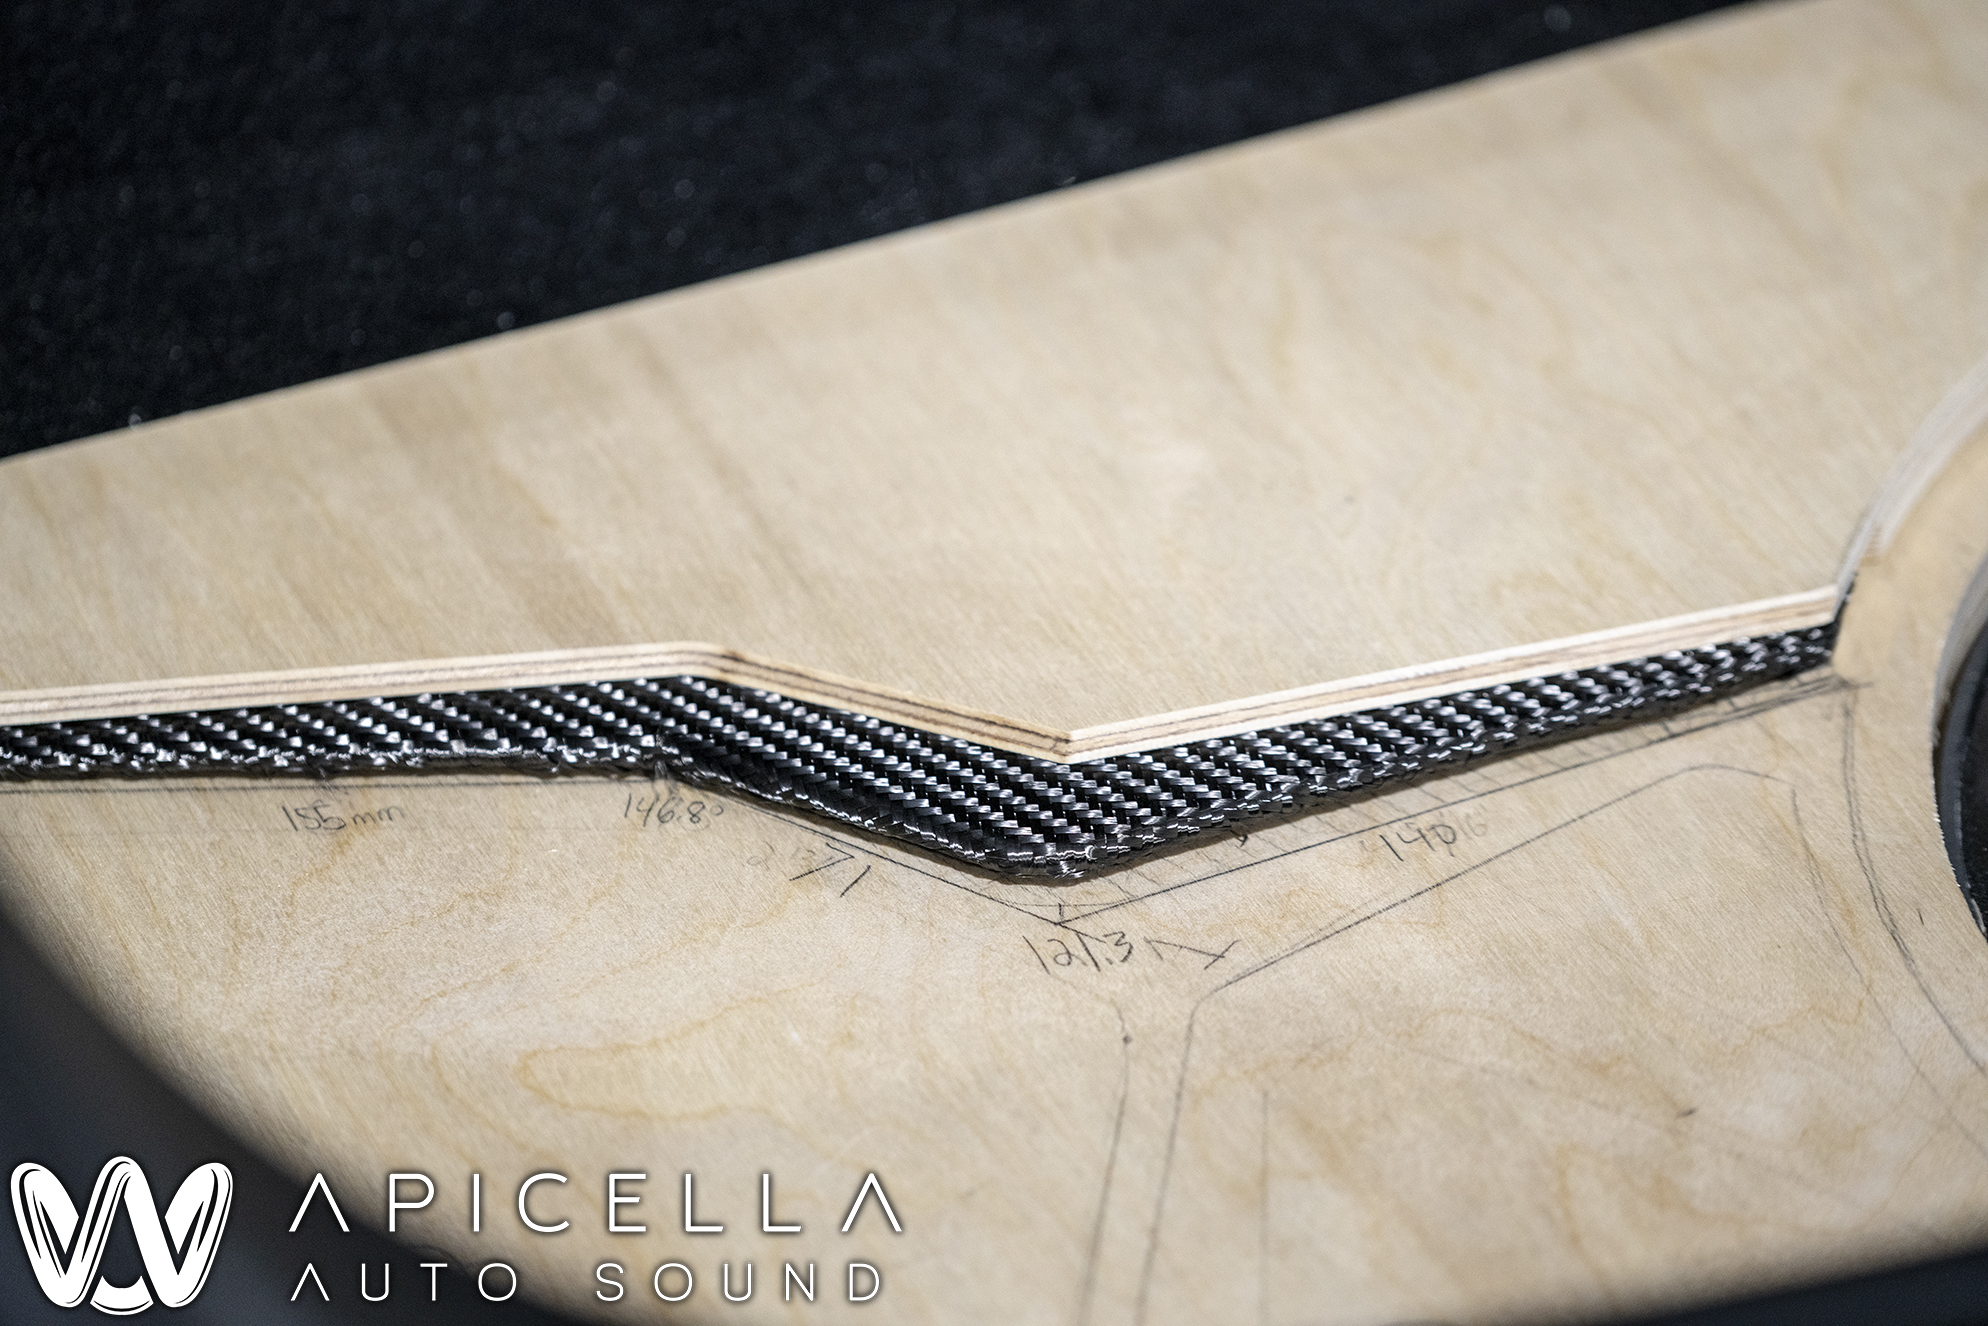
Here you can see how i lined up the outside shape of the grill to the grill materials perforation angle, and also placed the corner of the press along two of the perforations "lines" on the bottom and outer parts.
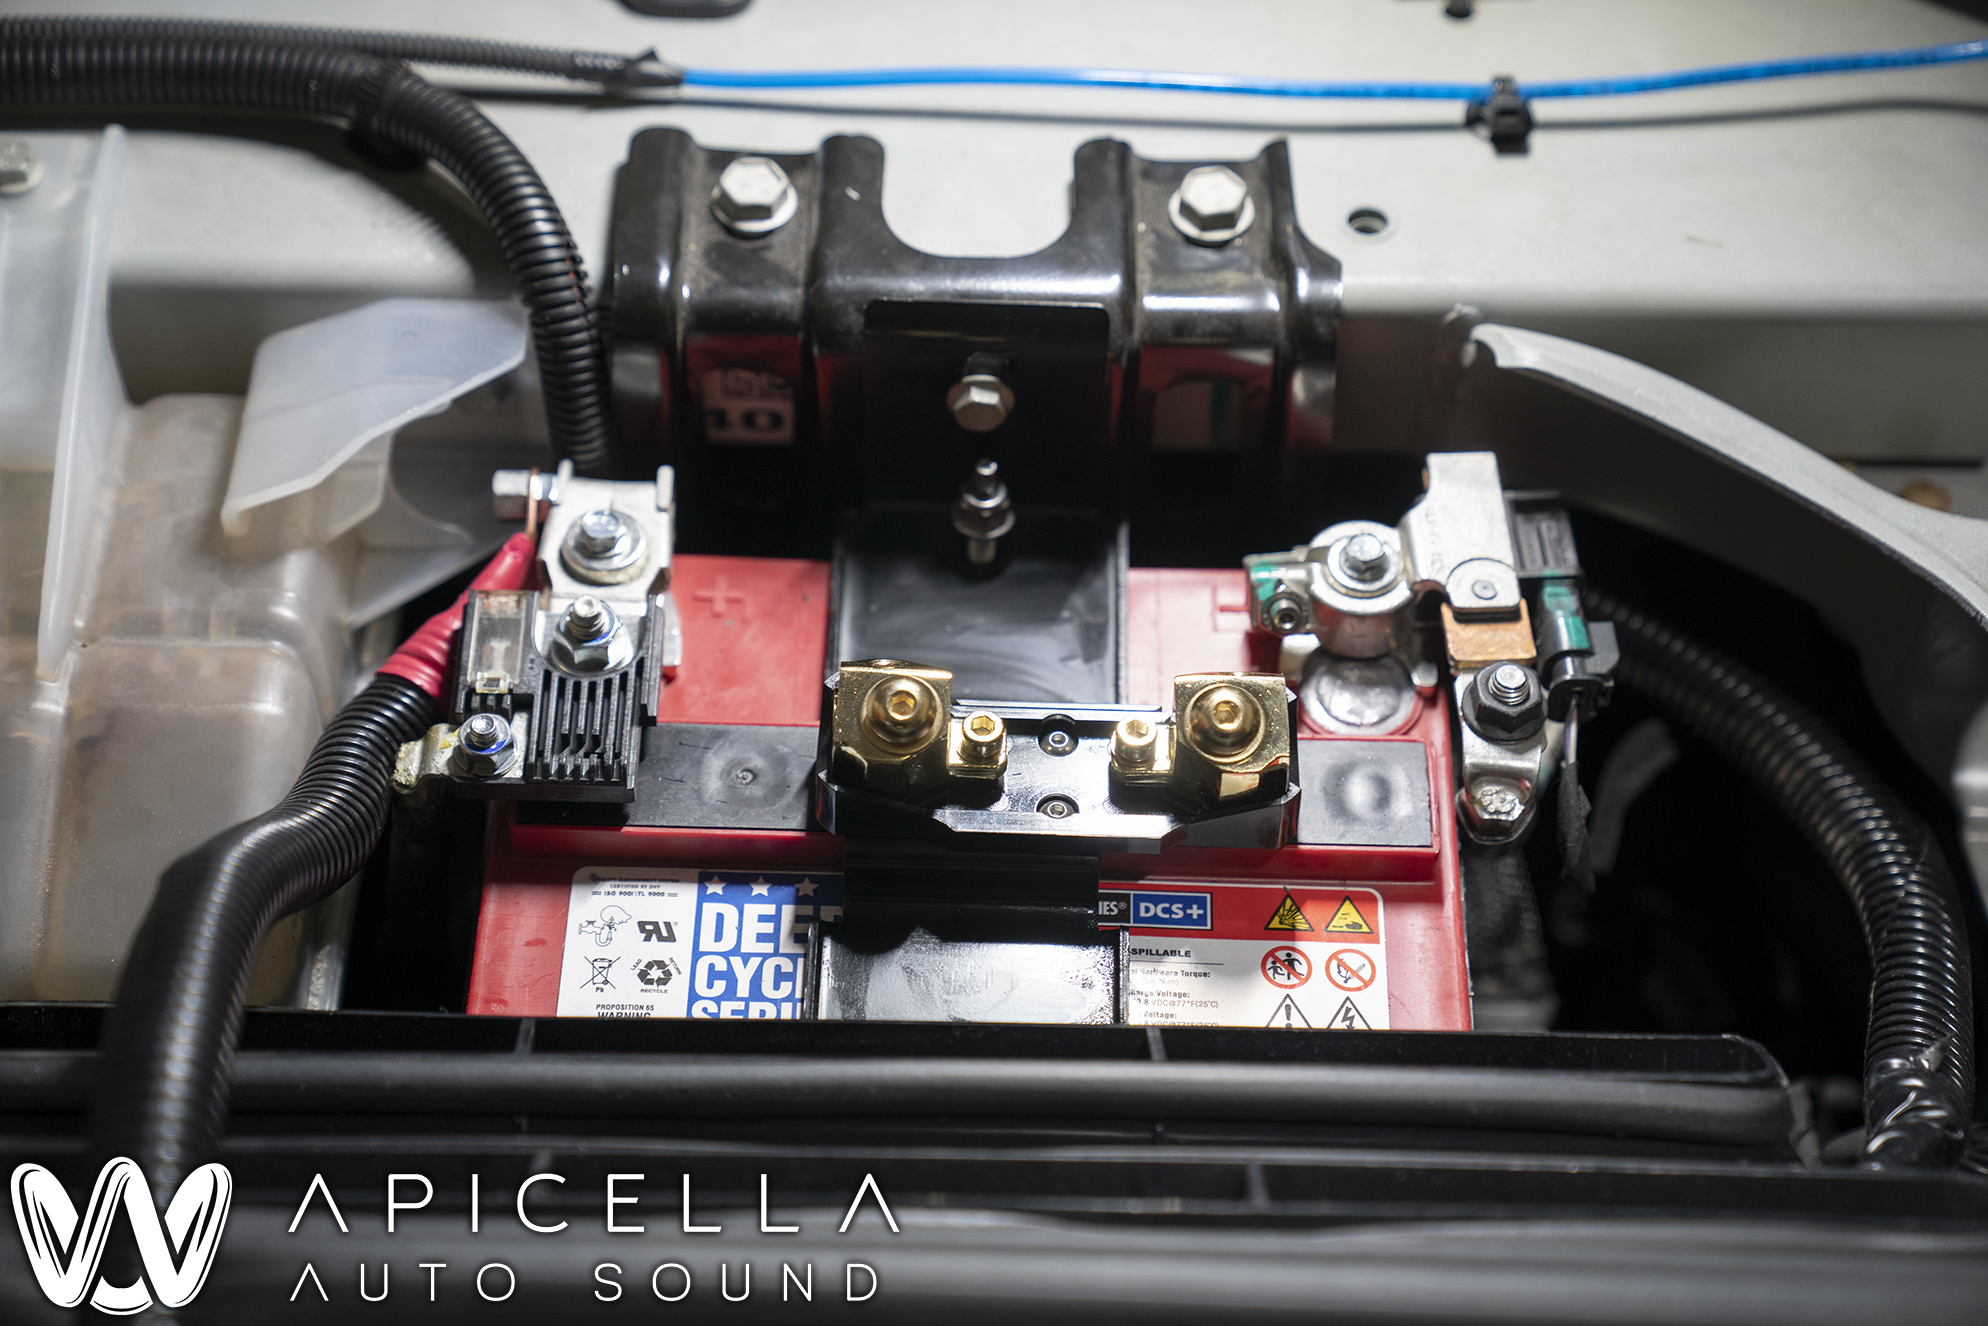
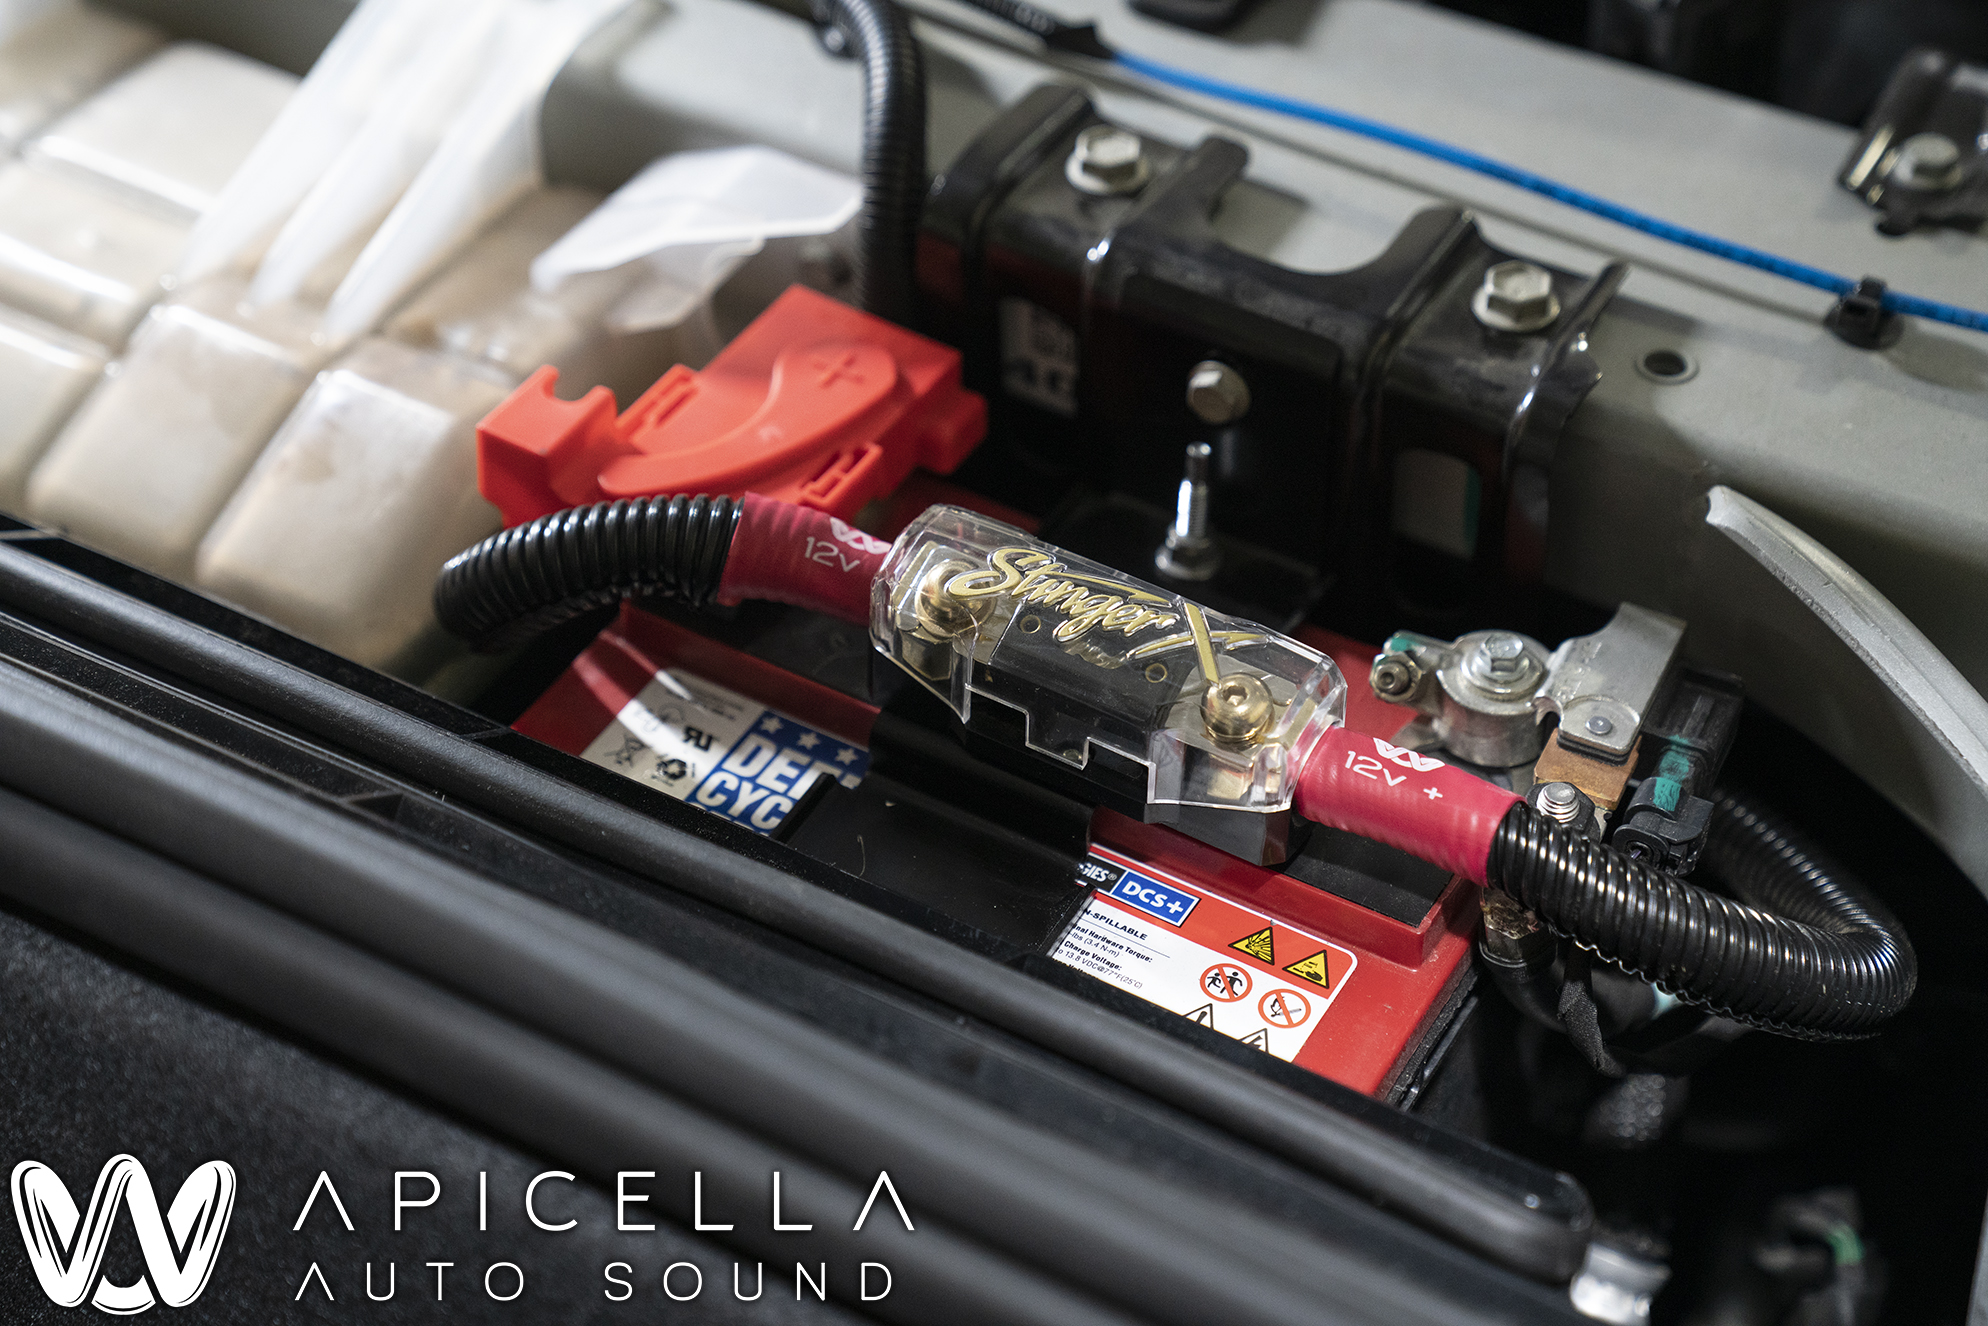
The 12v battery is located under the hood, and we drilled/tapped the tie down bracket to secure the fuse holder.
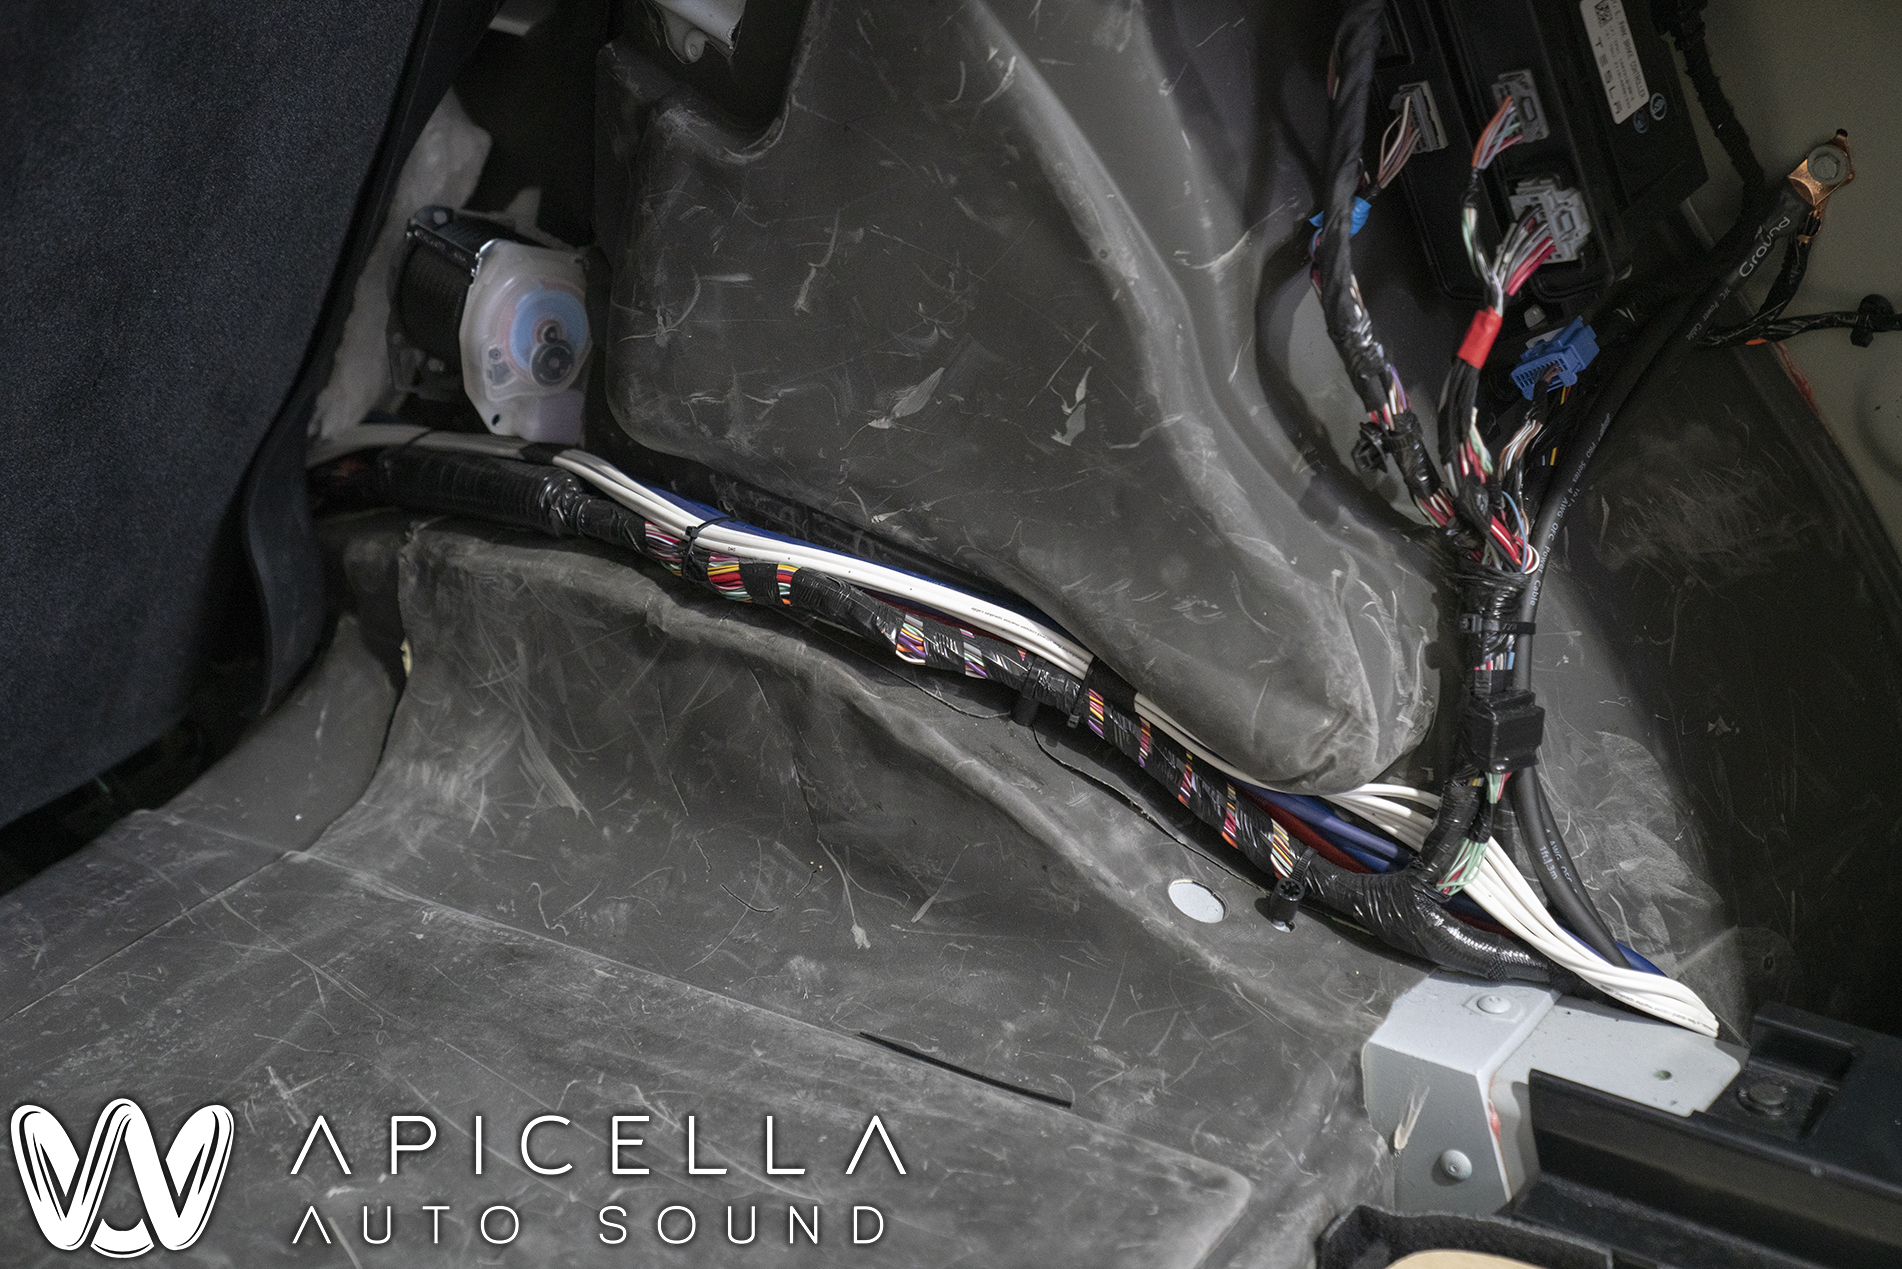
Some of the power, speaker, and signal wire ran in the quarter panel along the OEM wire harness.
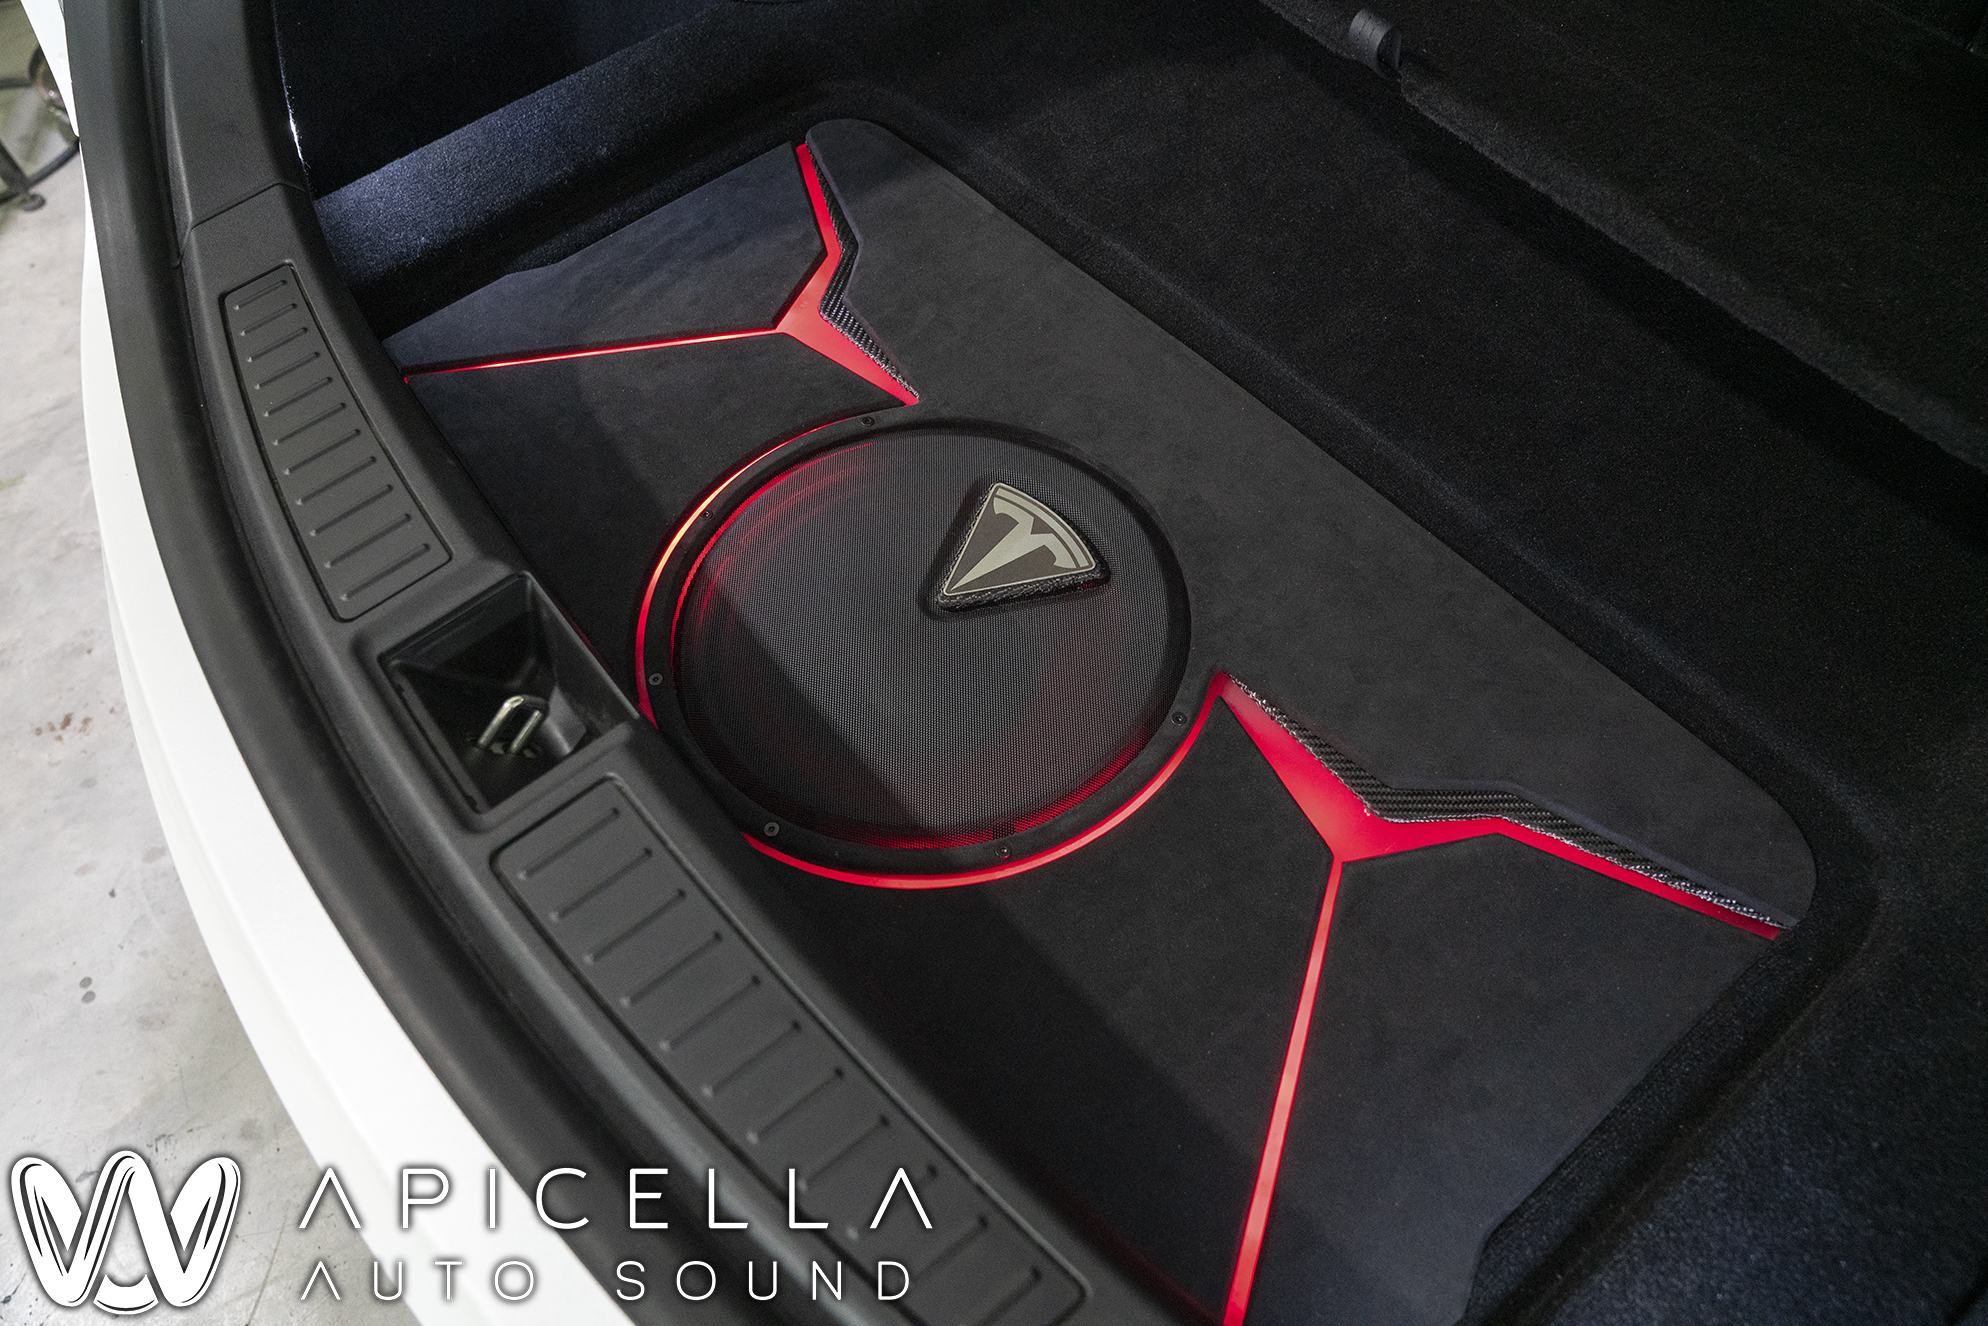
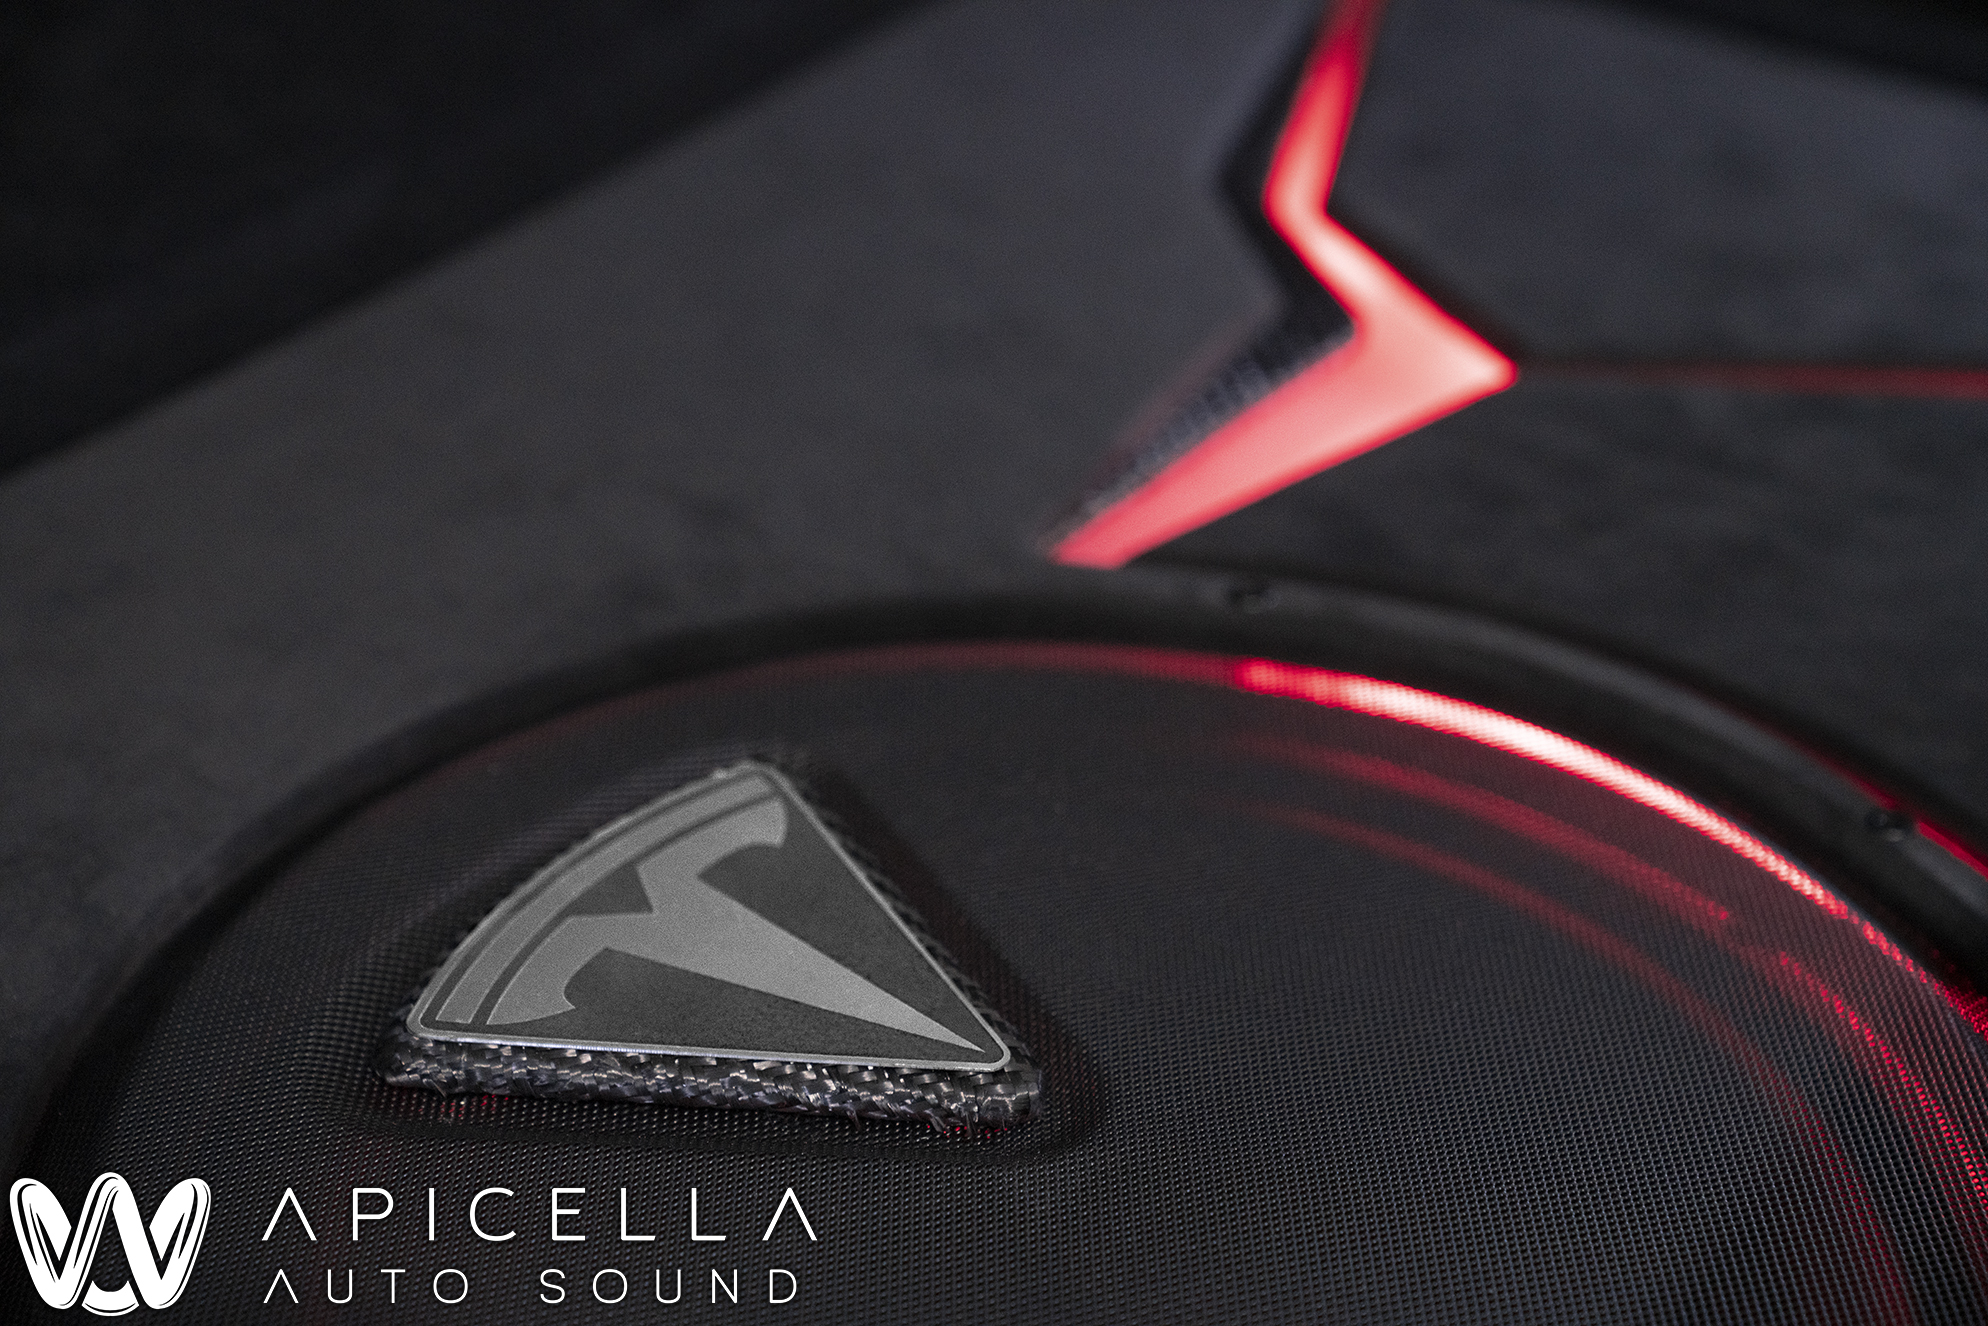
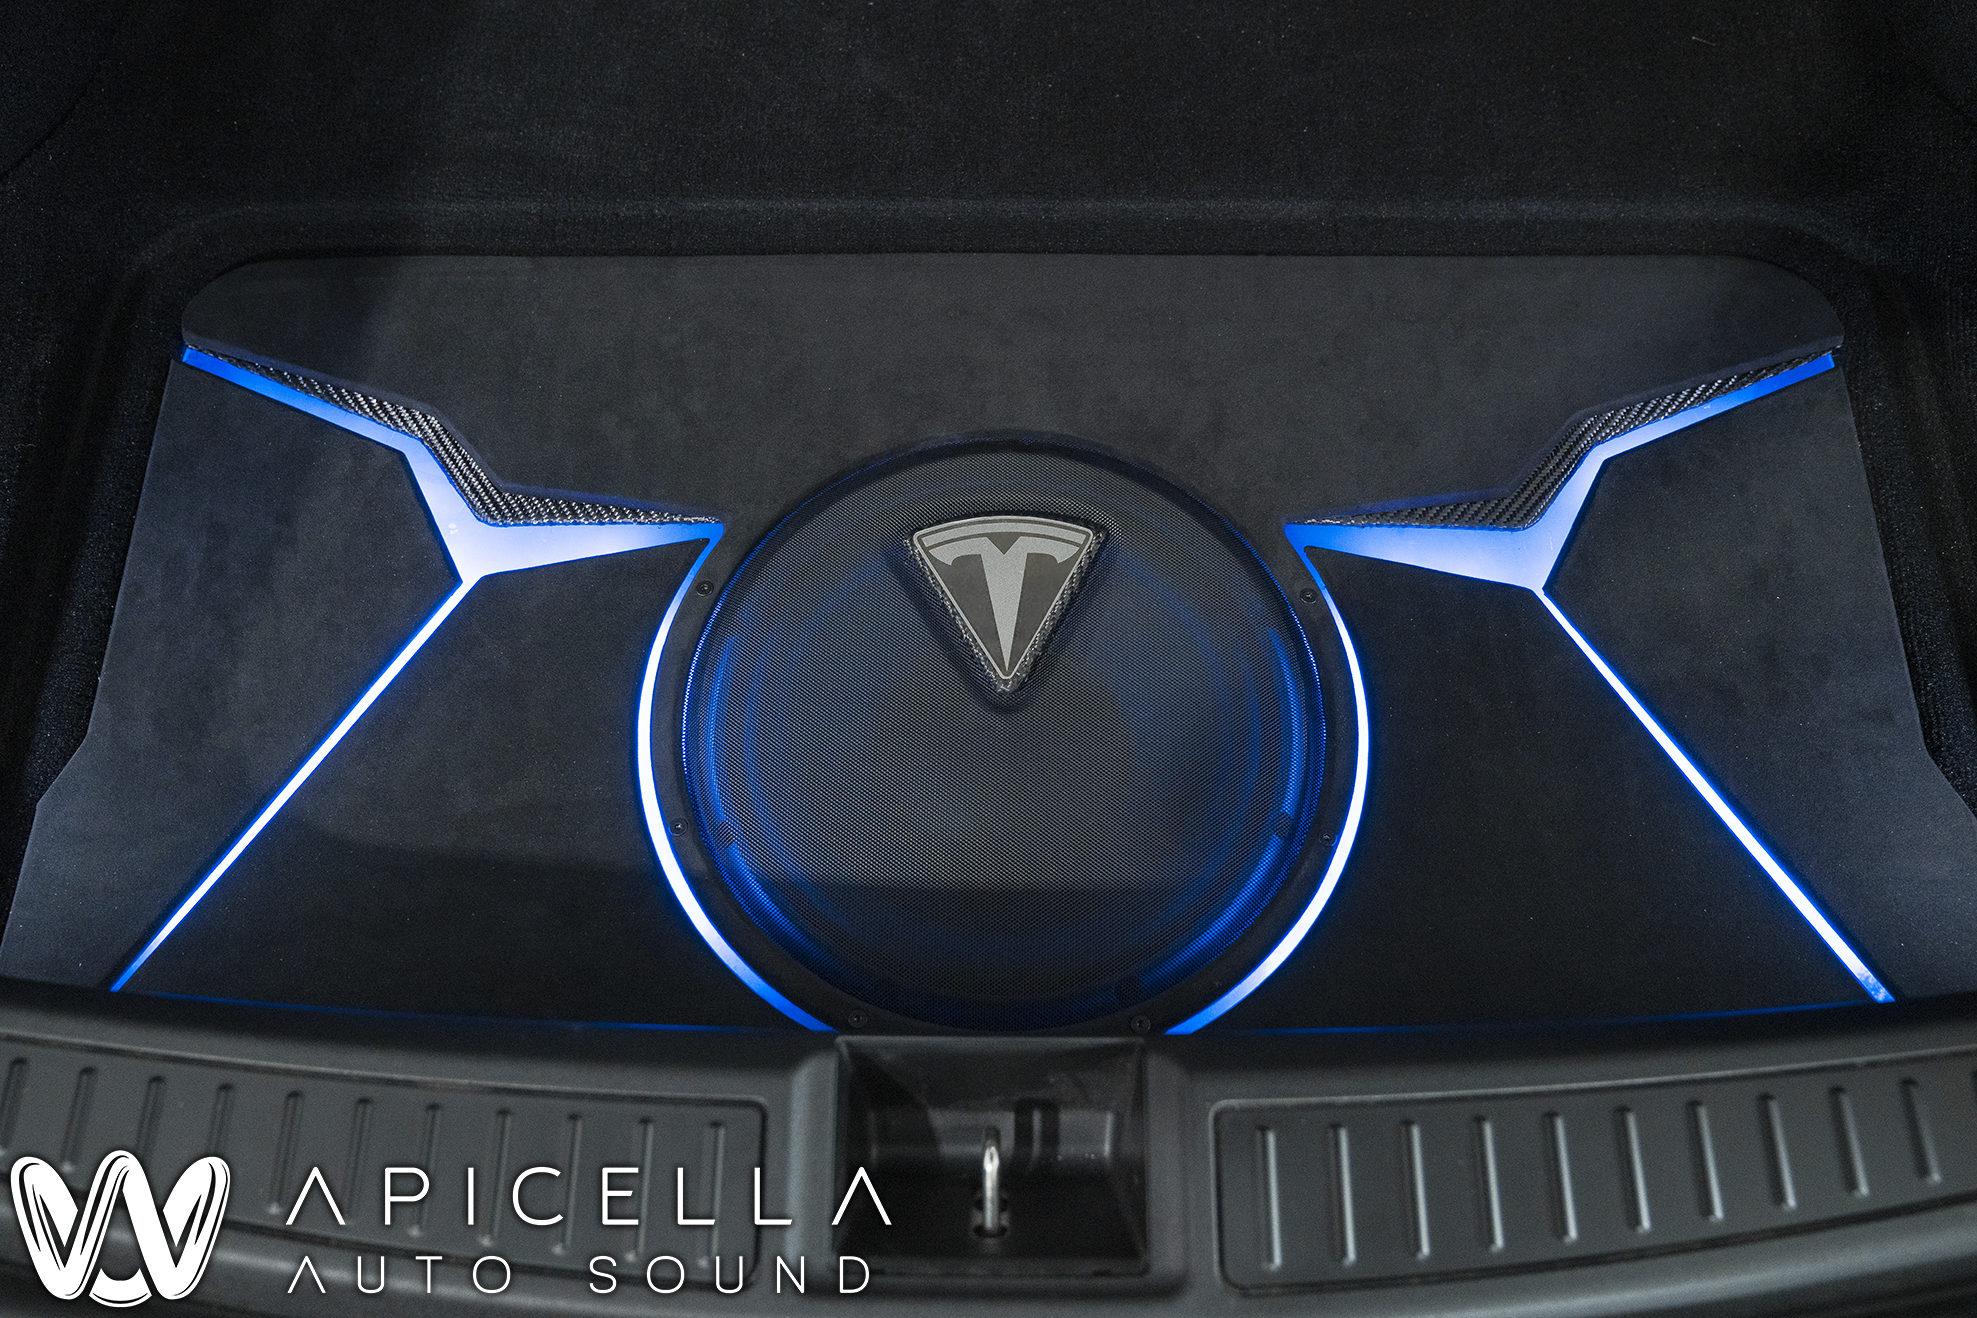
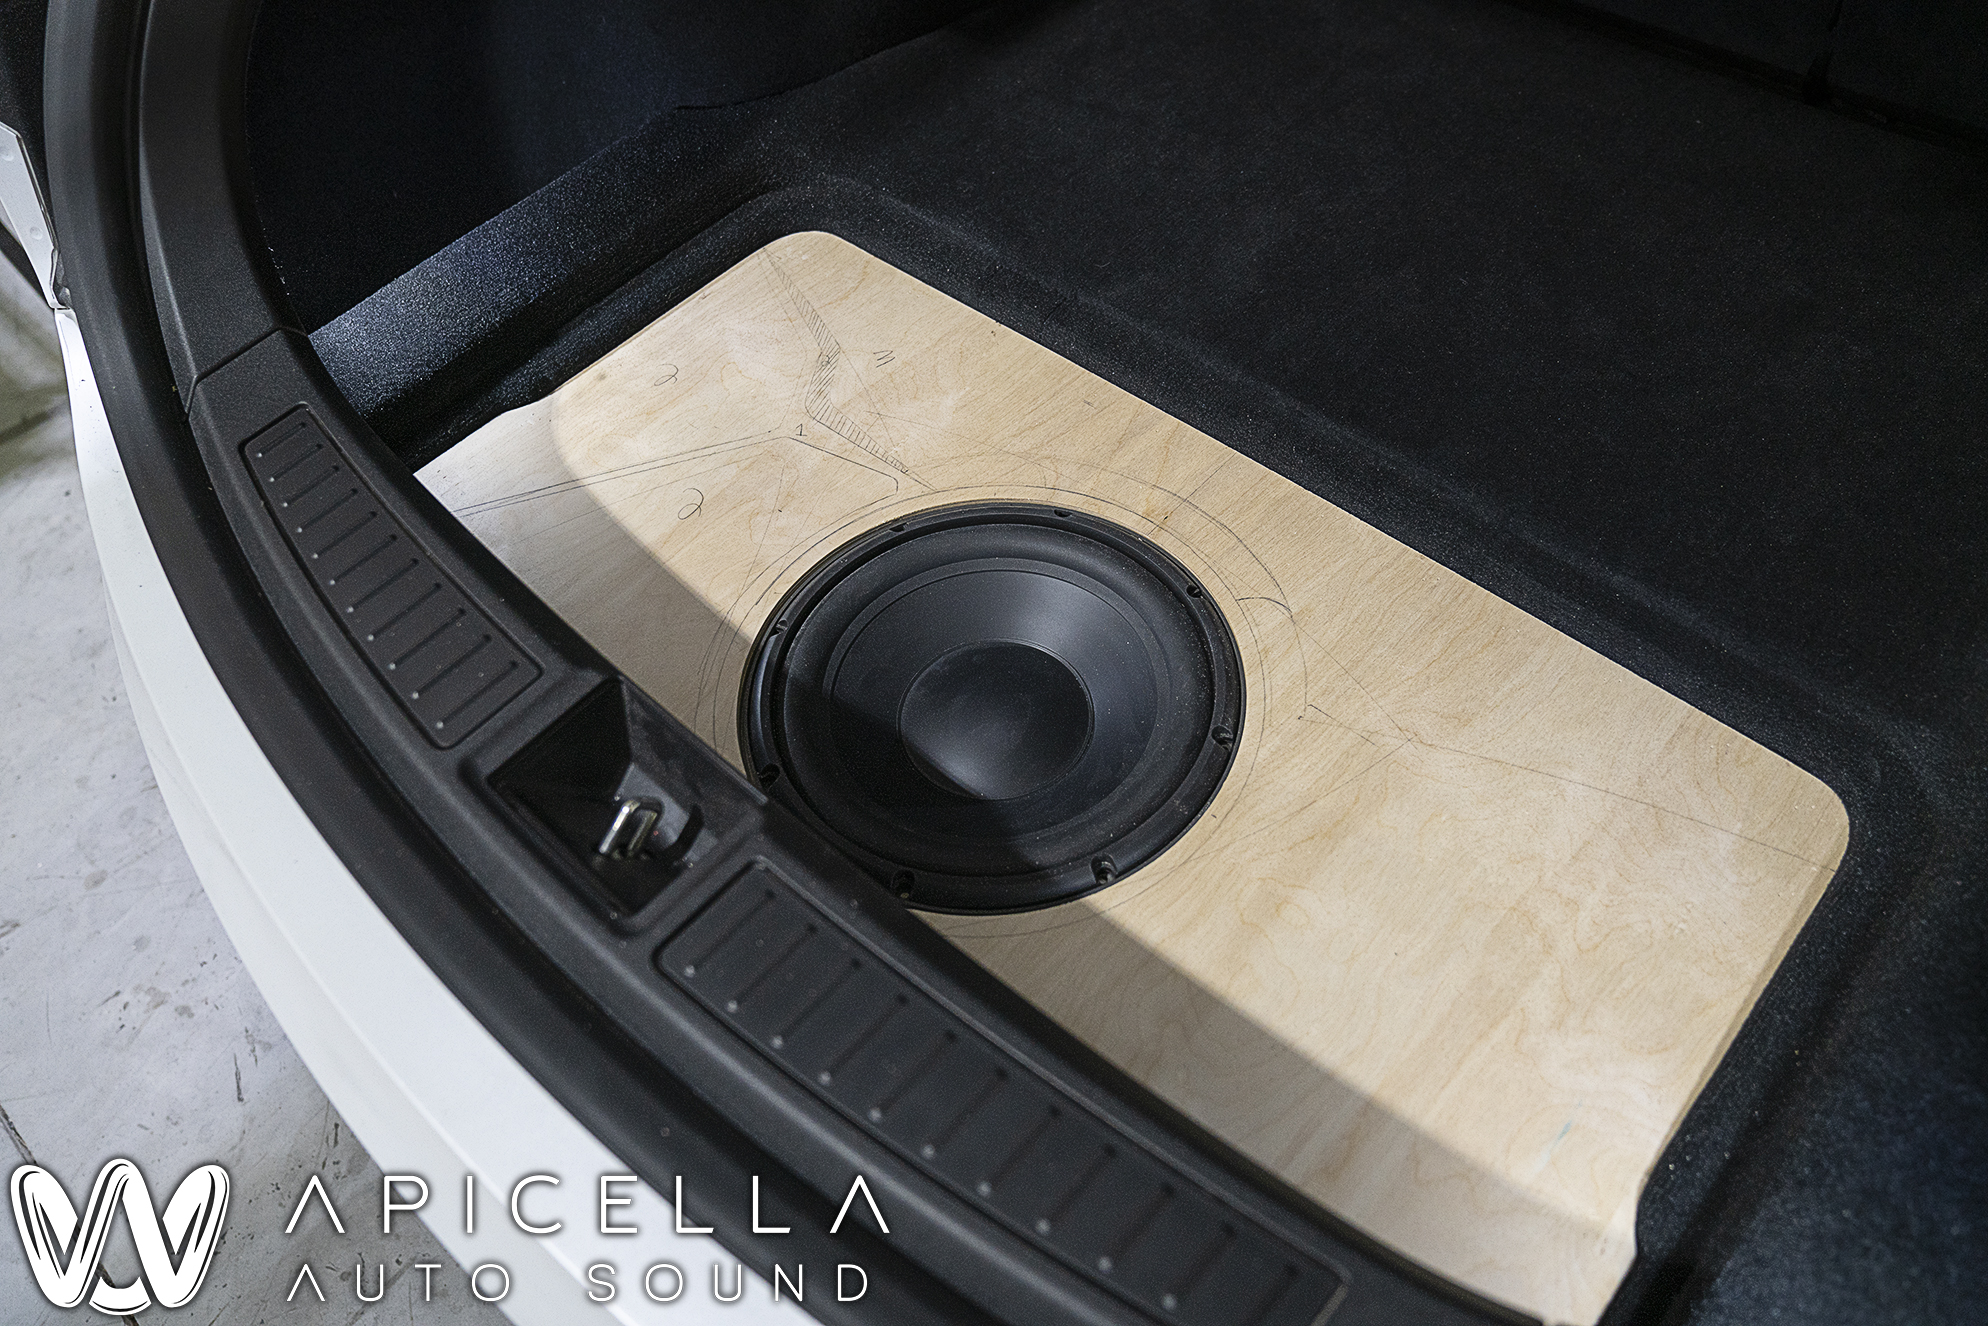
Here is the start of the 1.4 cubic foot enclosure that houses the Audiofrog GB12D2. The enclosure is built out of 3/4" baltic birch, along with the beauty panel being started.


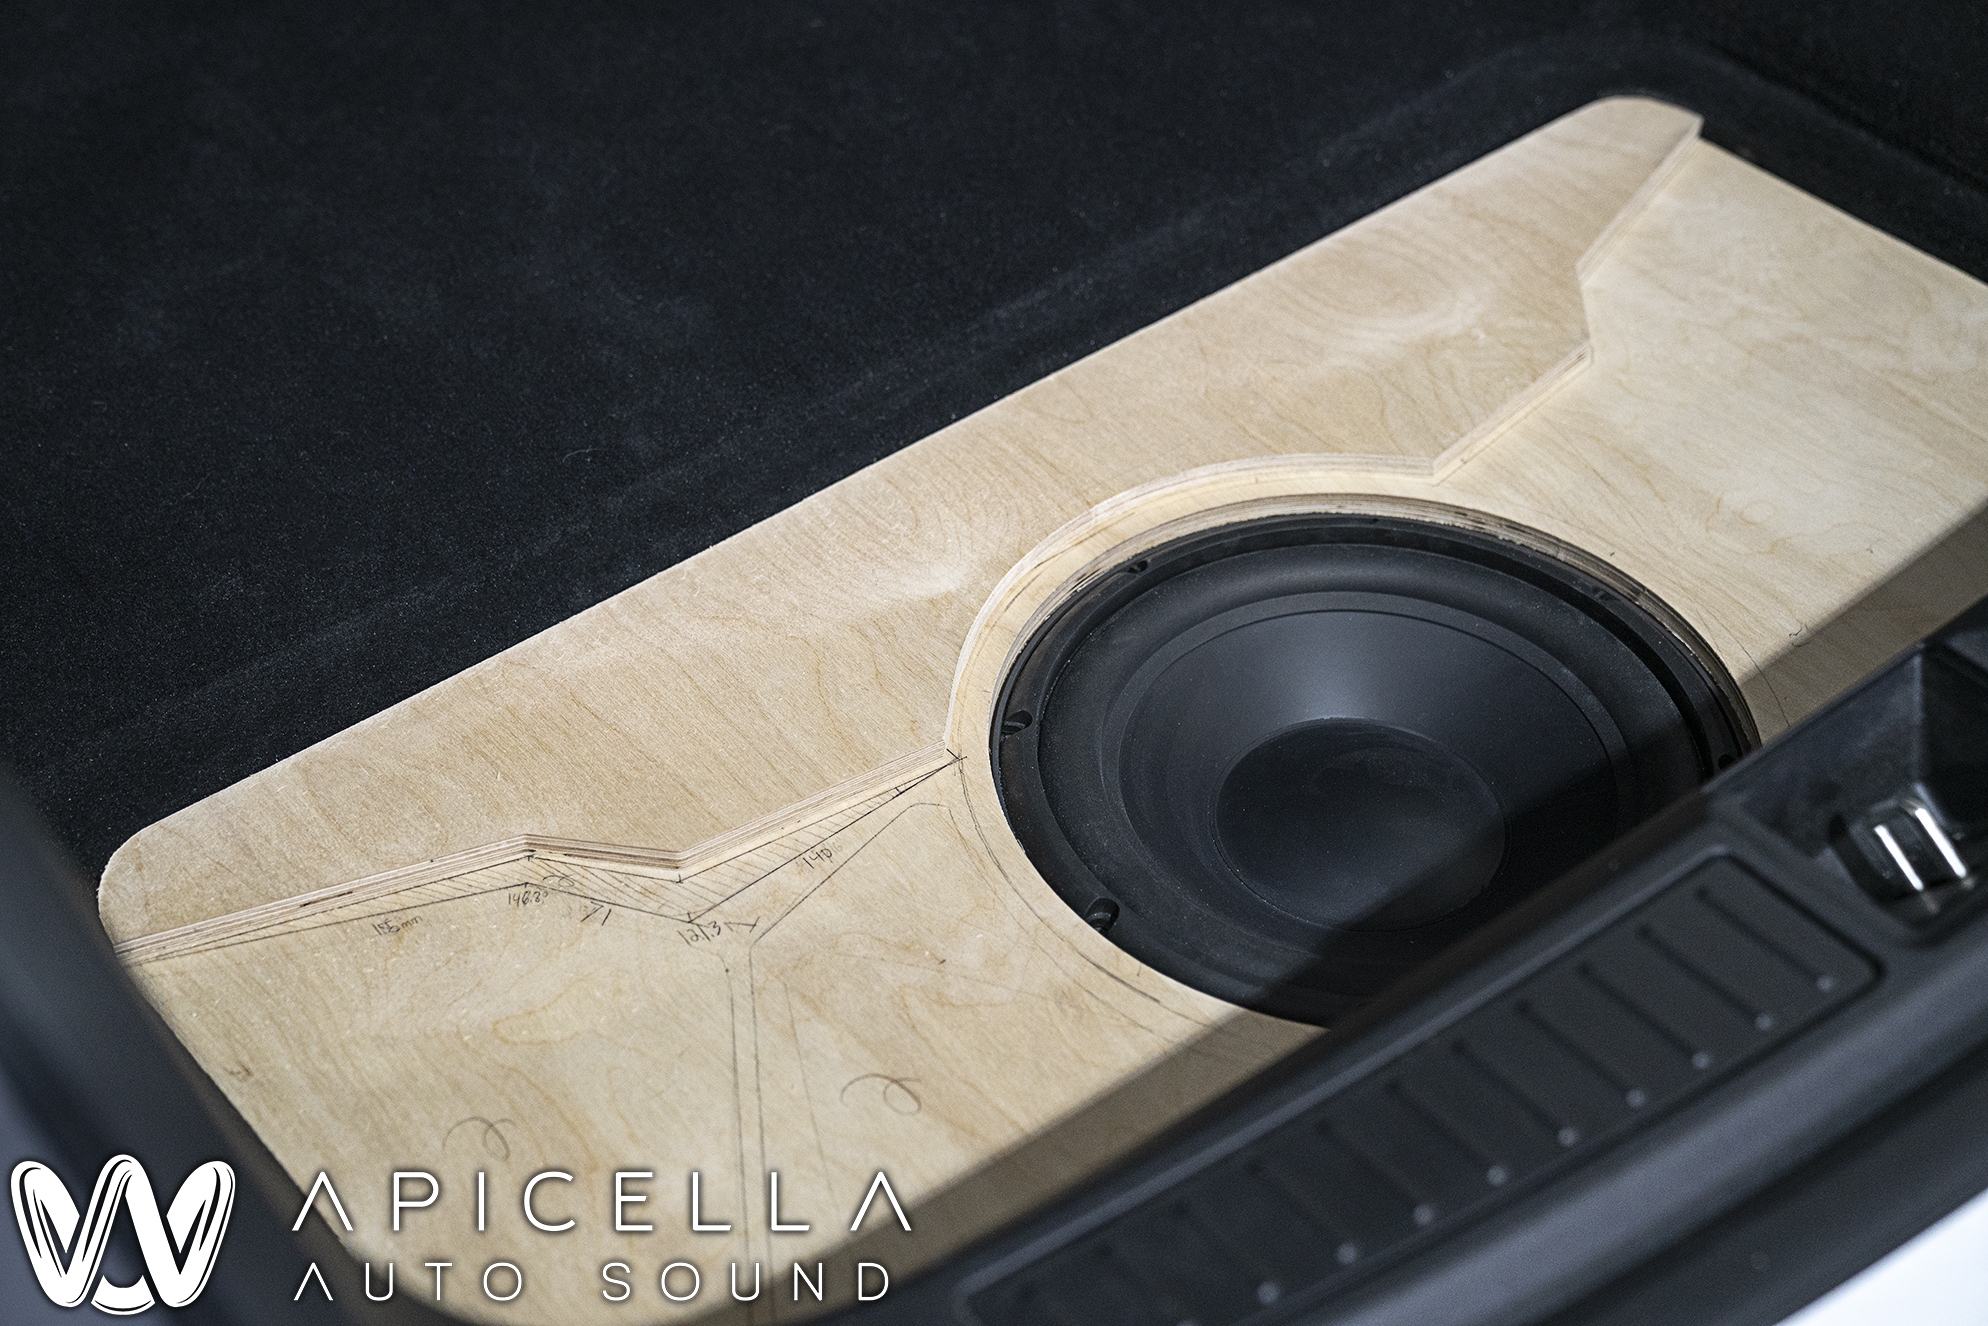
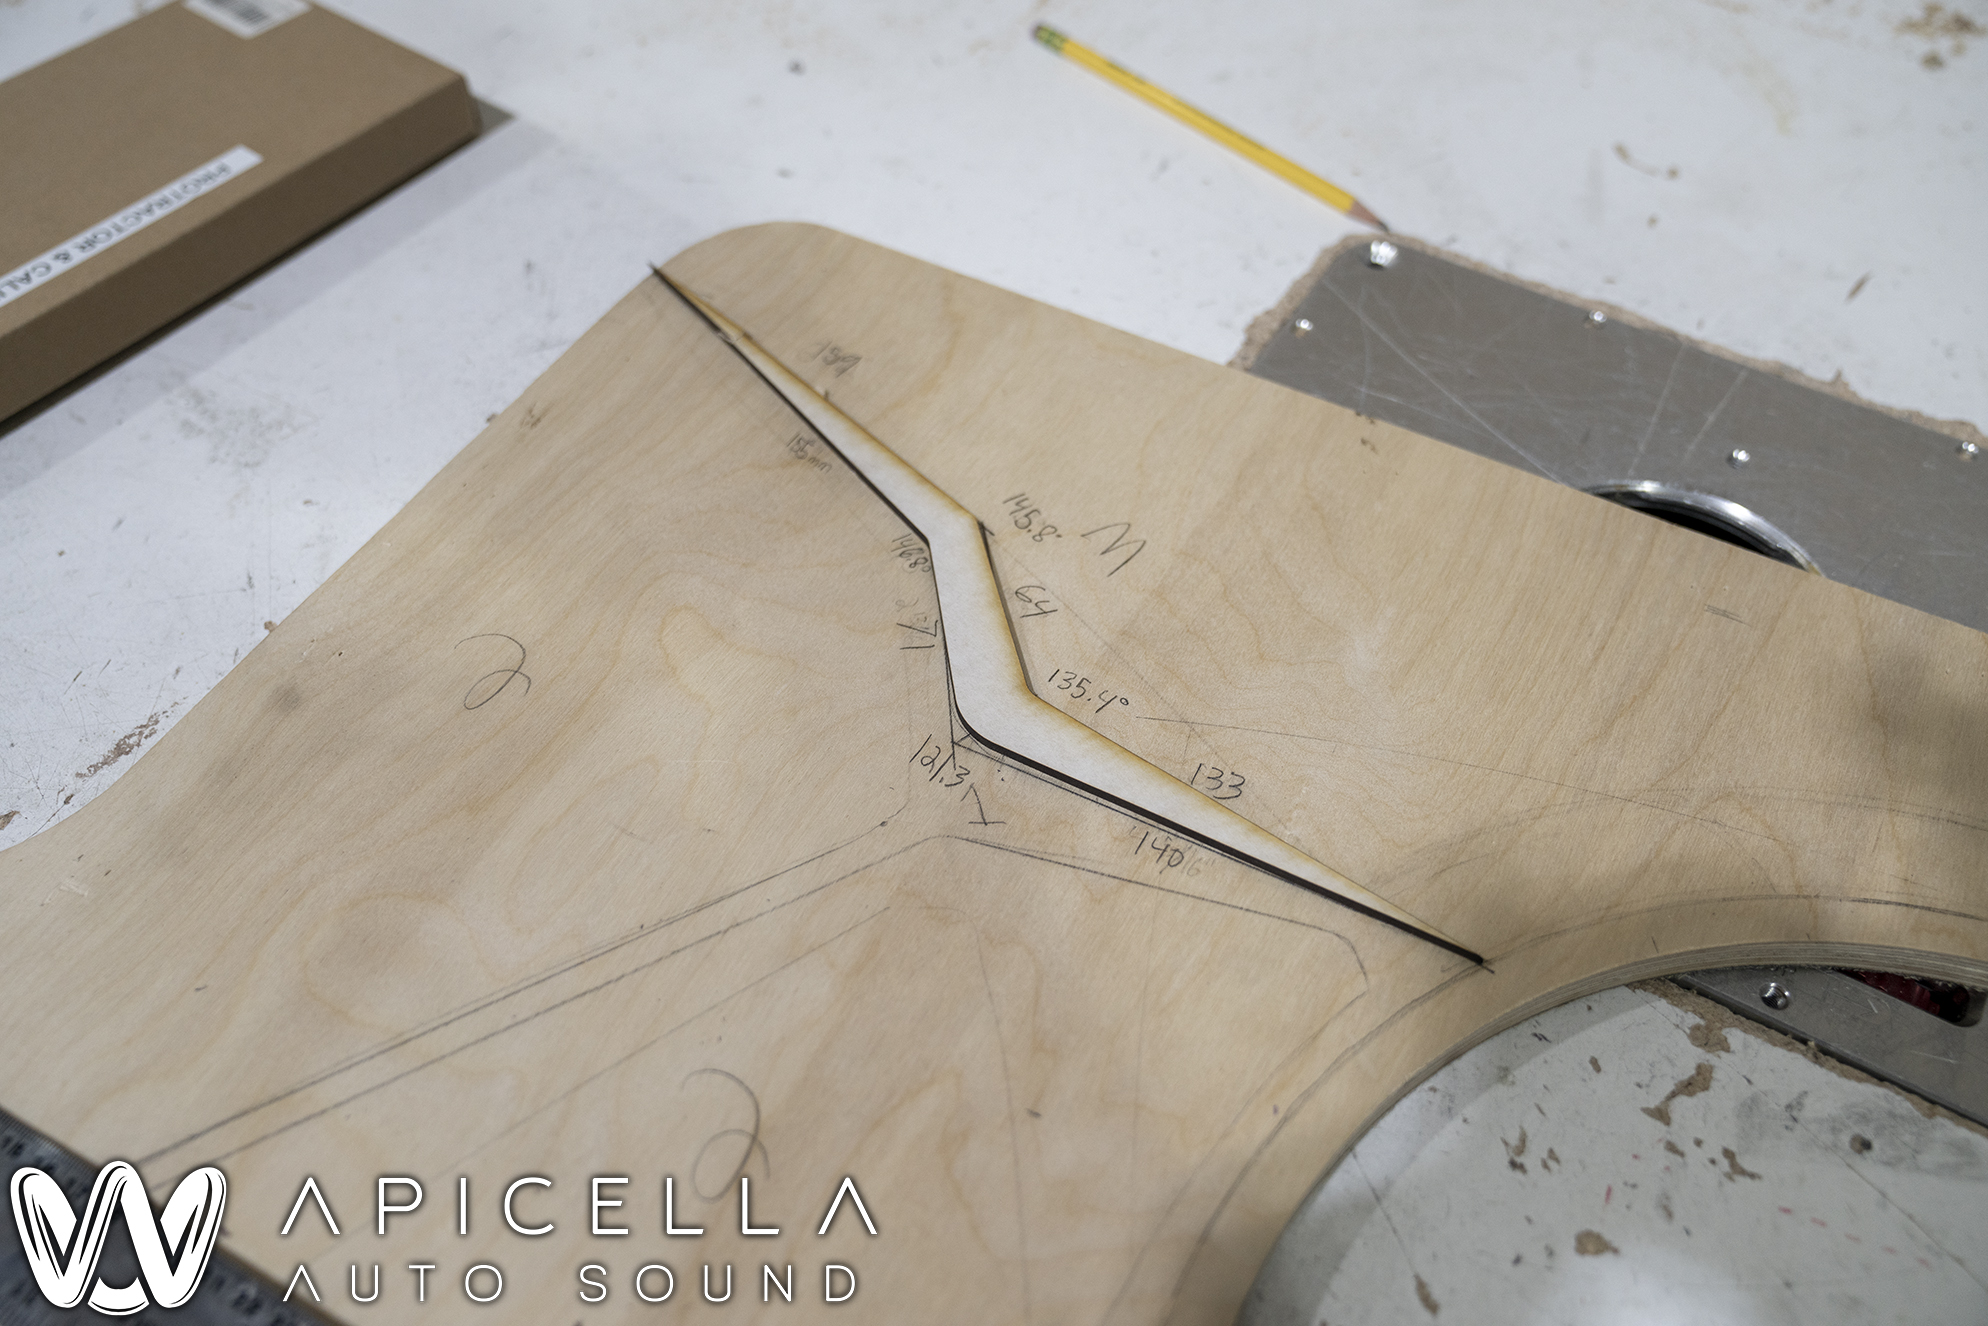
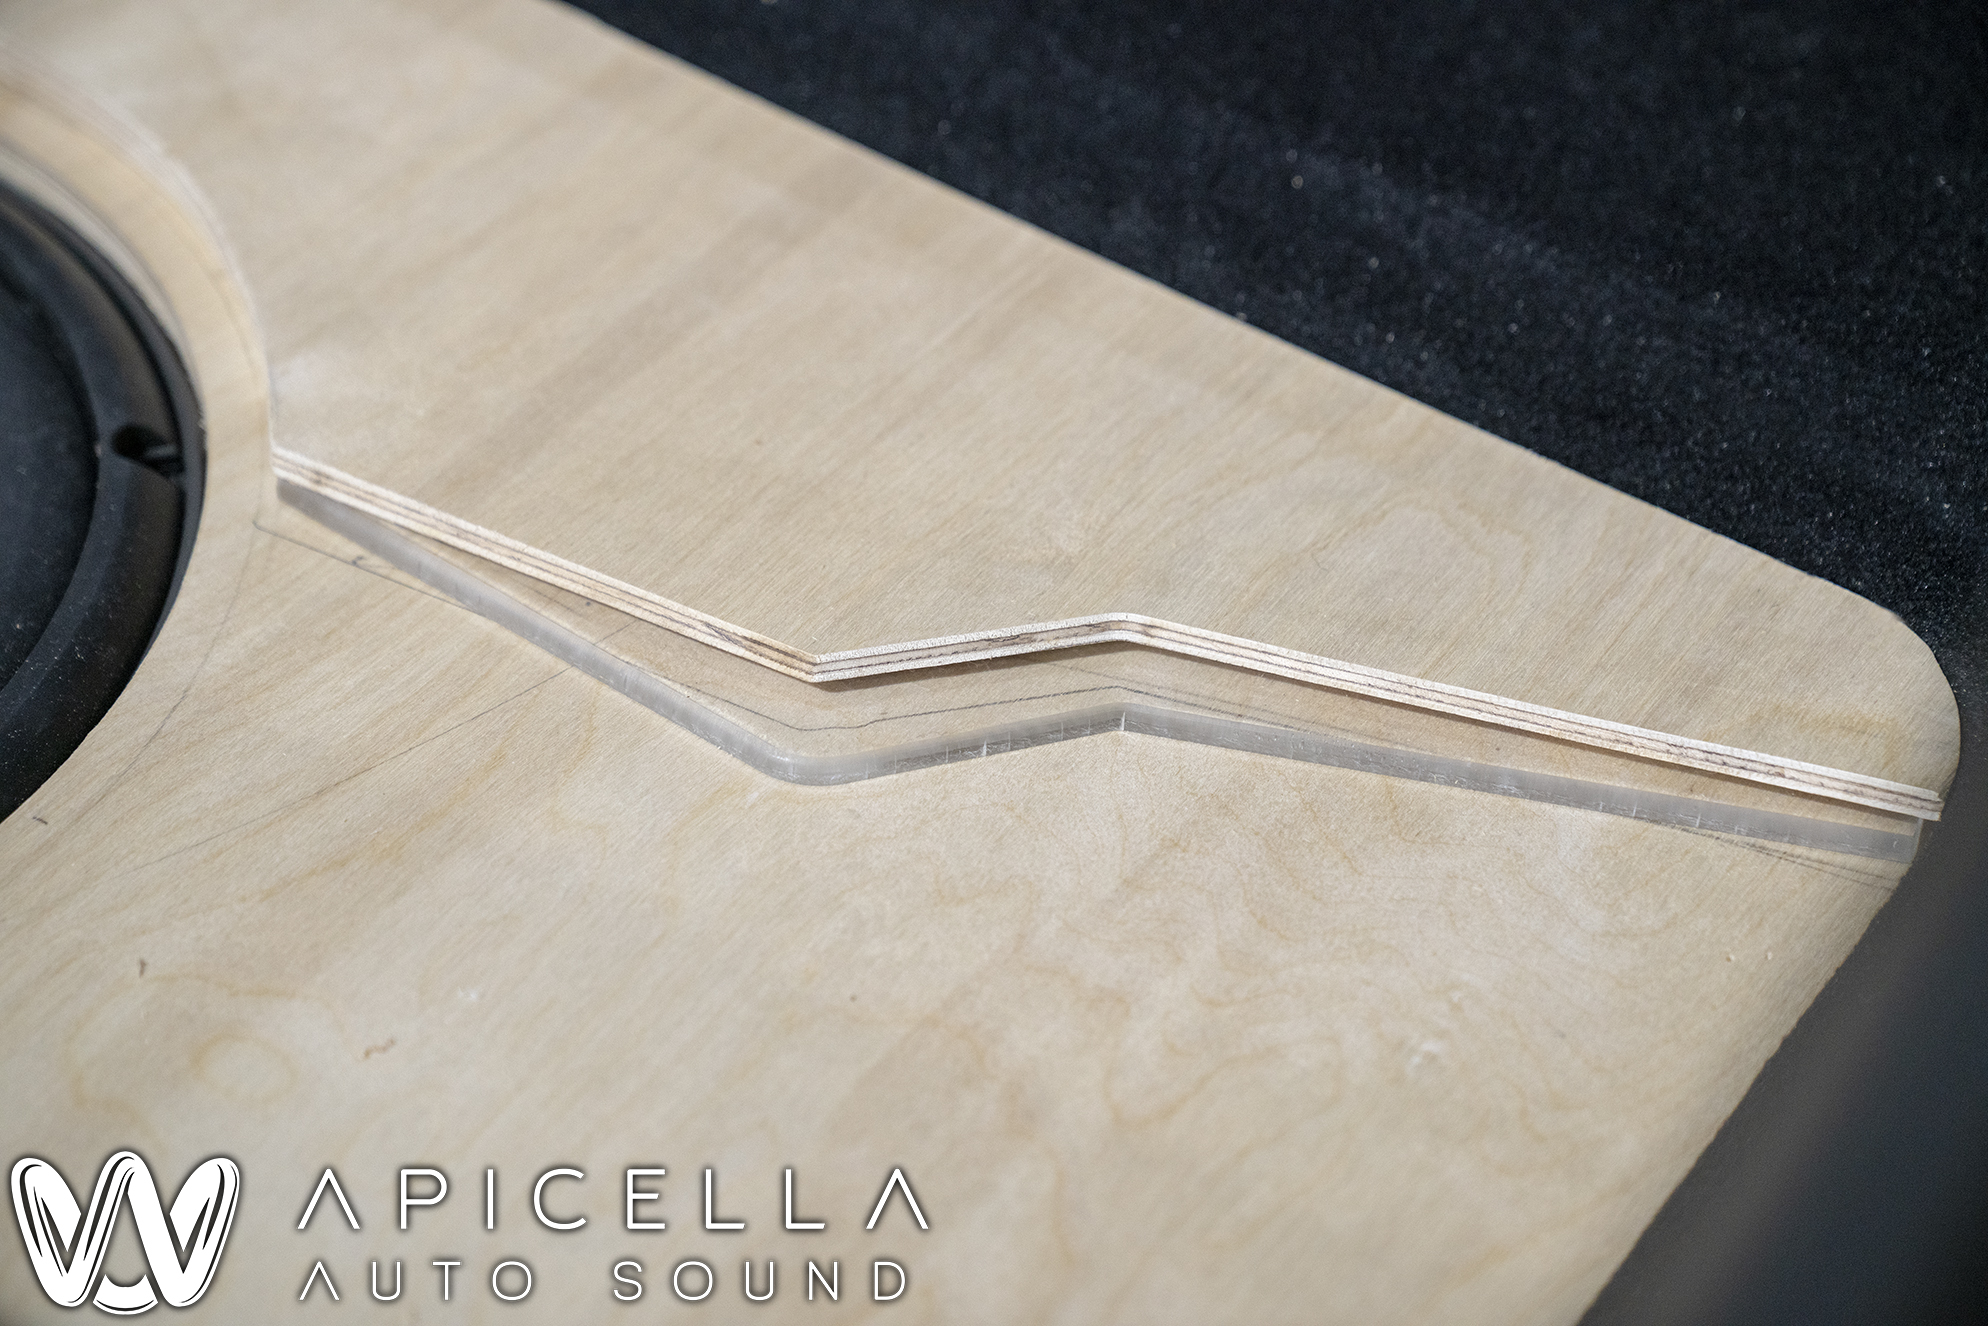
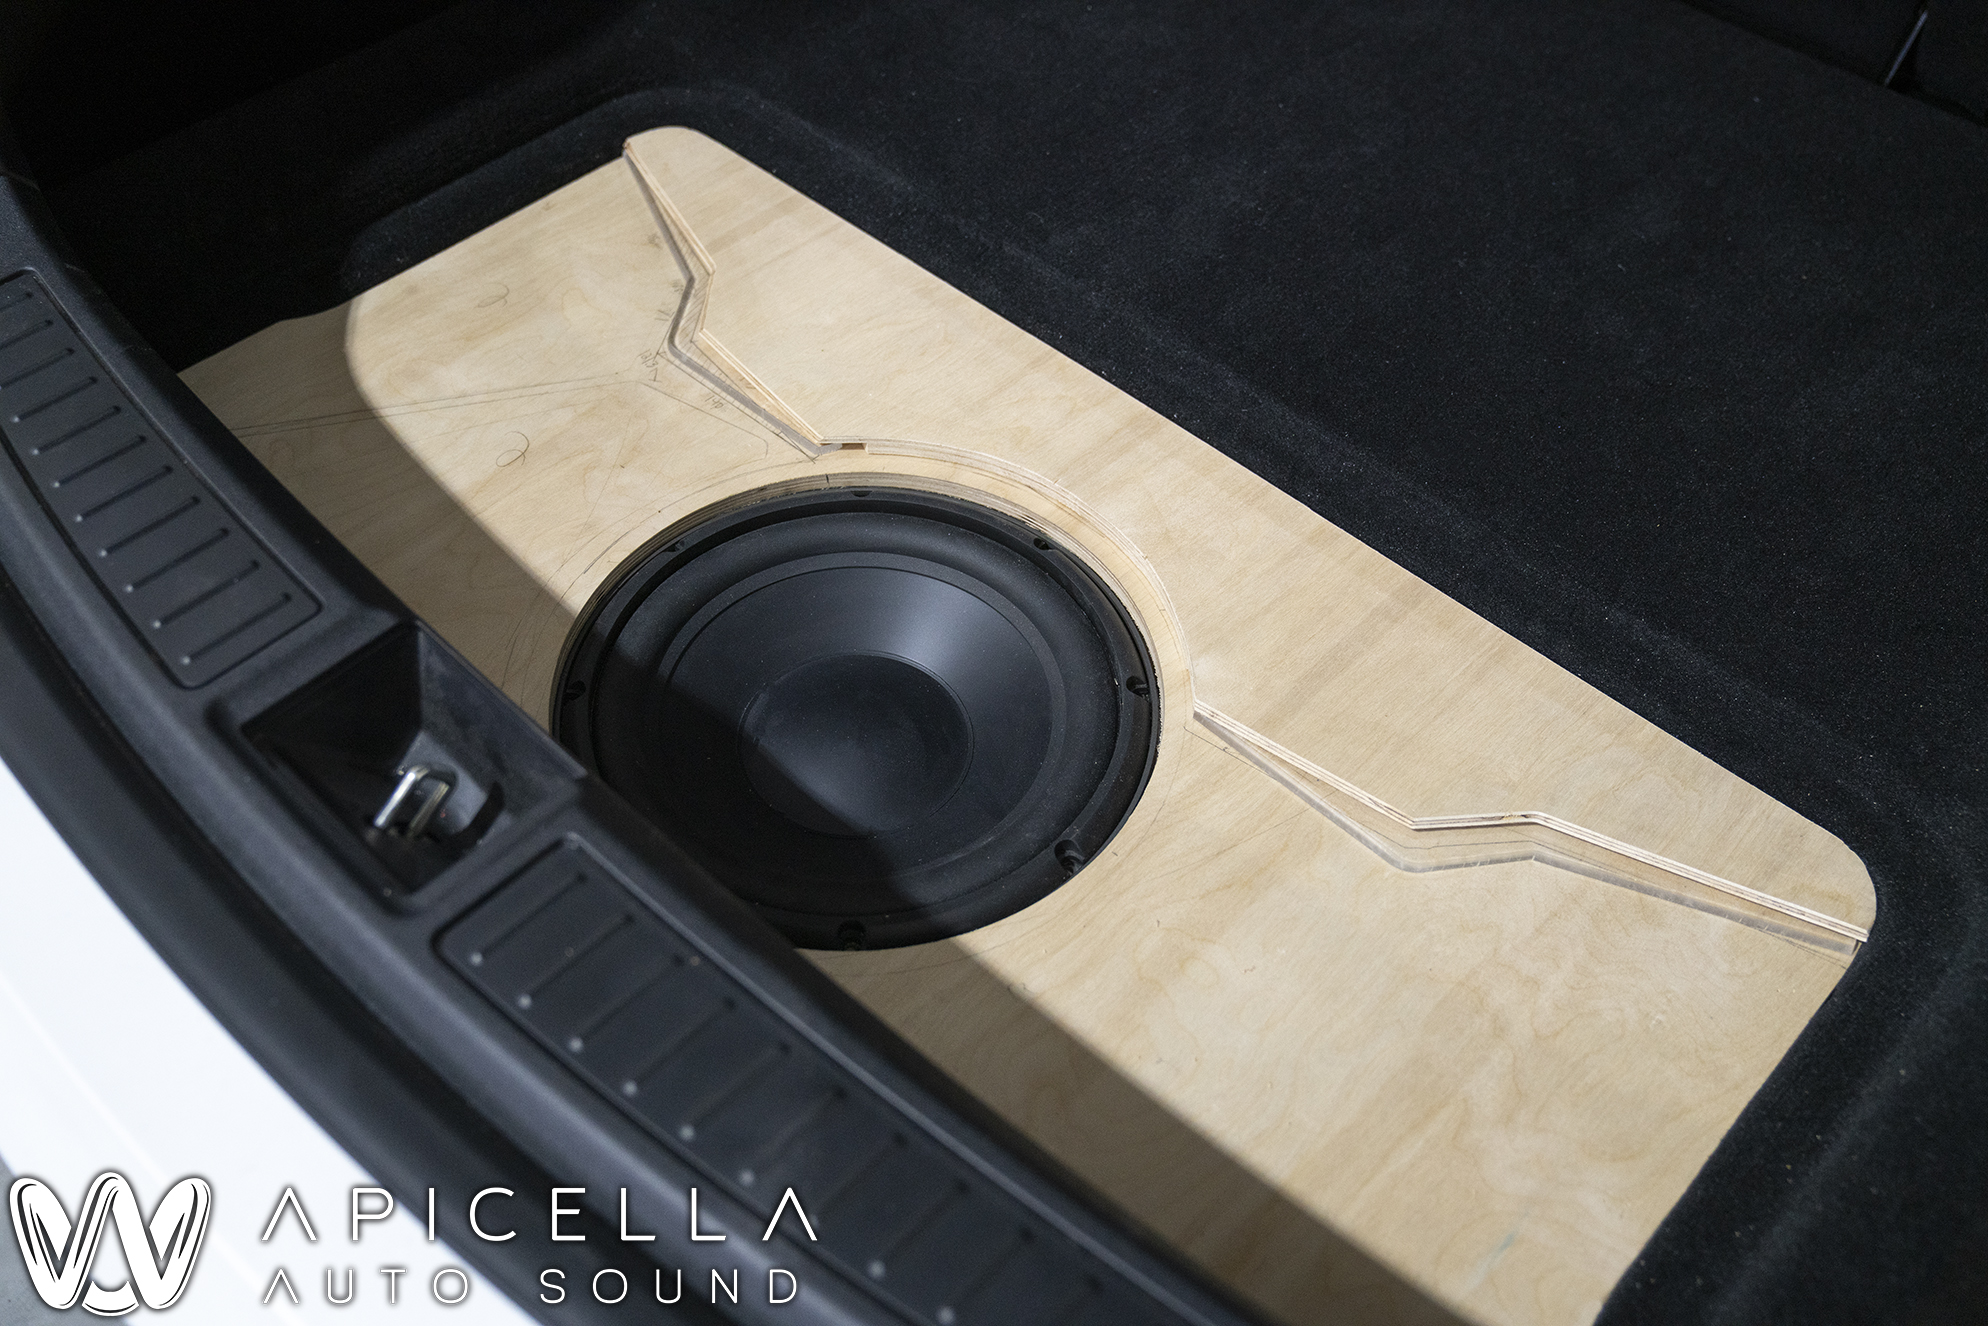
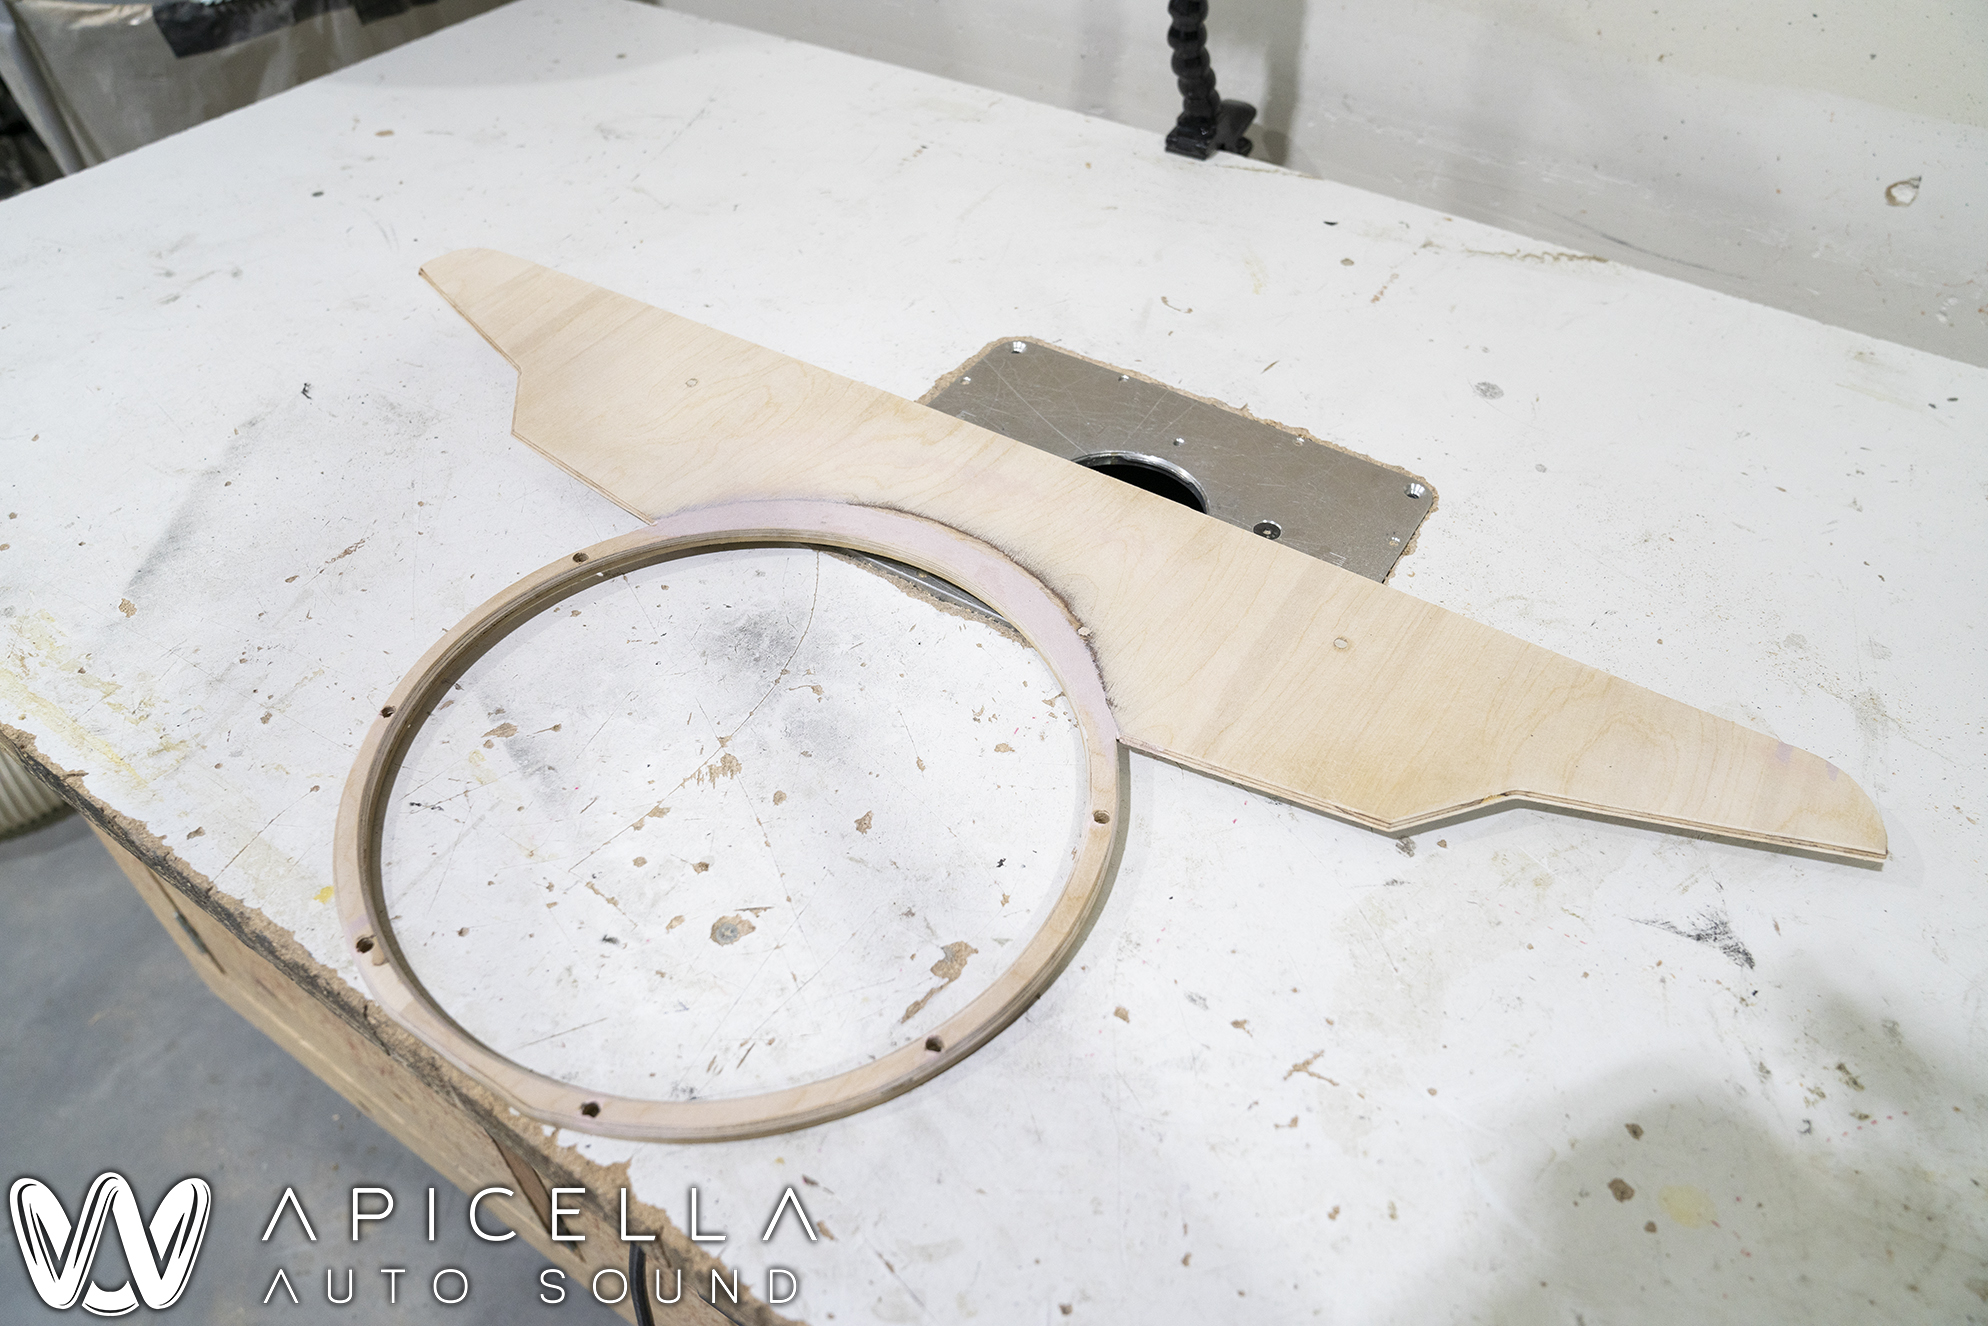
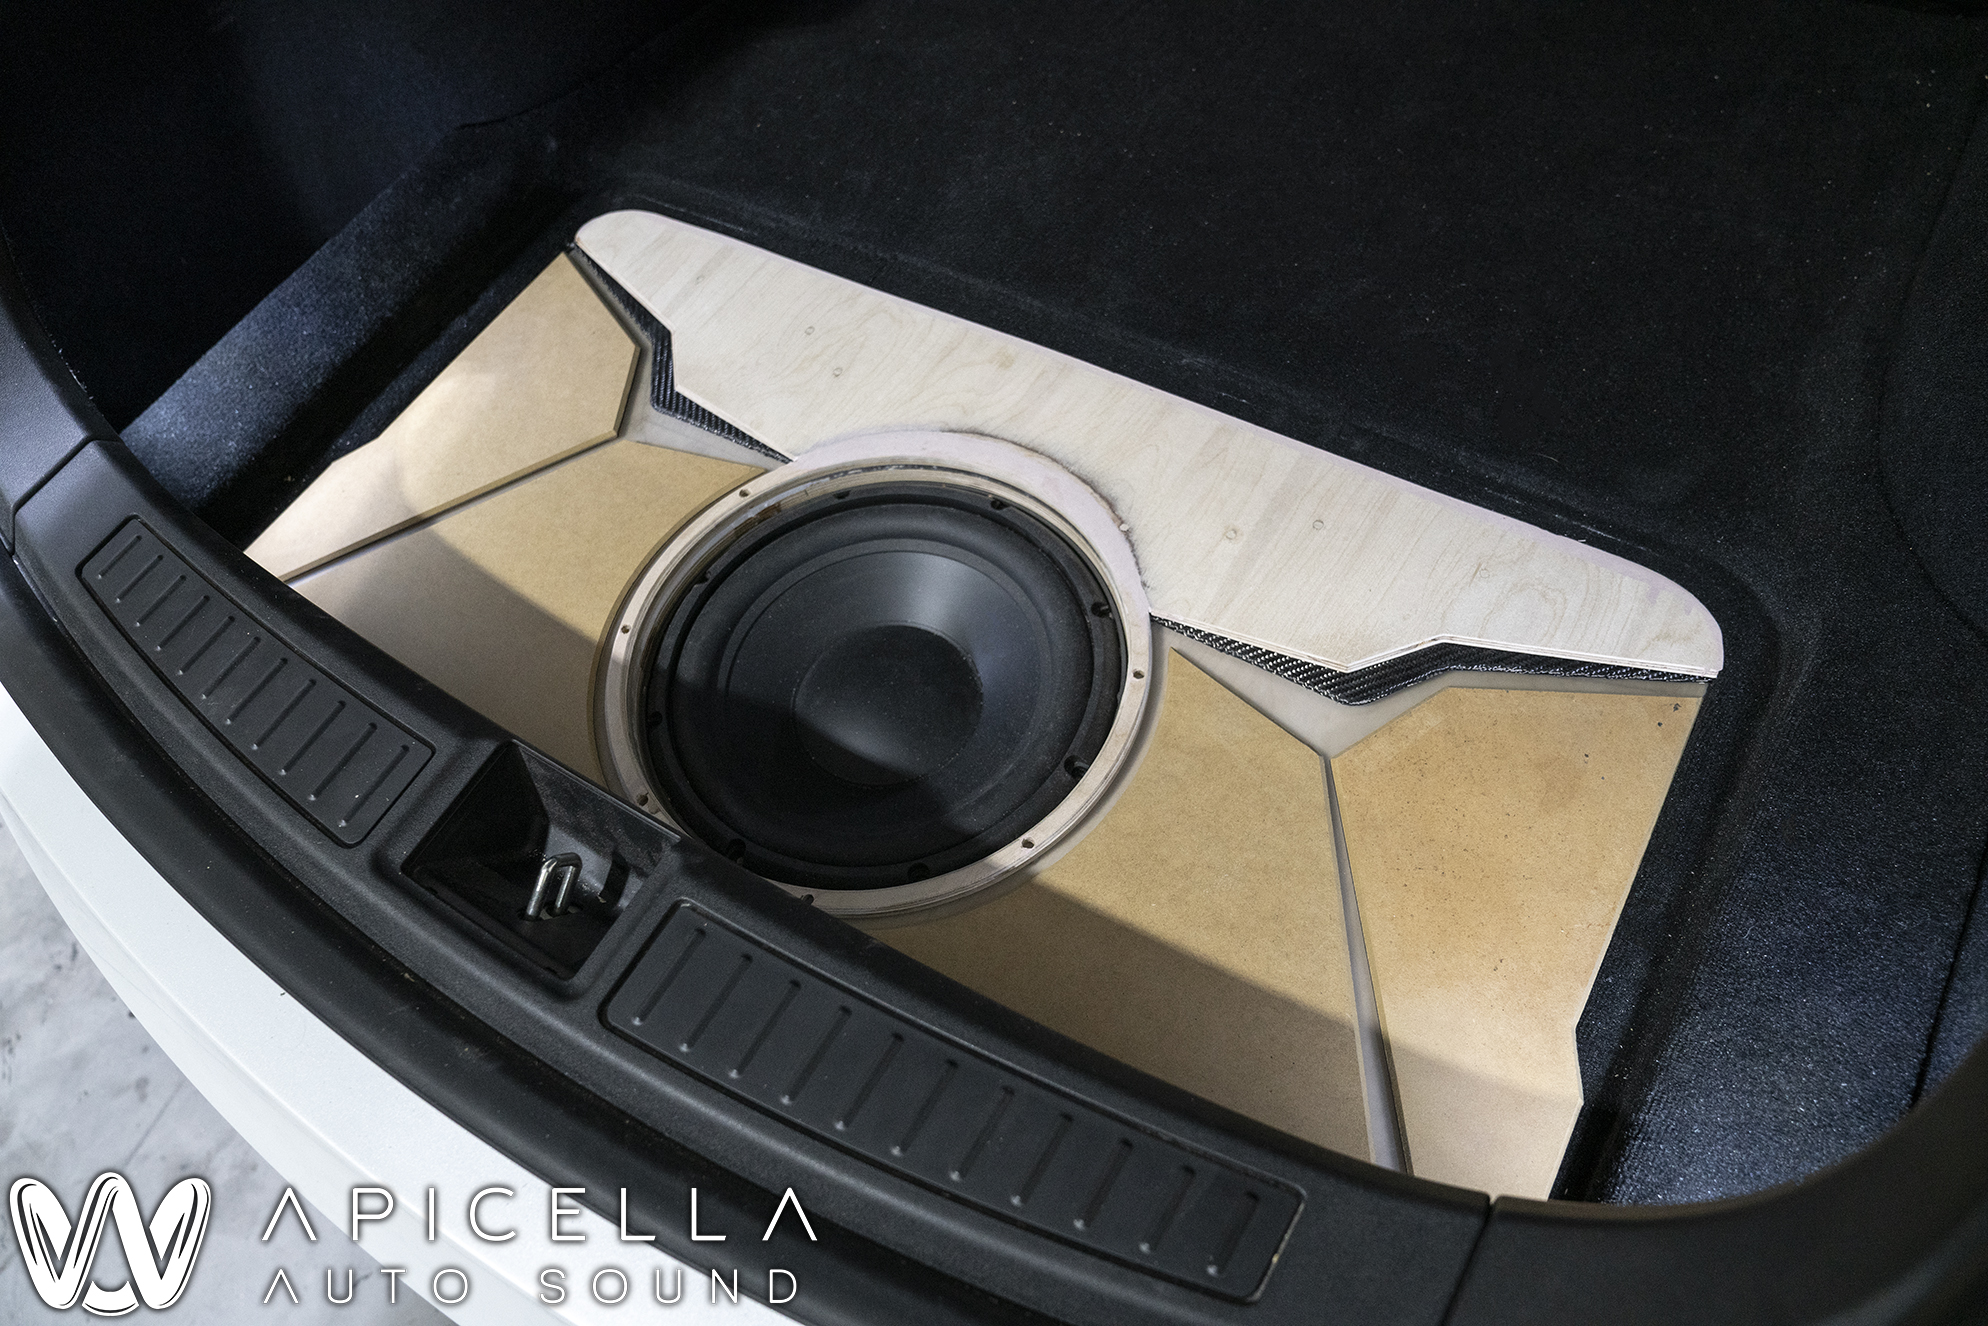

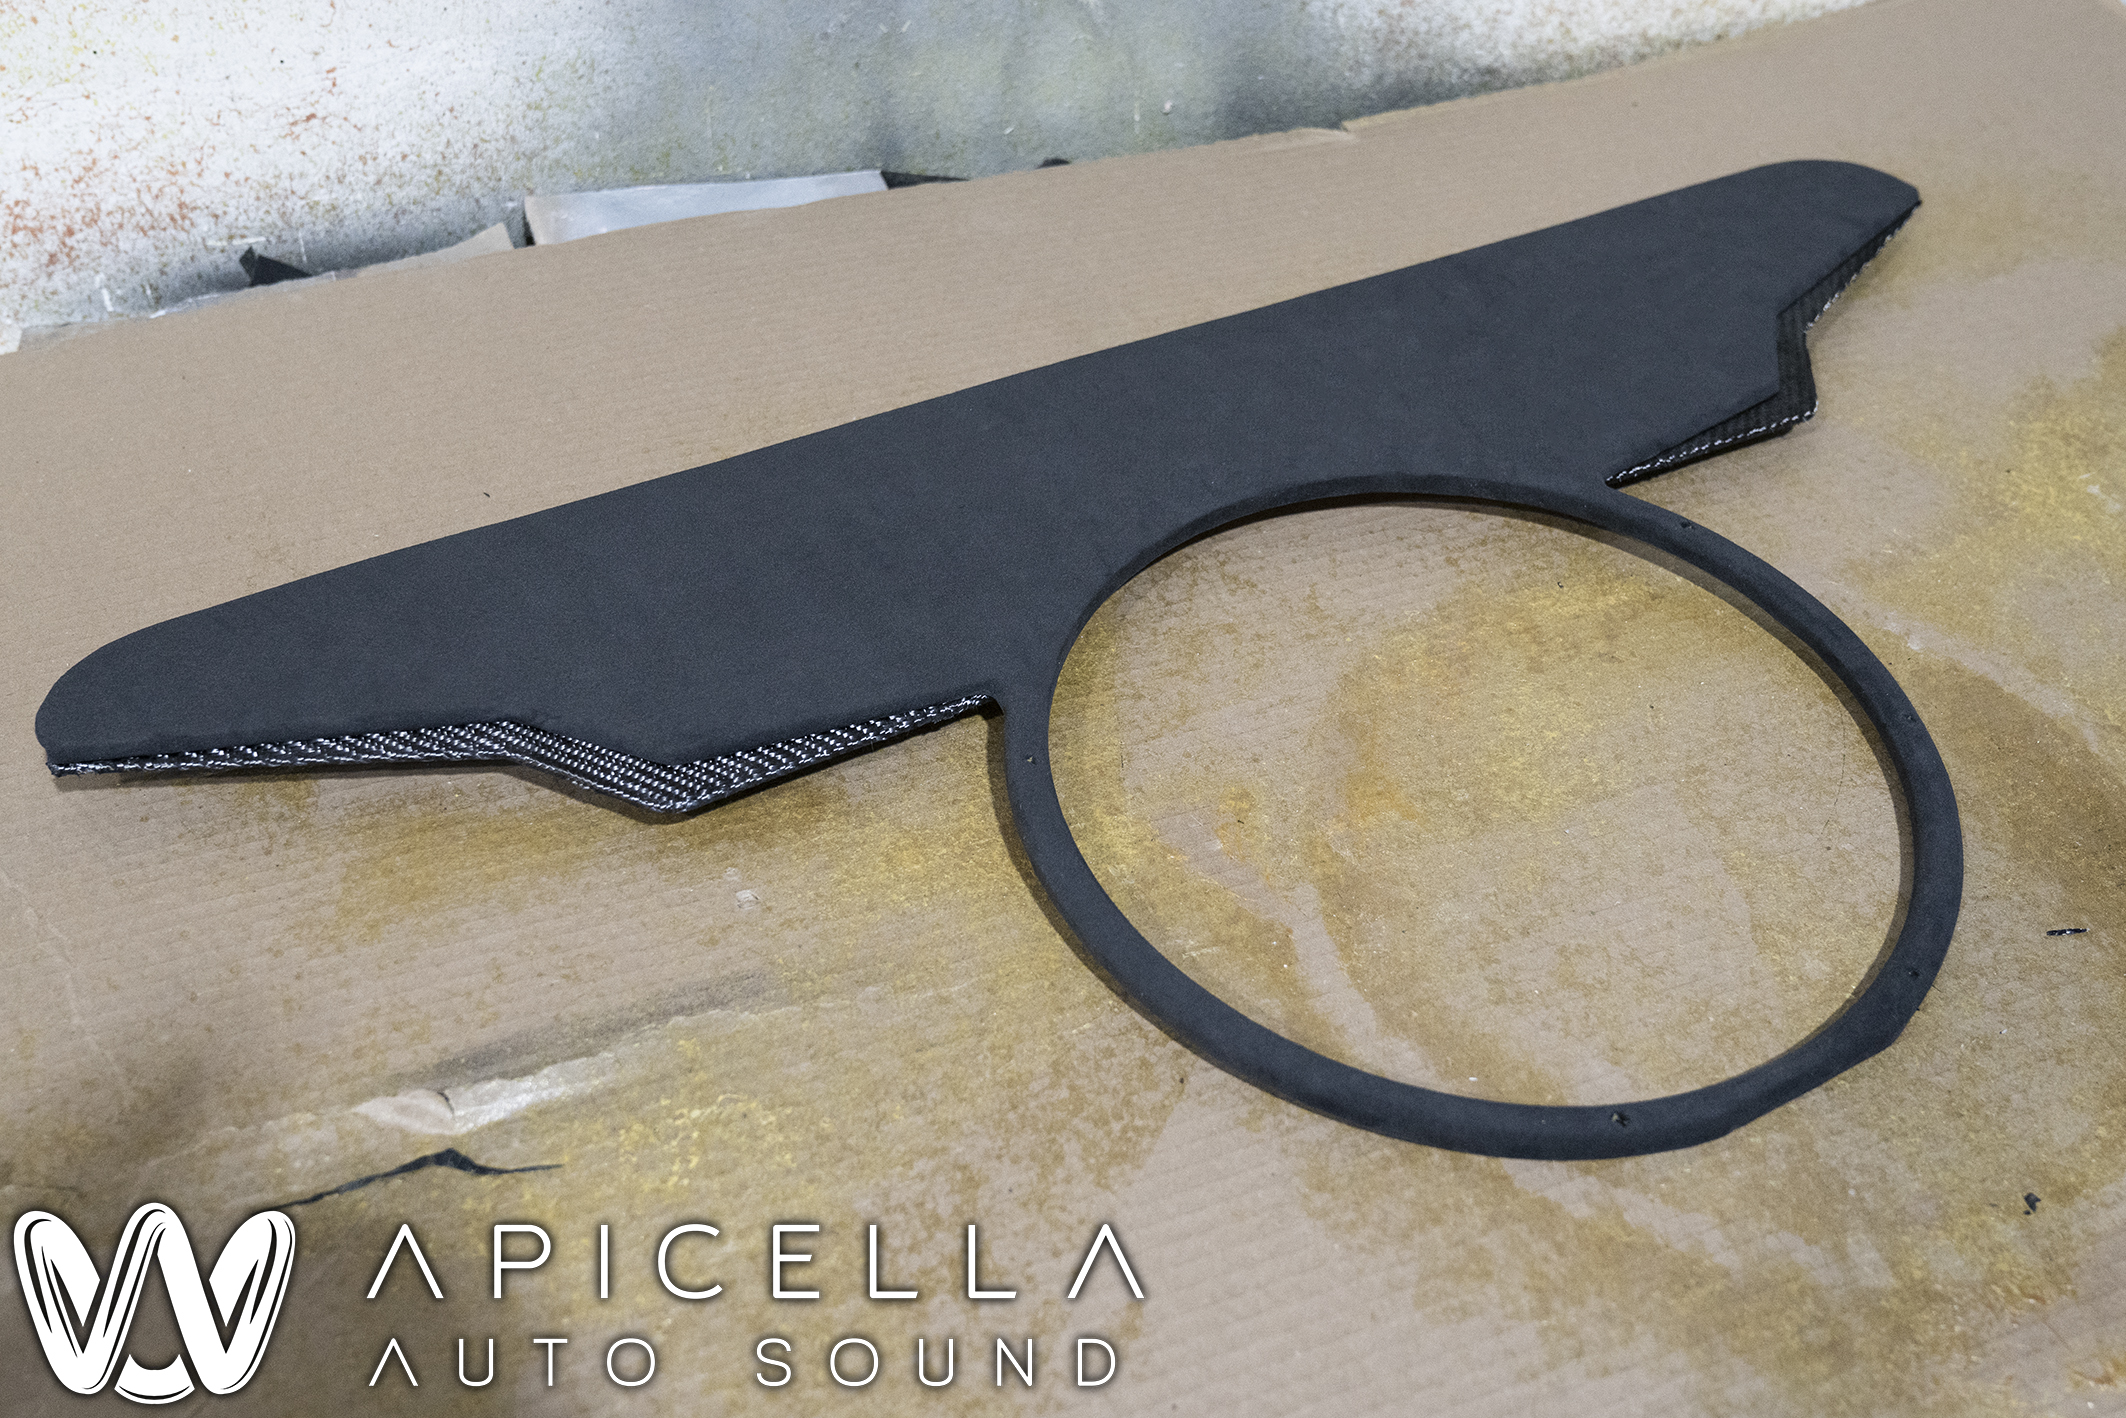
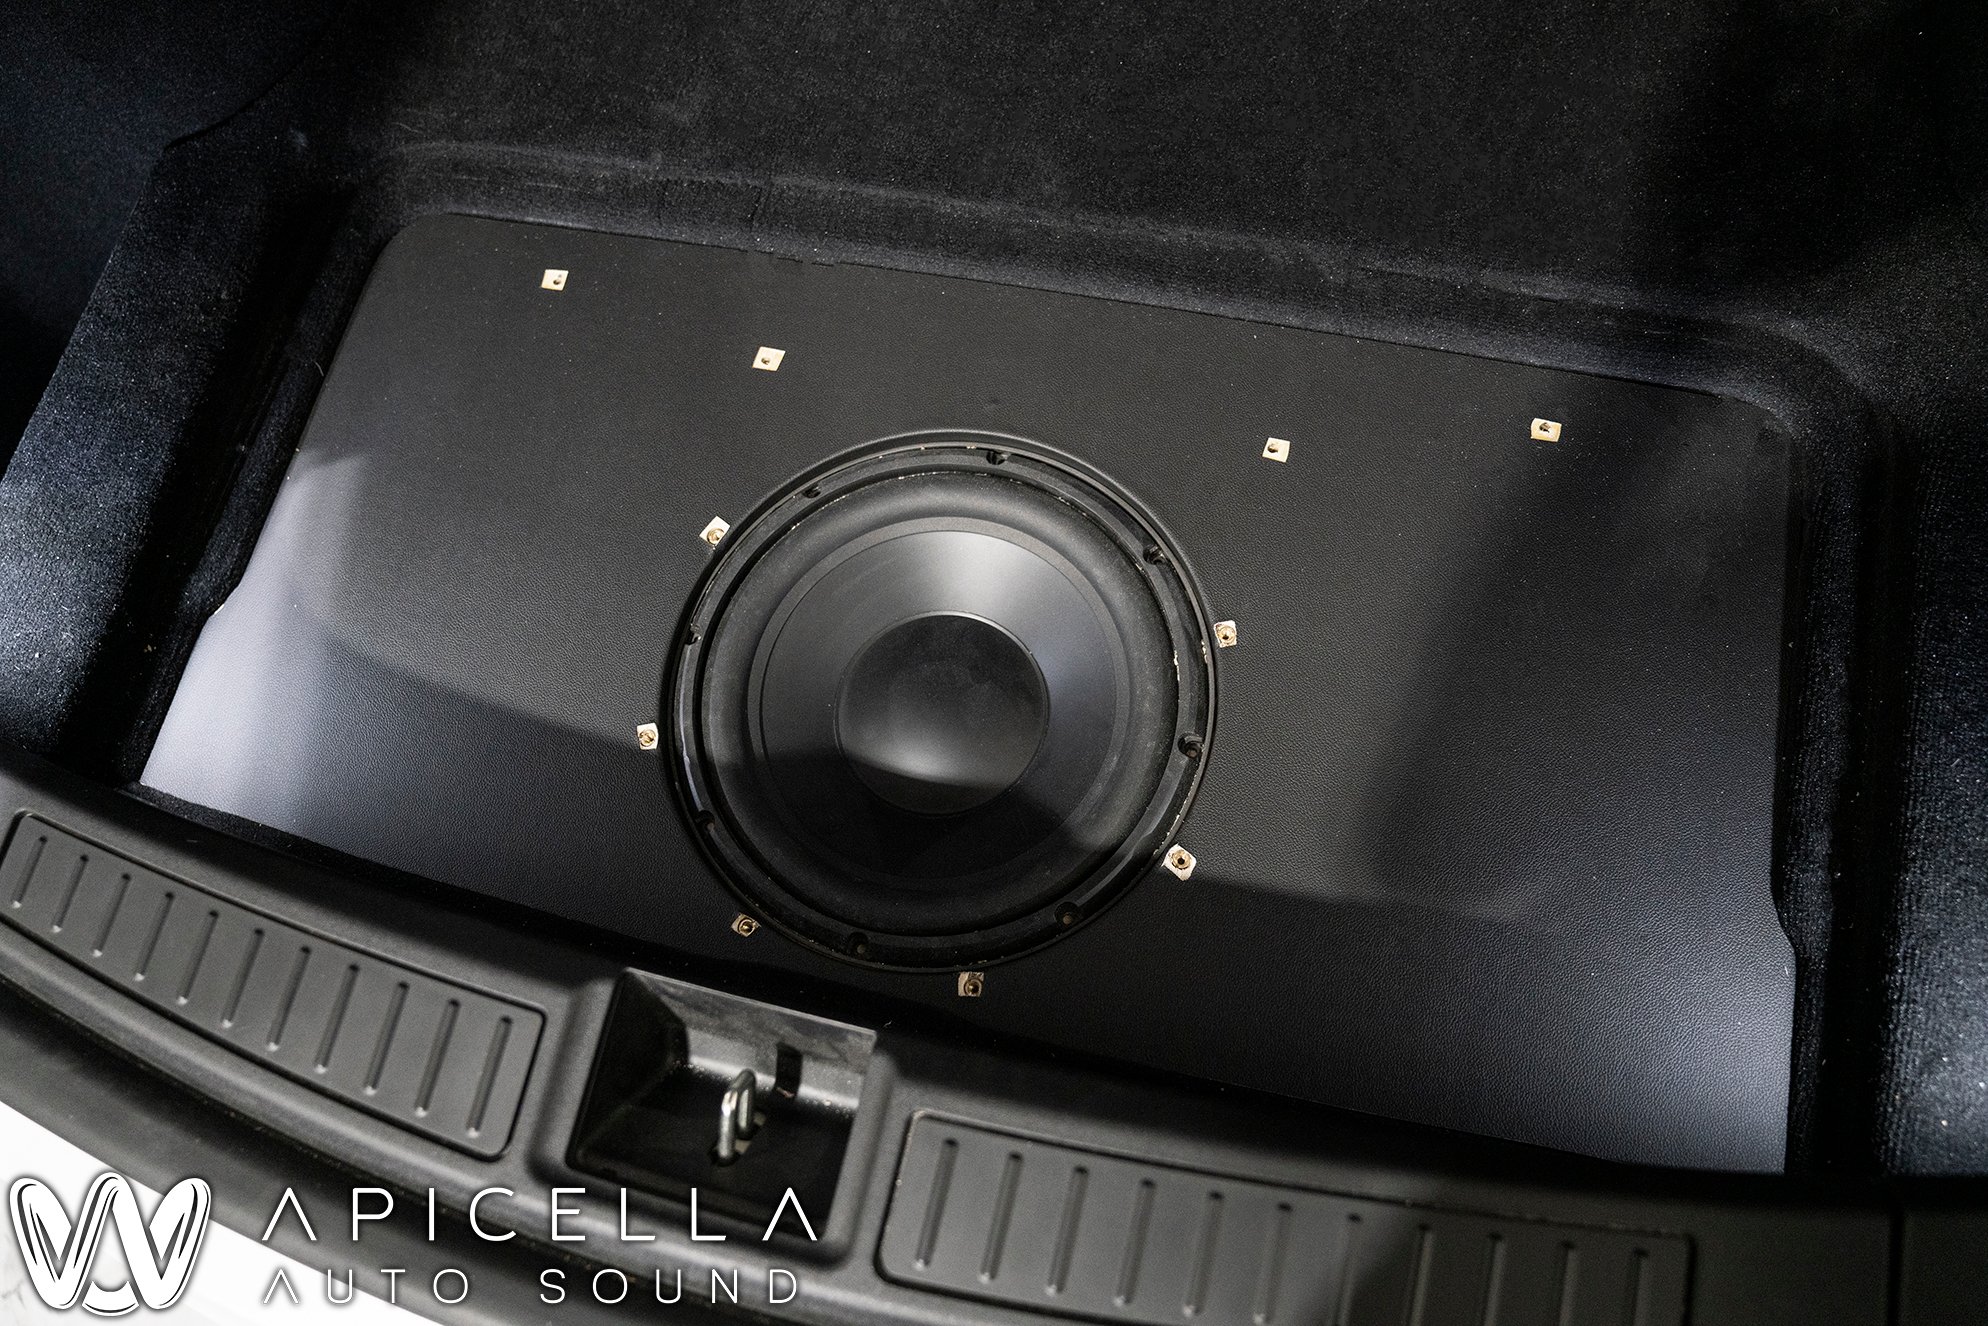
")