hi everyone. I finally got to start an install in my car. Its nothing exciting but i thought i'd share it with you.
my impreza install. today consisted of running power wires and rca cables throught the car.
I started taking some pictures as i went but during the process i manged to hurt my back quite badly and as the car was stripped down at work i had to rebuild the car in absolute agony so the picture taking went to the wayside a bit.
Anyway here is what i did take.
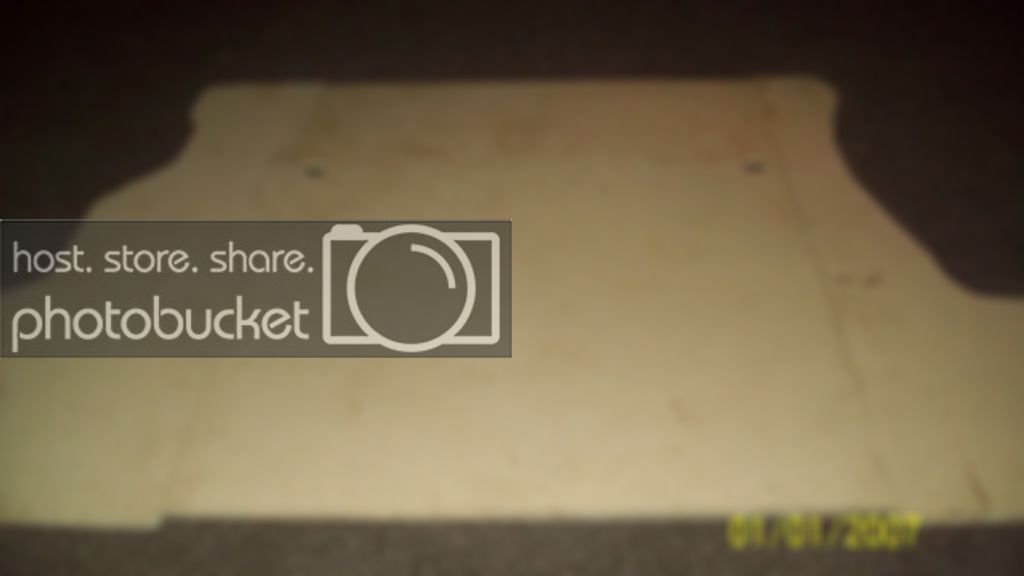
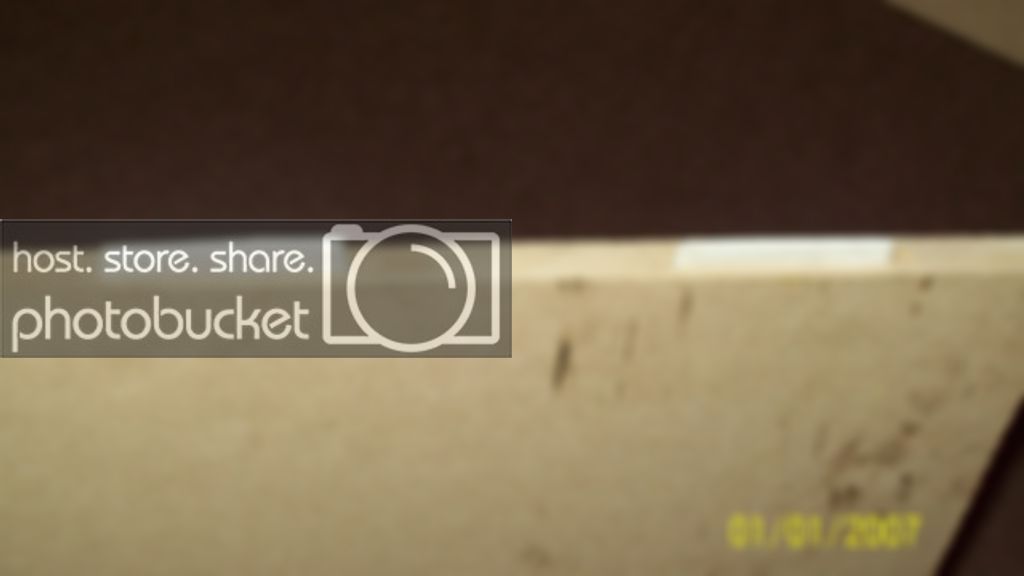
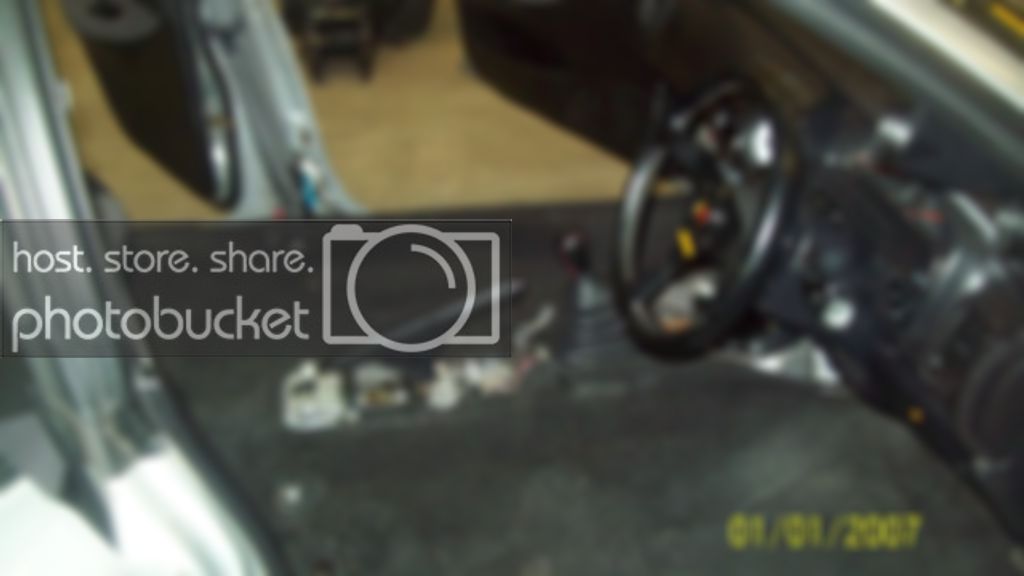
the start of the strip. front seats out
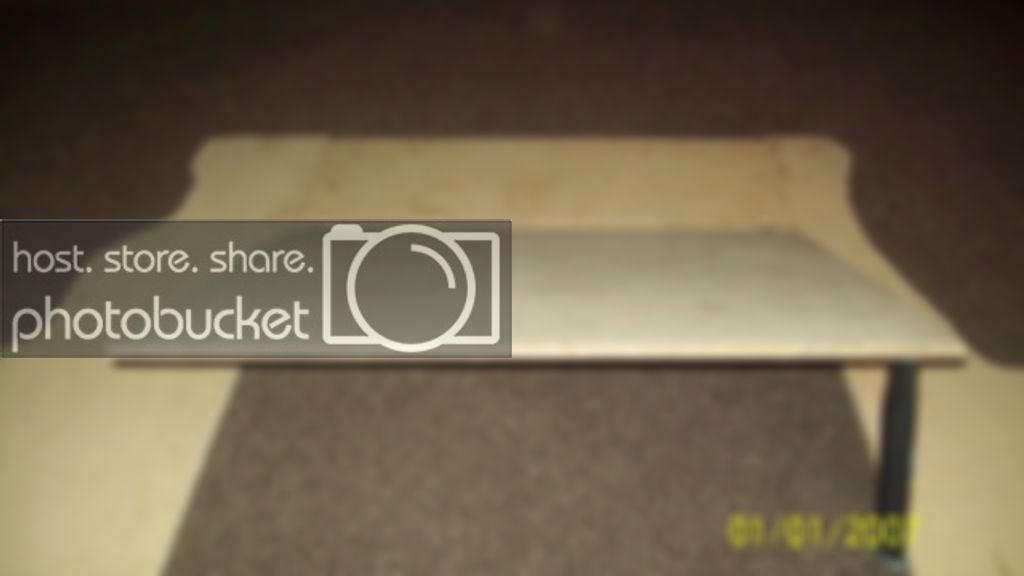
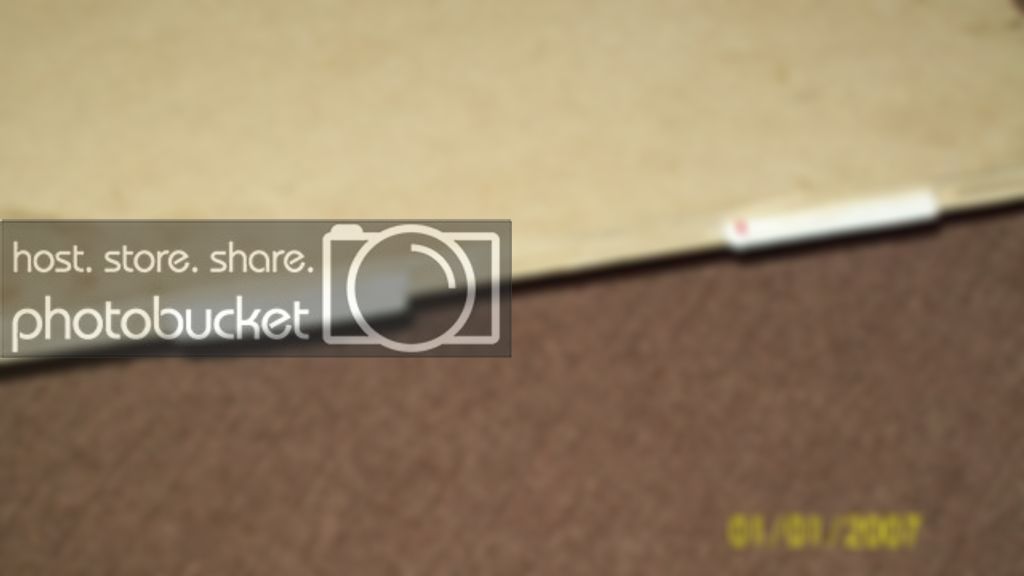
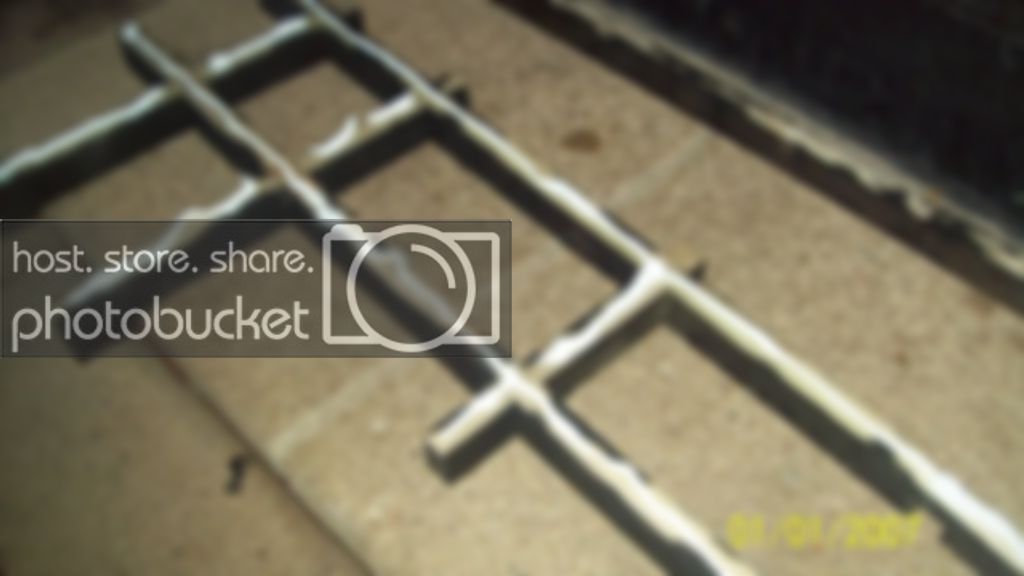
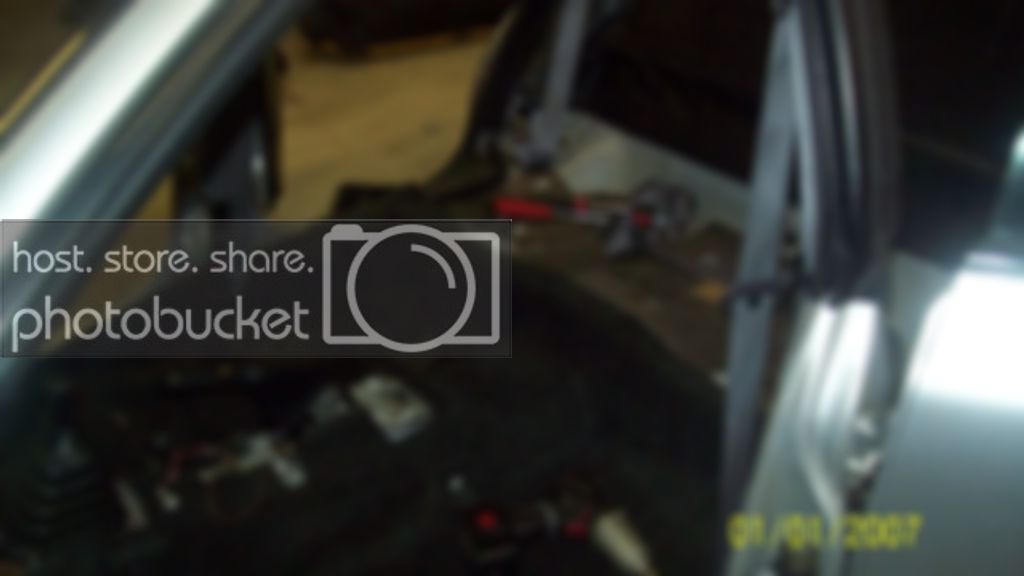
rear seats out
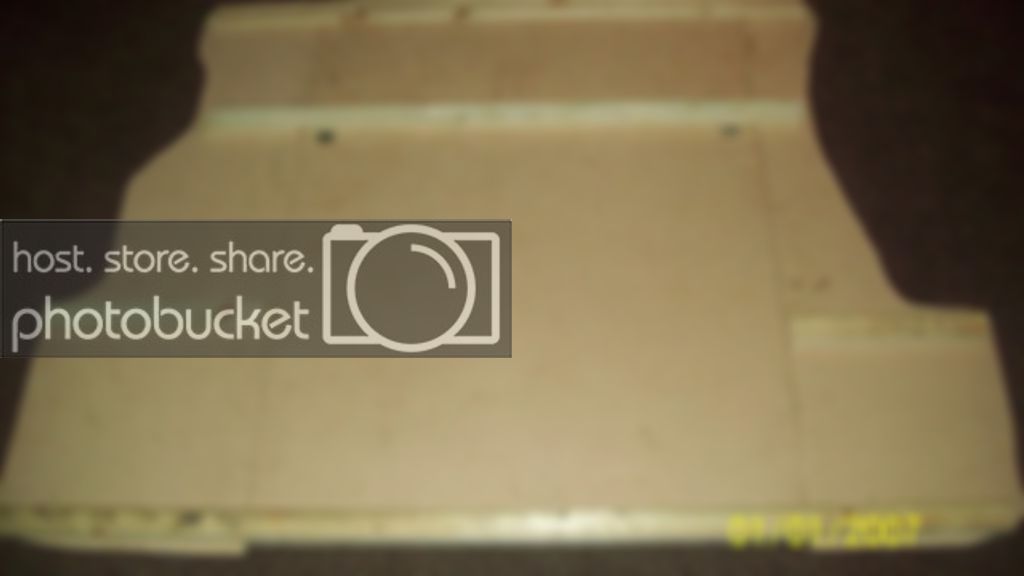
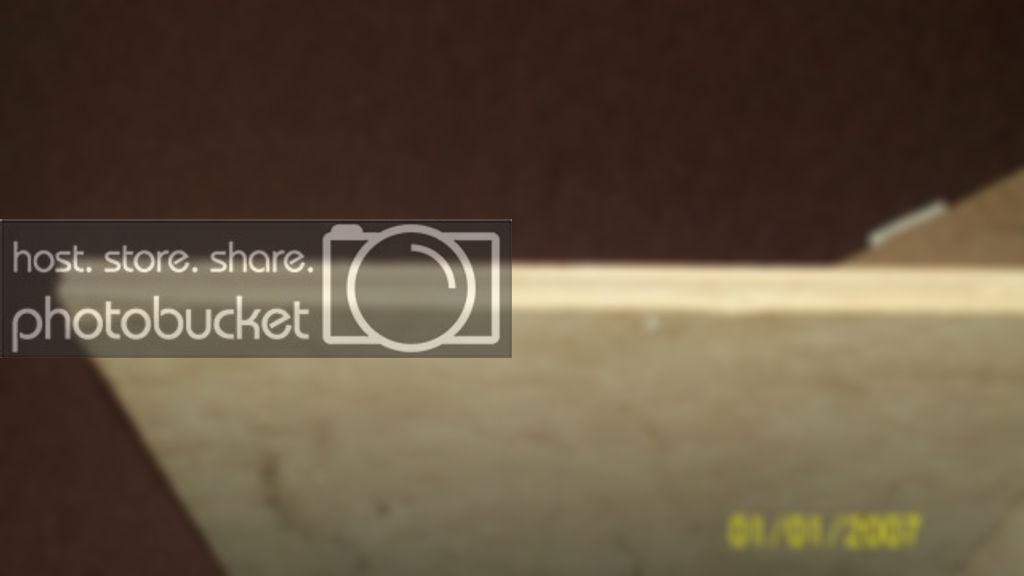
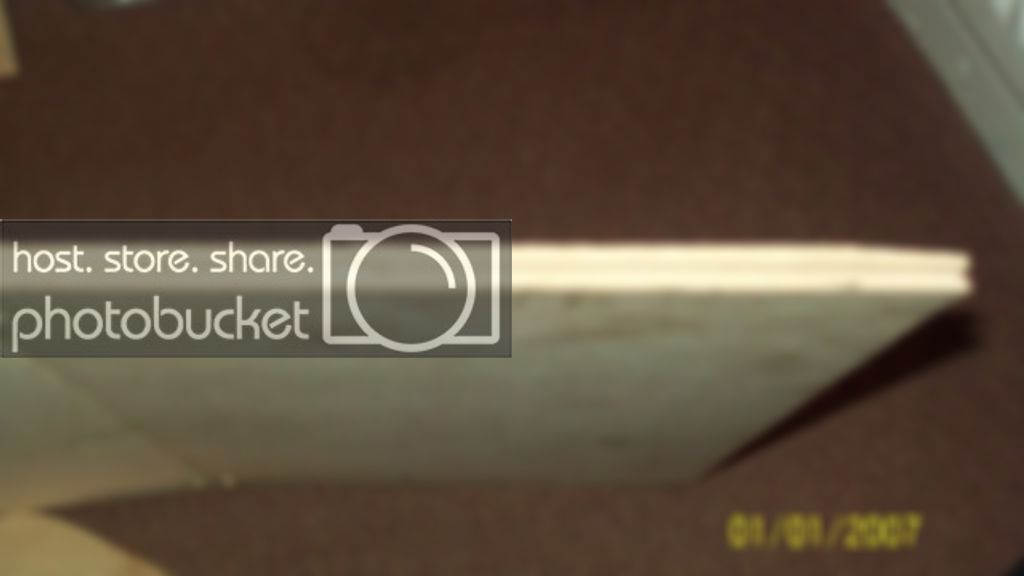
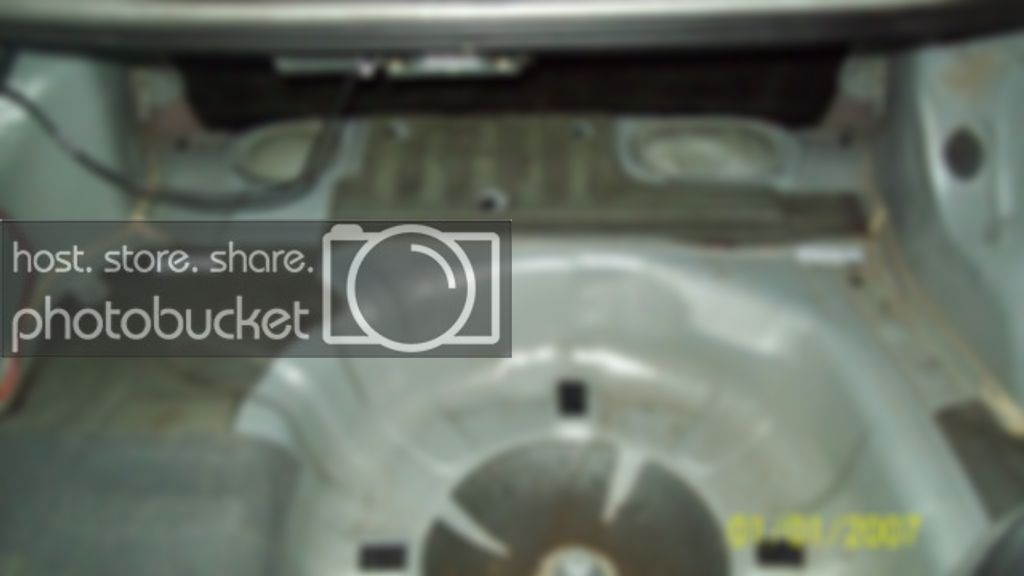
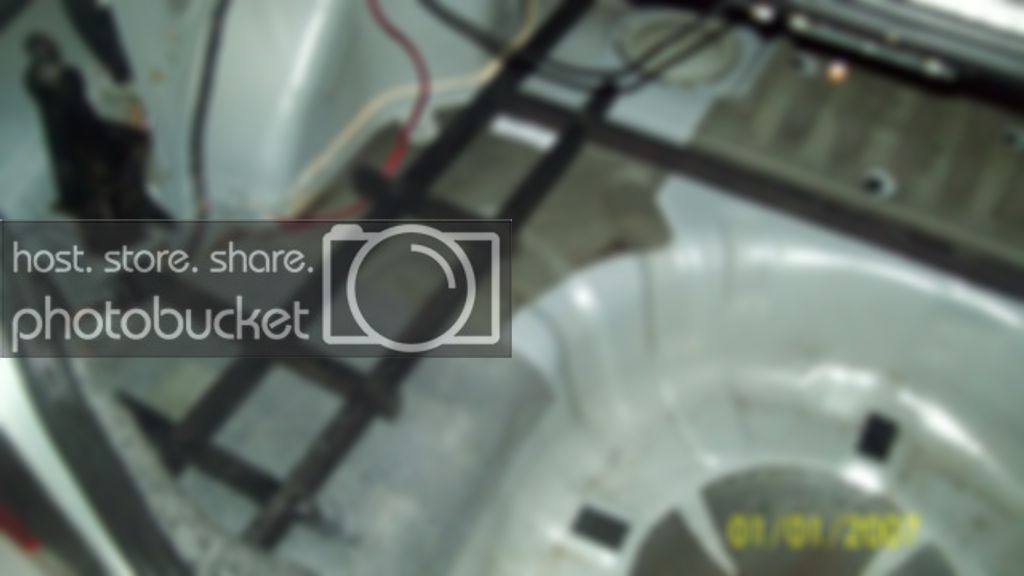
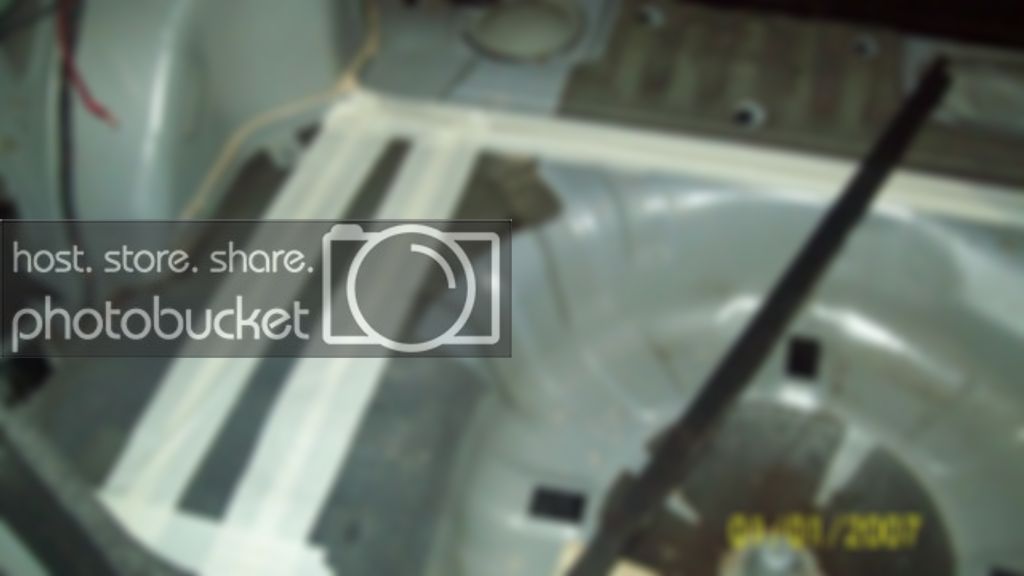
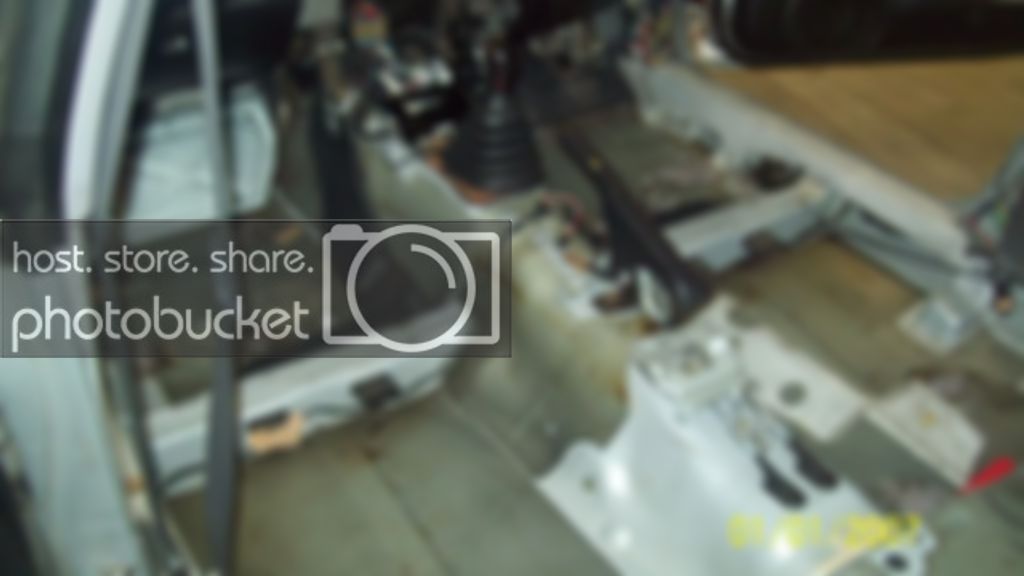
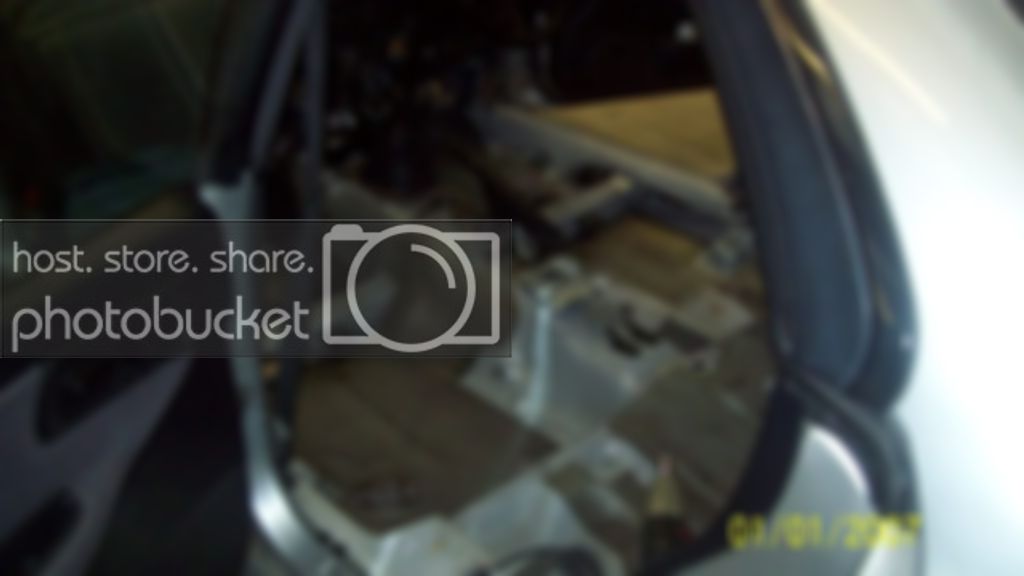
carpets gone
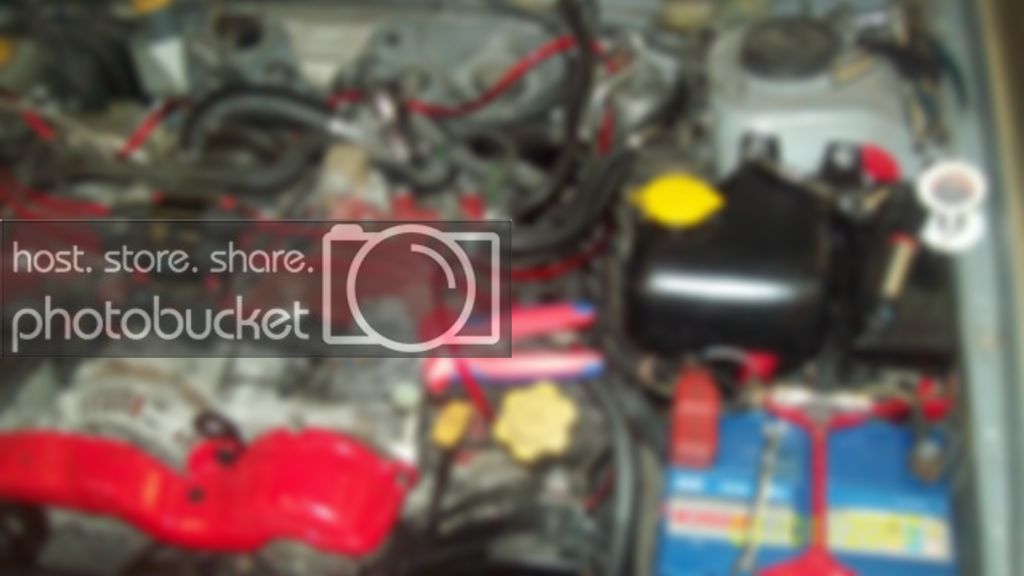
inteercooler removed to route power wire
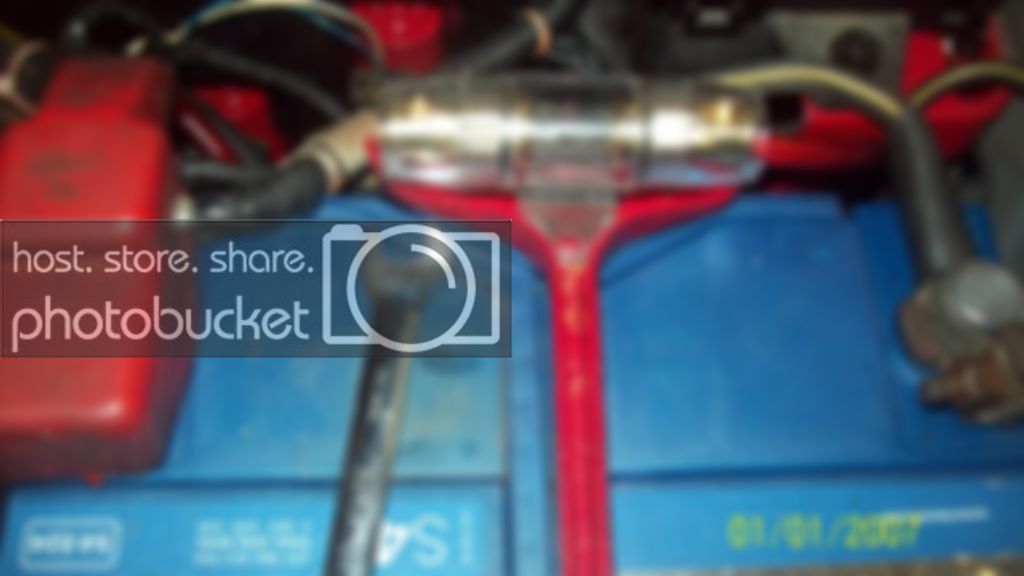
fuse holder mounted on battery clamp
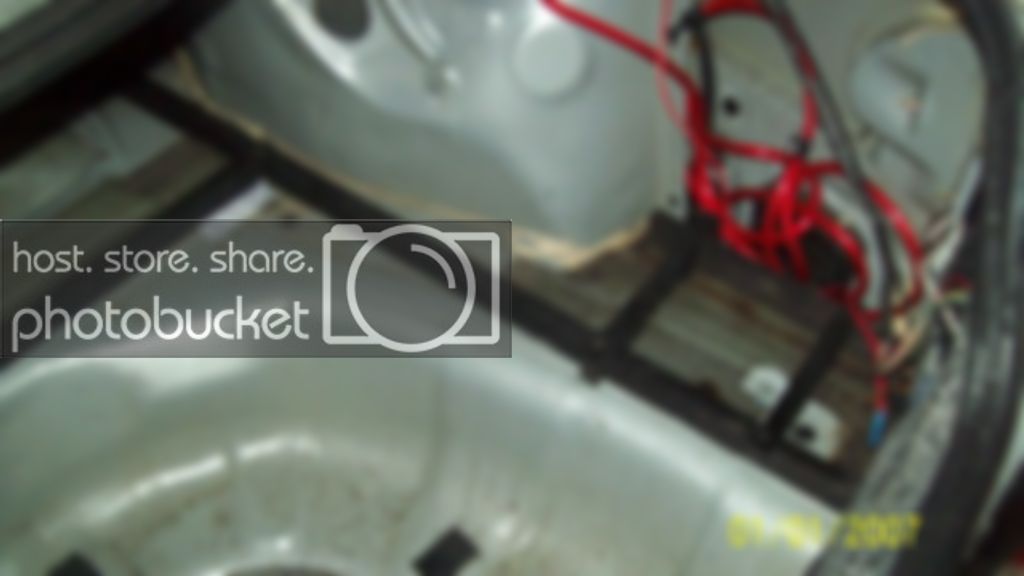
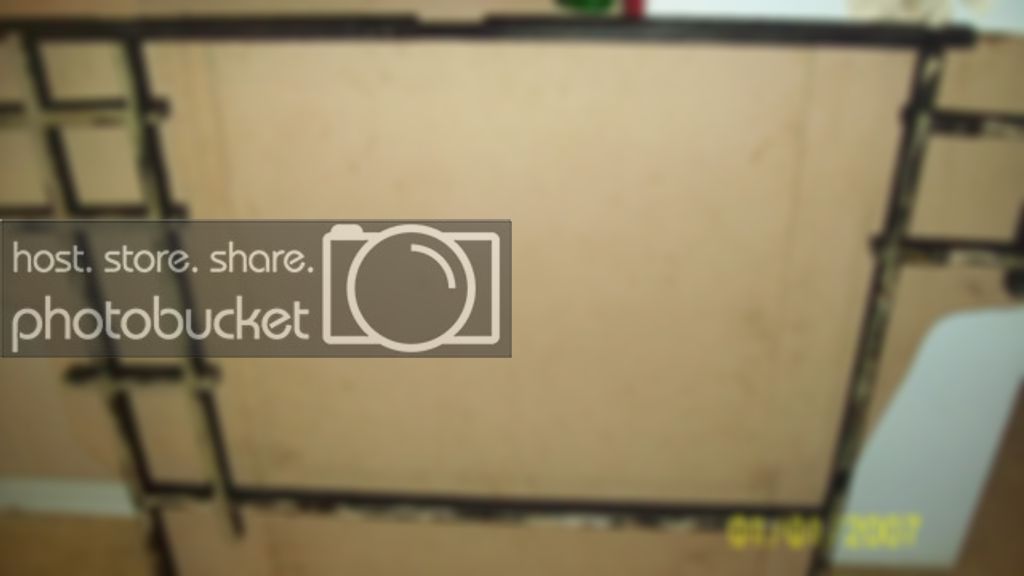
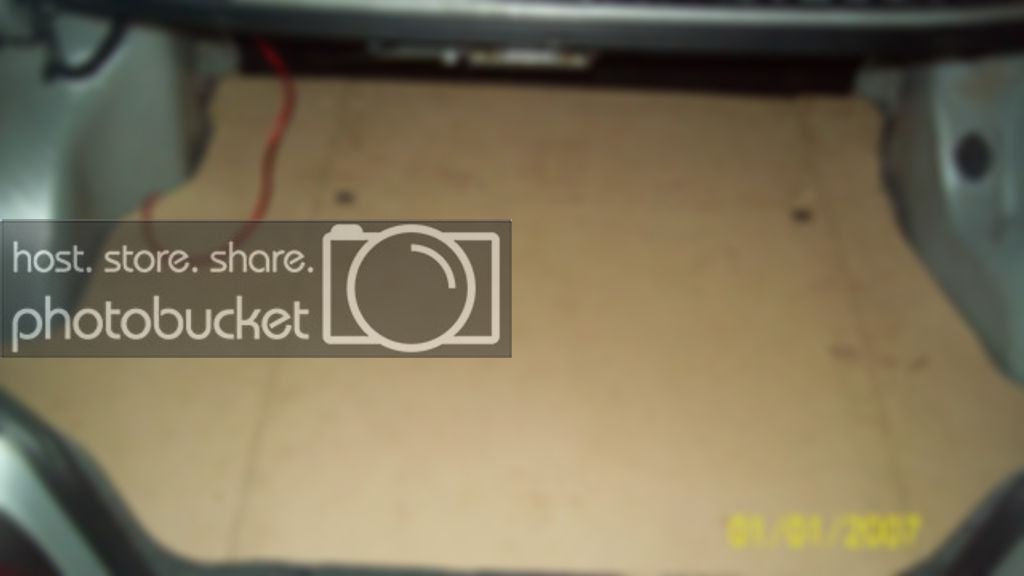
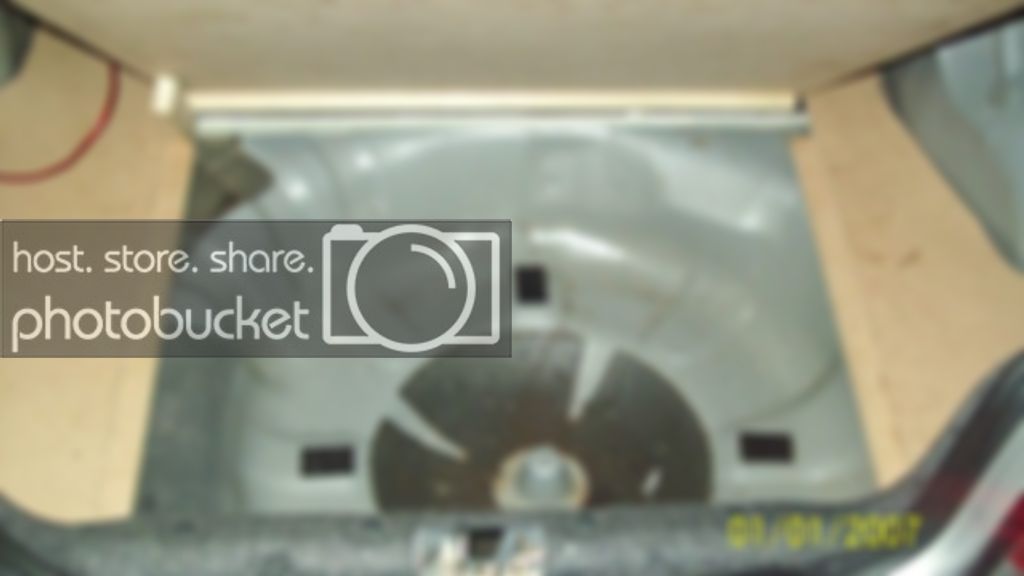
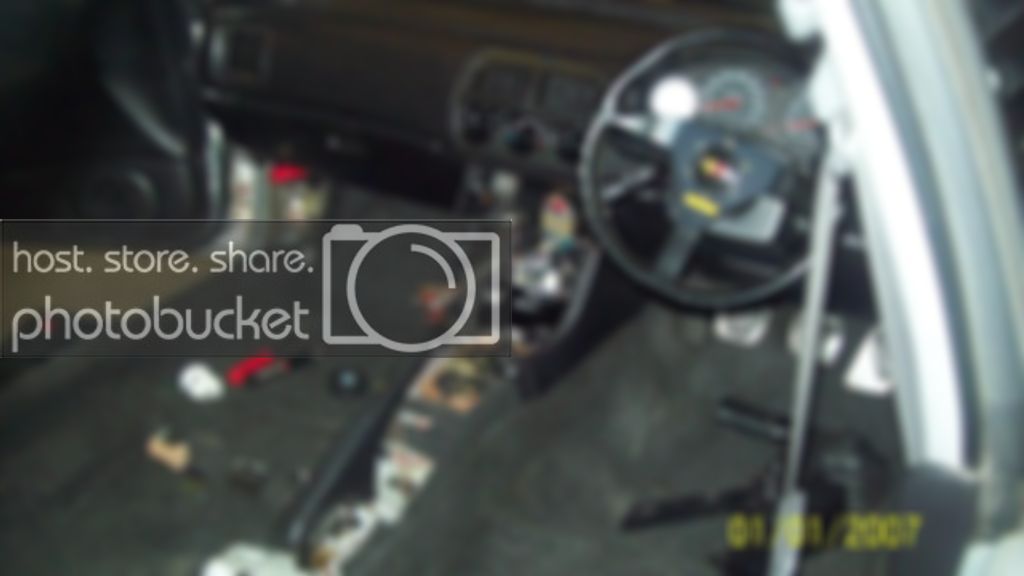
all wire routed carpets back in
I was hoping to get the amp and sub in today but with my back going i was lucky to get the interior back in. Ill see how i feel later today and hopefully get it finished off
my impreza install. today consisted of running power wires and rca cables throught the car.
I started taking some pictures as i went but during the process i manged to hurt my back quite badly and as the car was stripped down at work i had to rebuild the car in absolute agony so the picture taking went to the wayside a bit.
Anyway here is what i did take.
the start of the strip. front seats out
rear seats out
carpets gone
inteercooler removed to route power wire
fuse holder mounted on battery clamp
all wire routed carpets back in
I was hoping to get the amp and sub in today but with my back going i was lucky to get the interior back in. Ill see how i feel later today and hopefully get it finished off