83 911SC Targa

nineball
10+ year member

too many toys...
1,949
0
home
bought a new toy a week ago and it's time to upgrade! the system will consist of a jvc kd-sh1000 head unit, alpine spx-177r comps run active in the doors, two sundown audio e8 subs, alpine pdx5 amp.

xl_1250631366_62412a5ee03f420946139.jpg


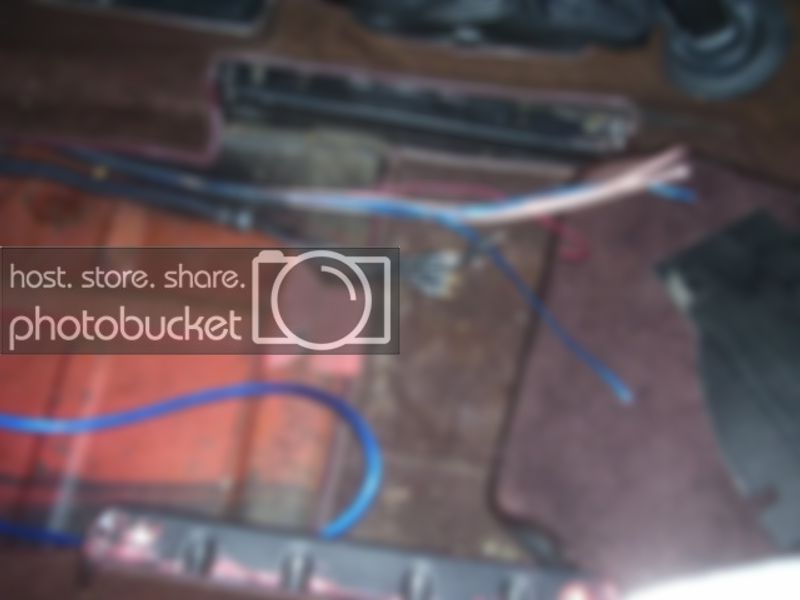
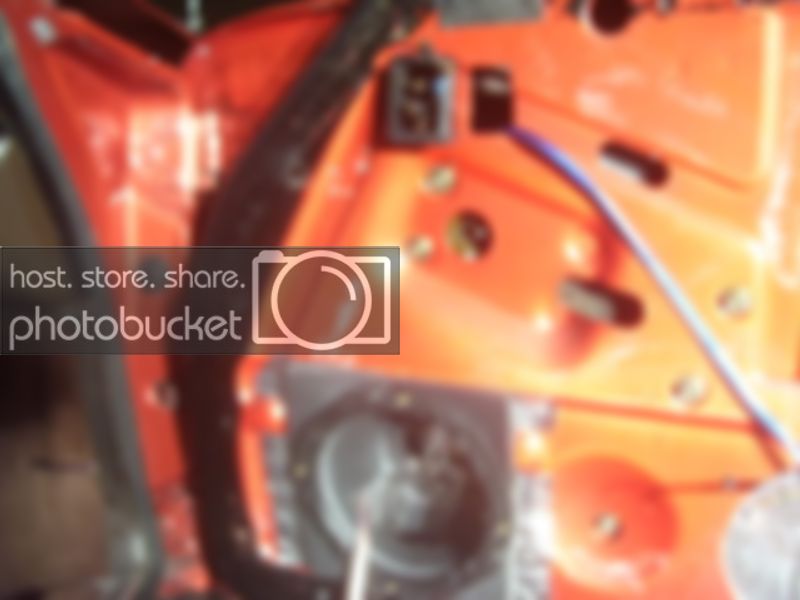
first on the list was to find a way to run a 4g wire from the battery to the cabin. i found a grommet to use (as you look at the car from the front) in the rear right corner of the trunk.

100_4495.jpg


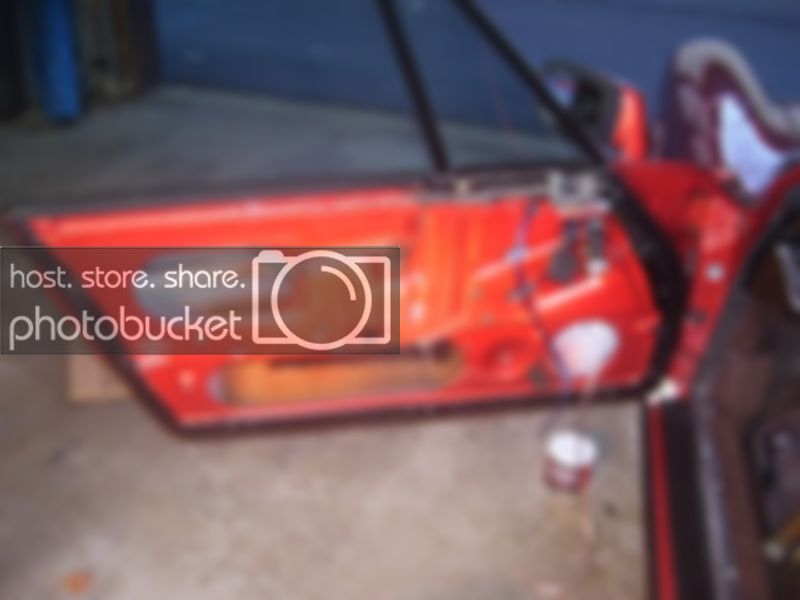
it enters the cabin on the upper left corner of the driver's footwell area.

100_4502.jpg


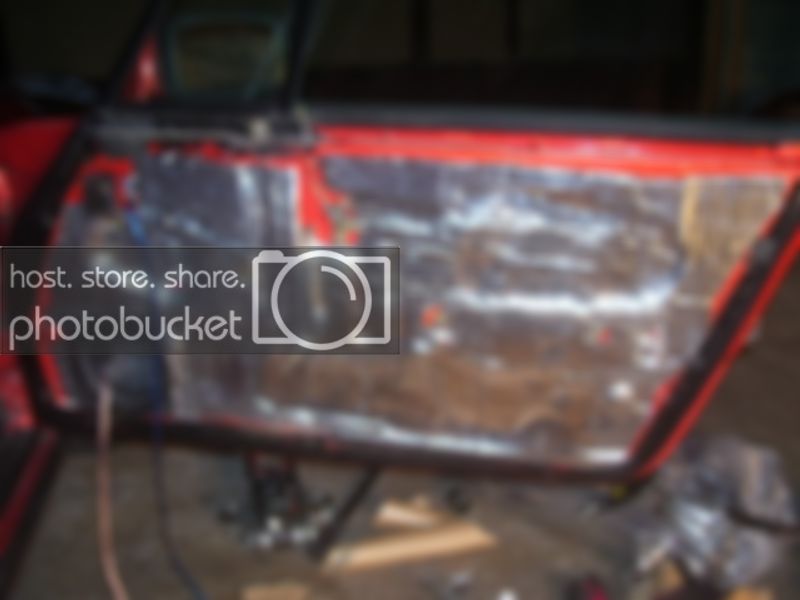
i ran it under the edge of a few pieces of carpet and ended up under the drivers seat

100_4503.jpg


finished product, no wire in sight

100_4504.jpg


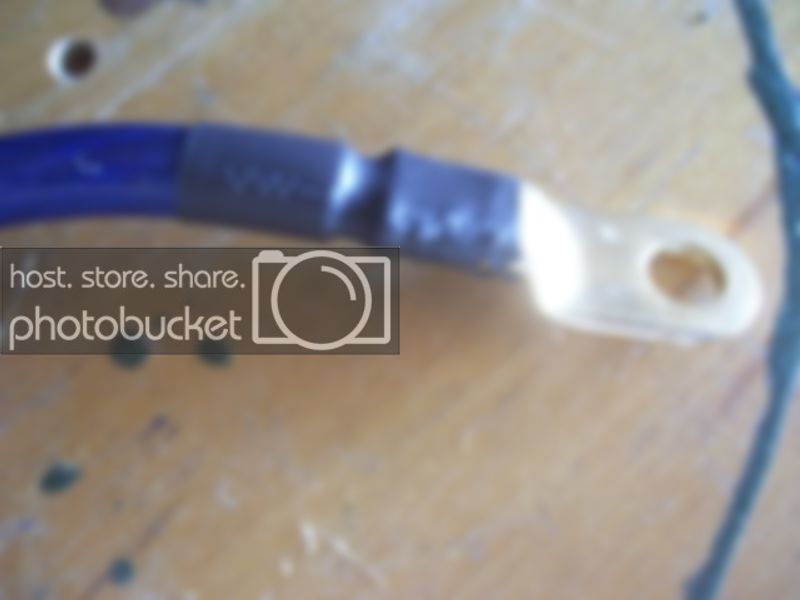
next on the list was attaching it to the battery. used a ring terminal on the end with some heat shrink.

100_4510.jpg


connected it to the battery, covered in split loom, connected to the inline fuse. the loom was not really needed as there is no engine there to worry about but it cleans things up, and i would rather have a black cable than a blue.

100_4511.jpg


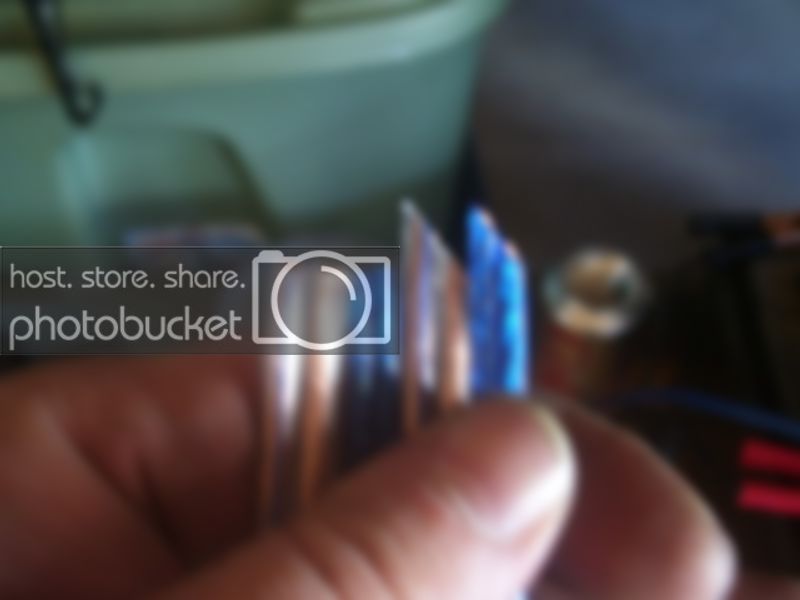
i did not want to drill any holes so i used this stuff. it is sort of like plastic velcro only has a much stronger bond. the glue on the back is incredible as well. i have never seen it let go in the 5 years i have been using it.

100_4507.jpg


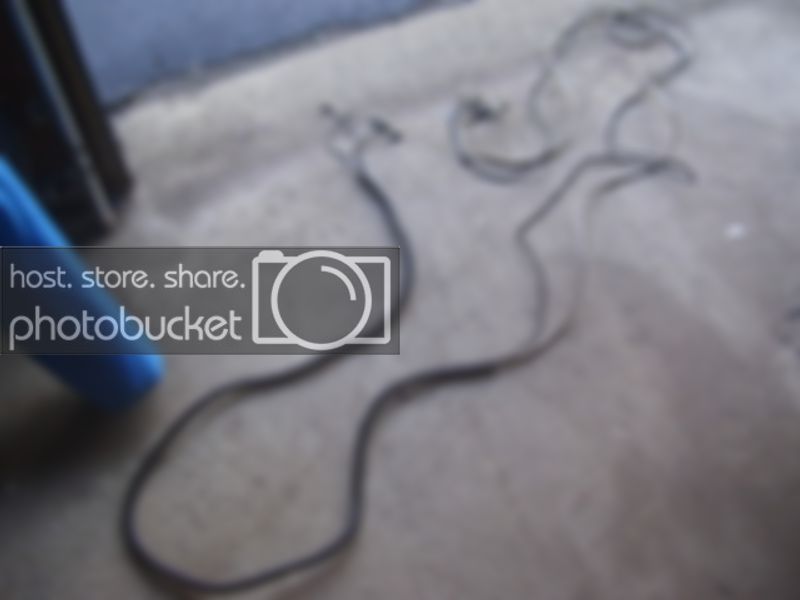
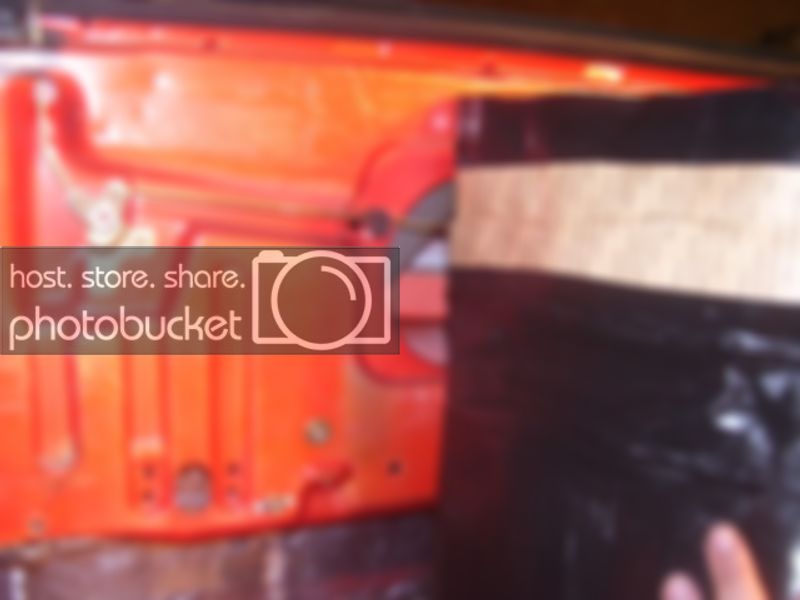
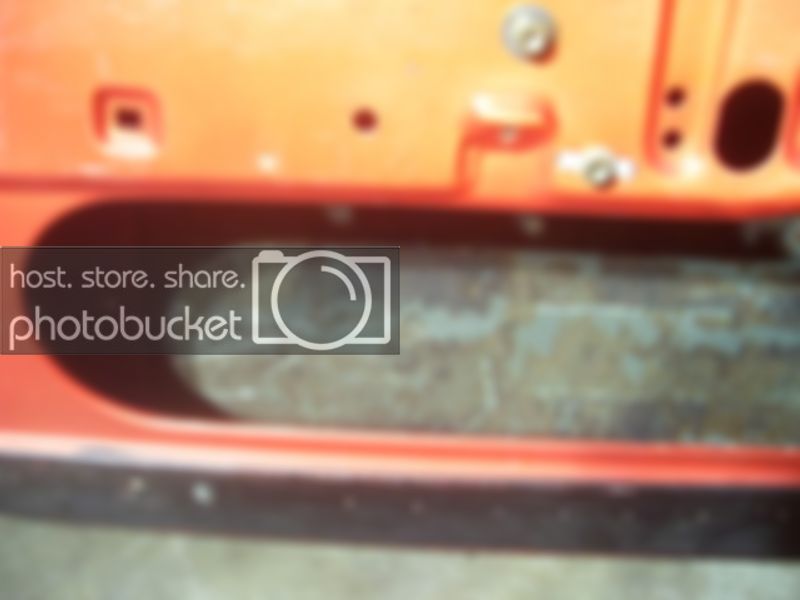
here is the line attached to the wheel wheel and then running back to the grommet, all covered in the loom.

100_4512.jpg


black line on the bottom

100_4513.jpg


next on the list was putting the 6 rca lines and 4 sets of speaker wire into looms then running them. i used a normal set for the sub input and a dual set for the comps up front. 16g wire for the tweets (blue), 12g for the mids (clear).

100_4500.jpg


100_4501.jpg


a good tip for running more than one set of speaker wire - cut one set at an angle and the other straight. never worry about which is which again.

100_4517.jpg


all lines are wrapped in loom and run to the appropriate places. they all end up clean and neat under the drivers seat.

100_4532.jpg


up next, the passenger door. panel removed and ready to begin. removed the 25+ year old factory dampening material with a heat gun and a screwdriver. the heatgun made all the difference. i tried to use a small putty knife but with the limited movement in the door it was impossible.

100_4520.jpg


coated the inside with a layer of secondskin damplifier pro

100_4521.jpg


my comps came with their own mounting ring that doubles as a spacer so i put a layer down behind that first.

100_4522.jpg


getting the new speaker wire into the door was a pain and a half. i wanted to attach it to the factory wiring and pull it through but the wire was so brittle it broke somewhere in the middle. i had to remove the plastic piece in the back of the trunk to get to the grommets on the passenger side. the wires are ran in the same place as the power window/mirror wires. i had to take the door off to get them into it, and even using a 2x4 on a floor jack to help support the door it still took me a few hours. working alone on removing, installing and lining up doors is NOT the way to do it. if you ever attempt this get a friend first.

bought a set of xtc foam baffles to replace the tired and cracked factory ones. cut off the back and bottom since all i am using them for is a rain shield.

100_4523.jpg


100_4524.jpg


foam baffles and spacer / mounting plate installed. i ran the tweet wire through the extra hole next to the power window switch.

100_4525.jpg


next on the list was a layer of damplifier pro on the inner door skin. i left a piece of the paper backing in place to allow the lock bar to slide.

100_4527.jpg


anywhere there was a bolt or hole for something i cut around and left it exposed. made sure not to go all the way to the edge for a clean look and no problems later. this stuff has a 6mm layer of foil and it will serve as the new moisture barrier. the factory one was still in place but it basically crumbled in my hands when i removed it. the good news is the inside of the door was clan and dry and had zero signs of rust anywhere.

100_4528.jpg


put the panel back on and this is the (almost) final product. tweet is in an agnled surface mount as it would not fit with a flush mount. i still have to install the mid in the door but since it was 1am i decided to call it quits for the day.

100_4529.jpg


went back today and installed the mid and put everything back in it's place. later this week i will tackle the drivers door and in a few weeks build the rear seat delete/sub enclosure.

 
i thought about getting the coupe and even a sunroof model but this is a sunny weekend fun car so i got a targa.

 
just a minor update today. i ordered some overkill ( http://www.secondskinaudio.com/noise-filter/overkill.php ) to put on top of the damplifier pro to help with some extra noise reduction and vibrations inside the door from the sound waves. it is supposed to arrive tomorrow so i did what i could tonight.

first on the list was to make a more stable holder for the door. i broke out the nail gun and some spare 2x4 pieces i keep and make a little bracket/holder for it.

100_4551.jpg


note the little can of grease. it worked wonders helping to pull the wire through the grommets.

100_4552.jpg


i used the same grommets as i did on the other side so nothing more to see there. i also found that with the door held up with my new tool i only had to remove the bolts from the top bracket. this gave me enough room to fish all the wires.

drivers door with factory asphalt dampener

100_4553.jpg


stopped at my local hardware store and bought a small puddy knife / scraper. it has a nice beveled edge on the end which helped a lot with removing the old stuff. broke out the heat gun and in about 15 mins had it all gone and a nice clean surface to start from.

100_4554.jpg


100_4555.jpg


threw down a layer of damp pro inside the door

100_4556.jpg


that was as far as i went tonight. i needed to keep the panel open for the overkill. i will have to trim back some of it on the passenger door (the big hole on the bottom) and remove the speaker to get it in there. i had everything bought to complete the job...until i changed my mind. oh well, just another excuse to spend more time in the garage.

i kinda skipped the pics of the tweet mount and since i had nothing more to do to the door i mounted it to the panel.

100_4557.jpg


100_4558.jpg


i am off tomorrow so i will start the day connecting and installing the amp while waiting for the overkill to arrive. hopefully by the end of the day i will have everything installed and can start to work on the sub enclosure / parcel shelf. yes, i changed my mind again and will be going with the shelf instead of the footwells.

 
came home from work to find my overkill so i went out to the garage to get started again. i did a rough measure and found i needed a piece 33" long that tapered from 12" to 10" so i cut one to size.

100_4577.jpg


next i fed it through the door and past the power window parts to get it in place. once i had it pushed to the front where i wanted it i held it in place by hand and pulled the front through the speaker hole. i then pulled the other side through to hold it in place.

100_4578.jpg


i applied a very liberal amount of 3m super77 spray glue to the back of the overkill and also on the damplifier inside the door. i tried to spray as far back towards the power window parts as i could since i could not fully get my hand behind it. i then let that tack up for a good 1-2 mins.

100_4582.jpg


next up was to smooth the front half into place.

100_4583.jpg


repeated above steps with the big half and then sat back and admired the nice job i did.

100_4584.jpg


100_4585.jpg


at this point i removed the passenger door panel and did the same thing there. next layer of damp pro on the outside of the inner skin.

100_4586.jpg


door back together.

100_4587.jpg


that was all the time i had tonight. i was going to head out first thing in the morning and connect the amp and all the rca cables but i ran into a problem...

i took off my glasses for 10 seconds due to glare from the worklight i was using and sure enough i forgot where i put them (since i was laying down on my back) and the first step i took landed right on them. now i have to go to the glasses in an hour place in the morning so i can see again. nothing like breaking a $300 tool that you cannot work without.

100_4589.jpg


going out of town for the weekend so tonight was my last night to work on anything for a while and i got quite a bit done. all connections, both rca and speaker / power wires, are done. head unit is securely mounted. all wires are zip tied and/or hidden. on to the pics...

first up was to tidy up all the wires behind the head unit. i was not using the speaker lines so they got bundled and ziptied. then i grouped the excess power/switched/remote/ground/illumination wires and made everything nice and clean.

100_4595.jpg


here is a shot under the passenger side of the dash. you can see the speaker wires as they run over to the middle.

100_4598.jpg


all excess speaker wires and rca cables are ziptied and behind this panel, again all nice and clean.

100_4597.jpg


left side speaker wires ziptied and ran to the middle.

100_4601.jpg


this is behind the head unit. all wiring was put behind the bracket that holds the rear of the head unit. nice and clean, if i haven't said it before, is the way to go.

100_4599.jpg


this is the ground from the previous owner's debauchery of the audio system and as my goal was not to add a single hole anywhere i reused it. first i cleaned off the area of contact.

100_4602.jpg


here is the ground mounted. a generous layer of dielectric grease was used between the floor and the ring terminal as well as a solid layer over everything once installed.

100_4606.jpg


finally everything was cut to length and connected to the amp.

side view

100_4607.jpg


rear view

100_4608.jpg


i had to remove the 4 little feet that go on top of the mounting holes in the amp to get it to clear the seat rails and made it by a few mm. i also had to remove the rear floor mat - not the actual carpet just the mat that was on top of it. clearance was that tight. the rear seats will be coming out soon enough so no real need for the mat anyway.

100_4609.jpg


once all of that was done it was time to start tuning. i set all the gains properly on the amp and then set the crossover points on the hu. the tweets are crossed at 3.2k and the mids at 63/3.2k for now. once i get the subs installed i will probably raise up the mids to 80. mids are getting ~150rms and tweets are getting about 60rms now but there is still a lot of tweaking to do.

i should point out that i have the same set of comps in my other car running passive and the difference in output between active and passive is night and day. passive they are very lacking in midbass response however active they are pretty **** amazing. i can't wait to add the subs and see what it is fully capable of. from this day forward, until i get too old to care about audio, i will never be passive again.

next week i will start the fiberglass enclosure for the subs....

 
Activity
No one is currently typing a reply...
Old Thread: Please note, there have been no replies in this thread for over 3 years!
Content in this thread may no longer be relevant.
Perhaps it would be better to start a new thread instead.

About this thread

nineball

10+ year member
too many toys...
Thread starter
nineball
Joined
Location
home
Start date
Participants
Who Replied
Replies
40
Views
7,149
Last reply date
Last reply from
GAM3OVR
IMG_5860.jpeg

Brendon Jenness

    May 8, 2024
  • 0
  • 0
Screenshot 2023-12-02 161309.png

Doxquzme

    May 8, 2024
  • 0
  • 0

Latest topics

Top