2014 Kia Optima SQ build

  • 4
    Participant count
  • Participant list

tommymilan311

Senior Noob VIP Member
Hi all.

So recently I've come into a bit of money (taxes) and had some left over to do what it takes to overhaul my cars road noise and vibrations issues, while also upgrading my subs amp that can properly power them and adding a DSP. You can see what I'm currently running in the sig and equipment may change once the environment is settled.
Here are the tasks:

  • Overhaul power with 1/0 cables
  • Add a Processor (JBL MS8)
  • Upgrade my sups amp from a Alpine MRX-M110 to a FSD Audio 2600
  • Sound Deaden and Insulate all my doors
  • Sound Deaden and insulate my floor and behind the dash
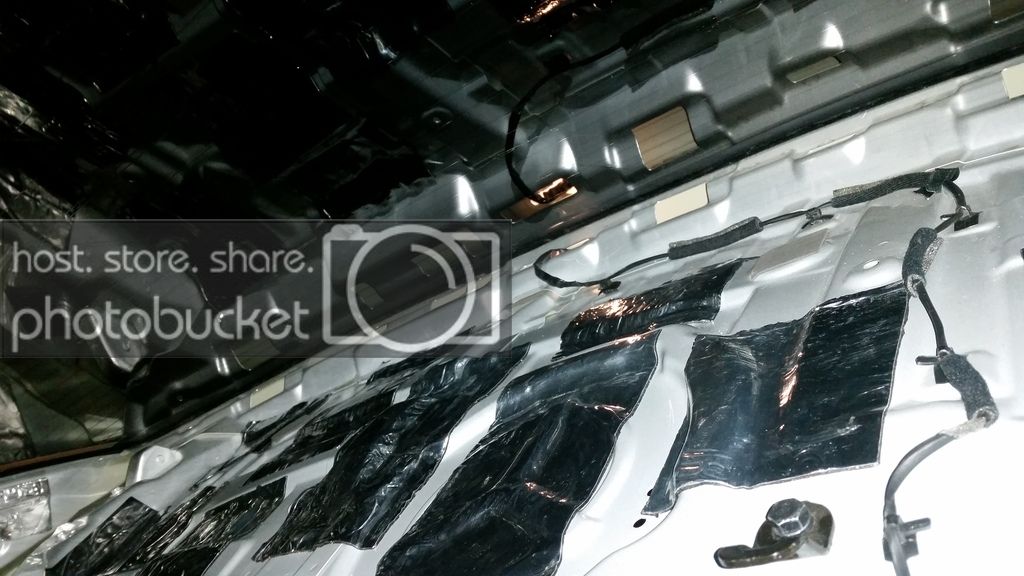
  • Sound Deaden and insulate my roof
  • Sound Deaden and insulate my trunk

Additionally I may rerun the wires to all my speakers for a cleaner look and I will be adding loom to everything. So here is a list of the material I have purchased so far:

And some other little things sprinkled in like various sizes of loom, wire, heat shrink, and lugs/connectors. I already have a 4 Channel amp for highs and a 2nd battery in the trunk which will be upgraded.

I'd like to give a shout out to @keep_hope_alive as I am modeling a lot of my build after his 2014 Accord build.

I'll try to stay on top of this and take as many pictures as possible. This is my first ever build and I'm still tweaking so don't be too harsh on me, but If it looks like I'm doing something wrong, feel free to drop a pointer or two.
ENJOY!
 
Last edited by a moderator:
That's going to be one quiet ride!

Have you ever used the Ensolite peal and stick stuff?

If using it with MLV, which would you lay down first? The ensolite and then the MLV over that?

 
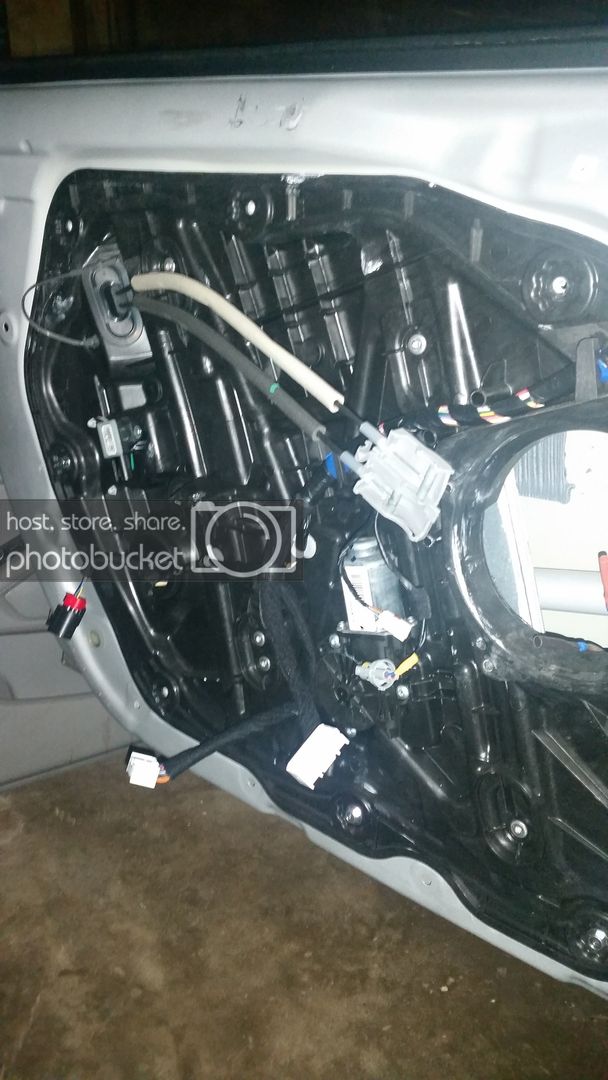
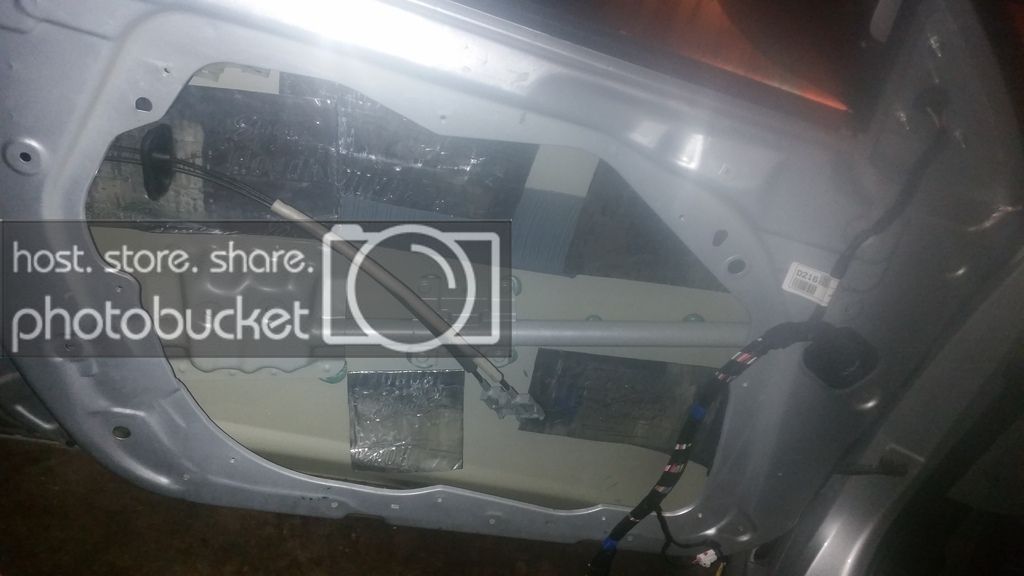
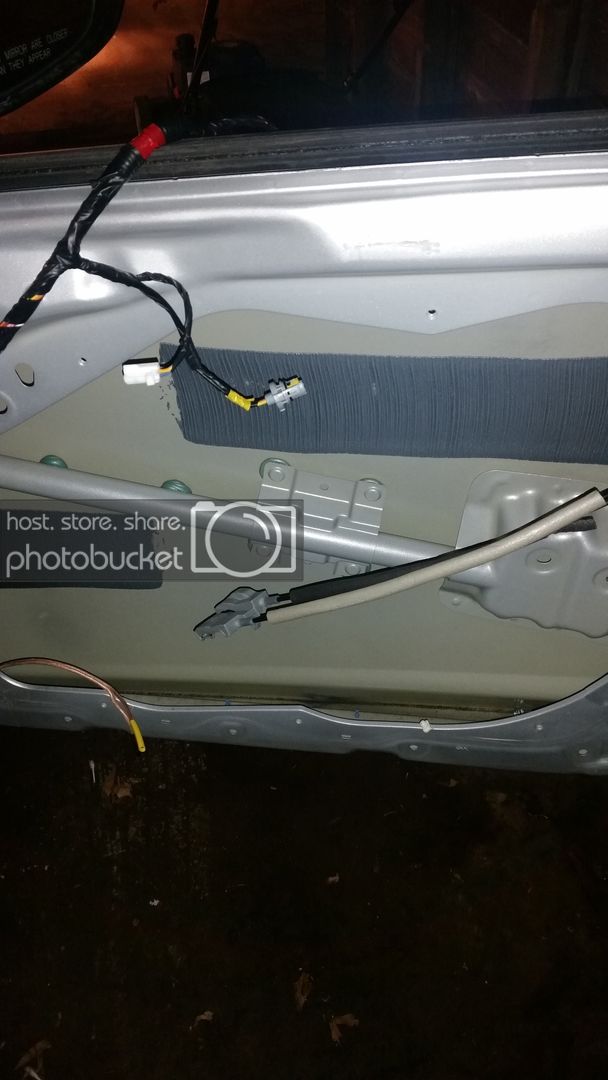
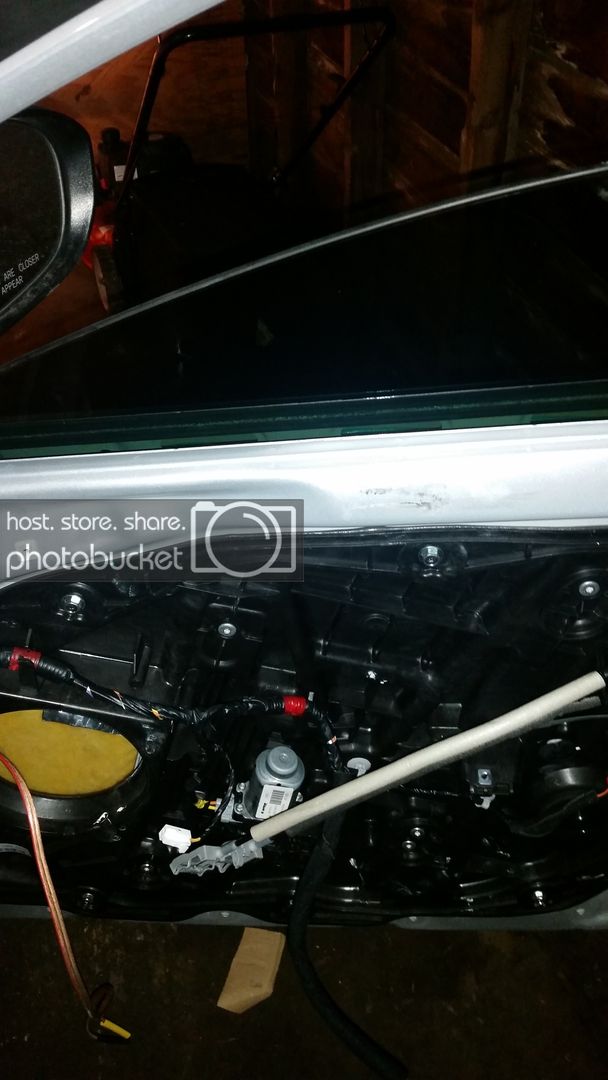
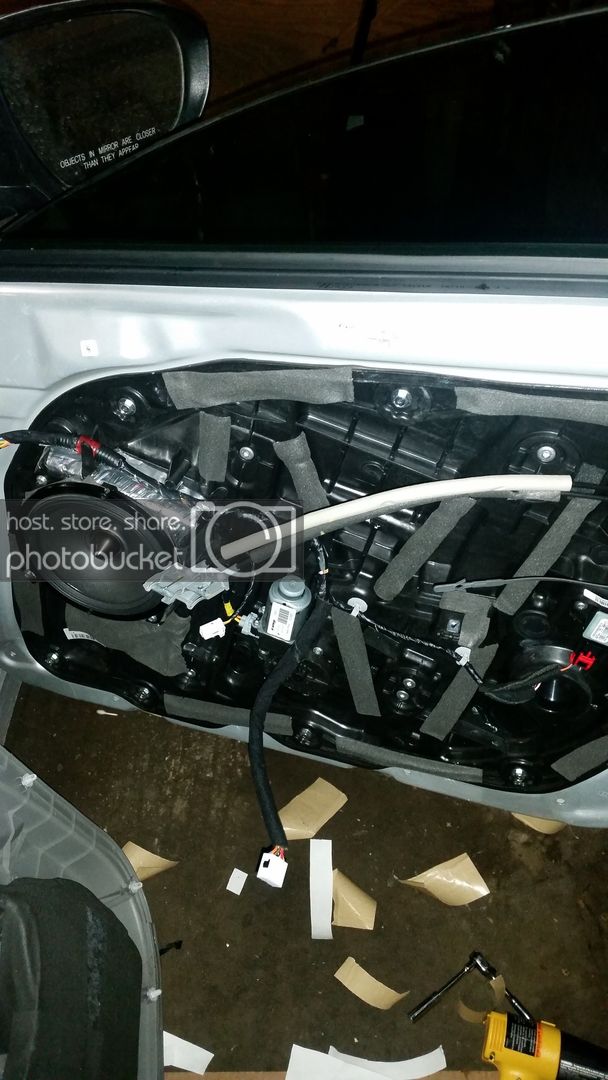
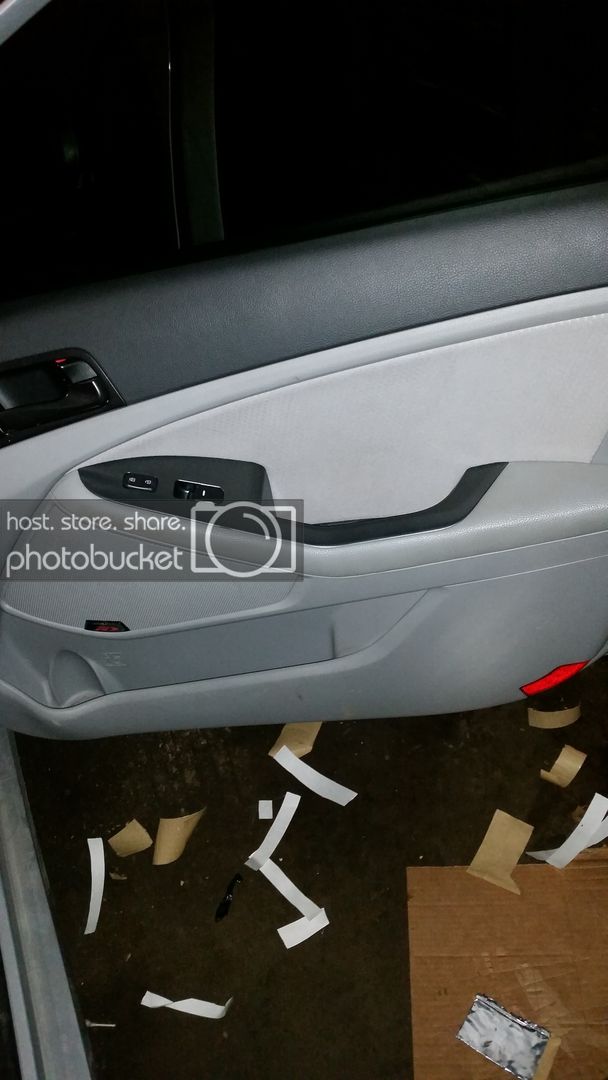
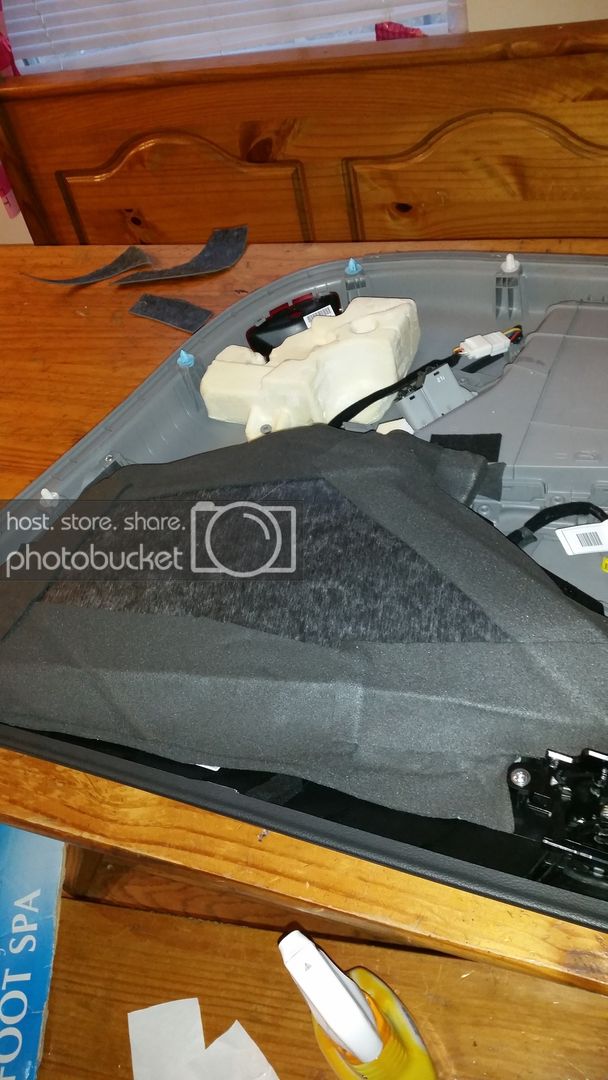
So last night I started working on my driver side door. What I thought was going to be a quick job turned into a bit of a nightmare. So.. with my car it has a plastic covering hiding the inside part of my door once the door panel is removed.


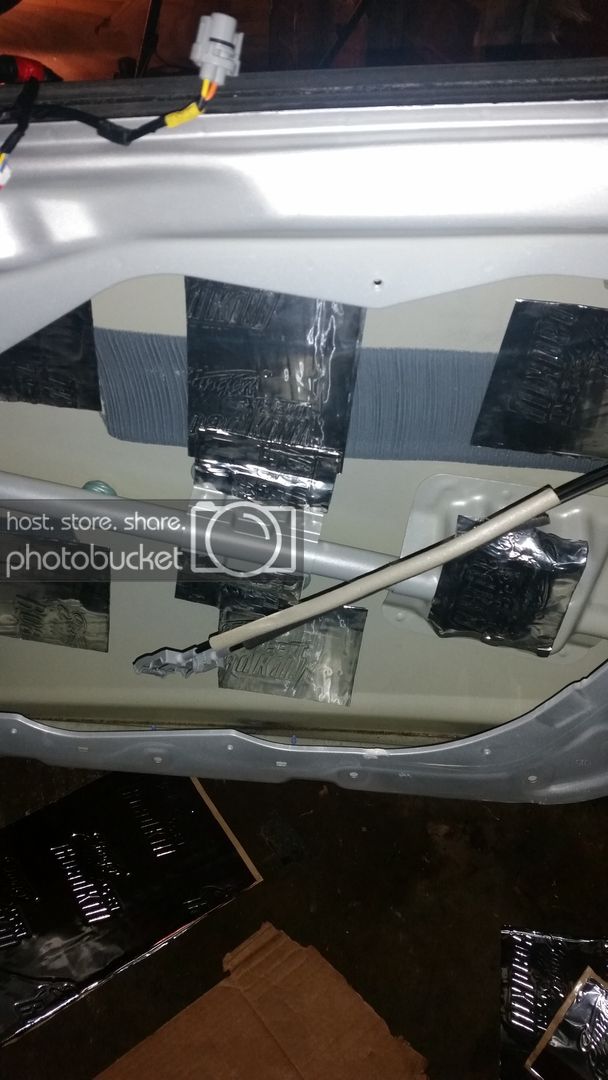
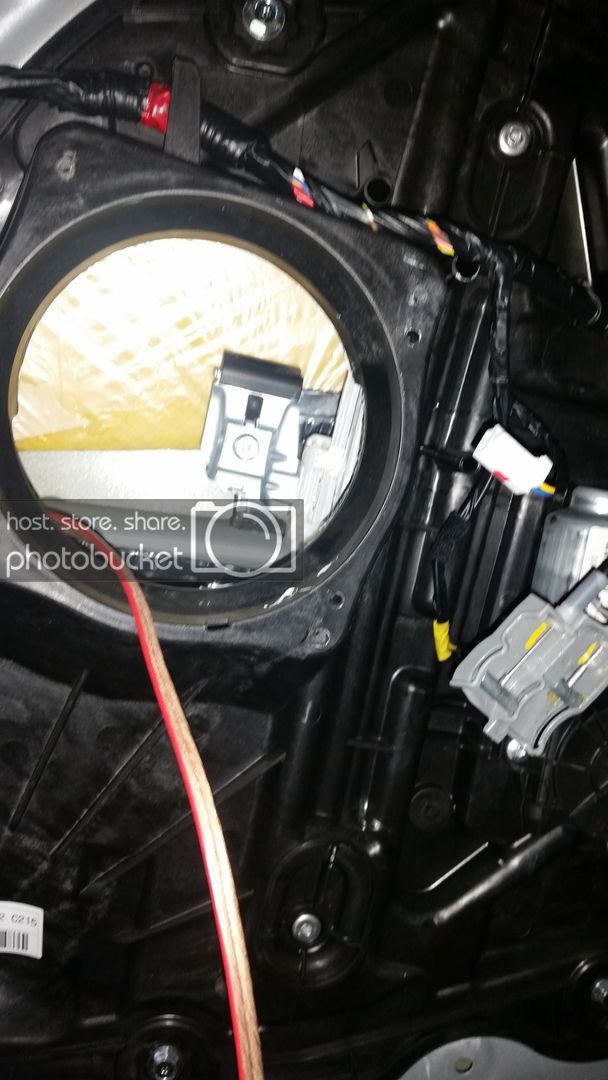
I did not know this before but my window tracks actually run on this plastic piece making it somewhat hard to take off because you must remove the window from the door. Not knowing this I thought maybe there was some components that bolted onto fasteners to the door and not the plastic piece. Well, I removed the window motor and accidentally unwound the motor. That was not an easy task getting it back together and I ended up spending a little over 2 hours on that and a scratch to my tint. BUT, if that had not happened it would have been a pretty easy task. The passenger side shouldn't be as hard. In order to remove the window you role the window about half way down. There is a rubber grommet that needs removed and when the window is positioned properly it lines up with a bolt that will need removed, and the other bolt can be seen through the the speaker hole. Then you must carefully remove the window. Once the window is off the tracks you unbolt the plastic piece and it comes out easy as pie (after it has cooled).

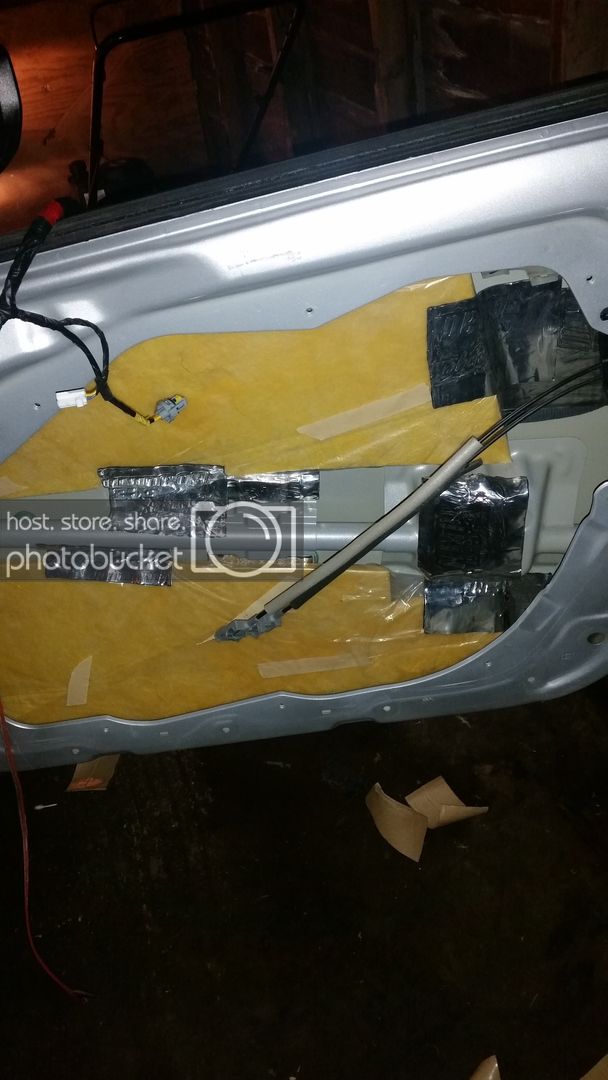
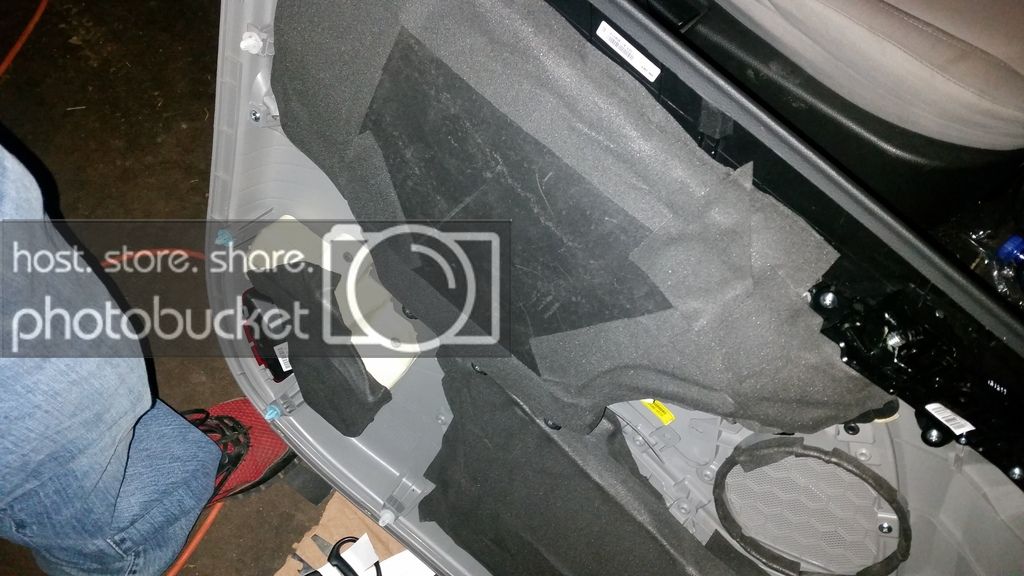
I added a bit more deadening than shown here and the fiberglass insulation. After my dealing with my window I was a bit frustrated and in a hurry to get everything done and back together before it was too late.


Sorry for the poor amount of pictures this time around. I'll be sure to take more detailed picture of the passenger side door. I still have a little more work to do on the driver side door and I'll document each step from now on.

 
Last edited by a moderator:
That's going to be one quiet ride!
Have you ever used the Ensolite peal and stick stuff?

If using it with MLV, which would you lay down first? The ensolite and then the MLV over that?
I actually don't know yet. KHA car was a bit different and had just a big open cavity. He put the ensolite inside out on the inside.

He covered the door.

accorddoors014.jpg


Then put the ensolite on the inside with the sticky side out to give the MLV a sticky surface to stick on.

accorddoors016.jpg


and then held down the sides with the ensolite.

accorddoors016.jpg


My plan was to do something similar but I guess I didn't realize my doors configuration. So its back to the drawing board with that.

EDIT: Nope, I've never used that, I've actually never used any of these materials before. This is a complete virgin build.

 
I actually don't know yet. KHA car was a bit different and had just a big open cavity. He put the ensolite inside out on the inside. He covered the door.

accorddoors014.jpg


Then put the ensolite on the inside with the sticky side out to give the MLV a sticky surface to stick on.

accorddoors016.jpg


and then held down the sides with the ensolite.

accorddoors016.jpg


My plan was to do something similar but I guess I didn't realize my doors configuration. So its back to the drawing board with that.

EDIT: Nope, I've never used that, I've actually never used any of these materials before. This is a complete virgin build.
Thanks man! I need to go look through KHA's build logs. Seems like there is a ton of good info in there about sound proofing //content.invisioncic.com/y282845/emoticons/biggrin.gif.d71a5d36fcbab170f2364c9f2e3946cb.gif

 
Thanks man! I need to go look through KHA's build logs. Seems like there is a ton of good info in there about sound proofing //content.invisioncic.com/y282845/emoticons/biggrin.gif.d71a5d36fcbab170f2364c9f2e3946cb.gif
IMO its one of the best ones I've seen in terms of describing what he's doing. Its a super good build to go through, I have it linked above. I also have a high level of trust he knows what he's doing given he's an audio engineer (I think).

 
thanks guys.

i saw your message about the plastic covering on the door.

note that the purpose of MLV is to block sound. we use foam to decouple the MLV from the door surfaces to improve performance. when you have doors with these large, plastic pieces their purpose is never for acoustical benefit. covering the entire system with foam then MLV will not only reduce road noise, but also minimize rear wave interference in the listening space. of course, disassembly of the system is needed because we still want as much sound absorption as possible inside the space. when re-assembling the system, make sure the gasketing is in good shape, or replace with new closed cell foam. you don't want leaks into the cabin.

as a general tip, i disassemble a car prior to planning the install just so i can see what i'm working with. i take measurements, and focus on the speaker areas so i can identify any dimension conflicts prior to beginning.

 
IMO its one of the best ones I've seen in terms of describing what he's doing. Its a super good build to go through, I have it linked above. I also have a high level of trust he knows what he's doing given he's an audio engineer (I think).
i appreciate the complements. the build logs are meant to inspire.

I have a bachelors of science in electrical engineering. i'm both an electrical engineer and acoustics engineer. i design buildings - healthcare, educational, industrial. i perform acoustical analysis and testing, design and problem-solving. my methods are a combination of 20 years experience in car audio and proven acoustical applications. i try to recommend budget-friendly materials that can be implemented in useful ways. what's new to one industry is old news to another.

in the doors above, i spent at least 20 hours in the front two doors. i clean all surfaces, remove all wiring and keep track of all mounting points, then i re-lay wiring after treatments are in. it's very time consuming, but i consider it to be a lot of fun.

 
Last edited by a moderator:
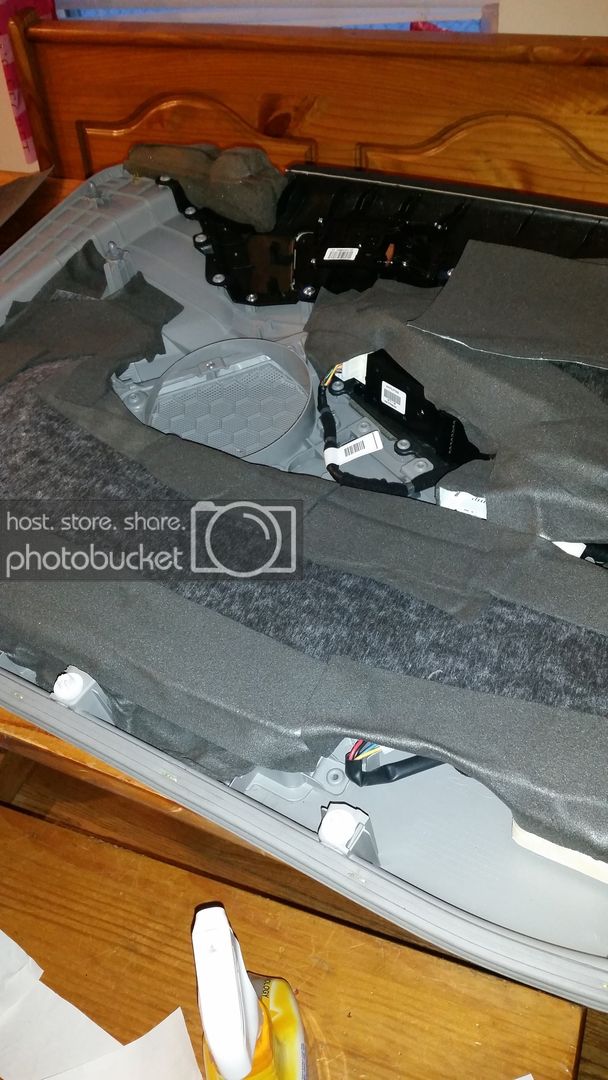
Okay. So I have some more driver side door treating for you.

So I had some issues getting the ensolite to stick to my door so its back to the drawing board with the MLV. I'm thinking I may just stick it to the shell of my door panel rather than trying to stick it to the door itself and clean and carfully stick thin strips to the high points of the plastic insert on my door. I will be waiting for some warmer weather, looks like Sunday and beyond is going to be pretty nice temp wise. I'm in my garage so precipitation isn't much of an issue, just wanna park my car before it starts so I don't get my garage floor all wet.

Also keep in mind I'm still a bit of a newb. I have done pretty extensive research and and read over a few builds, but this is my first merry go round of actually doing it. So I make some newb mistakes, like not making sure I have black electrical tape //content.invisioncic.com/y282845/emoticons/wow.gif.23d729408e9177caa2a0ed6a2ba6588e.gif

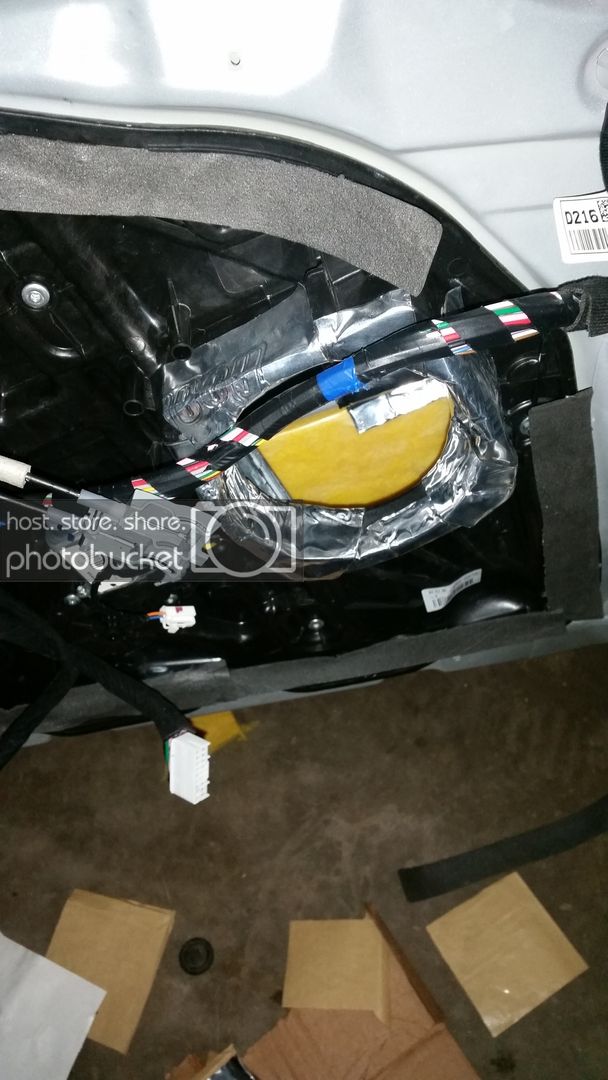
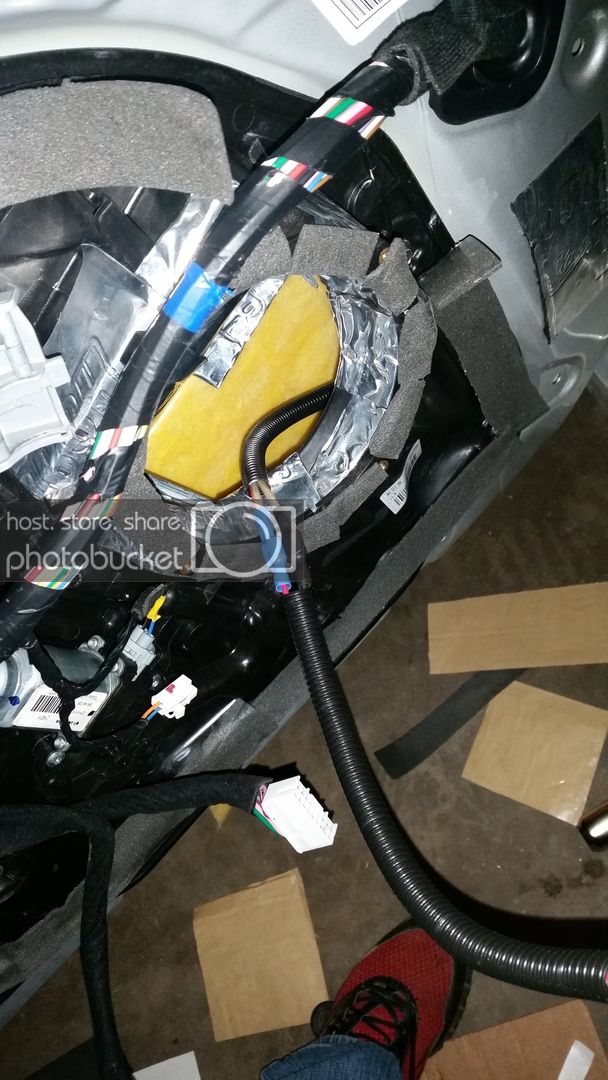
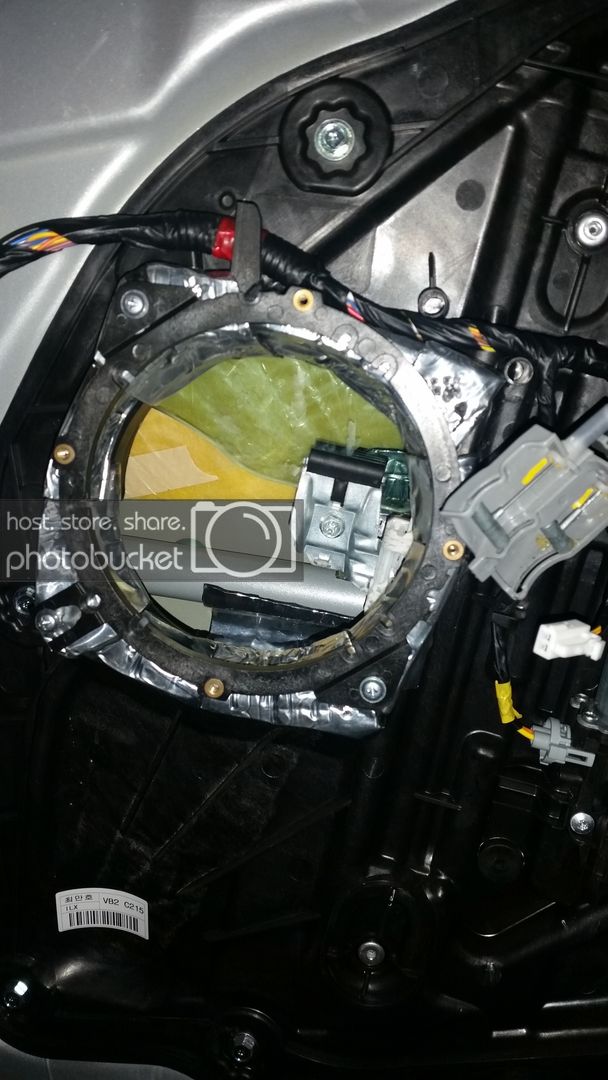
So. I did some treating to the speaker mounting area.


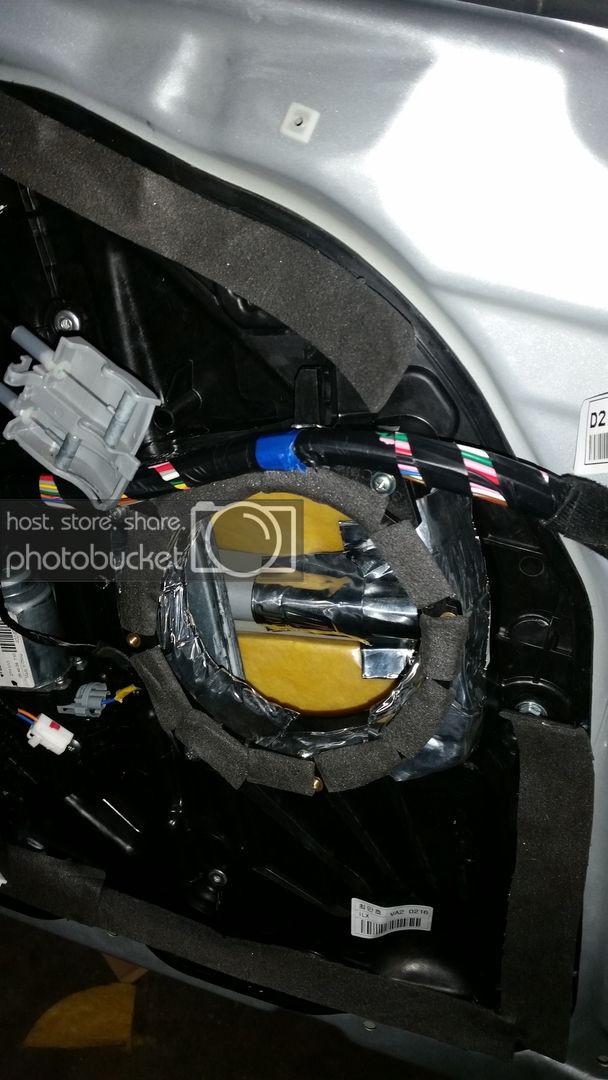
Next I put a layer of ensolite over the adapter. I do plan on replace this plastic adapter with a MDF one in the future. I'd have to buy the tools for that and right about now the funds have been cleaned out for the most part, that is a later project and I'll probably be upgrading my speakers anyhow at some point.


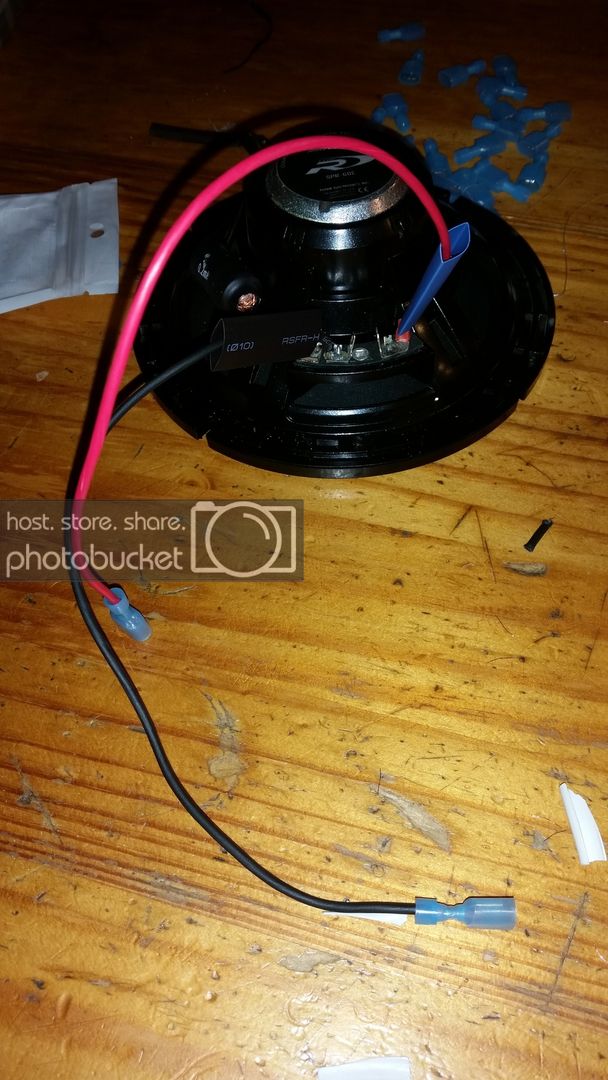
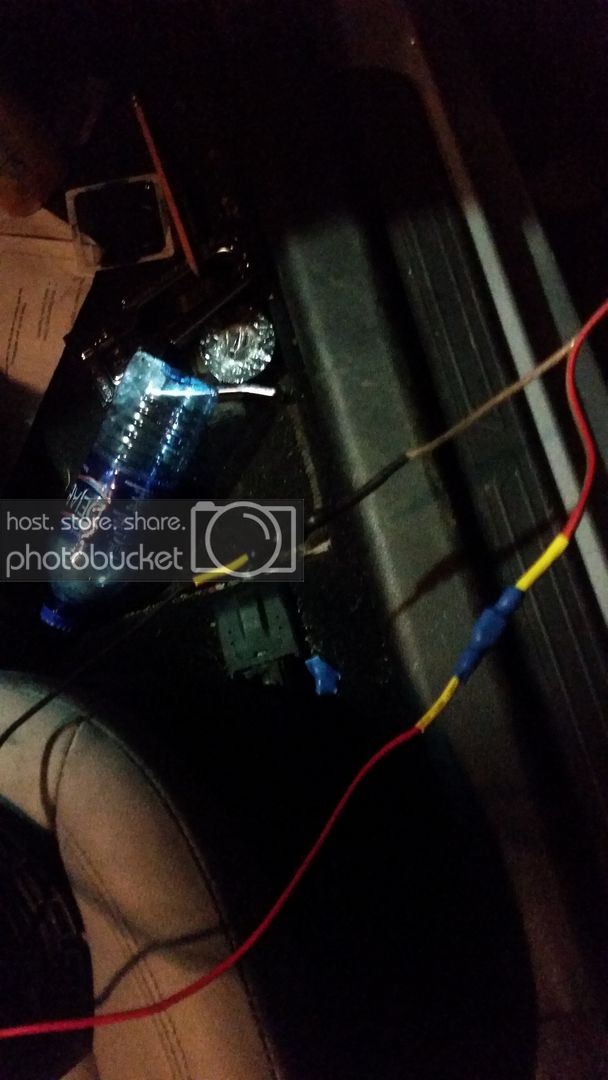
So I had some connectors that fit right onto my speaker inputs before, I decided that I would go ahead and solder and heat shrink some wire onto the speaker and use some new connectors.


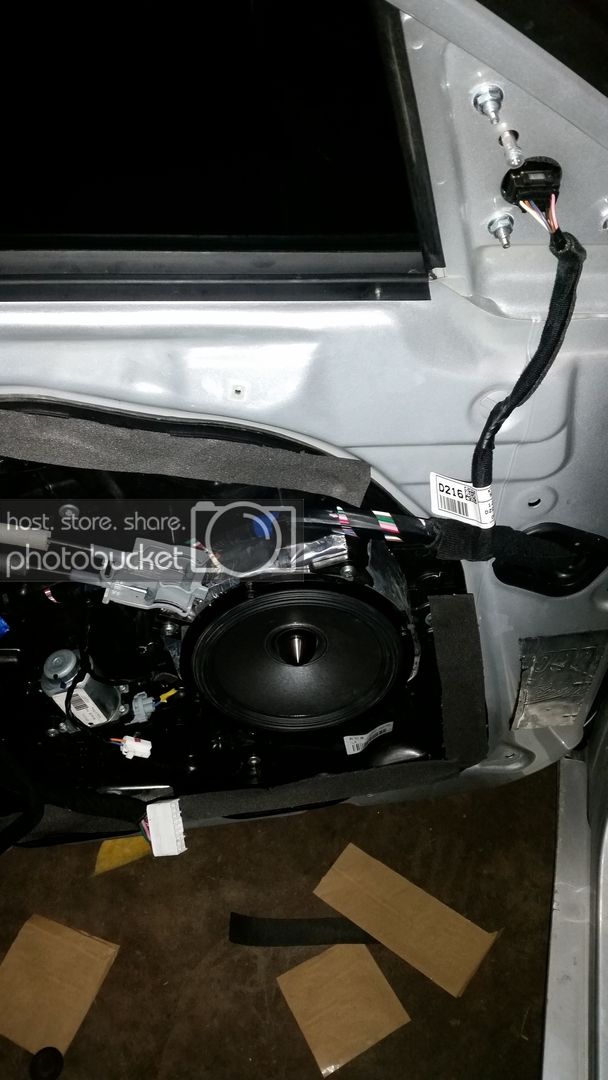
I added some loom for a cleaner look, but this is where I forgot my black electrical tape... I figured I'd have a roll or two laying around so I didn't buy any and I couldn't find any.. darn tape nabbers lol.


And we got the speaker put back in..


Next I will be attempting to put in the MLV. I'll keep ya posted.

 
Last edited by a moderator:
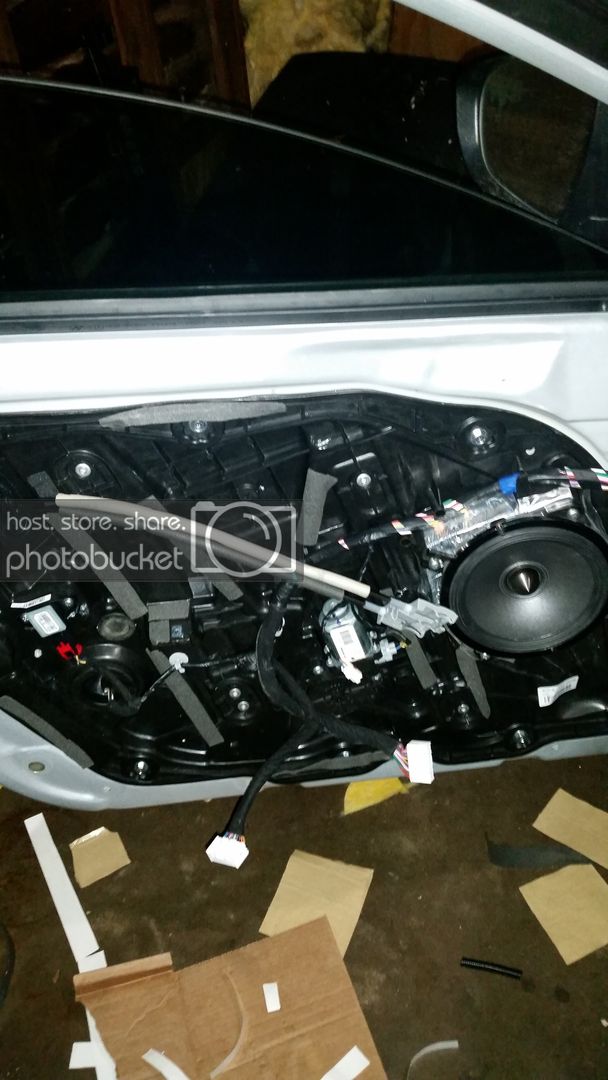
Had some time on a nice day, well warm day, yesterday and got a little work done.

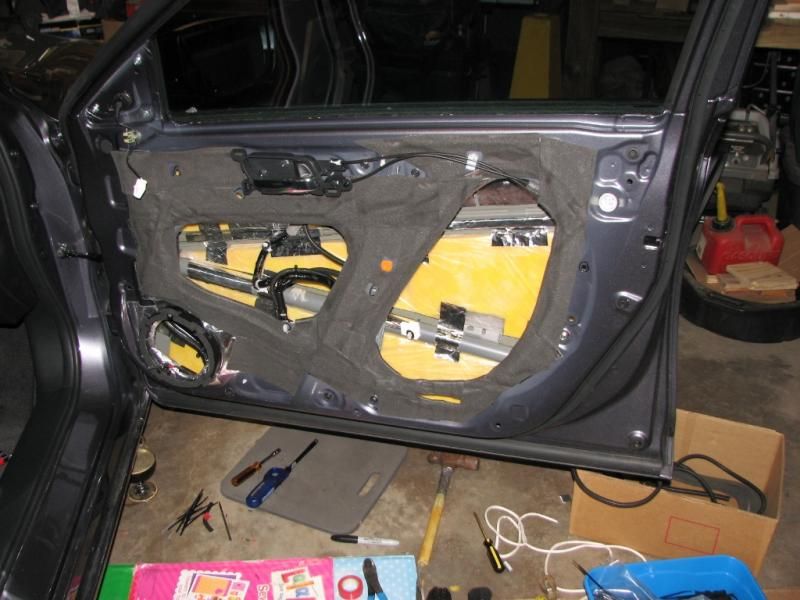
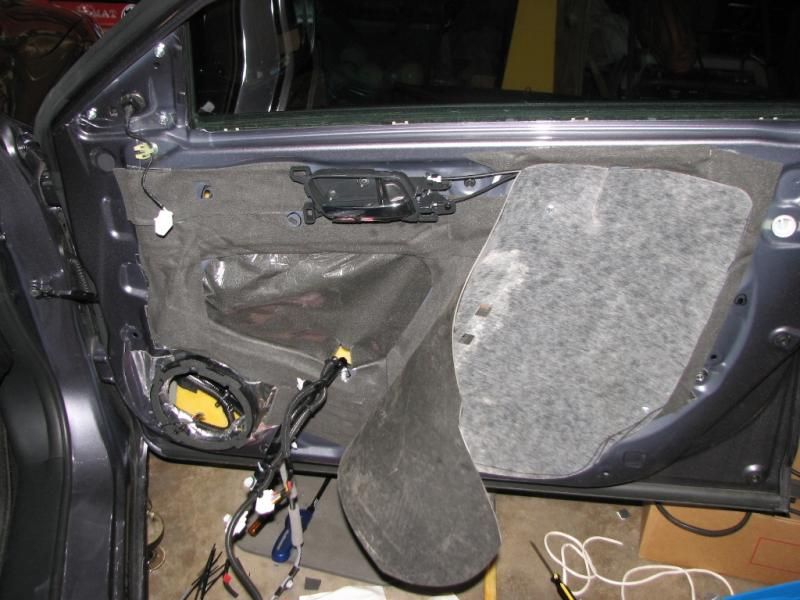
I did some of the MLV treating on the driver side door. I may add more to the nooks and crannies but it was petty hard working around the random clip points and mounting points.


I had to do a little cutting and shaping to the MLV once I got back to the door in order to make it fit better but it went on pretty smoothly for the most part.

 
Now onto the passenger door. Just knowing what to do made this so much less time consuming. I was able to go from completely untreated to done in about 6 hours or so.


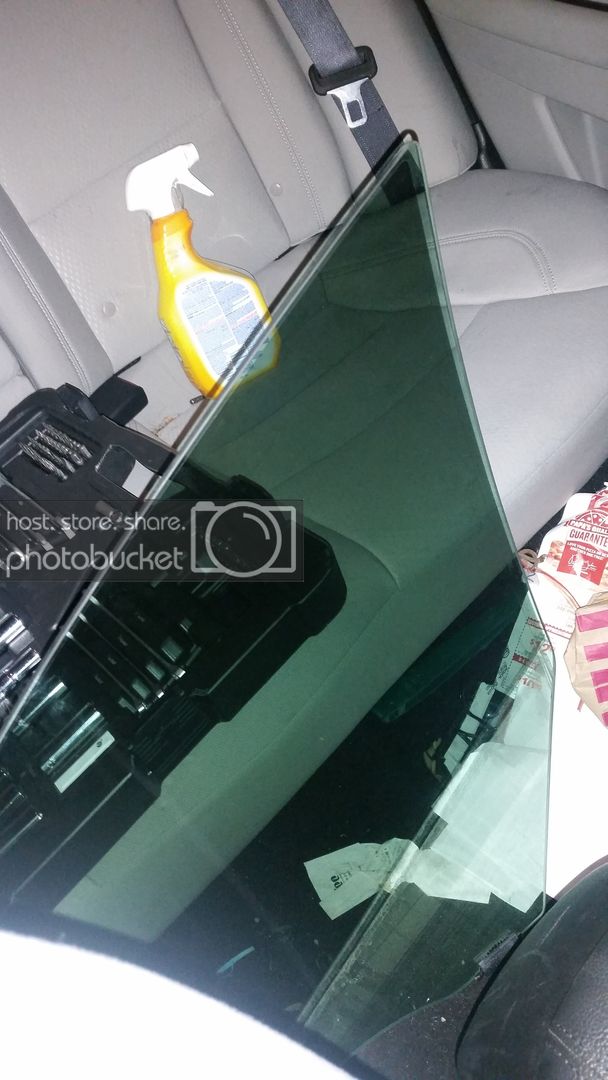
I have to be extra careful not to scratch the tint when taking the window out (stupid Iowa law, I got pulled over the other day for my front windows being too dark)


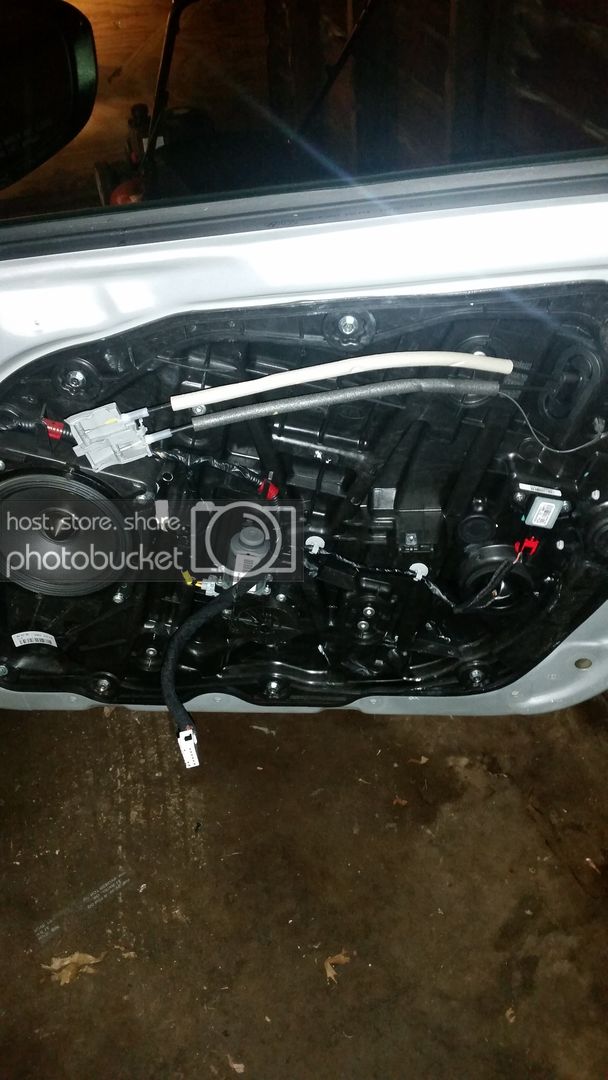
The untreated bare door


Some Deadening done. I feel like I used less deadener on this door but it sounds more solid when I knock on it.


Some sound absorption


Again. I had to be extra careful not to scratch the tint when putting the windows back in. As you can see you can get to the window tracks through the speaker hole. There is another spot on the other side covered by a rubber grommet. The window has to be removed in order to remover the black plastic cover on the door. But removing and reassembling only took a matter or minutes.


Windows back in


Like I mentioned before, I plan on replacing these speaker adapters with MDF later.


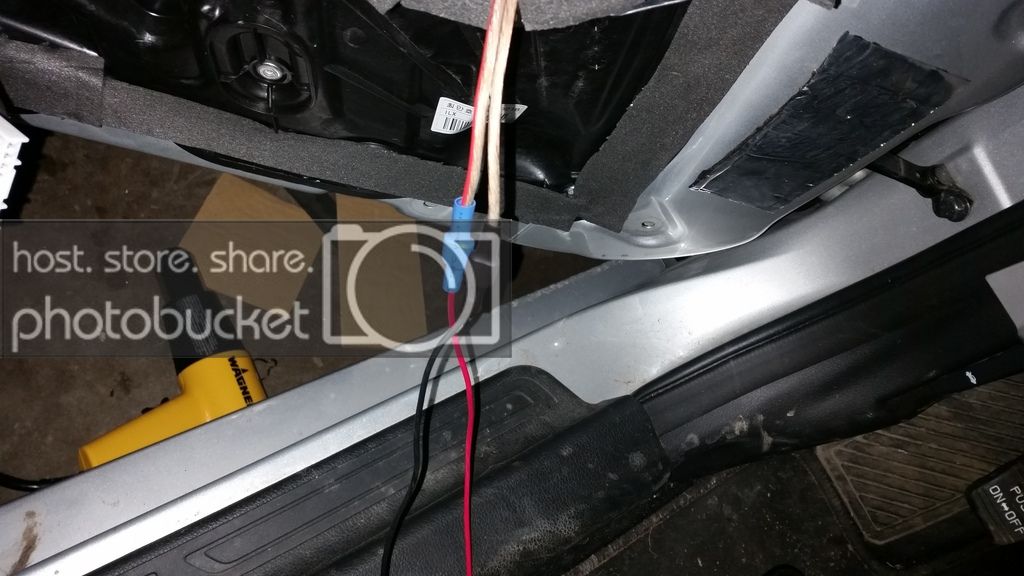
Soldered and heatshunk leads for my speaker wires, all connected up and heat shrunk to the leads back to my amp.


Add some loom


MLV door treatment


And back together


IDK that I've heard much of a road noise difference but I can definitely tell that it has brought my mid bass out a bit. Another big thing is this annoying rattle in my passenger door is completely gone now. I'll have to get it up over 70 mph to really hear the road noise improvement. I think I may need more MLV treatment in the doors to really satisfy my road noise needs but I'm going to see how this goes.

 
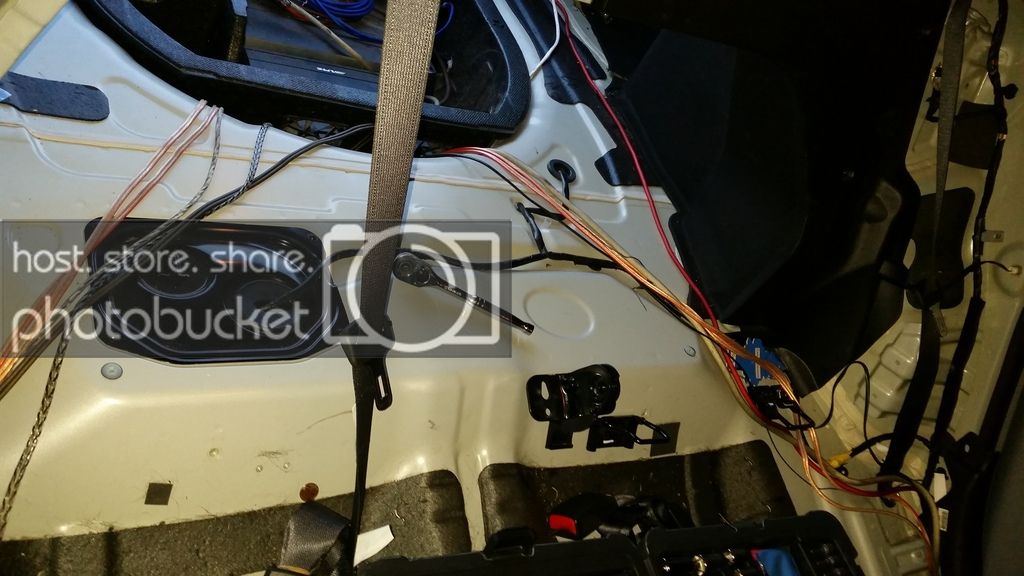
Okay. So I got some more work done last night. I stripped down my back seat and trunk to see what I'm working with.

Heres a view from the back seat.


As a side not you see the piece on this photo that looks sorta like a peace sign more towards the right side of the picture. This is where a factory sub would go. I may cut this out to allow some bass in with the seats down. I learned when taking the seats apart that there is not a metal frame behind the plastic cover. The cover doesn't seem to be made of terrible think plastic but it does muffle the bass up a bit. I just would much rather have the bass coming from directly behind me instead of through a hole on the top. I currently don't have a dremel so this will have to wait and it gives me some thing to ponder the idea.

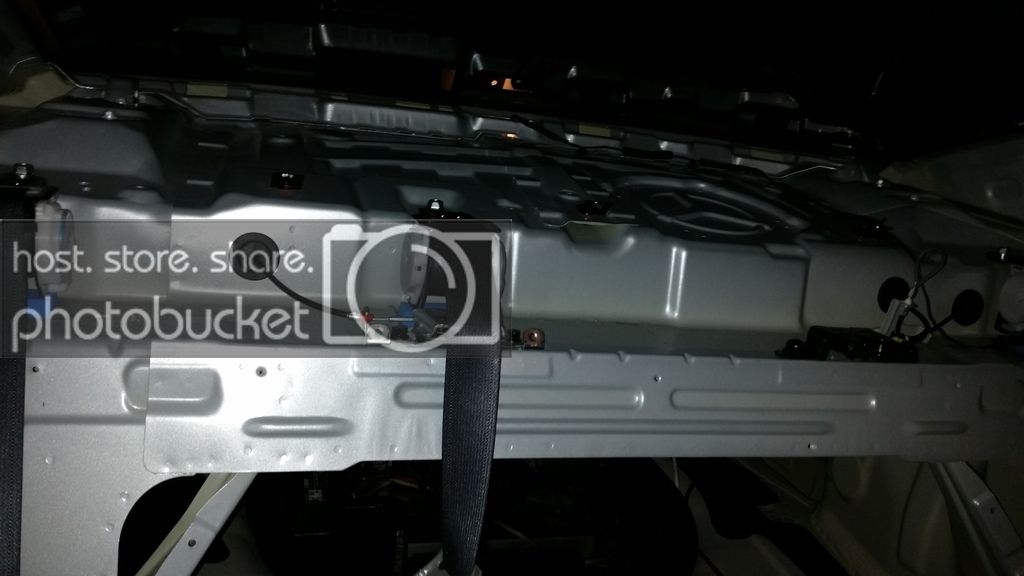
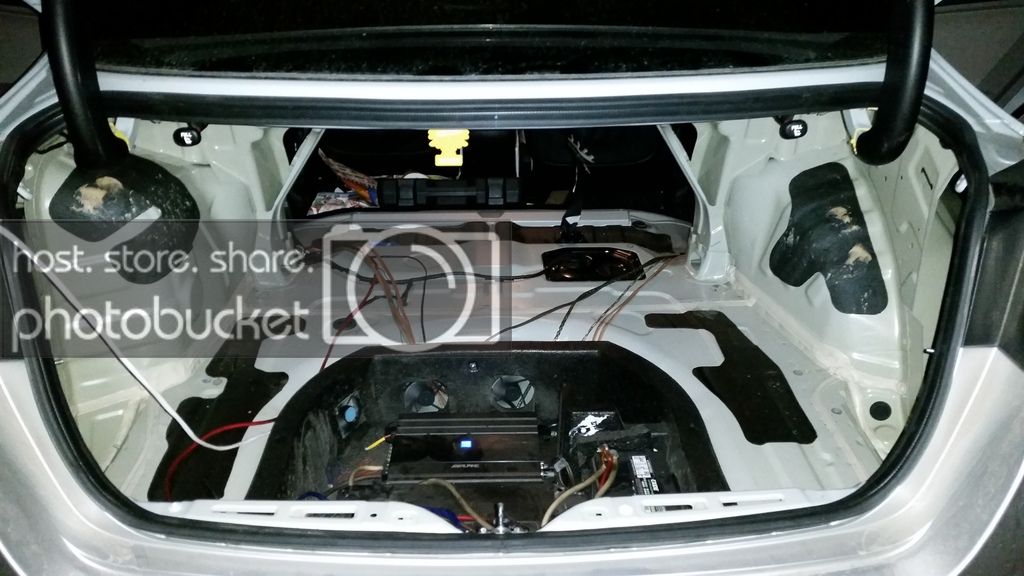
And here's from the trunk


I know that my wires are a mess right now. I'll be installing new power cables, the processor, and installing the new amp once I get my floor apart. Cleaning up the speaker wires will be apart of the process. I do have a spool of new wire, I haven't decided if I'm just going to replace the speaker wires or not. The MS8 is going to go under the passenger seat.

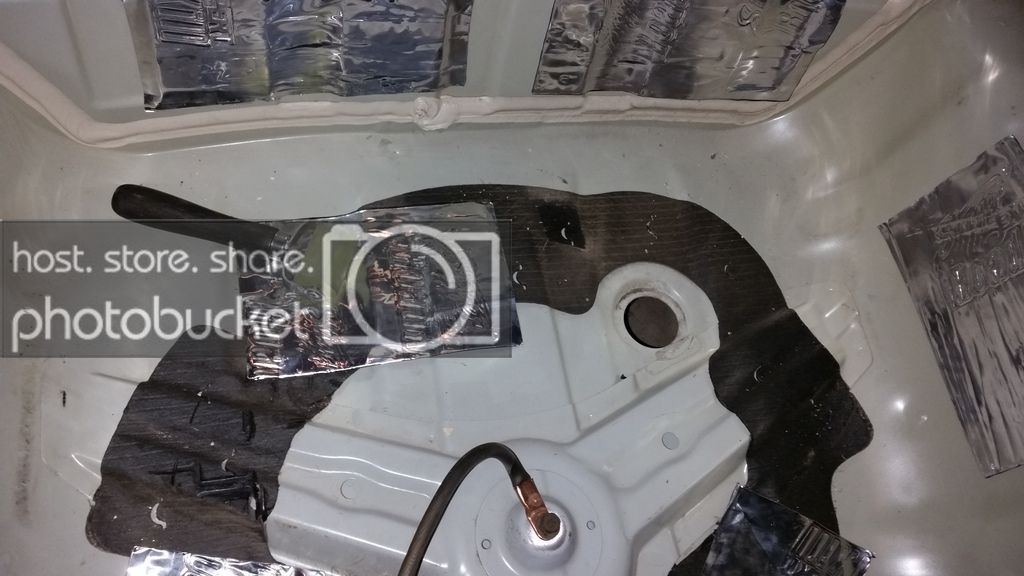
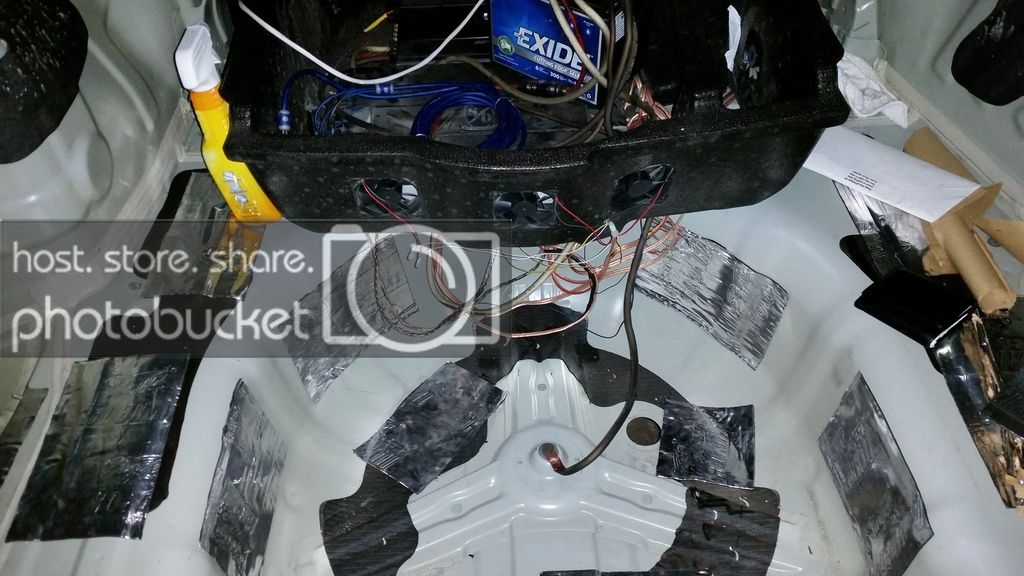
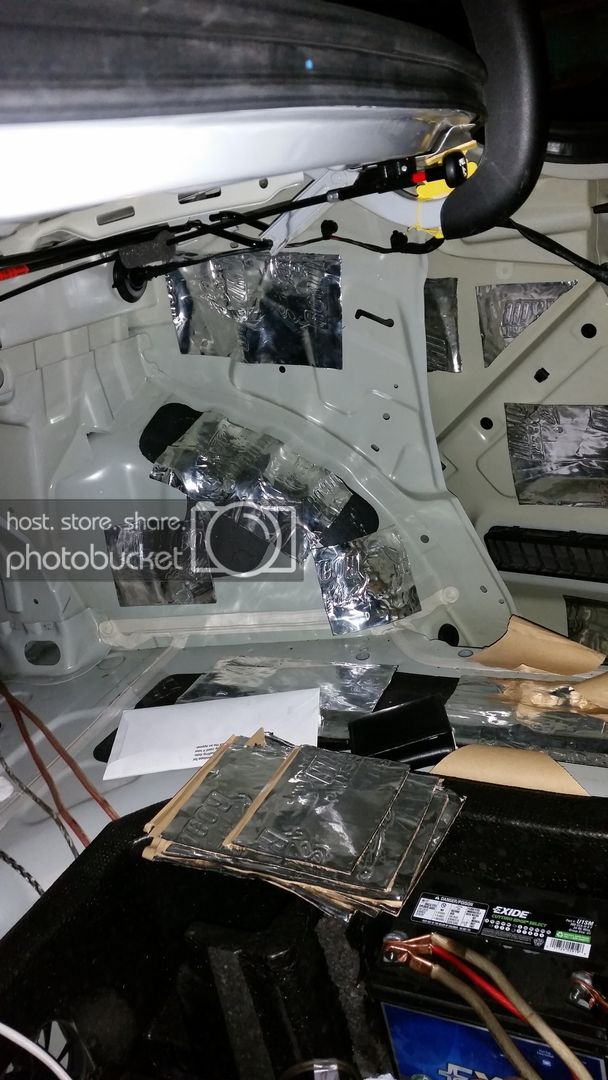
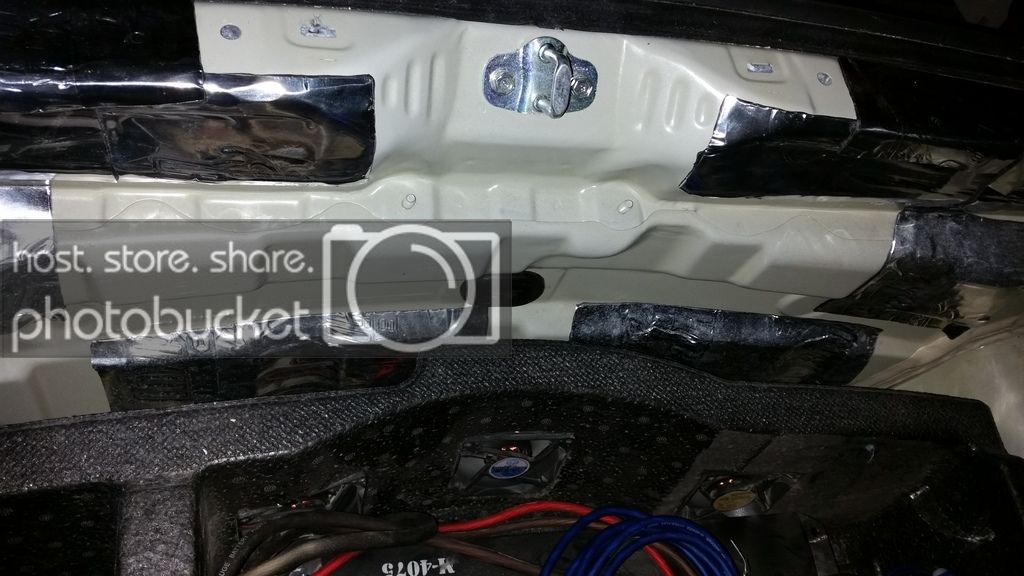
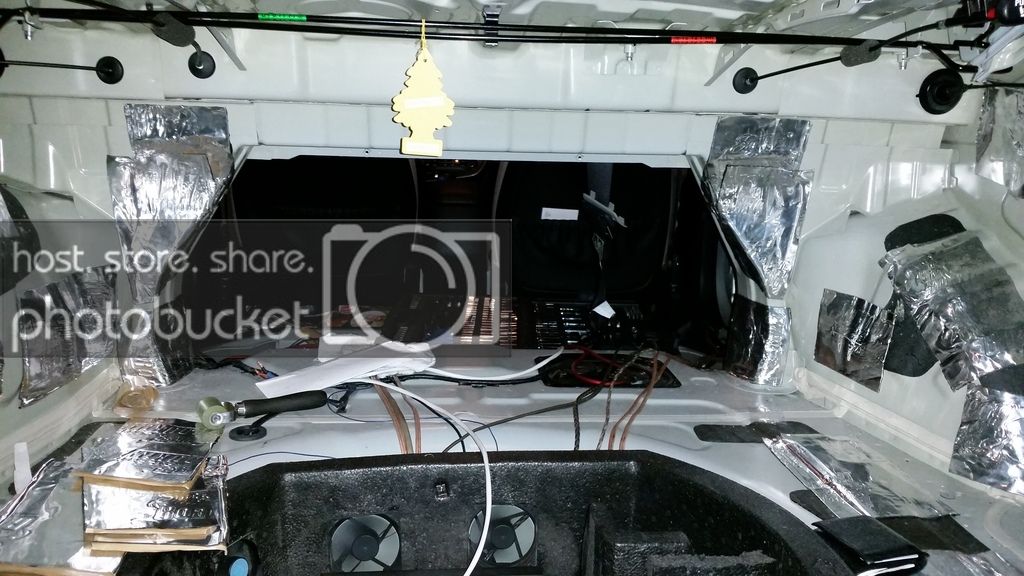
So I deadened up the spot where my spare tire goes and where I currently have my amp rack. I wasn't sure if I had to but I figured it couldn't hurt. I'm not sure if I'm going to have to replace this rack that I made out of the foam that came for the tire repair kit. I'm hoping I can just make some mods to it and keep it because I use it to house some fans because that is a dead air space so circulating some air helps.


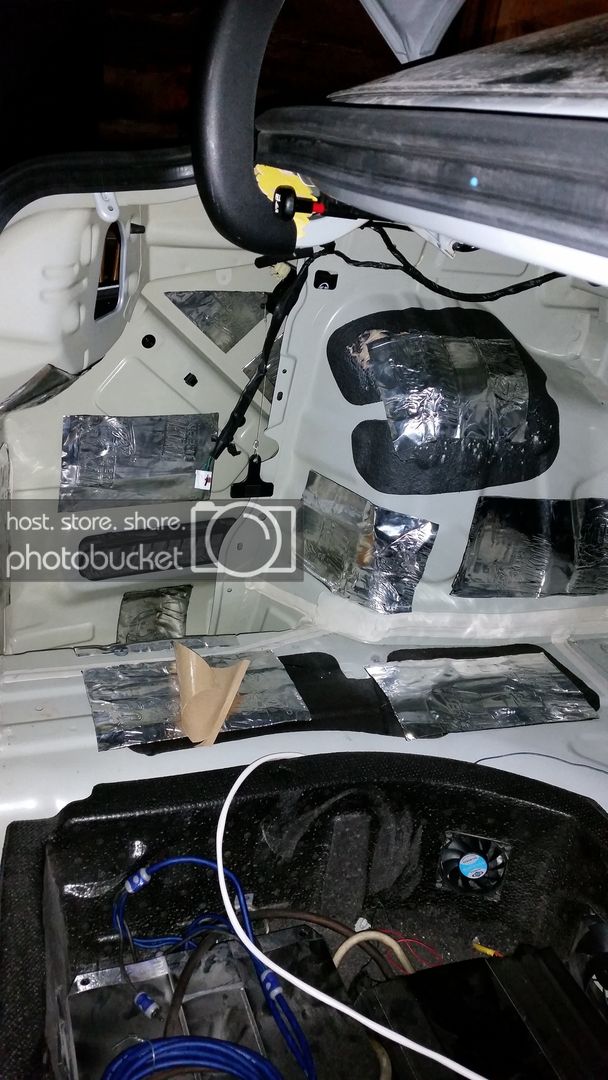
I deadened up the sides of the trunk.


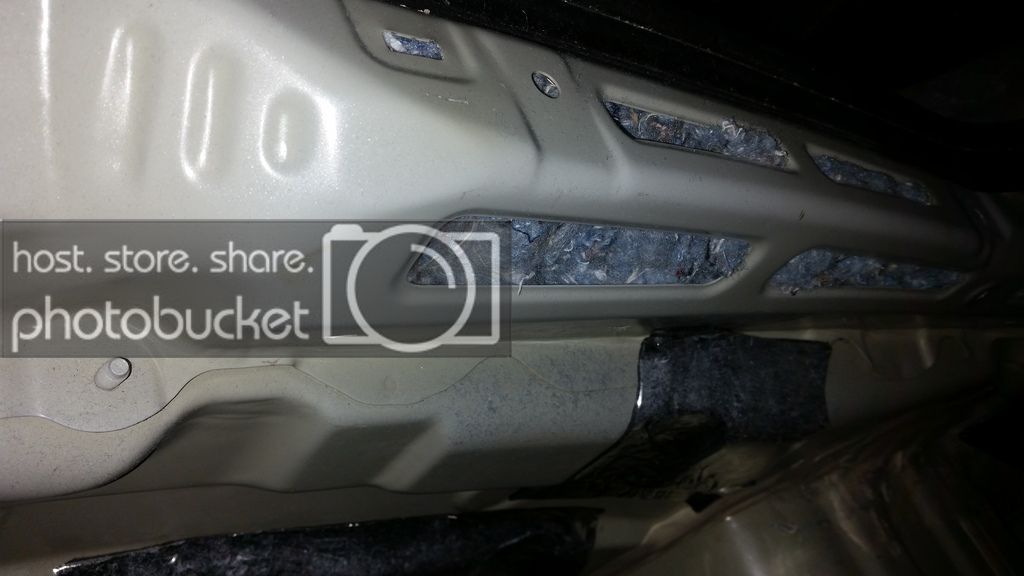
I filled all the loose holes with denim insulation and then covered most of the small holes with deadener. Kinda like a double whammy.

This is along the back bumper.


At first it doesn't seem like your going to use a lot of the insulation but then you start packing it into the hole and begin to wonder "where in the hell did all my insulation go?" So it can get pretty packed in there.

Here is how I did my side panels


This worked out pretty nicely. Made my corner panel of my car very solid. This was a pretty big problem area before and when I'd listen to a bassy song it would look like my car was trying to transform. Problem solved. I was thinking about covering this area with deadener but so for have chosen not to.

 
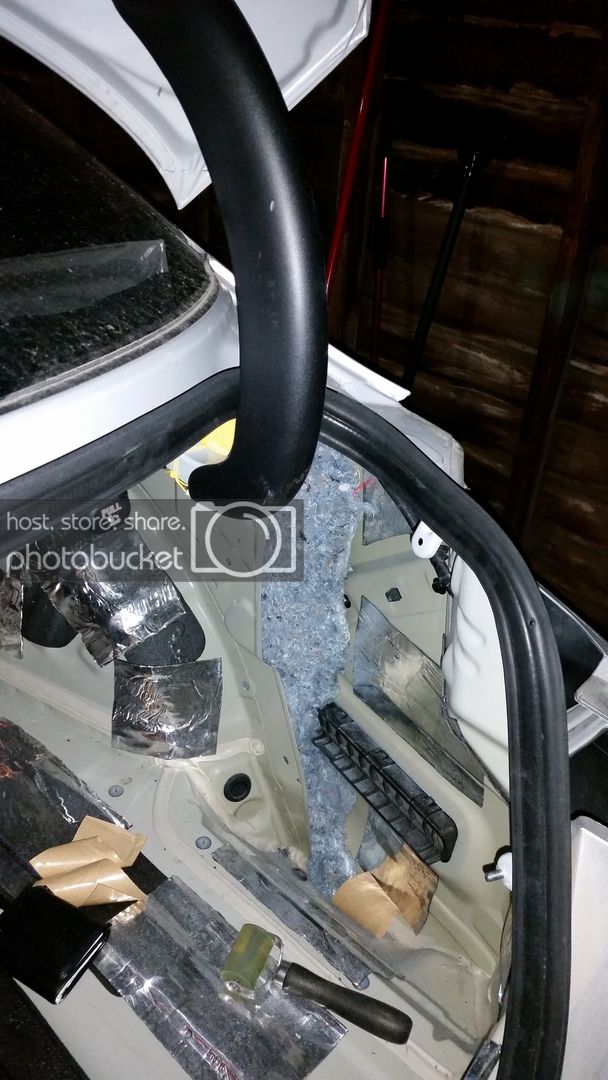
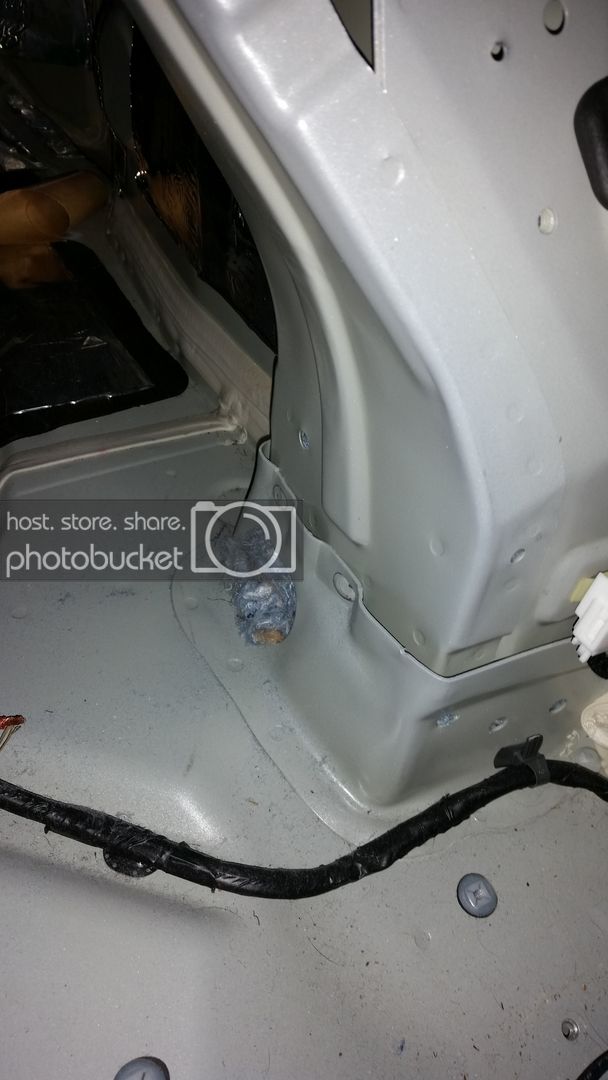
I only posted this picture to show you what a pain insulating can be. This little hole is how I had to fill this pillar with insulation.


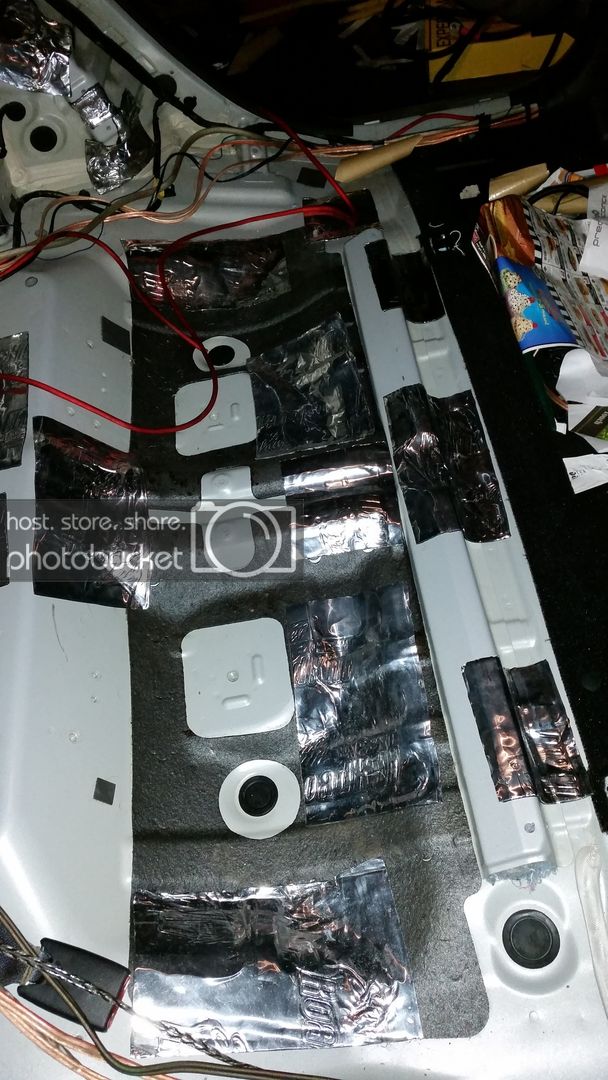
And from the Trunk after the deadener is laid.


Some deadening and insulation done to the back seat.


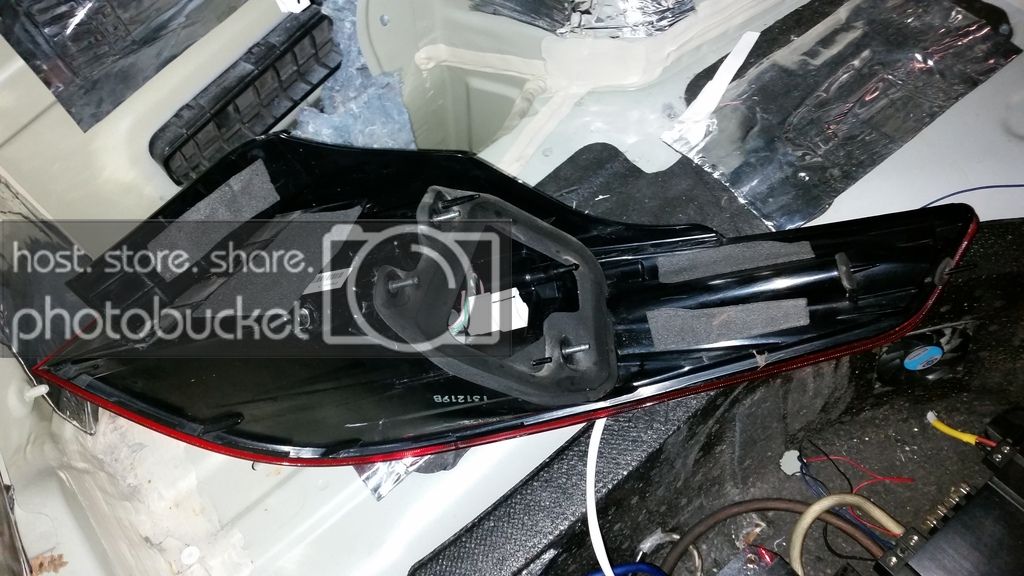
I added some foam to the tail lights because they had some rattle noise coming from them before.


This was last nights stopping point. I have everything pulled apart for the most part. I put in the back seat, just the bench part, and the trunk floor so I have still have my sub connected for tunes. Going back at the deadening tonight. I'm hoping to have the floor done and upgraded powering cable laid by the end of tomorrow night.

 
I didn't end up getting as much done last night as I would have liked to. Some of that was due to coming home and actually cooking dinner instead of eating out (or ordering in) food. I was just tired of eating overpriced crap. I was also dazed yesterday, haven't been getting too much sleep, so I turned in early too.

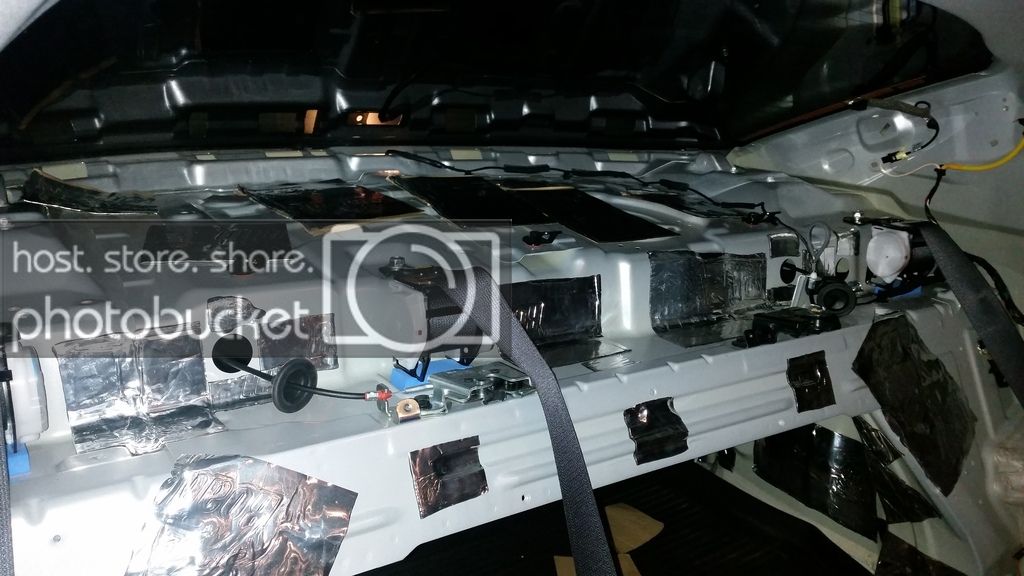
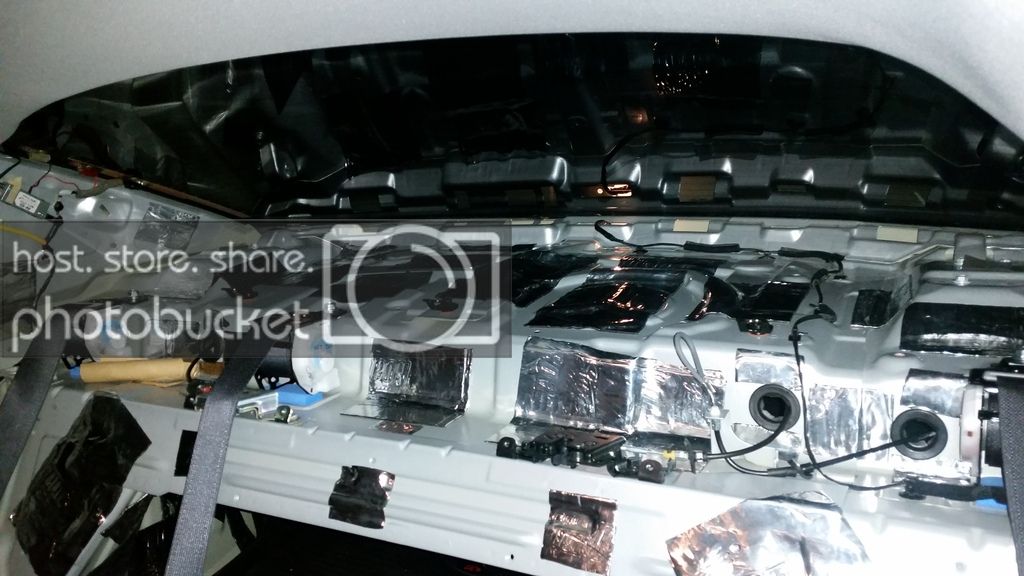
So I put the bench part of my back seat back in. I had some work to do on the upper part inside the trunk and didn't want to lay on metal. I cover most of the holes up with deadener when i'm done.


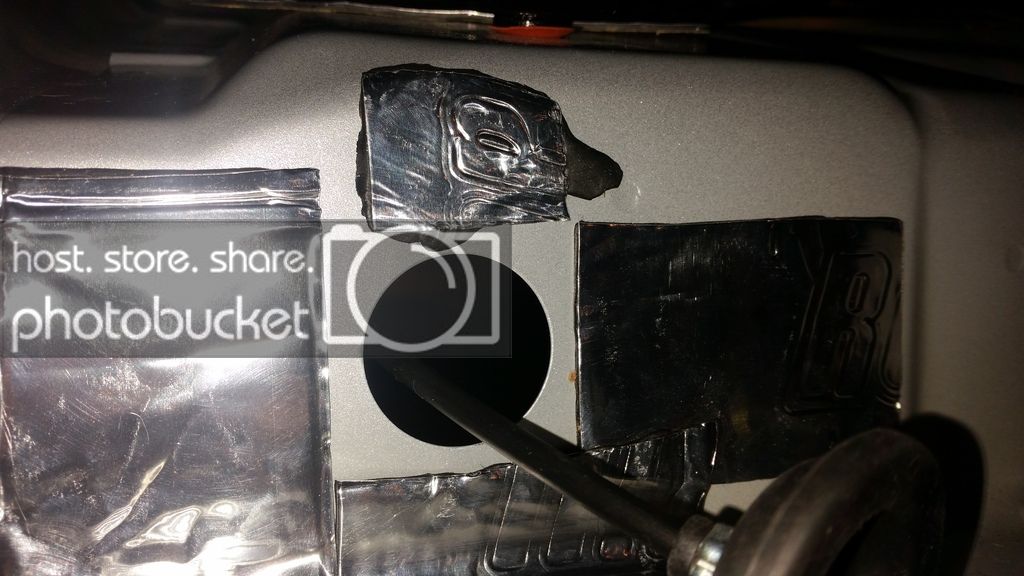
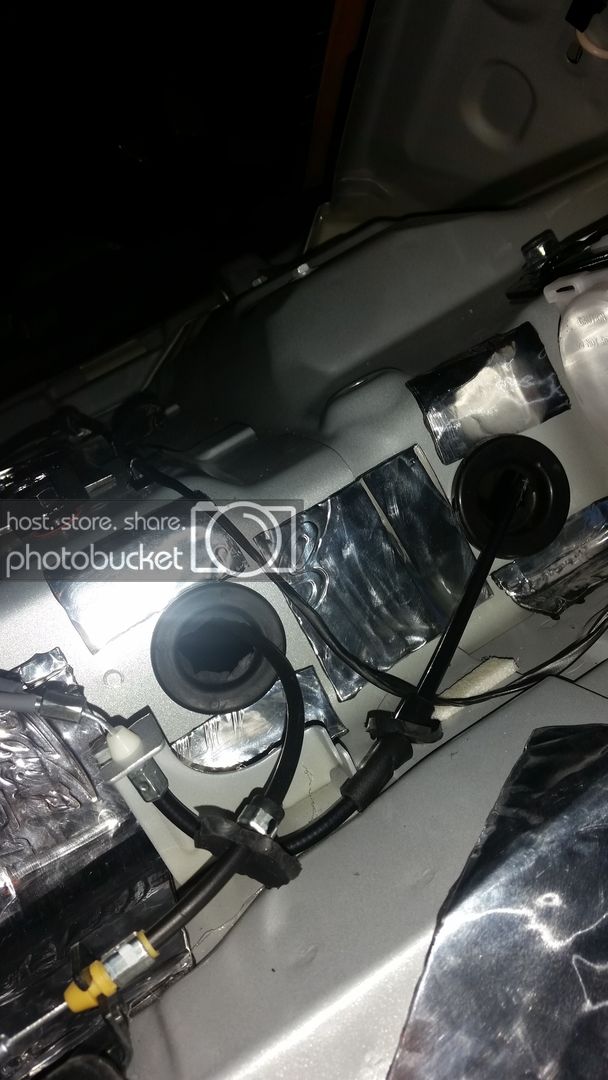
So I found a few little holes to let sound in when my back seats are up. Unfortunately I don't think I'll be able to find a fully effective way to keep my back seats up full time.


I deadened the inside and outside of the rear deck. I pretty much did a full lay on the top and only a few squares on the under part in the trunk.


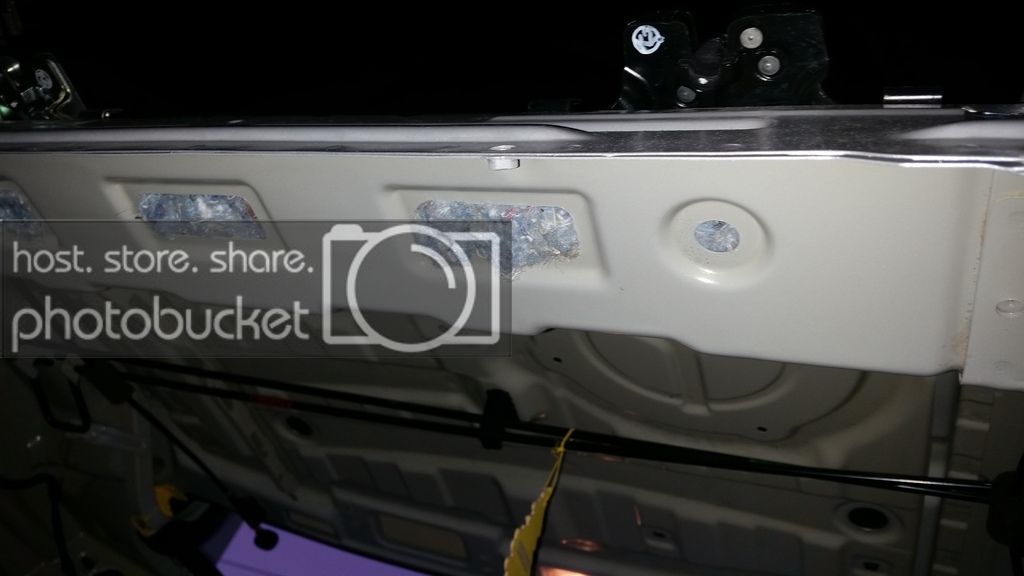
I don't have any pictures but I also did my trunk. That was mostly stuffing it full of insulation and deadening the holes. I was able to get pretty complete deadening over the trunk lid just by covering up the useless holes. I haven't had a chance to listen to it outside of the vehicle to hear if I'm getting any vibrations or rattles.

 
Activity
No one is currently typing a reply...
Old Thread: Please note, there have been no replies in this thread for over 3 years!
Content in this thread may no longer be relevant.
Perhaps it would be better to start a new thread instead.

Similar threads

Another option is to get the 4 channel amplifier and purchase 2 surface mount speakers for the rear deck and 2 for the front kick panels. Running...
3
975
I just ordered a Sony XM-GS4 amp for the Focal door speakers. The Mosconi Pico 2 powers the factory subwoofer, and sail panel tweeters. I'll post...
3
678
Did you consider using the PAC AmpPRO 4, AP4-CH31? It will connect between factory amp and head unit and allow you to have RCA outputs for the amps.
5
1K
Do you have about $100 to waste? Try a cheap amp that has line-level inputs, see if that helps. WalMart carries a 4 Channel Jensen amp, for its...
8
1K
id put in a good new deck and front speakers, forget the rears (fade to the front). then when you get a new car, take the deck and front speakers...
3
986

About this thread

tommymilan311

Senior Noob VIP Member
Thread starter
tommymilan311
Joined
Location
Davenport, IA
Start date
Participants
Who Replied
Replies
30
Views
6,176
Last reply date
Last reply from
tommymilan311
1714321195129.png

Doxquzme

    Apr 28, 2024
  • 0
  • 0
1714321134050.png

Doxquzme

    Apr 28, 2024
  • 0
  • 0

Latest topics

Top