repairing CDA-7897?

BerniniCaCO3
10+ year member

Junior Member
Hi!

This was my father's old stereo, and I've had it for 4 years.

Two nights ago it broke. I'd like to give a shot at repairing it myself, if I could get a little push in the right direction (or: also an answer like, it's not worth it/ parts can't be found so you should throw it out is also a valid response).

The faceplate still lights up and displays correctly.

There's no sound but that was an earlier and likely wholly unrelated issue.

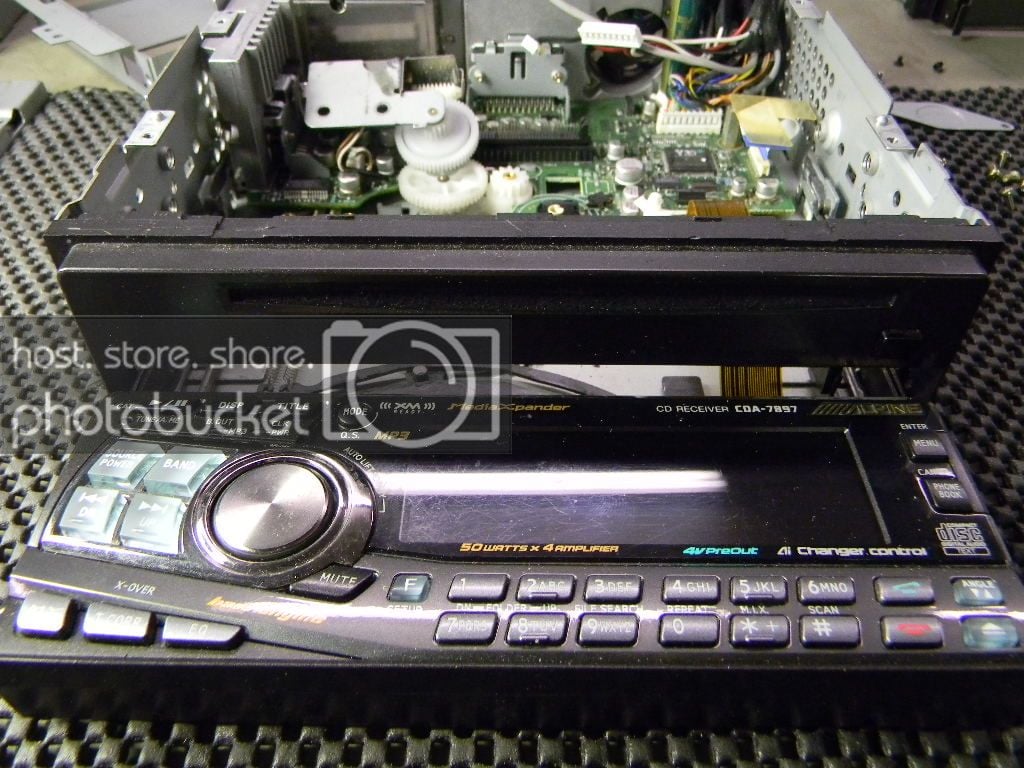
This radio has the 'phantom faceplate' which hides itself.

Two nights ago it came out on key-on position, opening flat, but never rose into the vertical position.

Then on key-off, it tries to raise up a little bit then fails to pull itself in (having just jammed itself).

It's stuck hanging out, flat.

What am I looking at? A position sensor confused about where the faceplate should be, or just a little motor gone dead? Maybe a teflon gear worn smooth?

I'm handy, but I've never been inside stereo units before.

Wondering if I should attempt this/ if parts are still around/ and if once I have it open, maybe someone here has experience with the cda-7897 and can help me diagnose it with some detailed description and a photo of the insides.

I understand that I can repair it with alpine for $105+shipping. I don't have that money, not really (would be getting a $40 replacement if I had to...), so I'd like to fix this personally.

thanks in advance!

-Bernard

 
I have rebuilt the 7897 and the 7998, both are basically the same except the 7897 has an amp inside. I have never come across a stripped gear yet but there are two micro switches that tell the unit when to stop at the open and closed position. I have seen that switch go bad and have replaced them before, not too hard to do but you need to have experience in desoldering and soldering. Taking it apart is pretty straight forward, take the top cover off and then the cd mech. There are two small plastic tabs that hold the ribbon cable tight, you need to be careful when pushing these. You will then be faced with two circuit boards one on top of the other, you will need to take the top one off to get to the bottom which has the two micro switches on it. There are a few tricks that I have learned when realigning the gears after you take them off. I will be at work tomorrow (firefighter work 24 hrs) but I will get you some pics of the inside Thursday. I have a few spare 7897's and 7998's so I have all the parts you will need so don't worry about that, we will just have to trouble shoot and see whats going on.

-Pete

 
awesome!!

I look forward to the pics Thursday,

I myself will be free on Saturday to actually take the unit apart.

24 hours...! do you at least get to nap between calls?

 
going to betray my noobness, but I might as well ask...

IS there any product that can take a usb or aux input, and communicate with this deck? maybe going through the input that is currently the CD player (which my father had bought along with this deck).

 
the Ai-NET input can be used as an AUX input with the KCA-121B or similar - Ai-NET jack on one end and female RCA pair on the other end.

PACPARTS sells some of the parts you'll need. A service manual is a great idea to get first because it will give you part numbers and exploded diagrams.

 
I work a regular work day and after 5 we can do what we want except leave the property.

keep_hope_alive is correct. I may have the ai-net to rca that he spoke of, I will look.

I have the exploded view on my pc, or at least I used to, I will look through my files and thumb drives also. Its not the best but it helps a lot.

 
I will be posting pictures tonight. If you can hook the unit up to 12 volt supply and push the reset button, there are two of them one on the front faceplate and one on the bottom which is accessible when the faceplate is fully closed, you only need to push one. Use a paperclip to push it. If no luck there try giving the faceplate itself a push as it is trying to close.

-Pete


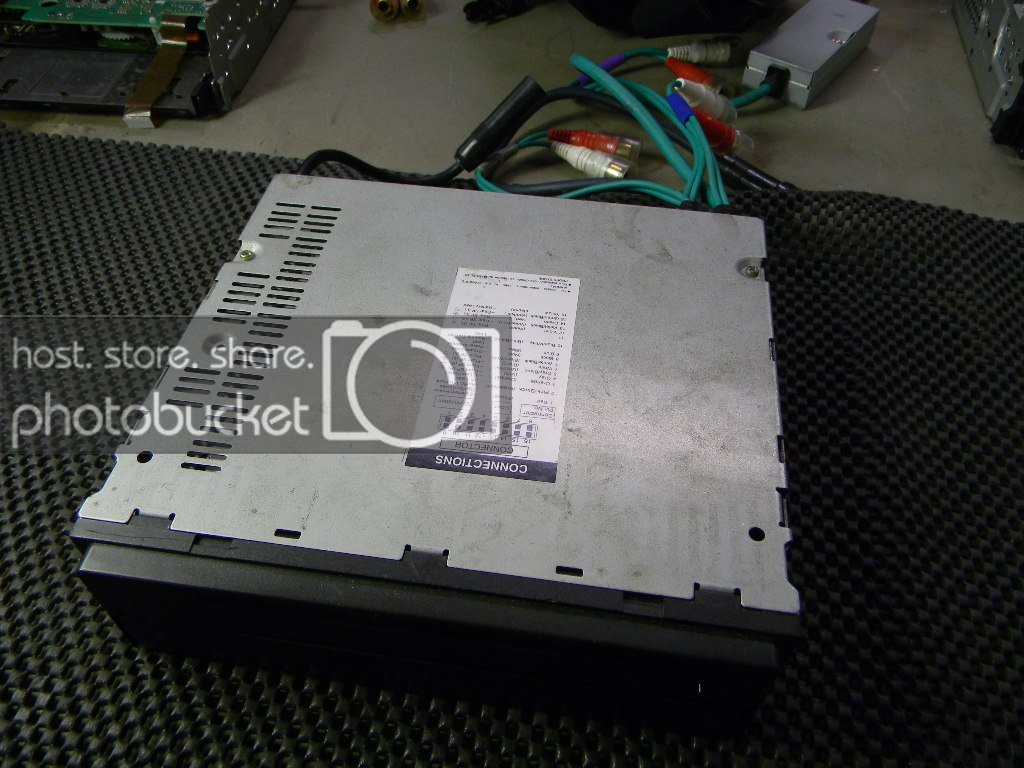
Two screws hold on the top cover.


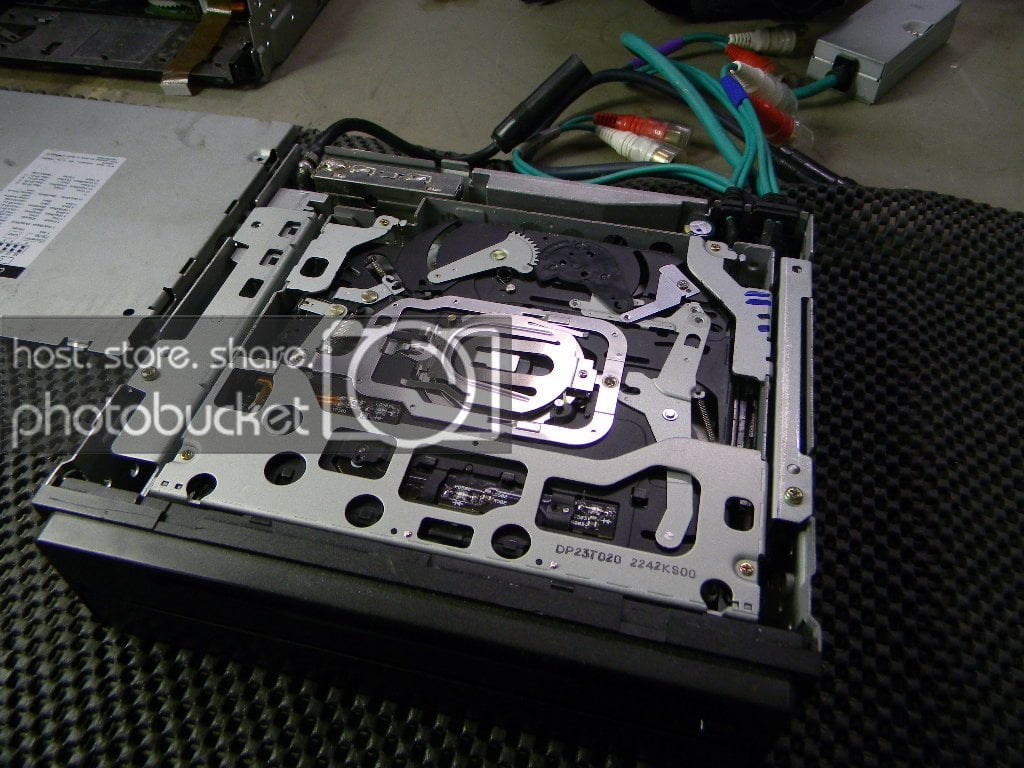
Top cover off showing the CD mech.


There are four screws that hold the CD mech in CD cradle, one in each corner. A precision screwdriver magnetized is very helpful.


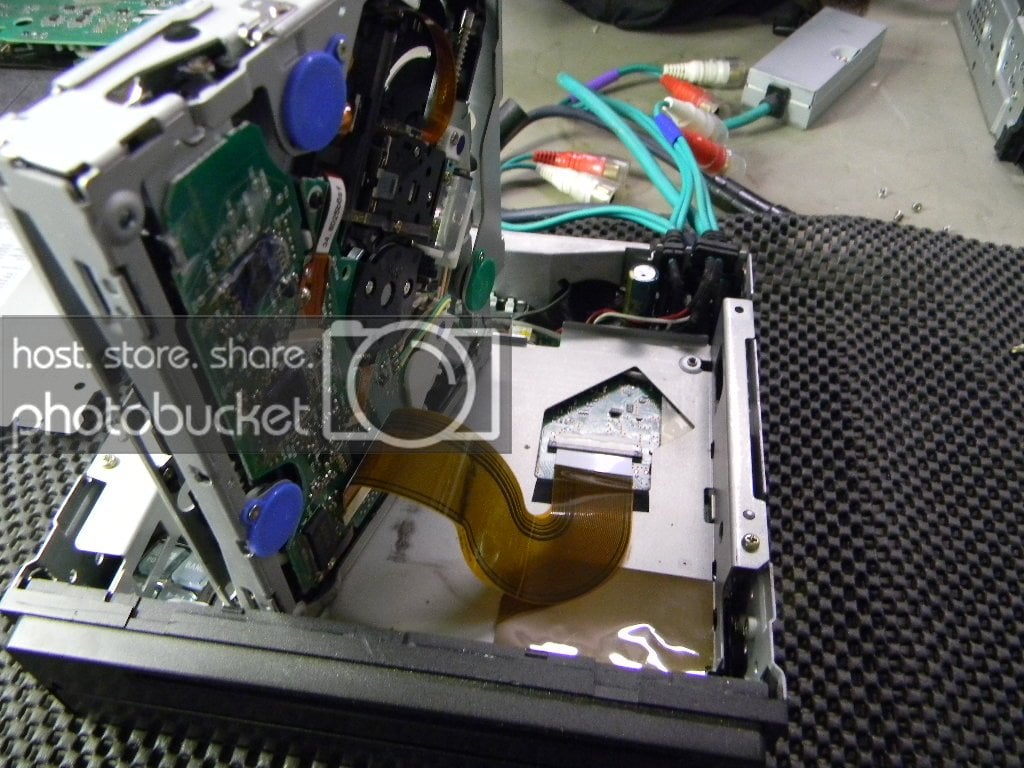
Flip the CD mech. this way to get to the ribbon cable.


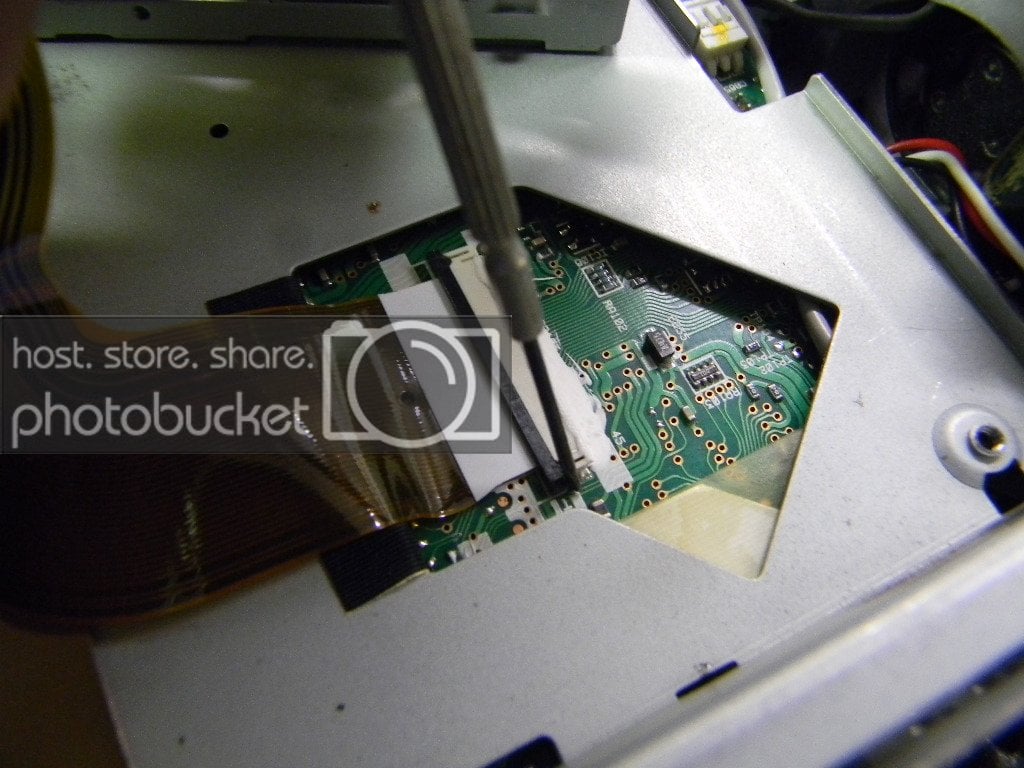
Use a flat precision screwdriver to CAREFULLY pull back this plastic retainer, pull back on each side. It will come out approx. 1/8'' You can then pull the ribbon cable out.


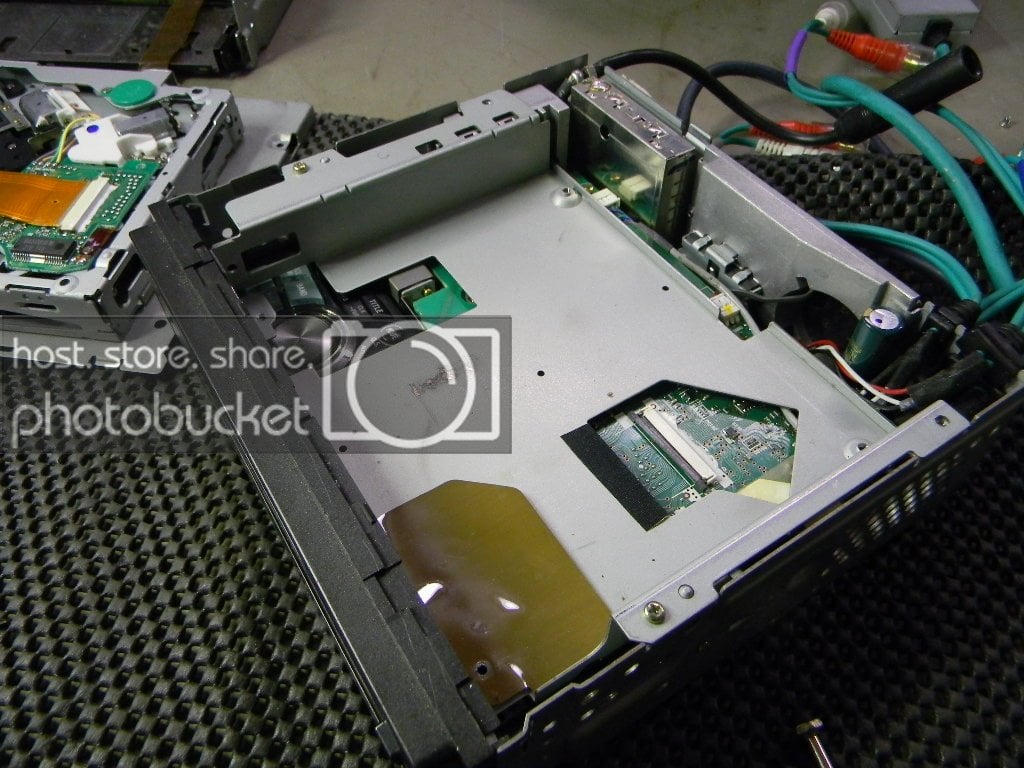
After CD mech. is out there is the CD cradle that is held down with two screws.


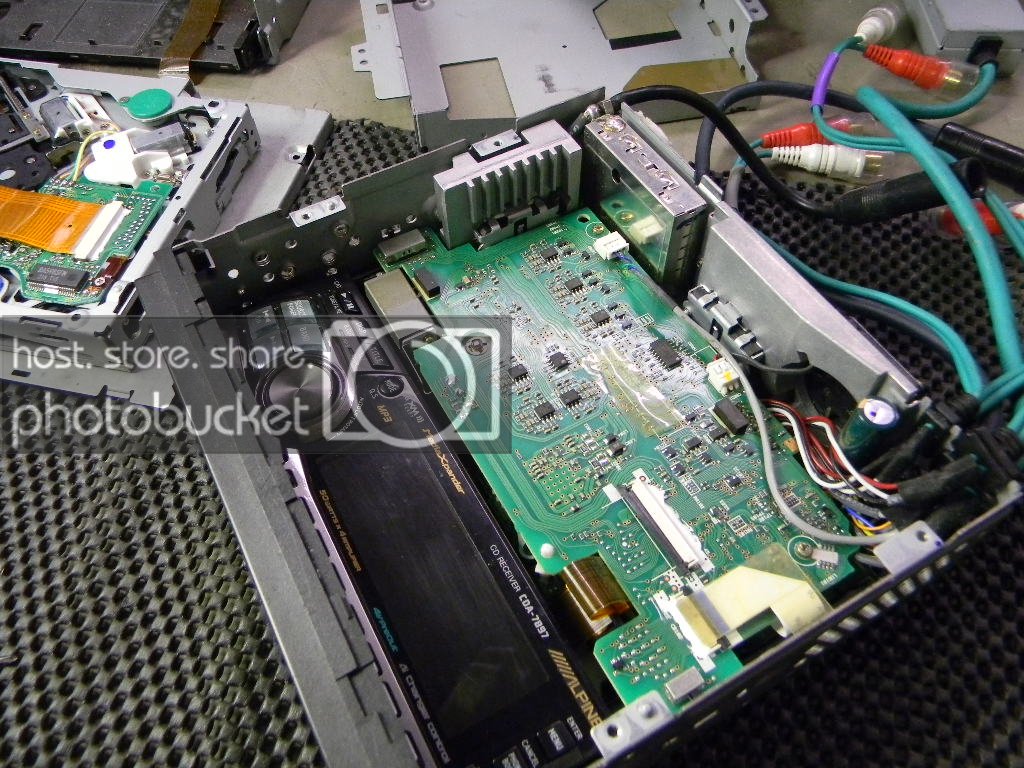
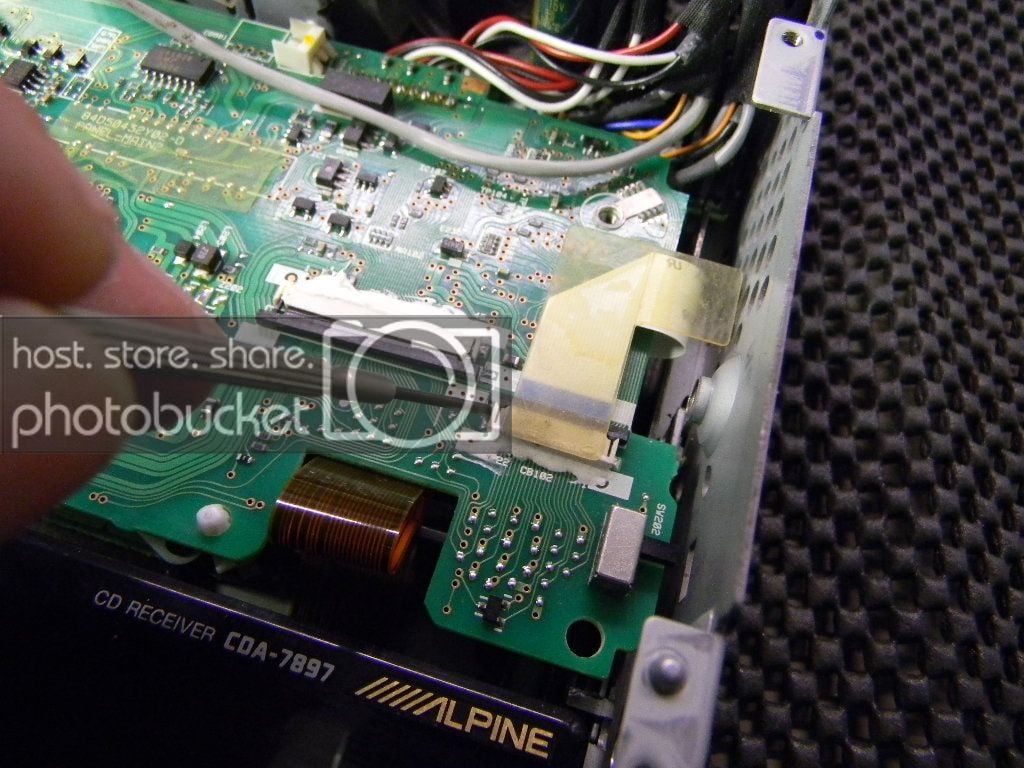
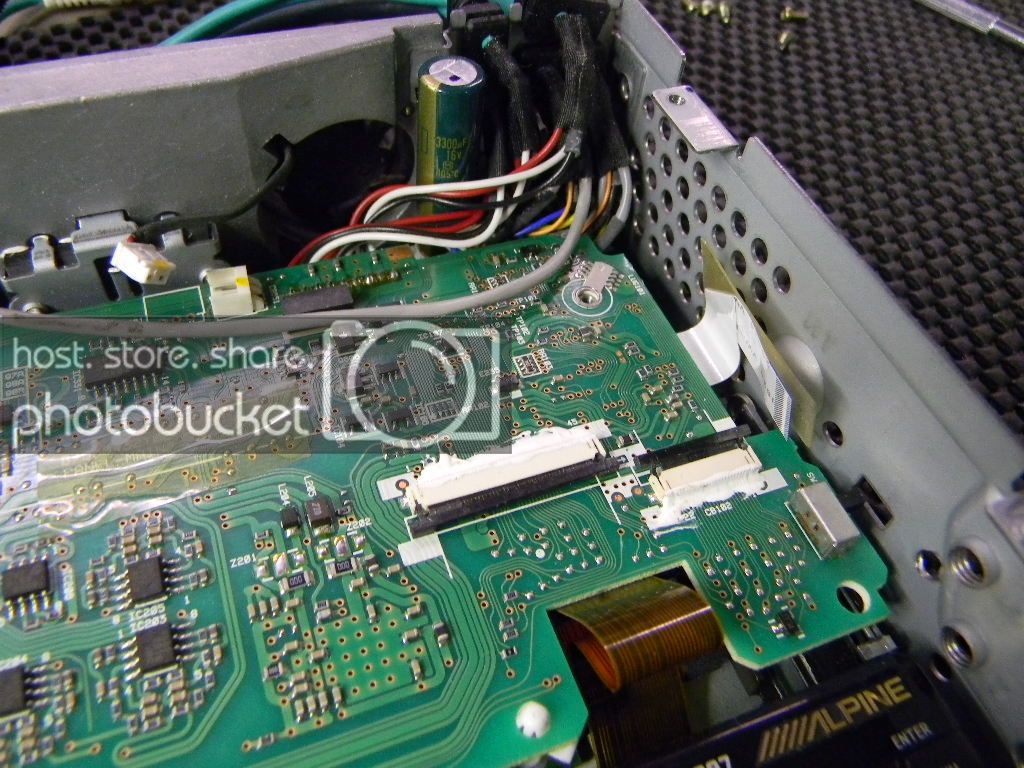
CD cradle out showing the top circuit board. There are two screws that hold the top circuit boad in, it is also plugged into the bottom circuit board in the middle of the board, pull straight up. There are two wire harnesses on top and one on bottom. On the right side there is a circuit board ribbon cable that is removed the same way the CD ribbon cable was.


Top circuit board ribbon cable.


Flip it to the side as shown.


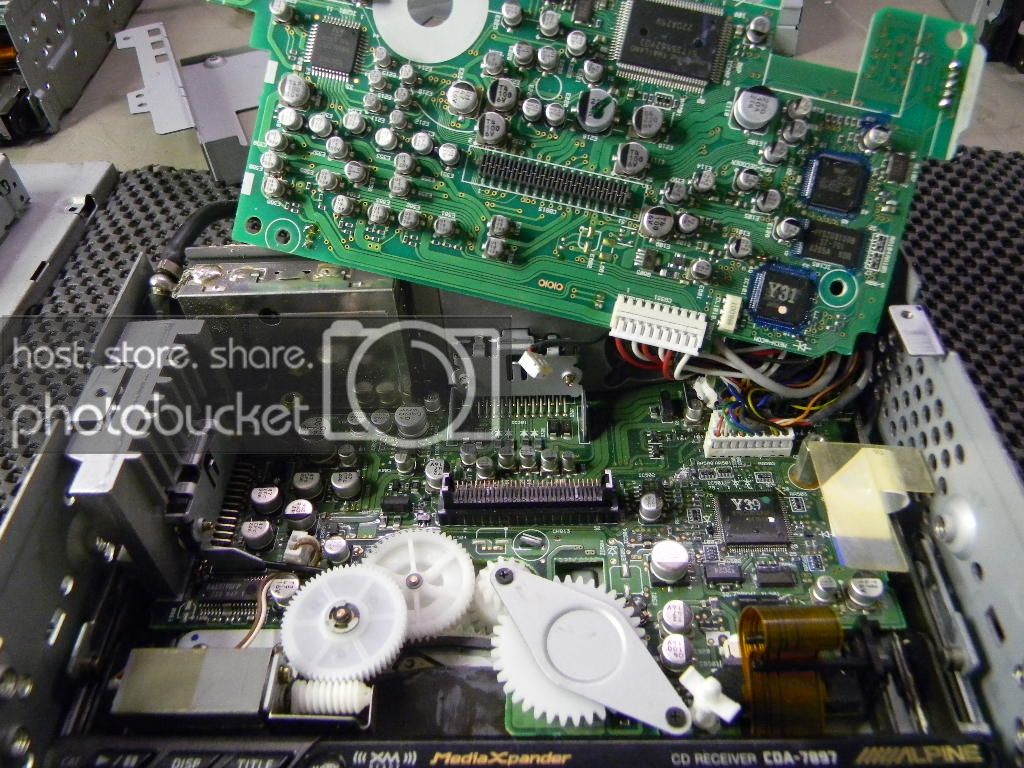
Top circuit board flipped up to show the bottom wire harness that needs to be unplugged.


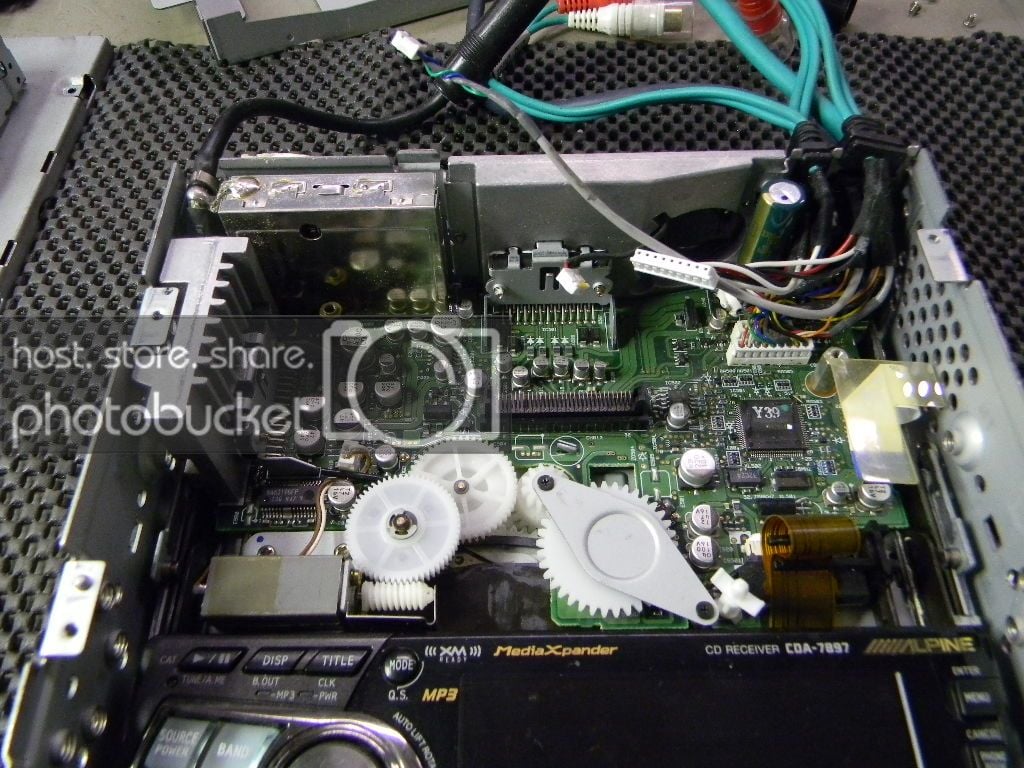
Top circuit board removed.


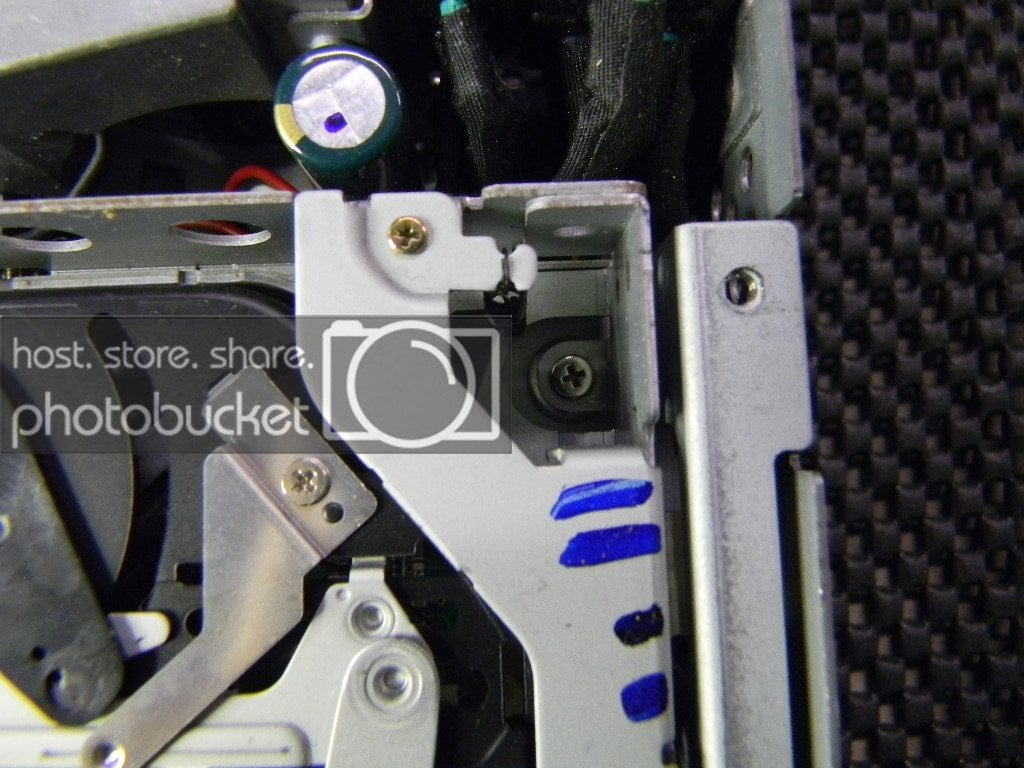
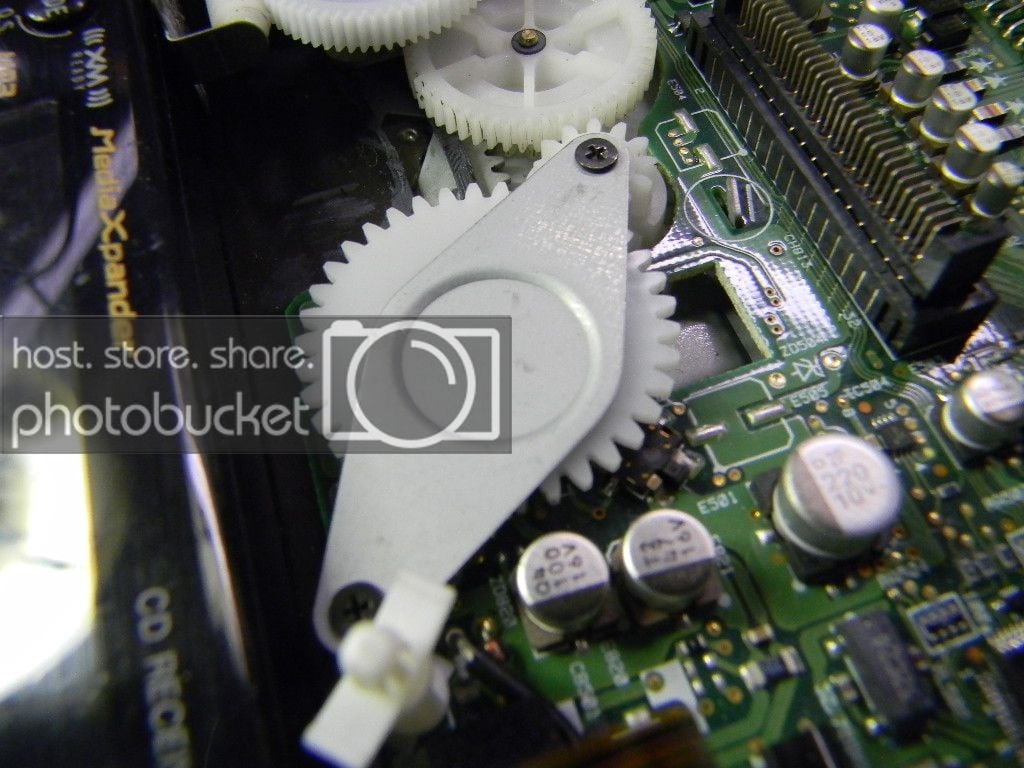
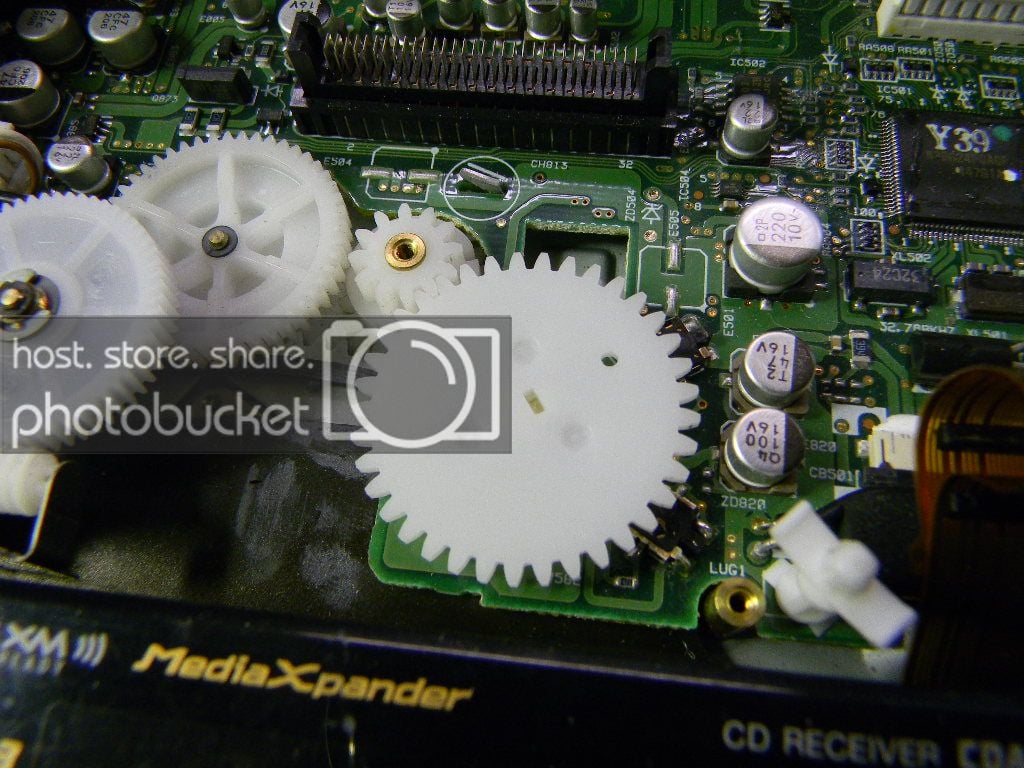
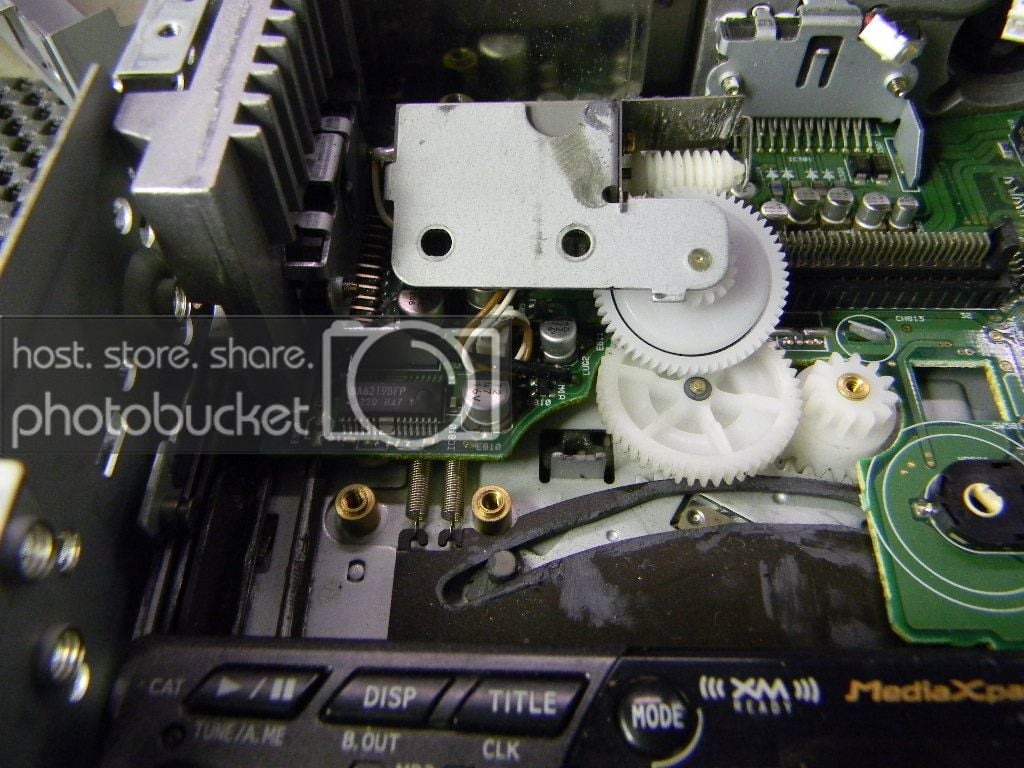
Close up of gear that contacts the two micro switches that tell unit when it is open and closed.


Gear after the two screws are removed from the metal retaining bracket.


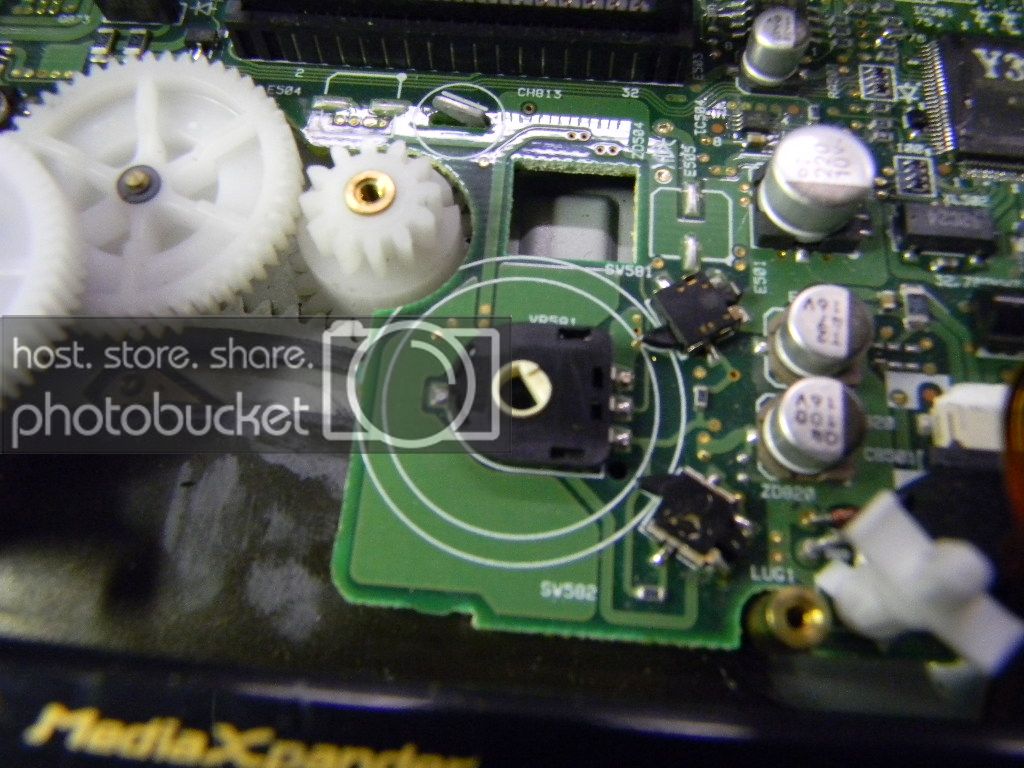
Picture after gear is removed showing the two micro switches and the position switch that the gear is inserted to.


Close up of switches.


Bottom of gear showing the tab that closes the micro switches. This has to be put back on position switch and aligned so that the tab is in contact with the top switch in the closed position. This is very tricky and a pain in the ***!!


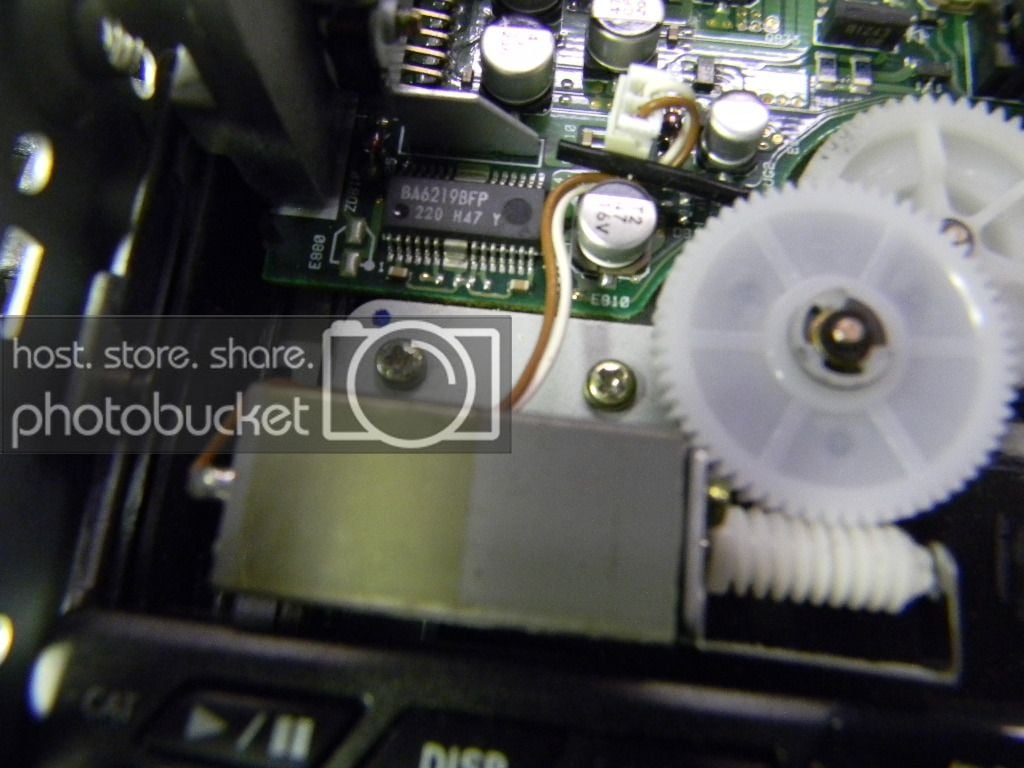
This is the motor which is held in with two screws. If you need to open or close the faceplate you must loosen the two screws or remove them and take motor out as shown in next picture.


Motor removed.


This picture shows the position of the metal tab on the faceplate cradle when the faceplate in fully closed. It can be on the other side but must not be in that position when aligning the gears. I have seen this flip to the other side and will cause faceplate not to open and close correctly.


This picture shows the faceplate moved out after the motor was unscrewed. When moving the faceplate manually you MUST move it to all positions just as it would move if powering itself. Pull faceplate out until you hear a click or as far as it will go, lift faceplate to its upright position, push faceplate flat against unit. To close it pull faceplate straight out until it stops, lower faceplate flat and then push faceplate inside unit. Check to make sure the metal pin that I spoke of earlier goes to the left side of the unit.

 
Ive got one of these I worked on. Those limit switches are available from Pacparts. Ive cracked the housing of two of the switches cause aligning the faceplate is a pain. If you get it wrong, the gear will go beyond the limit switches and push the switch backwards which in turn cracks the housing of the switch. Just be careful. I have the service manual but theres no faceplate alignment notes.

 
The service manual actually says to align the gear to the bottom switch via the alignment hole. If you do it this way with the faceplate closed the gear will go through the switches backwards leading to what dwvinky spoke of, it will break the switch. I really don't know at what stage the gear hits the bottom switch, I have manually worked the faceplate through all of its stages and never seen the gear hit the bottom switch. The only thing you cant manually do is the angles of the faceplate, don't know if this is when it triggers it or not.

I also have a few new switches if you need some, the bottom switch switches in the opposite direction of the top one so you need two different ones.

 
I made a short video showing how I align the gears with the micro switches.

The manual shows aligning the gear with the aligning hole in it and the circuit board with a paperclip. If you do it this way you will damage the micro switches because the gear will rotate through the switches backwards, they are made to go only one direction.

I am in the process of figuring out why the manual tells you to do it this way but have not had much luck. If anyone knows of a better way to align these gears or knows how to align them with the alignment hole please let me know!

Align your Alpine at your own risk!! I am not an expert, this method has worked for me in about a dozen repairs. If you need to get new switches pacparts.com have them for $1.96 each with shipping around $6.00, you will need two and they are both different so be aware of this.

There are also many other reasons your faceplate will not open and close correctly, this is just one of them.


Activity
No one is currently typing a reply...
Old Thread: Please note, there have been no replies in this thread for over 3 years!
Content in this thread may no longer be relevant.
Perhaps it would be better to start a new thread instead.

Similar threads

I recently bought this exact bt adapter for a cda9813 and it works flawlessly
3
764
That’s really helpful, thanks! I’ll keep digging and see what I can find online :)
4
881
I'm hoping to find someone who might be able to repair this head unit. The faceplate doesn't slide out at all.
0
1K

About this thread

BerniniCaCO3

10+ year member
Junior Member
Thread starter
BerniniCaCO3
Joined
Location
Baltimore, MD
Start date
Participants
Who Replied
Replies
14
Views
8,026
Last reply date
Last reply from
breannehogge
IMG_0692.jpg

just call me KeV

    May 1, 2024
  • 0
  • 0
IMG_0691.jpg

just call me KeV

    May 1, 2024
  • 0
  • 0

Latest topics

Top