Amprack rework
- Thread starter Boomin_tahoe
- Start date
- Replies 12
- Views 2K
You are using an out of date browser. It may not display this or other websites correctly.
You should upgrade or use an alternative browser.
You should upgrade or use an alternative browser.
Boomin_tahoe 5,000+ posts
Hurtin' feelings errrday.
Boomin_tahoe 5,000+ posts
Hurtin' feelings errrday.
- Thread Starter
- #3
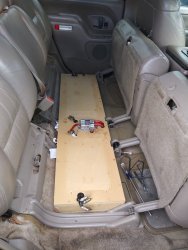
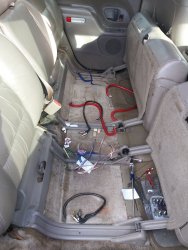
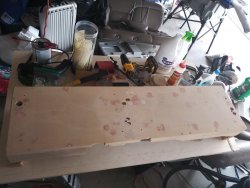
Alright so at this point I noticed a few dowel pieces fell out. Dummy me didn't use wood glue the 1st time around reworking the amprack but I made sure I did this time around. Removed the plastic grommets and took measurements of the hole sizes and wrote them down. Went to my local Lowes and bought some dowel rods, I think 4-5 diff sizes and around 10 bucks. Pretty cheap. I already had bondo at home and some wood glue so I'm set to get started...
Cut each dowel longer because I'm gonna eventually cut it/sand it flush anyway. I cut small grooves in the dowels for wood glue before I put them in the holes.

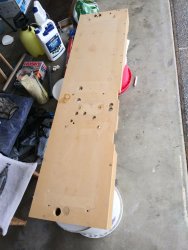

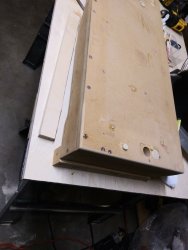
Cut each dowel longer because I'm gonna eventually cut it/sand it flush anyway. I cut small grooves in the dowels for wood glue before I put them in the holes.


Boomin_tahoe 5,000+ posts
Hurtin' feelings errrday.
- Thread Starter
- #4
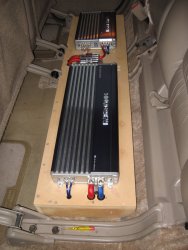
Once I got all the dowels in the holes, I cut off the excess and sanded everything flat. Then applied some bondo in areas needed, dips, etx. Sanded that flat too. Had to go over a few areas with bondo. But turned out pretty flat and looks pretty good. Afterwords, I corner rounded the sides and front only. The back I left as is because it's not gonna be seen.


Boomin_tahoe 5,000+ posts
Hurtin' feelings errrday.
Boomin_tahoe 5,000+ posts
Hurtin' feelings errrday.
Boomin_tahoe 5,000+ posts
Hurtin' feelings errrday.
- Thread Starter
- #8
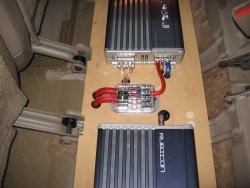
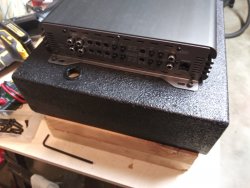
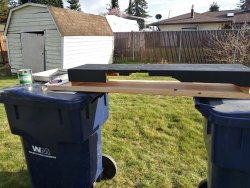
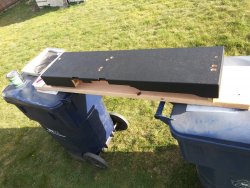
Now comes the fun part. After pondering the idea of a finish for it for awhile, decided on some Partsexpress Duratex paint for it and will match the amps really well. Black goes with anything.
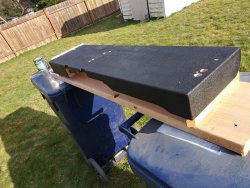

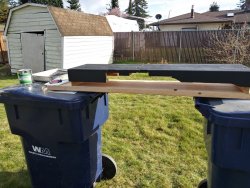


Boomin_tahoe 5,000+ posts
Hurtin' feelings errrday.
sdcerreta
CarAudio.com Newbie
Very nice work! I like the repurposing of the old rack. I would of just started over with new wood and wasted money. 
chadwilliam1
Member
MattinMO
Senior VIP Member
Boomin_tahoe 5,000+ posts
Hurtin' feelings errrday.
- Thread Starter
- #13
I hate it. It's getting worse. Thanks to the ******** that lived here before I bought the house, it used to be on the other side of the yard and used a excavator to drag it over to where you see it now hence why the structure is complete ****. It's getting torn down this summer.
Activity
No one is currently typing a reply...
About this thread
- Start date
- Participants
- Who Replied
- Replies
- 12
- Views
- 1,616
- Last reply date
- Last reply from
- Boomin_tahoe

