2008 G35s Sedan build

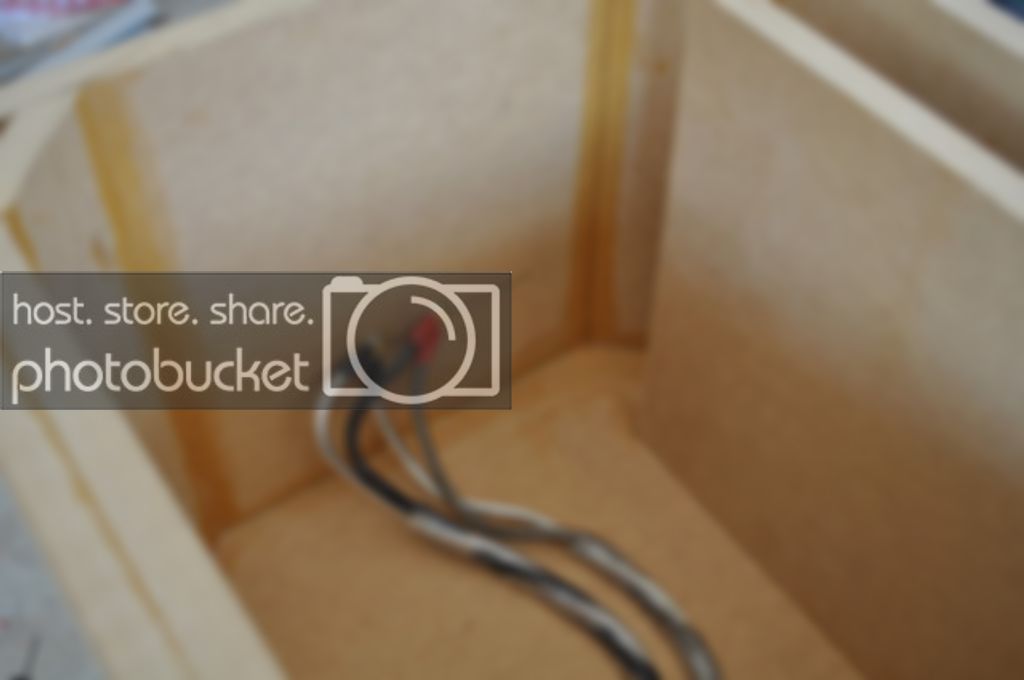
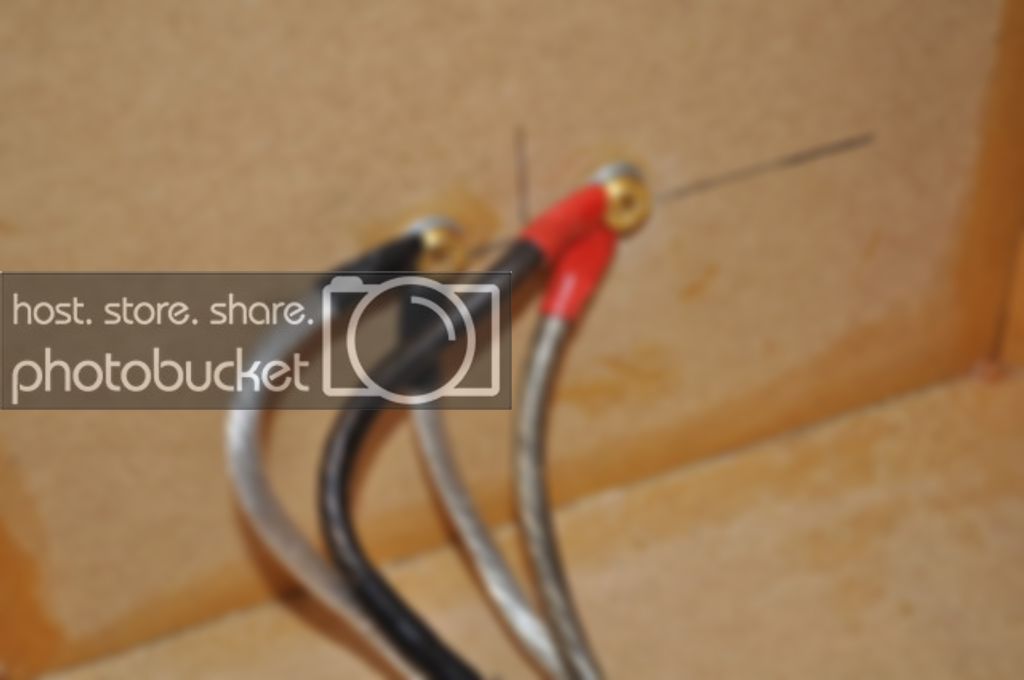
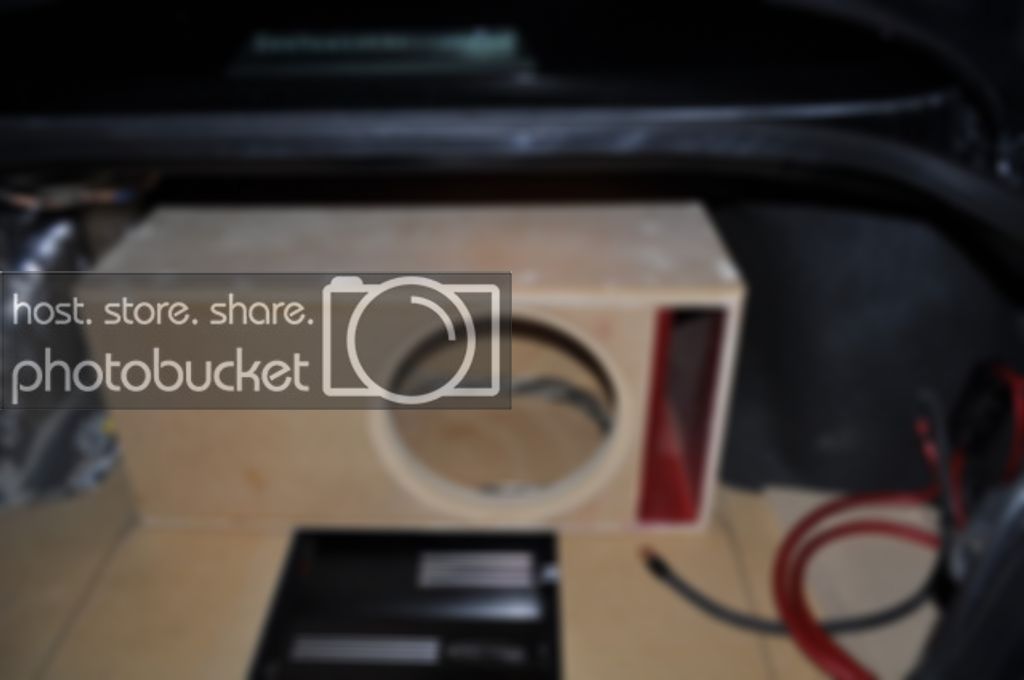
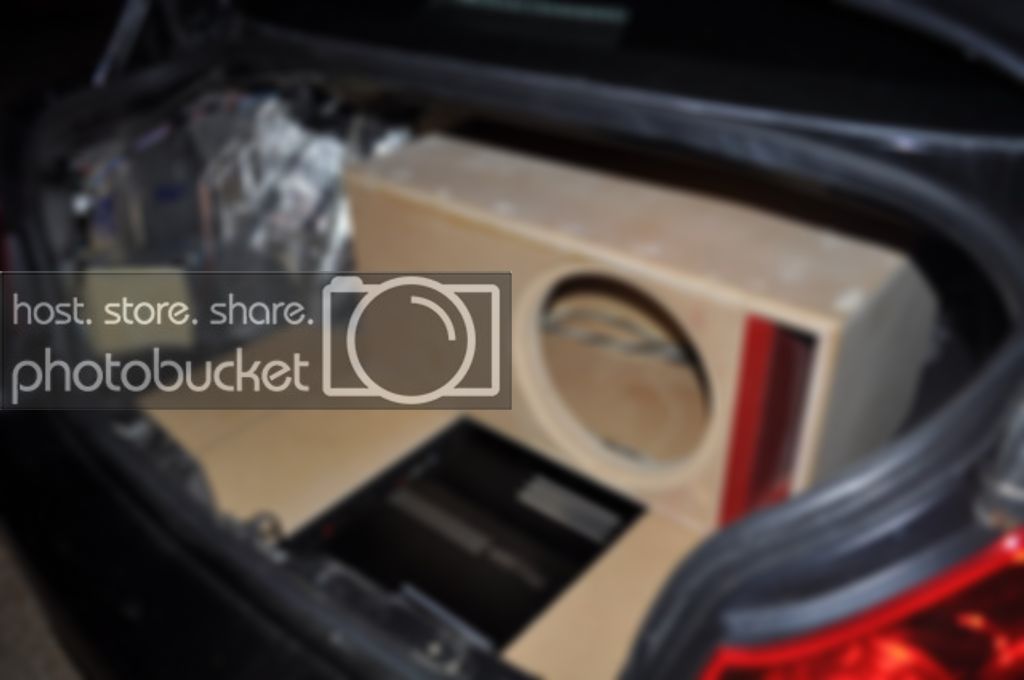
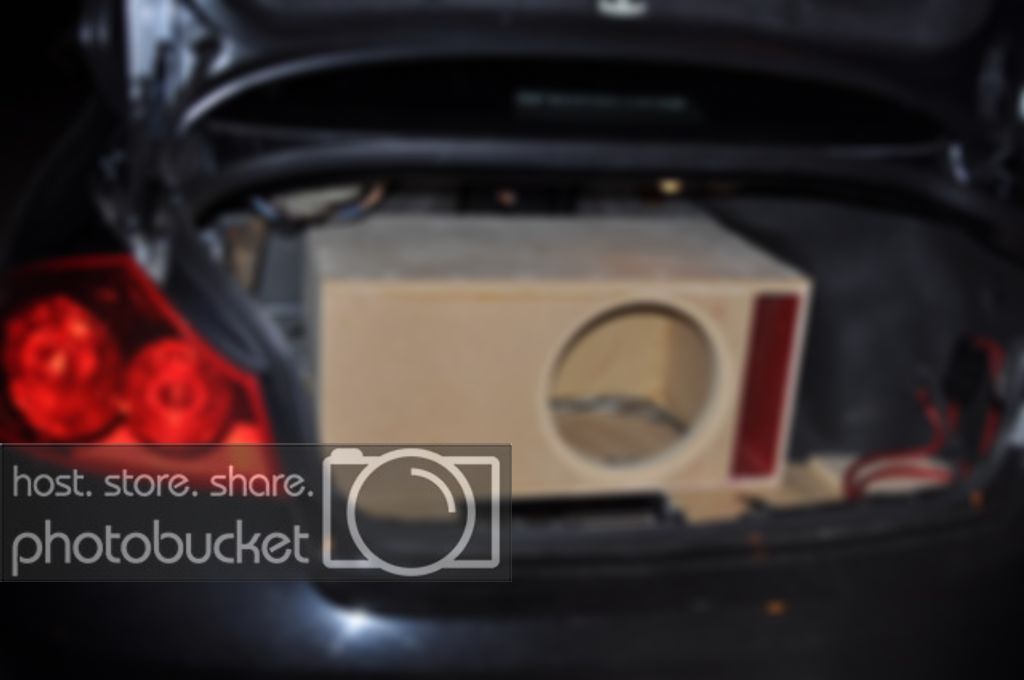
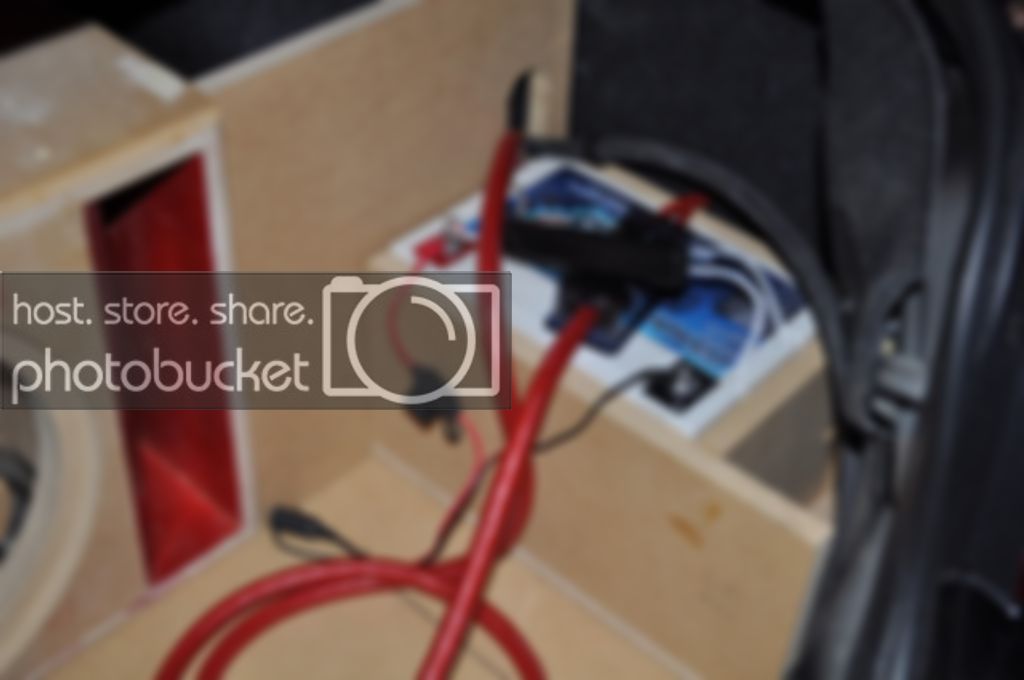
Thanks guys. Yes, the welding cable. I was planning on doing my whole build in welding cable. I bought a 15 foot section off here. Looked around for a while and couldnt find another section for my 2nd run, well at least at a reasonable price. I decided to stop being a cheap bastad and bit the bullet on a 20ft section of Knu Kolossus Fleks for my power wire. Big 3 is done with the exception of the alt to battery +. That **** alt is all the way UNDER the car behind all kinds of shit. I will have it done though, before I add my sub,sub amp, and extra battery.

 
Looks awesome so far. Any reason you chose to run a full length ground? Always envious of people with indoor work space and the wherewithal to leave a car in pieces for a while. Keep the pics coming.

 
Looks awesome so far. Any reason you chose to run a full length ground? Always envious of people with indoor work space and the wherewithal to leave a car in pieces for a while. Keep the pics coming.
Because I'm running 2 batteries. One up front and one in the trunk. Power and ground ran parallel from battery to battery. The rear battery will pretty much be the power and ground distribution block. Yes, I've had trim and carpet all over my garage for the past few months, back in, back out, back in. Now, it's just pretty much all of the contents of my trunk that's gutted. The front stage amps are hooked up, and the HATS sound wonderful. Best component set I have ever owned. But then again, all I have ever dealt with before was Pioneer, JL Audio, and MB Quart(when it was good).

I need to set my gains for my mids but I'm not sure which test tone to use. Always before, I have used 1000hz test tones to set my front stage gains with a DMM. Well, that was with components running off the same amp. My mids and tweets are separate and I'm thinking I am supposed to go with a 500hz test tone for my mid amp but I'm not sure.

 
looks good. good attention to detail. bummer you're sacrificing the spare for those small amps - did you consider the rear corners of the trunk - vertically?

you'll enjoy the tweeters mounted like that. don't be afraid to experiment with other heights. you can always recover the apillars to hide the holes - or just order new ones for $30 when you nail down the height. when testing the Scion we found that we could adjust the height and depth of the sound stage by simply changing the tweeter sphere height on the apillars.

 
Thanks Keep. Yeah I thought about the corners for the amps, but I will be having a battery in one corner, then 3 amps, passive xovers, and an audio Control Lc2i left to squeeze in the other. I think that would be too much going on in that one corner, and would only fit if I built some kind of shelving type system. I left a little space on the amp rack pictured in the thread to mount my sub amp vertically against the back of the trunk(by the trunk lid). But to be honest, I'm still not sure what I'm going to do with it. I will just have to see how much room the enclosure takes up and go from there I suppose.

The spheres, I love them. Before I finished them I had the tweets velcro'd to the pillars for positioning and buddy there is a night and day difference. I thank you, because I would have never went that route had I not seen your build.

 
I understand the challenges with finding space in the trunk. The spare tire well is an easy choice.

I am glad you like the spheres and that my build gave you confidence. Sometimes you gotta try something new.

 
I bought a new tablesaw last week simply because I am really tired of wasting time aligning the guide for the circlar saw, just to have one end of the cut be 1/8" off when done. I LOVE this thing. It made this enclosure build so much faster and better.

photo1-1.jpg


I received my plans from Pete and it ended up being a rather simple build. No complaints from me. From the measurements, I calculated the box to be 2cuft "tuned to 28hz"

pwk.png


And on with the build pics. The box is finished up 1/2" roundovers are on the face, I might hit the back of the box with 1 1/4" roundovers. I plan to use black carpet or a combination of carpet/vinyl trim covering.

1300.jpg


13016.jpg


13017.jpg


13018.jpg


130110.jpg


130112.jpg


130113.jpg


Did the tweeter pods/spheres come with the tweeters or was that something you purchased separately? I really like em...

EDIT: Nevermind, found KeepHopeAlive's writeup //content.invisioncic.com/y282845/emoticons/smile.gif.1ebc41e1811405b213edfc4622c41e27.gif

 
Did the tweeter pods/spheres come with the tweeters or was that something you purchased separately? I really like em...
EDIT: Nevermind, found KeepHopeAlive's writeup //content.invisioncic.com/y282845/emoticons/smile.gif.1ebc41e1811405b213edfc4622c41e27.gif
Yeah, made them myself. I bought the wooden balls from Michael's, when rang up at the register they are called "doll heads". I put them in the vice and used a 2 1/8" hole saw to get the outside dia, then a 1 3/4" holesaw for the inner edge of the pod. I found a "router" dremel tool to eliminate everything inside the inner circle. It worked pretty well, but I'm sure there are other ways to do it. About 5 light coats of VHT Caliper paint and a couple light coats of clear. Oh yeah, I drilled a 3/8 inch hole in the side to run the threaded brass into the spheres. They are made for lighting fixtures. The nuts to mount them should be in the same section.

 
Did a few more things, still seems I have a long ways to go.

14002.jpg


14003.jpg


14004.jpg


14005.jpg


14006.jpg


140010.jpg


Some things are just set in the trunk and not secured just to see how they fit. Everything should align just fine when put together. I will be adding a horizontal trim piece on top of the enclosure and side pieces to make everything uniform. The side of the battery mount will have a cutout/window to see the XS Power logo. I'm still unsure of what I will be covering everything with. I can't wait to finish this up.

 
We don't see a lot of builds of this caliber here anymore, I'm stoked to see the finished product //content.invisioncic.com/y282845/emoticons/smile.gif.1ebc41e1811405b213edfc4622c41e27.gif

 
Thanks Bubba, I'm extremely picky, but patient. I learn new stuff every day and everything I've done so far I've kind of played it by ear because there was really no master plan. I hope to have it finished soon.

 
Activity
No one is currently typing a reply...
Old Thread: Please note, there have been no replies in this thread for over 3 years!
Content in this thread may no longer be relevant.
Perhaps it would be better to start a new thread instead.

Similar threads

I am installing a Maestro SW, steering wheel control in a 2008 Honda CRV. When I flashed the unit it gave me instructions stating that I needed...
0
952
And it works great with android phones, you can connect, and what can you say about android radio tape recorders are now leaders in functionality...
2
1K
ie just used a new adapter because adapters ignition wiring wouldn't keep constant, works fine now and stopped sending sensors off, never had the...
9
1K

About this thread

Nut Hair Trick

10+ year member
Pubes
Thread starter
Nut Hair Trick
Joined
Location
Arlington, Tn
Start date
Participants
Who Replied
Replies
30
Views
3,833
Last reply date
Last reply from
Pearson
IMG_5860.jpeg

Brendon Jenness

    May 8, 2024
  • 0
  • 0
Screenshot 2023-12-02 161309.png

Doxquzme

    May 8, 2024
  • 0
  • 0

Latest topics

Top