highlander15
CarAudio.com Newbie
Hi all,
I’m beginning an audio project on my car and need some advice on the wiring that happens on the highlander JBL systems. From my research it is difficult to access and tap into the existing factory wiring. So my plan is to add new 2 way components to the front of the car doors/tweeter location and a coaxial in the rear doors. Plus a 10” sealed subwoofer in the trunk. I’ll be bypassing the JBL amp and all stock speakers.
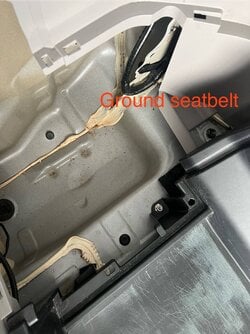
How do I tap into the factory wiring at the doors? The molex connector doesn’t allow for speaker wiring to pass through easily. Any advice on getting wiring to the stock locations? I have the metro adapters to tap into the stock wiring, but where do I access them after that.
Thank you!
Current EQ
HU: Pioneer 5000NEX
AMP: Kicker 1200.5
SPEAKERS: Morel components and coax
SUB: Sundown SML-10
WIRE: NVX 4 gauge
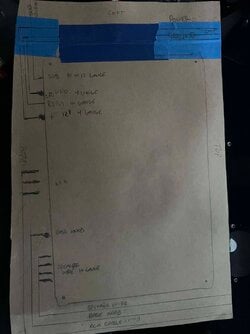
Starting to map out amp location and wiring runs
I’m beginning an audio project on my car and need some advice on the wiring that happens on the highlander JBL systems. From my research it is difficult to access and tap into the existing factory wiring. So my plan is to add new 2 way components to the front of the car doors/tweeter location and a coaxial in the rear doors. Plus a 10” sealed subwoofer in the trunk. I’ll be bypassing the JBL amp and all stock speakers.
How do I tap into the factory wiring at the doors? The molex connector doesn’t allow for speaker wiring to pass through easily. Any advice on getting wiring to the stock locations? I have the metro adapters to tap into the stock wiring, but where do I access them after that.
Thank you!
Current EQ
HU: Pioneer 5000NEX
AMP: Kicker 1200.5
SPEAKERS: Morel components and coax
SUB: Sundown SML-10
WIRE: NVX 4 gauge
Starting to map out amp location and wiring runs
- Build Photo
- Okay
Attachments

Last edited:

