Bettr n' Revrse
5,000+ posts
I do what I want
Alright guys I just got a motor that was in desperate need of some TLC... I decided I would clean it up a bit and about half way through I figured I would make a "How to/DIY" Thread for you guys so you could do the same if you have a motor in need... I tried to get as many pics as I could but as I said I decided to make a thread about half way trough so I missed a little... If any of you guys have questions or want me to clear anything up just ask and Ill try to keep this as informative as possible...
What you will need-
Some other things that may be helpful-
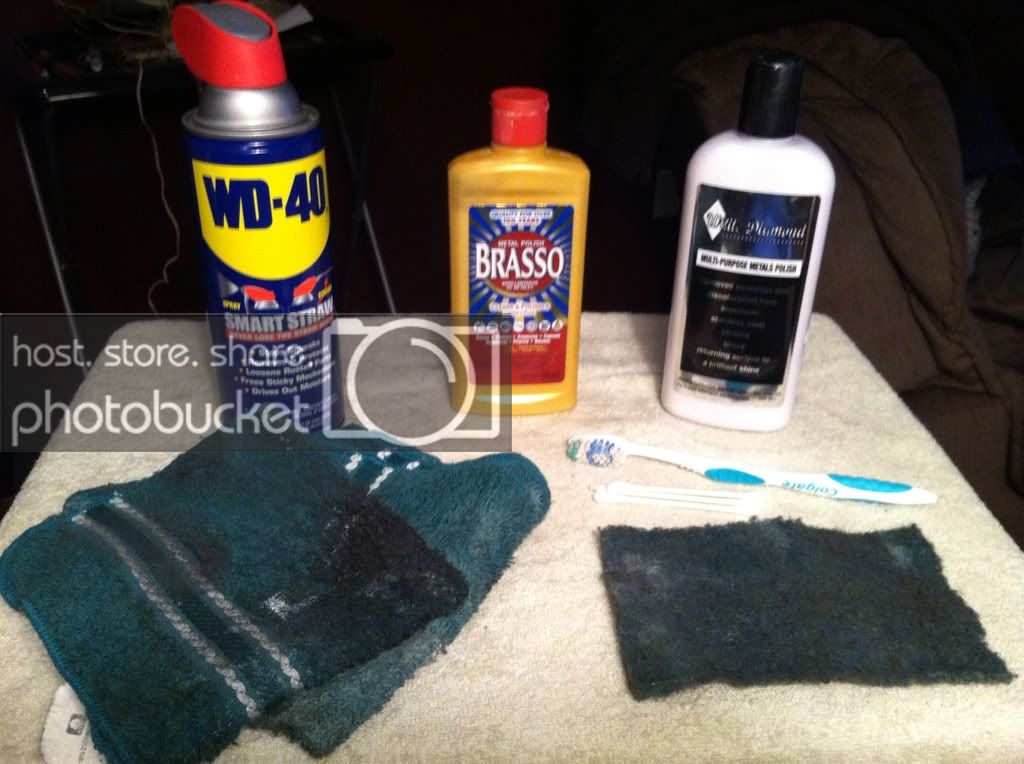
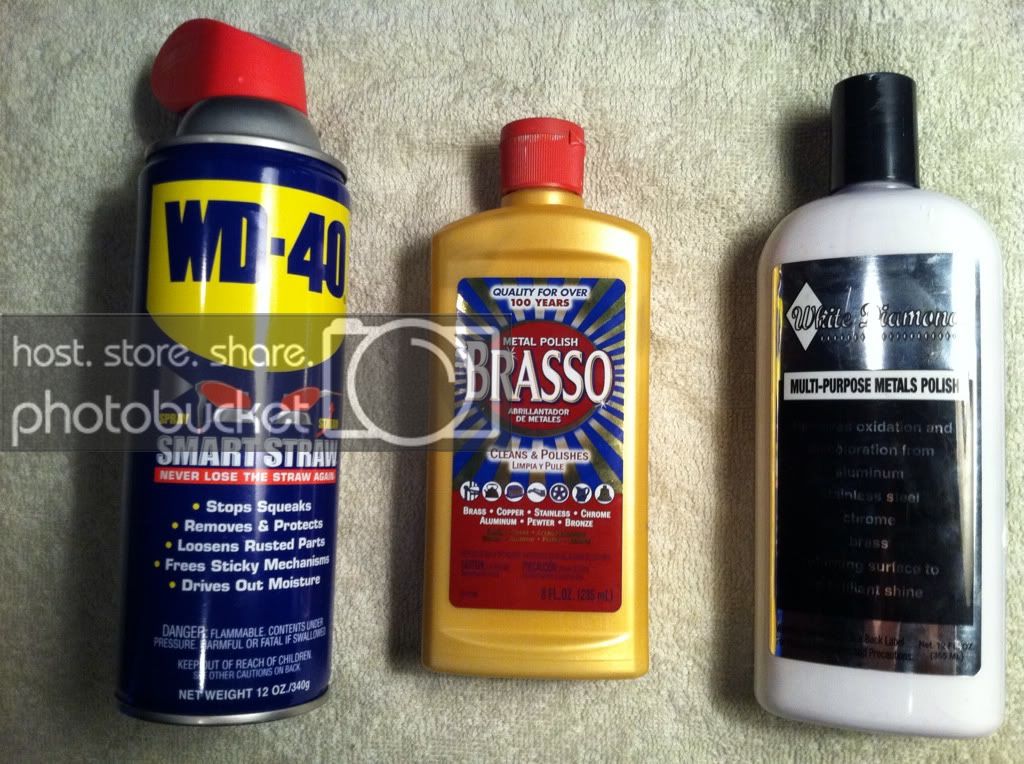
Pics of the materials-
Some Precautions you may want to take note of-
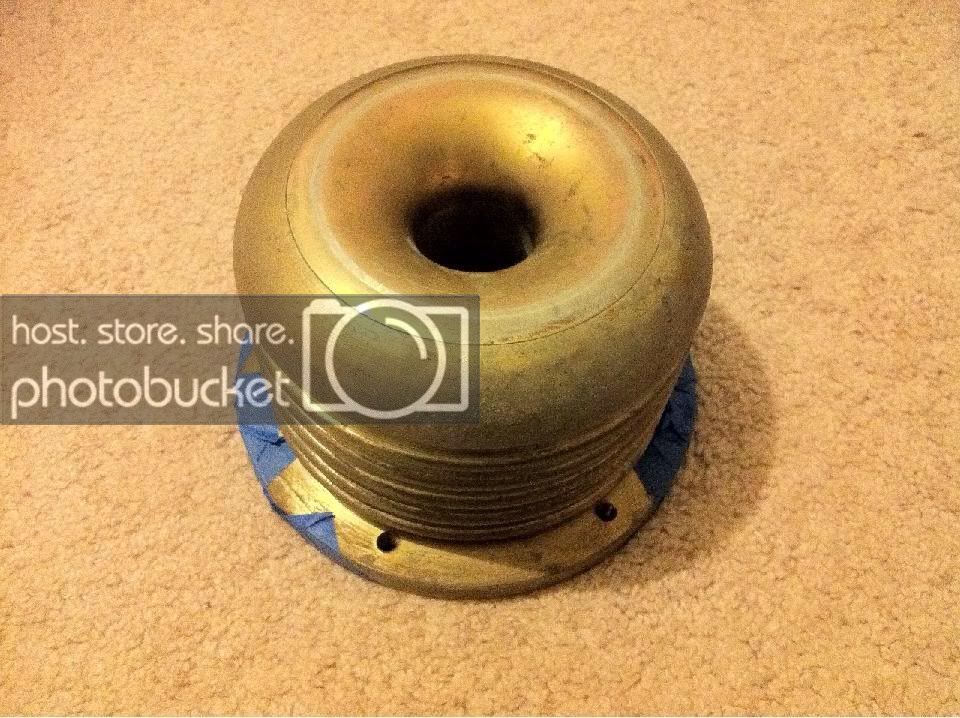
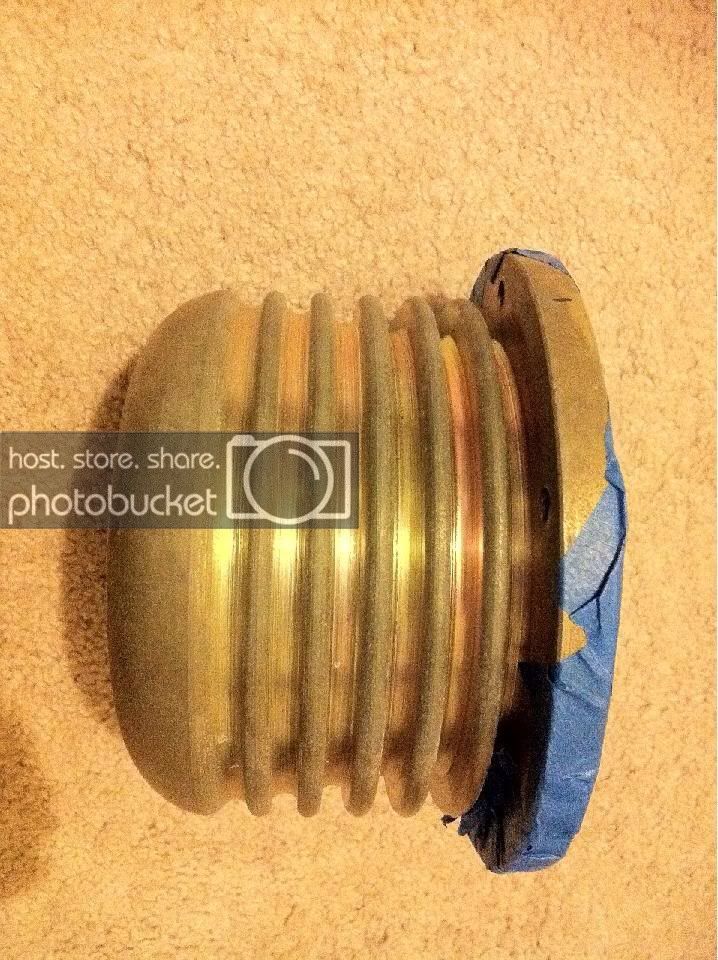
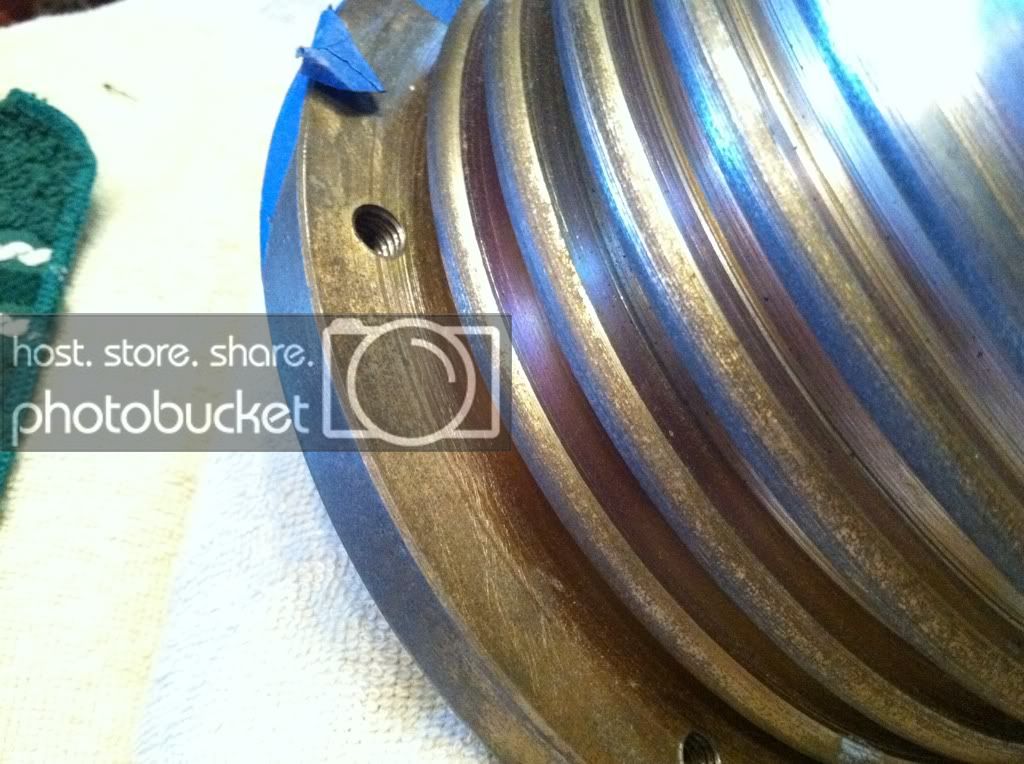
Here are some before pics of the motor so you can get a sense of what this can do for you...
It was pretty much gold colored and covered in surface rust...
Now on to the steps I went through, Ill break it down by Stages based on the products... You may be able to skip some depending on the condition of your motor...
Stage One- WD-40
The WD-40 is to break down any heavy surface rust or corrosion built up on the motor...
Here is a pic of before and after this stage-
Before, which was very rough feeling and pretty much brown/gold
After a little scrubbing, very smooth and starting to look like steel
Stage 2- Brasso
The Brasso will now be the first stage of polishing after you take of the heavy corrosion off...
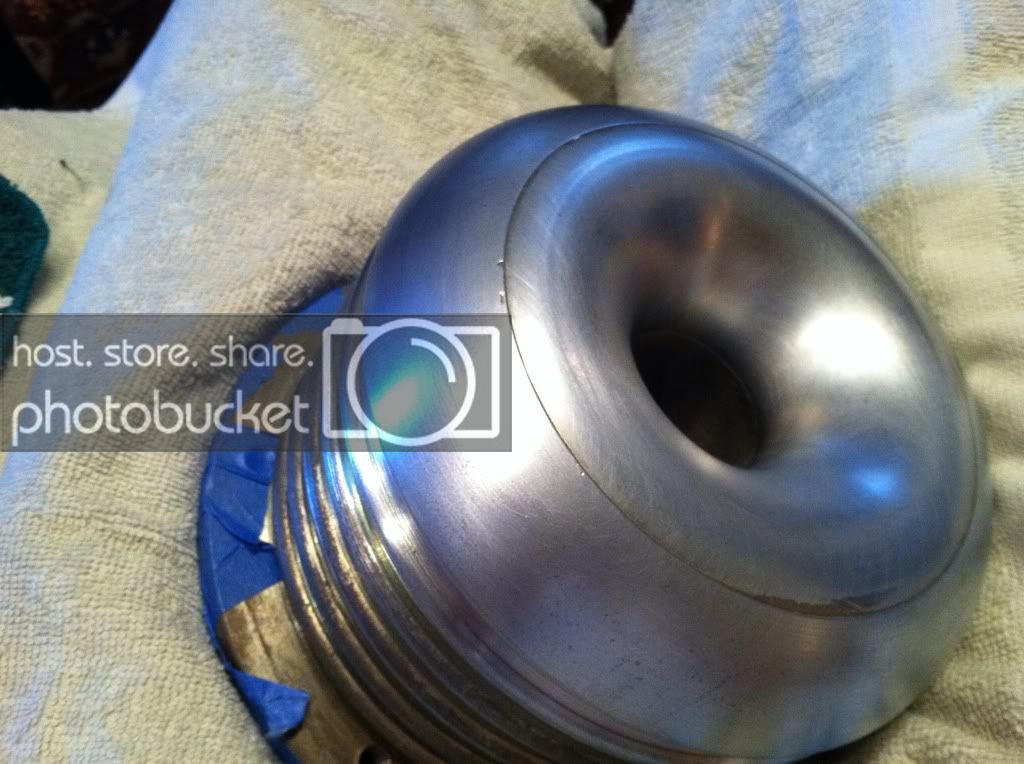
Here is an after pic of this step-
It should have the look of brushed aluminum, not extremely shinny but clean...
Stage 3- White Diamond Polish
This is the final step that will really make it shine...
Final Clean Up-
After you are done with all of the stages was your hands and clean up your area to remove any of the black residue
Then take a brand new rag and wipe down the motor removing any of the left over residue which could leave it looking dull and splotchy
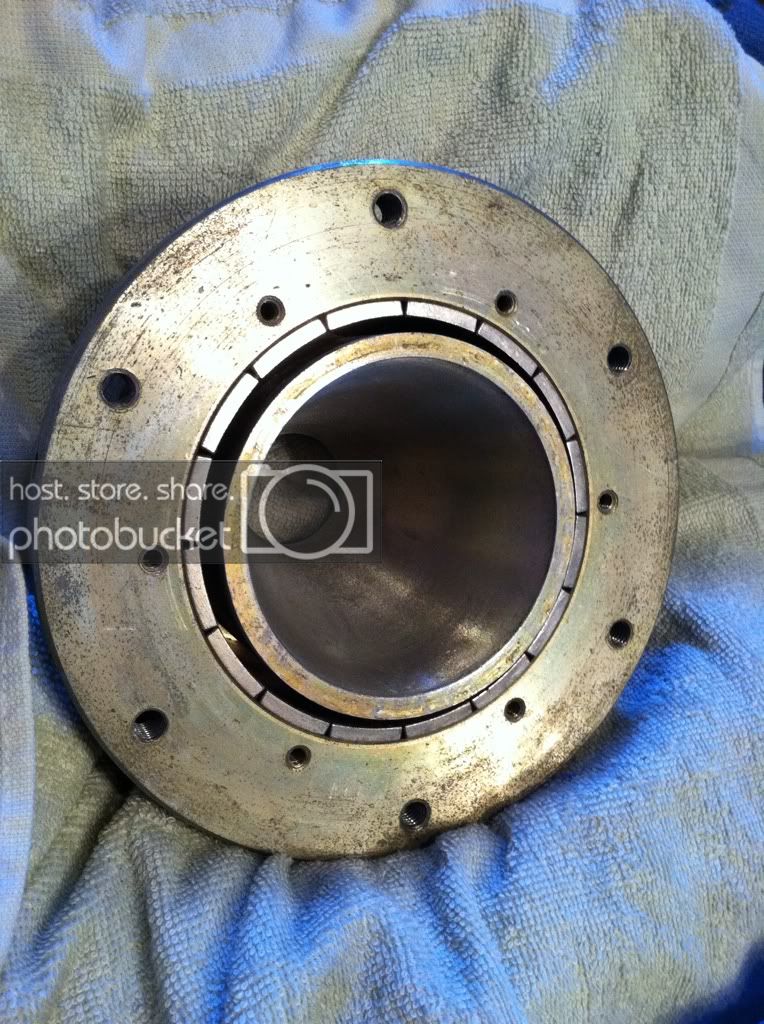
Here are the final results you should see after a couple hours of following these steps
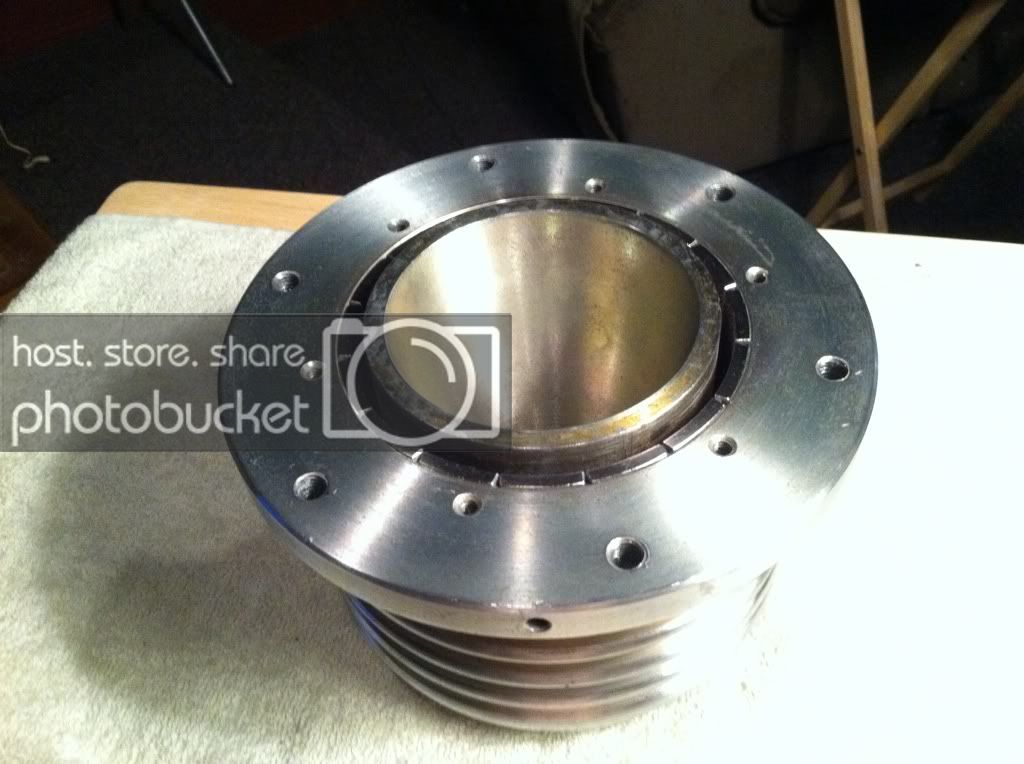
Also here is a Tc9 motor I did with just the Second Stage (Brasso) since it was not in too bad of shape... Just used Brasso, A rag, and A Scotch Bright Pad... The Diamond Polish would have really made it shine but it was sold right after however it gives you an idea...

I hope you guys enjoyed this thread and hopefully it can help you out... Sorry for the pics as well I just used my phone... If you have any questions or need anything cleared up just ask and Ill try to clear it up for you as I said...
This post has been promoted to an article
What you will need-
- Green Scotch Bright Pads
- Soft Cotton Rags (3 or 4)
- Brasso Metal Polish
- WD-40
- White Diamond Multi-Purpose Metal Polish
Some other things that may be helpful-
- A Towel to set your motor on
- Q-Tips or an old tooth brush for tight spaces
- Paper towels
Pics of the materials-
Some Precautions you may want to take note of-
- Obviously pay attention to the warning labels on the products and read the directions
- Be very weary as to not get any of the product into the Coil Gap on the motor
- You will make a little mess and get black from the polish so wear an set of clothes you dont mind getting a little messy and gloves if you dont want to get anything on your hands
- The Brasso is Ammonia based so it is not the best thing for your skin or to breath but isnt going to kill you in small amounts
- I laid out a towel on the table I was working on so I didnt scratch the table or motor and it made it easier to move around as well
Here are some before pics of the motor so you can get a sense of what this can do for you...
It was pretty much gold colored and covered in surface rust...
Now on to the steps I went through, Ill break it down by Stages based on the products... You may be able to skip some depending on the condition of your motor...
Stage One- WD-40
The WD-40 is to break down any heavy surface rust or corrosion built up on the motor...
- Take a rag and soak a little with the WD-40 so you can wipe it around the motor pretty heavily or you can also lightly spray a little directly on the motor and spread it around...
- Let it sit for a little while to loosen up the rust
- After its sat for a bit light scrub the surface with a Scotch Pad to further break down anything left and to aid the WD-40 to do its job
- Once you feel you have cleaned off most of the heavy stuff wipe the motor down with a clean section of rag of a paper towel to clean off the excess WD-40
Here is a pic of before and after this stage-
Before, which was very rough feeling and pretty much brown/gold
After a little scrubbing, very smooth and starting to look like steel
Stage 2- Brasso
The Brasso will now be the first stage of polishing after you take of the heavy corrosion off...
- Take another one of your rags and dab some of the Brasso on to it to apply it to the motor
- Work a small area of the motor at a time in a circular motion with a decent amount of pressure
- You may also use the Brasso in the same way with a Scotch Pad for tougher areas but be careful not to scratch the motors surface
- Do not wipe the it off right away though as it will have a much better result if you leave it on the surface for a minute or two
- After you feel you have polished the area enough wipe it clean with a paper towel for the next step
Here is an after pic of this step-
It should have the look of brushed aluminum, not extremely shinny but clean...
Stage 3- White Diamond Polish
This is the final step that will really make it shine...
- Take another one of your clean rags and pour a little of the Diamond Polish onto a corner
- Work it the same as Brasso (Small area in circular motion)
- You will notice after you have worked the polish a little it will begin to turn black once it gets to that stage leave it alone and allow it to sit for a minute or 2 as it will work much better this way
- Once you have allowed it to sit wipe it off with a clean section of your rag and you should be able to notice it becoming more chrome like and shinny then the Brasso had left it
Final Clean Up-
After you are done with all of the stages was your hands and clean up your area to remove any of the black residue
Then take a brand new rag and wipe down the motor removing any of the left over residue which could leave it looking dull and splotchy
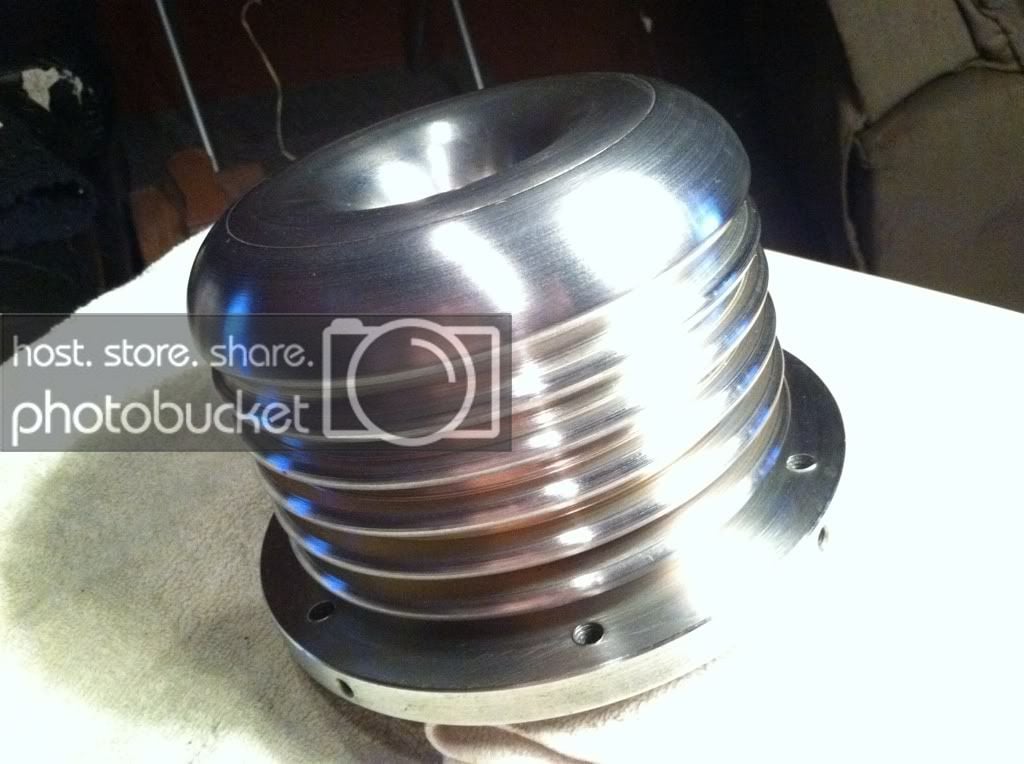
Here are the final results you should see after a couple hours of following these steps
Also here is a Tc9 motor I did with just the Second Stage (Brasso) since it was not in too bad of shape... Just used Brasso, A rag, and A Scotch Bright Pad... The Diamond Polish would have really made it shine but it was sold right after however it gives you an idea...
I hope you guys enjoyed this thread and hopefully it can help you out... Sorry for the pics as well I just used my phone... If you have any questions or need anything cleared up just ask and Ill try to clear it up for you as I said...
This post has been promoted to an article


