2014 Lexus GS350 Operation: Snow White Mosconi JL Audio Hertz

  • 2
    Participant count
  • Participant list

Octave
10+ year member

Member
This wasn't a fairy tale install thanks to the owner. So I won't be giving much details here. Surffice to say if you see him do not I repeat DO NOT do business with him. This is a warning.

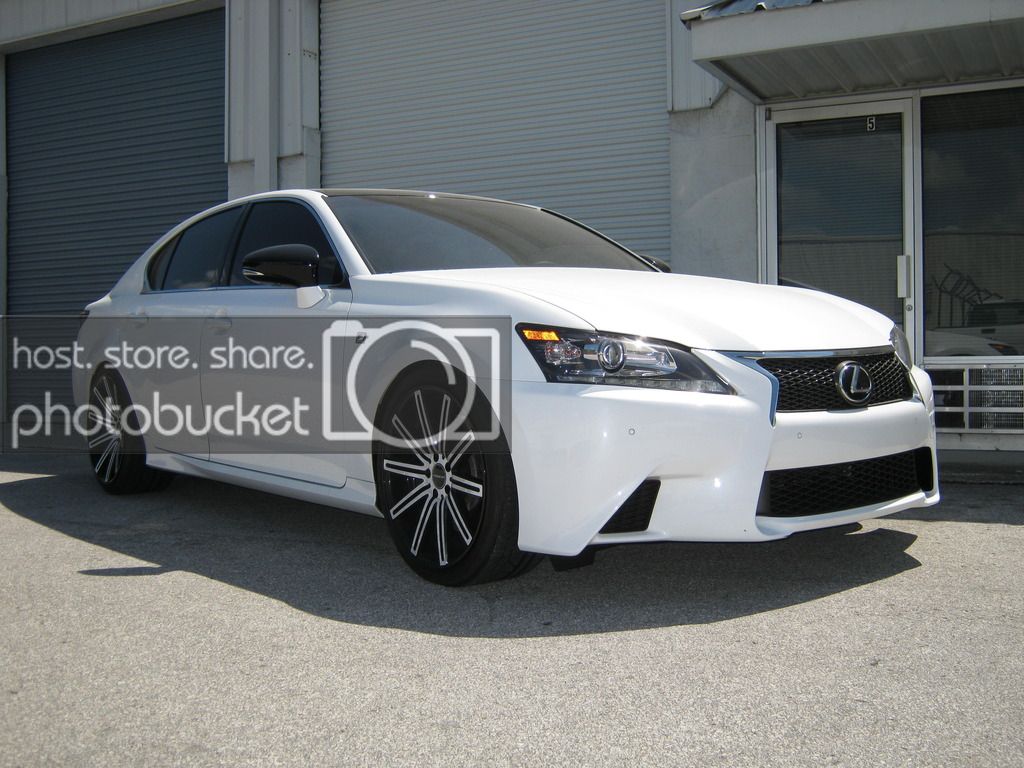
The car - 2014 Lexus GS350

The equipment - Hertz HSX 165

- Hertz HCX 165

- JL Audio 12w3v3-4

- JL Audio XD 800/8v2

- JL Audio XD 1000/1v2

- Mosconi 4to6

- BatCap Model 800


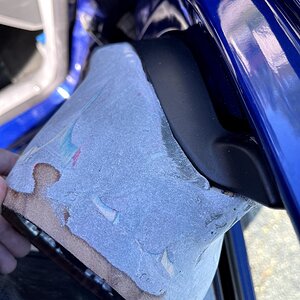
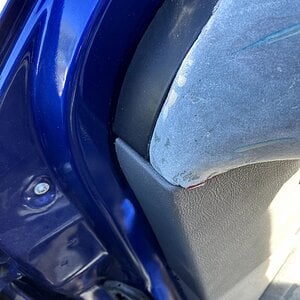
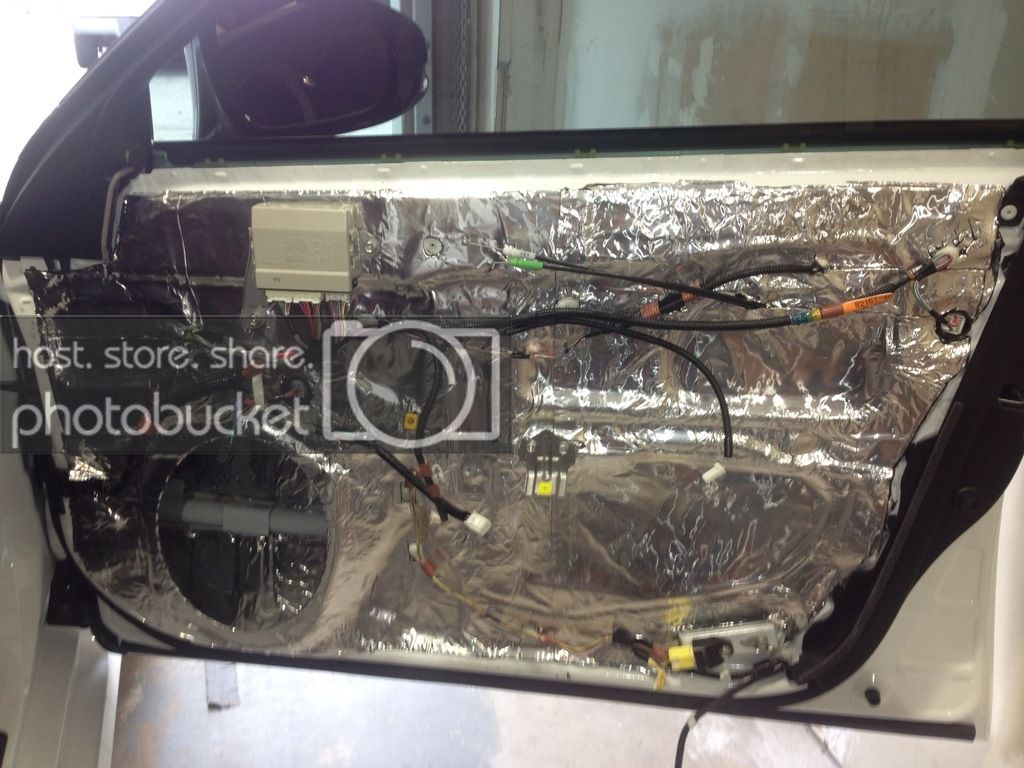
A layer of Hush Mat Ultra was applied to the outside skin.


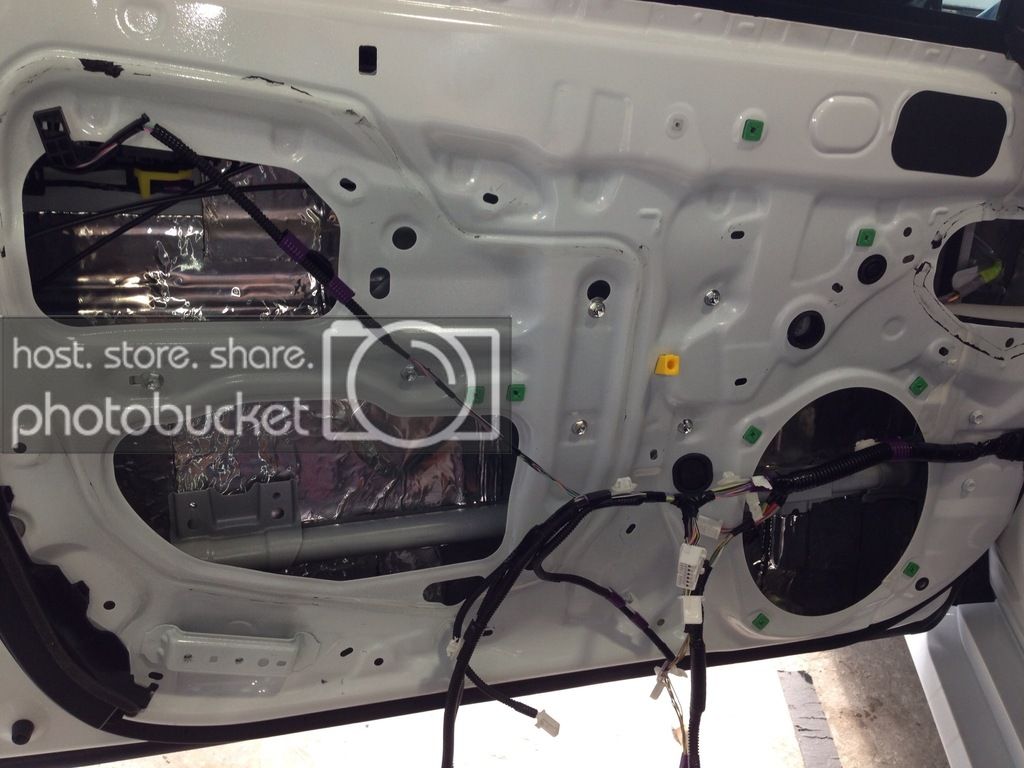
Then a layer was applied to the inside skin.


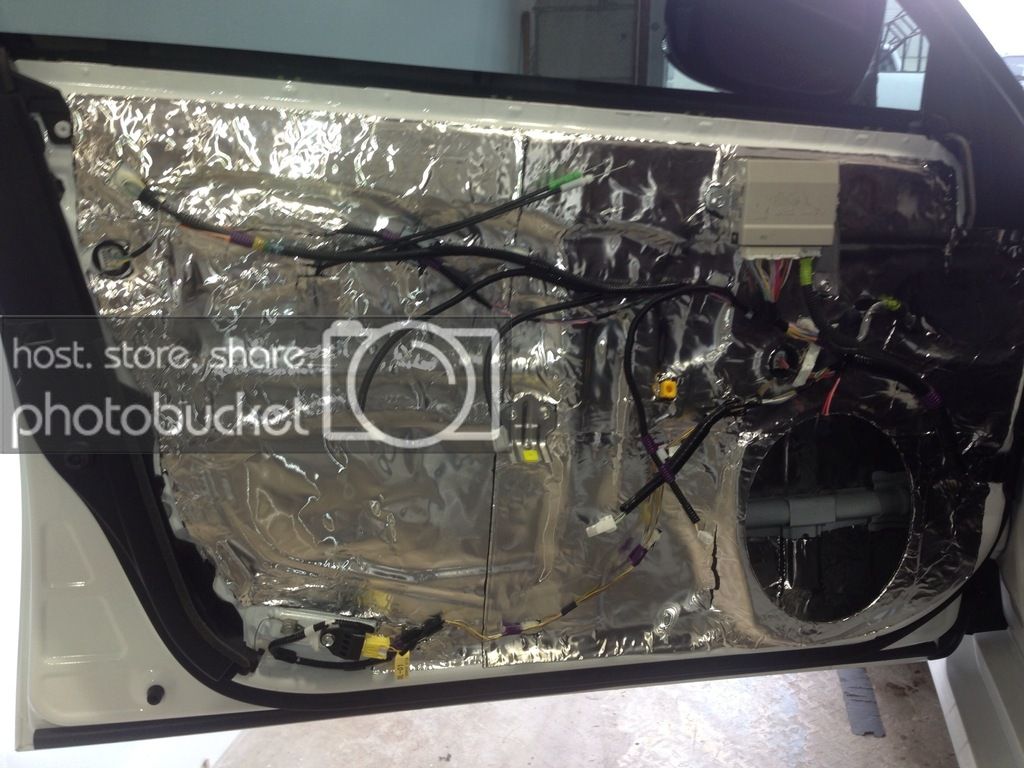
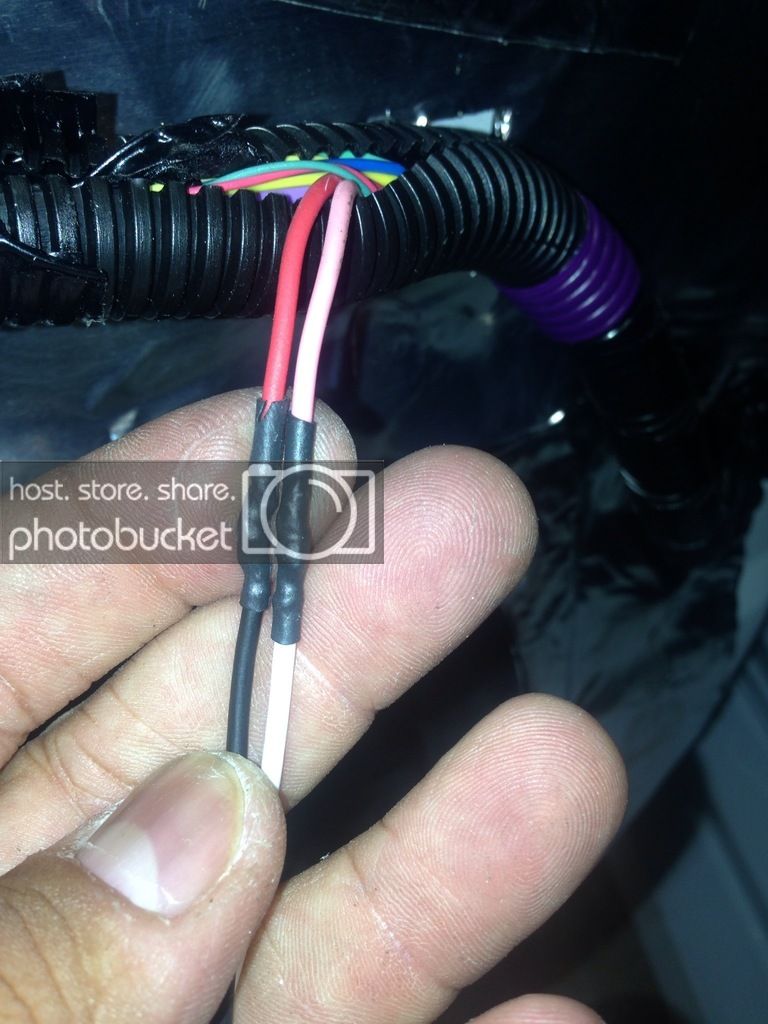
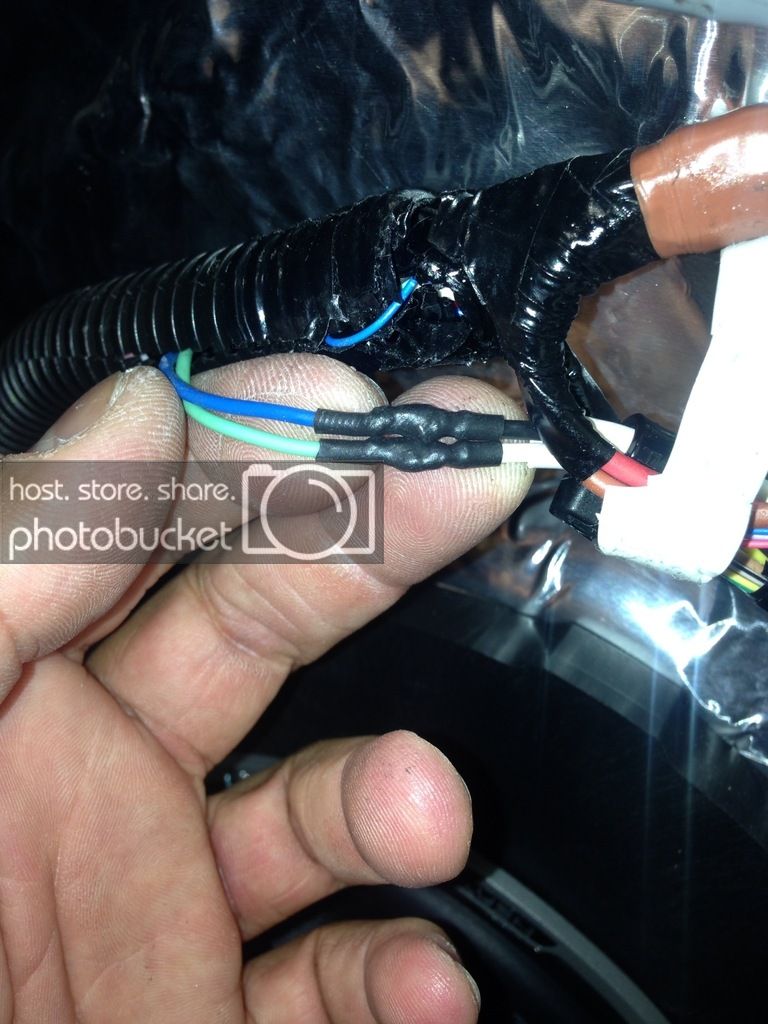
The molex plug in the door jam didn't have provisions to run speaker wire through it so I soldered onto the OEM door speaker wiring.


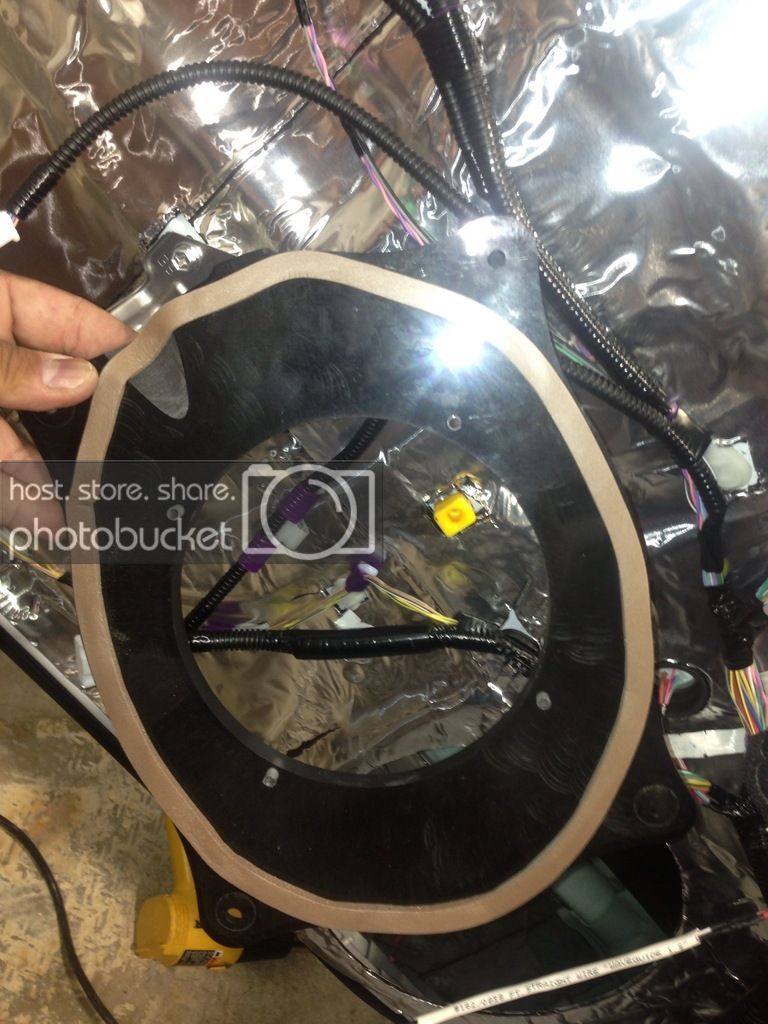
True to Octave fashion plexiglass mounting rings were fabbed up.


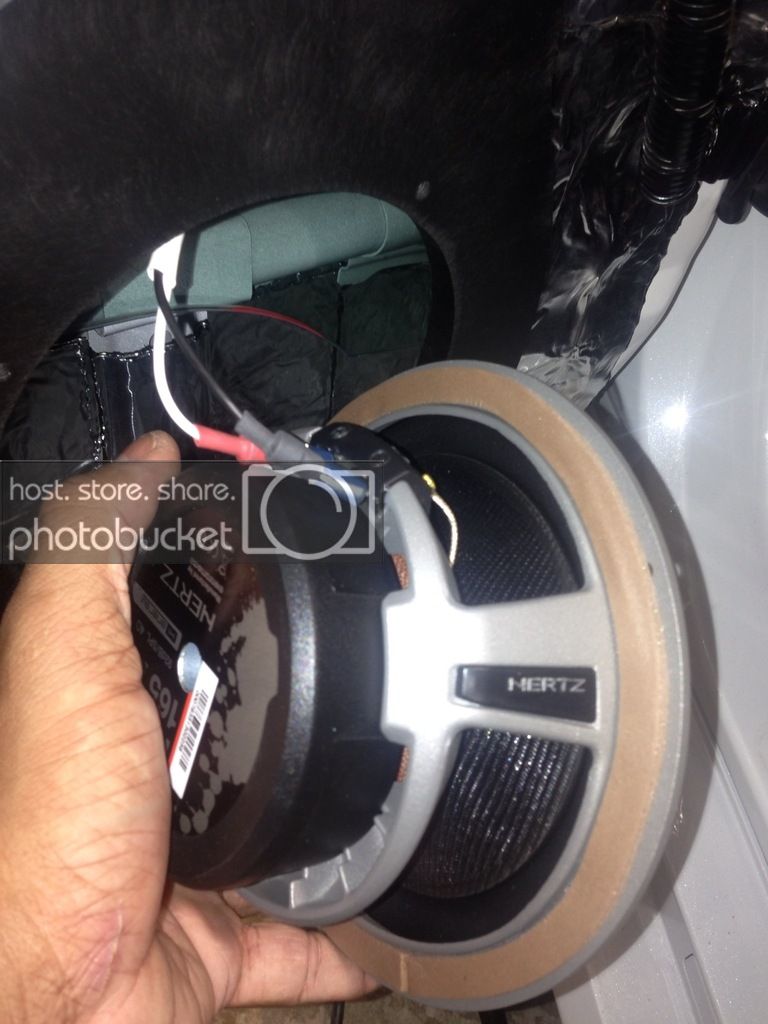
The Hertz HSX 165 woofer received a foam gasket and heat shrunk terminal leads.


The plexiglass mounting plate utilizes OEM mounting hardware.


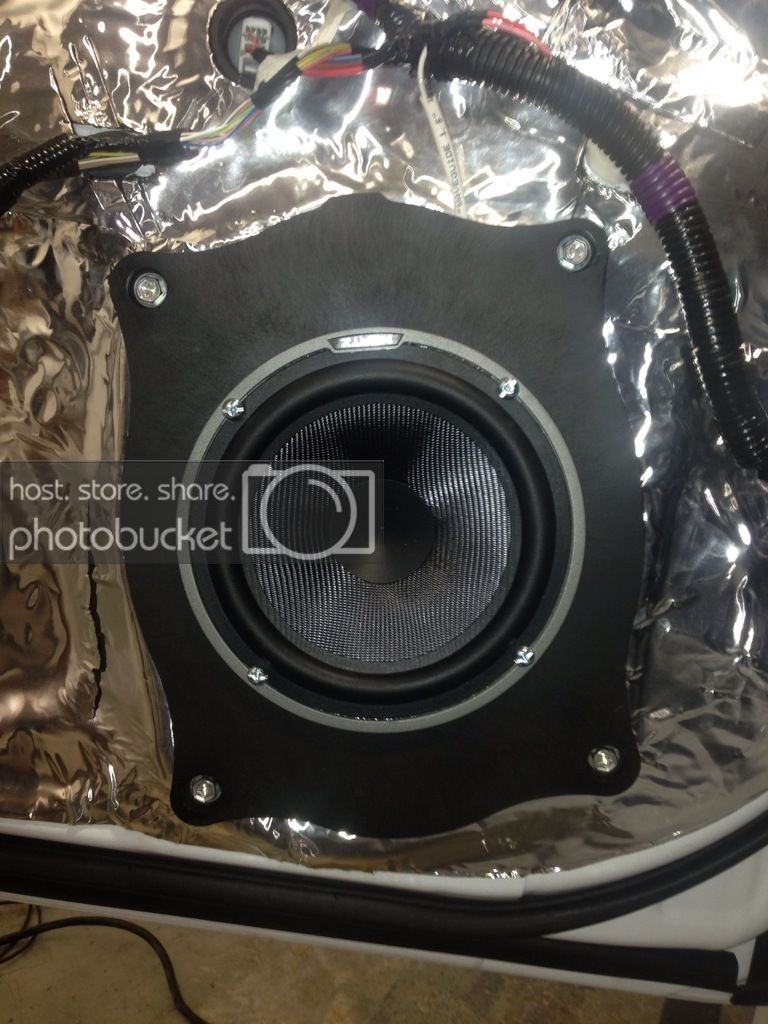
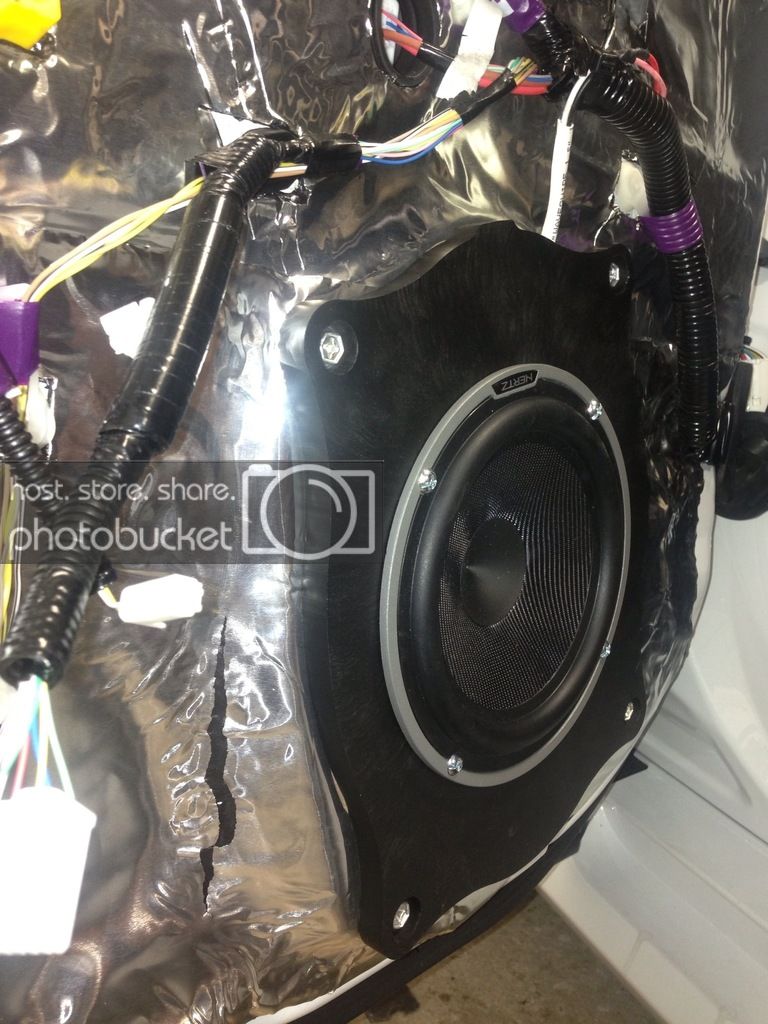
The passenger door received the same treatment.


The rear doors received the same treatment as the front doors.


Just like the front doors the OEM speaker leads needed to be soldered onto.


The Hertz HCX 165 got the same treatment as the front woofers.


A Stinger amplifier kit was provided by owner.


Since I soldered the OEM wiring inside the doors I needed to do the same in the interior. A fair amount of OEM wires needed to be moved out of the way to access the door speaker wire.


The power wire was ran down the passenger side of the vehicle.


While running the power wire I soldered the back passenger door plug so I could run the speaker wire as I ran the power wire.


There is an OEM pass through for wiring that made running the power wire into the trunk an easy process.


With the power wire ran I turned my attention to finishing up the interior wiring. The tweeters were next. Quick disconnect connections were used and color heat shrunk.


The mounting strap that came with the component set lined right up with the OEM bolt holes.


Speaker wire run to the back started. Hush Mat Quite Tape was used to secure the speaker wire.


The same process of soldering the speaker wire in the kick panel was performed in the driver's kick.


The driver's tweeter received the same attention as the passenger.


The driver's kick panel had just as much to remove to access the door speaker. Once done everything was tied up and ran clean.


Rear door speaker wire soldered.


The driver's side has the same pass through as the passenger.


With the front done the trunk received a full dampening treatment with Hush Mat.


The enclosure was made out of birch plywood and bolted to the trunk using 1/4-20 bolts and rivet nuts.


The amplifier rack was made out of birch plywood, bolted down using rivet nuts and 1/4-20 bolts


A BatCap Model 800 was mounted to the under side of the amplifier to provide an additional power reserve. A metal mounting bracket was welded up to secure the BatCap.


Audio Signal was tapped at the OEM amplifier. The leads were soldered and heat shrunk.


Time was taken to lay out the wiring so that signal and power wire were completely separate of each other. The passive crossover networks for the front stage were also located in the rear on the rack.


The design of the trunk used the interior accents, colors and textures to give a integrated look. With the amplifier rack cover panel in place and carpet the trunk could still be used.


A vinyl trim panel covers the amplifiers.


With the cover panel removed the beauty underneath can be revealed. IMO pictures do not do this trunk justice. The enclosure is a slot ported enclosure that I hide the ports behind grille cloth covered trim. 3 types of vinyl were used to give an OEM feel.


This close up shows the intricate panel work and the attention to detail on the fit and finish. The devil is in the details and sometimes these little things get lost.


Well that's about it. This was a bitter sweet install. I never really got to tune it but I can tell you it got loud and slammed. The design of the trunk has to be one of my favorite that I have done. If you're in the Georgia area and see this car tell the owner what a great job I did.

Russ,

 
The design of the trunk used the interior accents, colors and textures to give a integrated look. With the amplifier rack cover panel in place and carpet the trunk could still be used.


A vinyl trim panel covers the amplifiers.


With the cover panel removed the beauty underneath can be revealed. IMO pictures do not do this trunk justice. The enclosure is a slot ported enclosure that I hide the ports behind grille cloth covered trim. 3 types of vinyl were used to give an OEM feel.


This close up shows the intricate panel work and the attention to detail on the fit and finish. The devil is in the details and sometimes these little things get lost.


Well that's about it. This was a bitter sweet install. I never really got to tune it but I can tell you it got loud and slammed. The design of the trunk has to be one of my favorite that I have done. If you're in the Georgia area and see this car tell the owner what a great job I did.

For more visit http://www.OCTAVEONLINE.com

Russ,

 
Activity
No one is currently typing a reply...
Old Thread: Please note, there have been no replies in this thread for over 3 years!
Content in this thread may no longer be relevant.
Perhaps it would be better to start a new thread instead.

Similar threads

Another option is to get the 4 channel amplifier and purchase 2 surface mount speakers for the rear deck and 2 for the front kick panels. Running...
3
980
I just ordered a Sony XM-GS4 amp for the Focal door speakers. The Mosconi Pico 2 powers the factory subwoofer, and sail panel tweeters. I'll post...
3
680
Did you consider using the PAC AmpPRO 4, AP4-CH31? It will connect between factory amp and head unit and allow you to have RCA outputs for the amps.
5
1K
Do you have about $100 to waste? Try a cheap amp that has line-level inputs, see if that helps. WalMart carries a 4 Channel Jensen amp, for its...
8
1K
id put in a good new deck and front speakers, forget the rears (fade to the front). then when you get a new car, take the deck and front speakers...
3
987

About this thread

Octave

10+ year member
Member
Thread starter
Octave
Joined
Location
Orlando, FL
Start date
Participants
Who Replied
Replies
11
Views
3,608
Last reply date
Last reply from
Octave
IMG_0692.jpg

just call me KeV

    May 1, 2024
  • 0
  • 0
IMG_0691.jpg

just call me KeV

    May 1, 2024
  • 0
  • 0

Latest topics

Top