mail4youtoo
Junior Member
This is just a simple head unit install. I made a couple of modifications to make my life a little easier and I'm very happy with the way it came out.
I did a lot of research on stereo installs and asked many questions on multiple forums. I may have gone a little overboard with tools and items that I bought but I wanted to do this right.
I have a 2007 Nissan Altima 2.5S with factory ( non-Bose ) stereo with manual climate controls.
The AUX port on the front of my stereo was a little touchy and would crackle and hiss while listening to my Iphone which ****** on rough roads. The LCD display would act as if in slow motion when it was cold outside and fade out all together when it got to hot. I wanted something better!
I wanted a good but not to expensive double din stereo that
1 - I could sync my phone to for music and phone calls.
2 - Has USB support. I listen to audiobooks on long trips.
3 - Has a touch screen that I could customize to my liking.
4 - Has Pandora controls when synced to my phone.
5 - I could add to later if I wanted ( Sirius/XM , Amplifier )
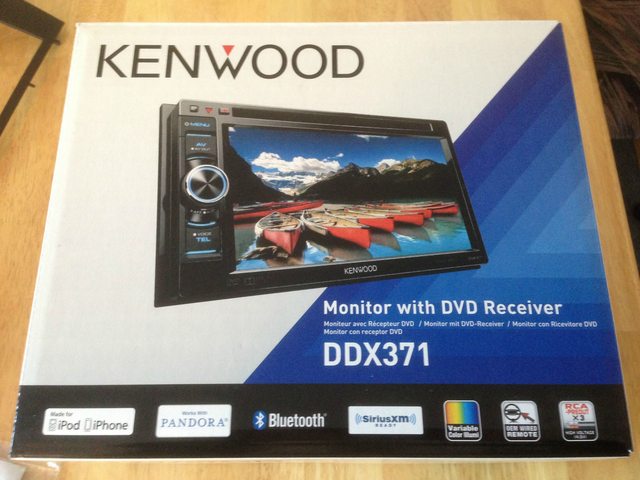
I decided to go with a newer model Kenwood. The DDX371
Kenwood DDX371
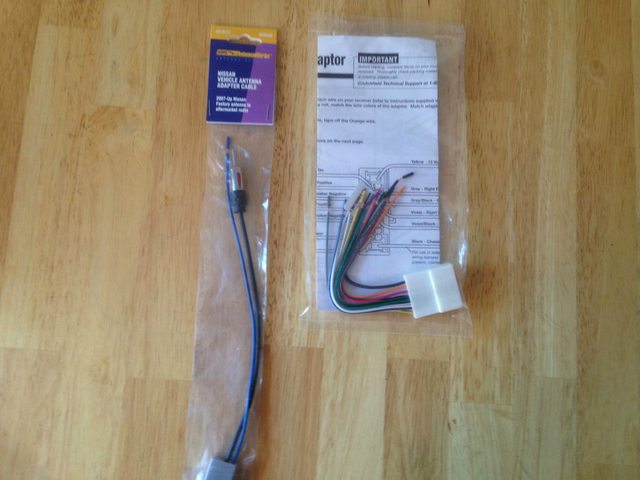
I ordered from Crutchfield and as such, the stereo came with the additional parts to install
Nissan Altima In-dash Receiver Kit

The Metra 70-7552 Receiver Wire Harness and Metra 40-NI12 Antenna Adapter
---
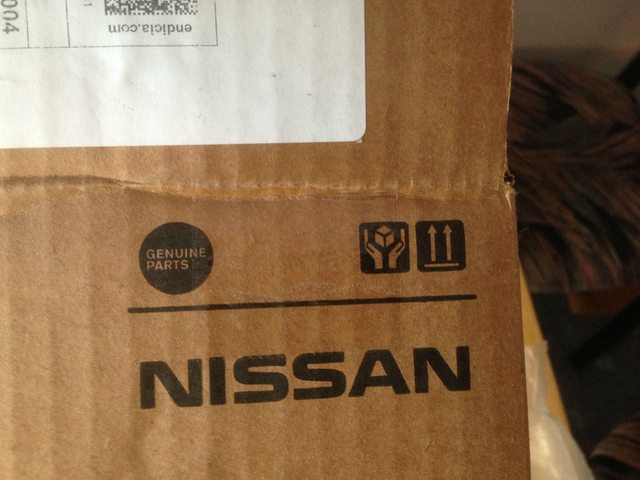
I did not like the look of the Scosche dash kit. It was made of a dull black plastic which did not match my cars interior at all. That is when I decided to do some more research and found a few posts saying that you could get a factory NAV kit from Nissan. The part number is 68260-JA00A. This part will work ONLY if you have the manual climate controls.
I ordered mine from autopartscheaper.com
It arrived in a Genuine Nissan parts box.
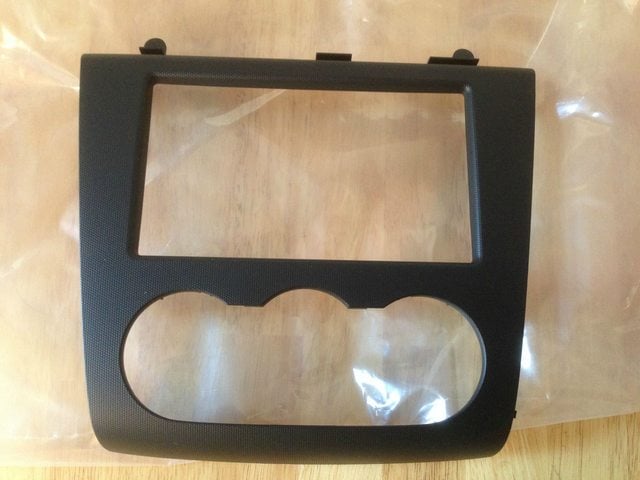
It may be hard to tell but the Nissan part is textured to match the cars interior perfectly
---
I picked up a few other items such as panel removal tools, heatshrink, solder etc from Harbor Frieght.


---
I gathered up the materials and attempted to solder the wiring harness together.
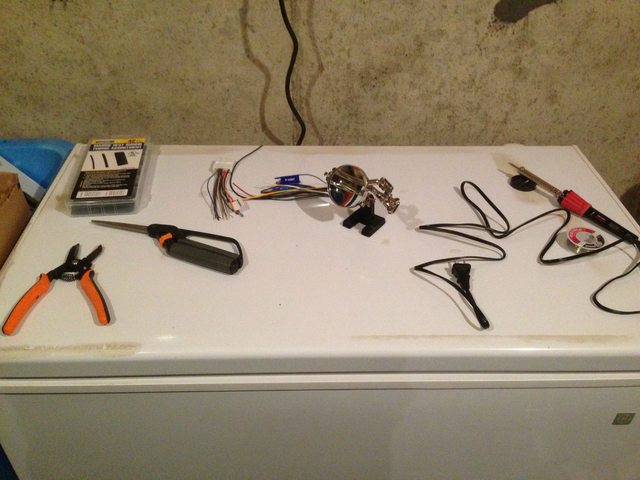
I learned an interesting detail about myself. I can't solder to save my life. I got it all done but it was messy as hell. At least the heatshrink tubing covered most of it up.

I did not connect the orange 'illumination' wire as the stereo has adjustments of its own. I also connected the blue wire on the antenna adapter to the blue/white 'P CONT' wire from the Kenwood harness. After asking on a few forums I was told that the normal blue wire on a Kenwood harness may not supply a sufficient 12V.
Now to remove the factory stereo
---
There is a great video on Youtube for the removal of the factory radio here.
This video was very easy to follow and I have my factory radio out in a few minutes.
EDIT: I guess I can only include 10 pictures in my post so I will continue this install blog in a comment to this post.
I did a lot of research on stereo installs and asked many questions on multiple forums. I may have gone a little overboard with tools and items that I bought but I wanted to do this right.
I have a 2007 Nissan Altima 2.5S with factory ( non-Bose ) stereo with manual climate controls.
The AUX port on the front of my stereo was a little touchy and would crackle and hiss while listening to my Iphone which ****** on rough roads. The LCD display would act as if in slow motion when it was cold outside and fade out all together when it got to hot. I wanted something better!
I wanted a good but not to expensive double din stereo that
1 - I could sync my phone to for music and phone calls.
2 - Has USB support. I listen to audiobooks on long trips.
3 - Has a touch screen that I could customize to my liking.
4 - Has Pandora controls when synced to my phone.
5 - I could add to later if I wanted ( Sirius/XM , Amplifier )
I decided to go with a newer model Kenwood. The DDX371
Kenwood DDX371
I ordered from Crutchfield and as such, the stereo came with the additional parts to install
Nissan Altima In-dash Receiver Kit
The Metra 70-7552 Receiver Wire Harness and Metra 40-NI12 Antenna Adapter
---
I did not like the look of the Scosche dash kit. It was made of a dull black plastic which did not match my cars interior at all. That is when I decided to do some more research and found a few posts saying that you could get a factory NAV kit from Nissan. The part number is 68260-JA00A. This part will work ONLY if you have the manual climate controls.
I ordered mine from autopartscheaper.com
It arrived in a Genuine Nissan parts box.
It may be hard to tell but the Nissan part is textured to match the cars interior perfectly
---
I picked up a few other items such as panel removal tools, heatshrink, solder etc from Harbor Frieght.
---
I gathered up the materials and attempted to solder the wiring harness together.
I learned an interesting detail about myself. I can't solder to save my life. I got it all done but it was messy as hell. At least the heatshrink tubing covered most of it up.
I did not connect the orange 'illumination' wire as the stereo has adjustments of its own. I also connected the blue wire on the antenna adapter to the blue/white 'P CONT' wire from the Kenwood harness. After asking on a few forums I was told that the normal blue wire on a Kenwood harness may not supply a sufficient 12V.
Now to remove the factory stereo
---
There is a great video on Youtube for the removal of the factory radio here.
This video was very easy to follow and I have my factory radio out in a few minutes.
EDIT: I guess I can only include 10 pictures in my post so I will continue this install blog in a comment to this post.