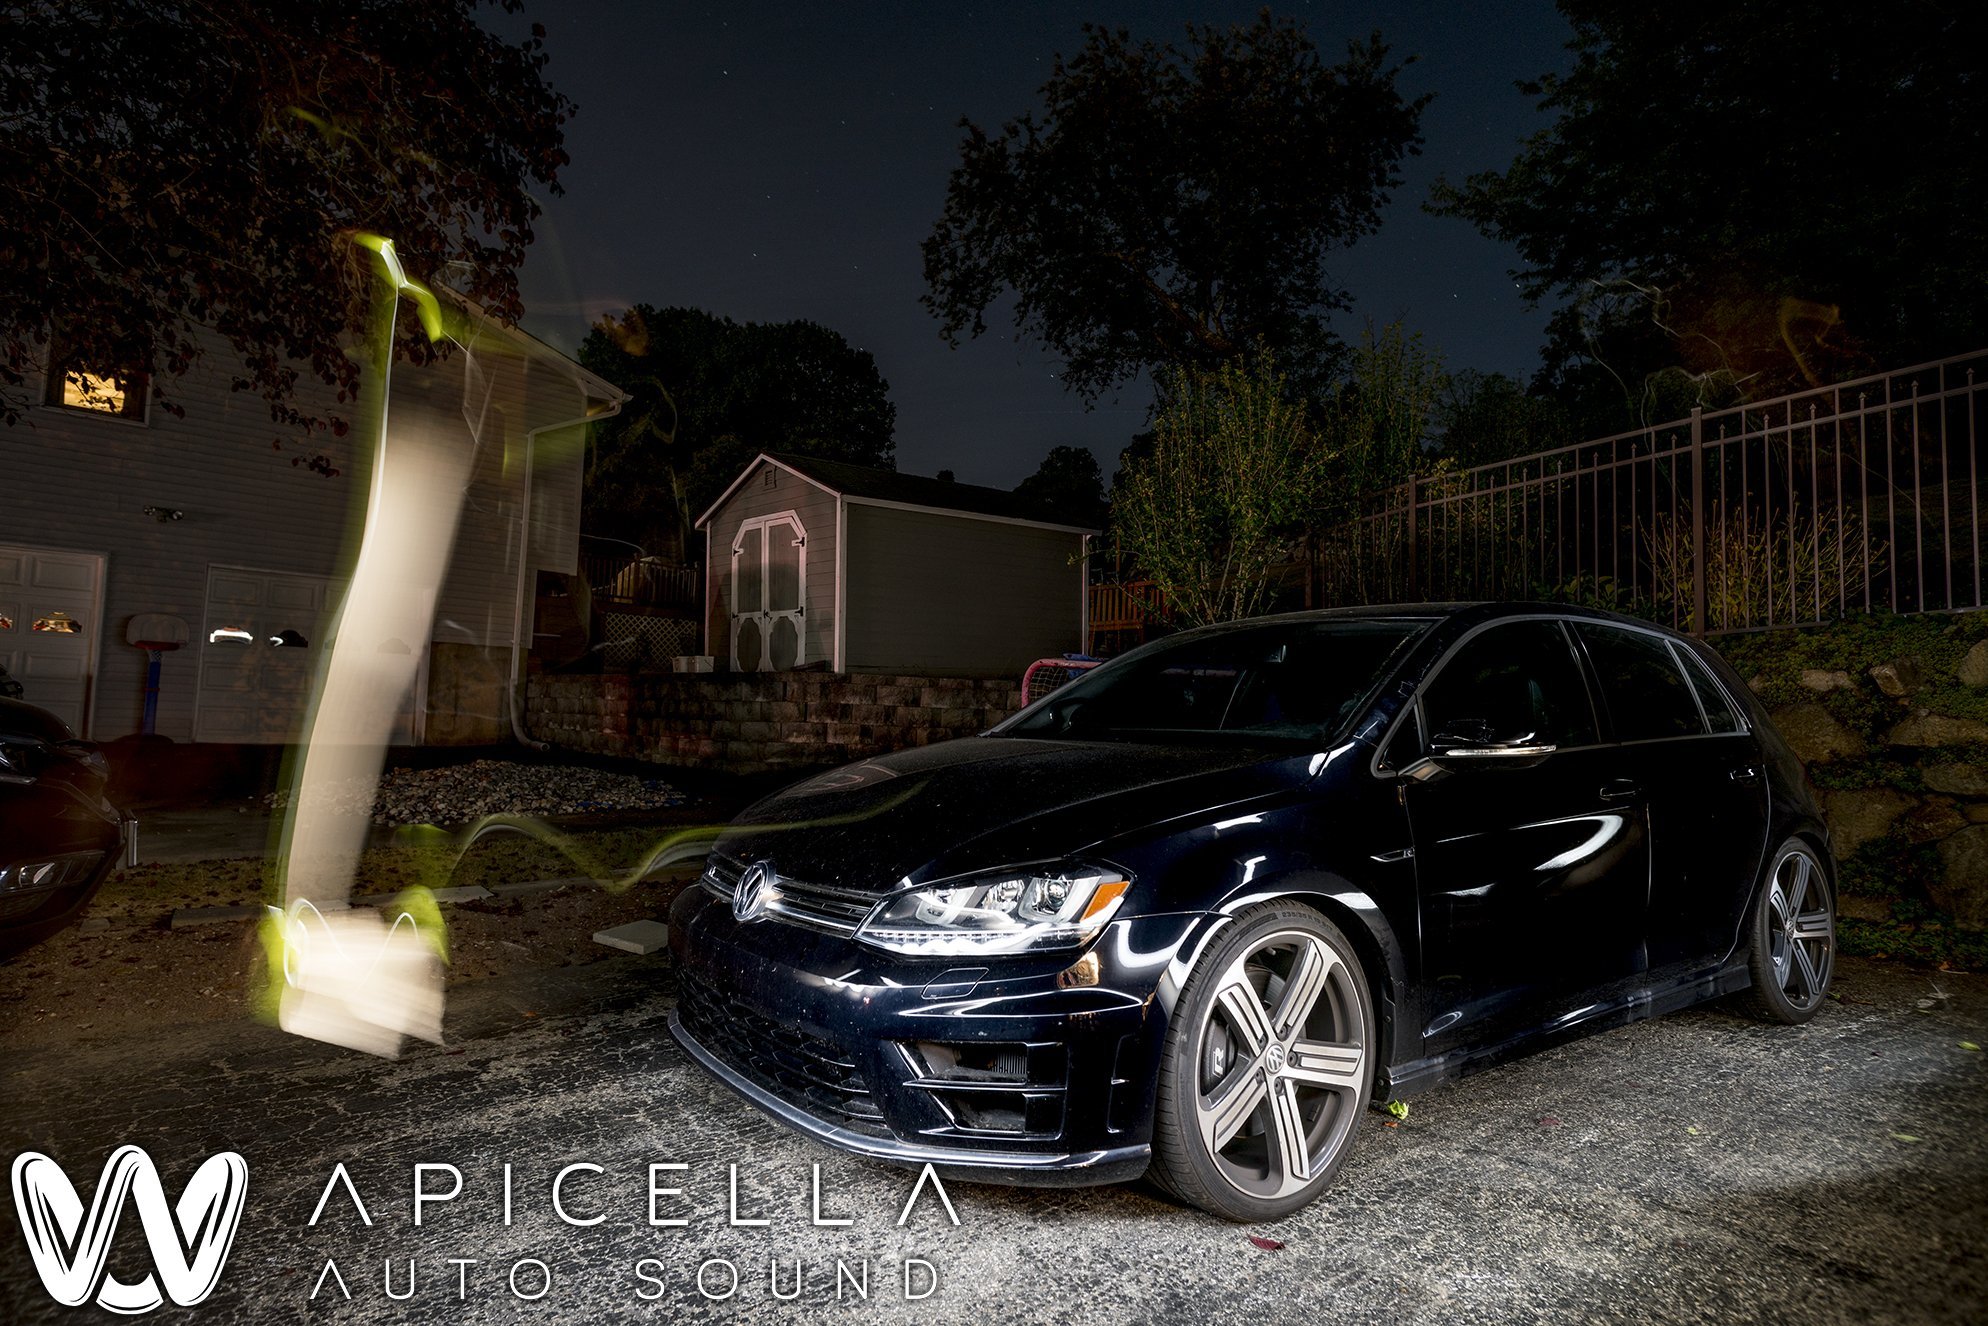
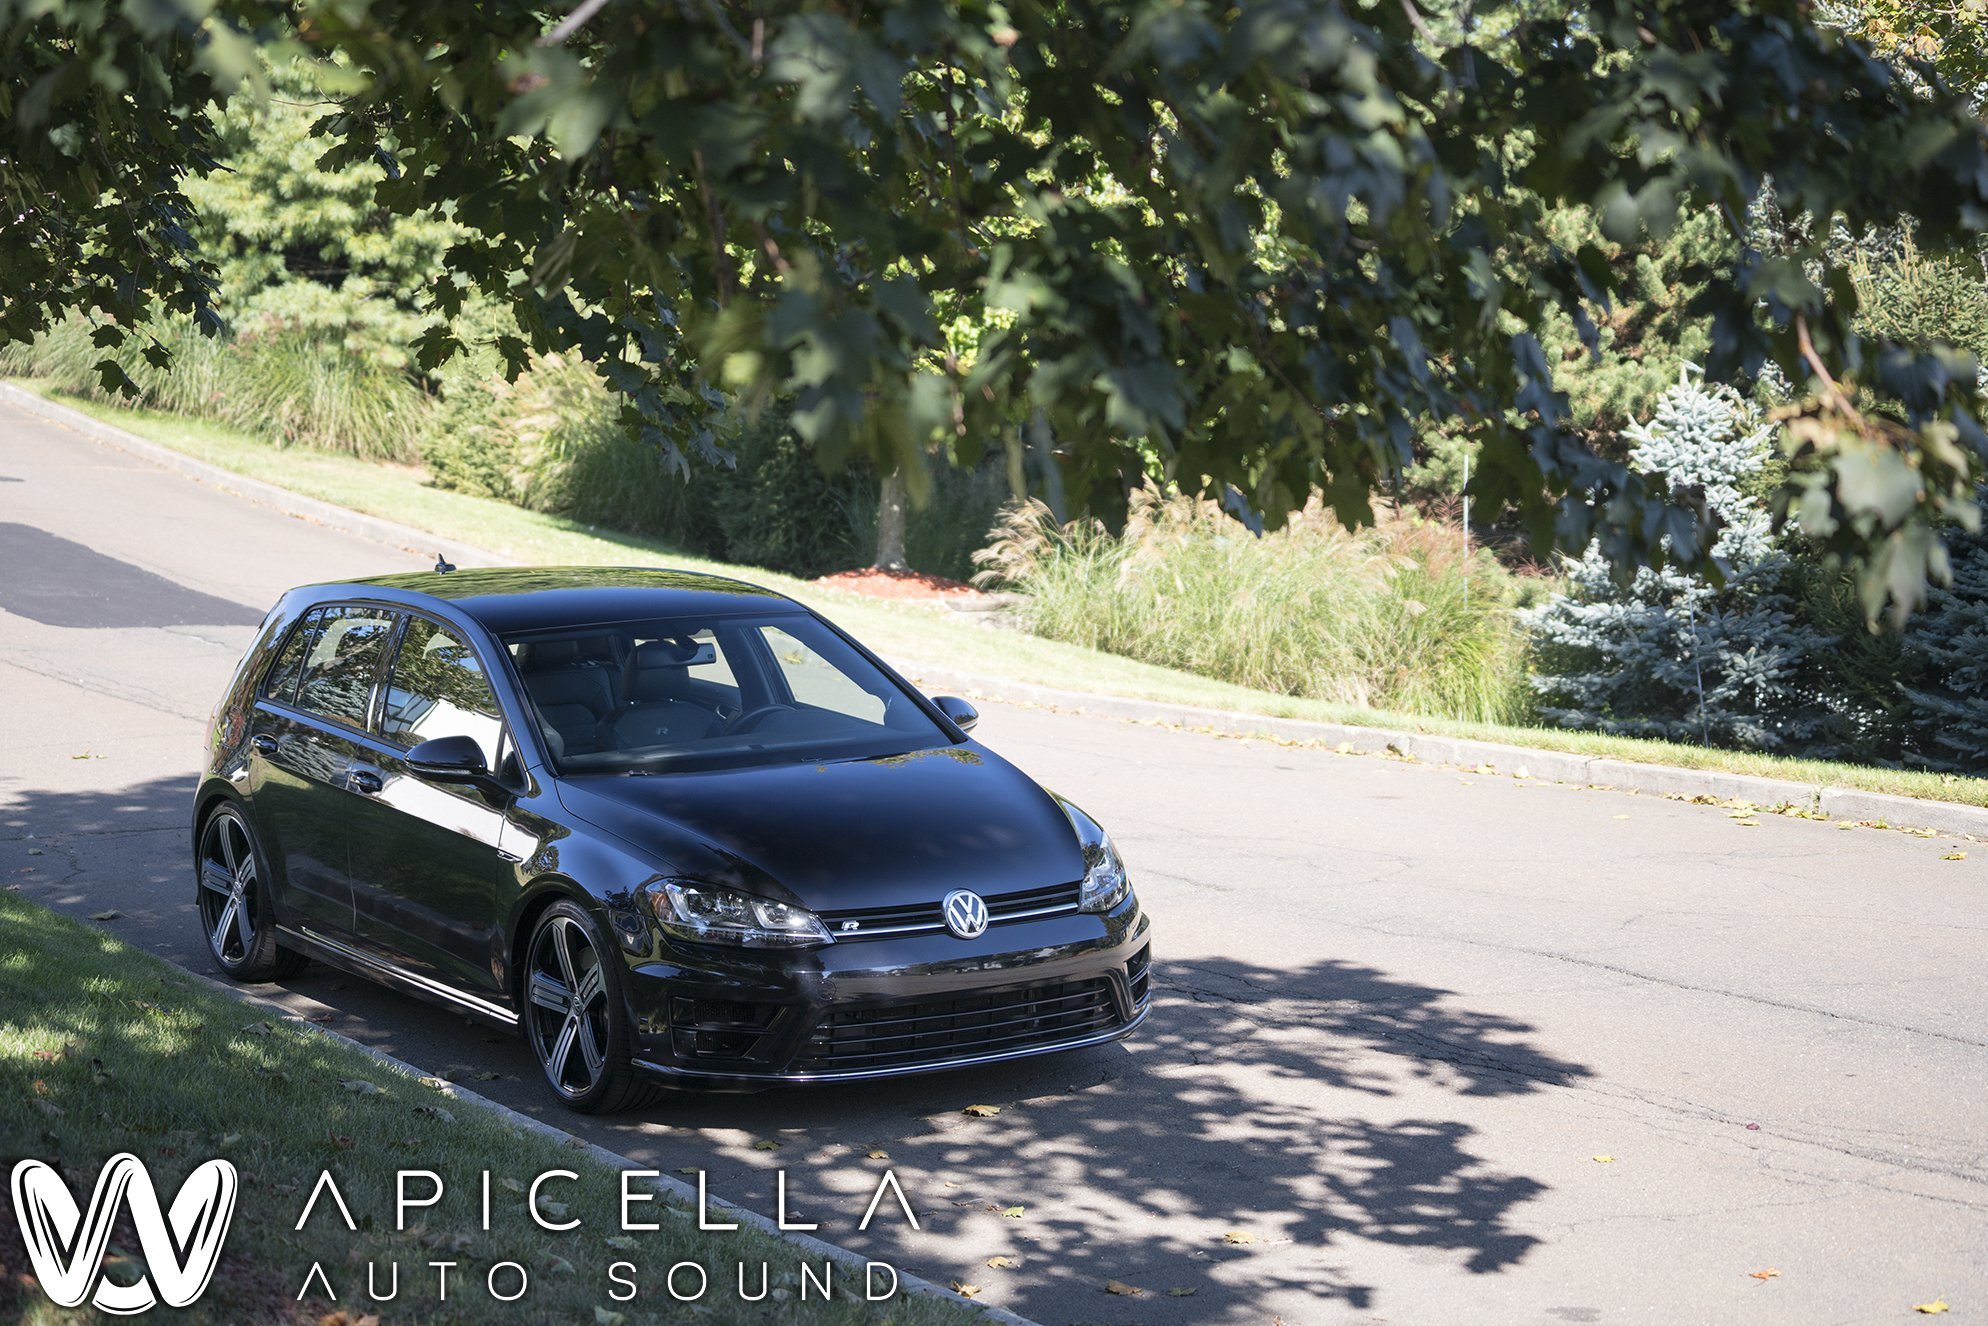
Here it is guys, my favorite (re) build to date, done in a 2016 VW Golf R. I say rebuild because the car came to me with an install done in it already. Problem is, it wasn't completely up to the owner, Mike, standards. Mike contacted me through DIYMA in the middle of last winter about doing the original install. Problem was, i had no time or space to do the install until the end of March. So, he took it to another shop who was able to do the install right away since he was sitting on gear. Mike is much like me. Perfection is everything, in all aspects. Sound, aesthetics, and integration. To most, the first install would have been more than enough. Not Mike though. Hes a whole different breed and wont settle. Hell, i'm sure he will even text me next week wanting to do more lol.
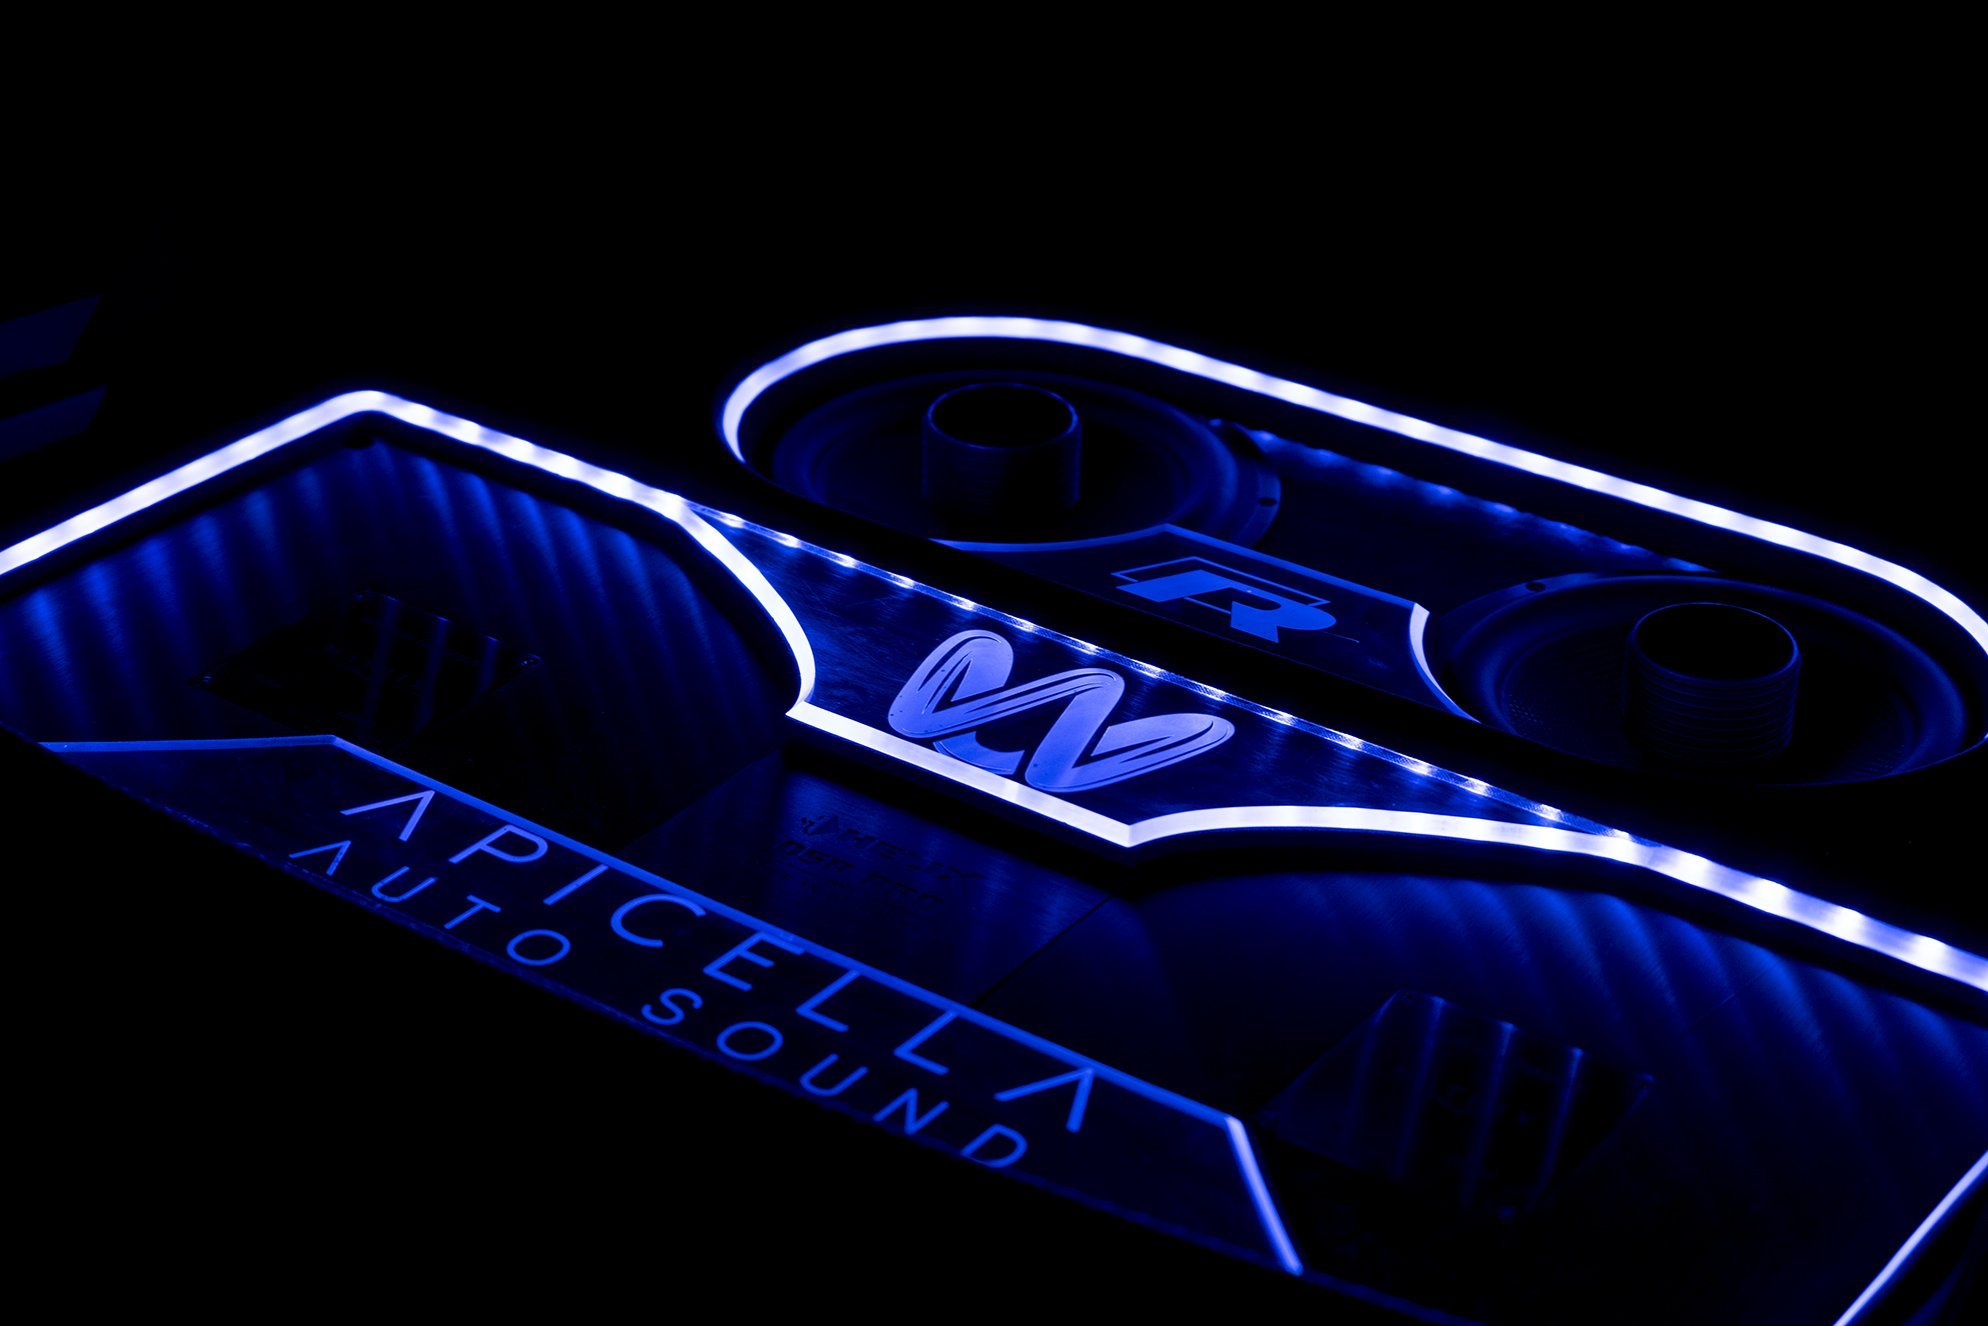
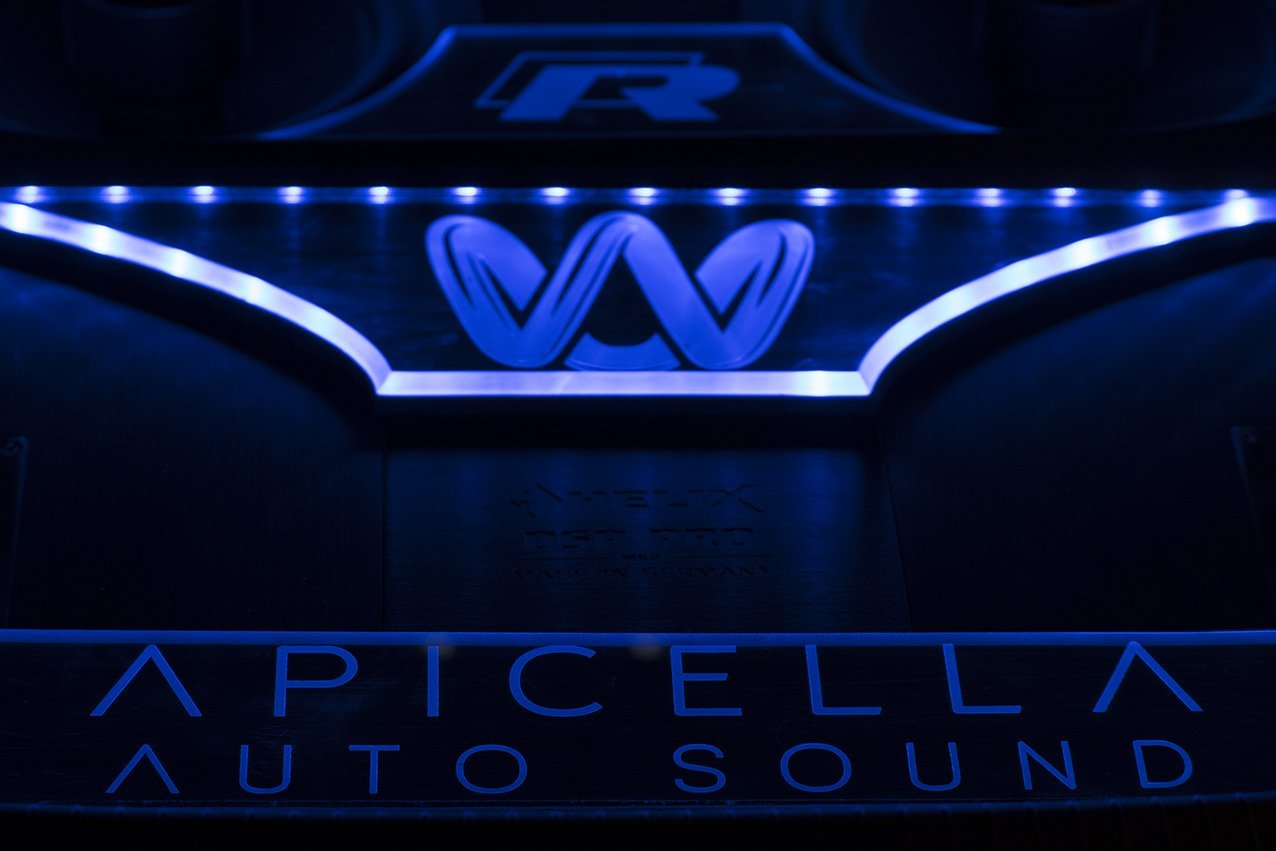
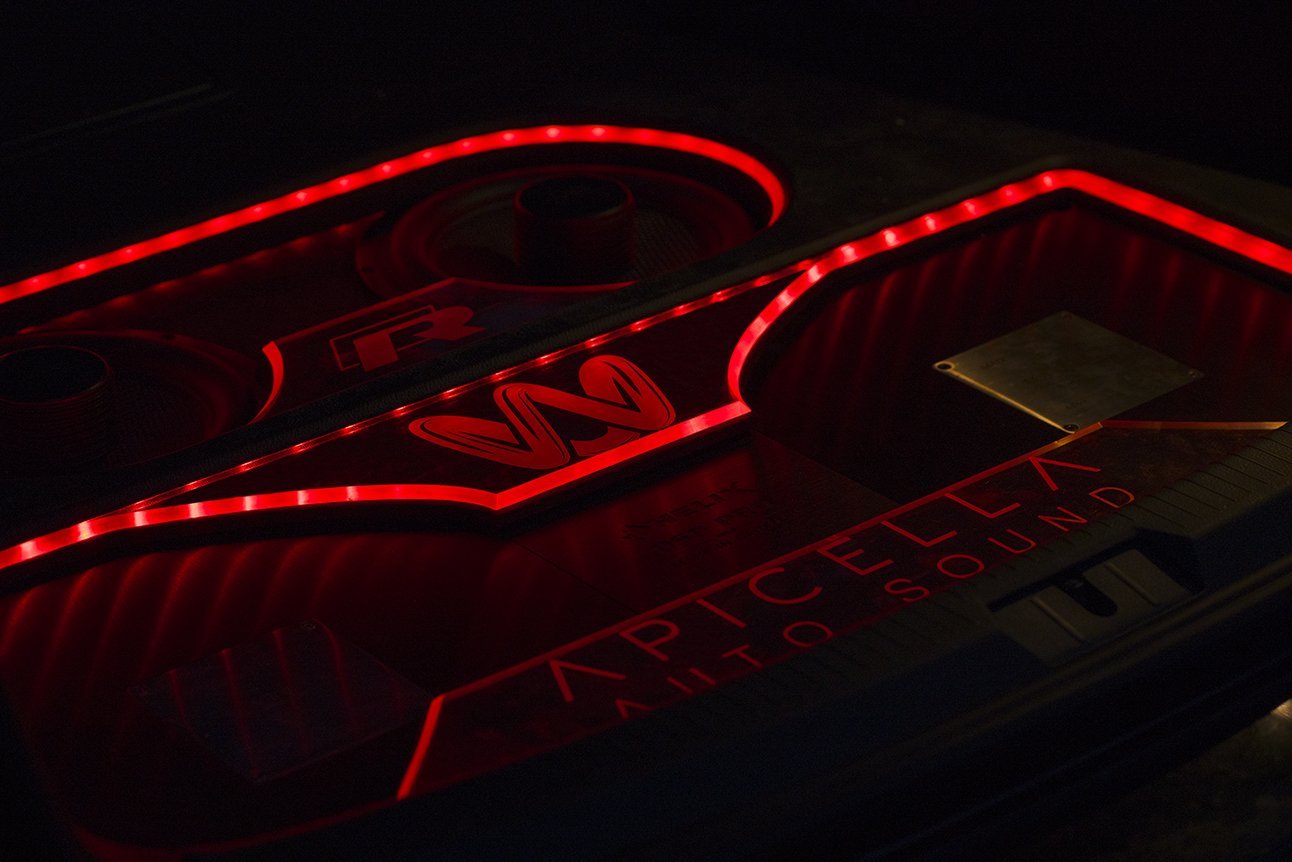
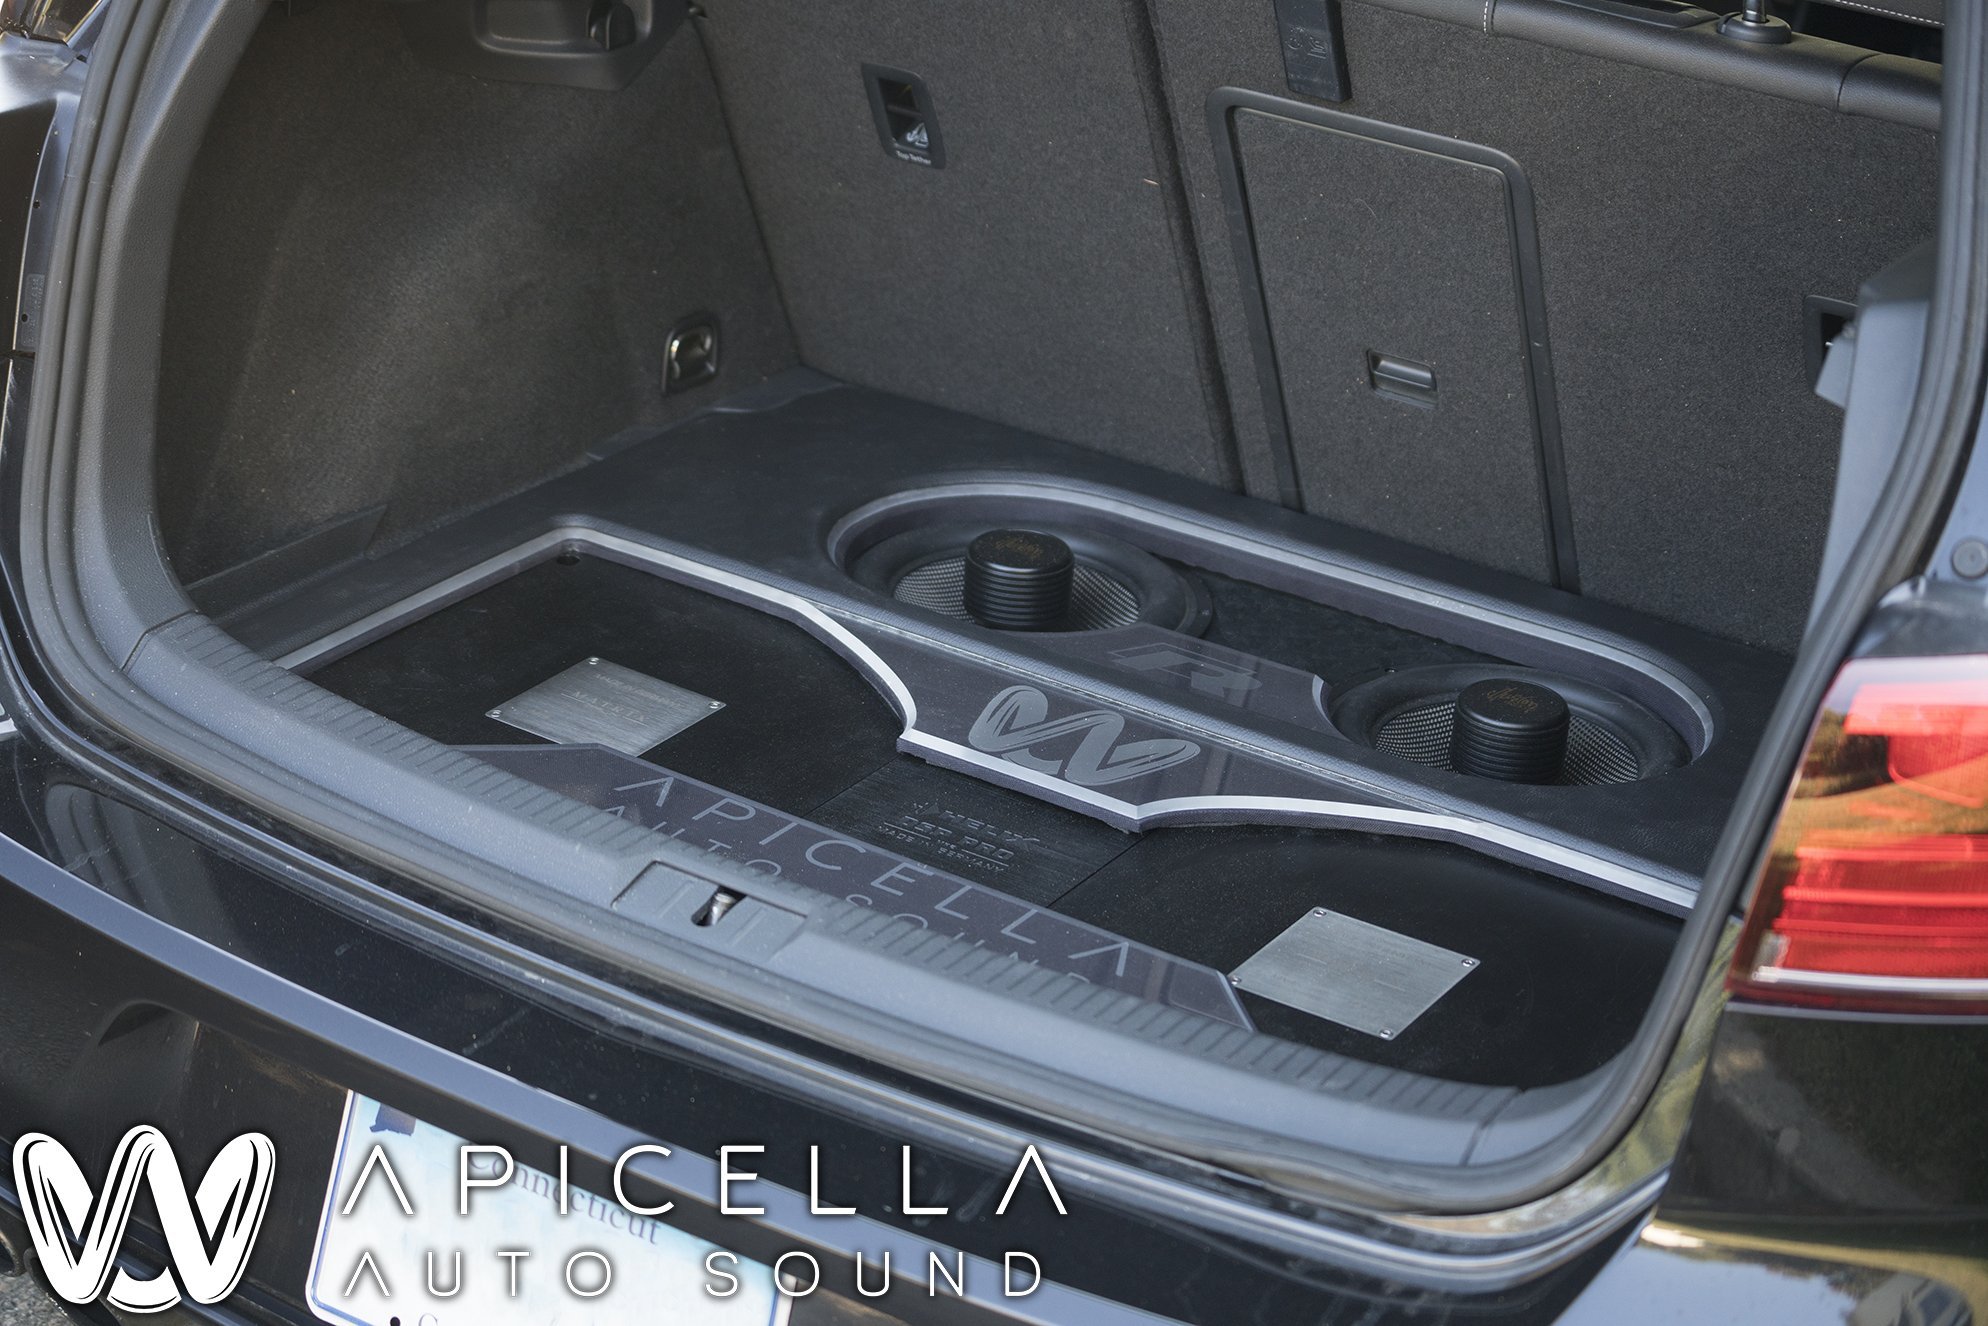
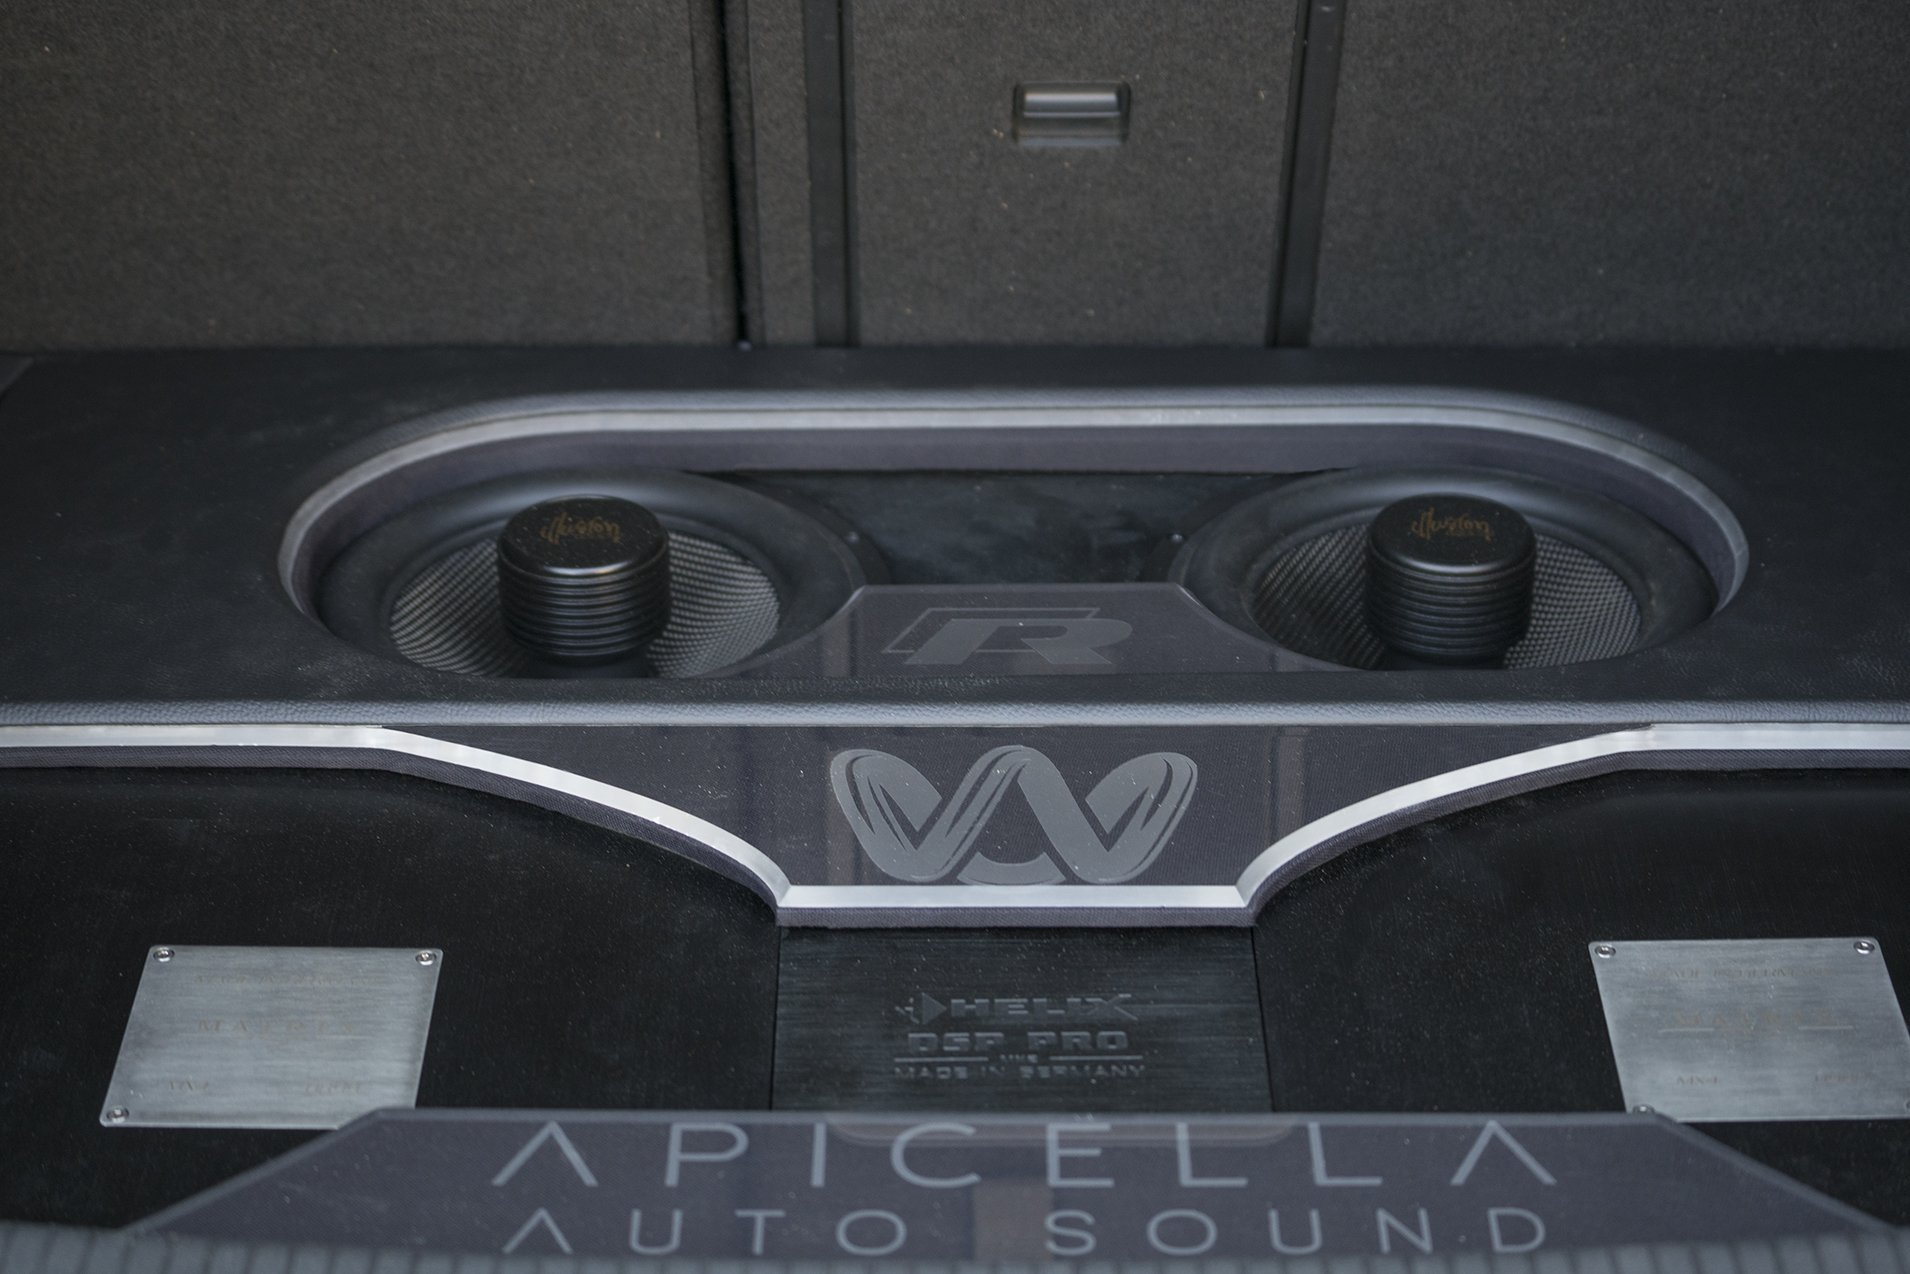
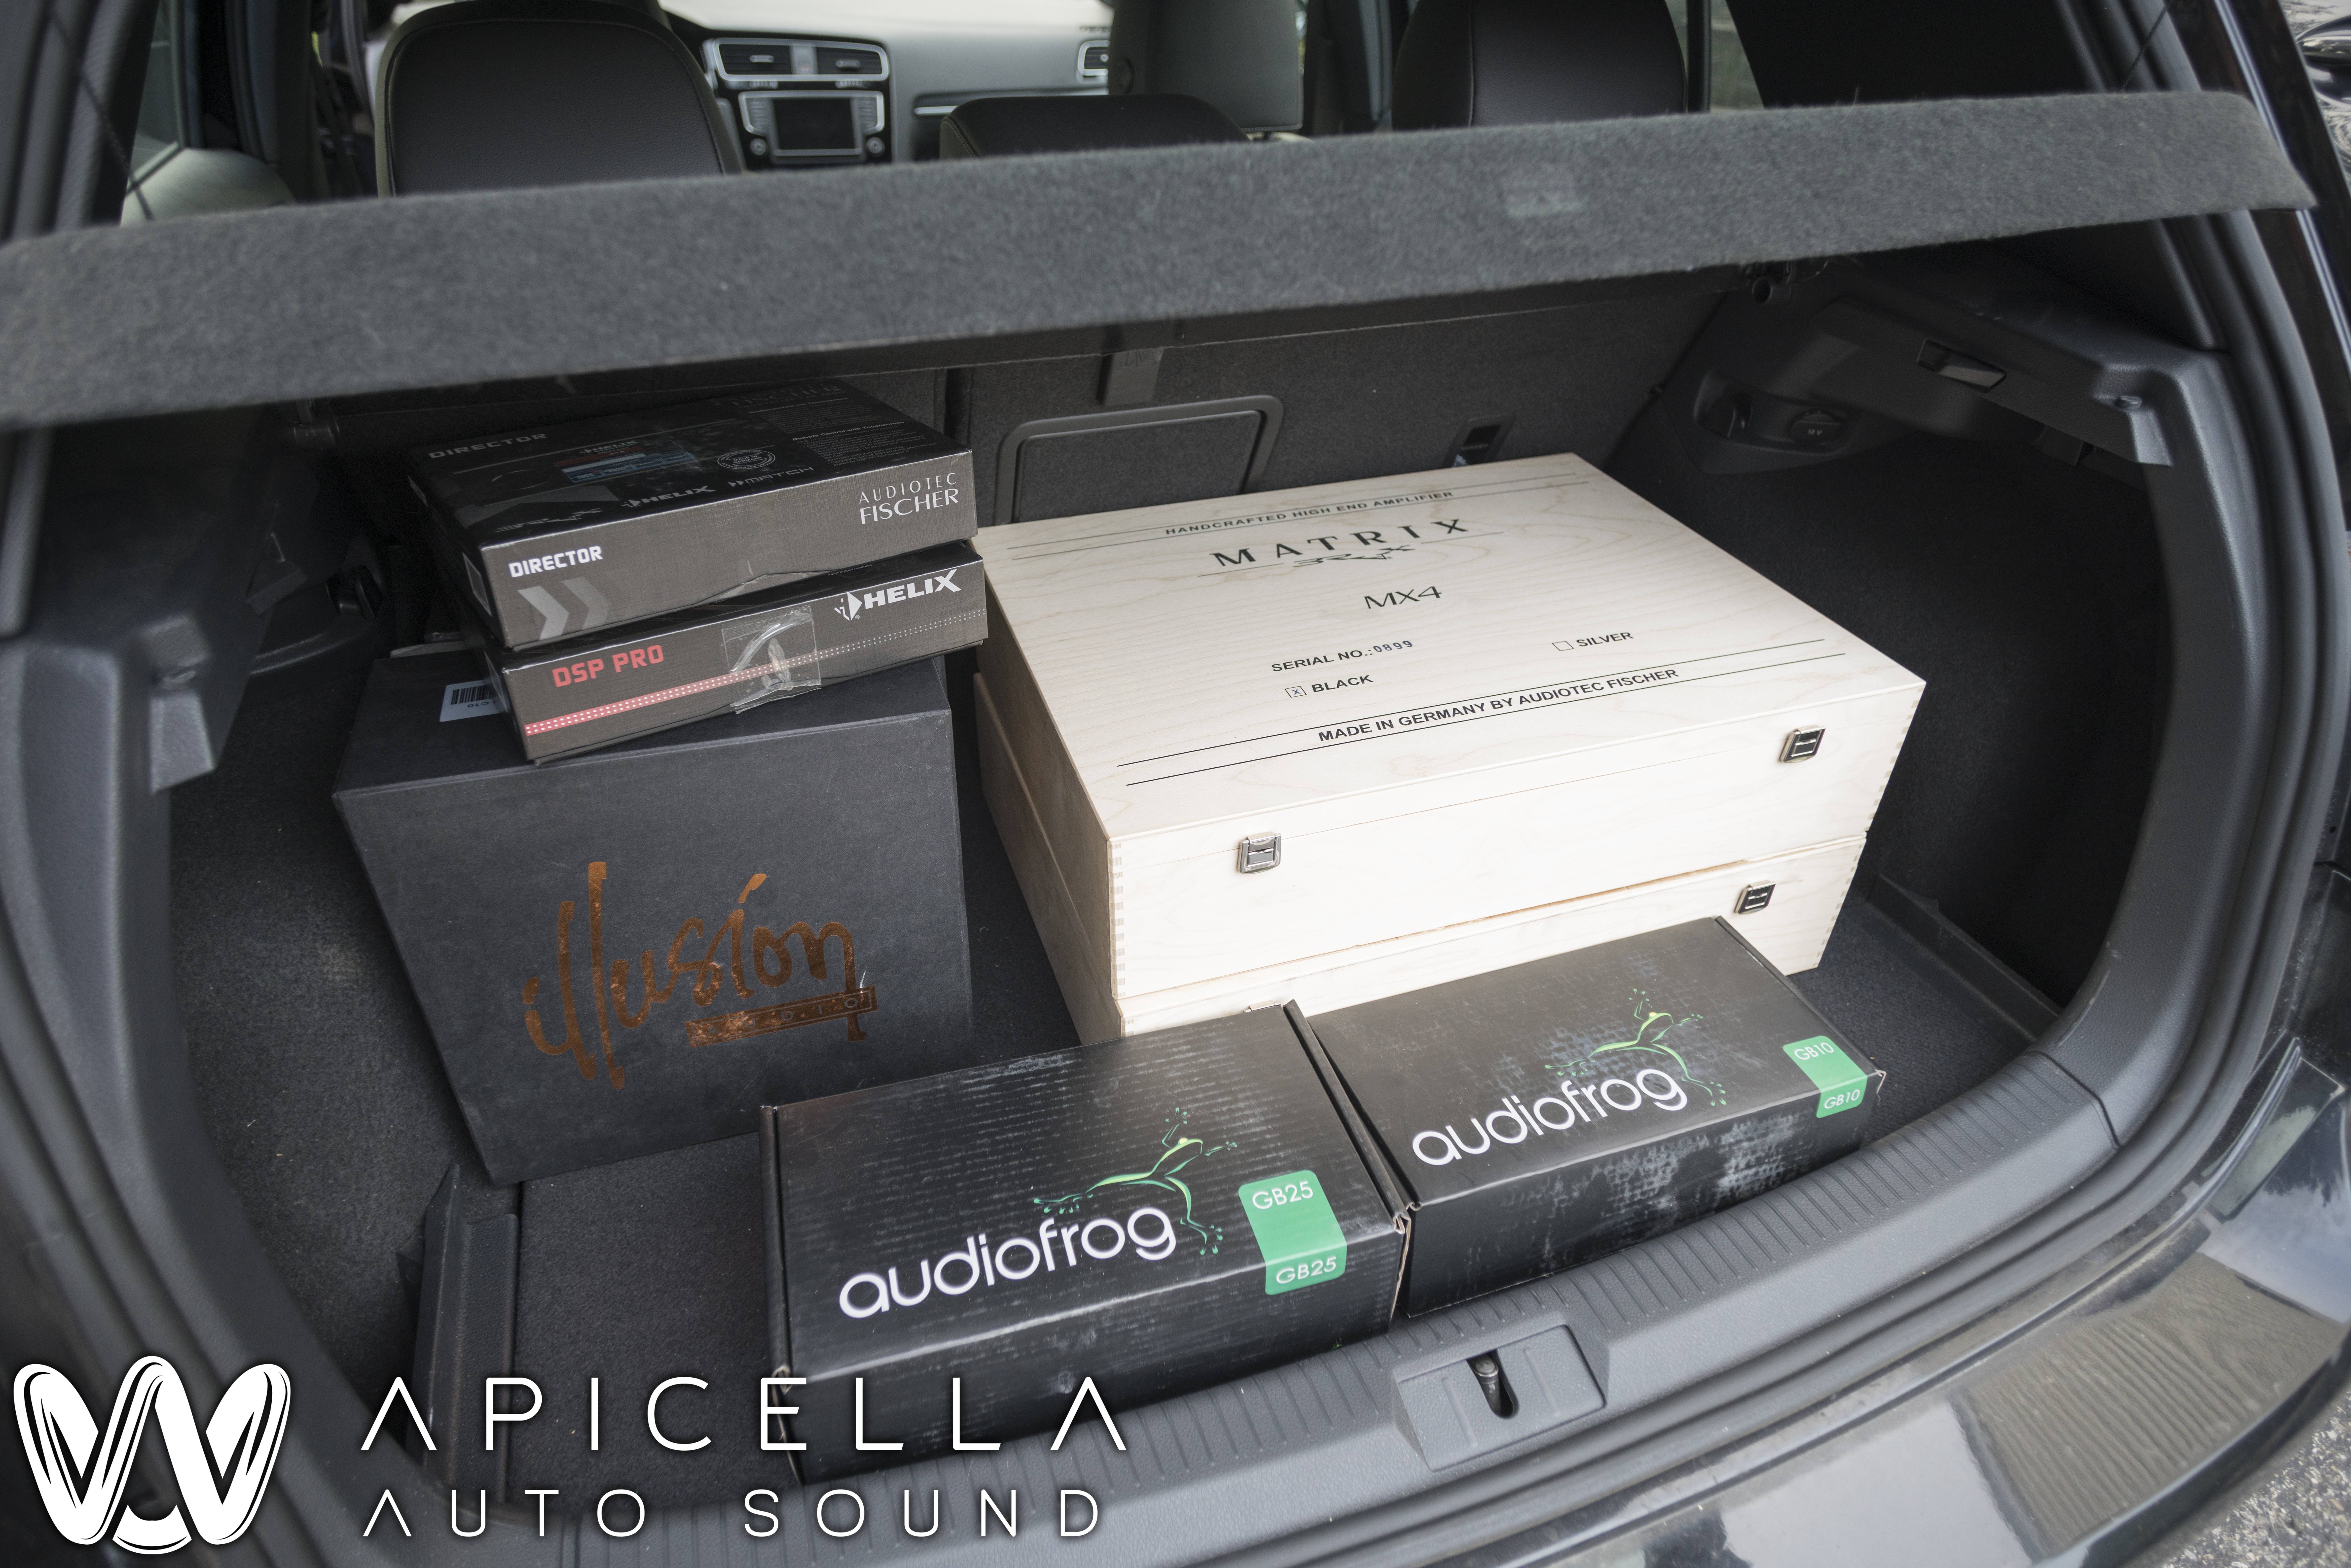
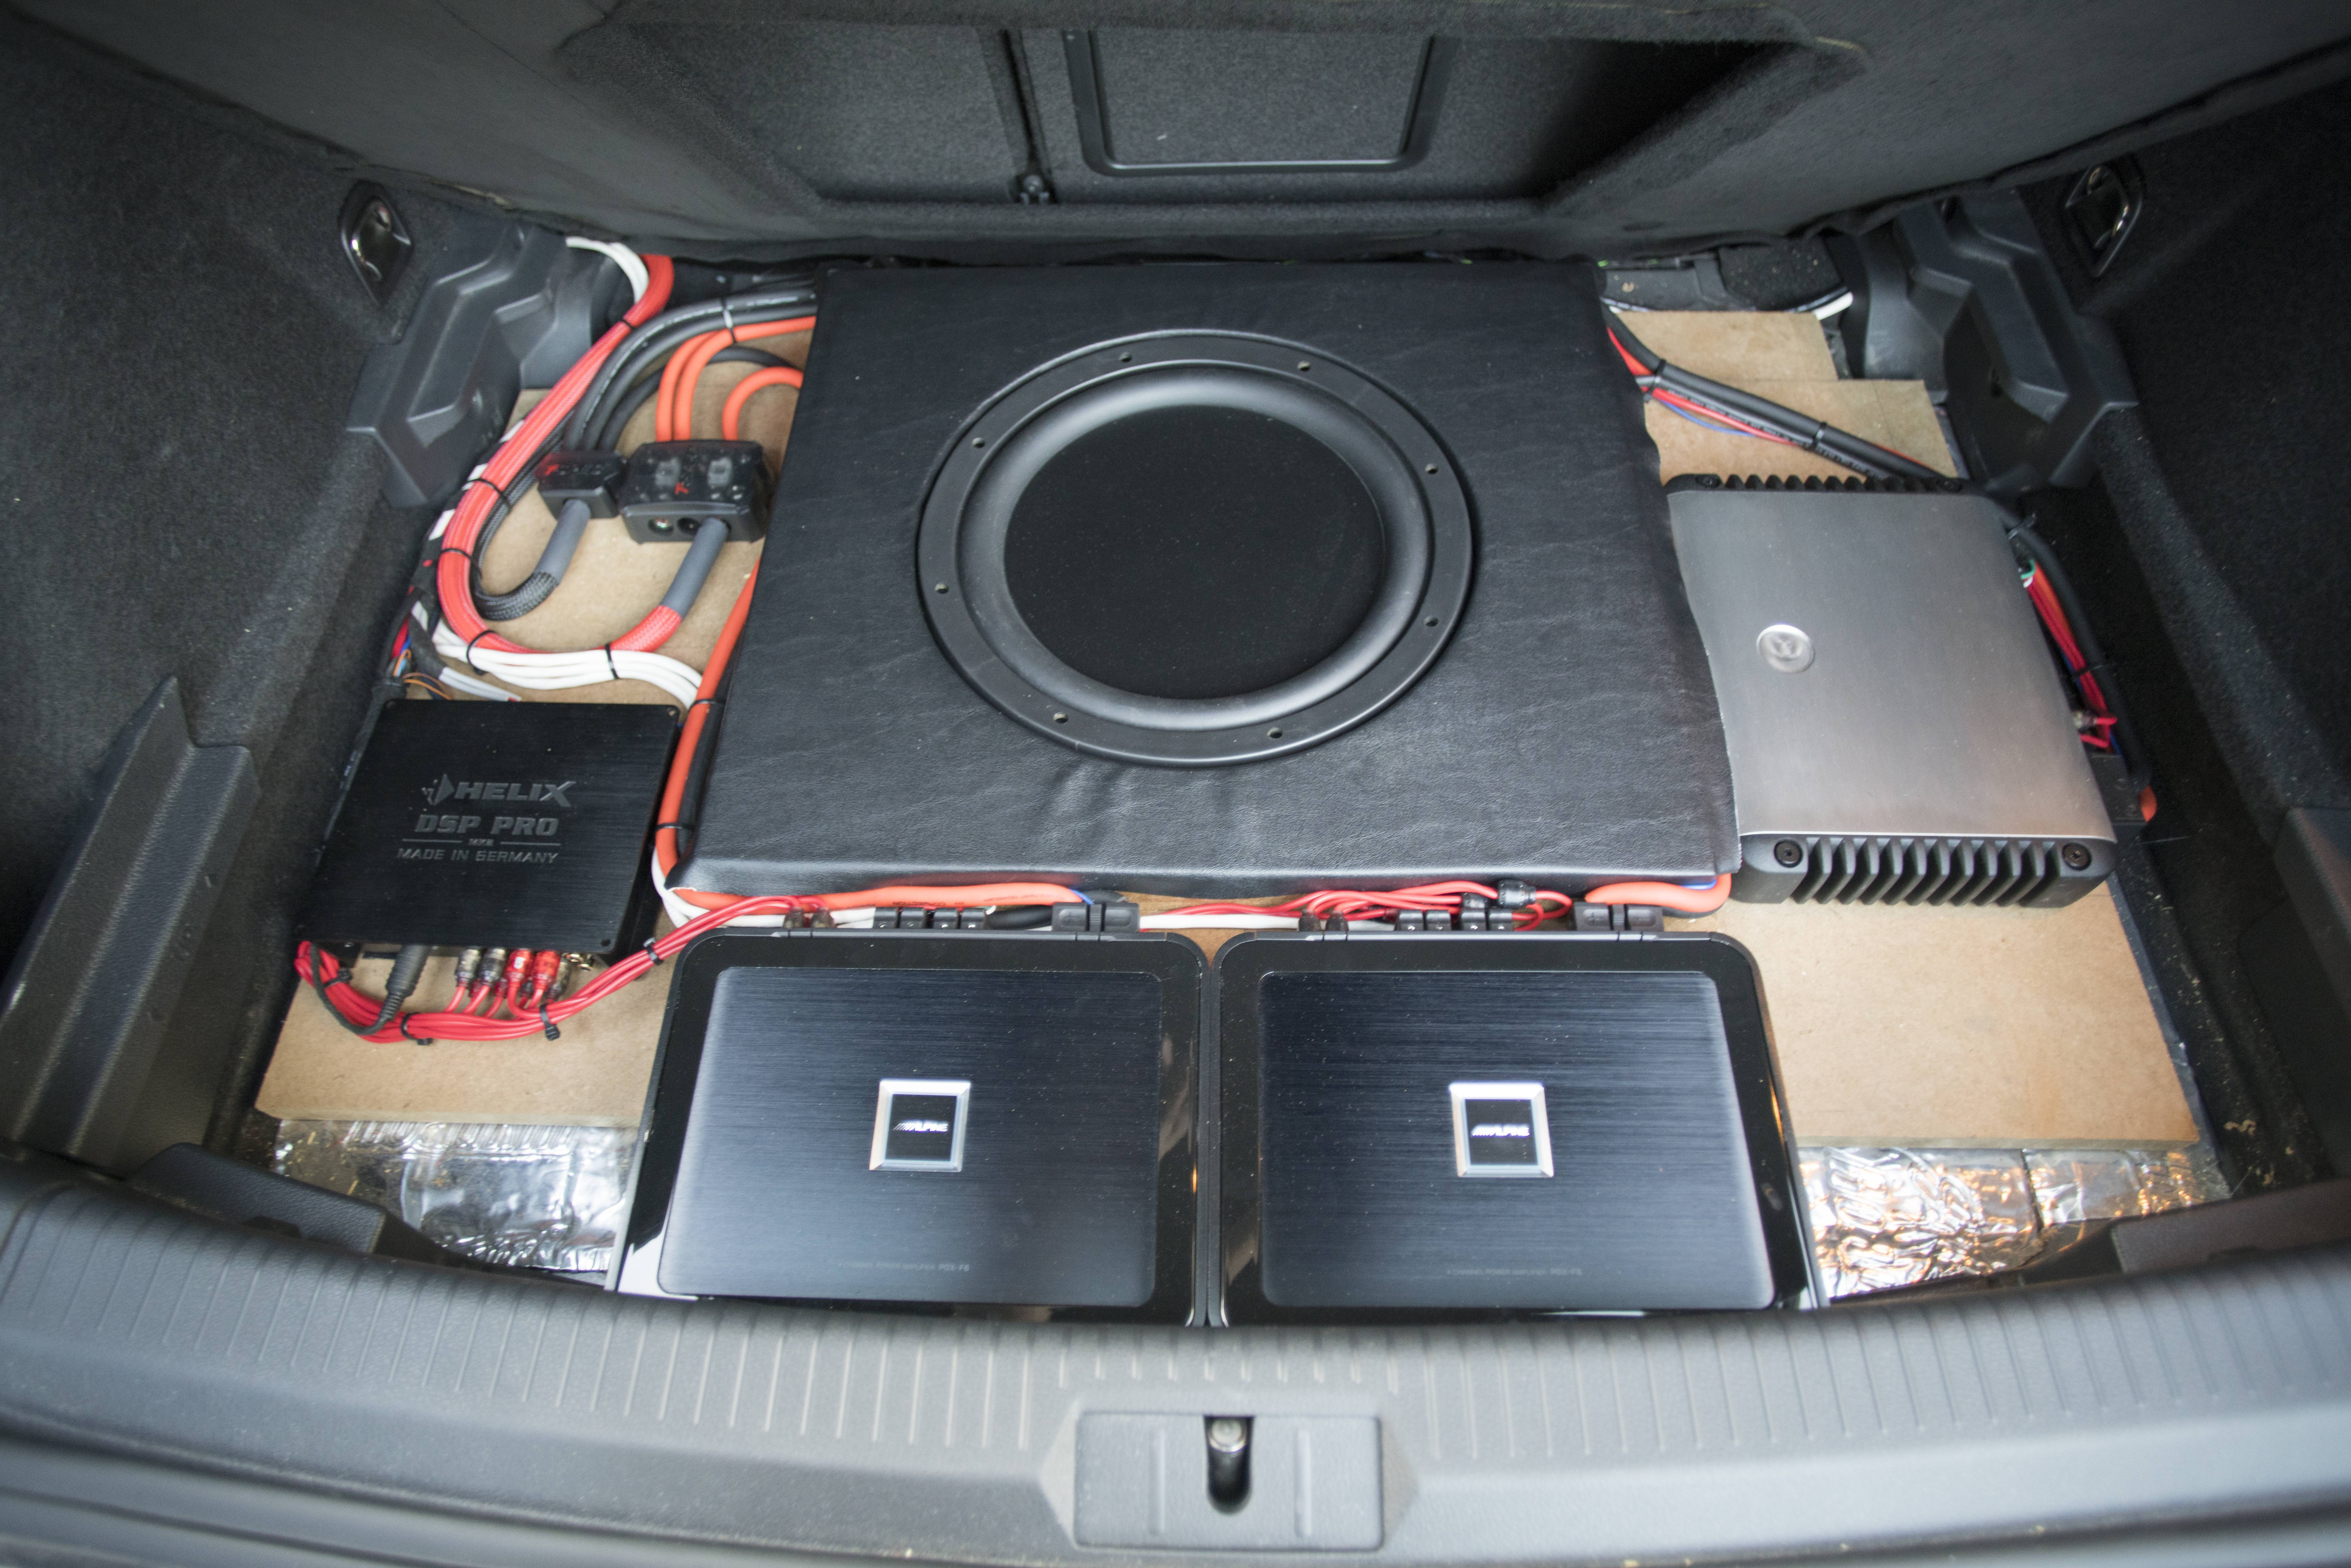
Equipment started off with an Audiofrog GB 3 way front stage, a Helix DSP Pro Mk2 with a Director, a Stereo Integrity BM mkiv sub, a pair of Alpine PDX F6 amps, and a JL Audio HD 750/1, with the OEM radio as a source. We kept a few things, and changed a few things. The final list is as follows.
. Fiio X5iii High-Res DAP coaxial out (sent right into the Helix) as source, with OEM radio as secondary source
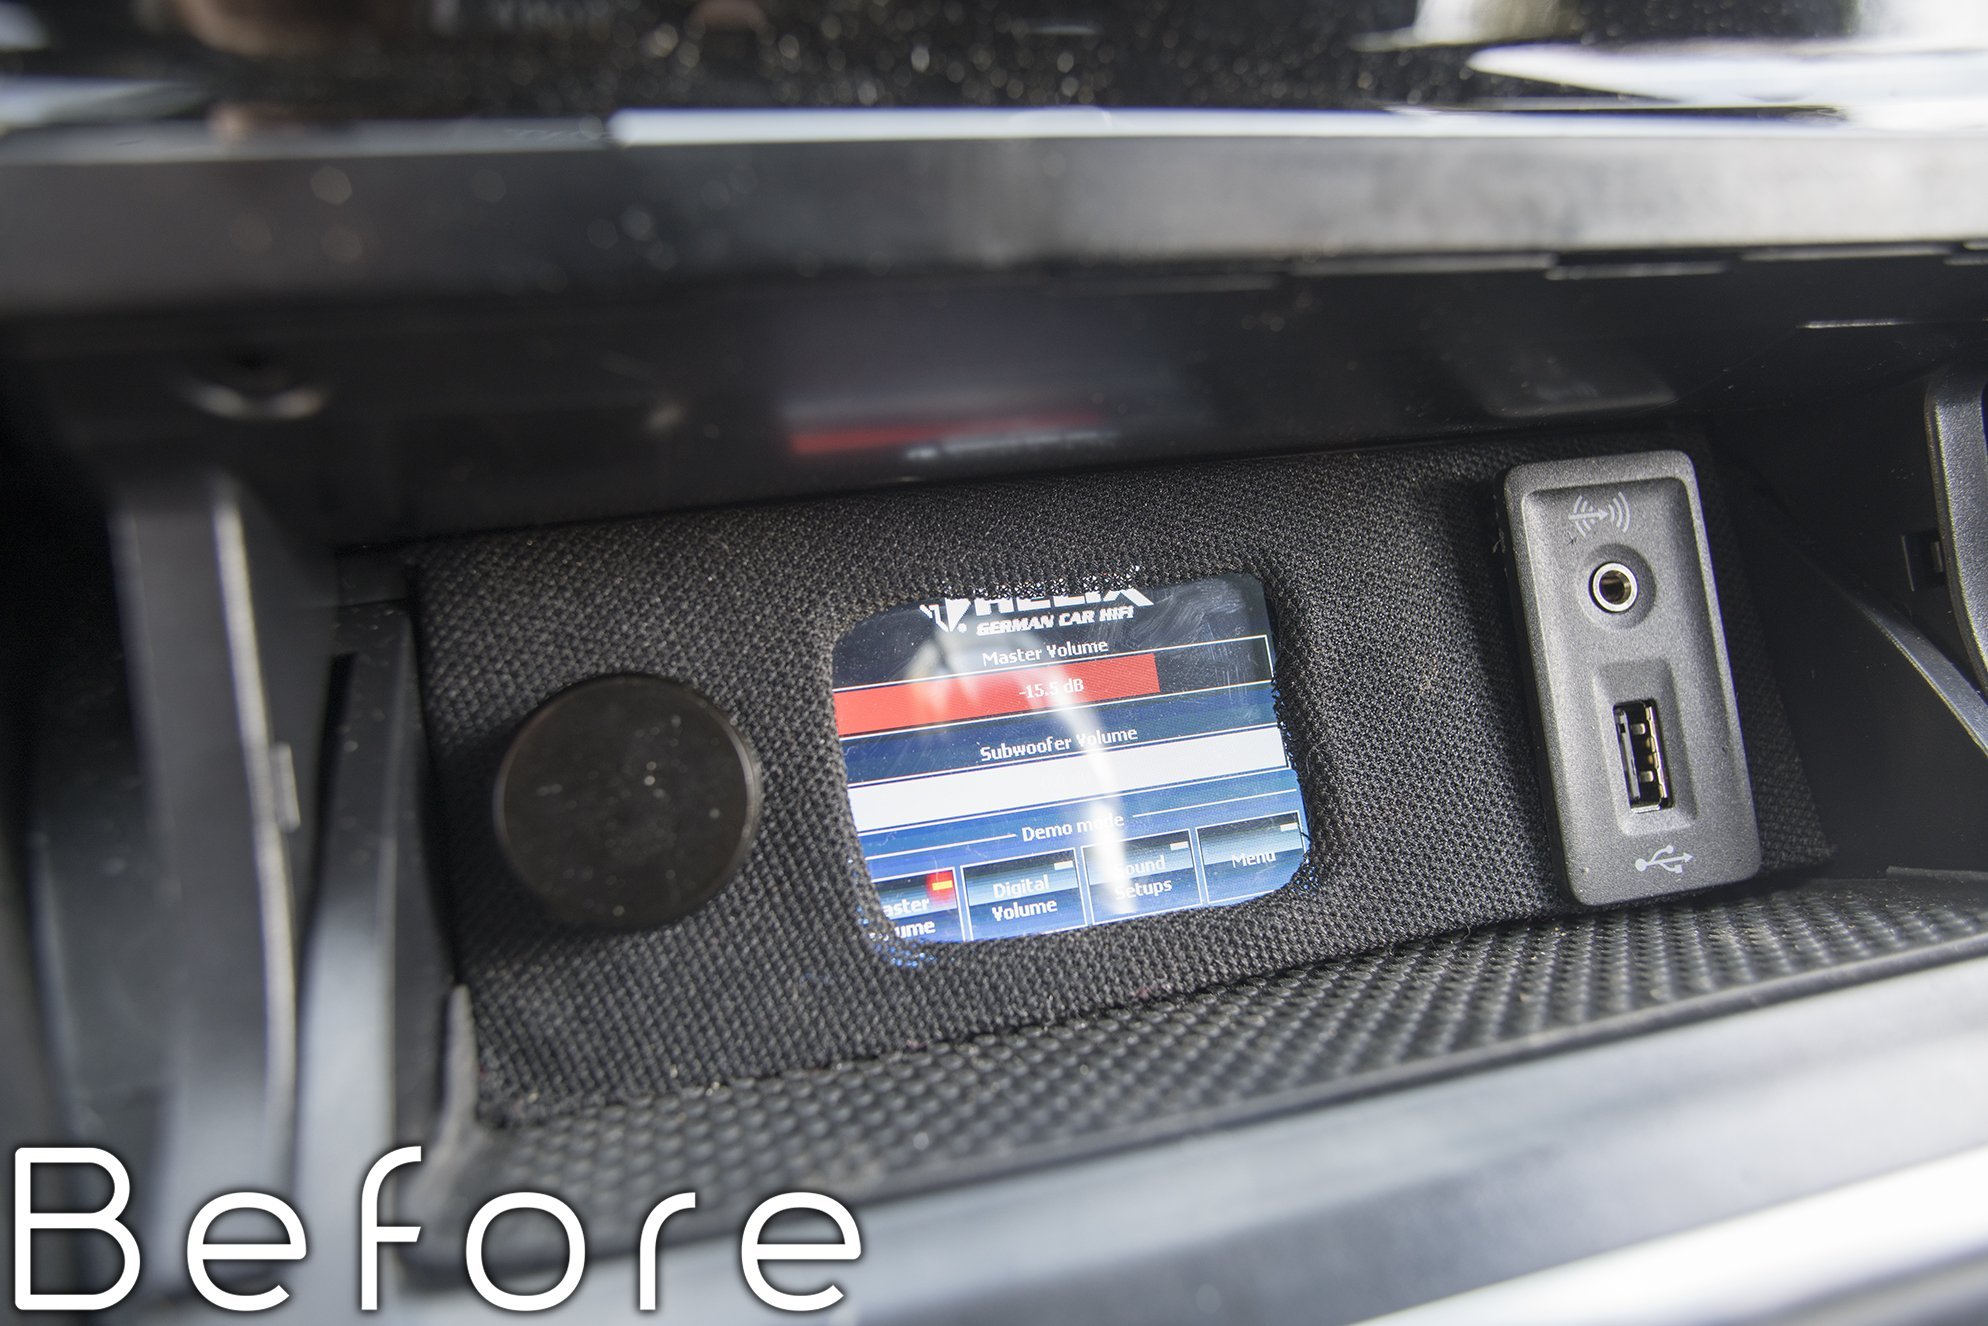
. Helix DSP Pro Mk2 with a Director
. A pair of Brax MX4 amps
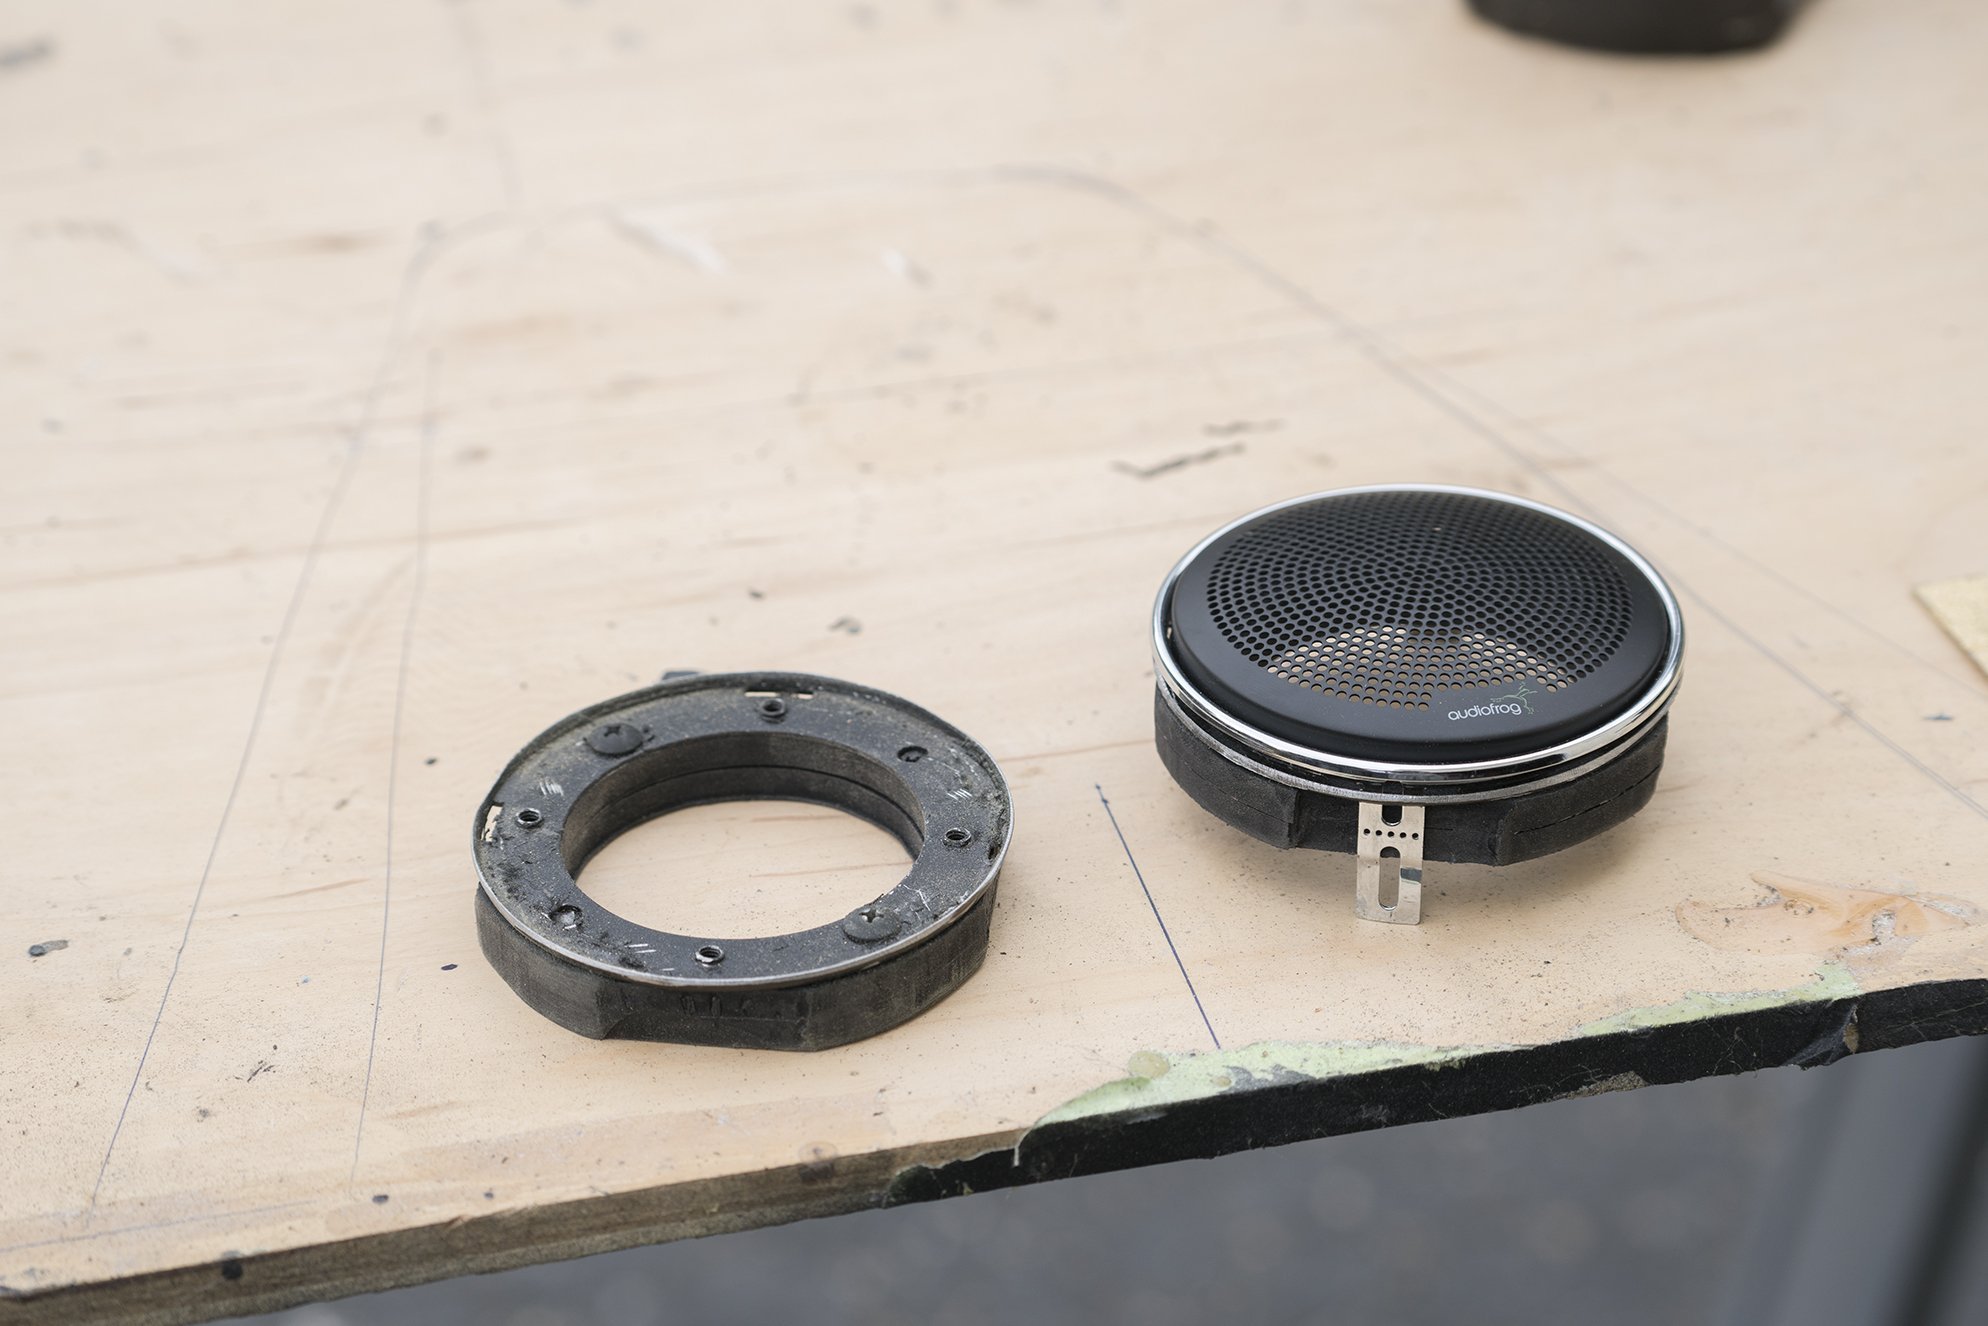
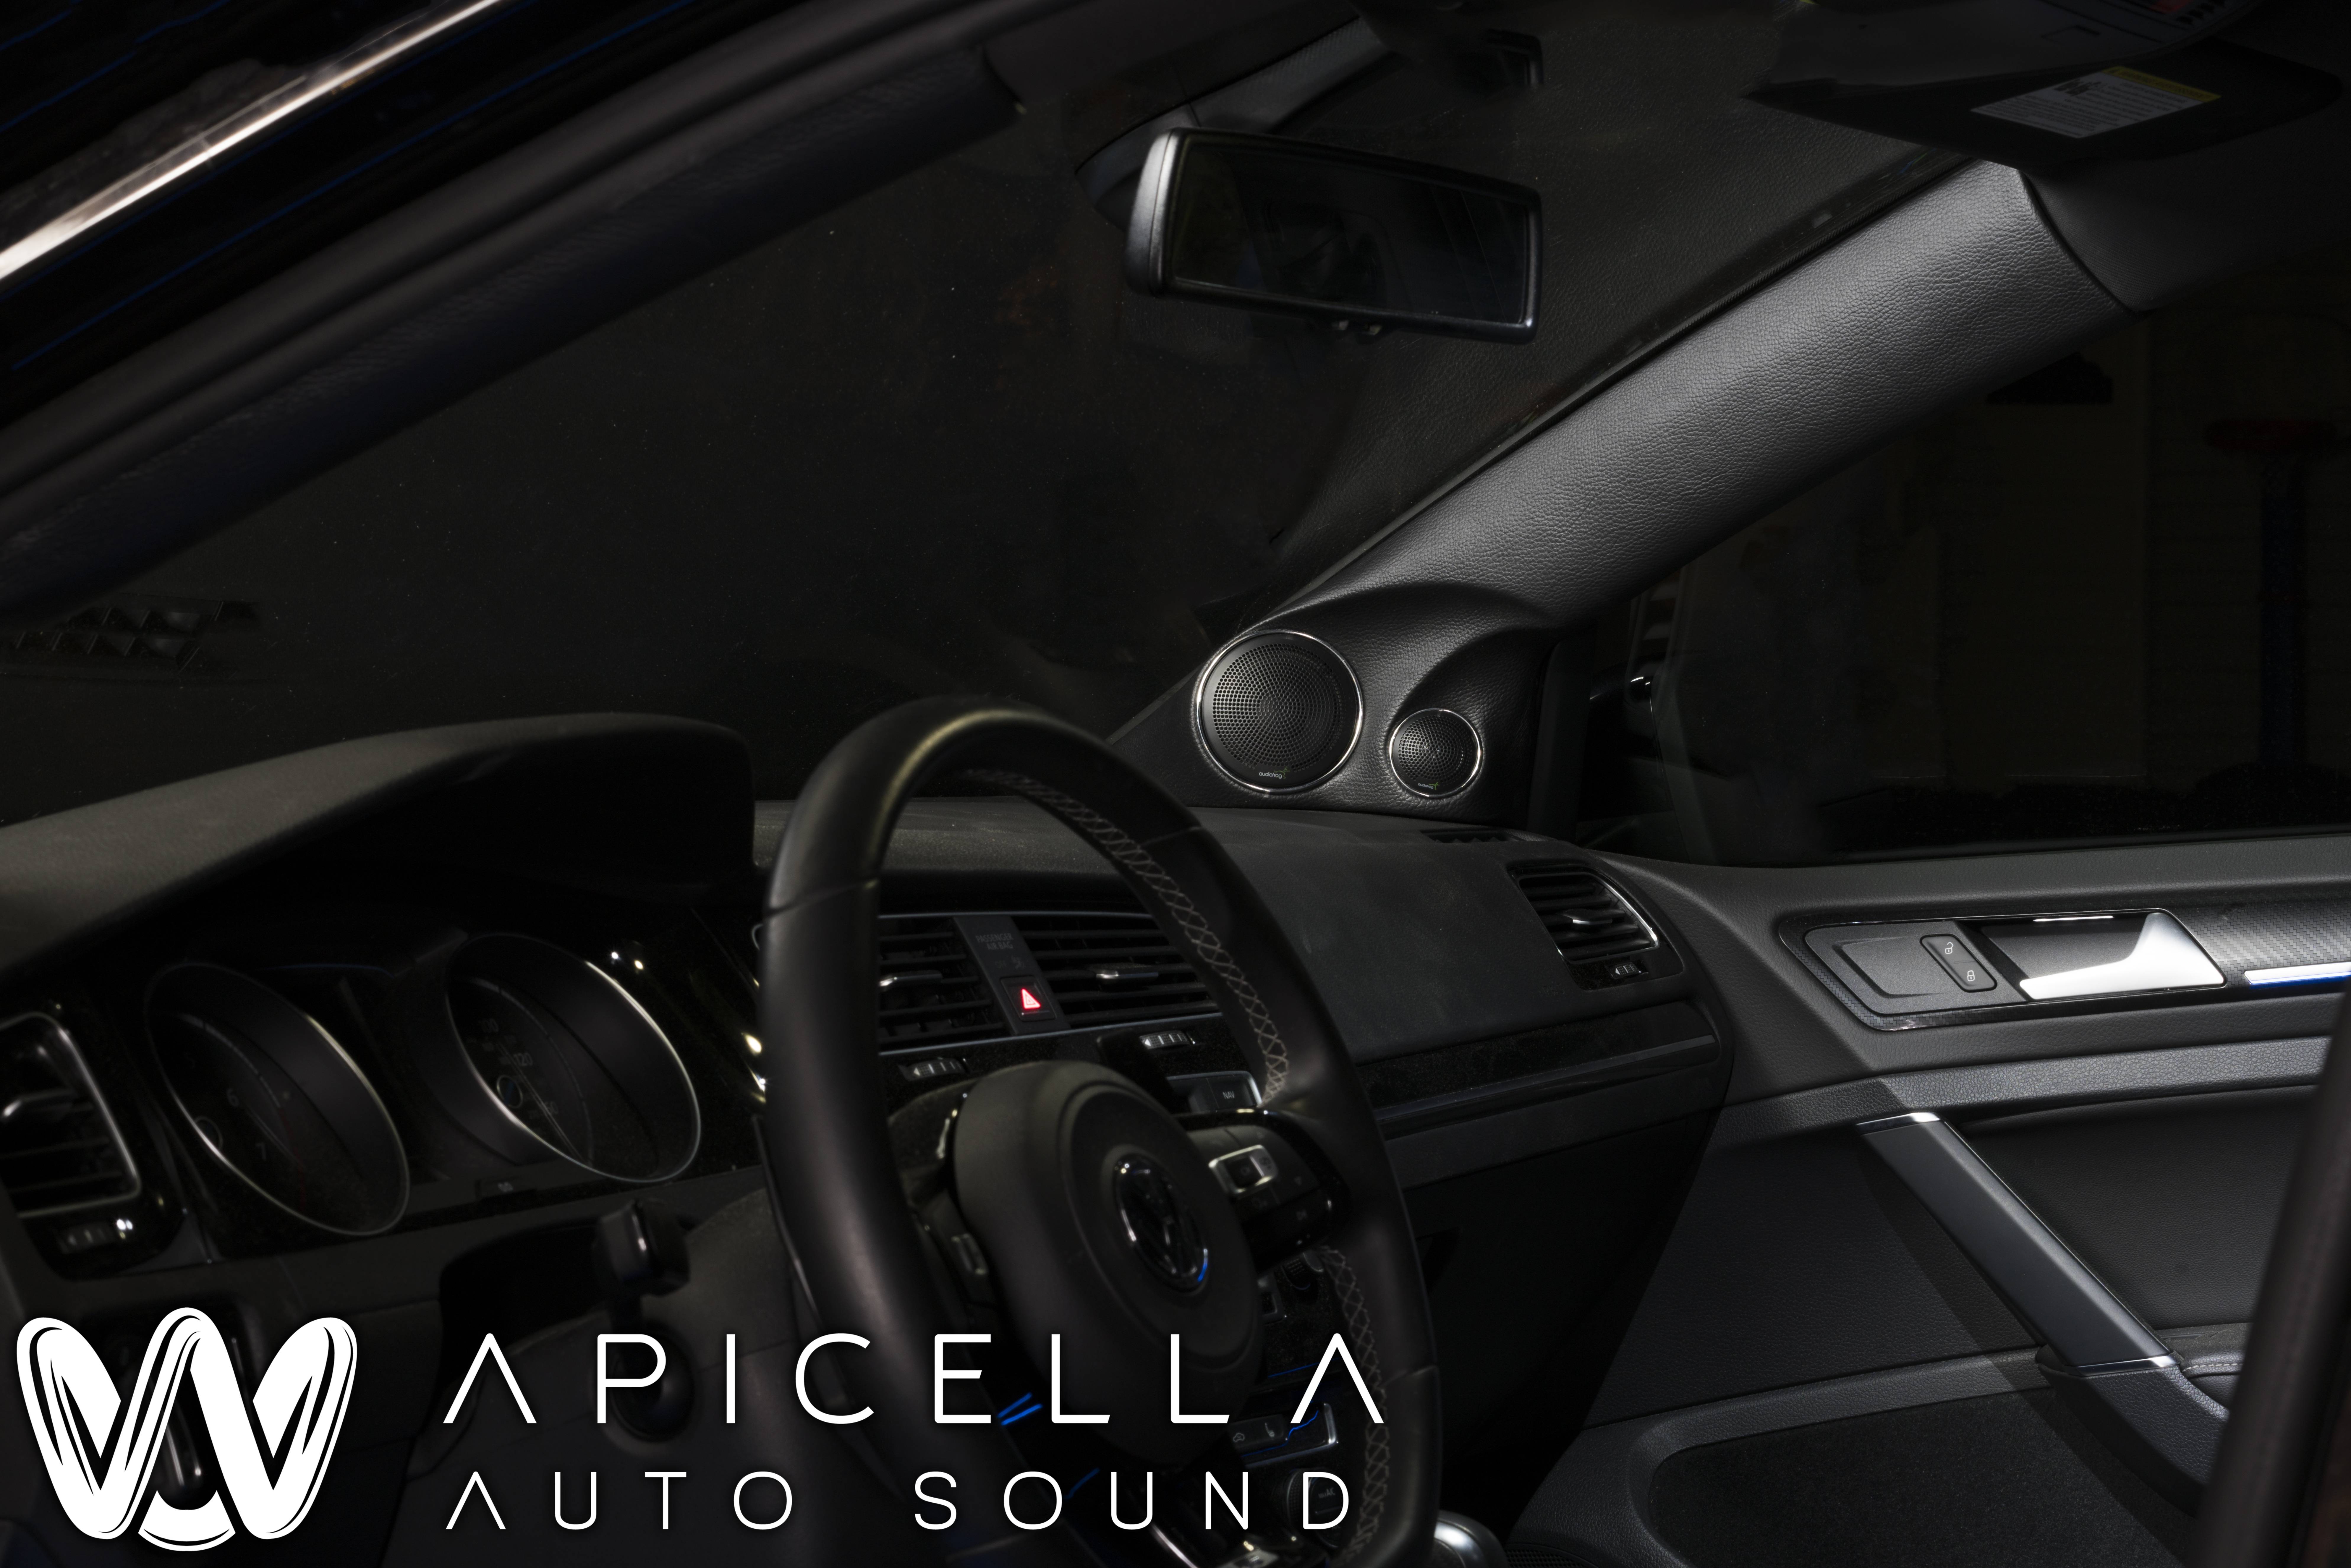
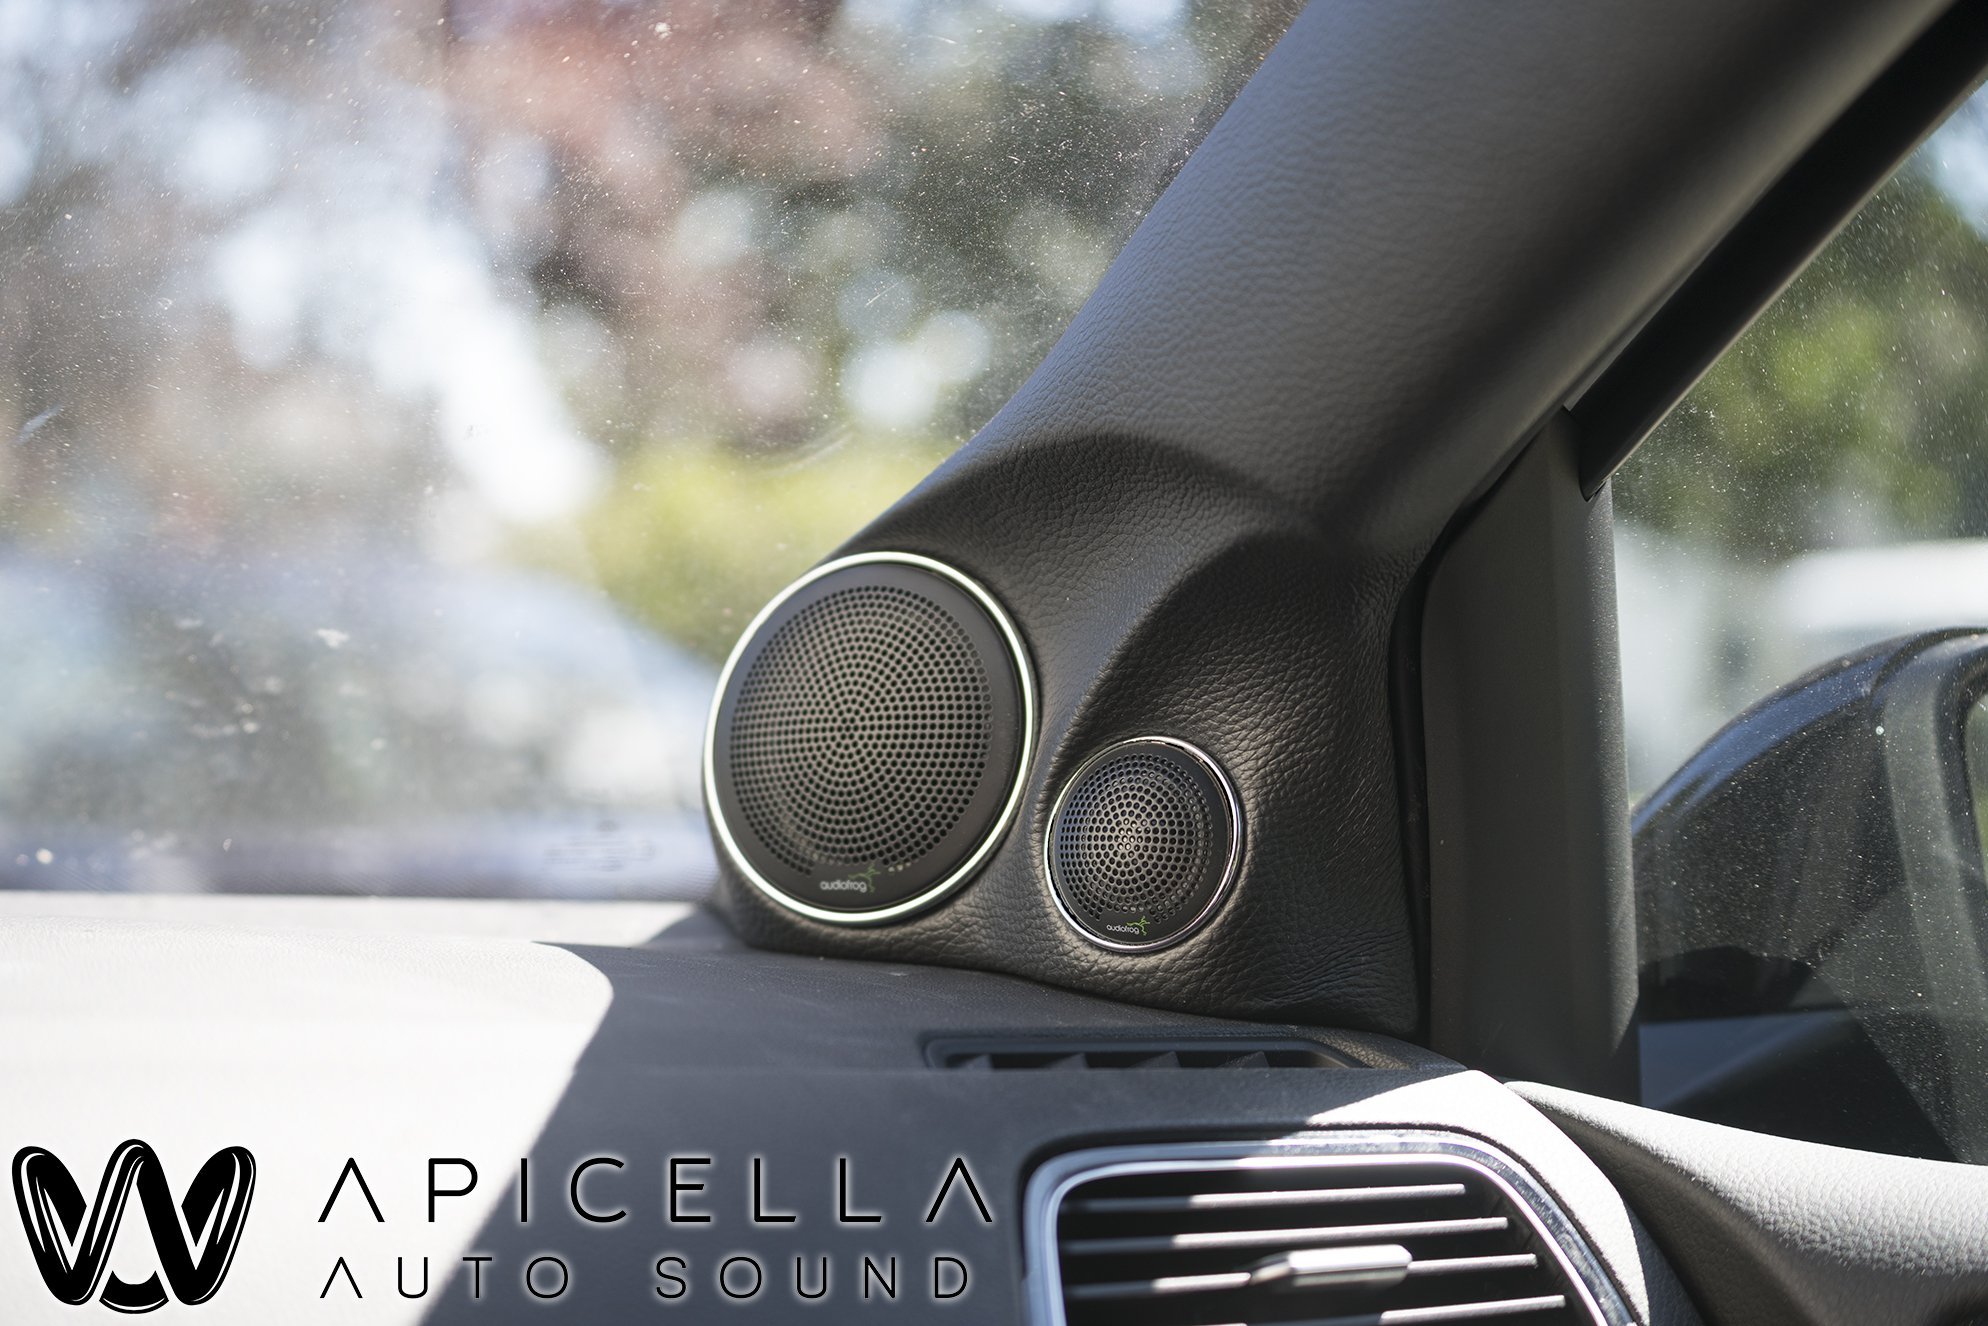
. Audiofrog GB10 tweeters
. Audiofrog GB25 midranges
. Audiofrog GB60 midbass
. A pair of Illusion Audio C10 subs
**NOTE**
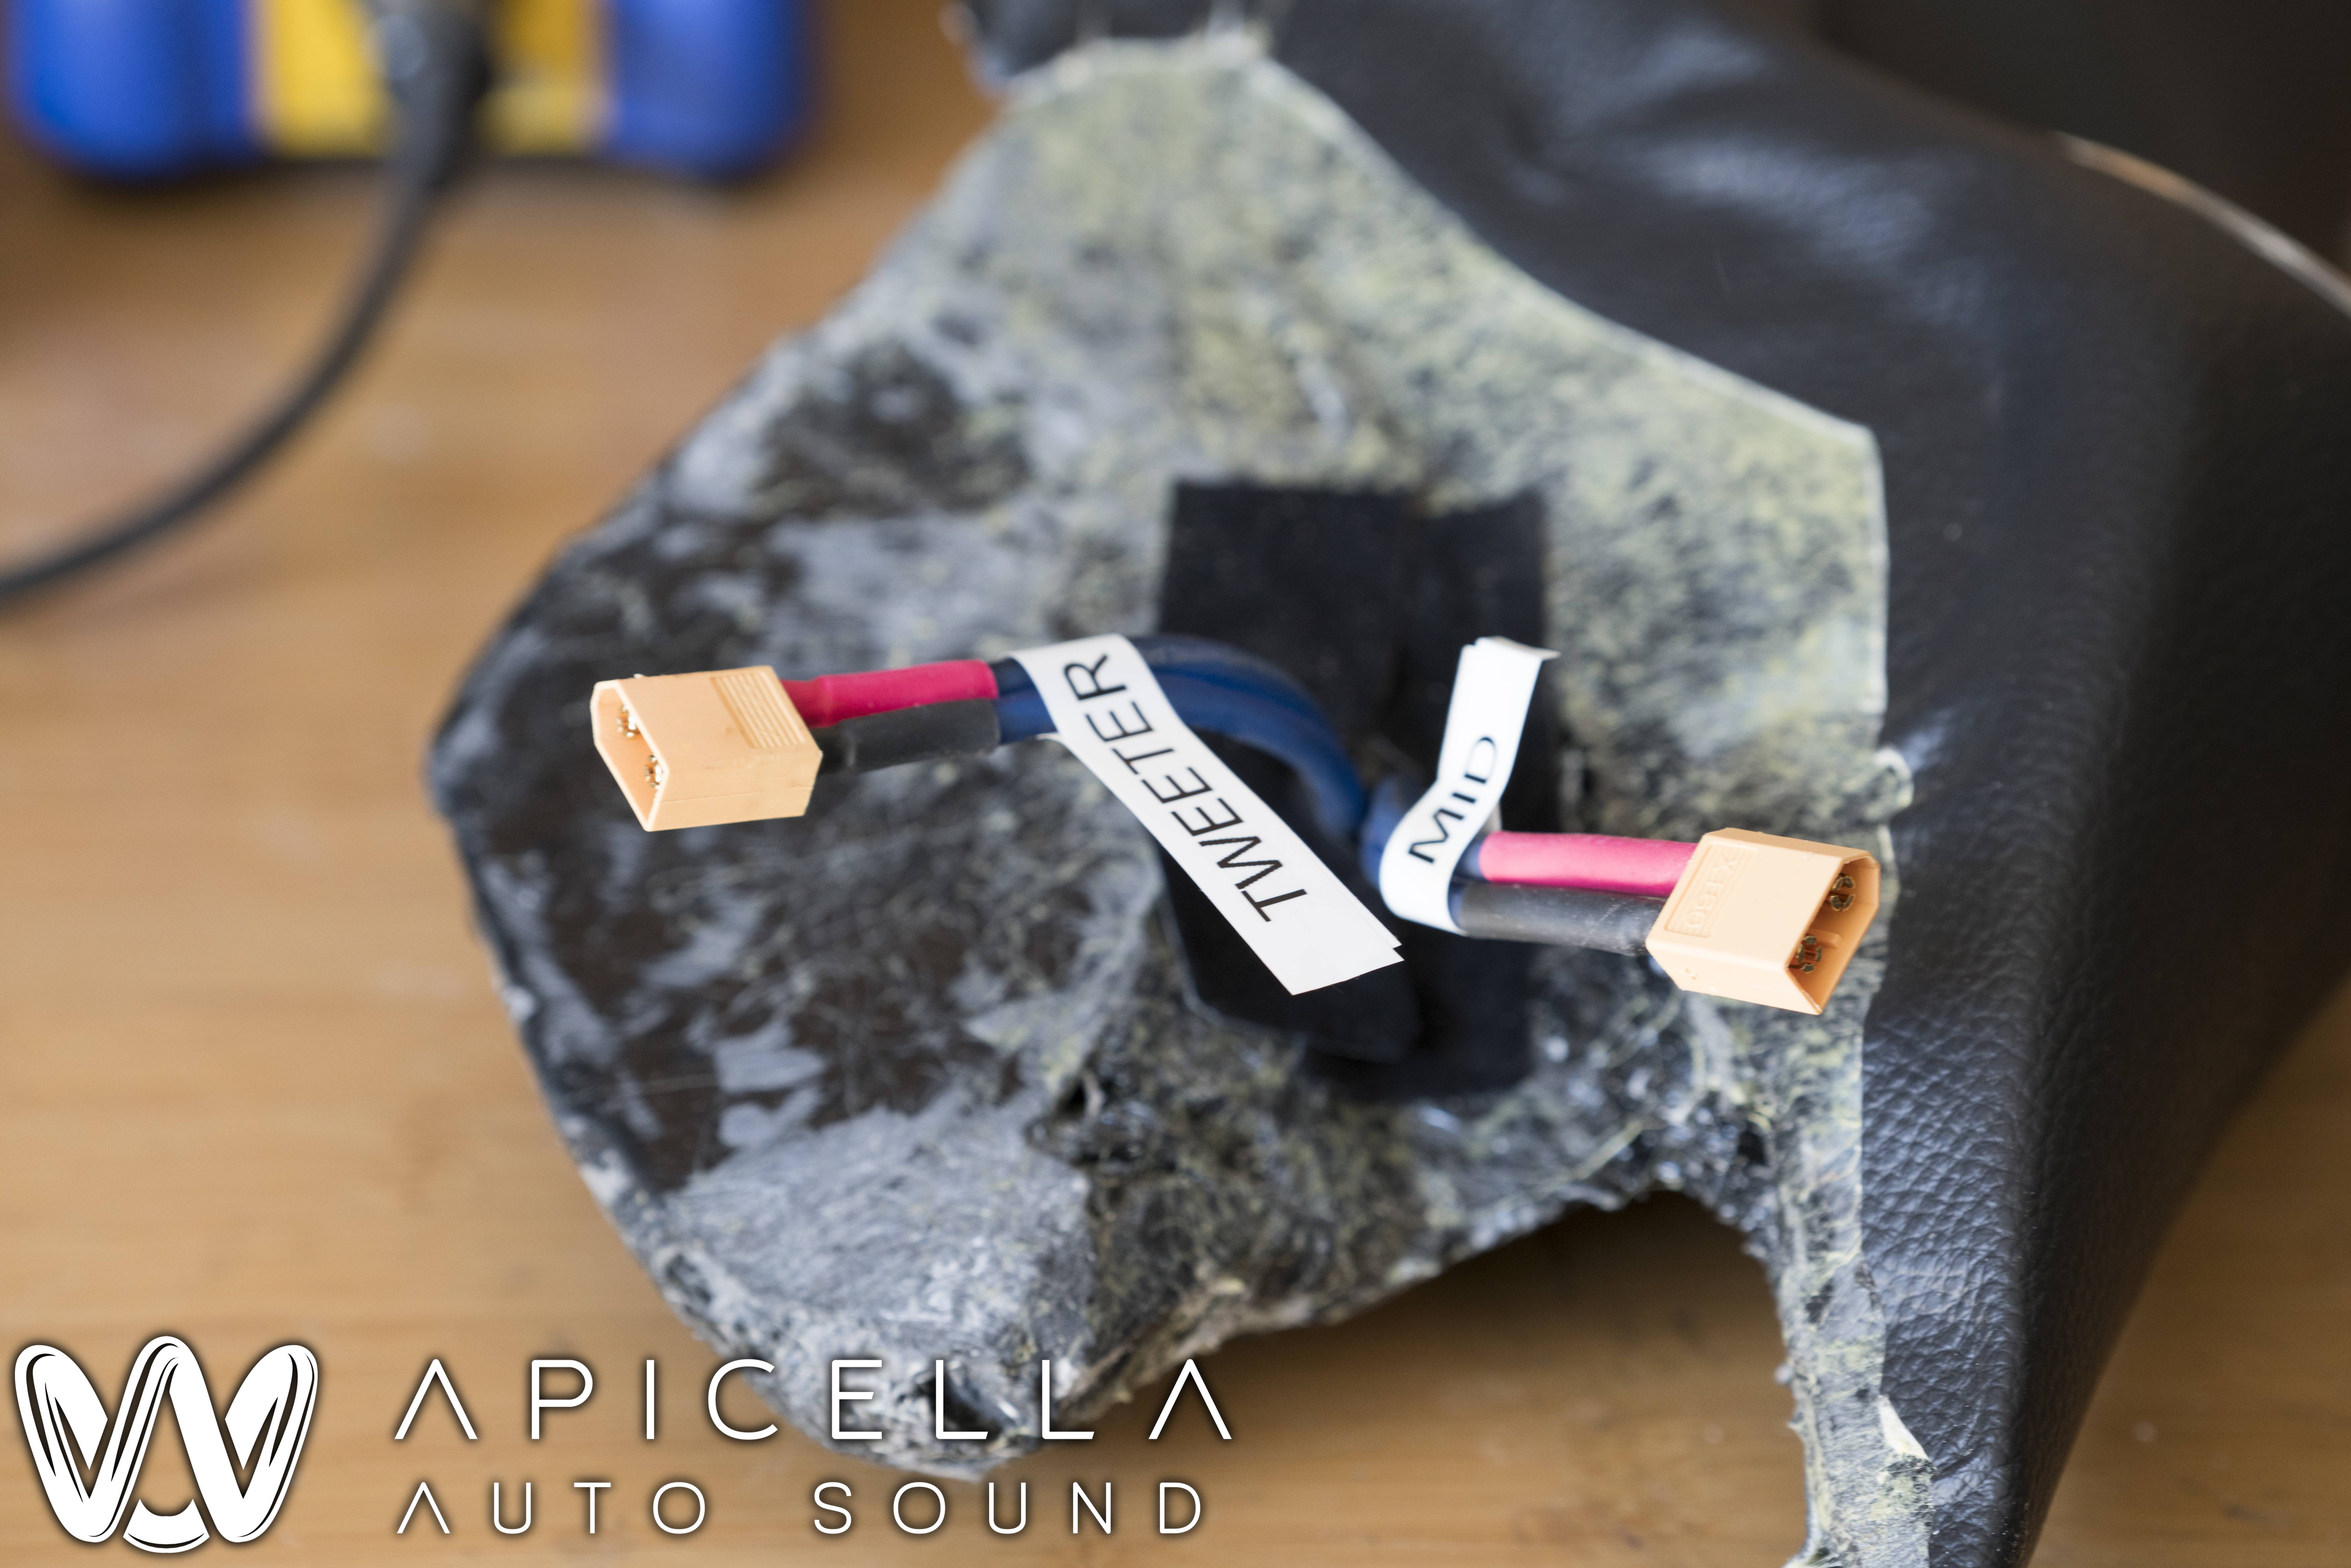
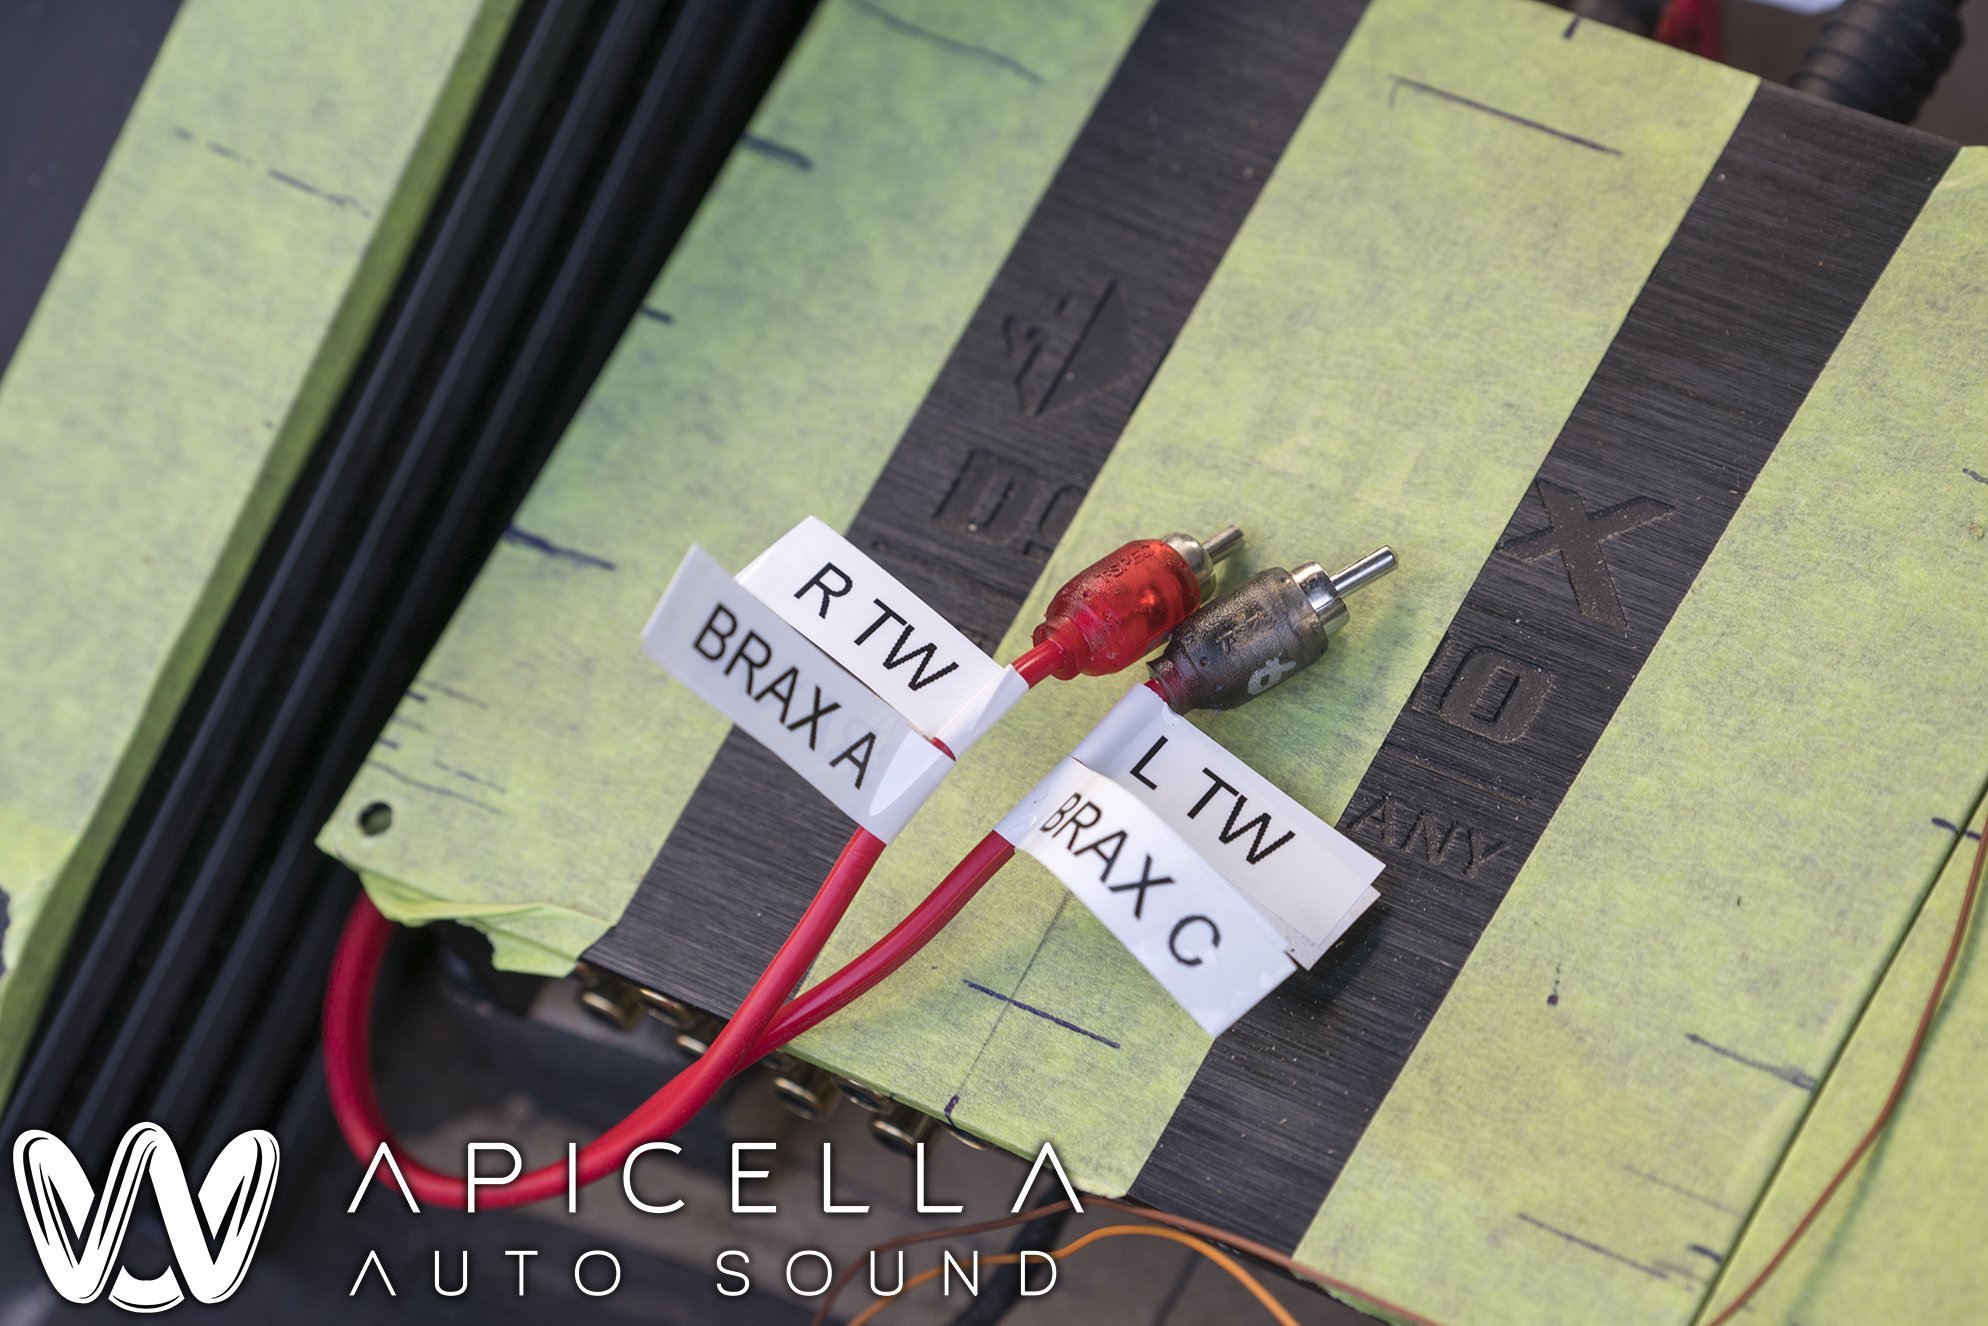
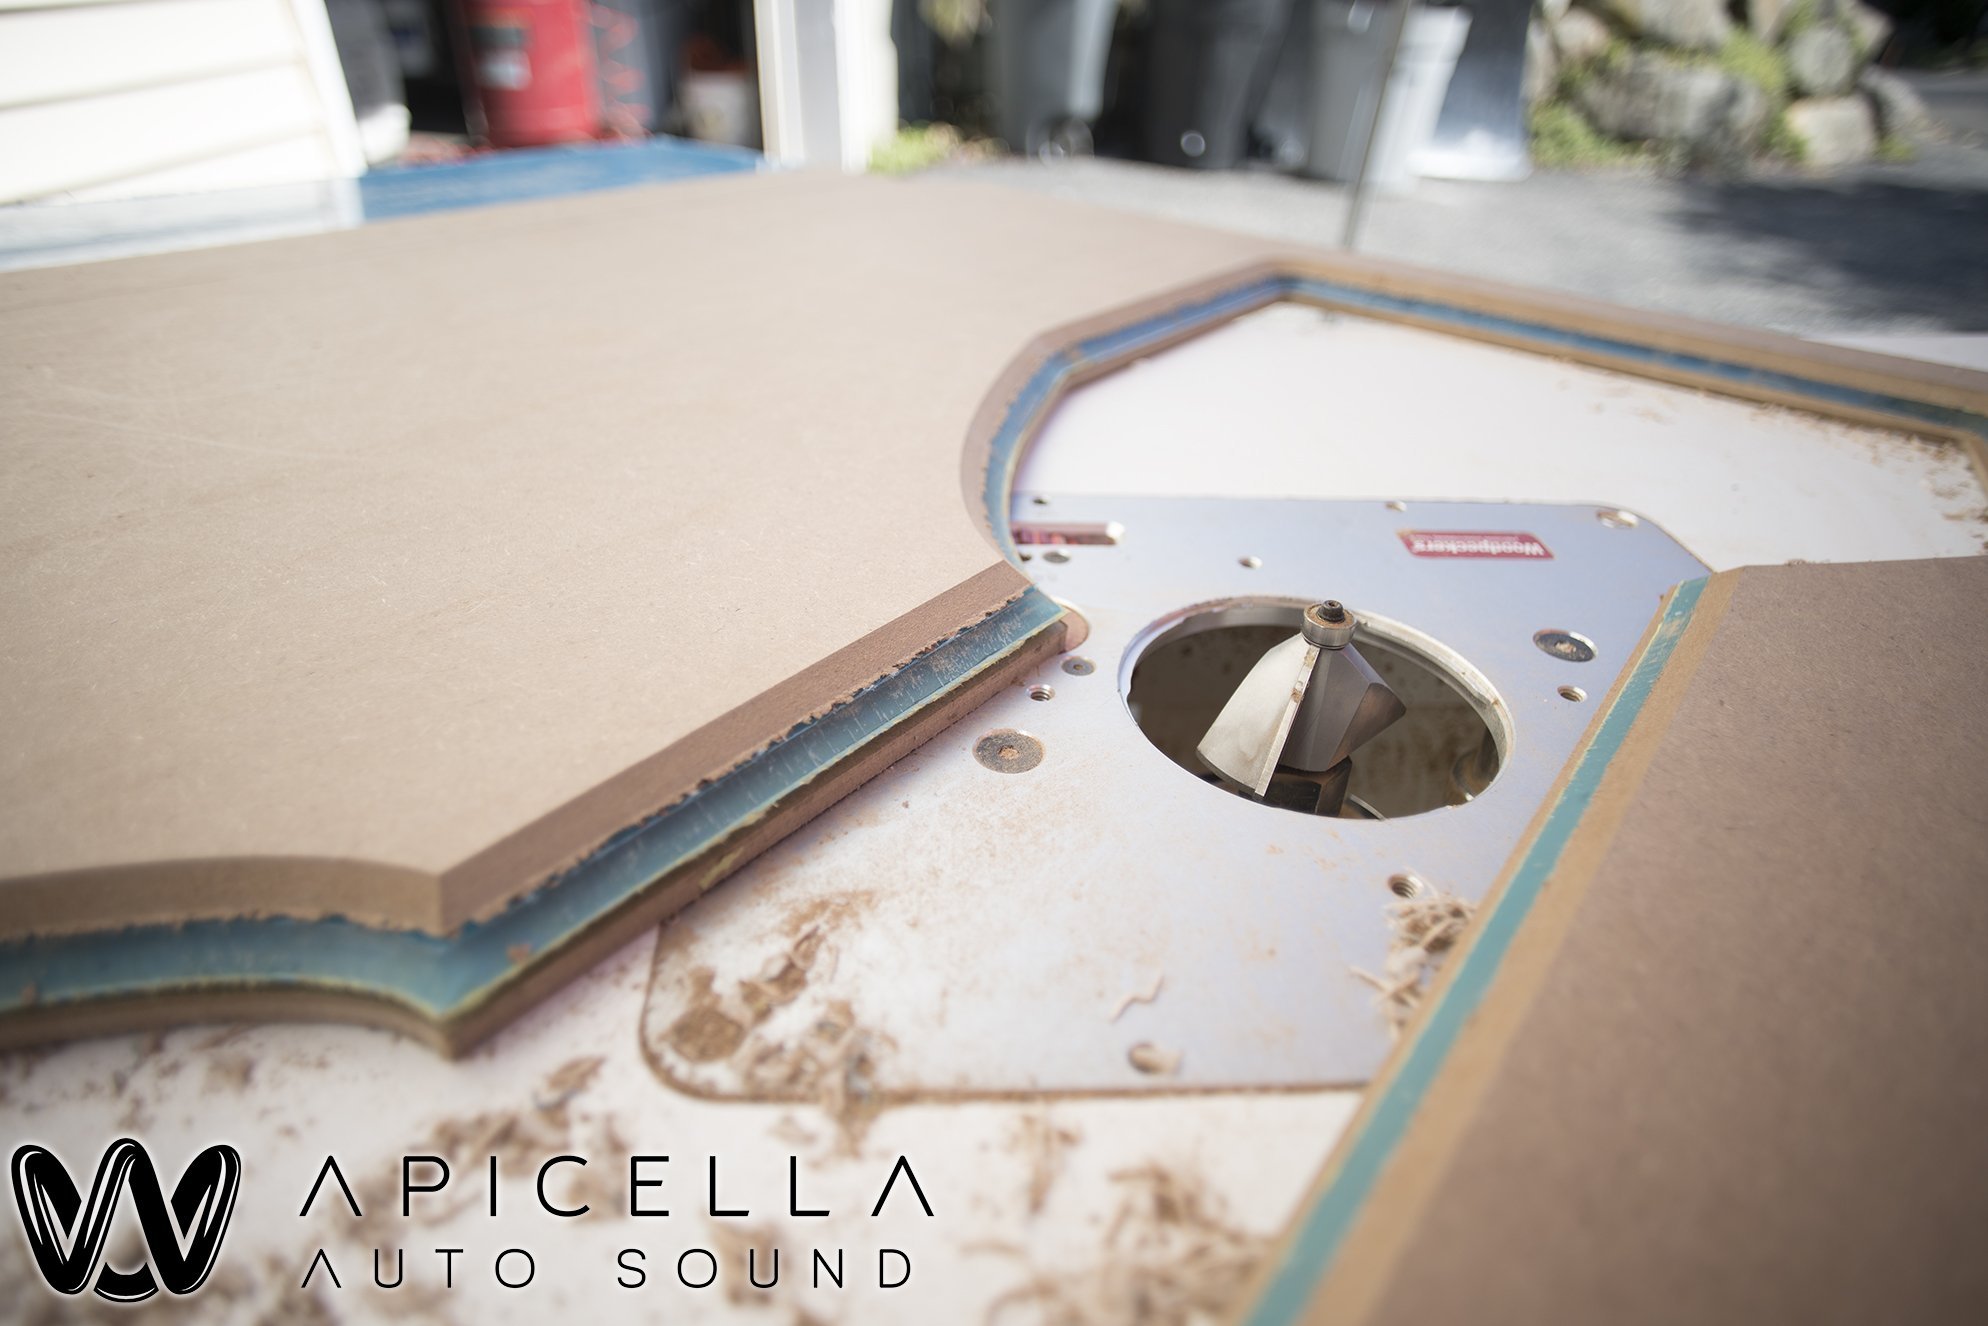
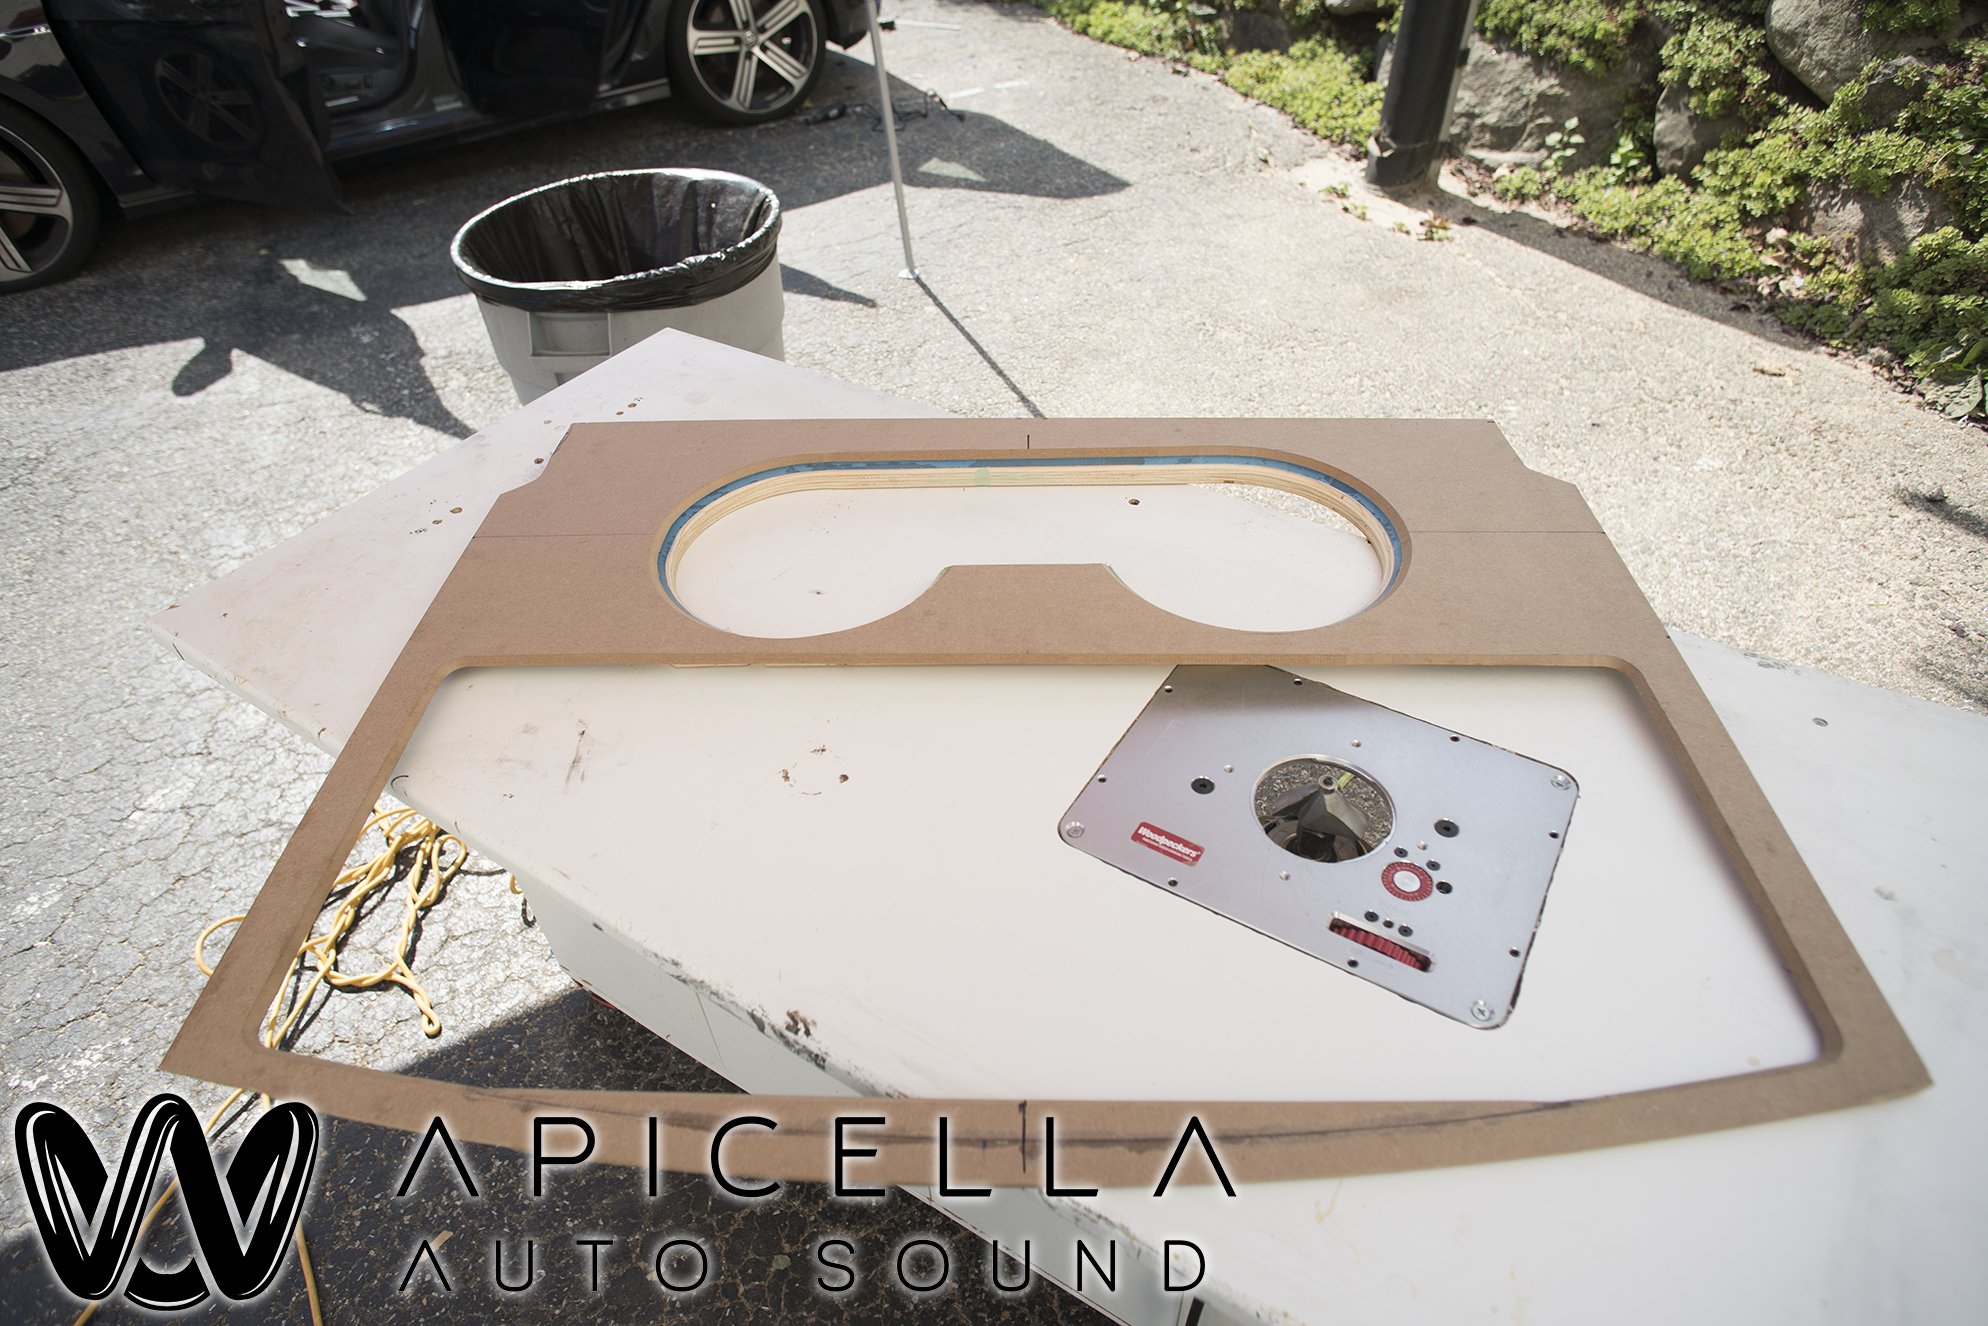
All of the wiring, baffles, and other miscellaneous pieces that were previously done was re-used. Re-doing all of it just wasnt in the budget/time frame, and served almost no purpose.
***ANOTHER NOTE***
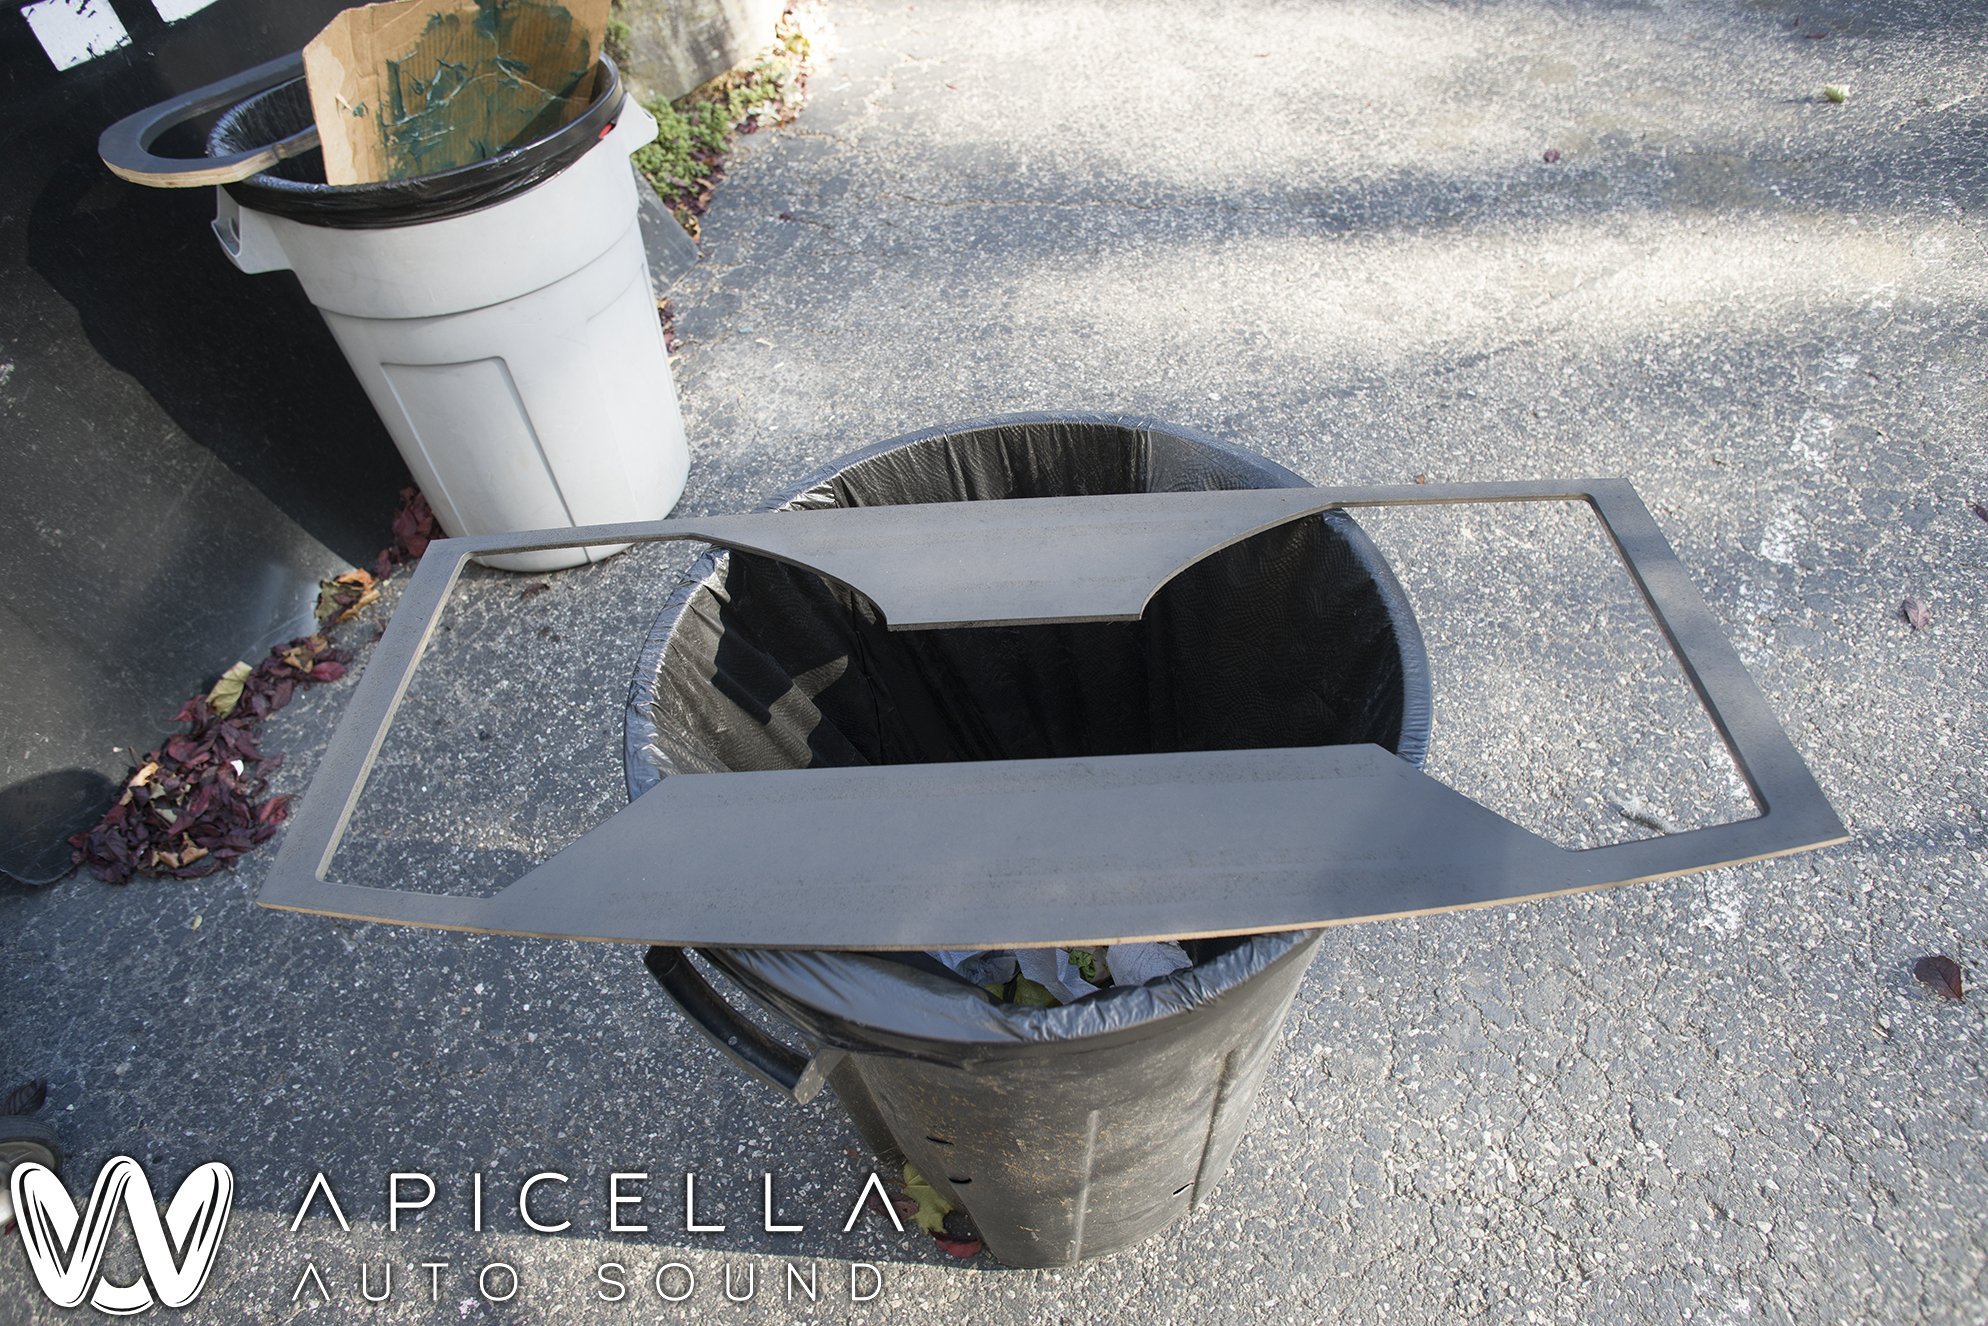
You guys are going to hate me, but ive been slacking really bad on getting photos. I guess when you get as busy as i have been the past 2 months, you kinda just forget. This is all i have.
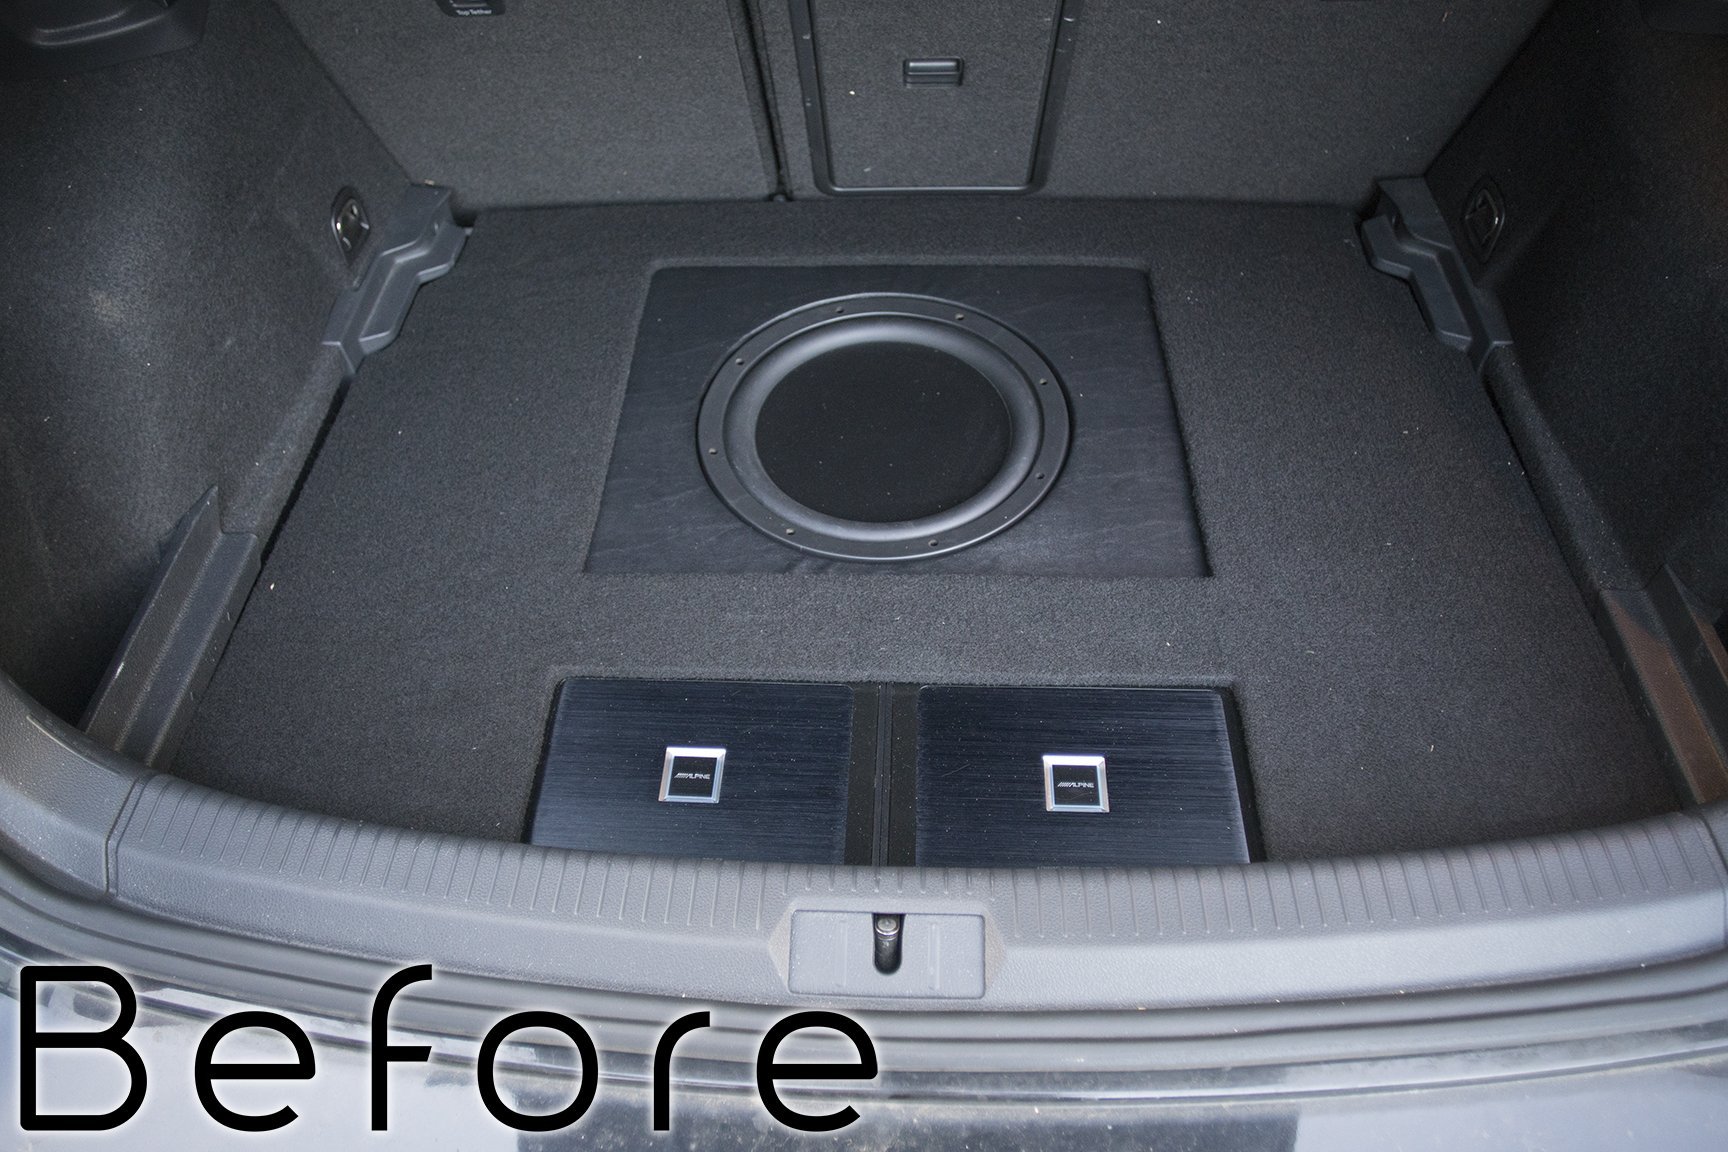
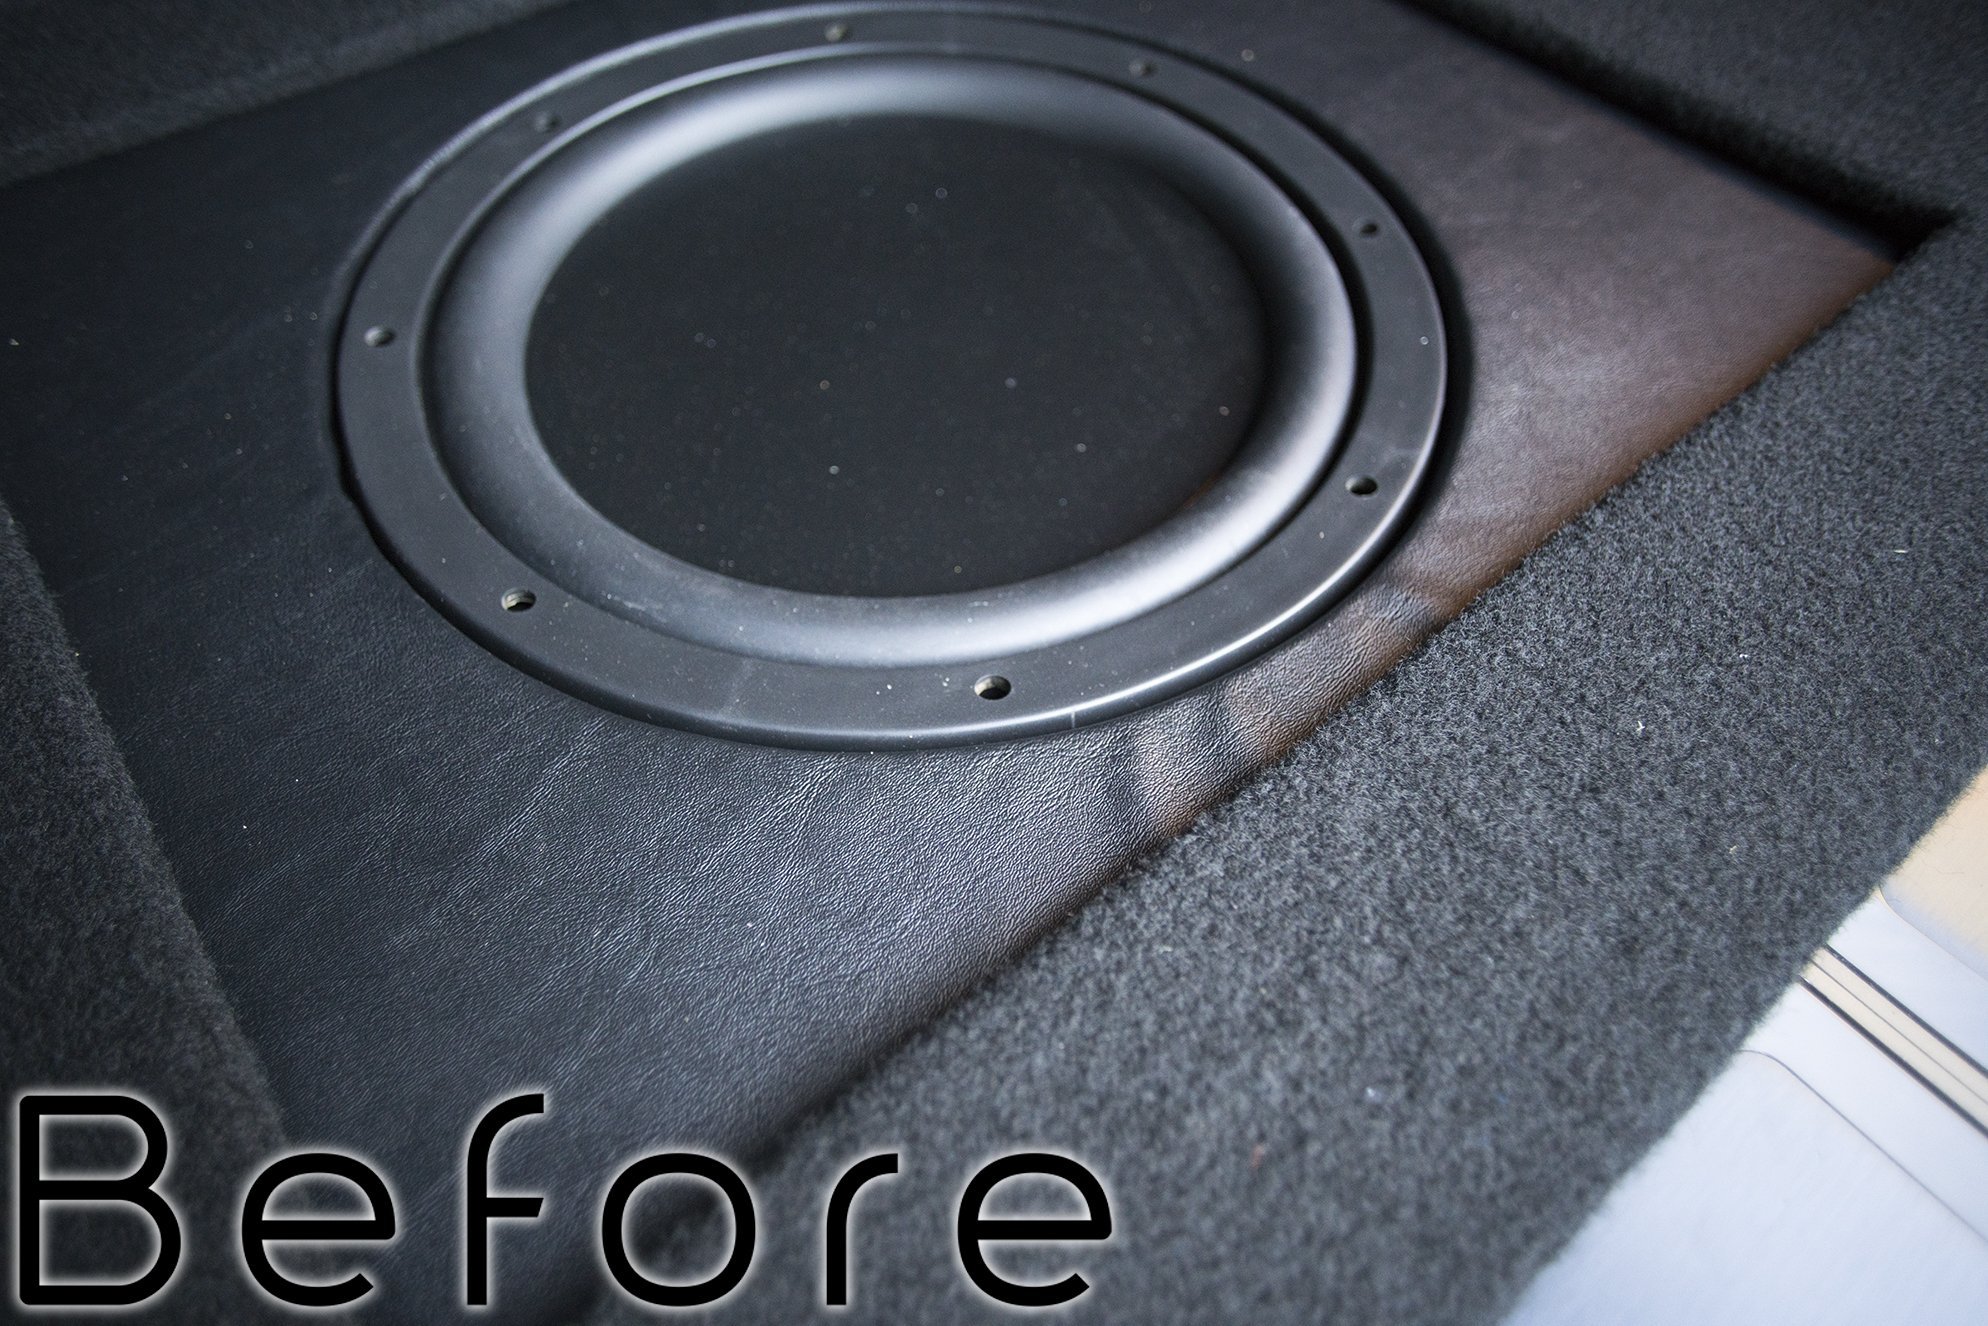
Here is the previous trunk install. Again, more than enough for the average person. Nothing crazy. Somewhat clean. Simple.
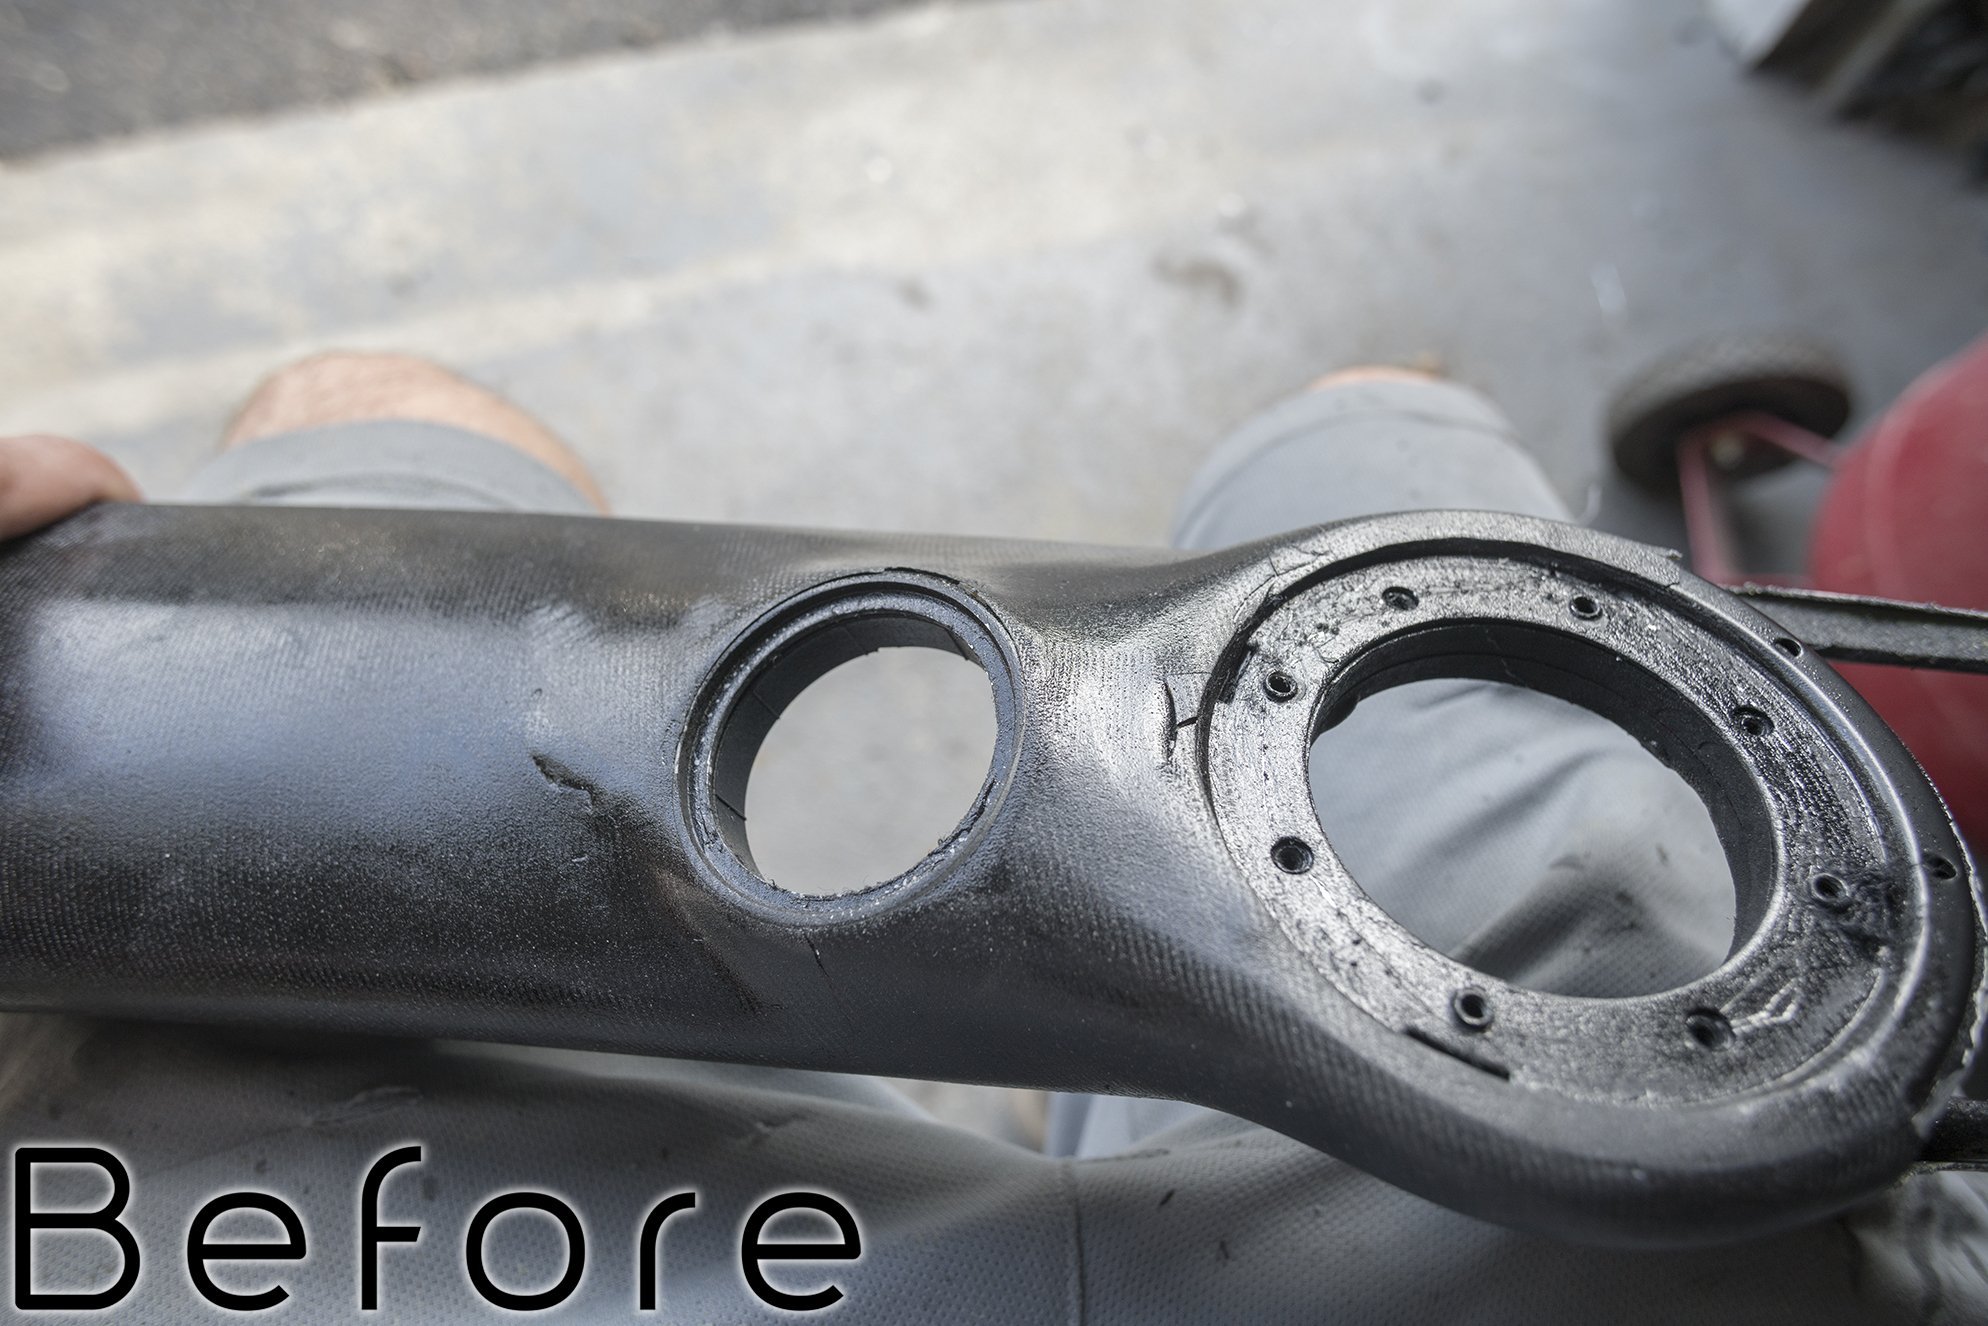
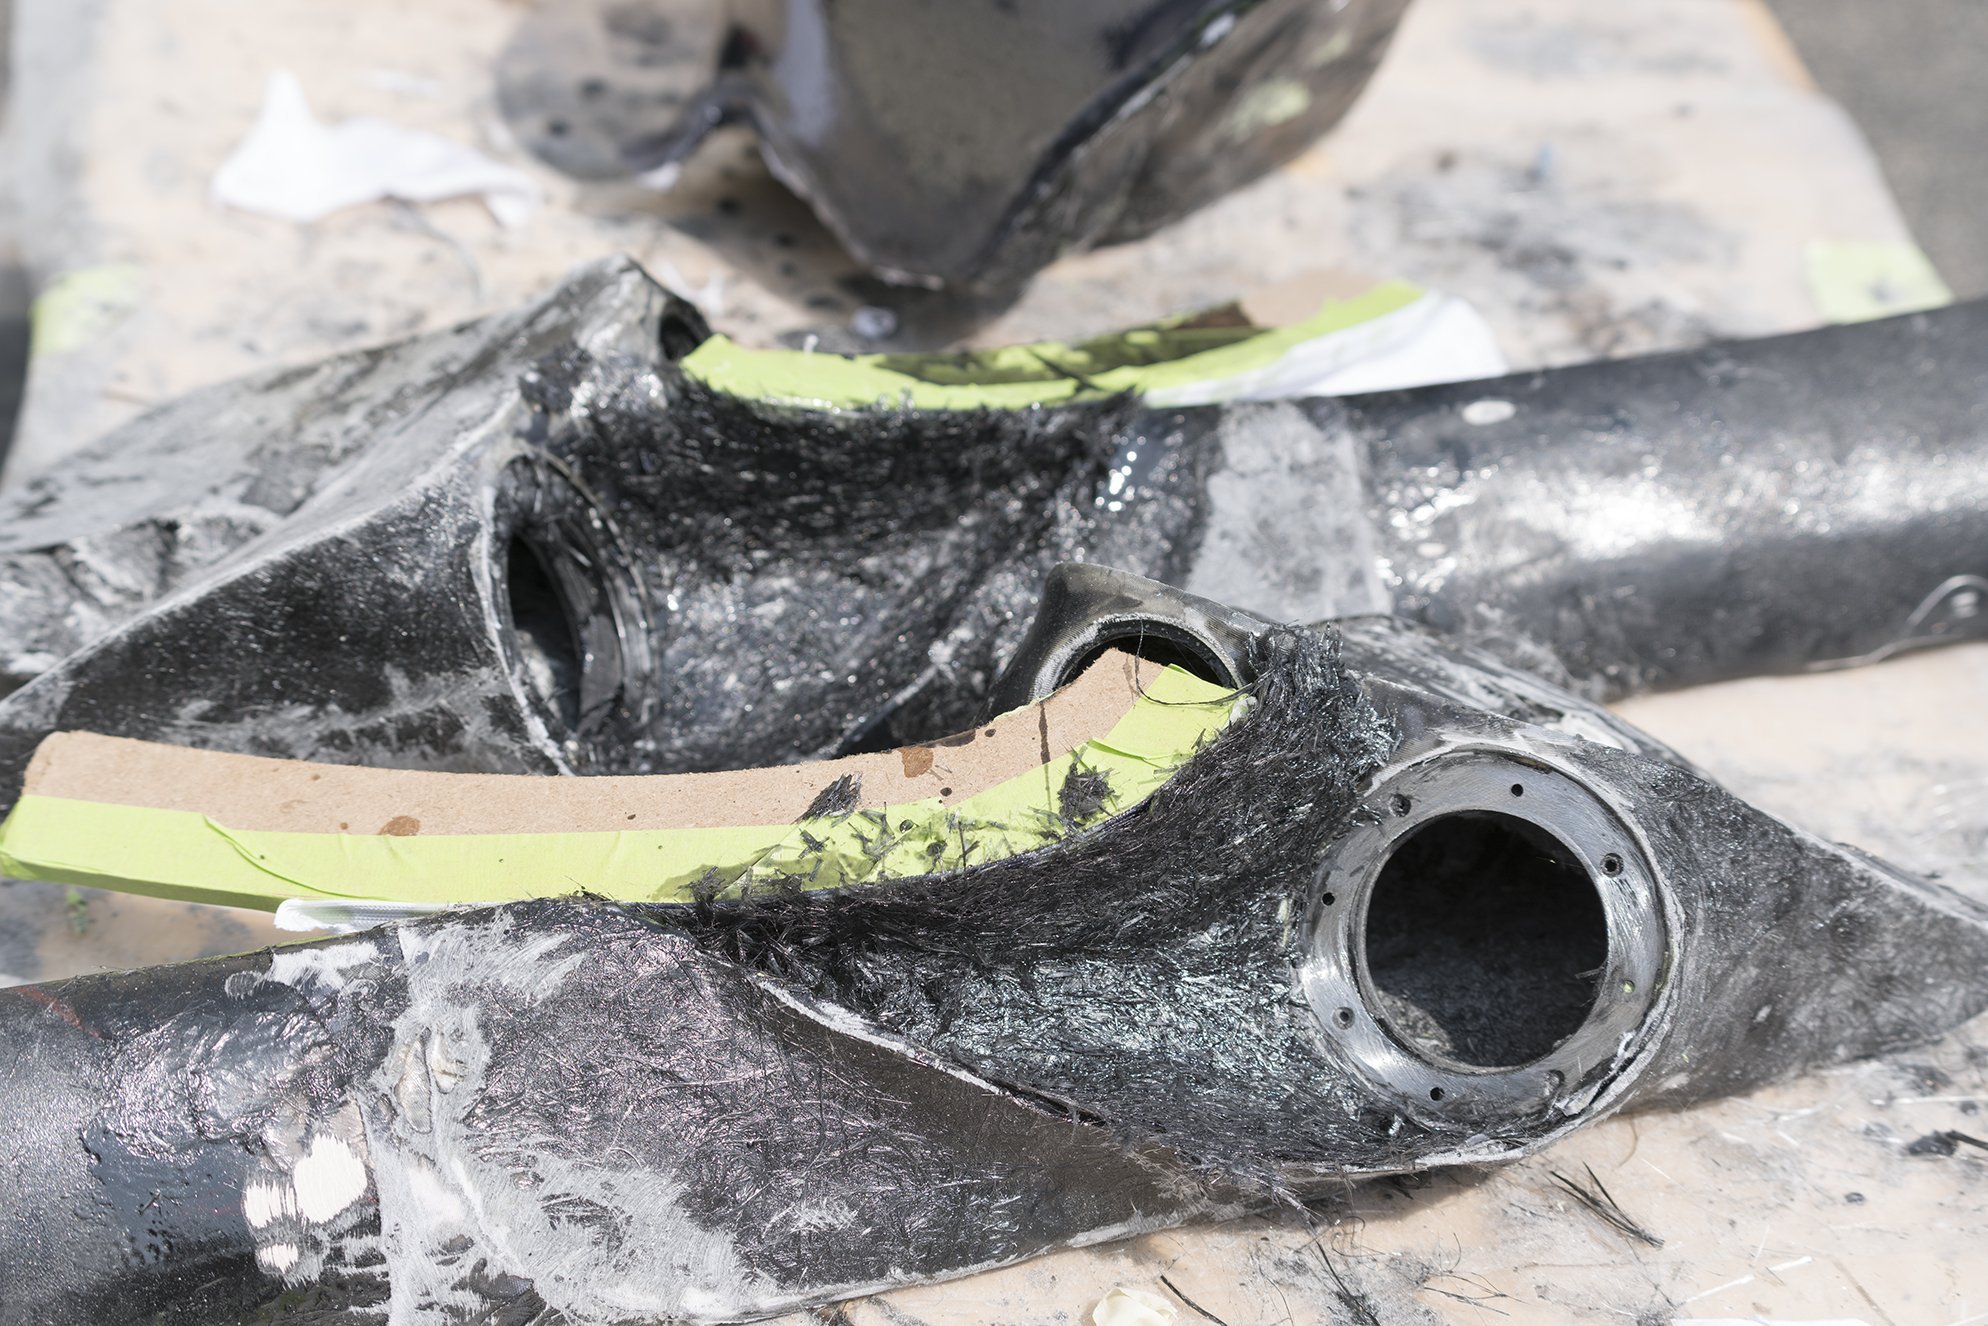
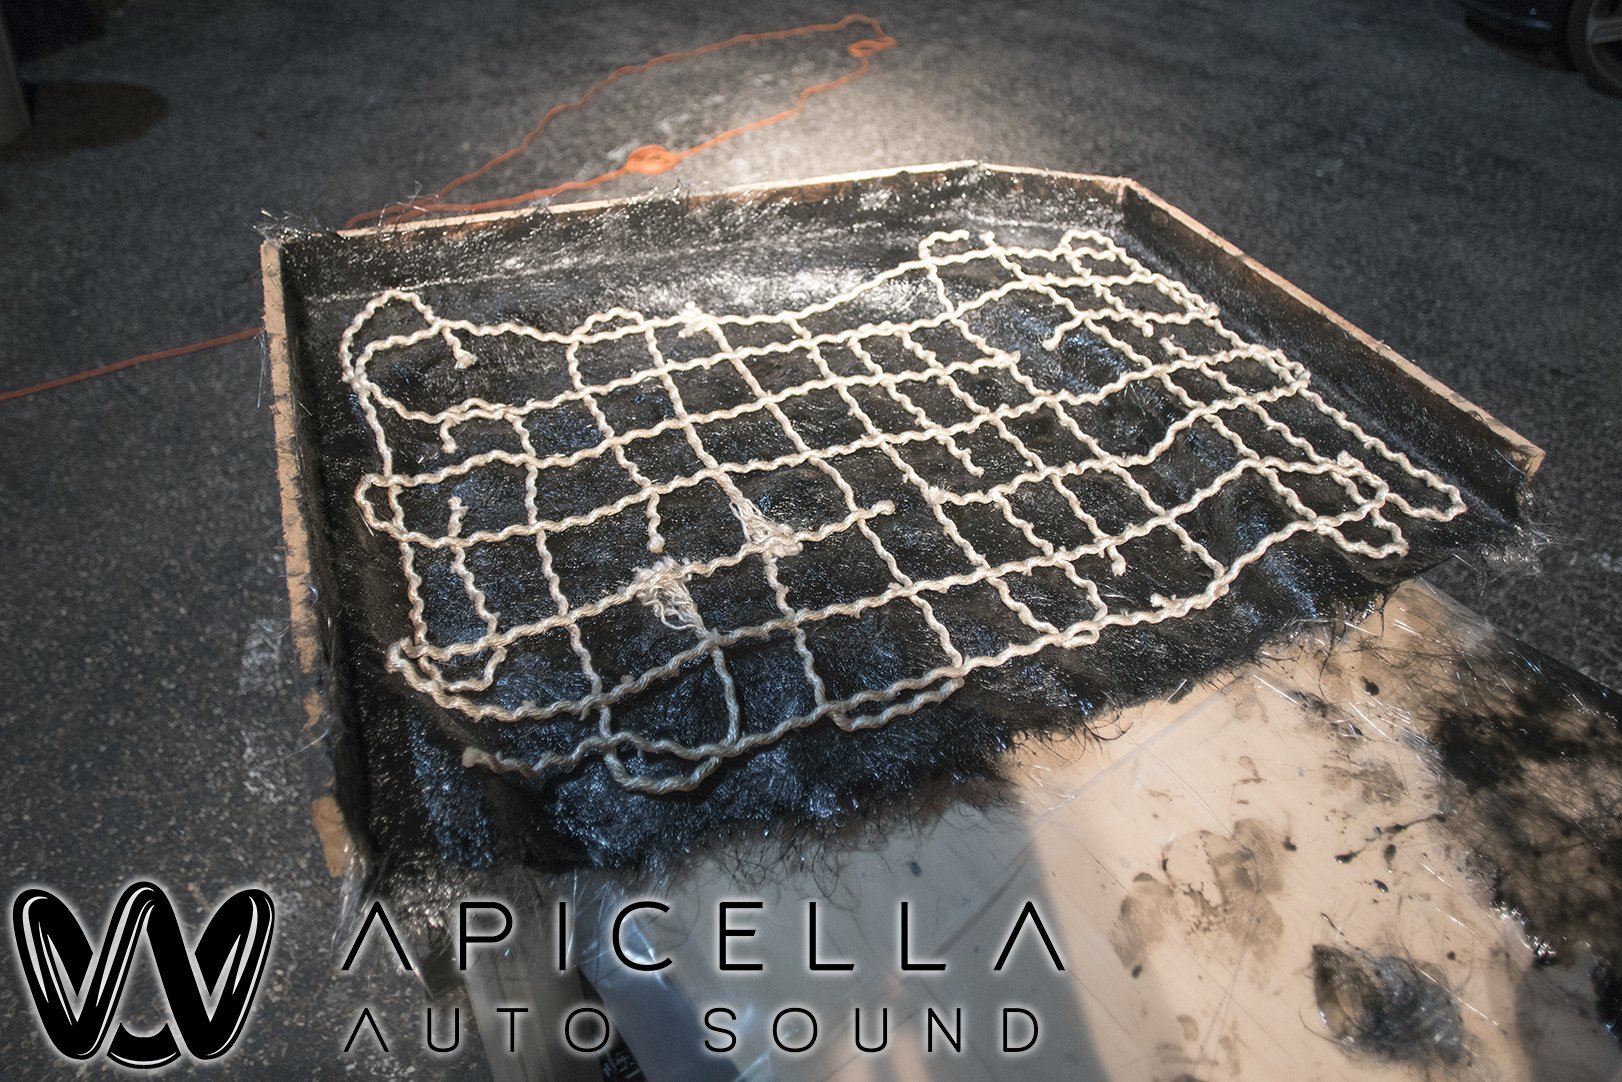
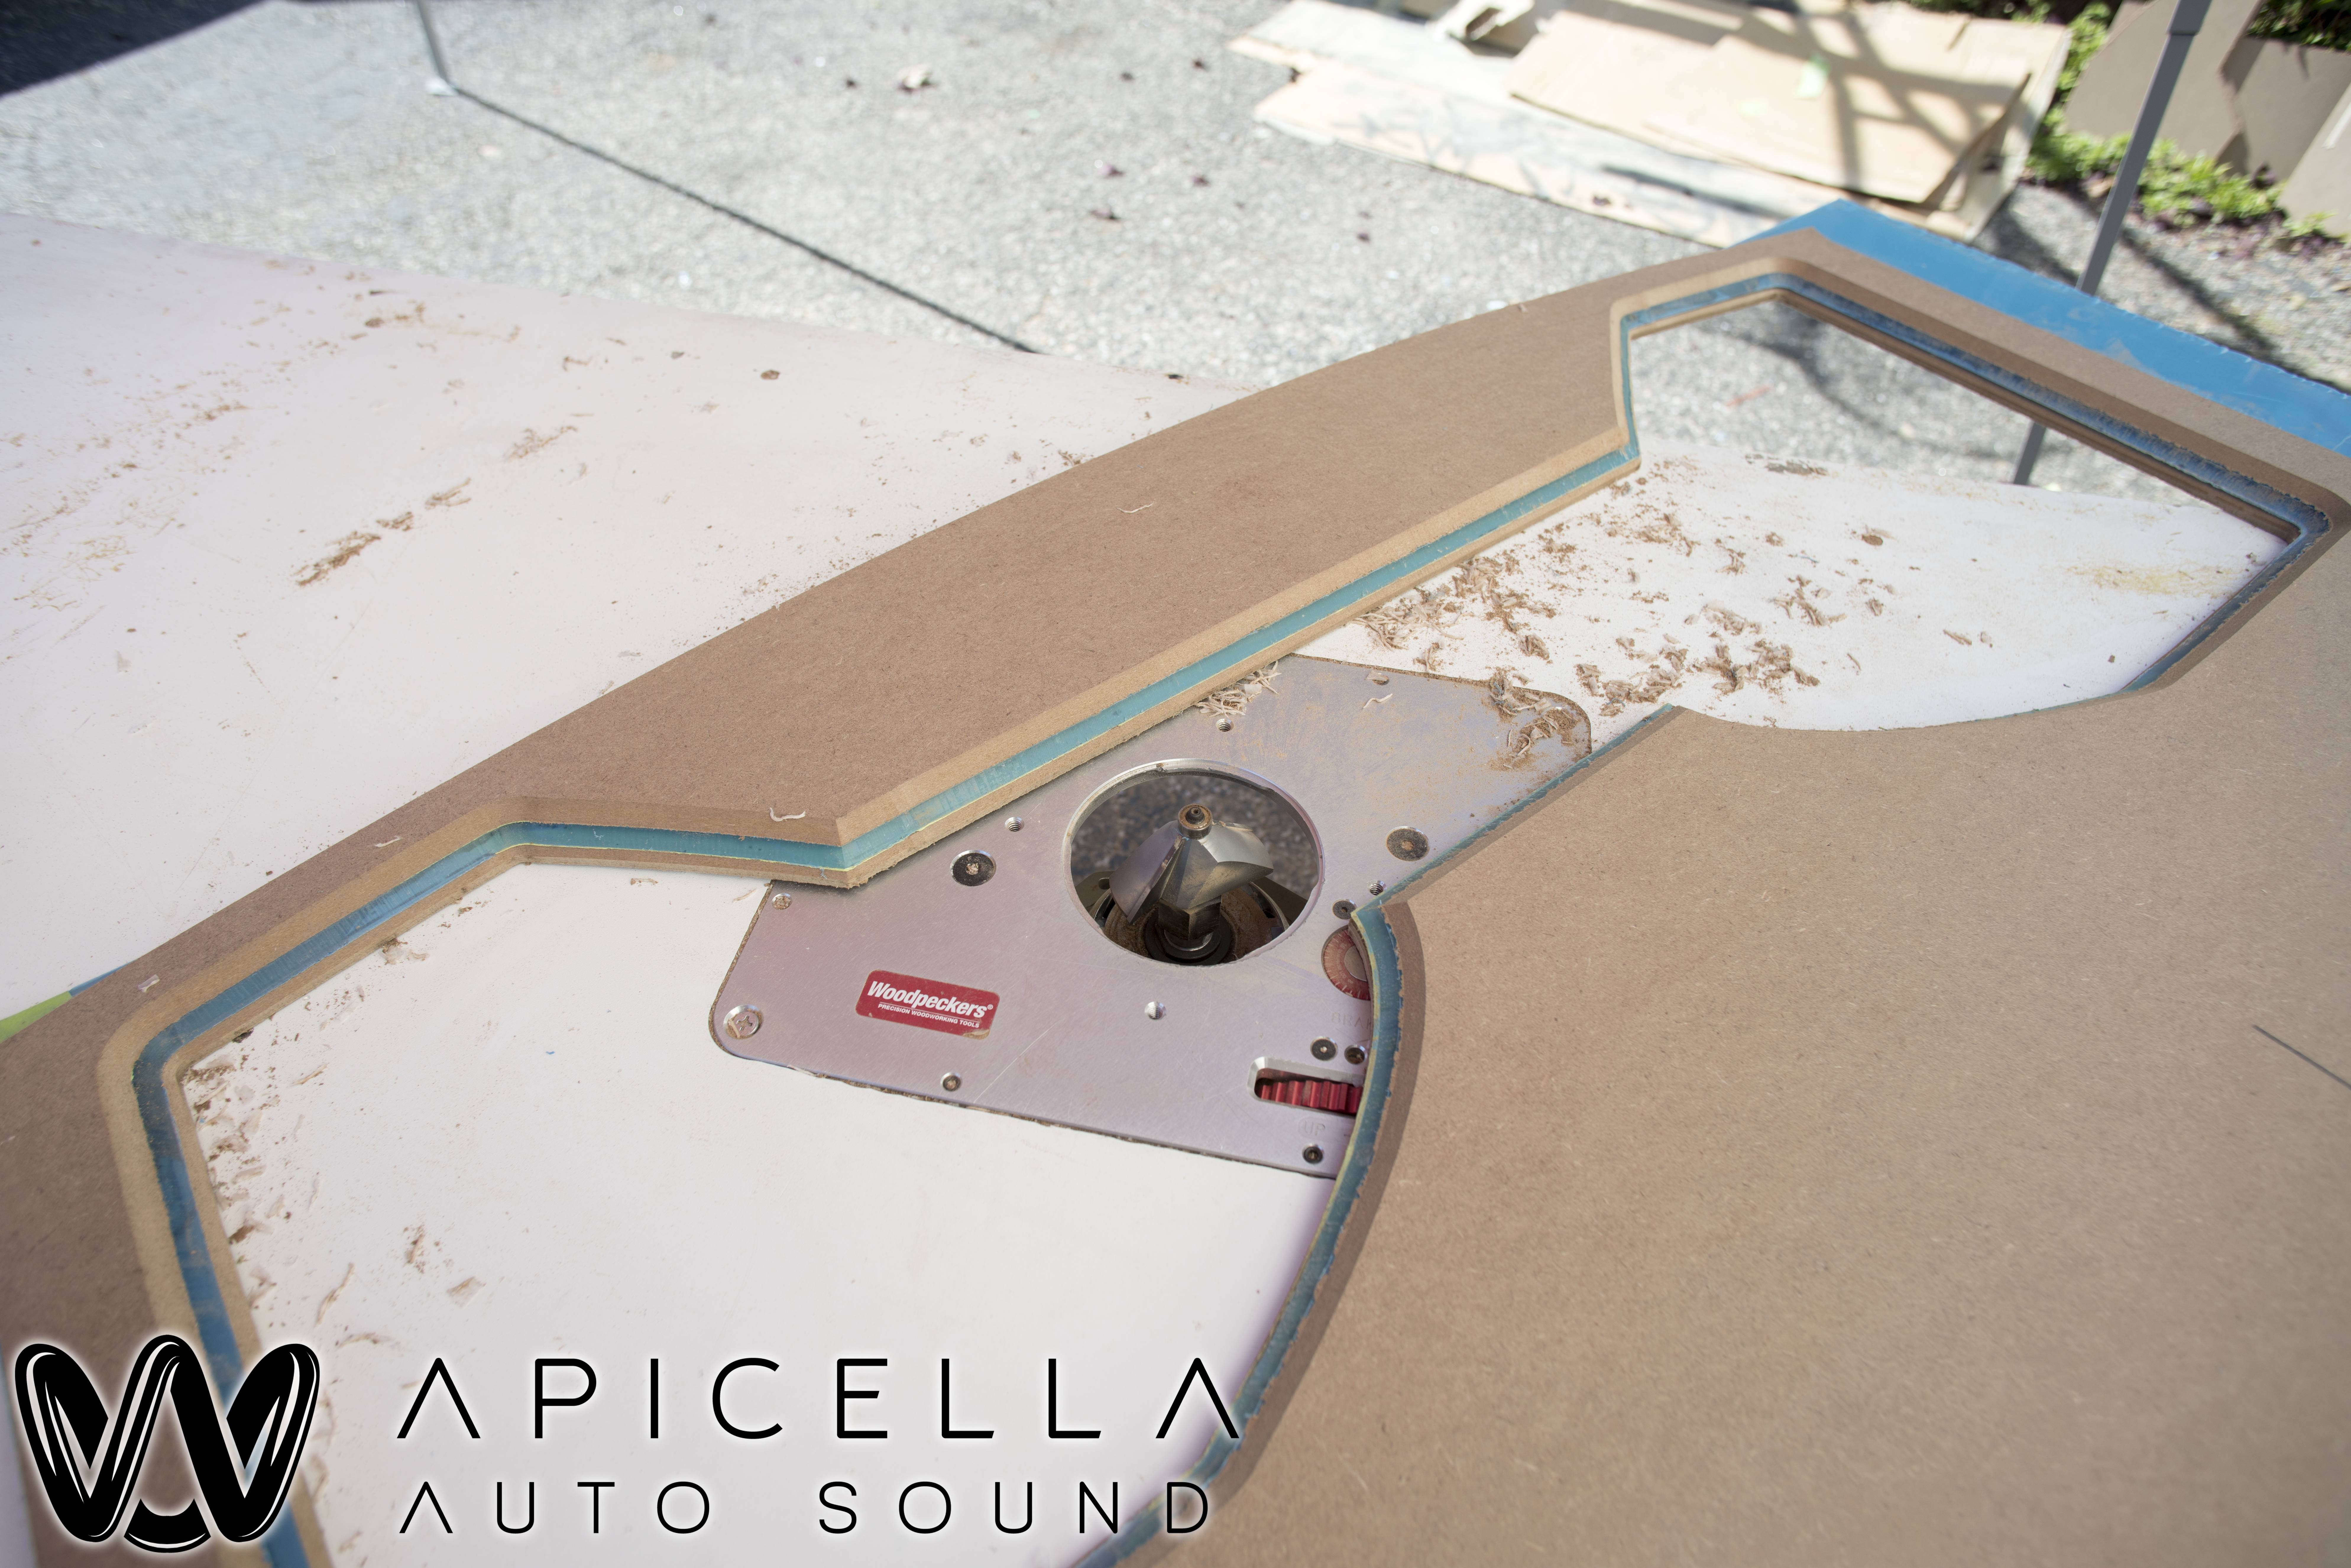
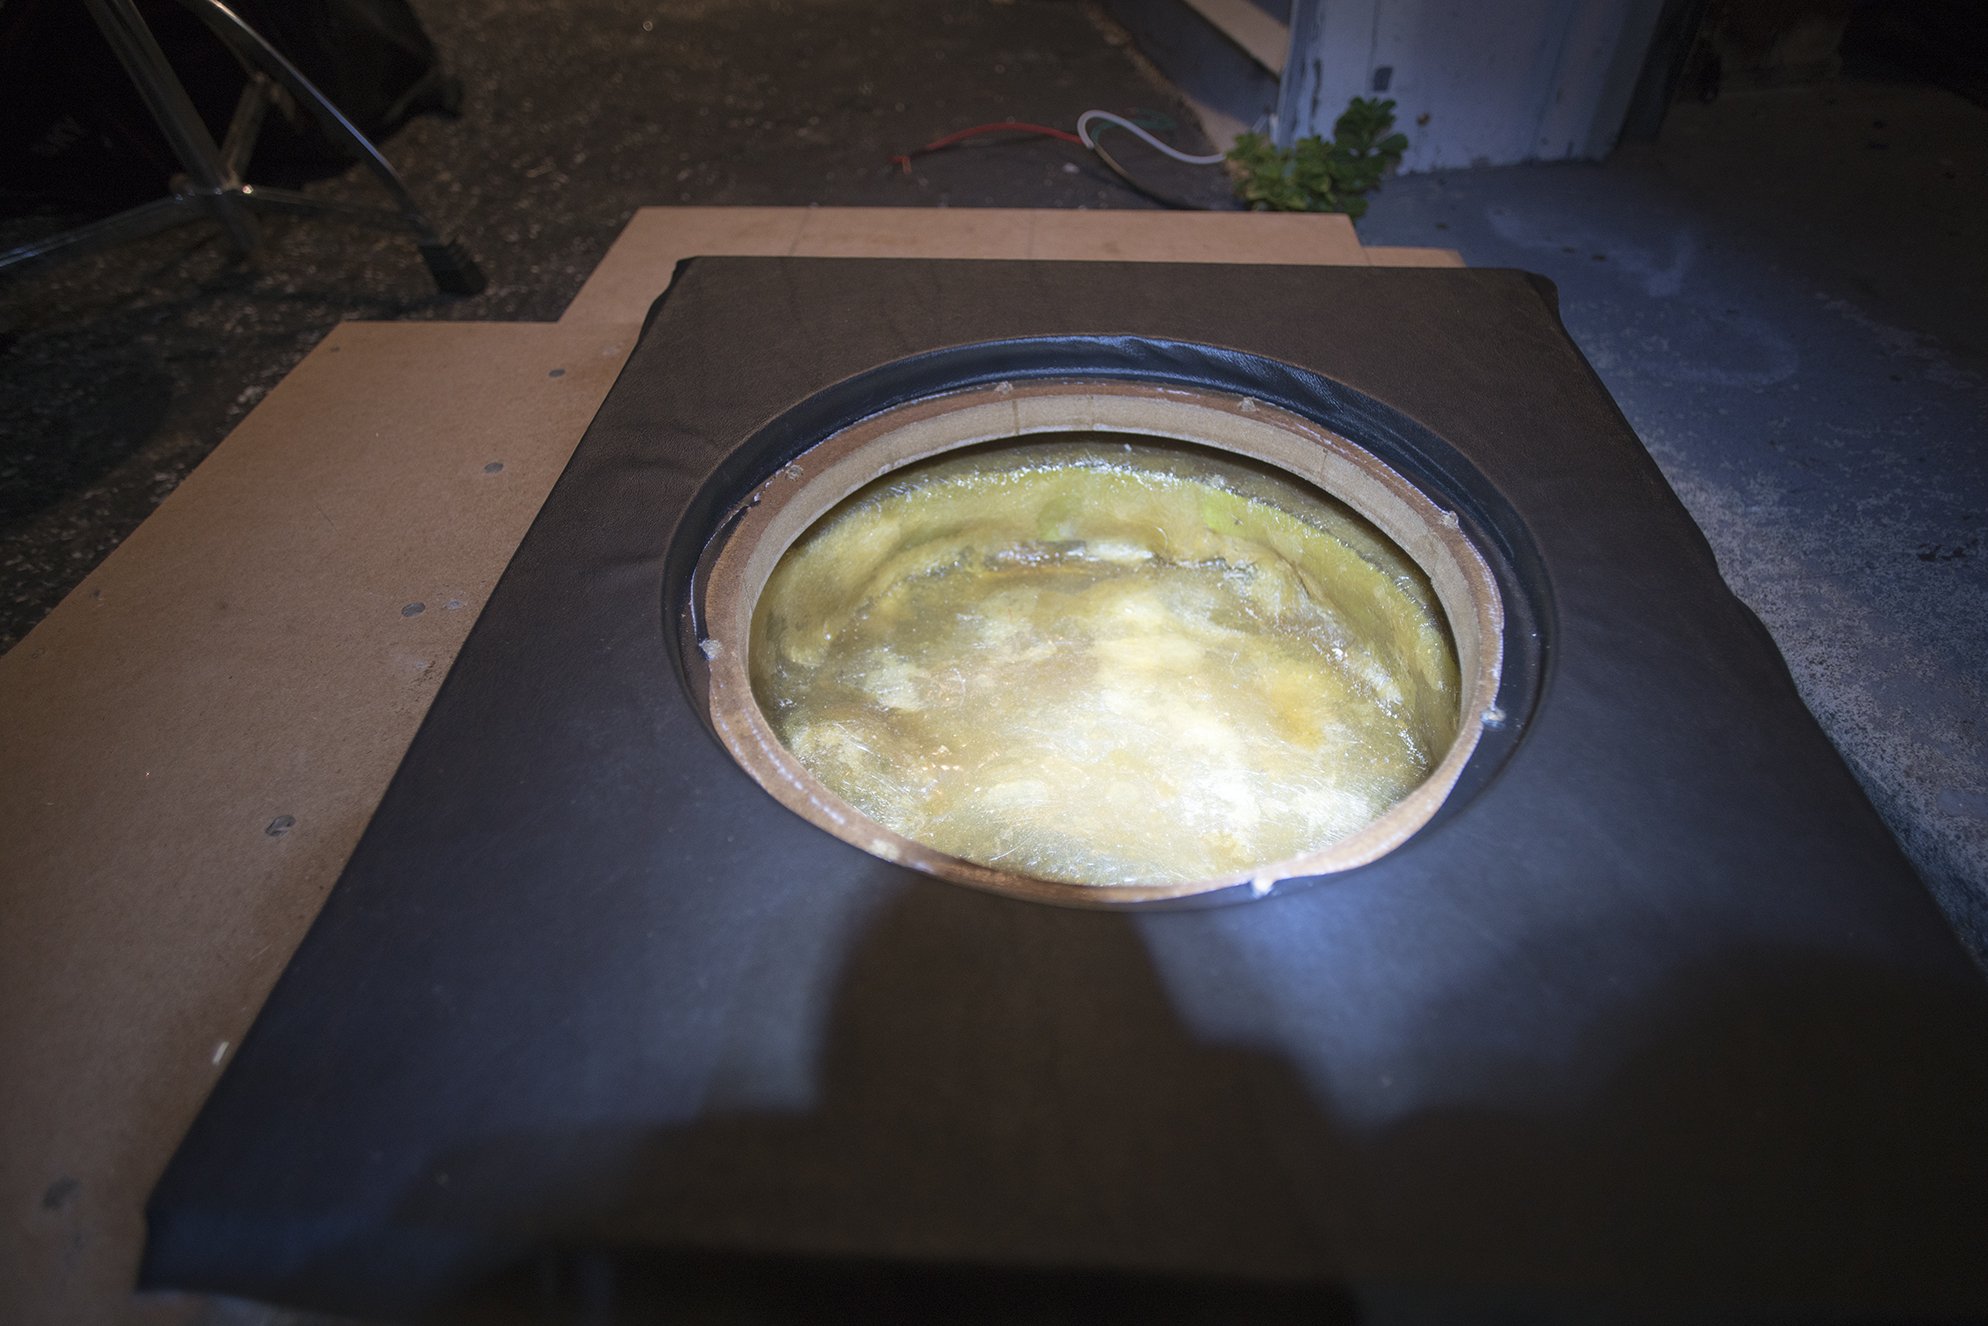
When i removed the subwoofer enclosure/amp rack, i noticed that the airspace given to the sub was extremely small. It measured out to only .2 cubic feet... yeah, Less than a quarter of a cubic foot of airspace, It was pretty much a fiberglass cup around the sub plus an inch deep 18 x 15 slot around the sub. It was also only two layers of fiberglass mat. I was able to step on it and put a hole through it.
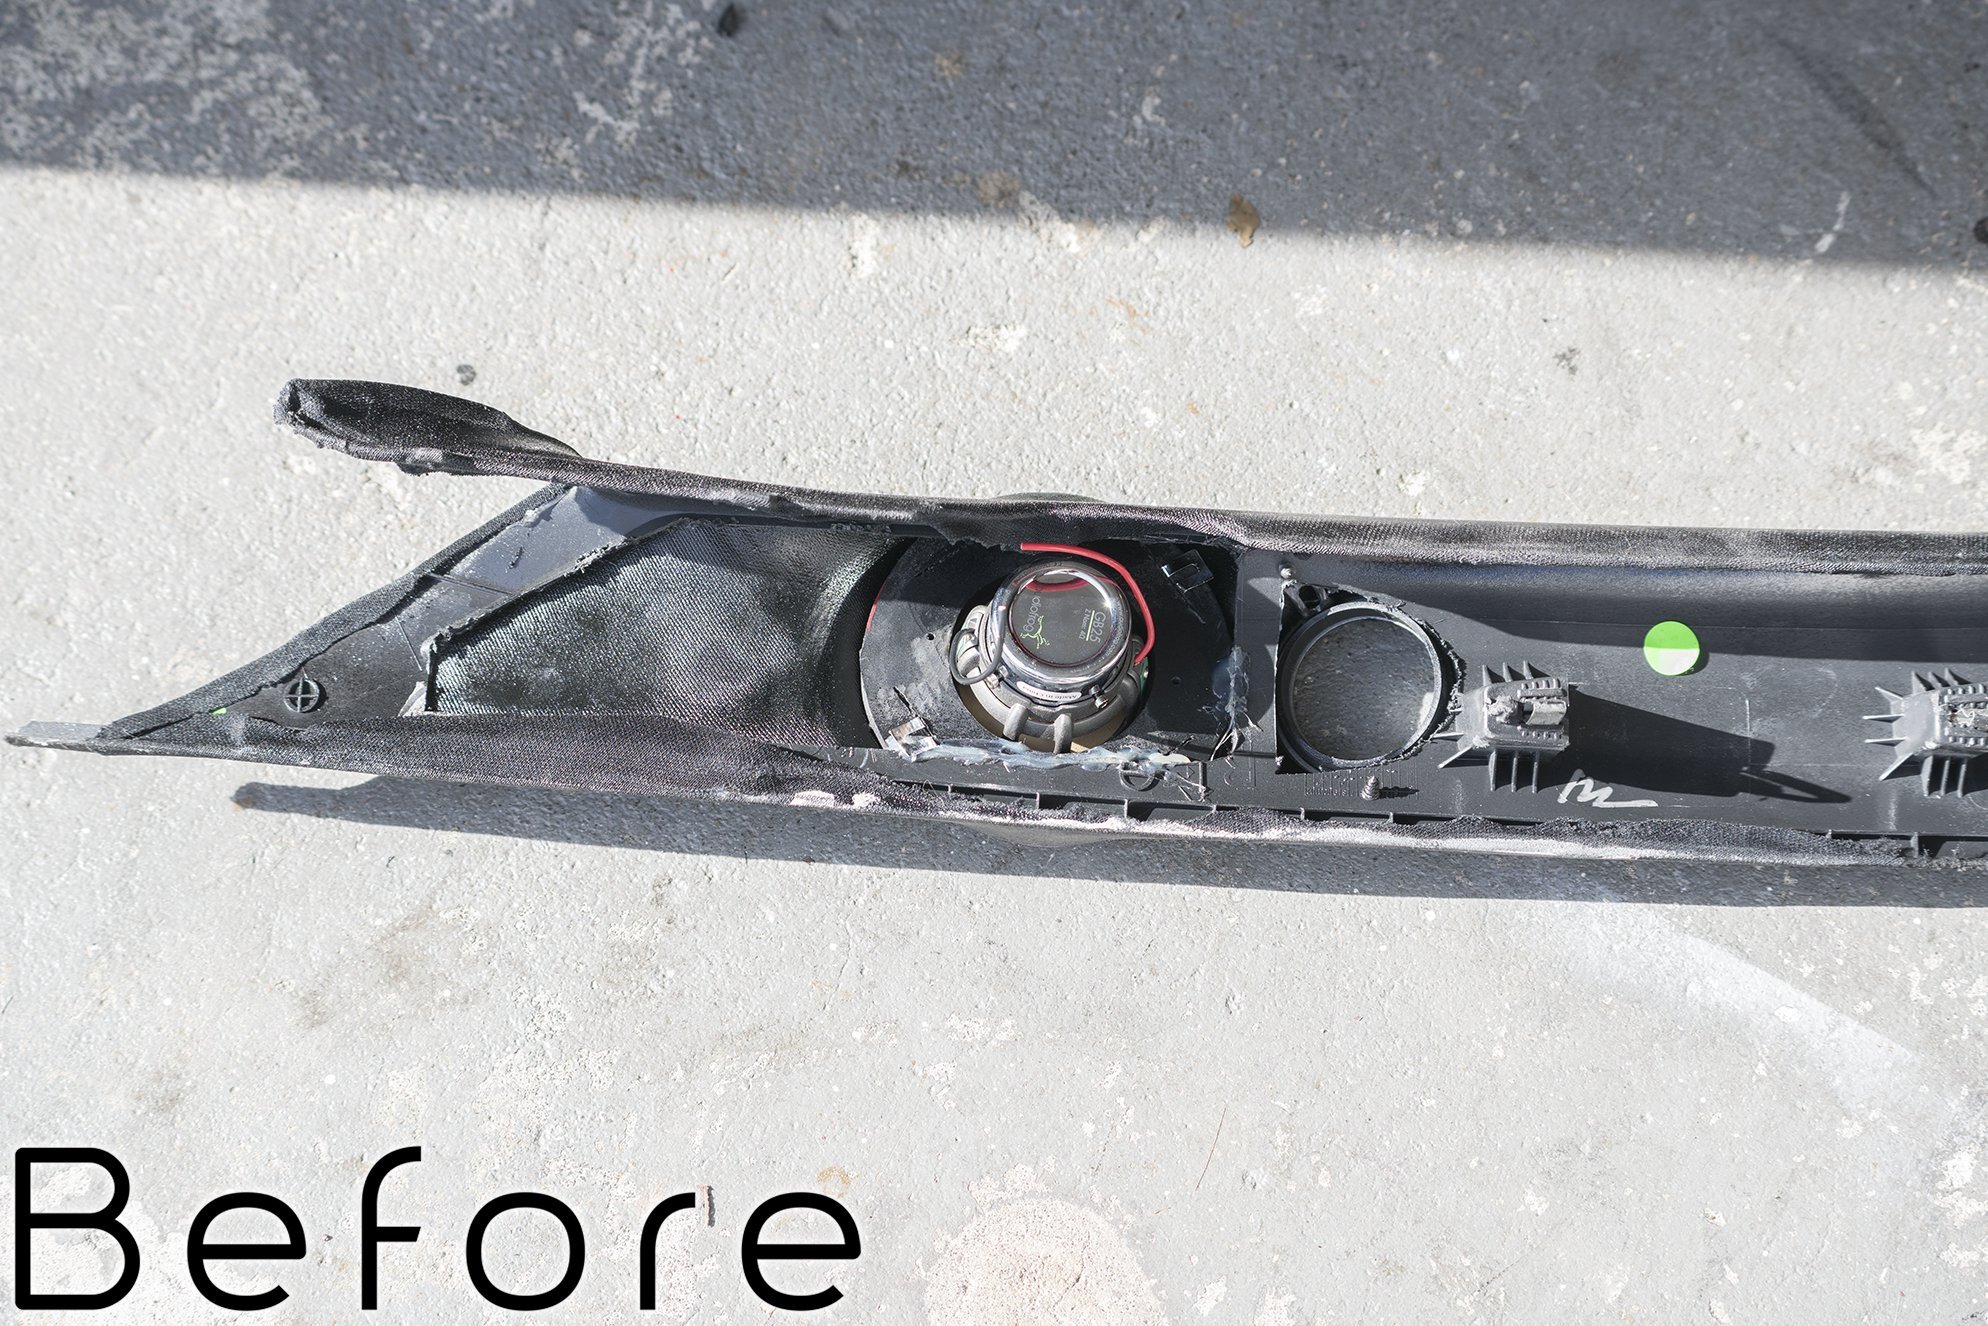
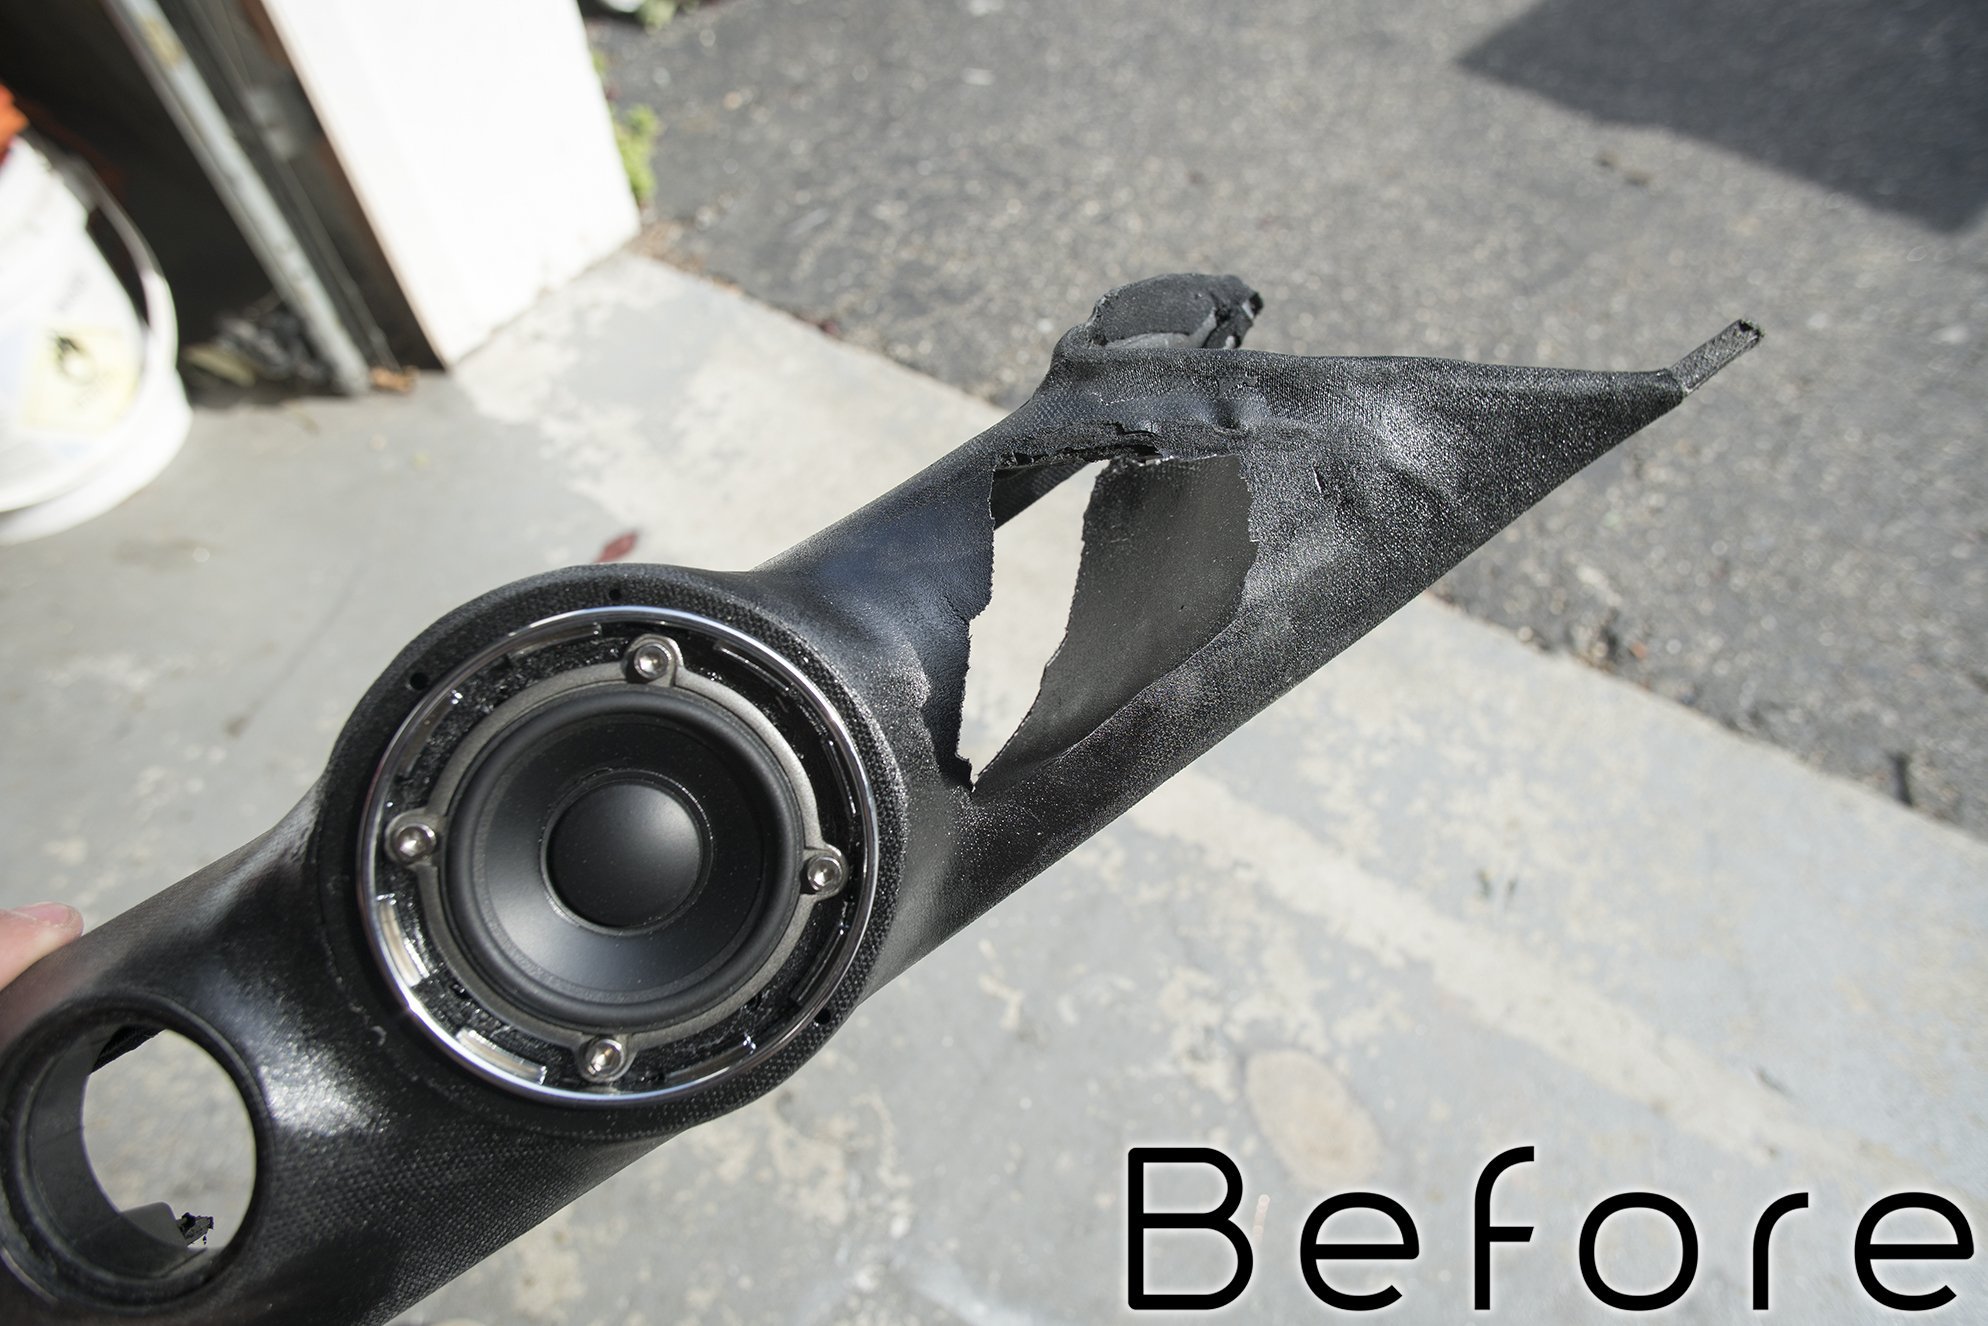
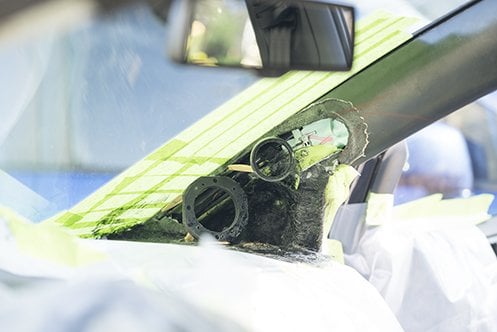
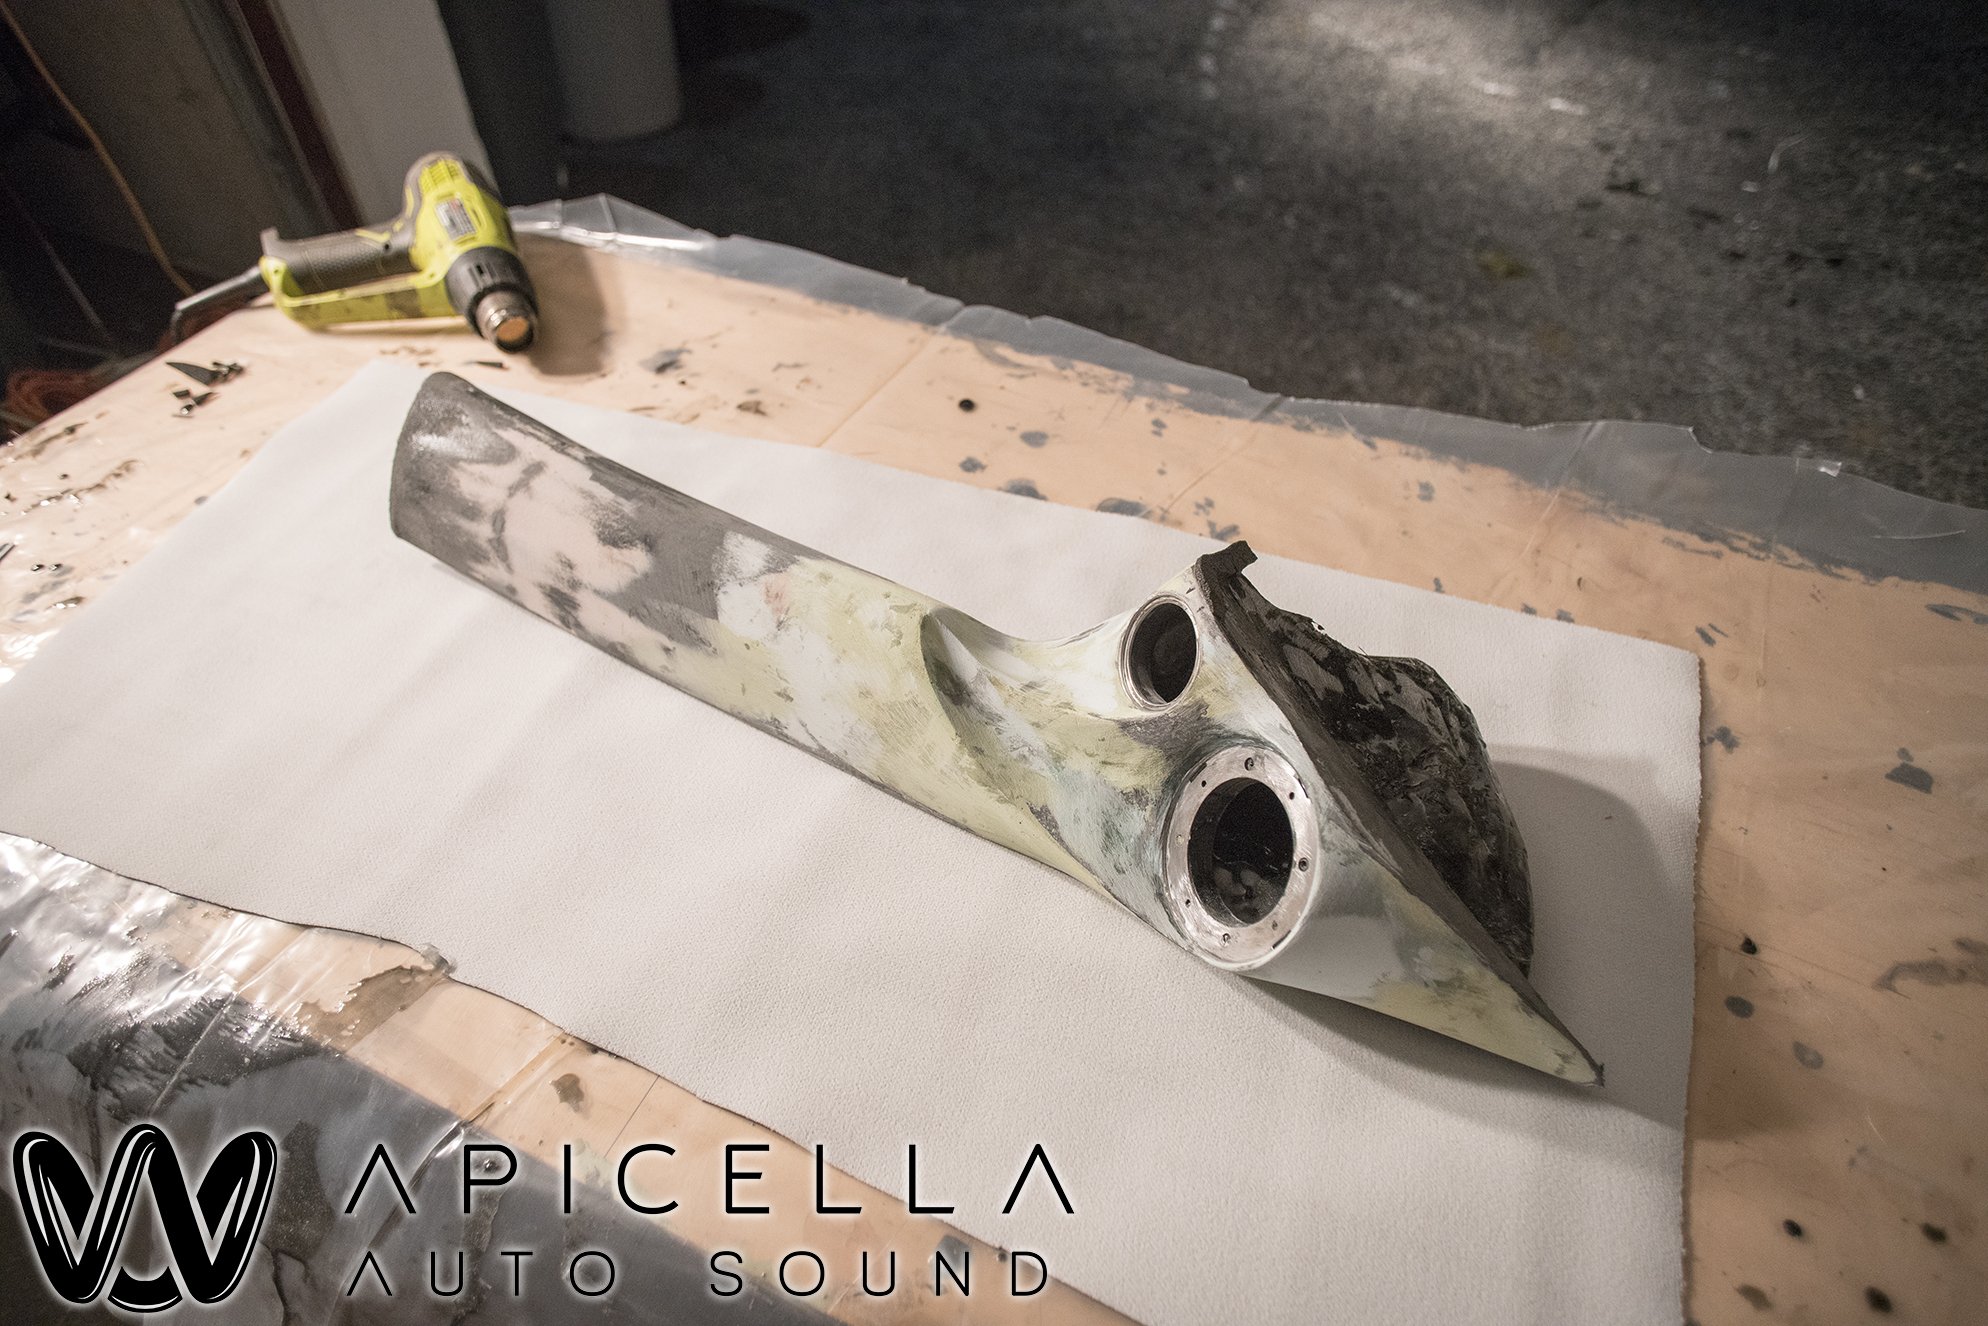
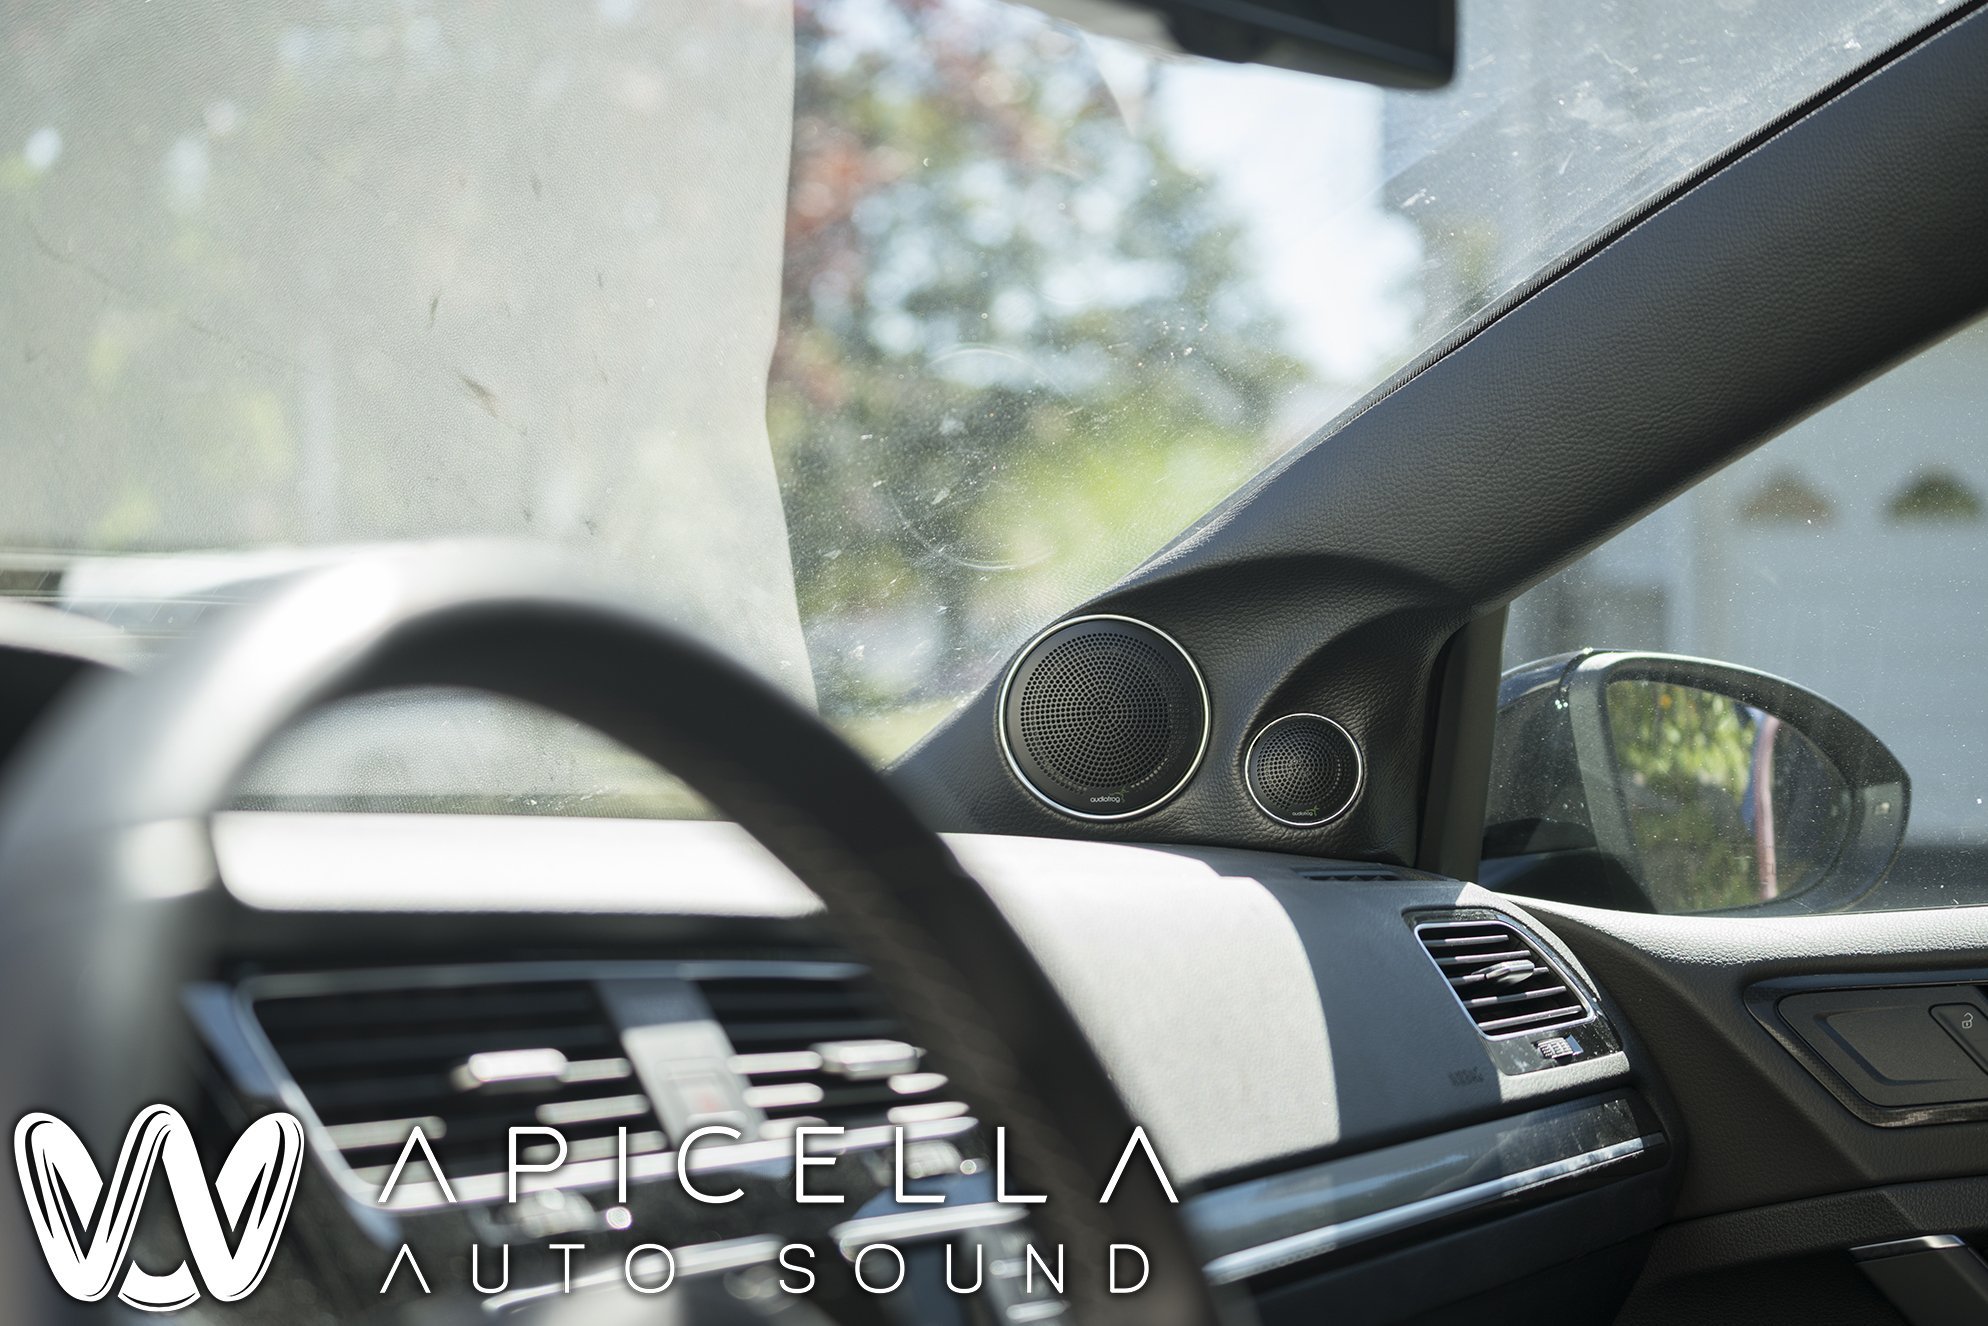
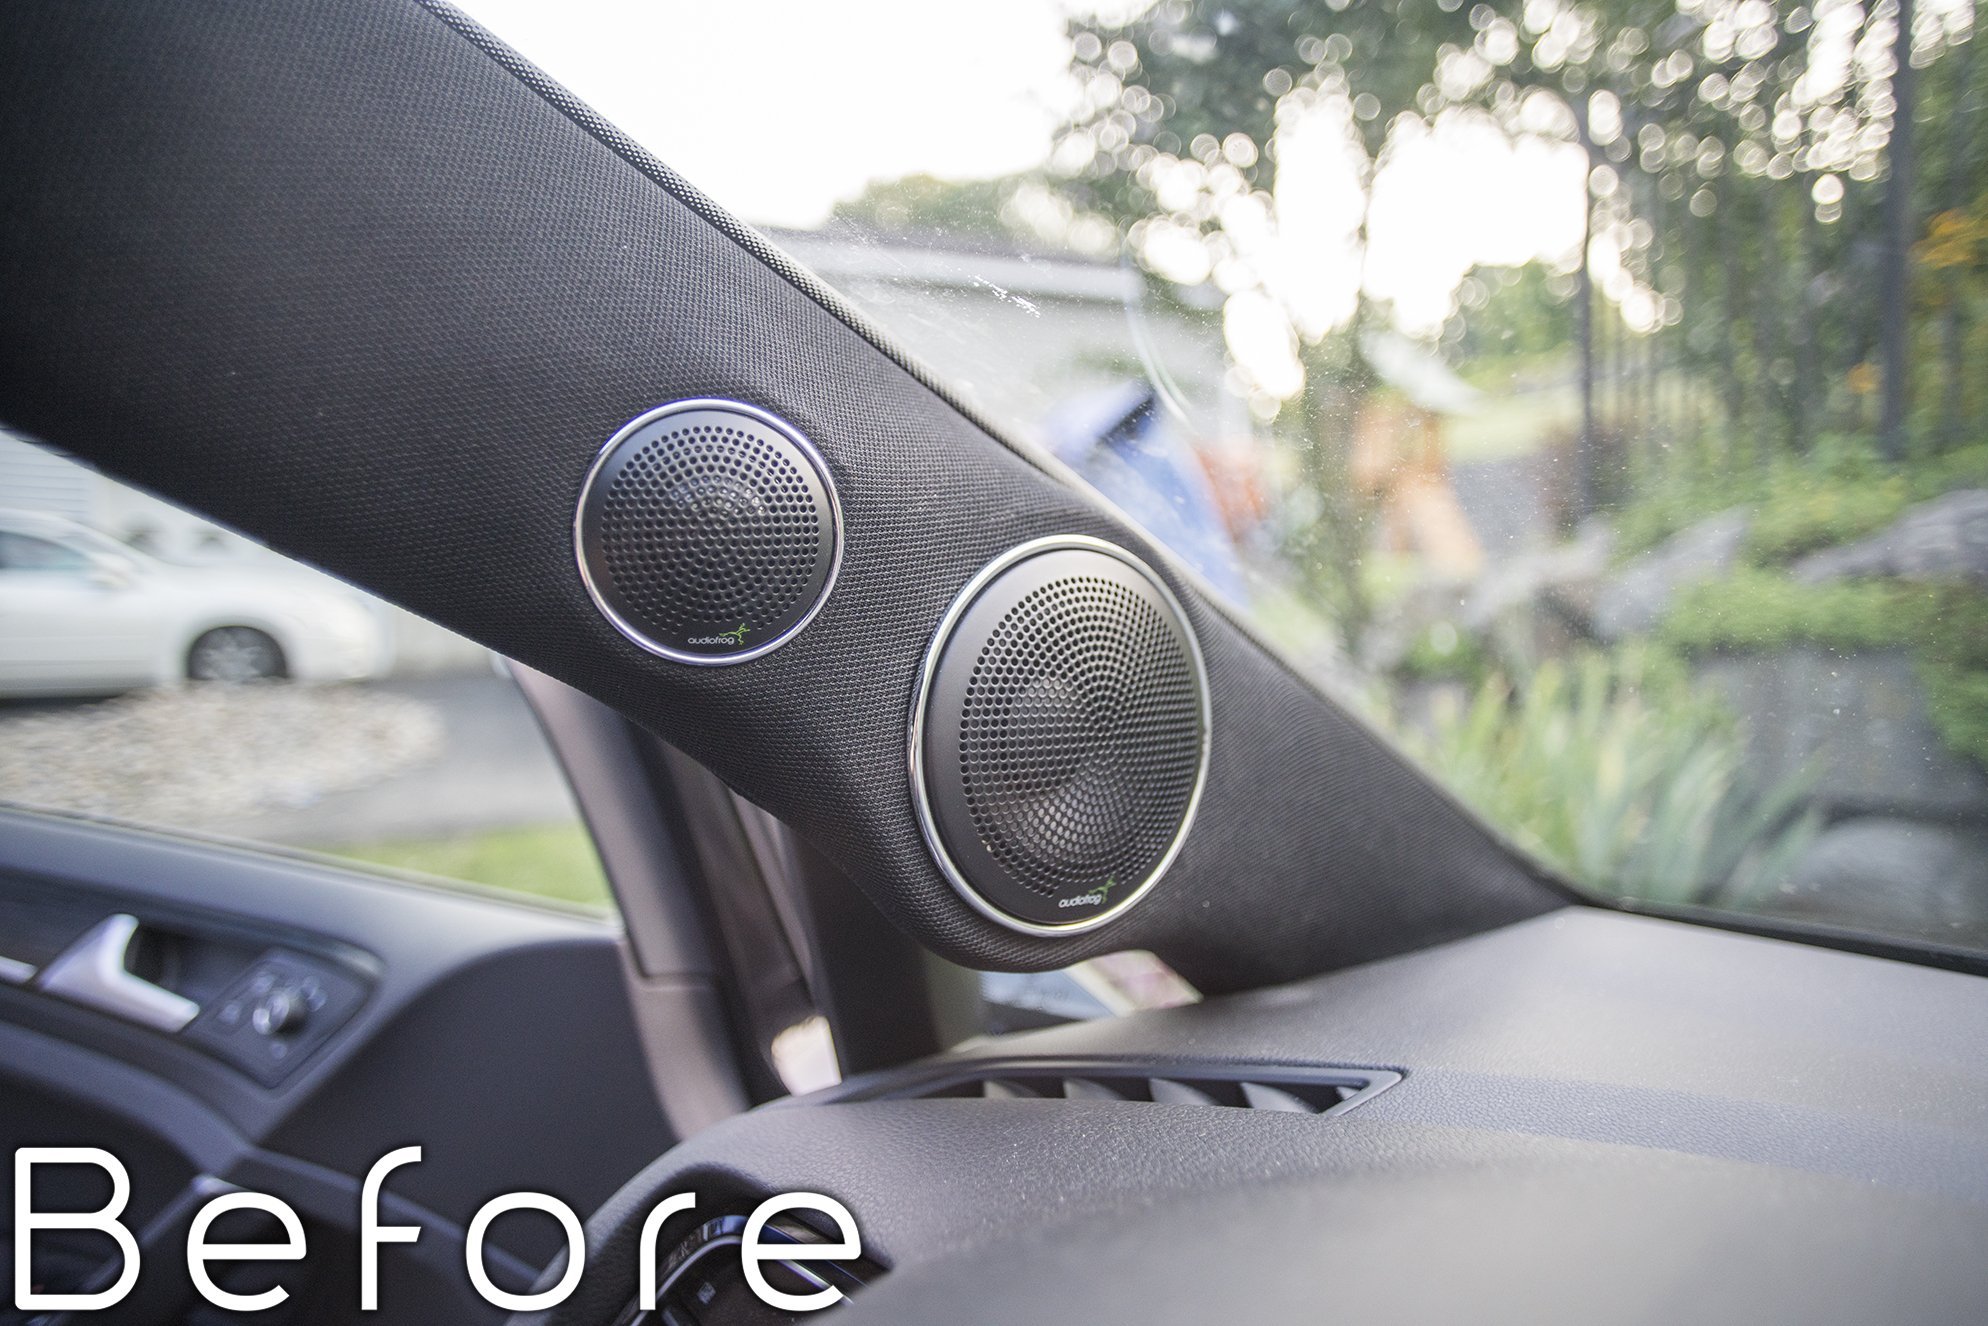
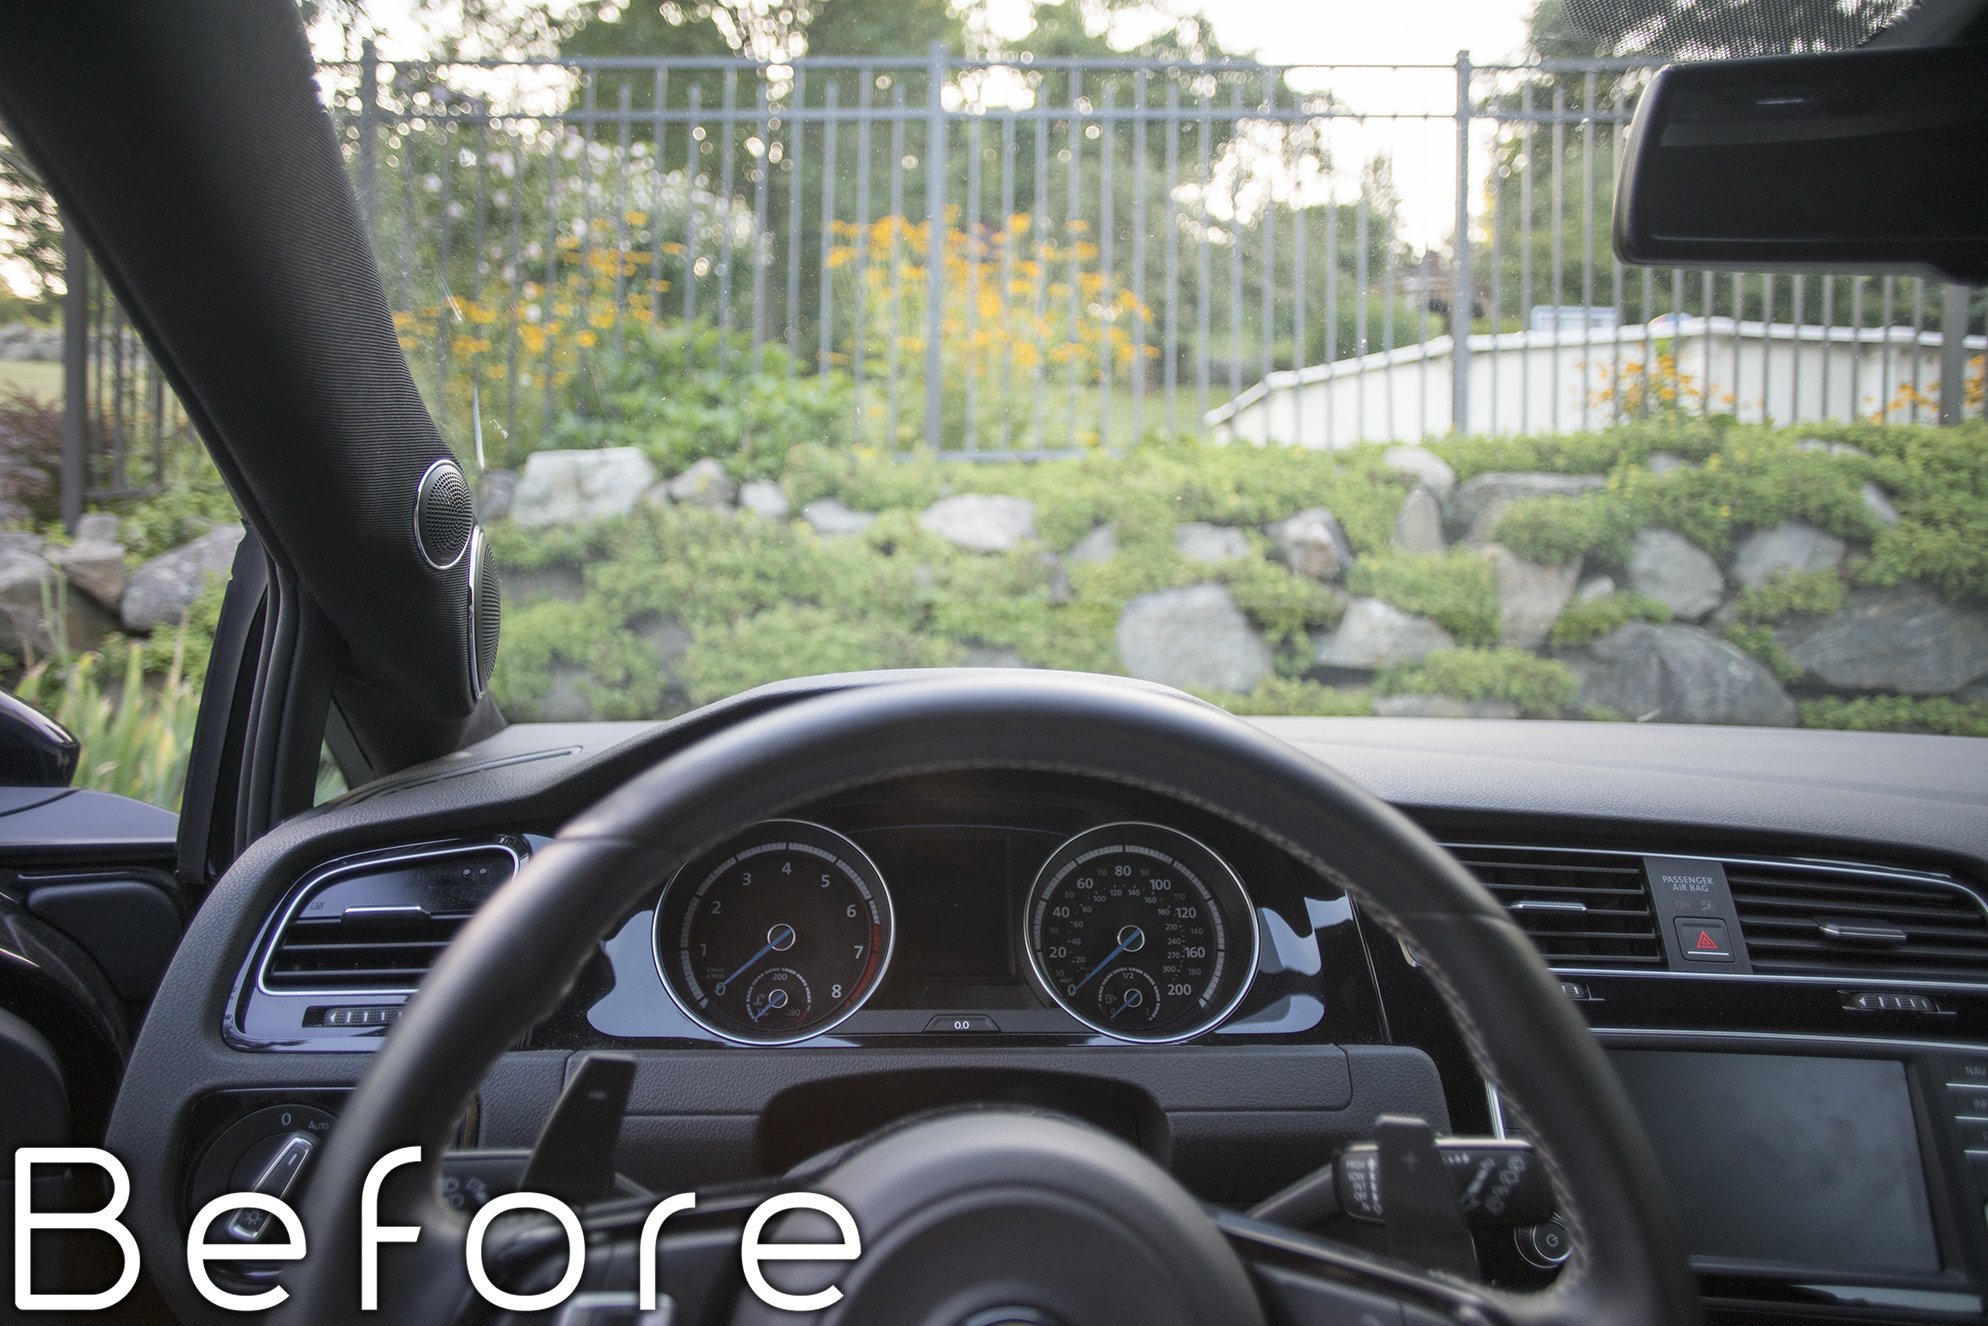
Here are the pillars when they came to me. They were very basic. Again, fine for most. But considering Mike is an Audiophile reaching for perfection, the placement, and build as a whole just wasnt going to cut it. They were fully off axis (the driver side mid was a full 90 degrees off axis and both were slightly pointing at the windshield). I feel they also missed a great placement opportunity, which i did and you will see below. They were wrapped in grill cloth, which was falling off when it came to me. Im not sure what they used for adhesive at the previous shop, but everything that was wrapped was coming loose.
Equipment started off with an Audiofrog GB 3 way front stage, a Helix DSP Pro Mk2 with a Director, a Stereo Integrity BM mkiv sub, a pair of Alpine PDX F6 amps, and a JL Audio HD 750/1, with the OEM radio as a source. We kept a few things, and changed a few things. The final list is as follows.
. Fiio X5iii High-Res DAP coaxial out (sent right into the Helix) as source, with OEM radio as secondary source
. Helix DSP Pro Mk2 with a Director
. A pair of Brax MX4 amps
. Audiofrog GB10 tweeters
. Audiofrog GB25 midranges
. Audiofrog GB60 midbass
. A pair of Illusion Audio C10 subs
**NOTE**
All of the wiring, baffles, and other miscellaneous pieces that were previously done was re-used. Re-doing all of it just wasnt in the budget/time frame, and served almost no purpose.
***ANOTHER NOTE***
You guys are going to hate me, but ive been slacking really bad on getting photos. I guess when you get as busy as i have been the past 2 months, you kinda just forget. This is all i have.
Here is the previous trunk install. Again, more than enough for the average person. Nothing crazy. Somewhat clean. Simple.
When i removed the subwoofer enclosure/amp rack, i noticed that the airspace given to the sub was extremely small. It measured out to only .2 cubic feet... yeah, Less than a quarter of a cubic foot of airspace, It was pretty much a fiberglass cup around the sub plus an inch deep 18 x 15 slot around the sub. It was also only two layers of fiberglass mat. I was able to step on it and put a hole through it.
Here are the pillars when they came to me. They were very basic. Again, fine for most. But considering Mike is an Audiophile reaching for perfection, the placement, and build as a whole just wasnt going to cut it. They were fully off axis (the driver side mid was a full 90 degrees off axis and both were slightly pointing at the windshield). I feel they also missed a great placement opportunity, which i did and you will see below. They were wrapped in grill cloth, which was falling off when it came to me. Im not sure what they used for adhesive at the previous shop, but everything that was wrapped was coming loose.