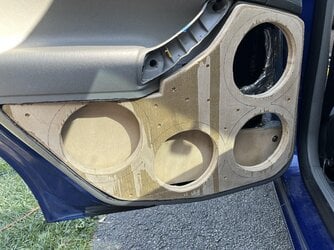
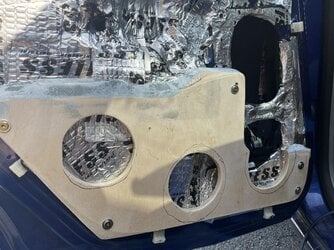
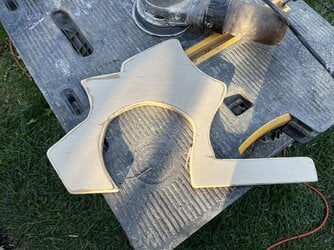
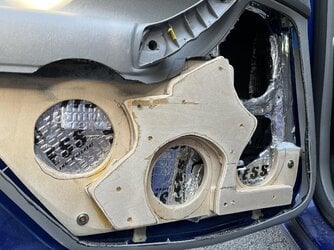
Here's another update, as I continue to play to an empty music hall...
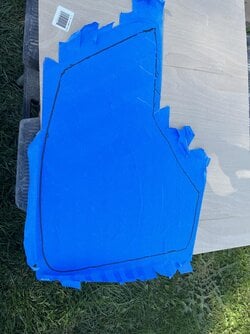
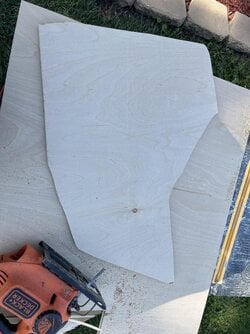
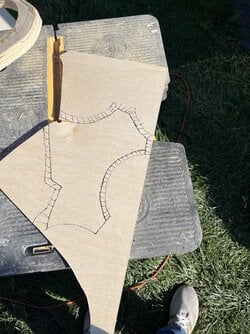
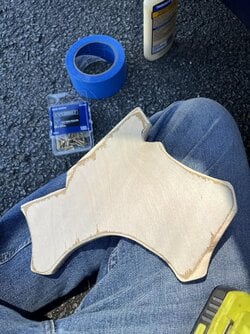
Instead of using cardbaord to make a template; I actually used painters' tape. It worked surprisingly well. I think the key is to overlap the layers and do a second layer of the first in an opposing direction. It was much more sturdy, (if that's the proper word); then I had imagined.
View attachment 60389
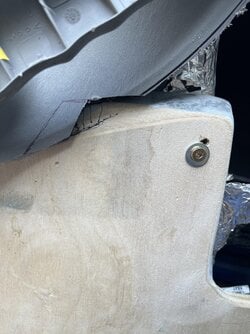
You can see the indents for the rivnuts that I sunk into the sheetmetal. Before I removed the tape, I used a sharpie to mark their locations. Then; when I lay the tape transfer onto the wood, I can drill right into those spots.
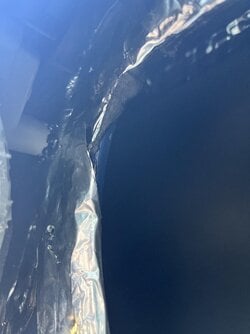
The picture below is with all 5 rivnuts installed into the door. The area has been taped up to accommodate the fiberglass. I cut short sections of wooden dowels to fill in the gaps around the base platform. None of this is really necessary as it will not be seen. If it's worth doing, It's worth overdoing; however.
View attachment 60390
Adding more reinforcement that really isn't needed, but I have this thing about gaps. I like to fill them and it makes an overall stronger panel. You can see one of my holes for the tape wasn't correct so I had to redrill it. No biggie.
View attachment 60391
This will be single pass with the reinforced filler. There is no need to go any further than this.
View attachment 60392
View attachment 60395
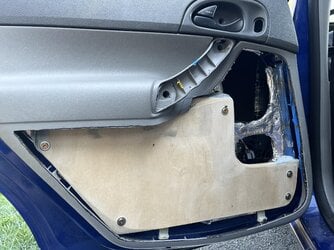
Above... A picture with the door card reinstalled. Which, coincidentally; I thought had more deadener on it. I will need to do some more treatment to the rear door as we go along. The areas marked with the sharpie show you where I will need to sand down on account of the wood making contact with the door card.
I spent a good amount of time thinking whether I should build the base all the way up like the area taped, but I didn't believe it to be necessary. The baffle for the 4 drivers will have an open area with nothing to attach to, but once I add the wood standoffs and mold it to the door card it will have more than enough strength. I'll be adding some deadener as well as some egg crate foam and polyfill.
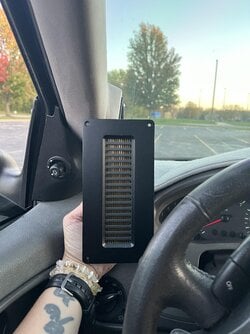
The random piece of blue tape at the top of the door... This is my sight line. As I sit in the driver's seat looking to my right; Everything forward of this, is the area I can see looking out the rear passenger side window. (FWD of Passenger Headrest) I wanted to build some stunt doors to play music at shows but I didn't want to completely obstruct my view out of the windows. So, I sat the passenger seat as far back as it would go, and leaned it back. This is my mark. The midrange drivers (5") I am going to use are sealed back as are the tweeters so they won't need an enclosure.
View attachment 60394
Here is a picture of how far I got on the passenger side. I still need to make the cut out and add some dowels and glass it. I also need to add a rivnut in the rear at that tight angle. I should be able to start on the baffles tomorrow so I will have some more updates. It's nice to actually be able to listen to the system while
still working on it. I have an "A" pillar rebuild coming that may ledge me up but that's for another day.
By the By. This last photo is all the tools that I need to repair/adjust or completely tear down the system. Speakers, amps, fuses, and associated mounting hardware. There are a ton of benefits to have matching hardware. It allows you to condense the kit you need to carry with you.
View attachment 60393
More today, I guess. Since it's after midnight. lol


