I thought i posted this here before, but i cant seem to find it to add updates... If its here and for some reason i cant find it, sorry.
Maybe 5 years ago, I saw that there was a car audio competition only 3 hours away from me (thats reasonable for NY). This is back when i first started helping at a shop and didnt know to much so this was all very new to me and i was pretty shy and nervous when i went. Fortunately, i was introduced to Josh, who is the owner of this Nissan Versa. At the time he had a Kia with a badass install that sounded killer. He actually won MECA's Best of Best of Show that year at World Finals. Josh and the installers Tom and Steve were more than happy to talk about the car, as well as give me a demo. I was absolutely floored. I've never in my life until then heard something like it. I think that was the moment that got me to where i am now in this hobby/business. Fast forward 5 years, and i get a message from Josh wanting to update the install in his Nissan Versa. It was a pretty good feeling considering the story above. First, i must say the original install was awesome, and sounded incredible. But, Josh is a competitor. He wasnt ok with knowing he will go to world finals this year and not take first (there were a few cars in his class that were just better, even if it was only by a hair. But at this level, every little bit matters). He told me what he wanted to do, and i told him its on. At first he had a few Zapco Z-150.2LX amps for the front speakers (Morel Elate Ti 6.5 and morel hybrid integra 4), a Z-150.2 for the sub, and a ST-2X for rear fill. This was all controlled by an Alpine radio with optical out to a Helix Pro DSP. Many know that the Helix, and the other equipment is about as good as it gets in their respective categories, but josh wanted more. In comes a Carrozzeria ODR RS-D7xIII CD transport with the ODR RS-P99 processor, and an all scanspeak front stage, with 4 of the Z-150.2LX amps for the front stage, and some new speaker locations. Kick panels for midbass, and custom sail panels for the tweeters.
***NOTE***
Unfortunately, i wasnt very good this time around in terms of staying on top of photos of progress. I pretty much only have starting and finishing photos and not much detail in between. After a while you kinda just forget :/
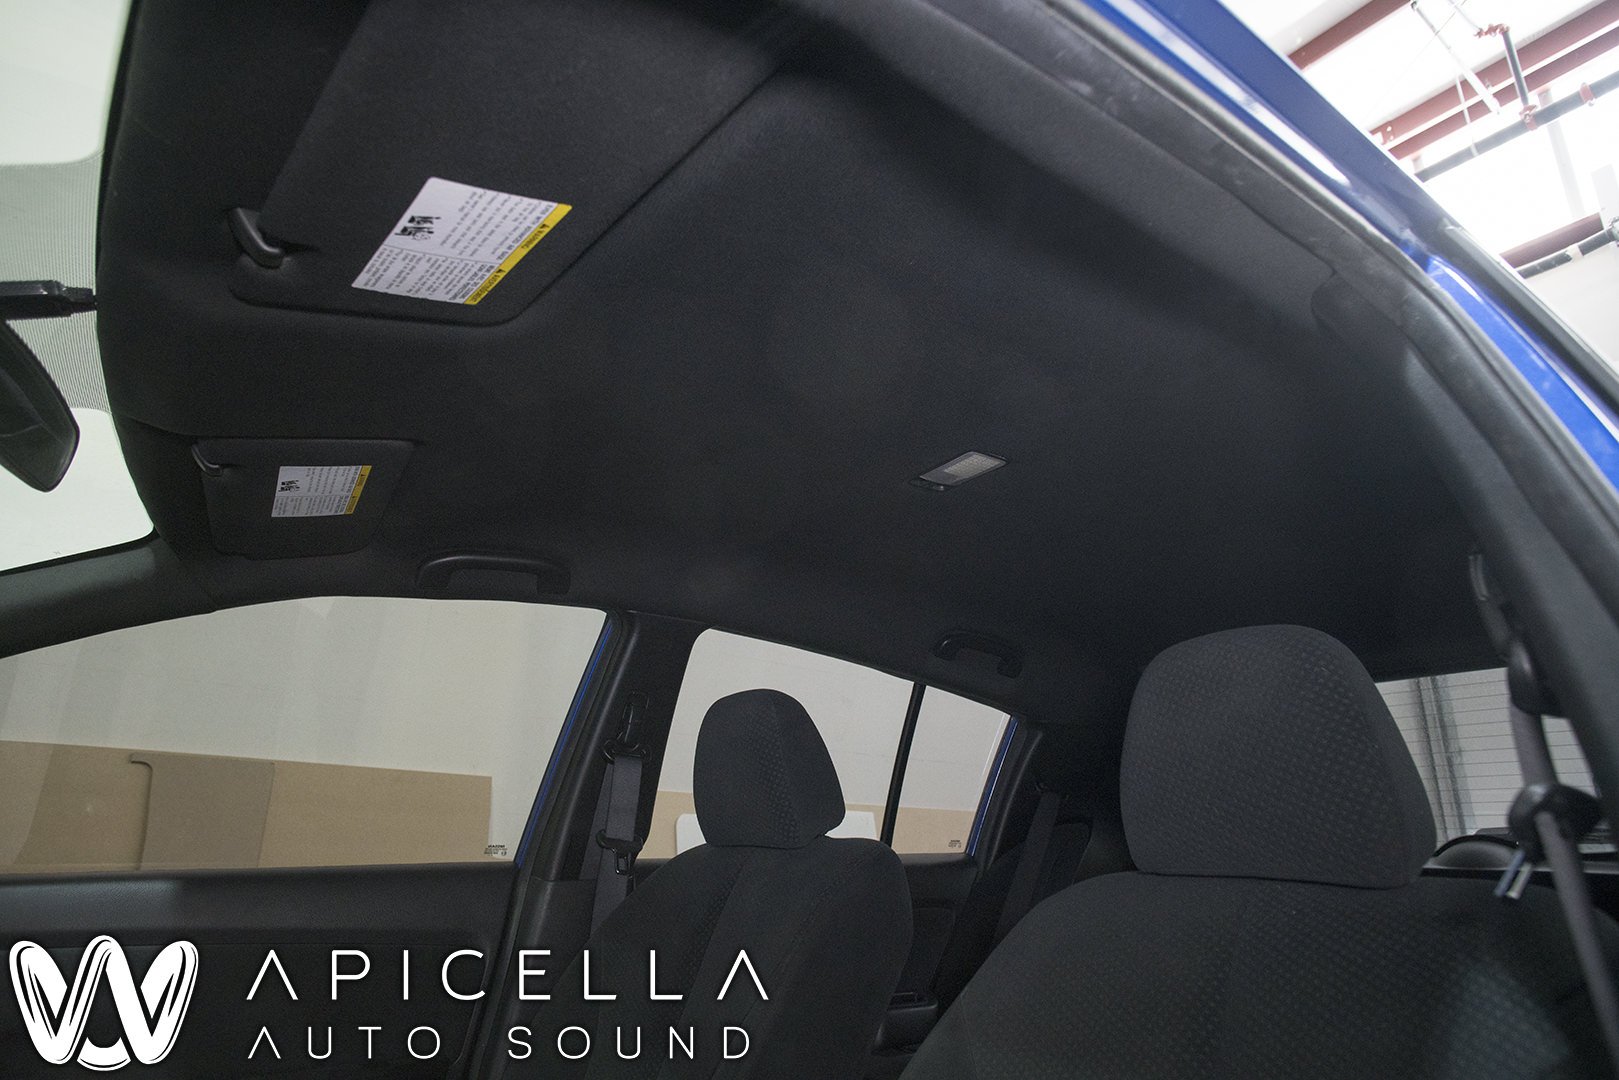
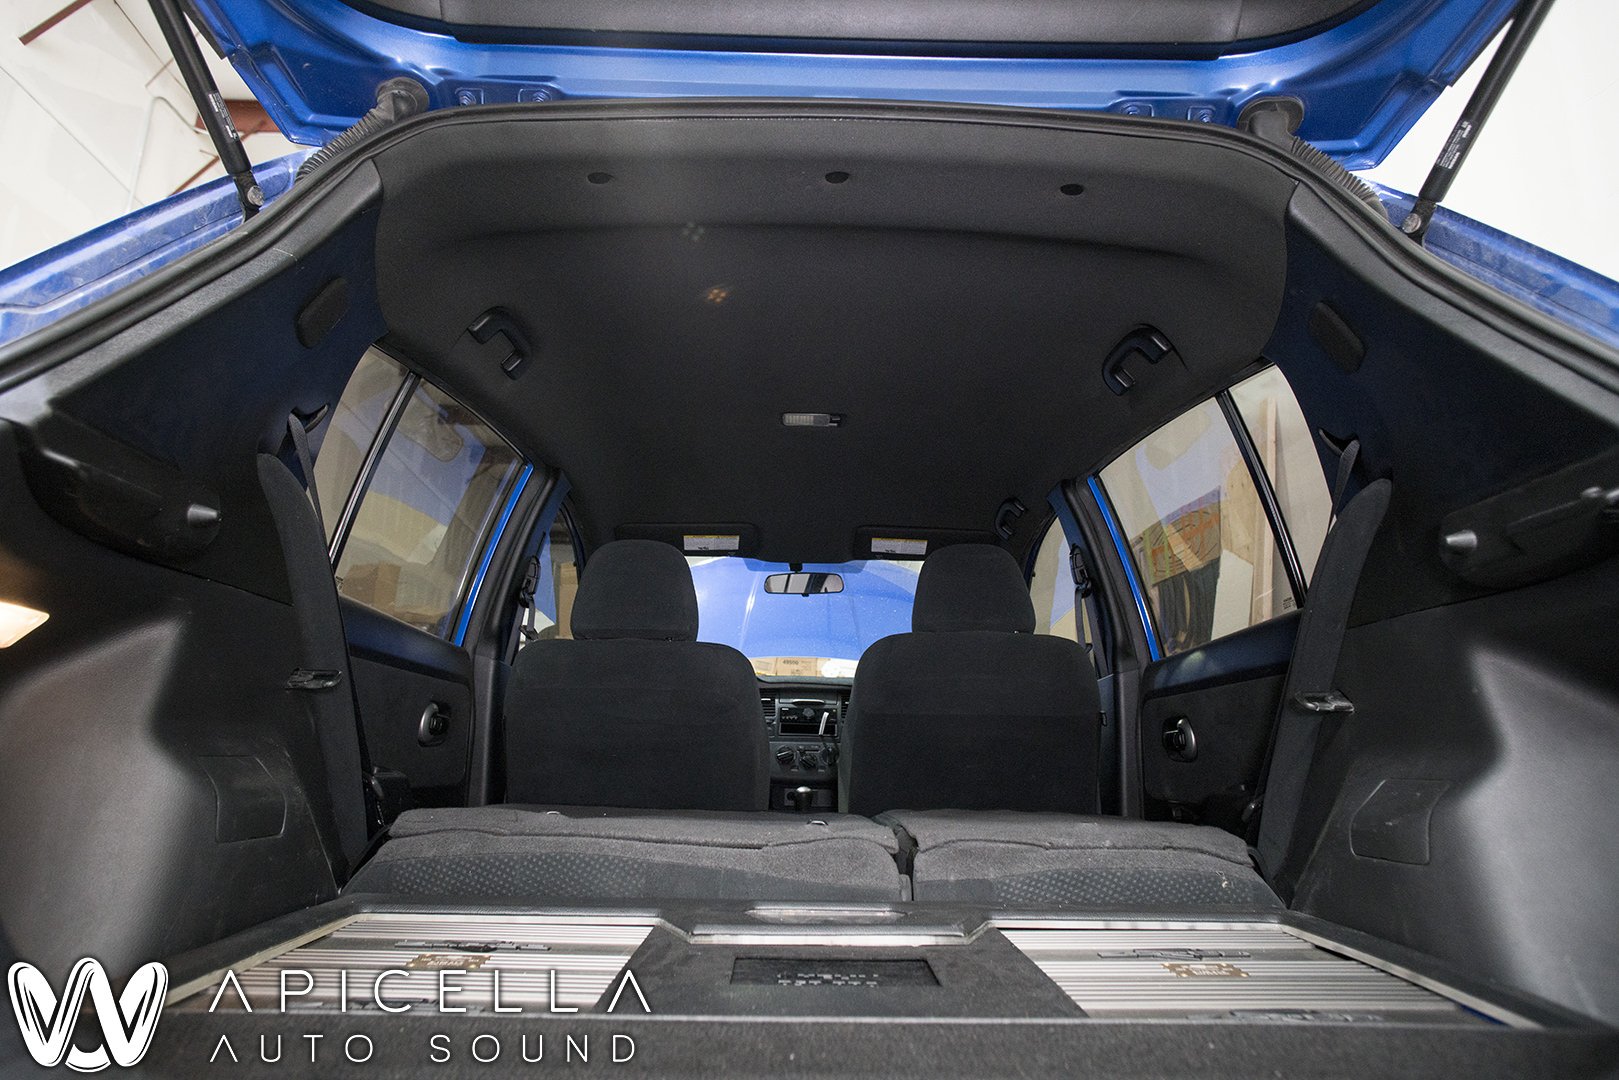
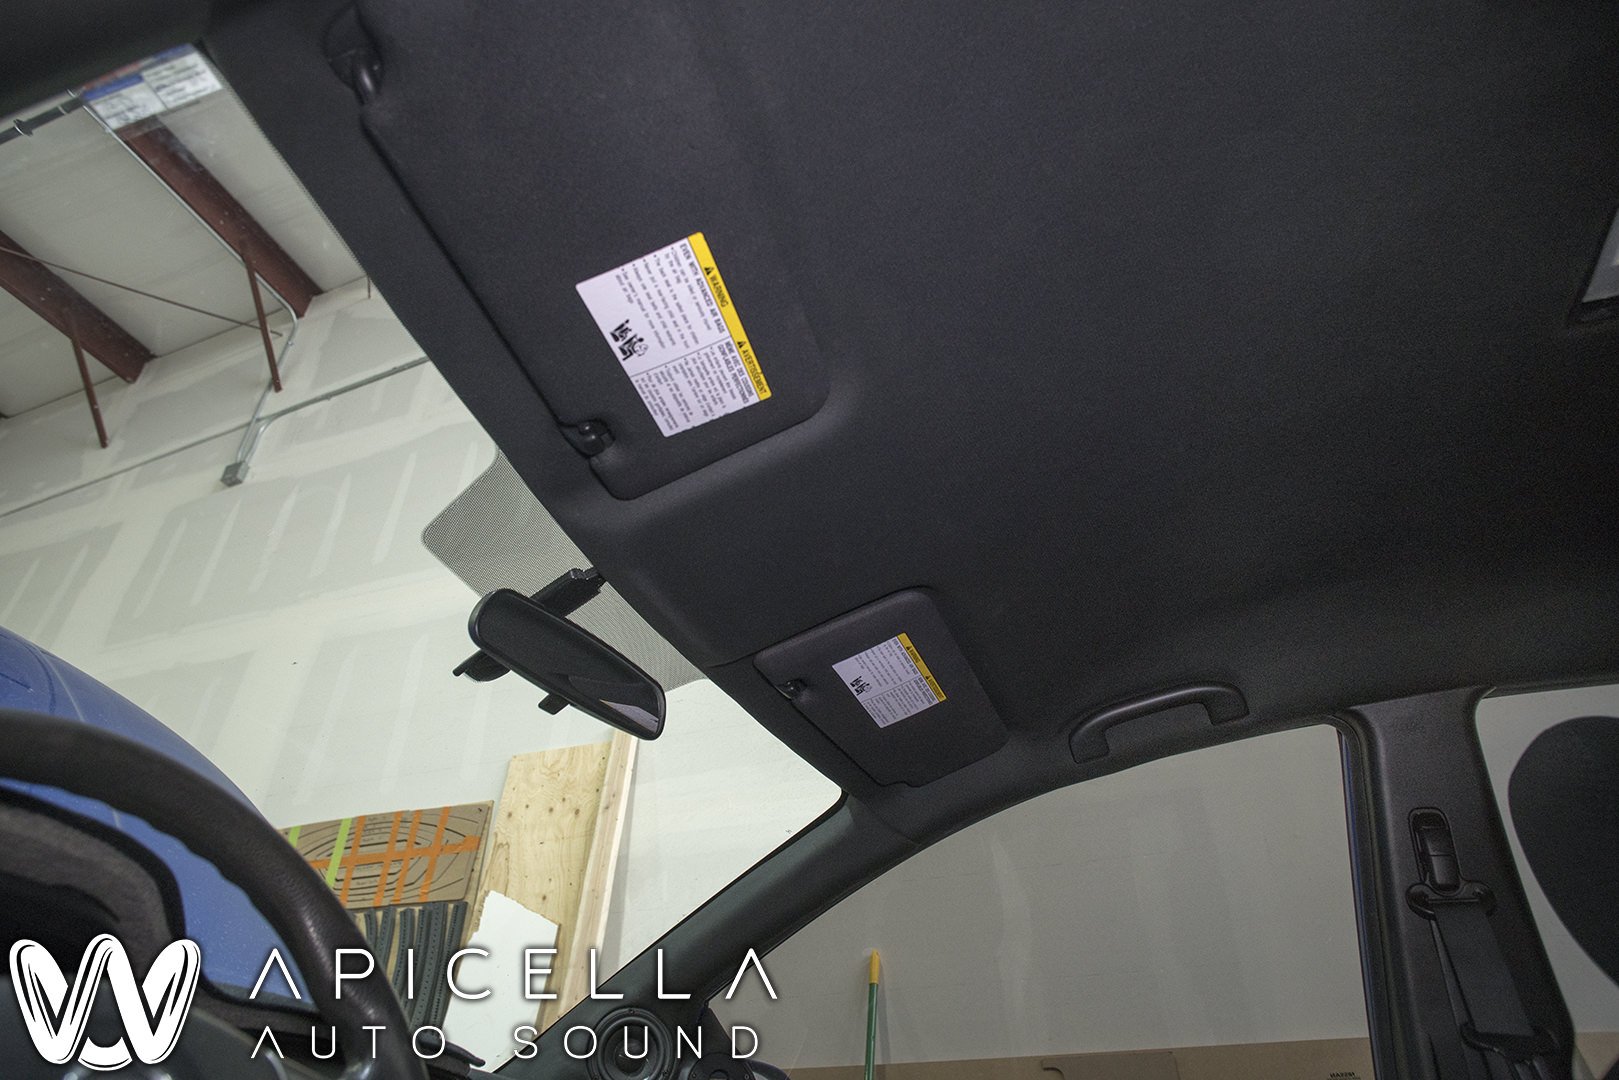
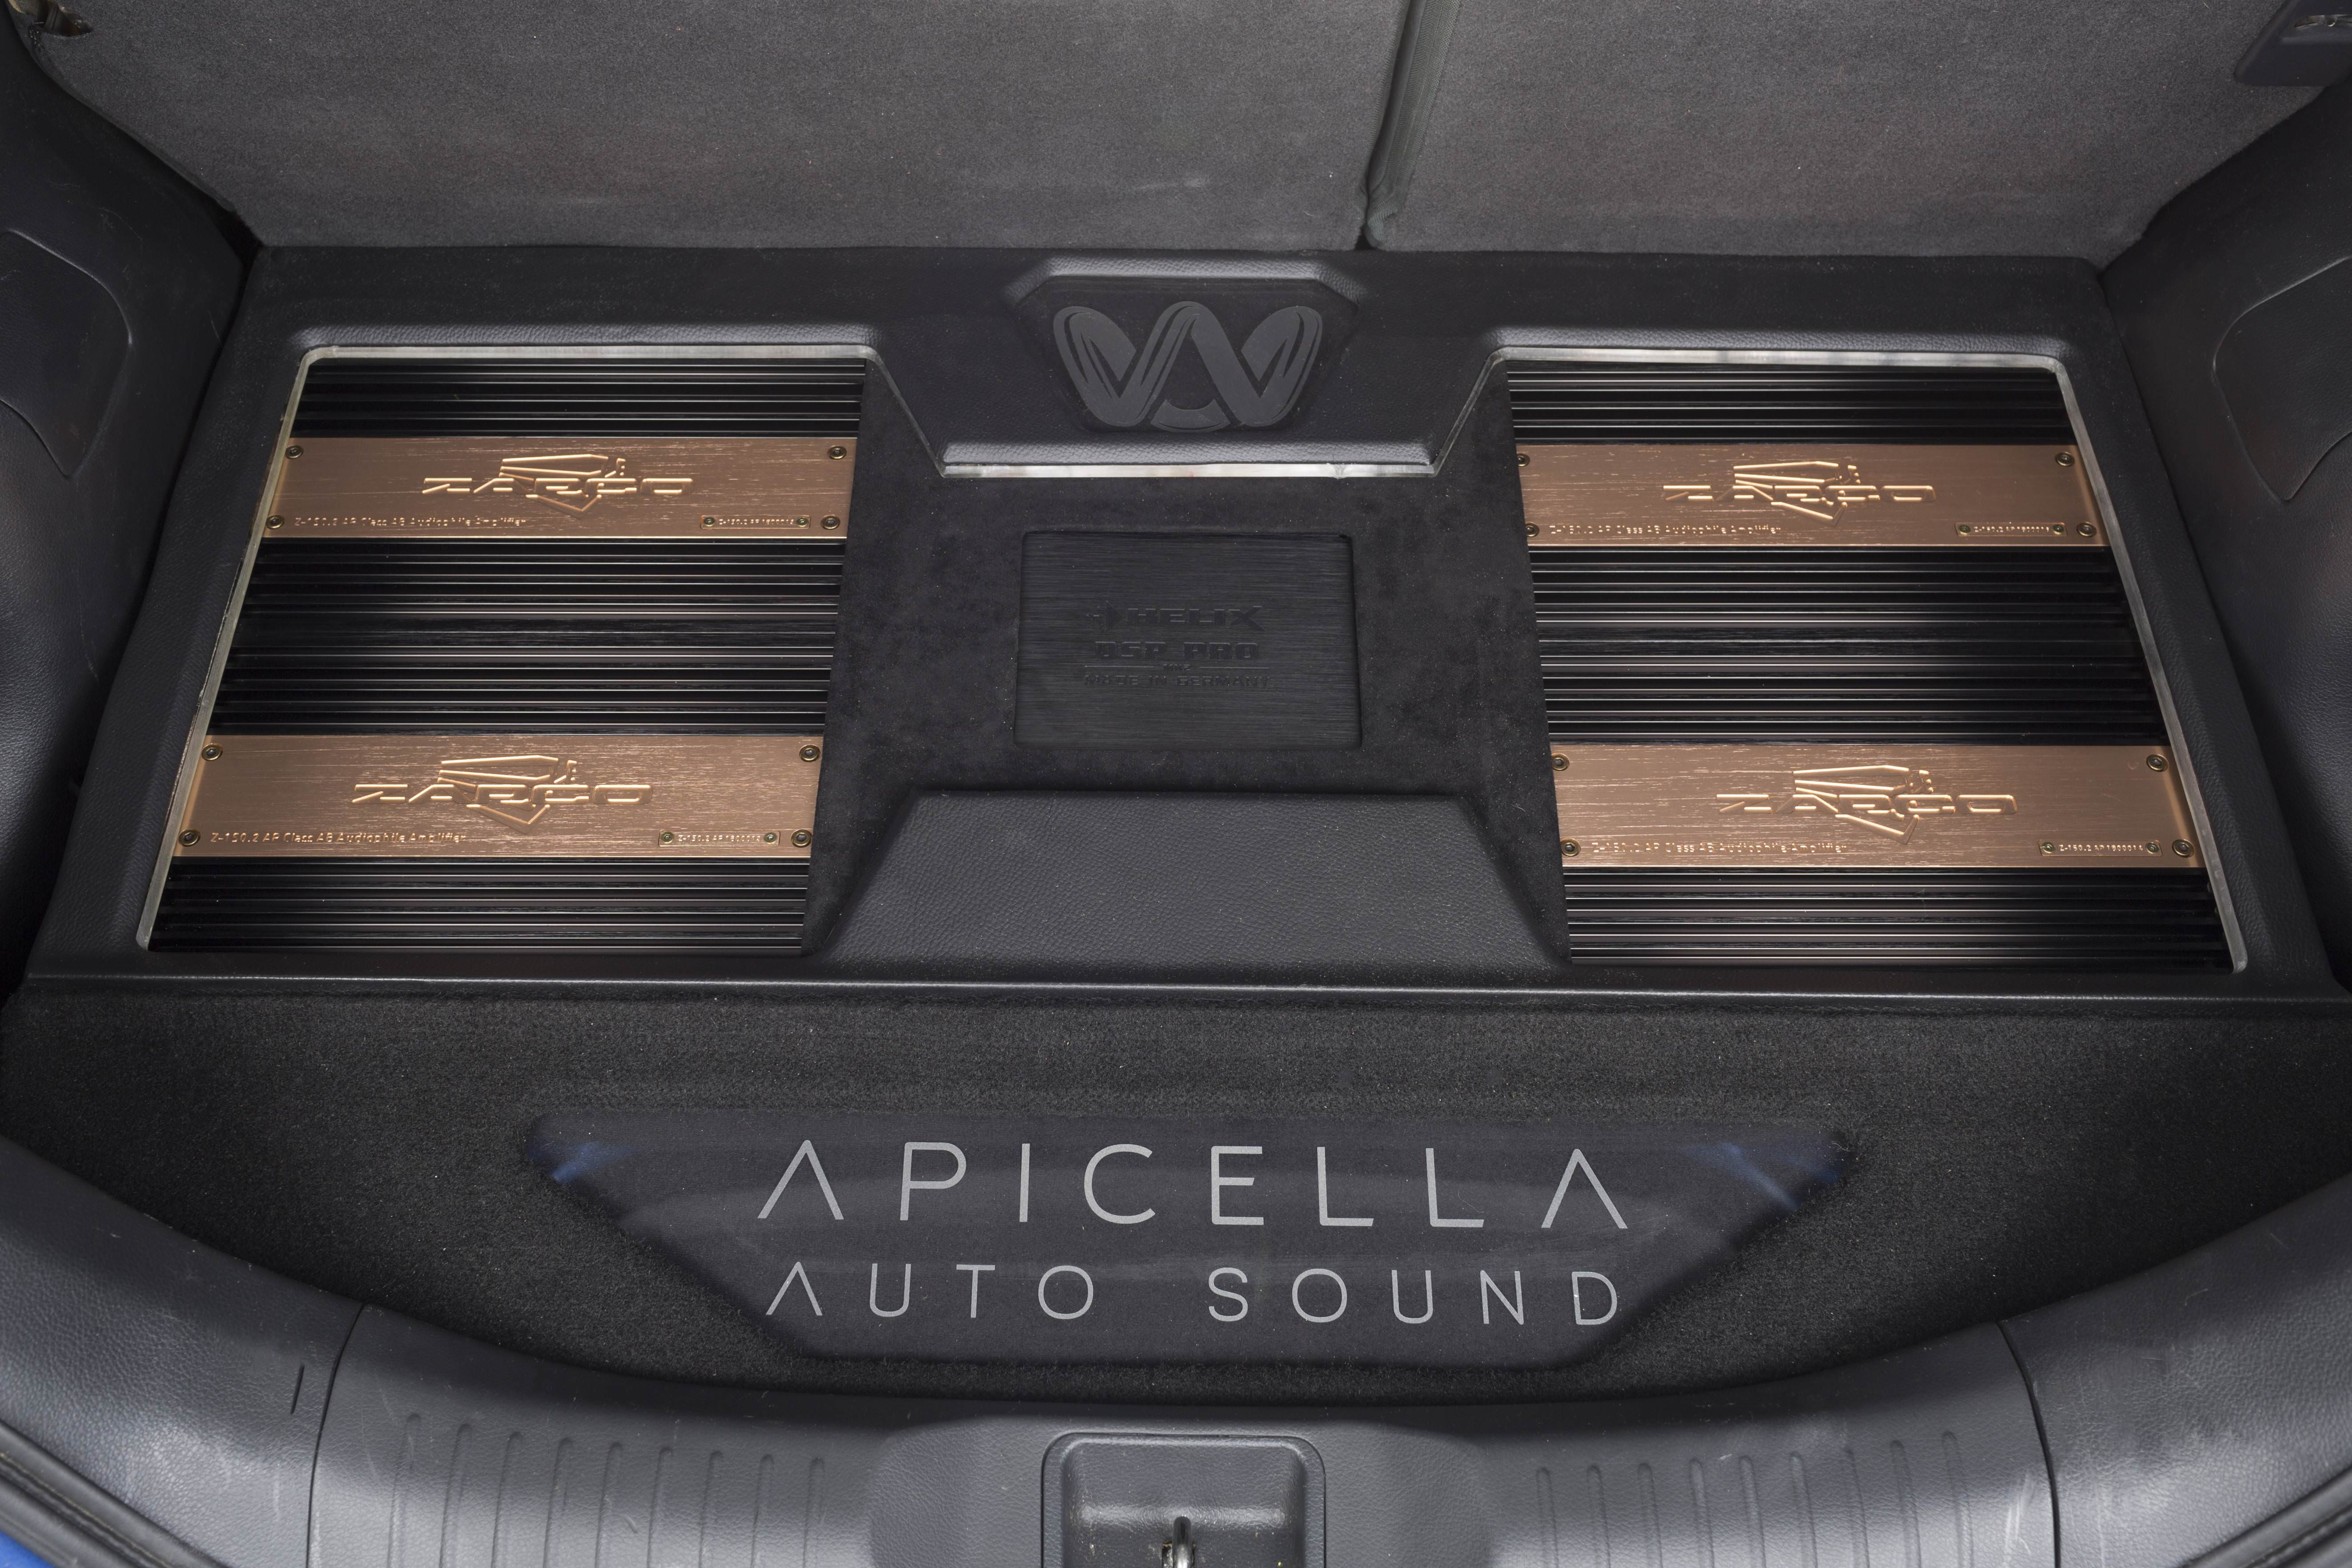
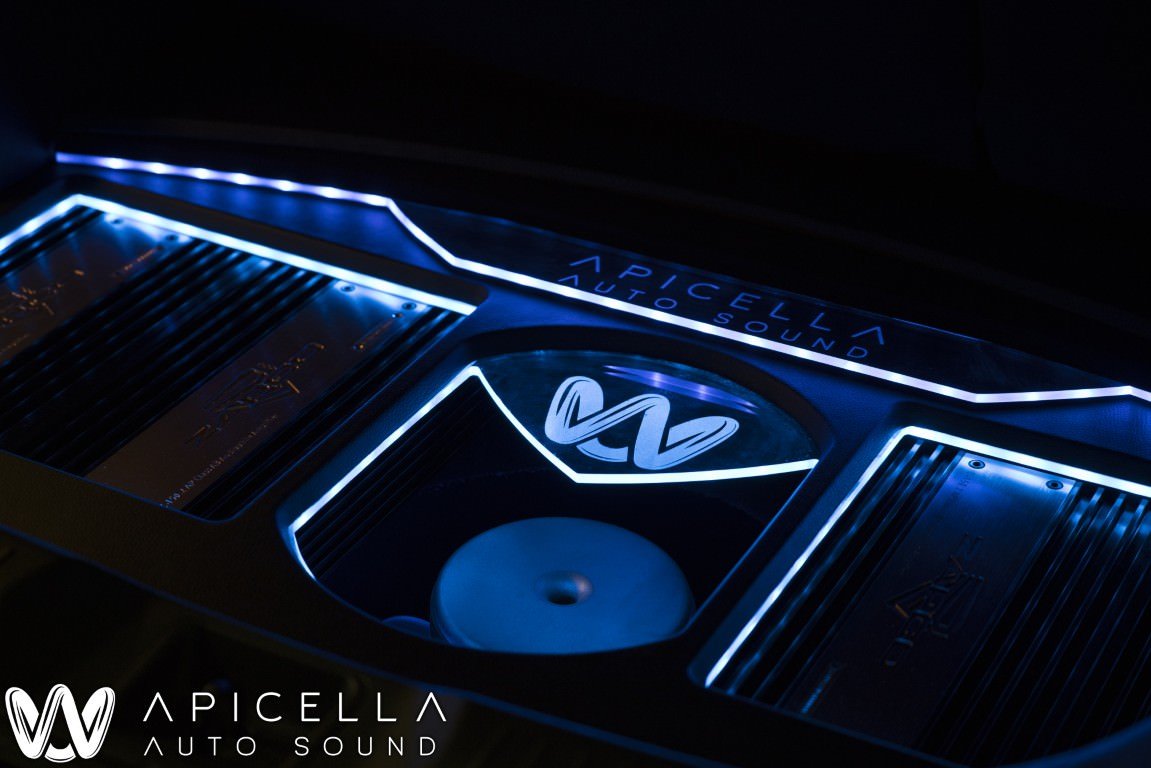
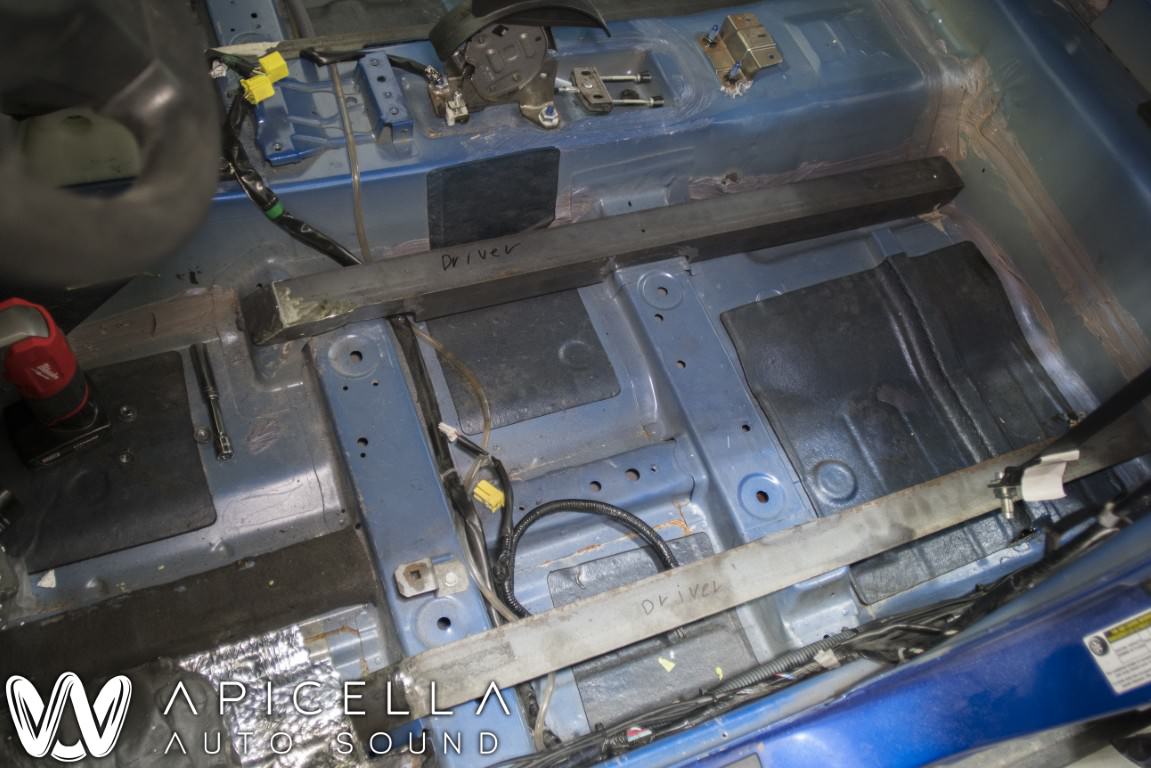
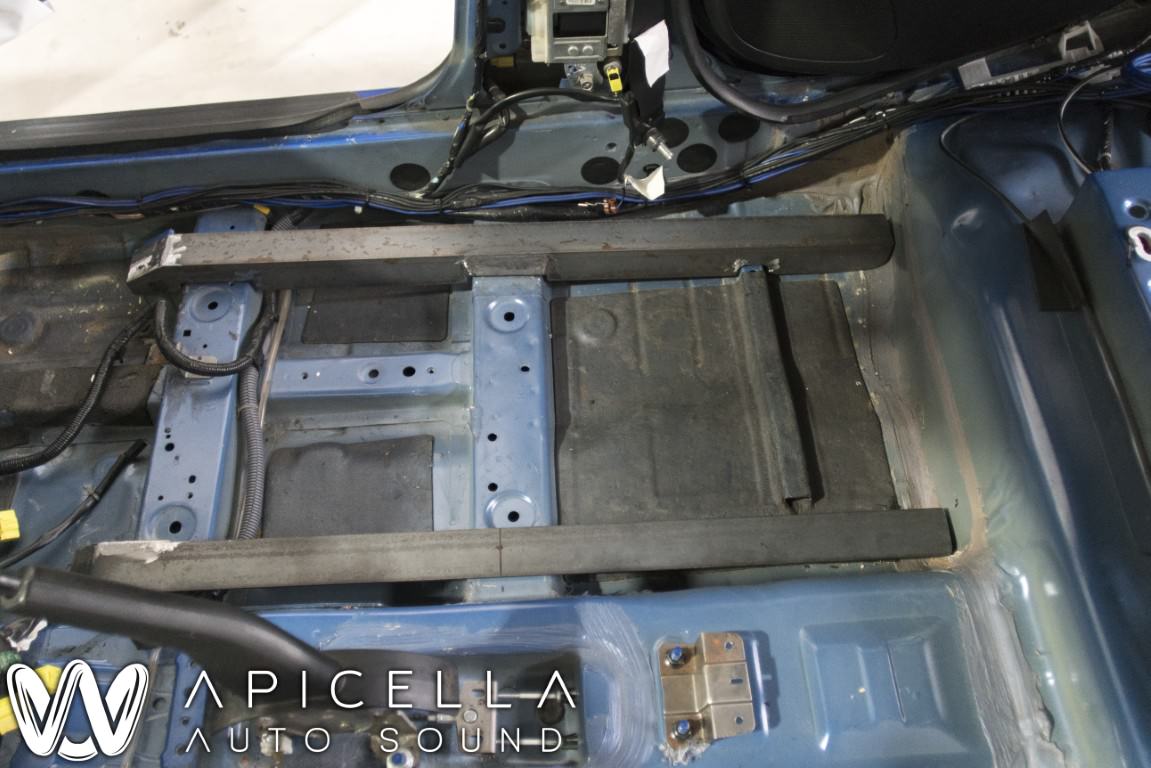
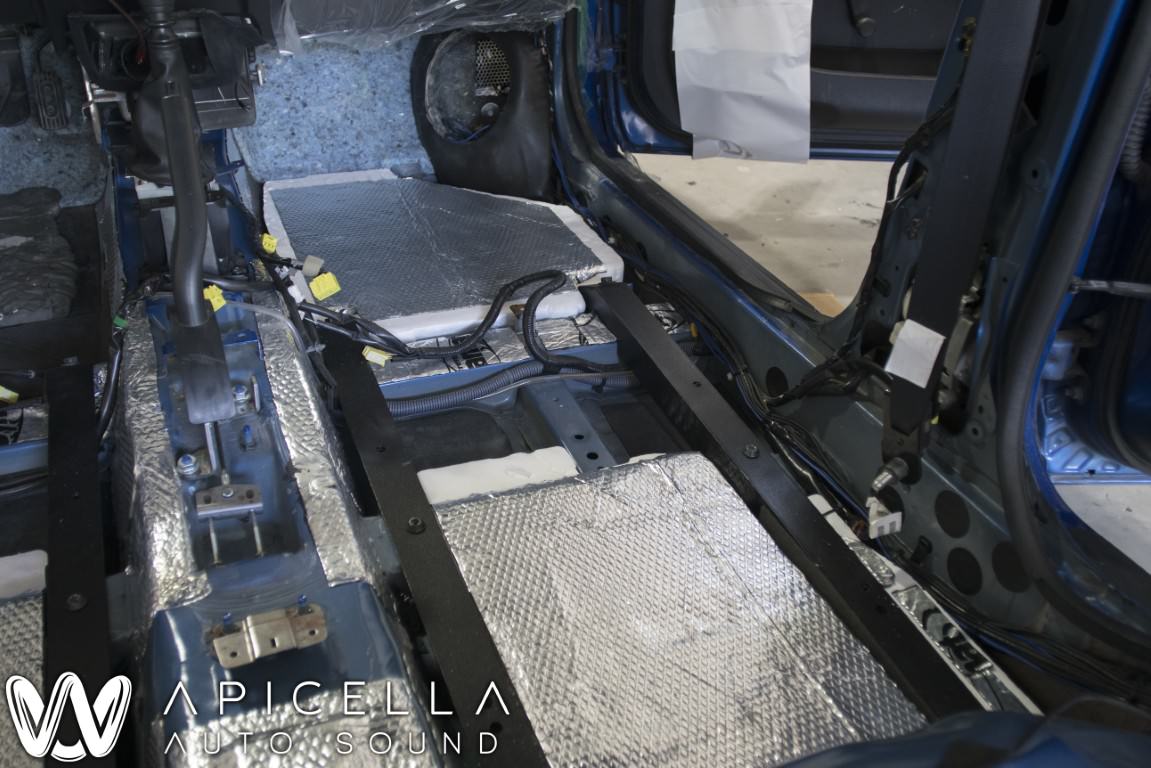
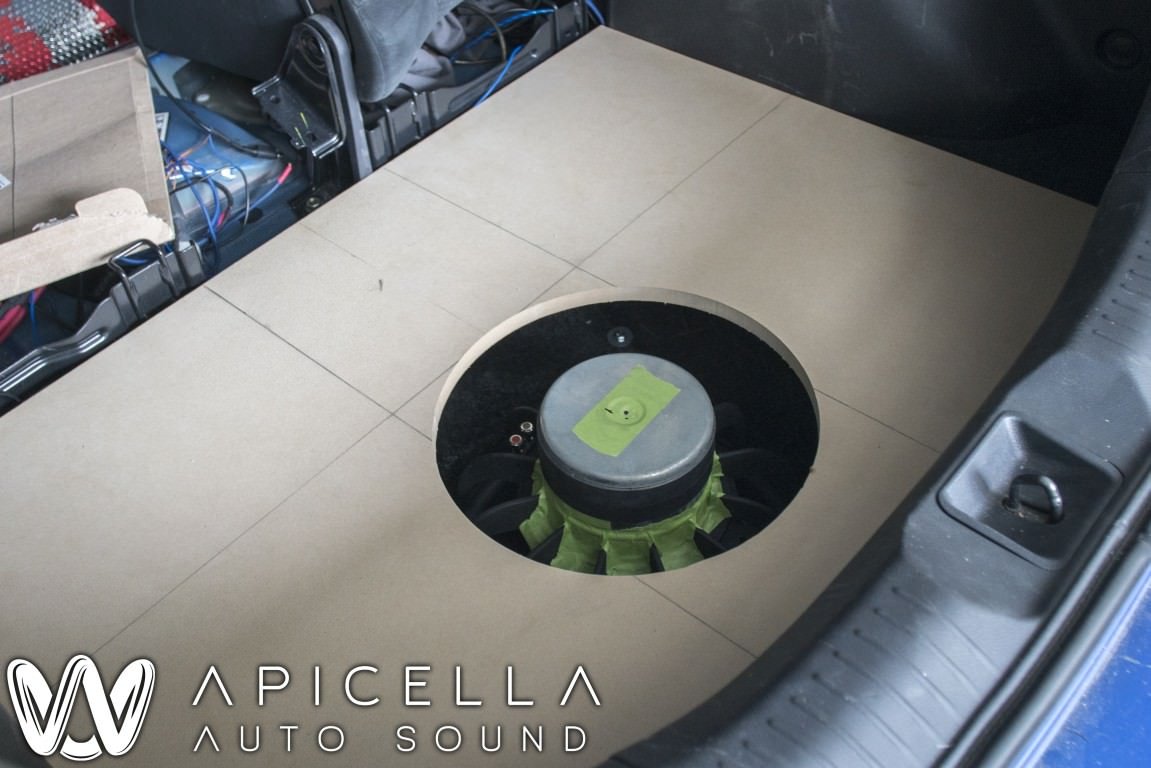
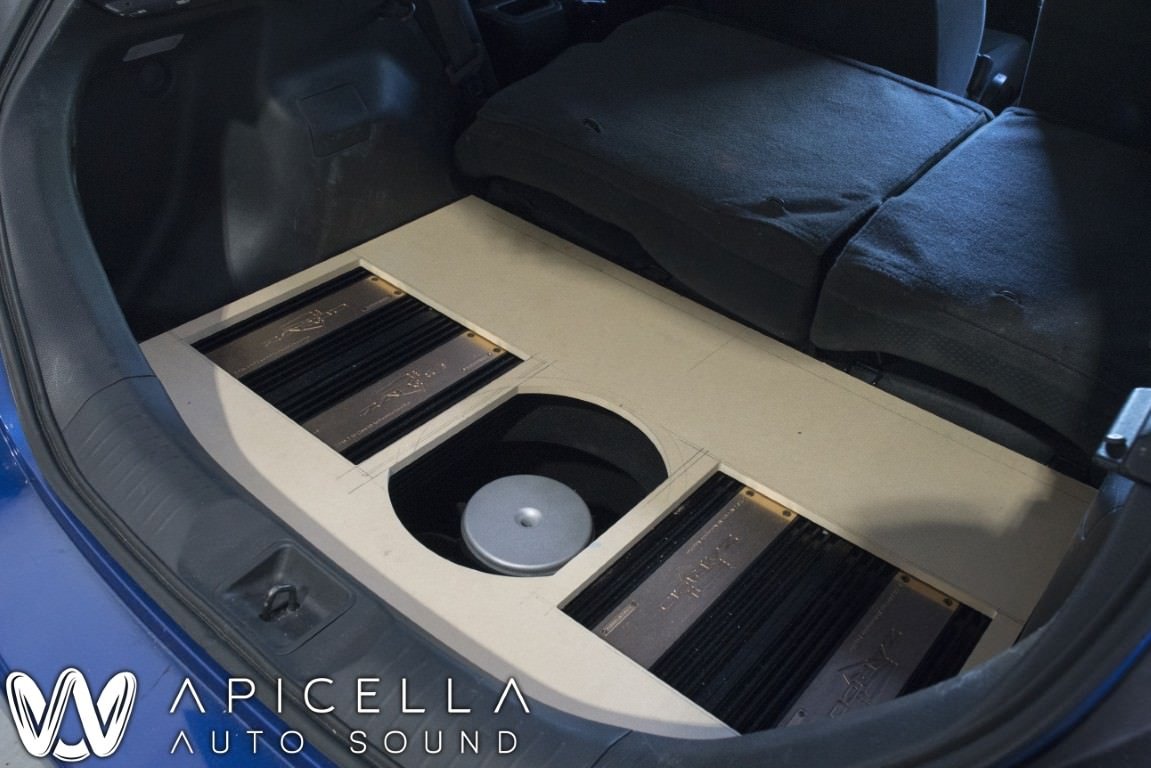
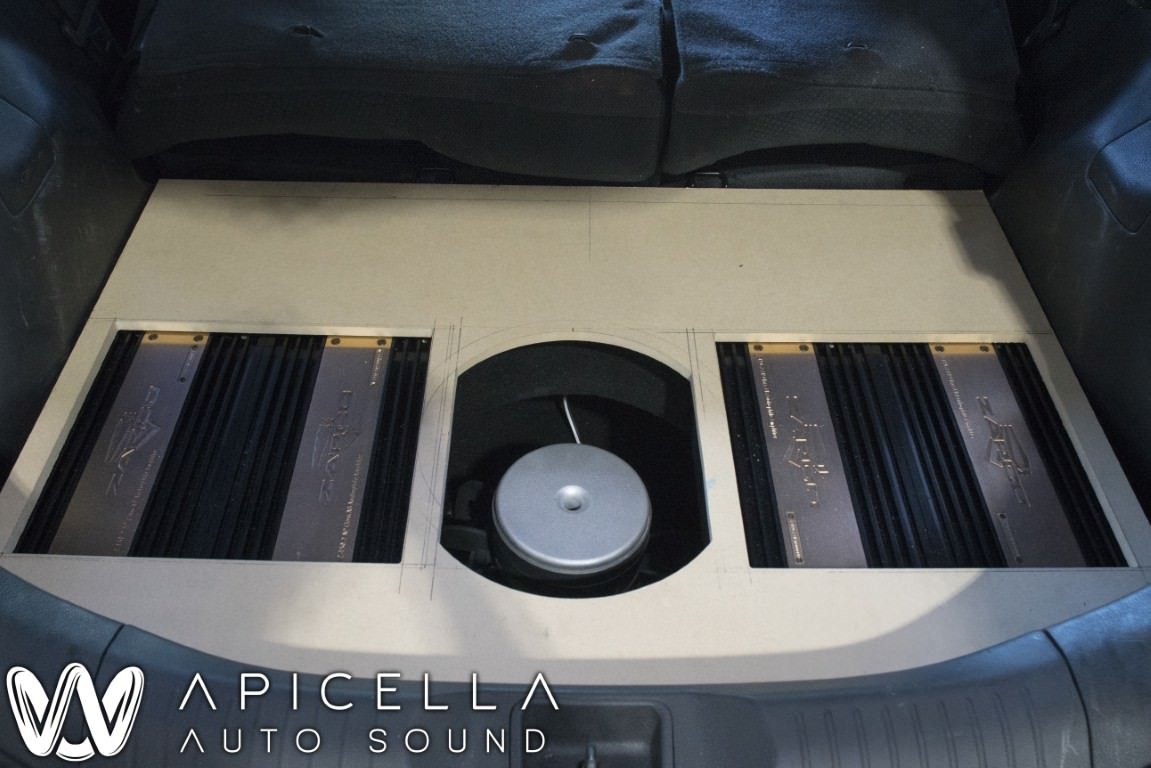
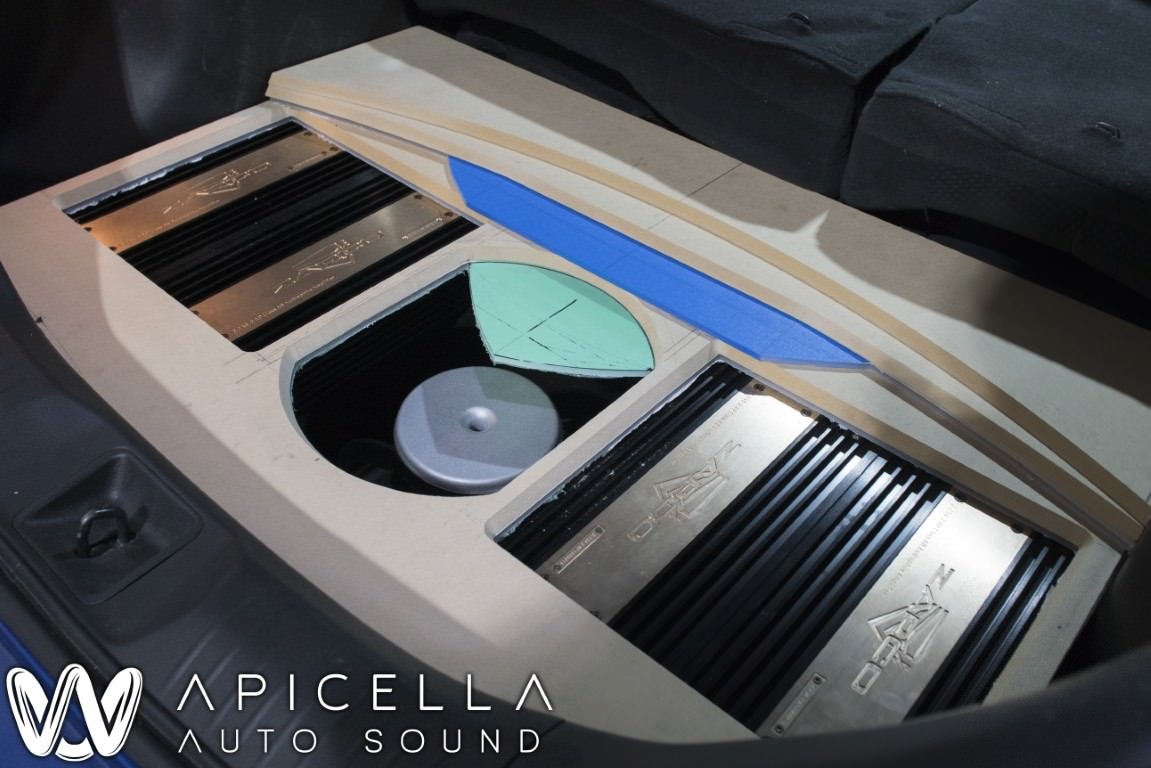
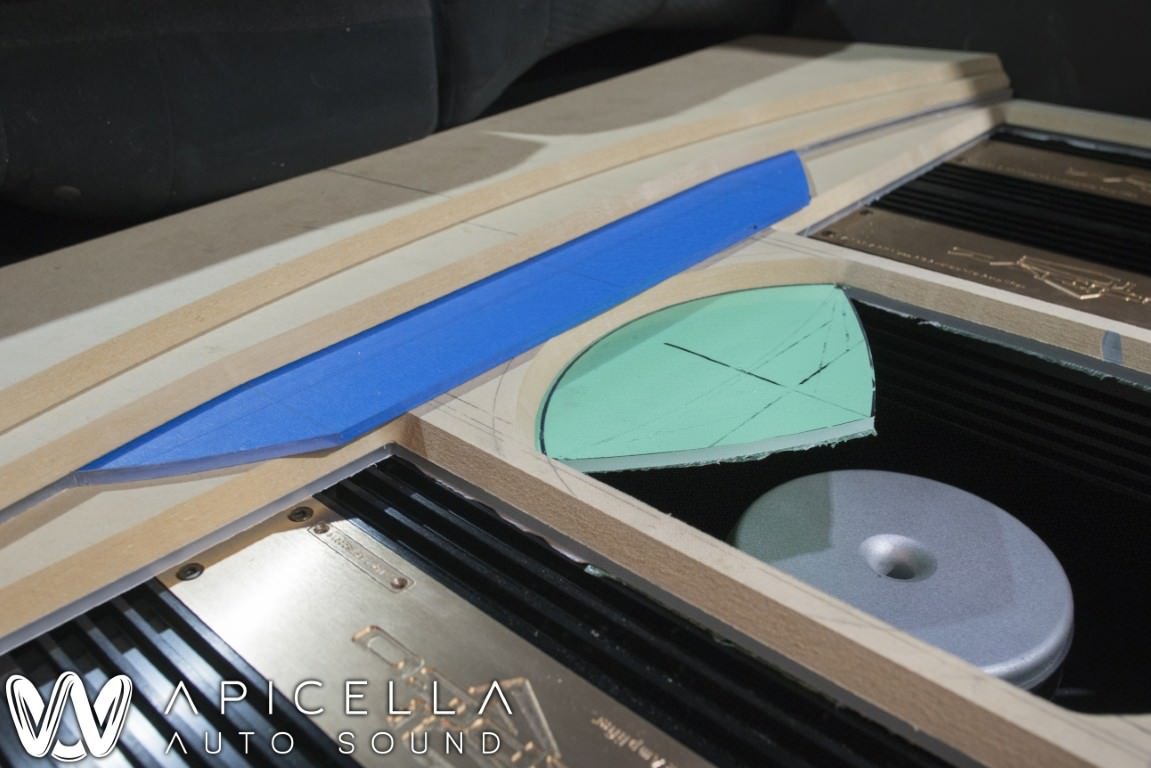
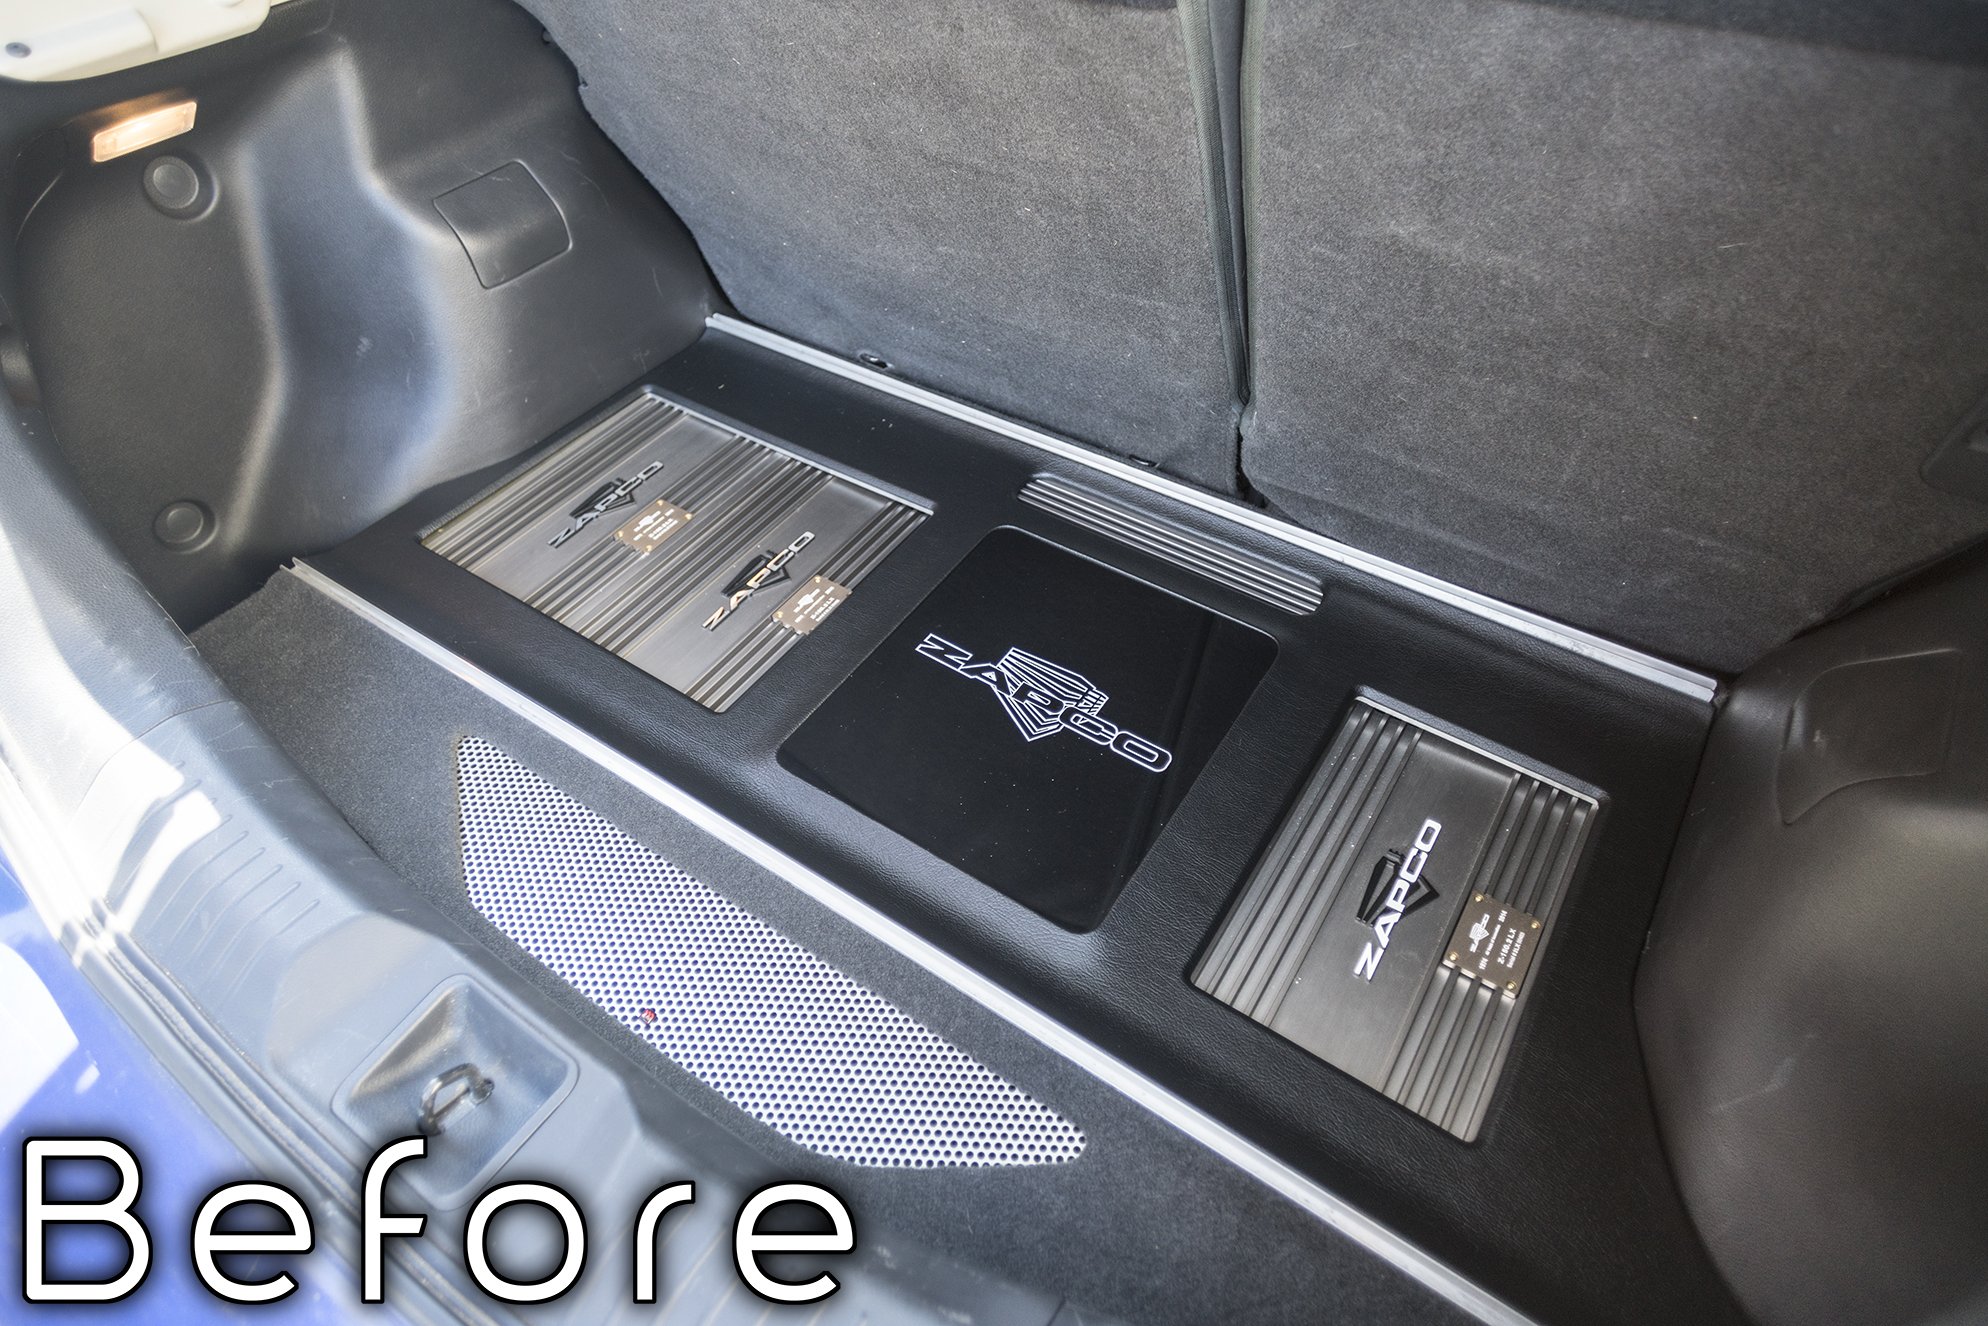
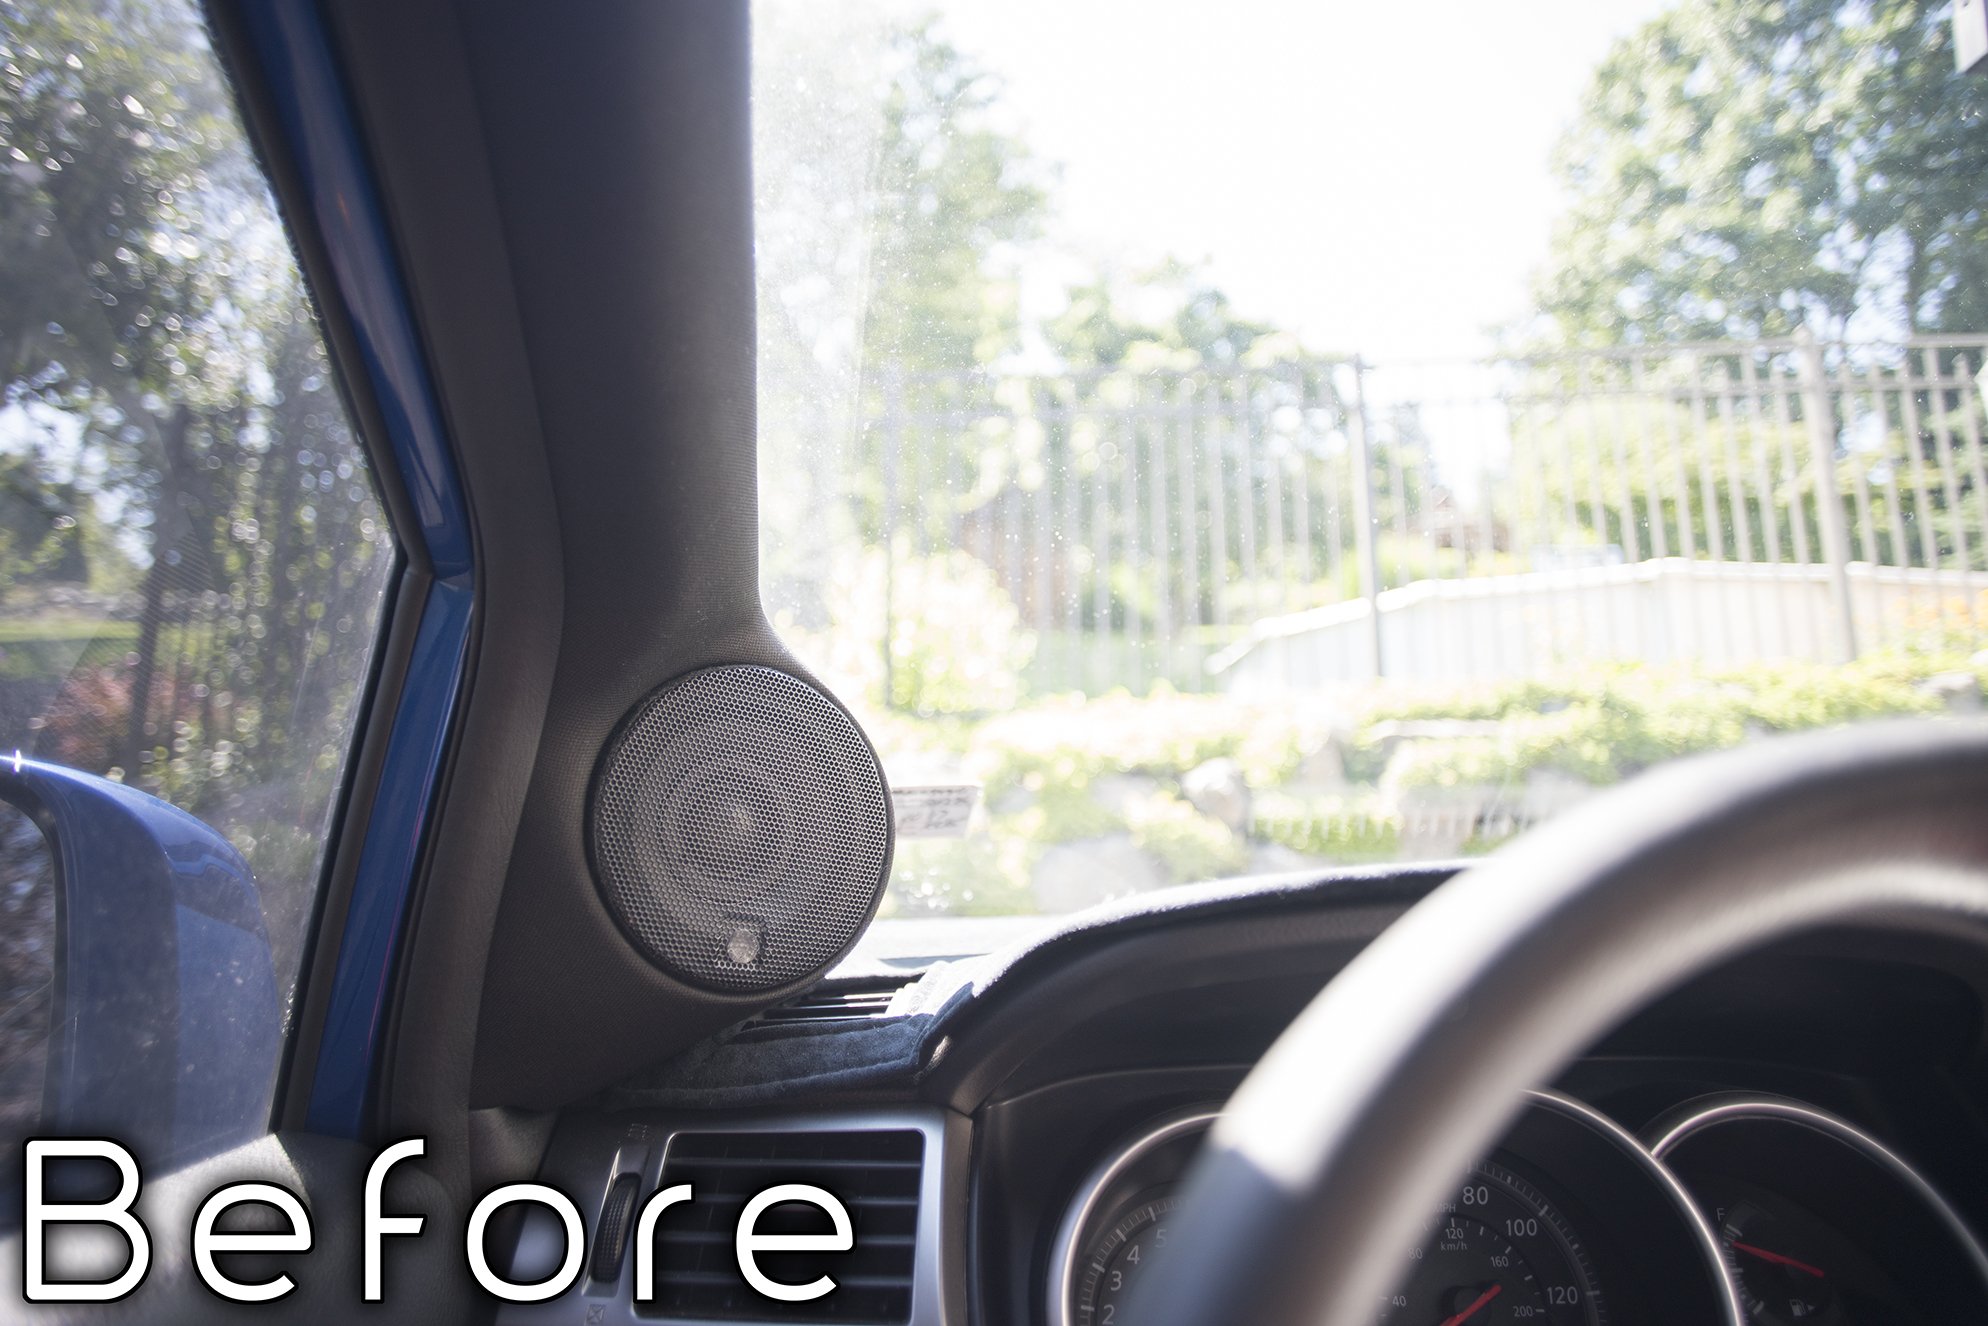
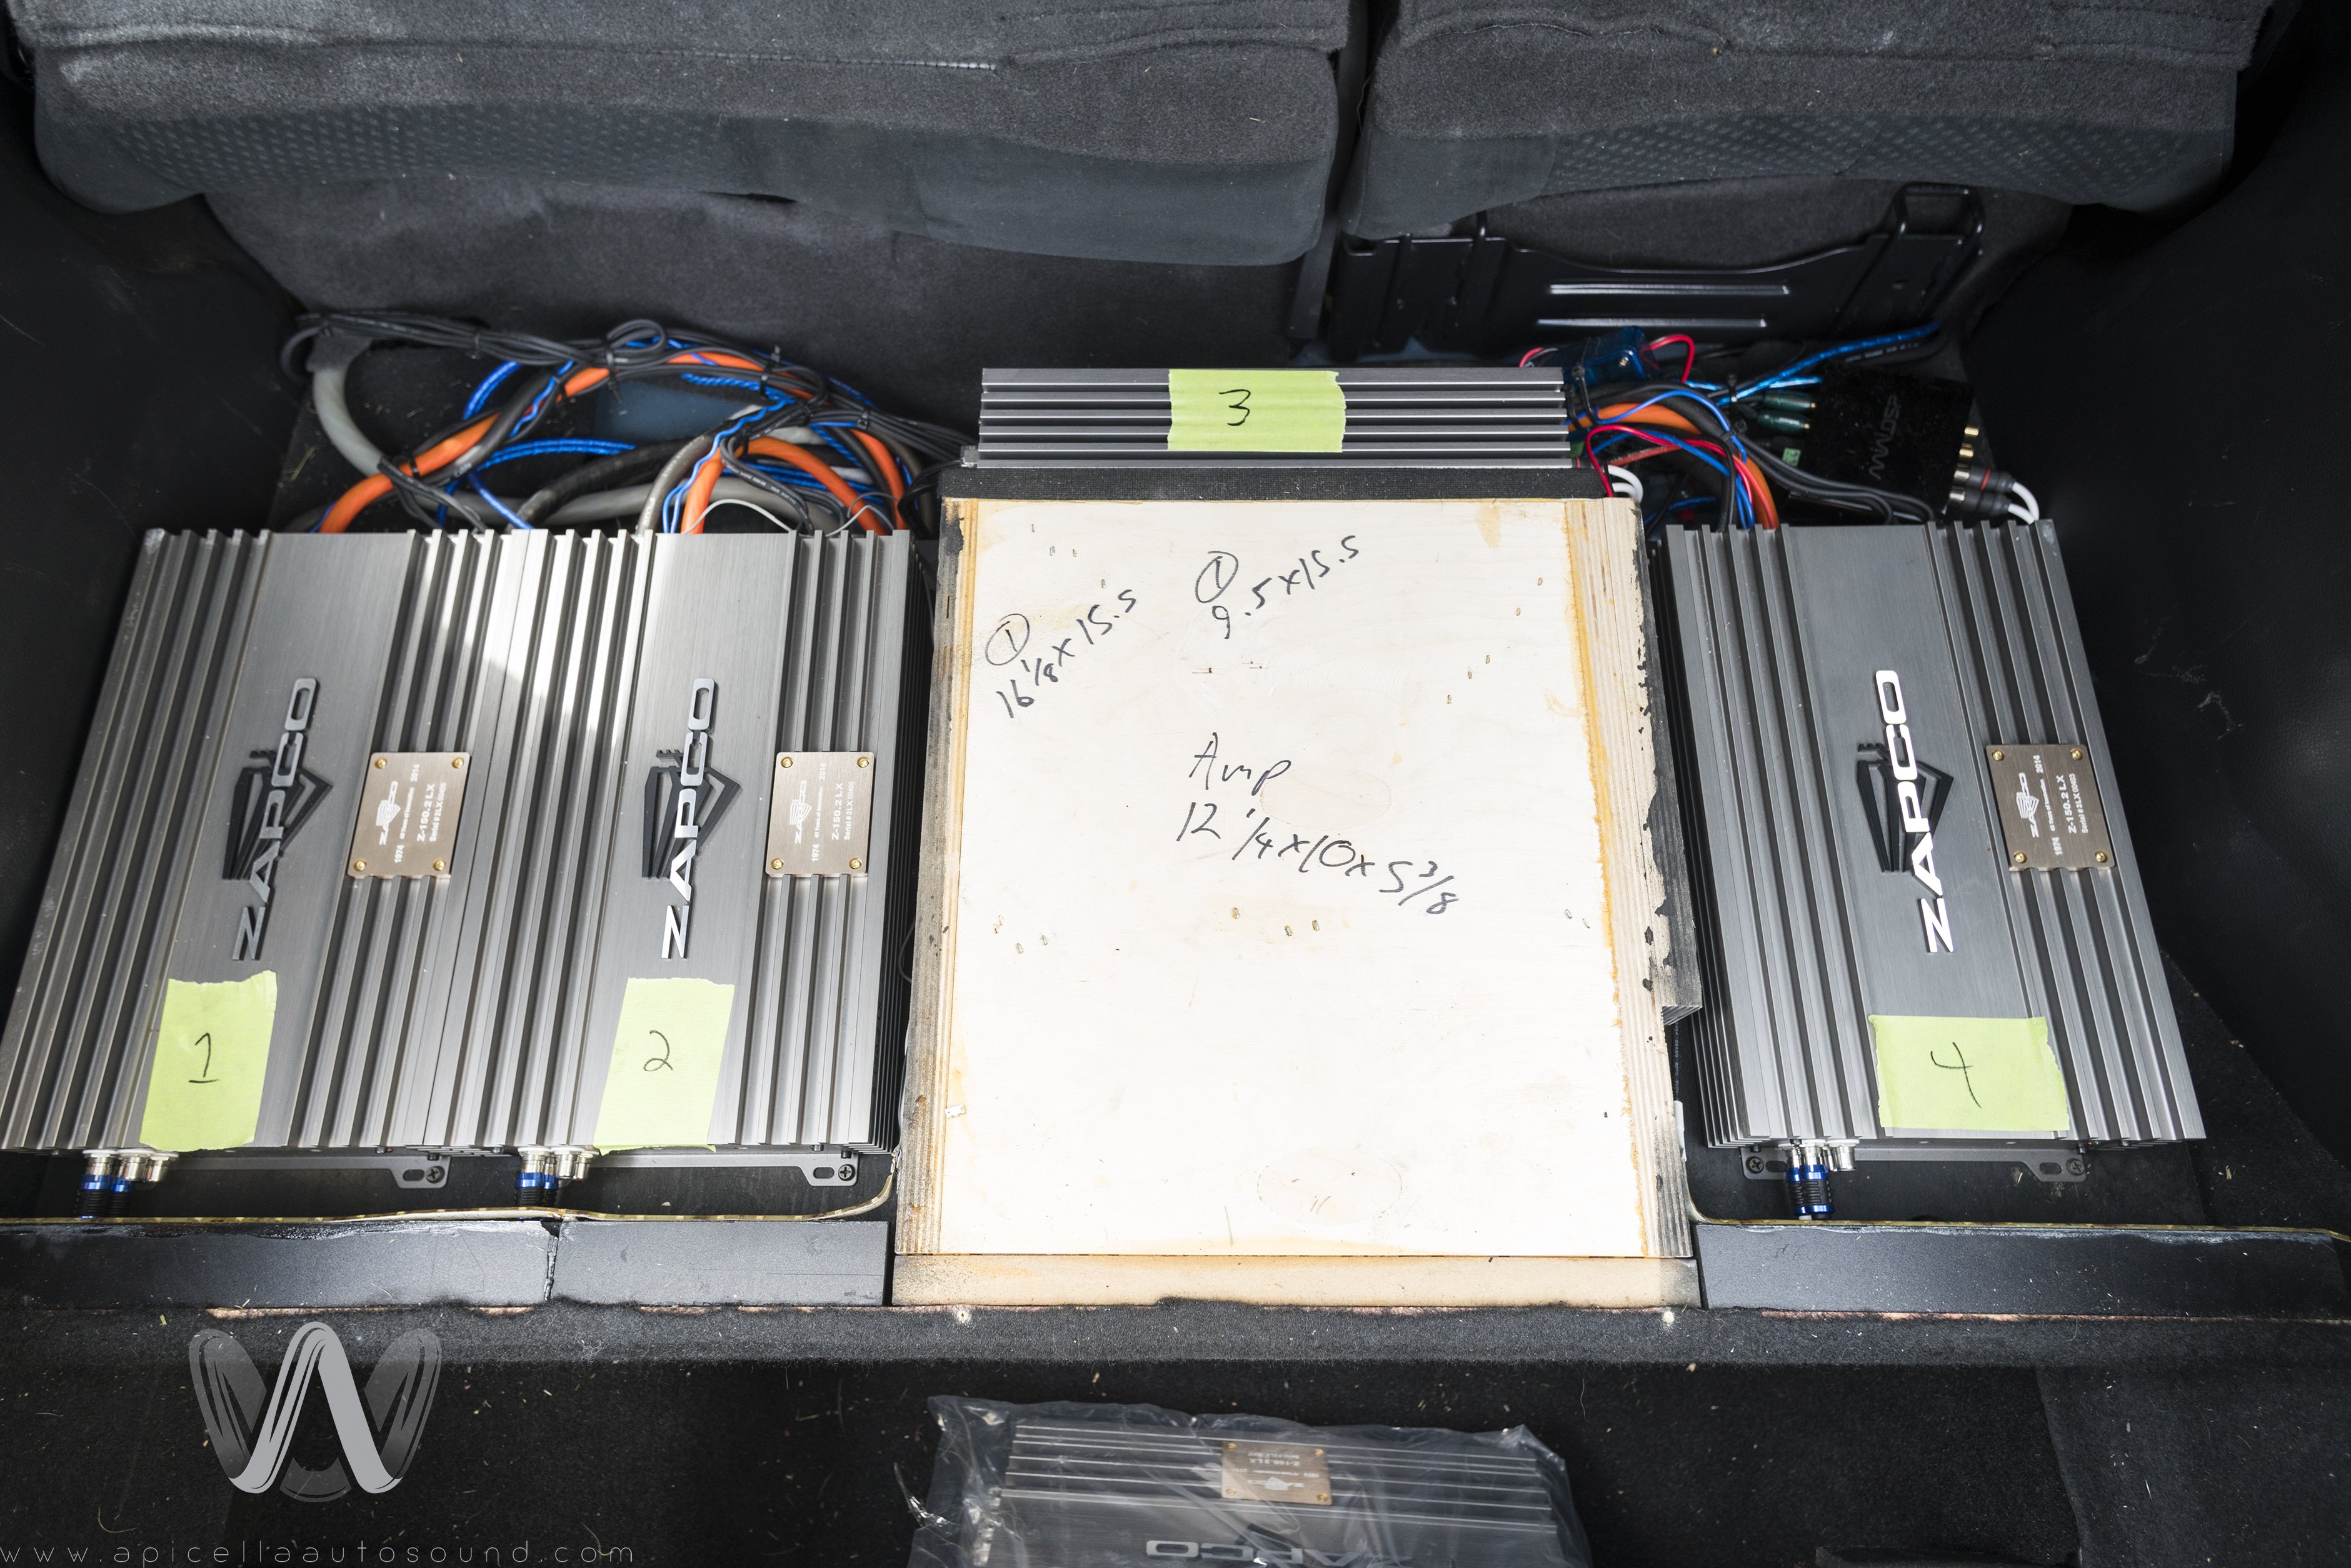
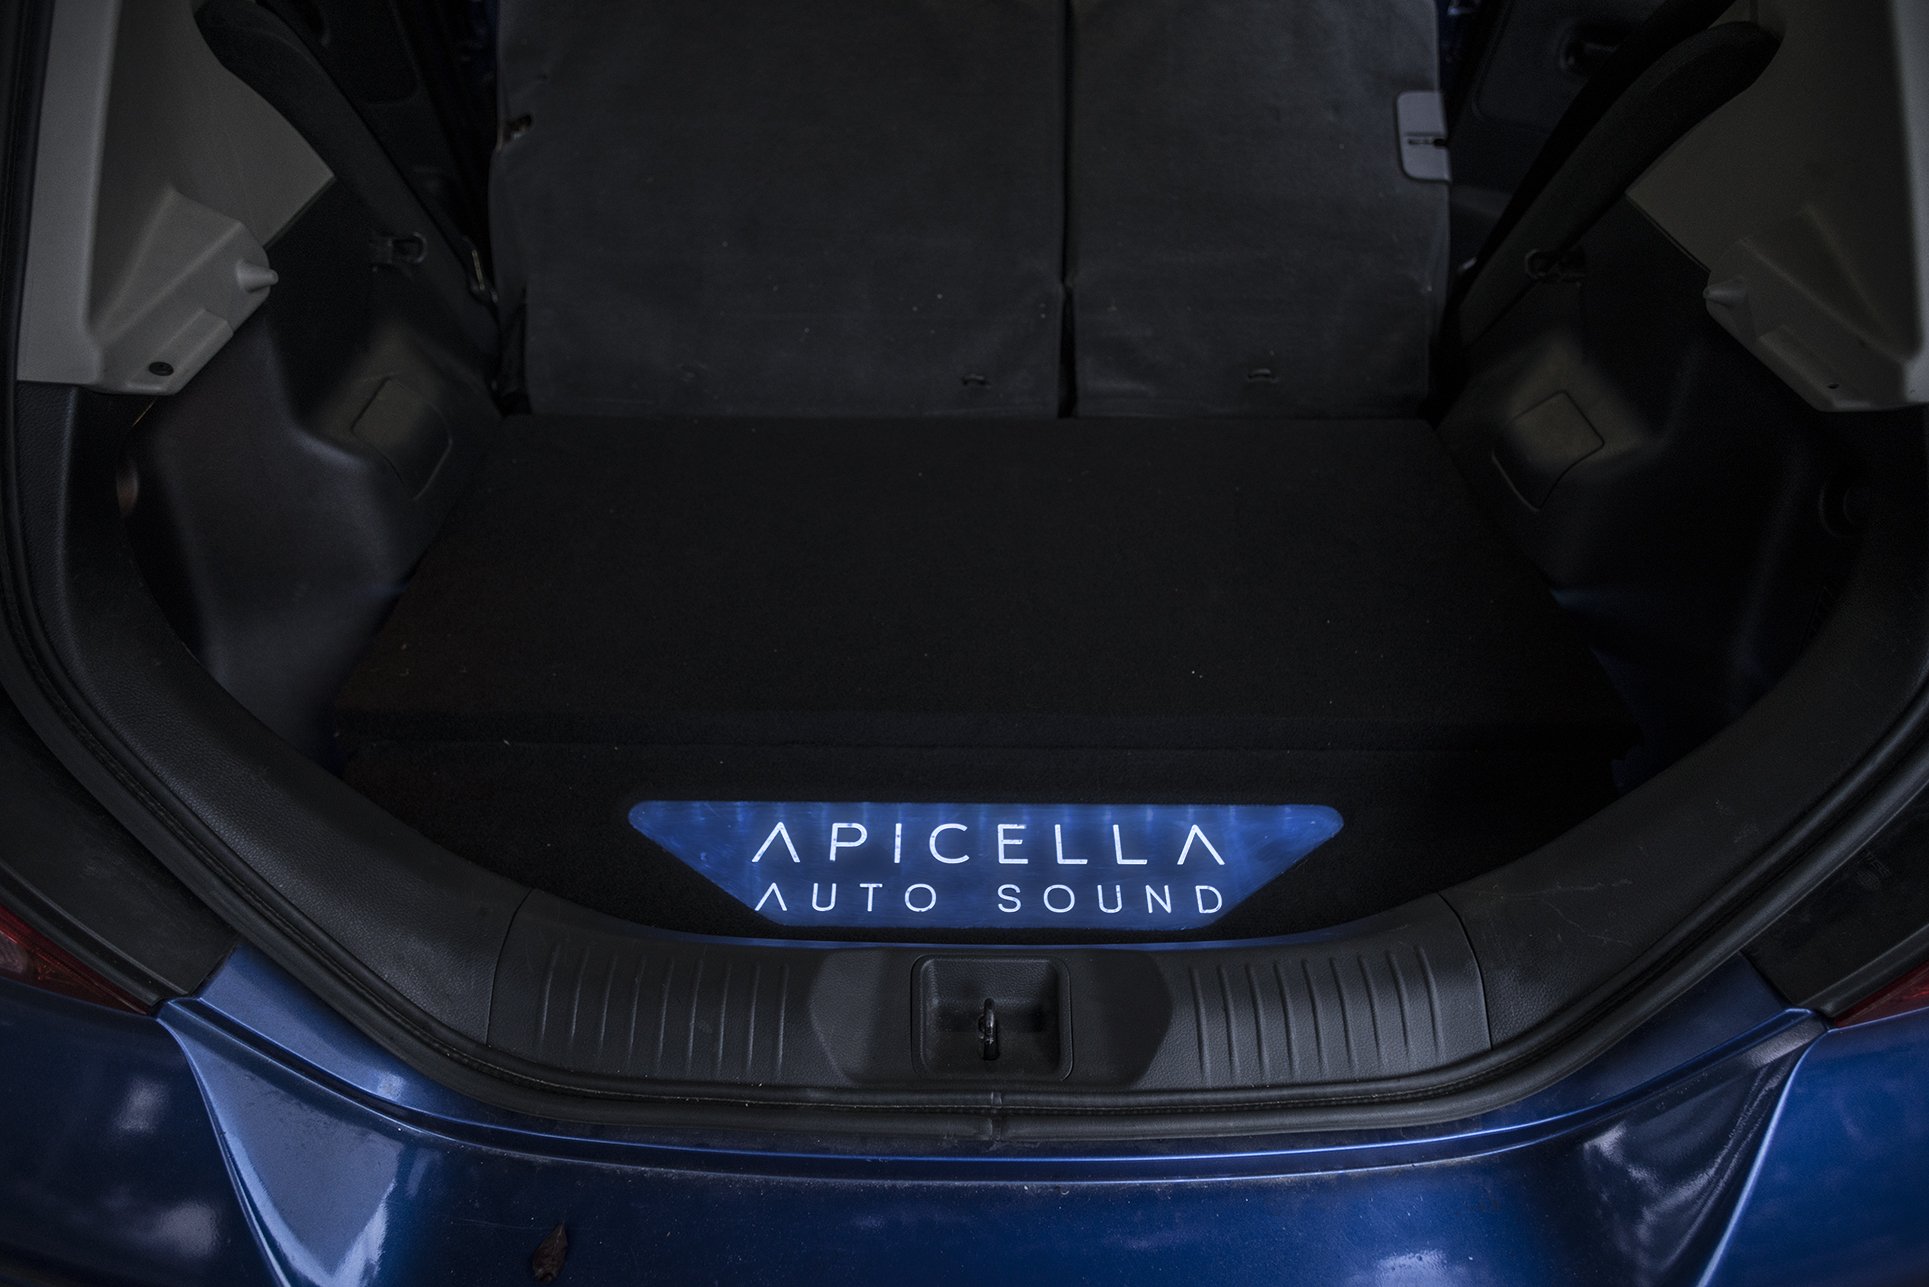
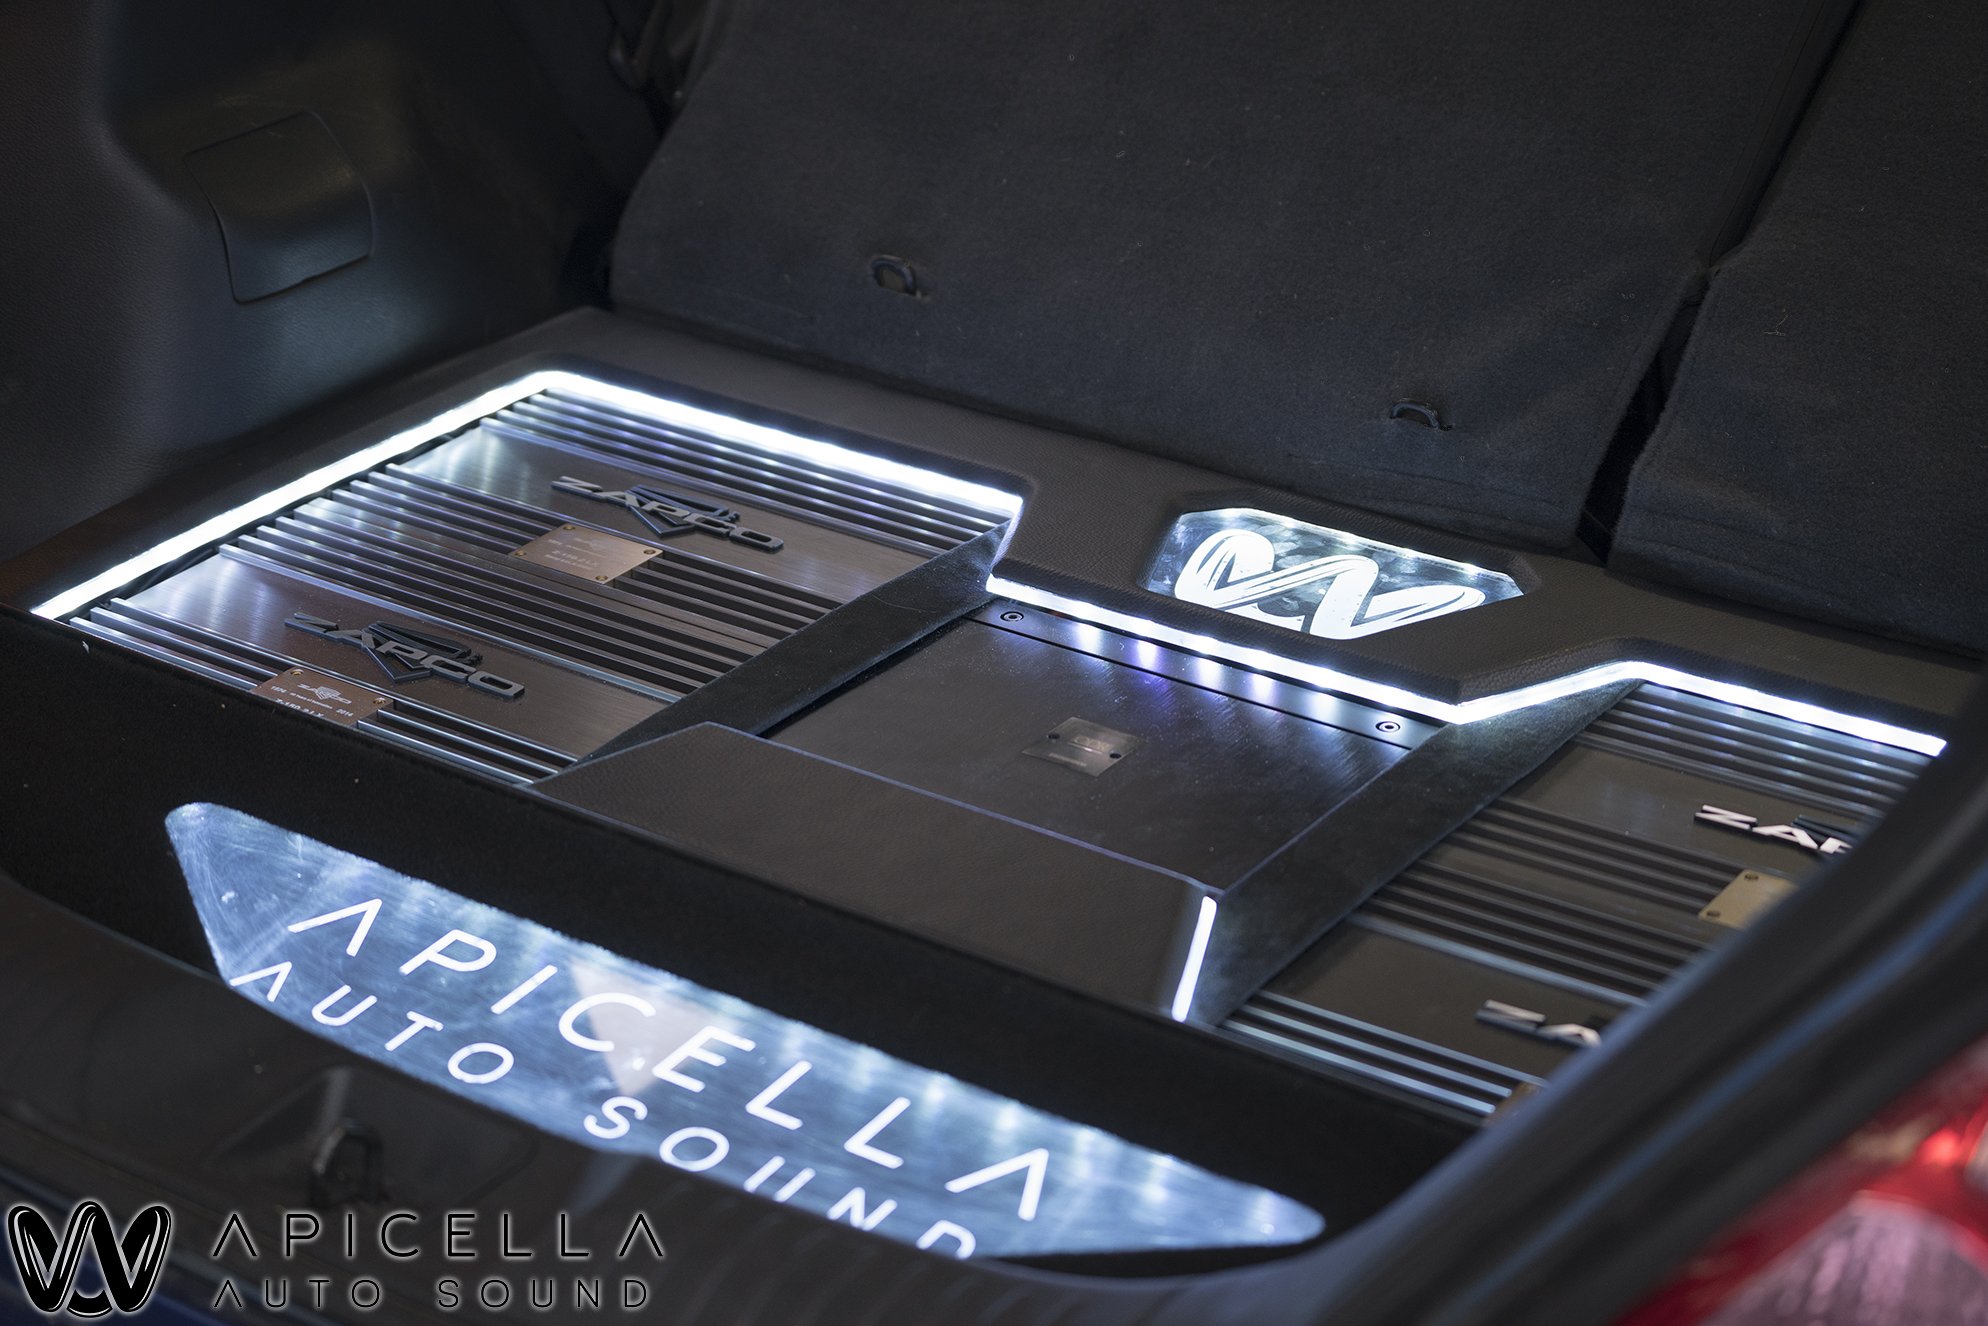
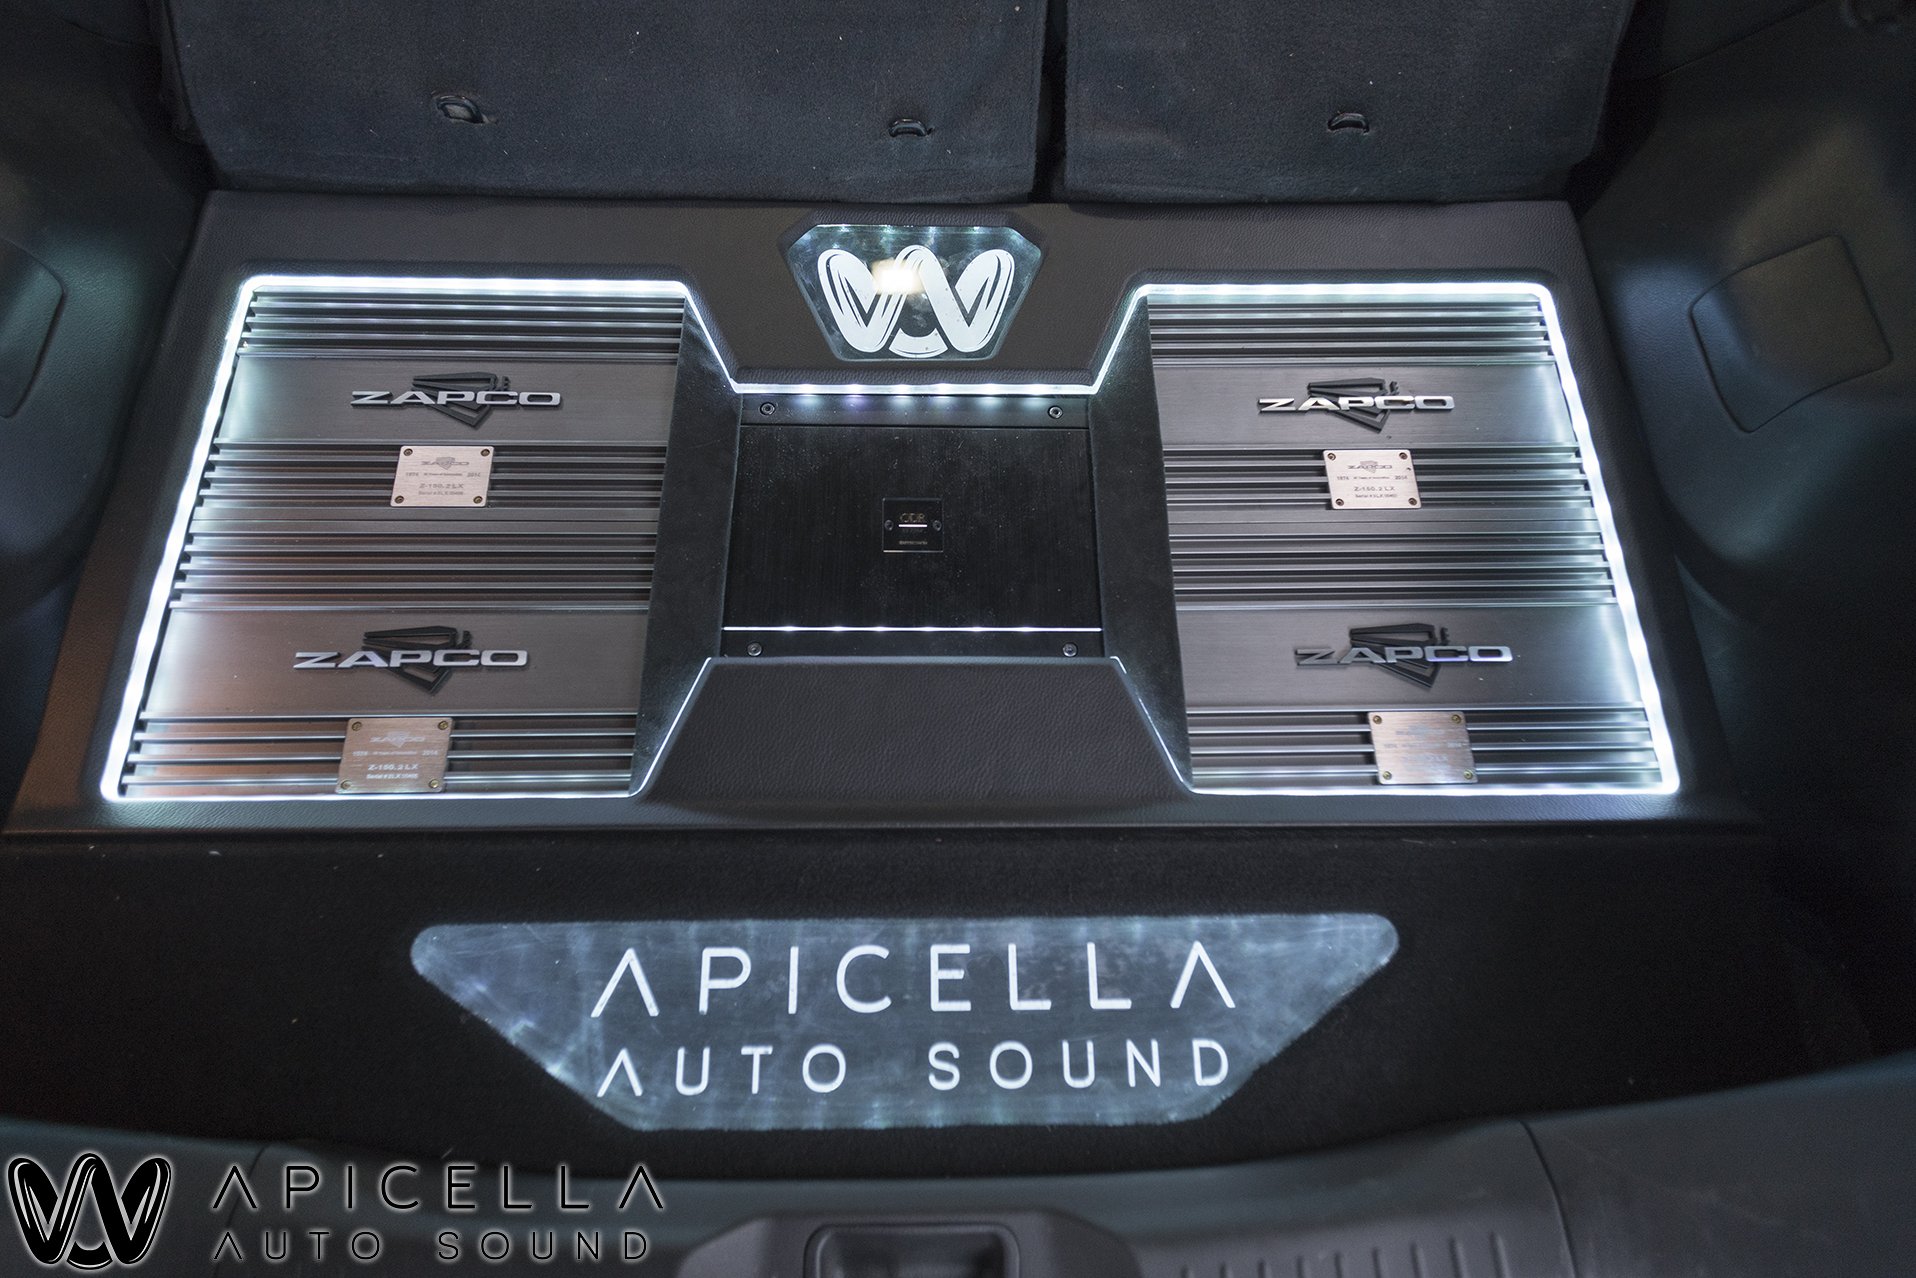
Here is the trunk and a-pillars when it came to me. Done by one of the best when it comes to high end, sound quality car audio.
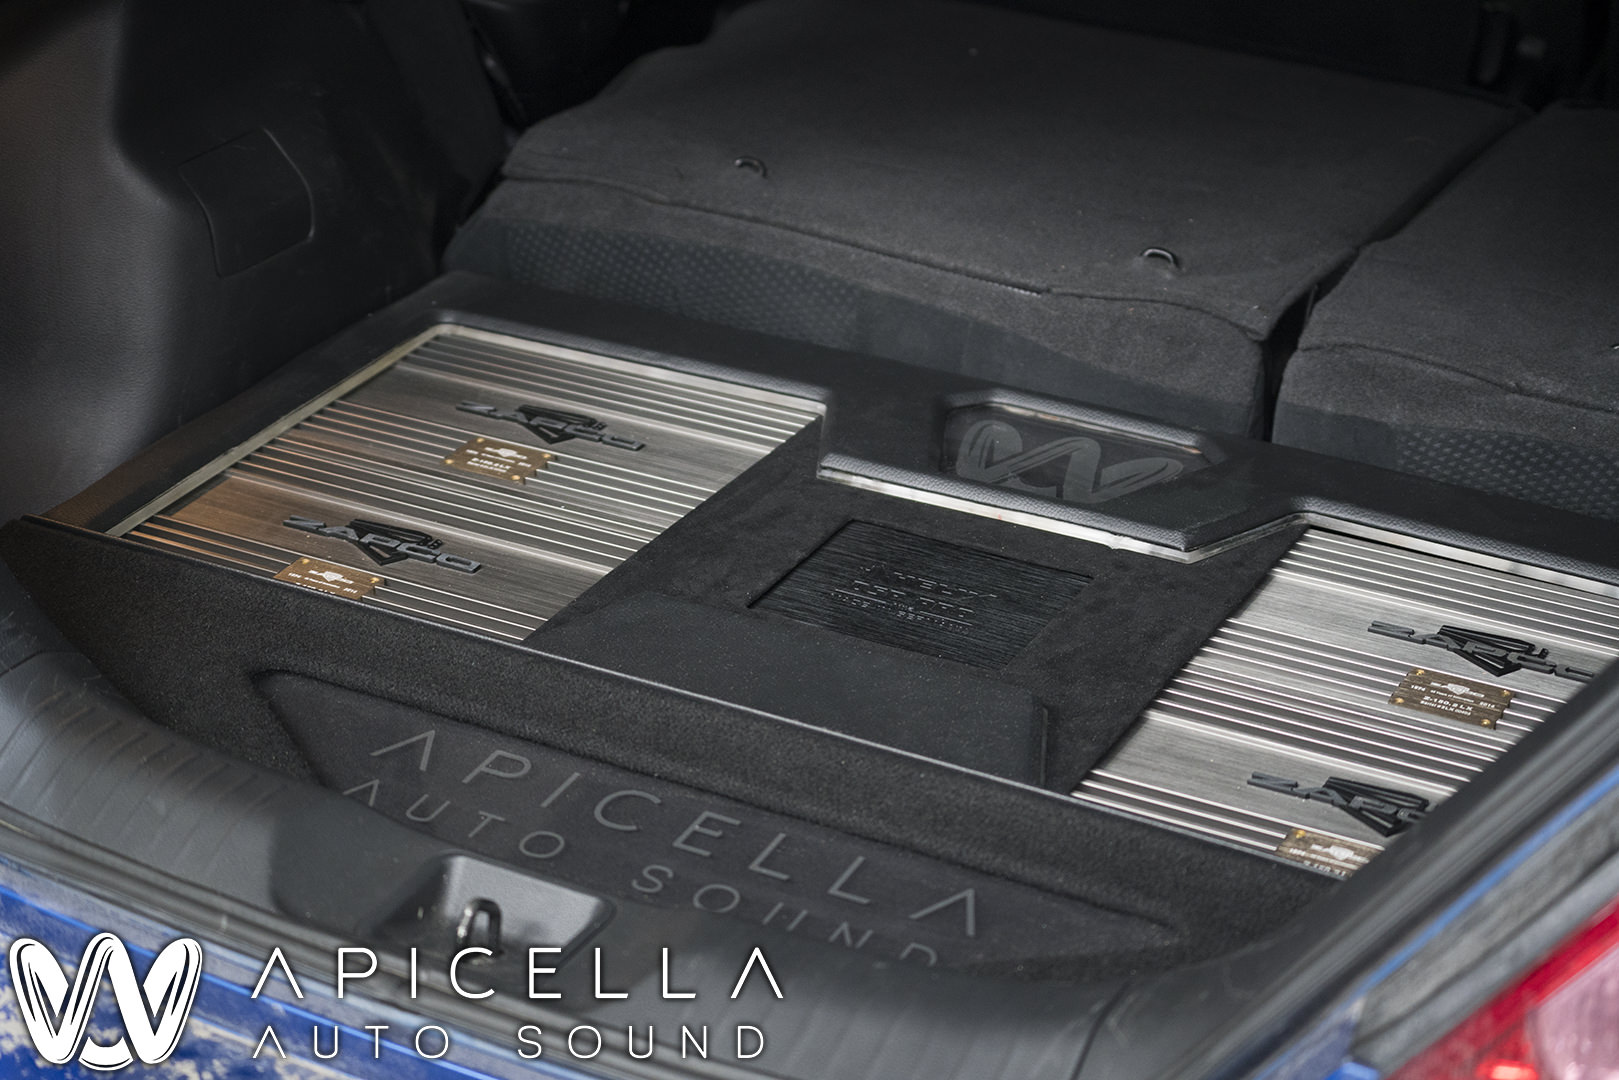
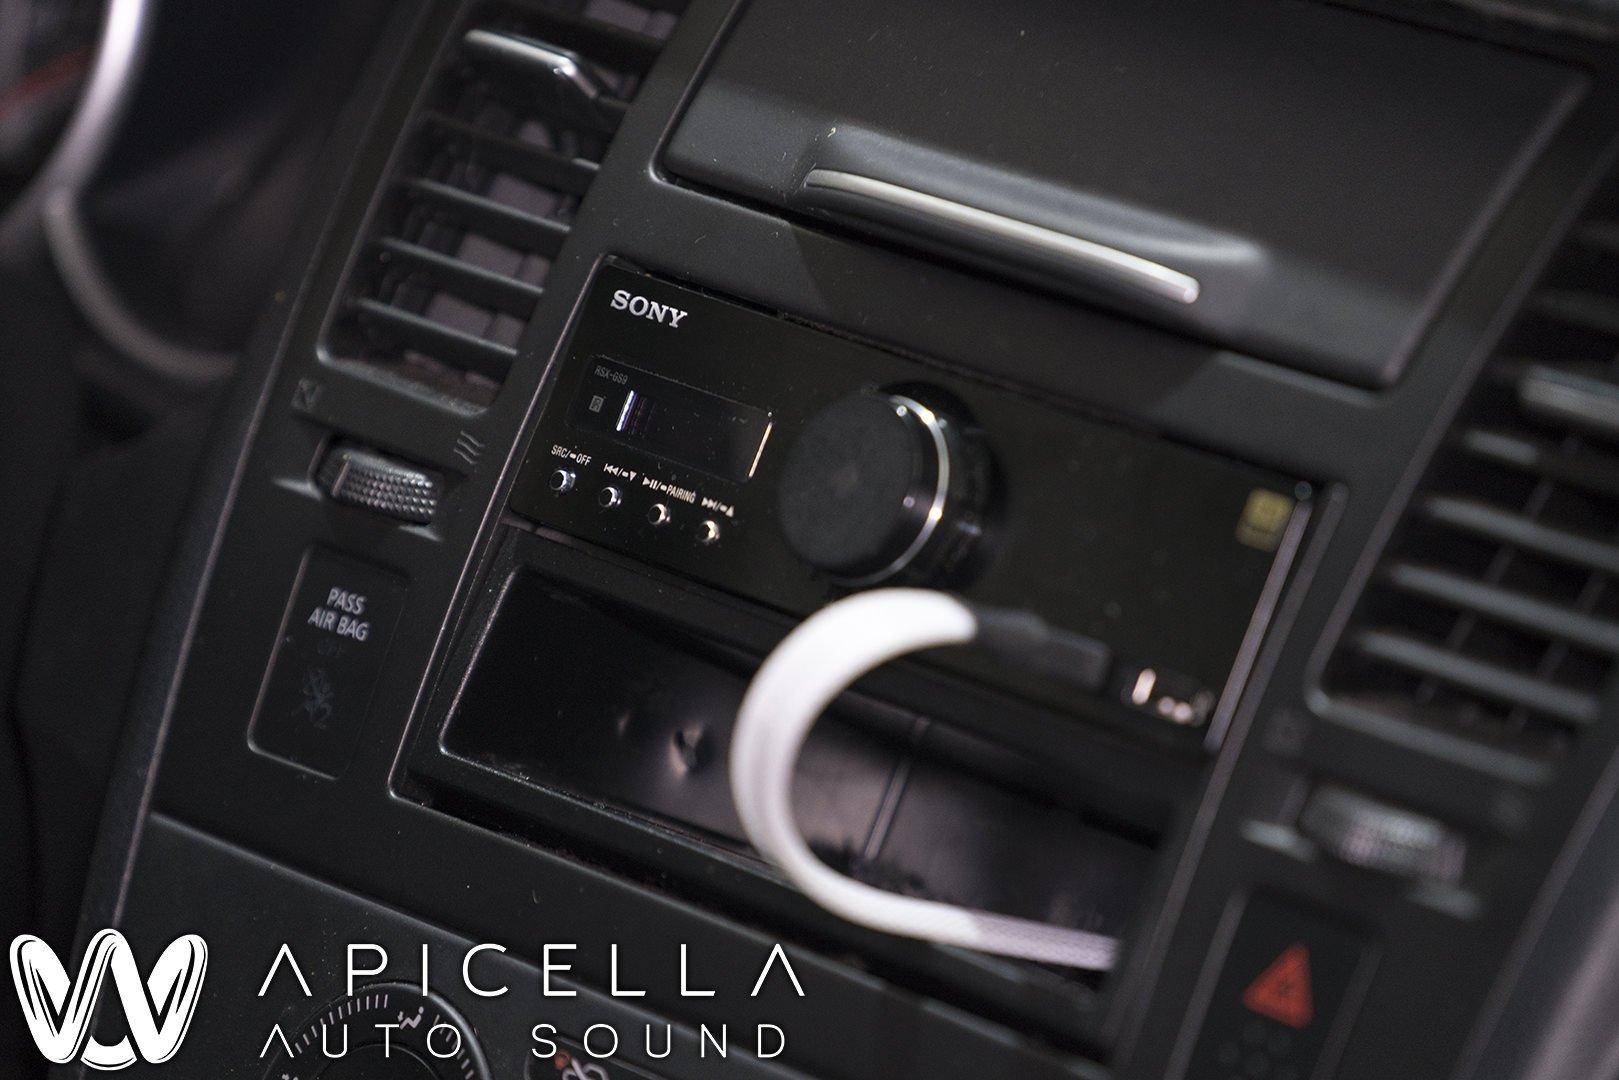
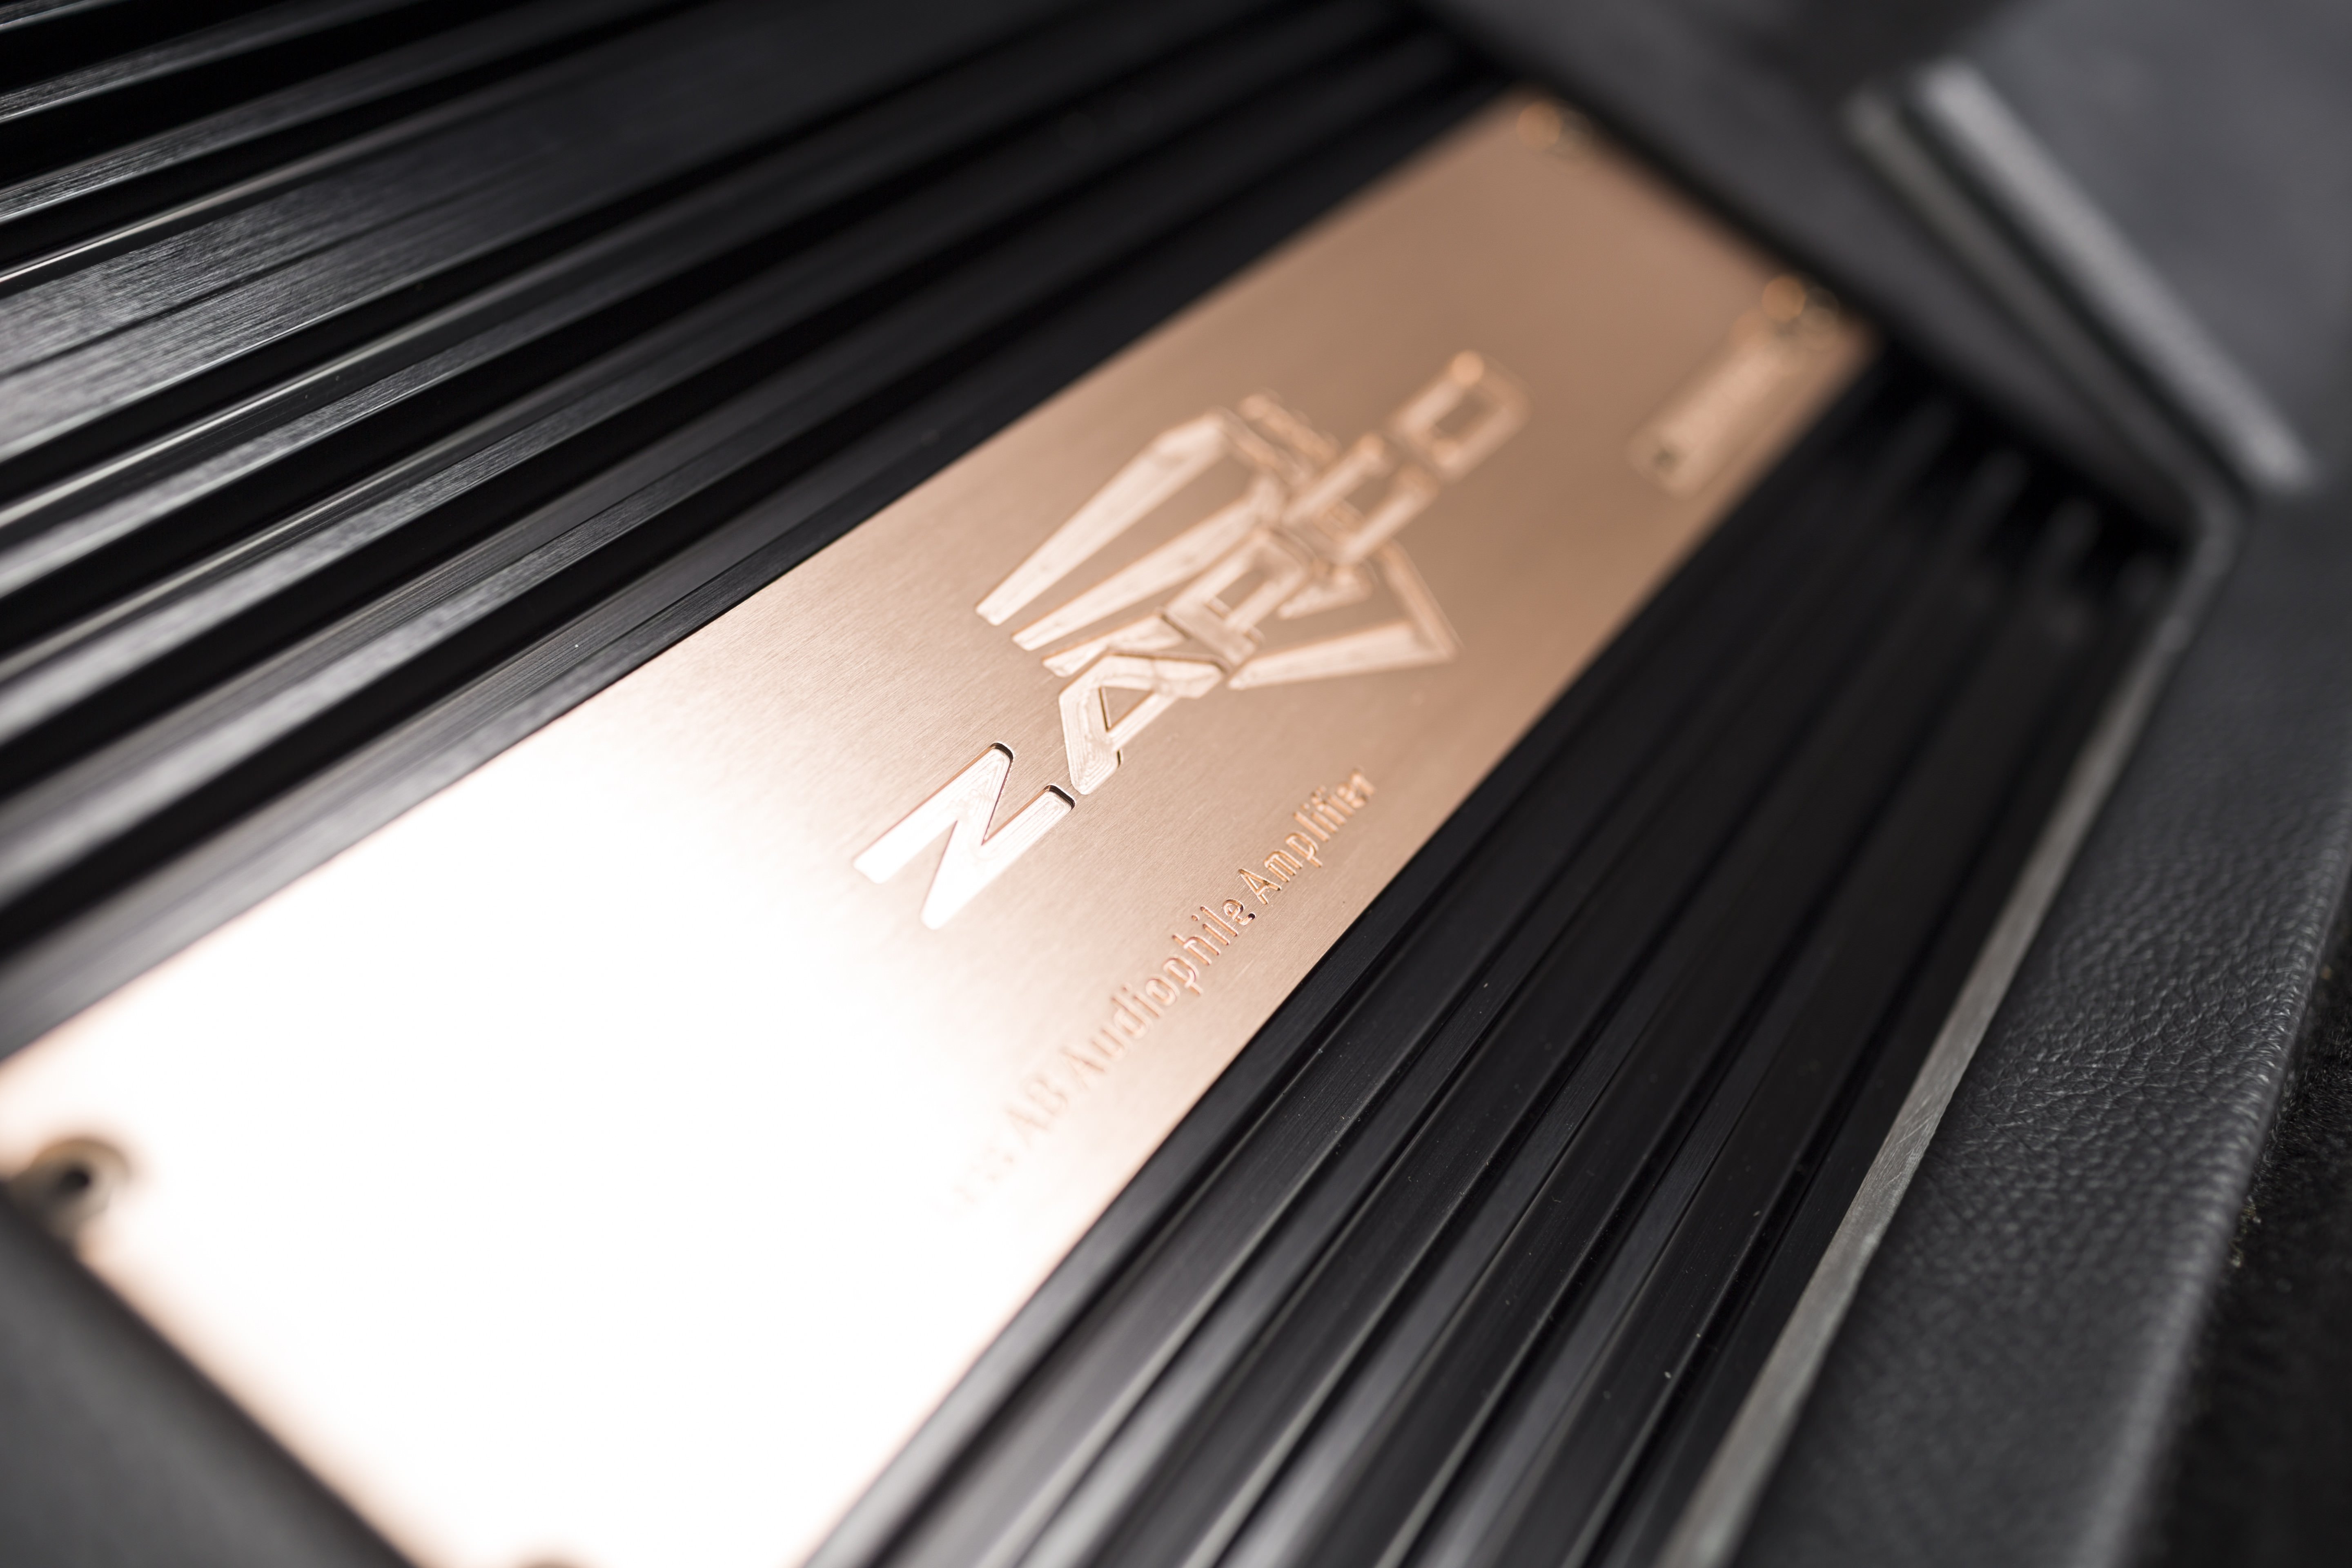
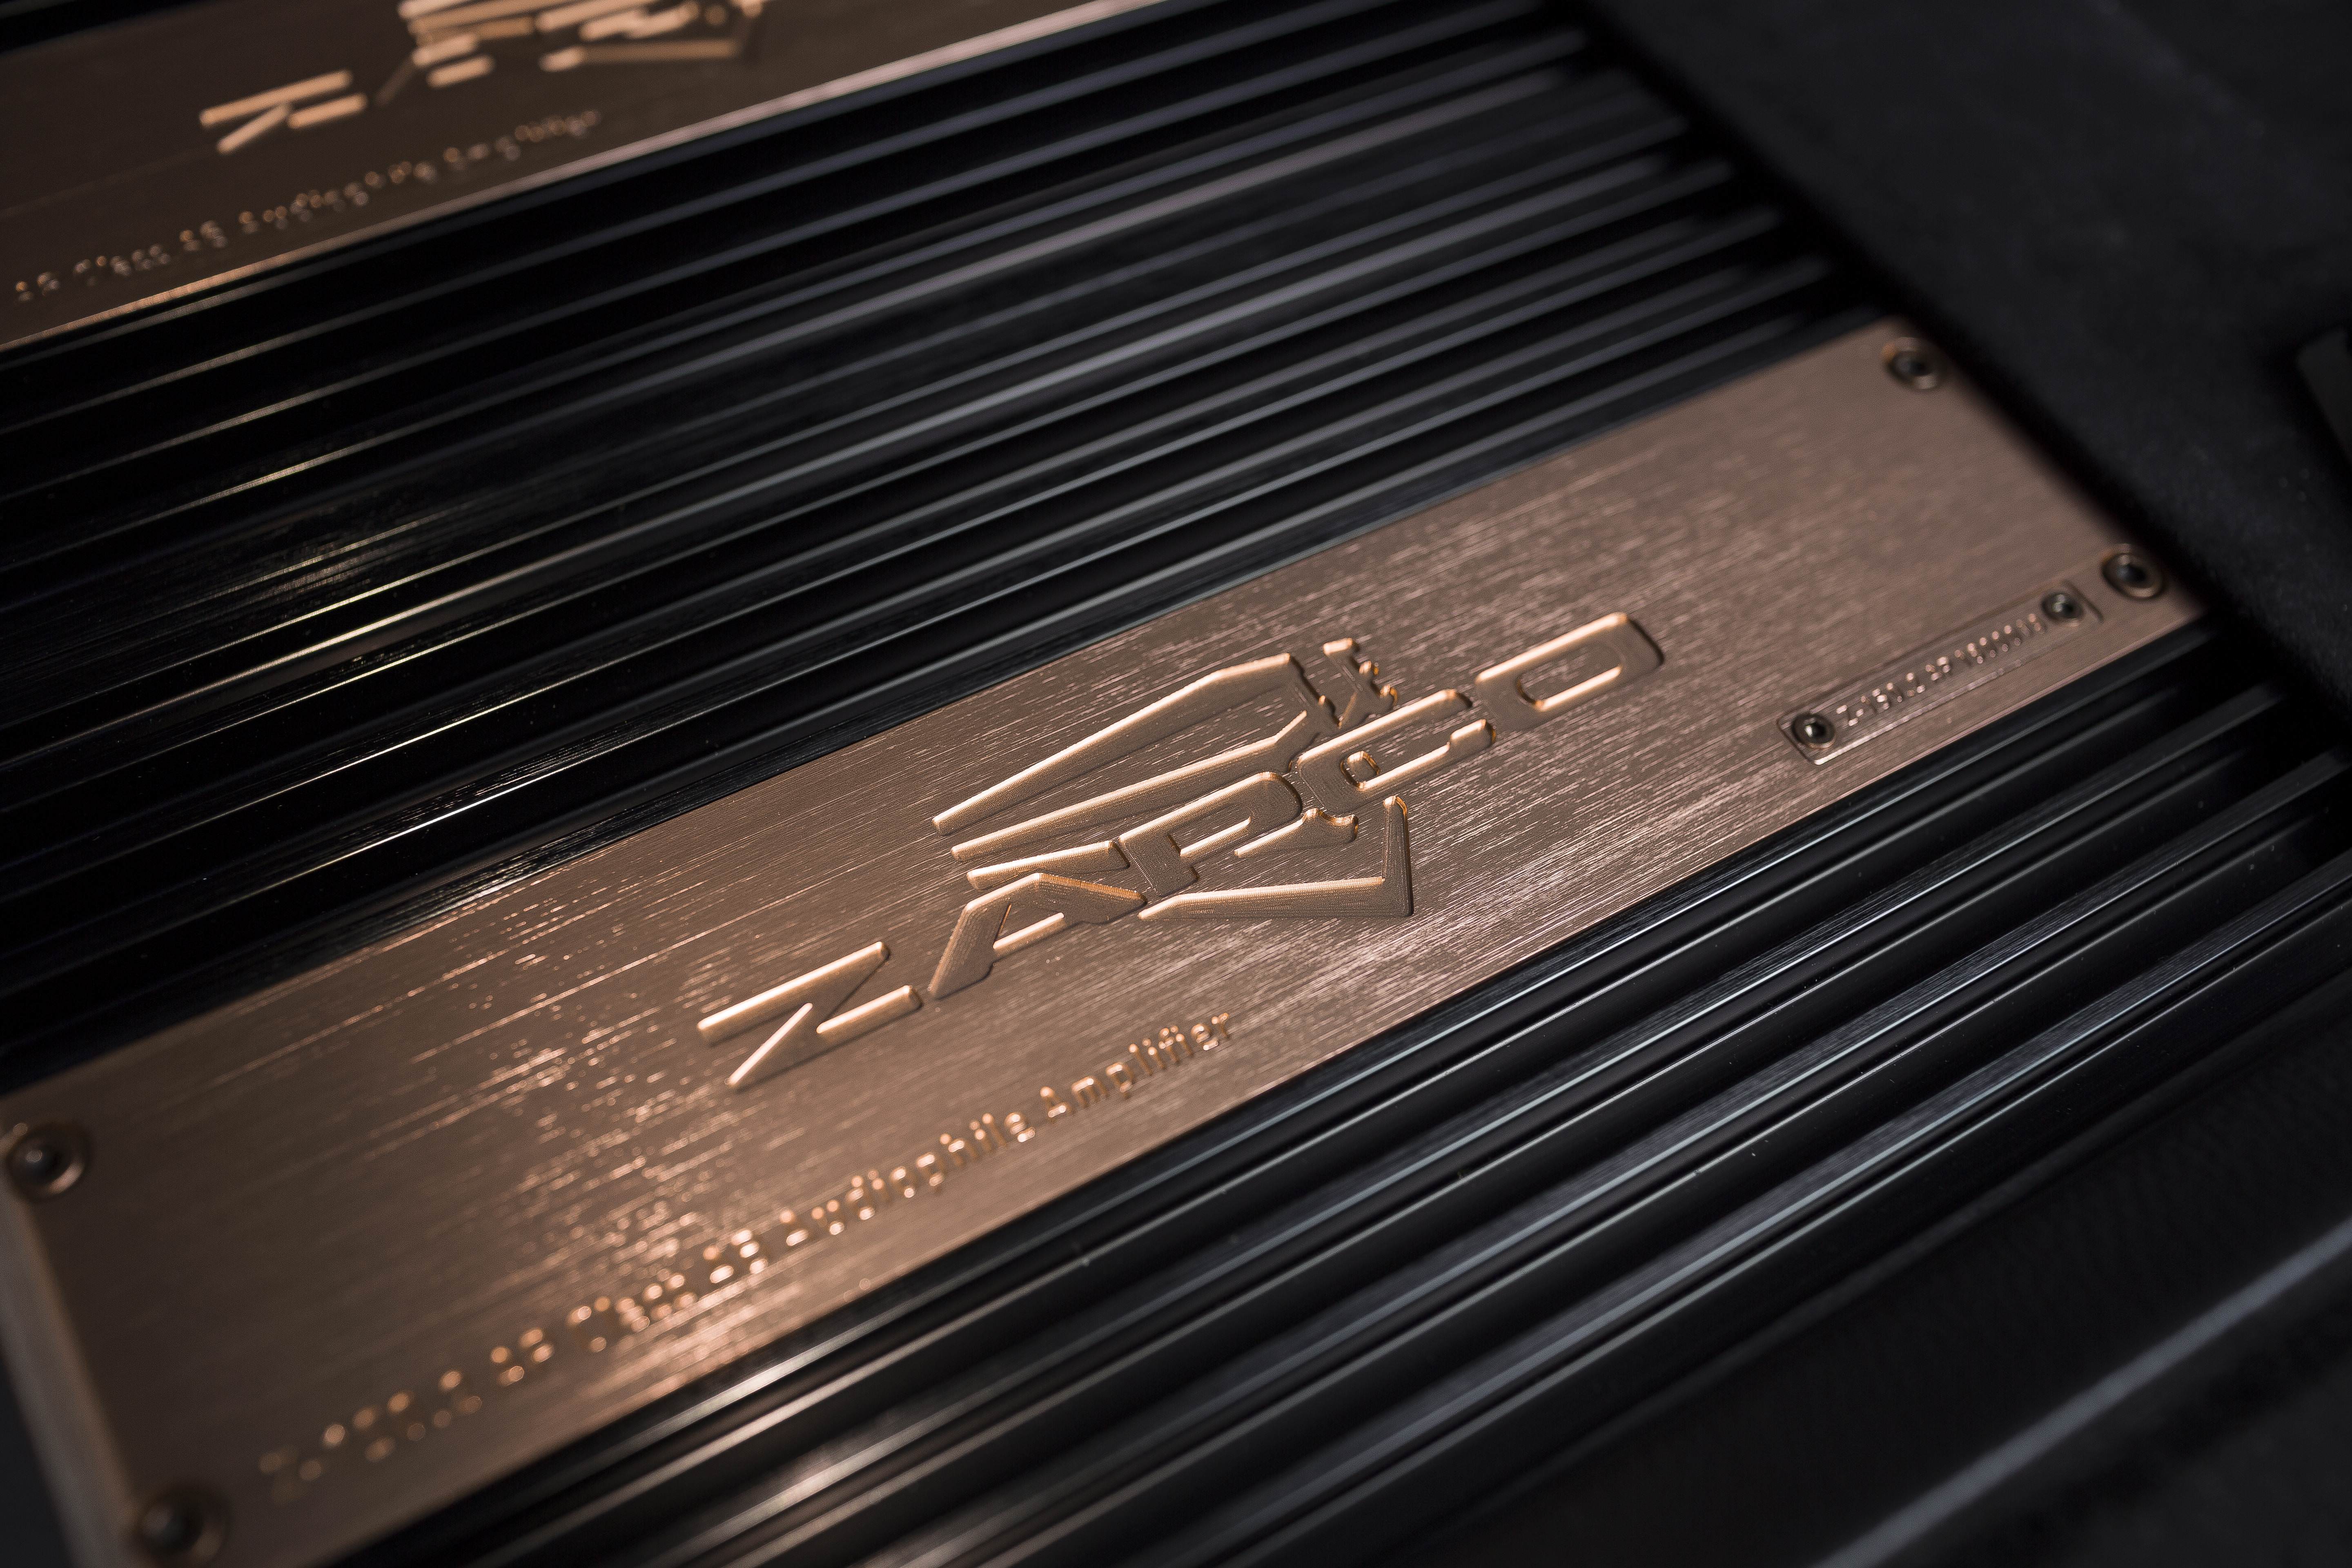
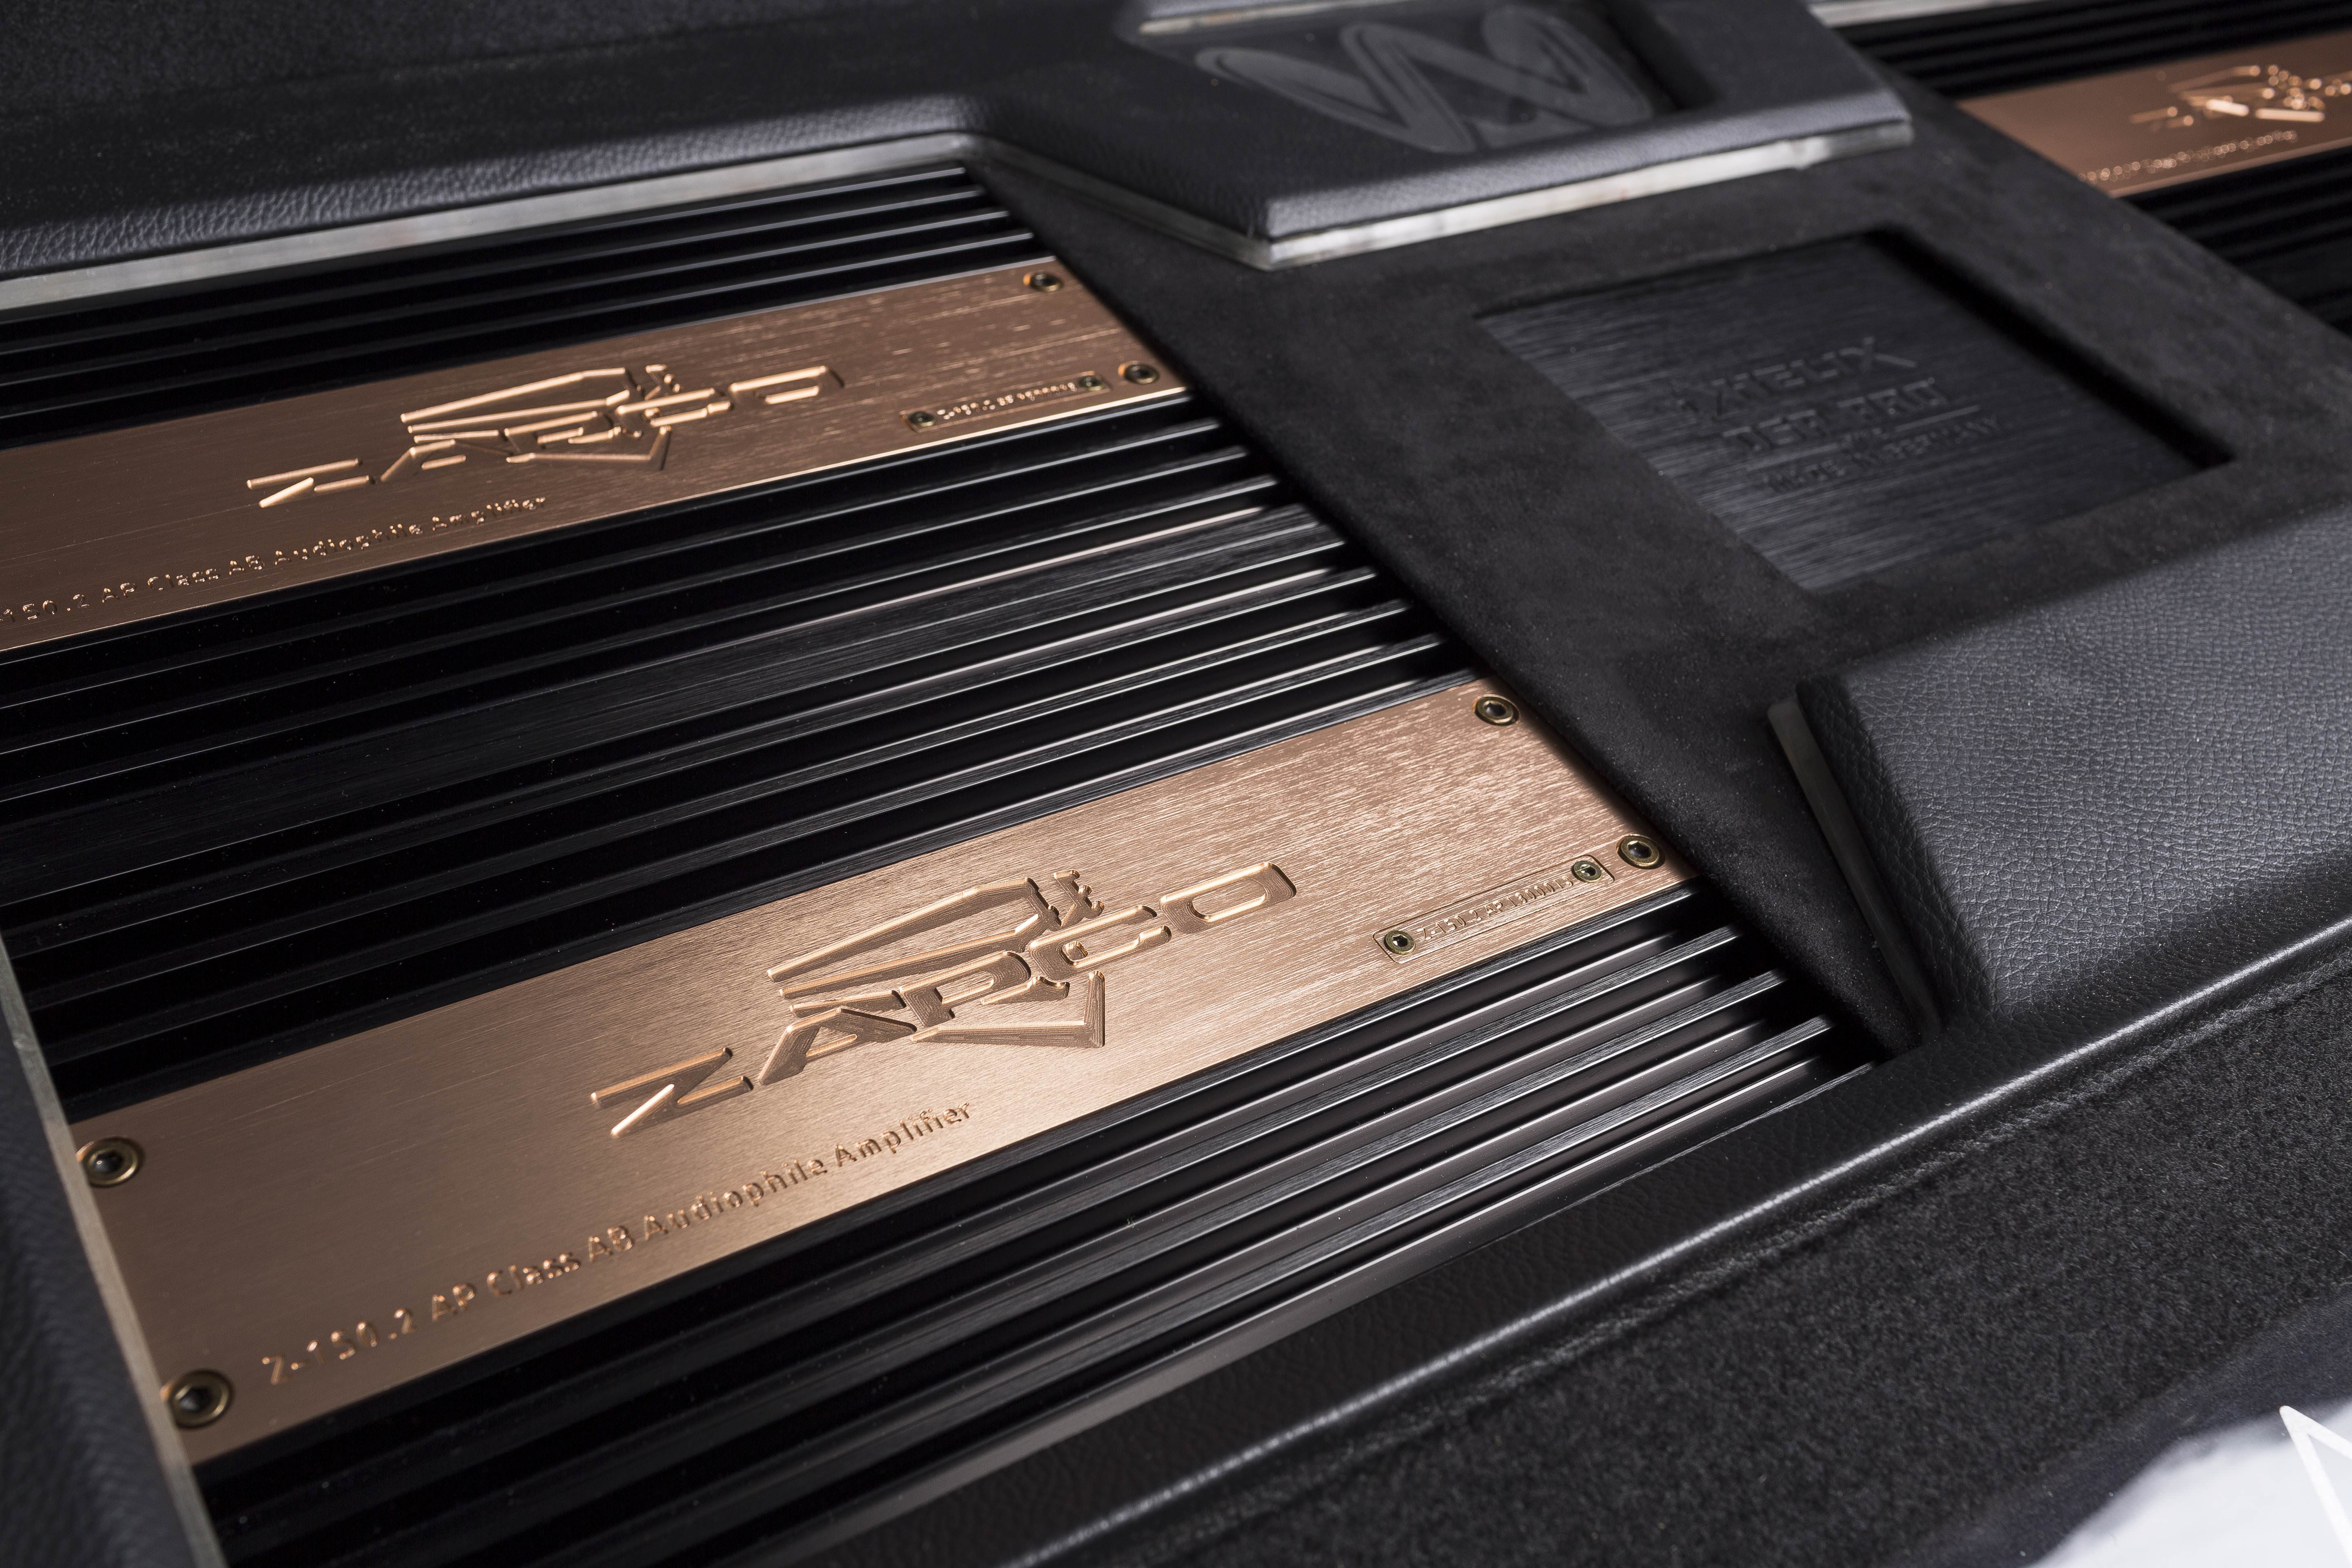
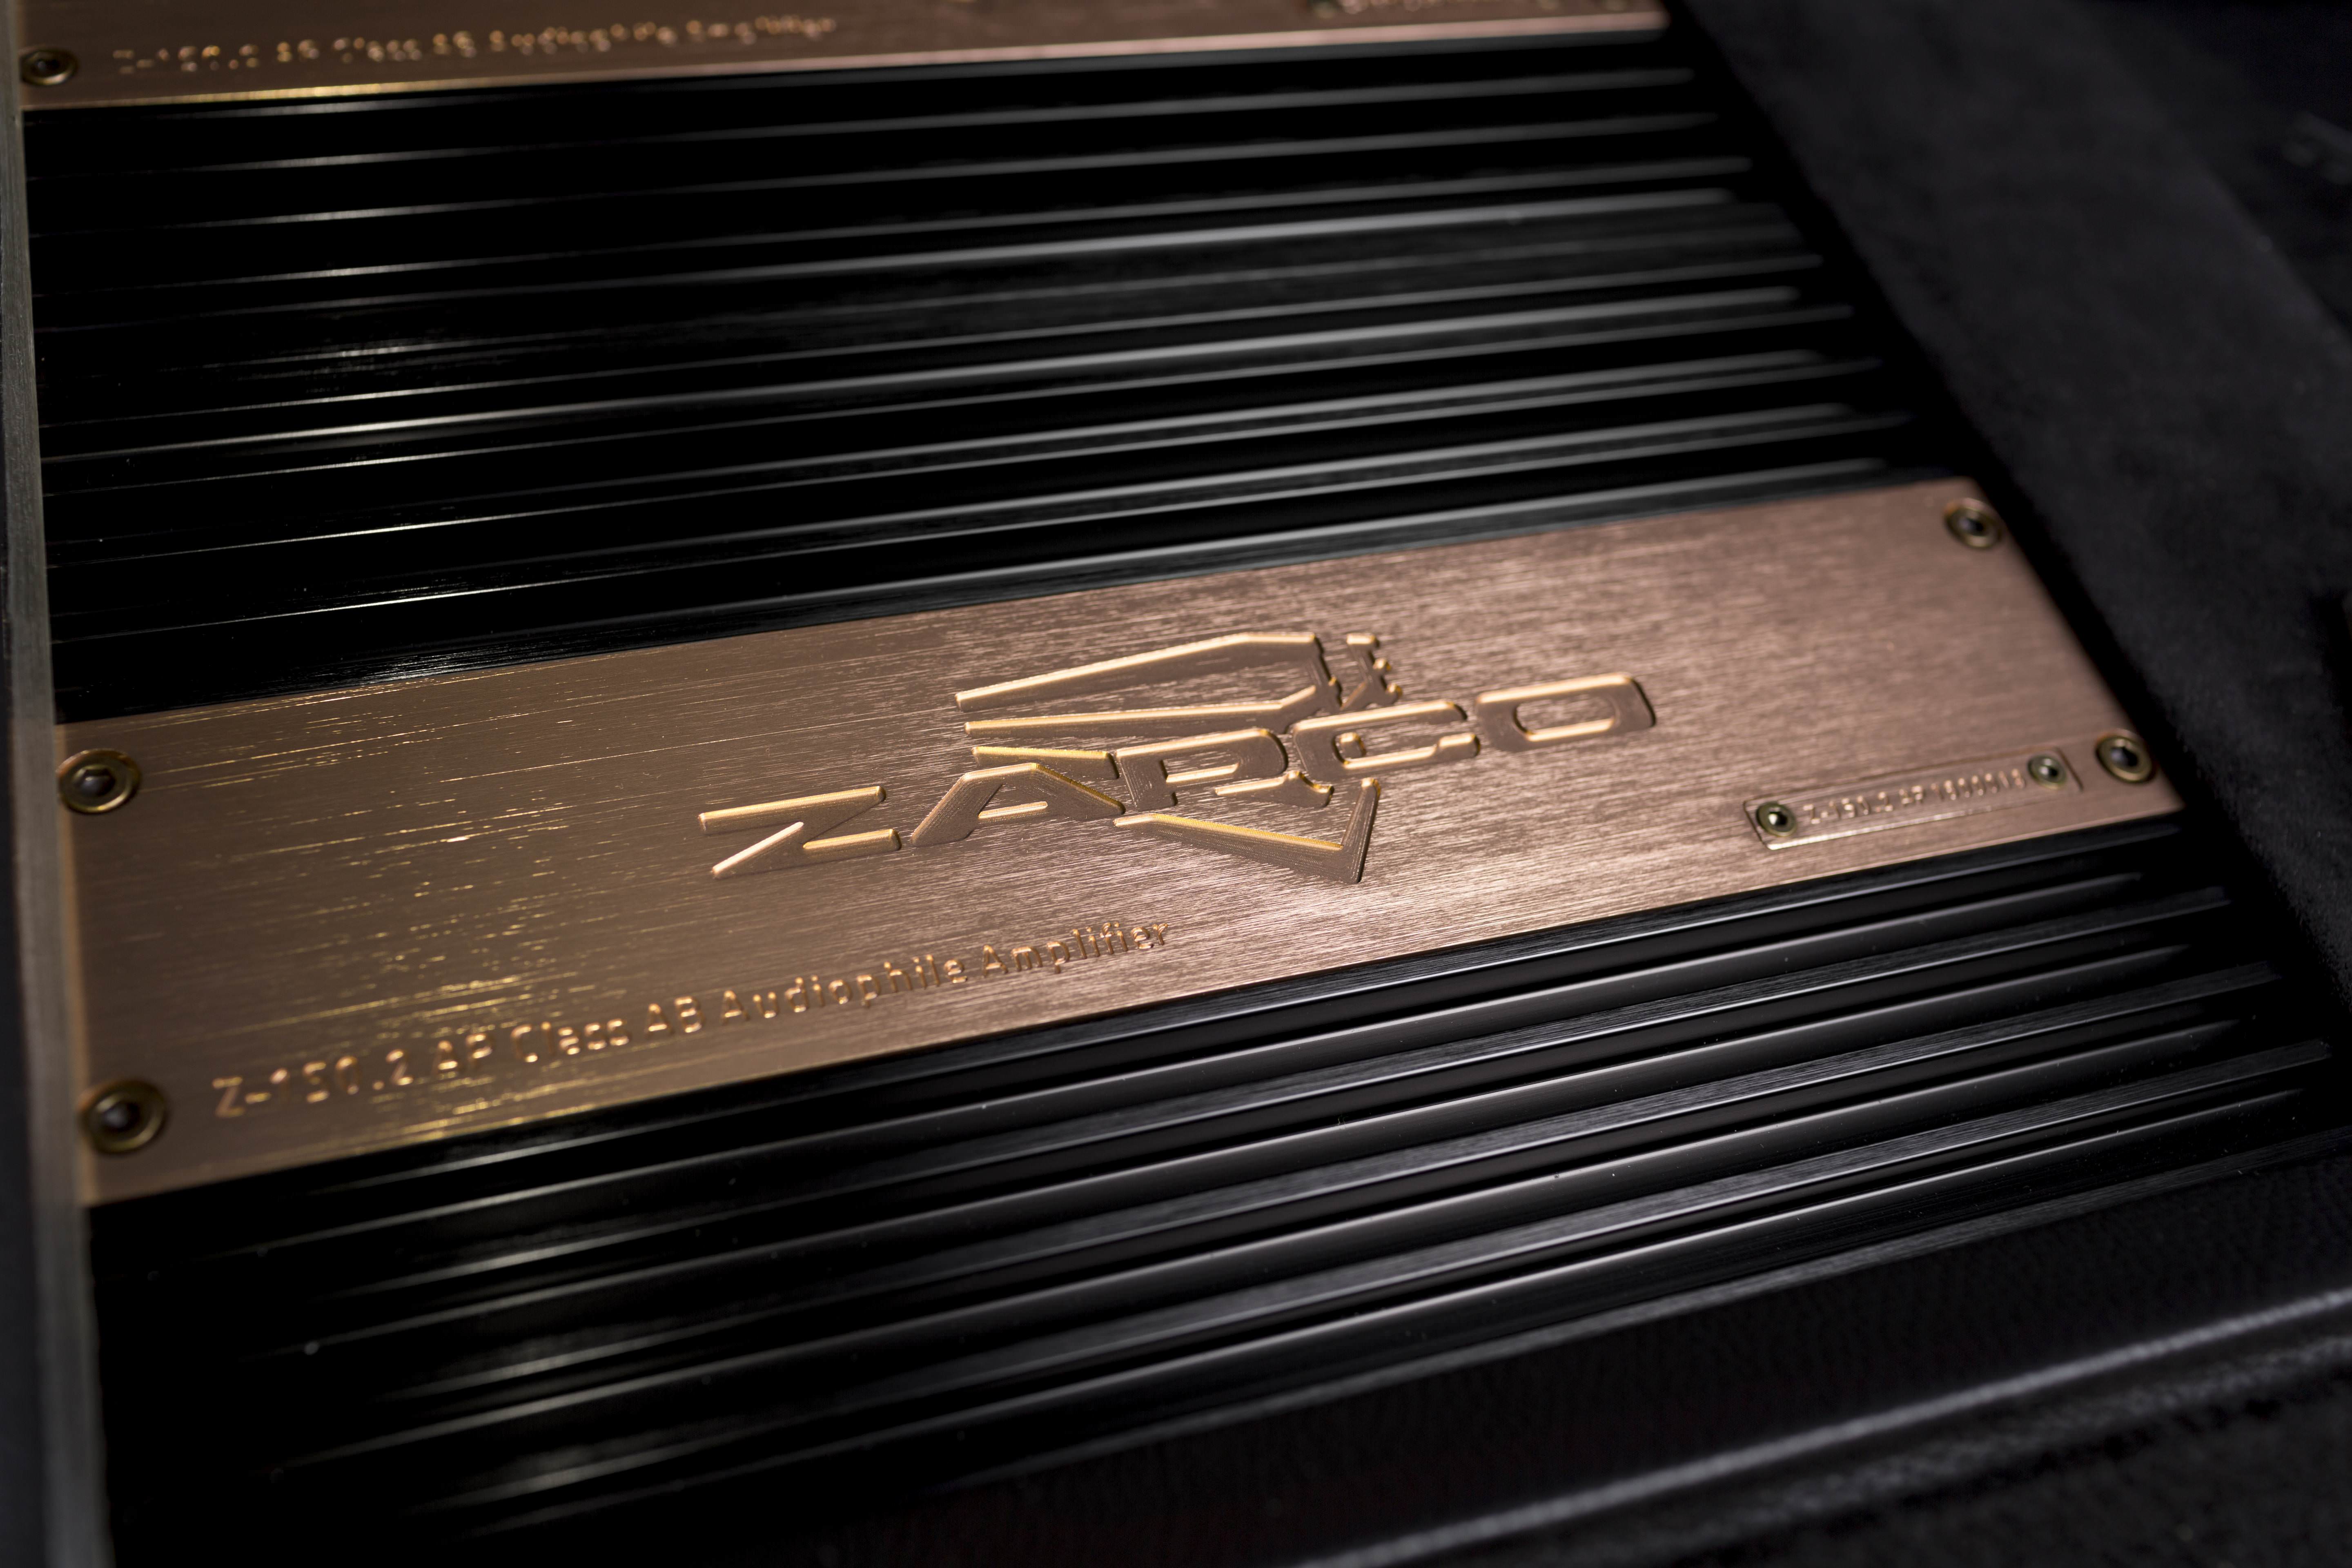
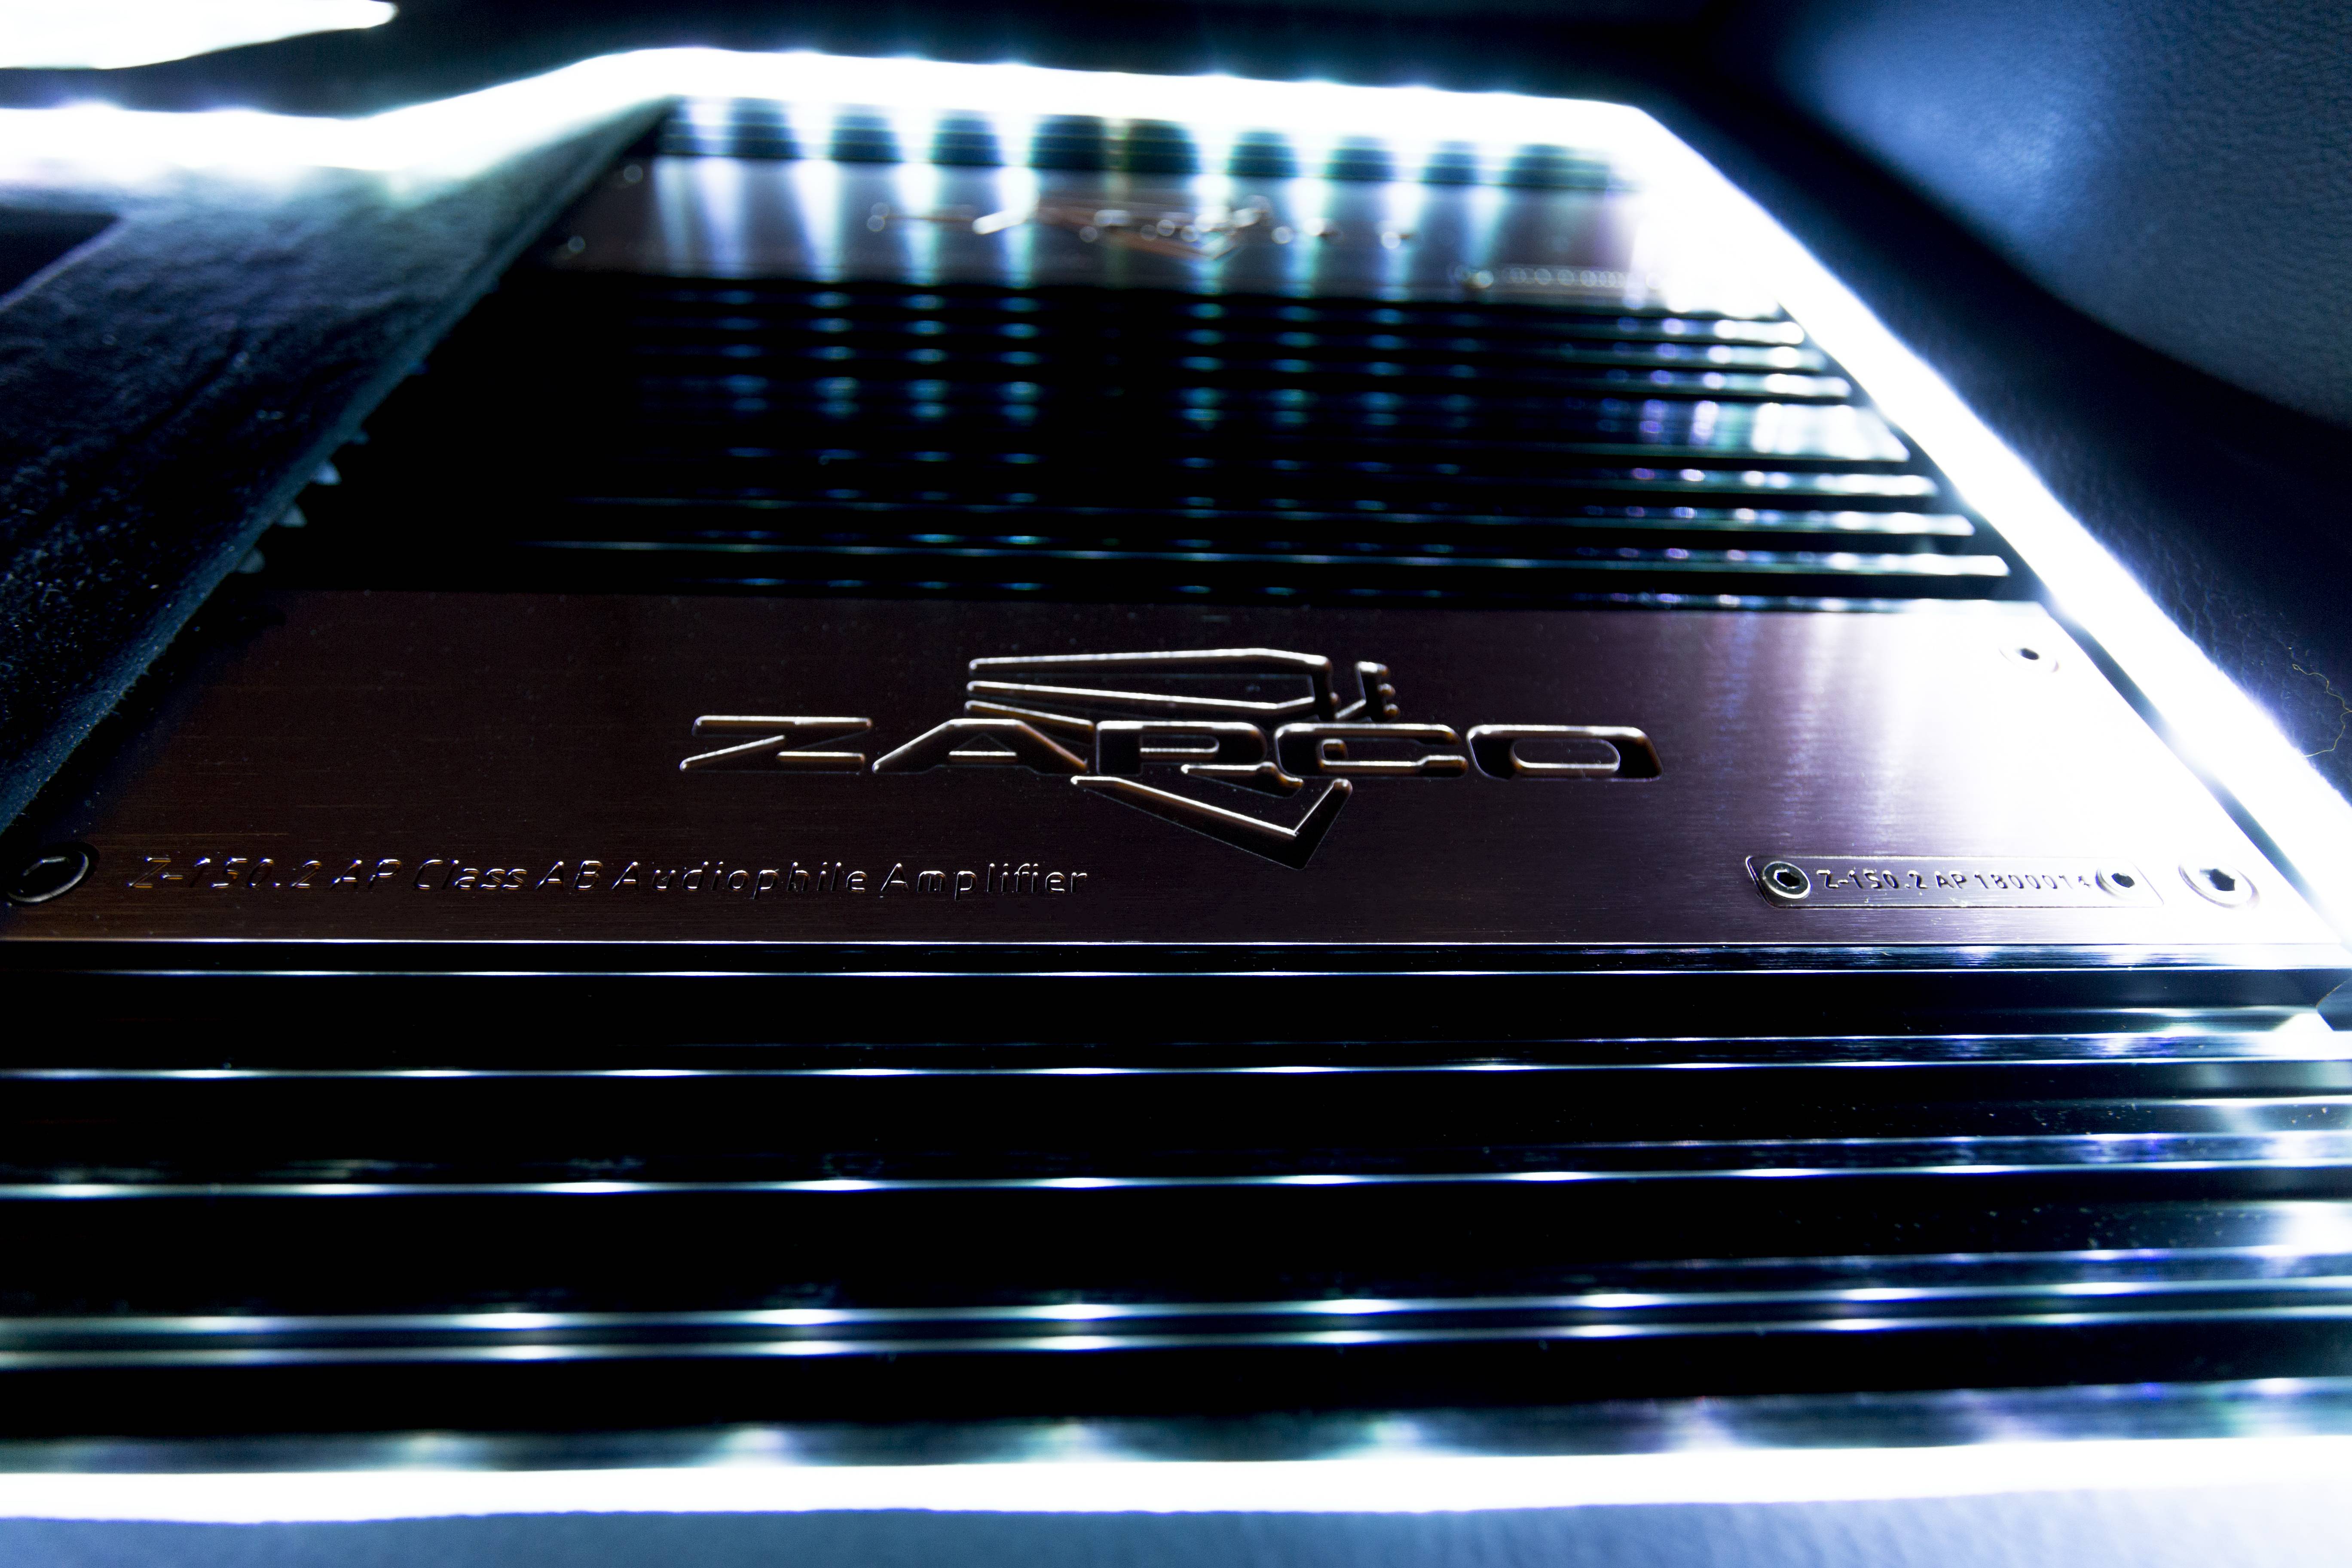
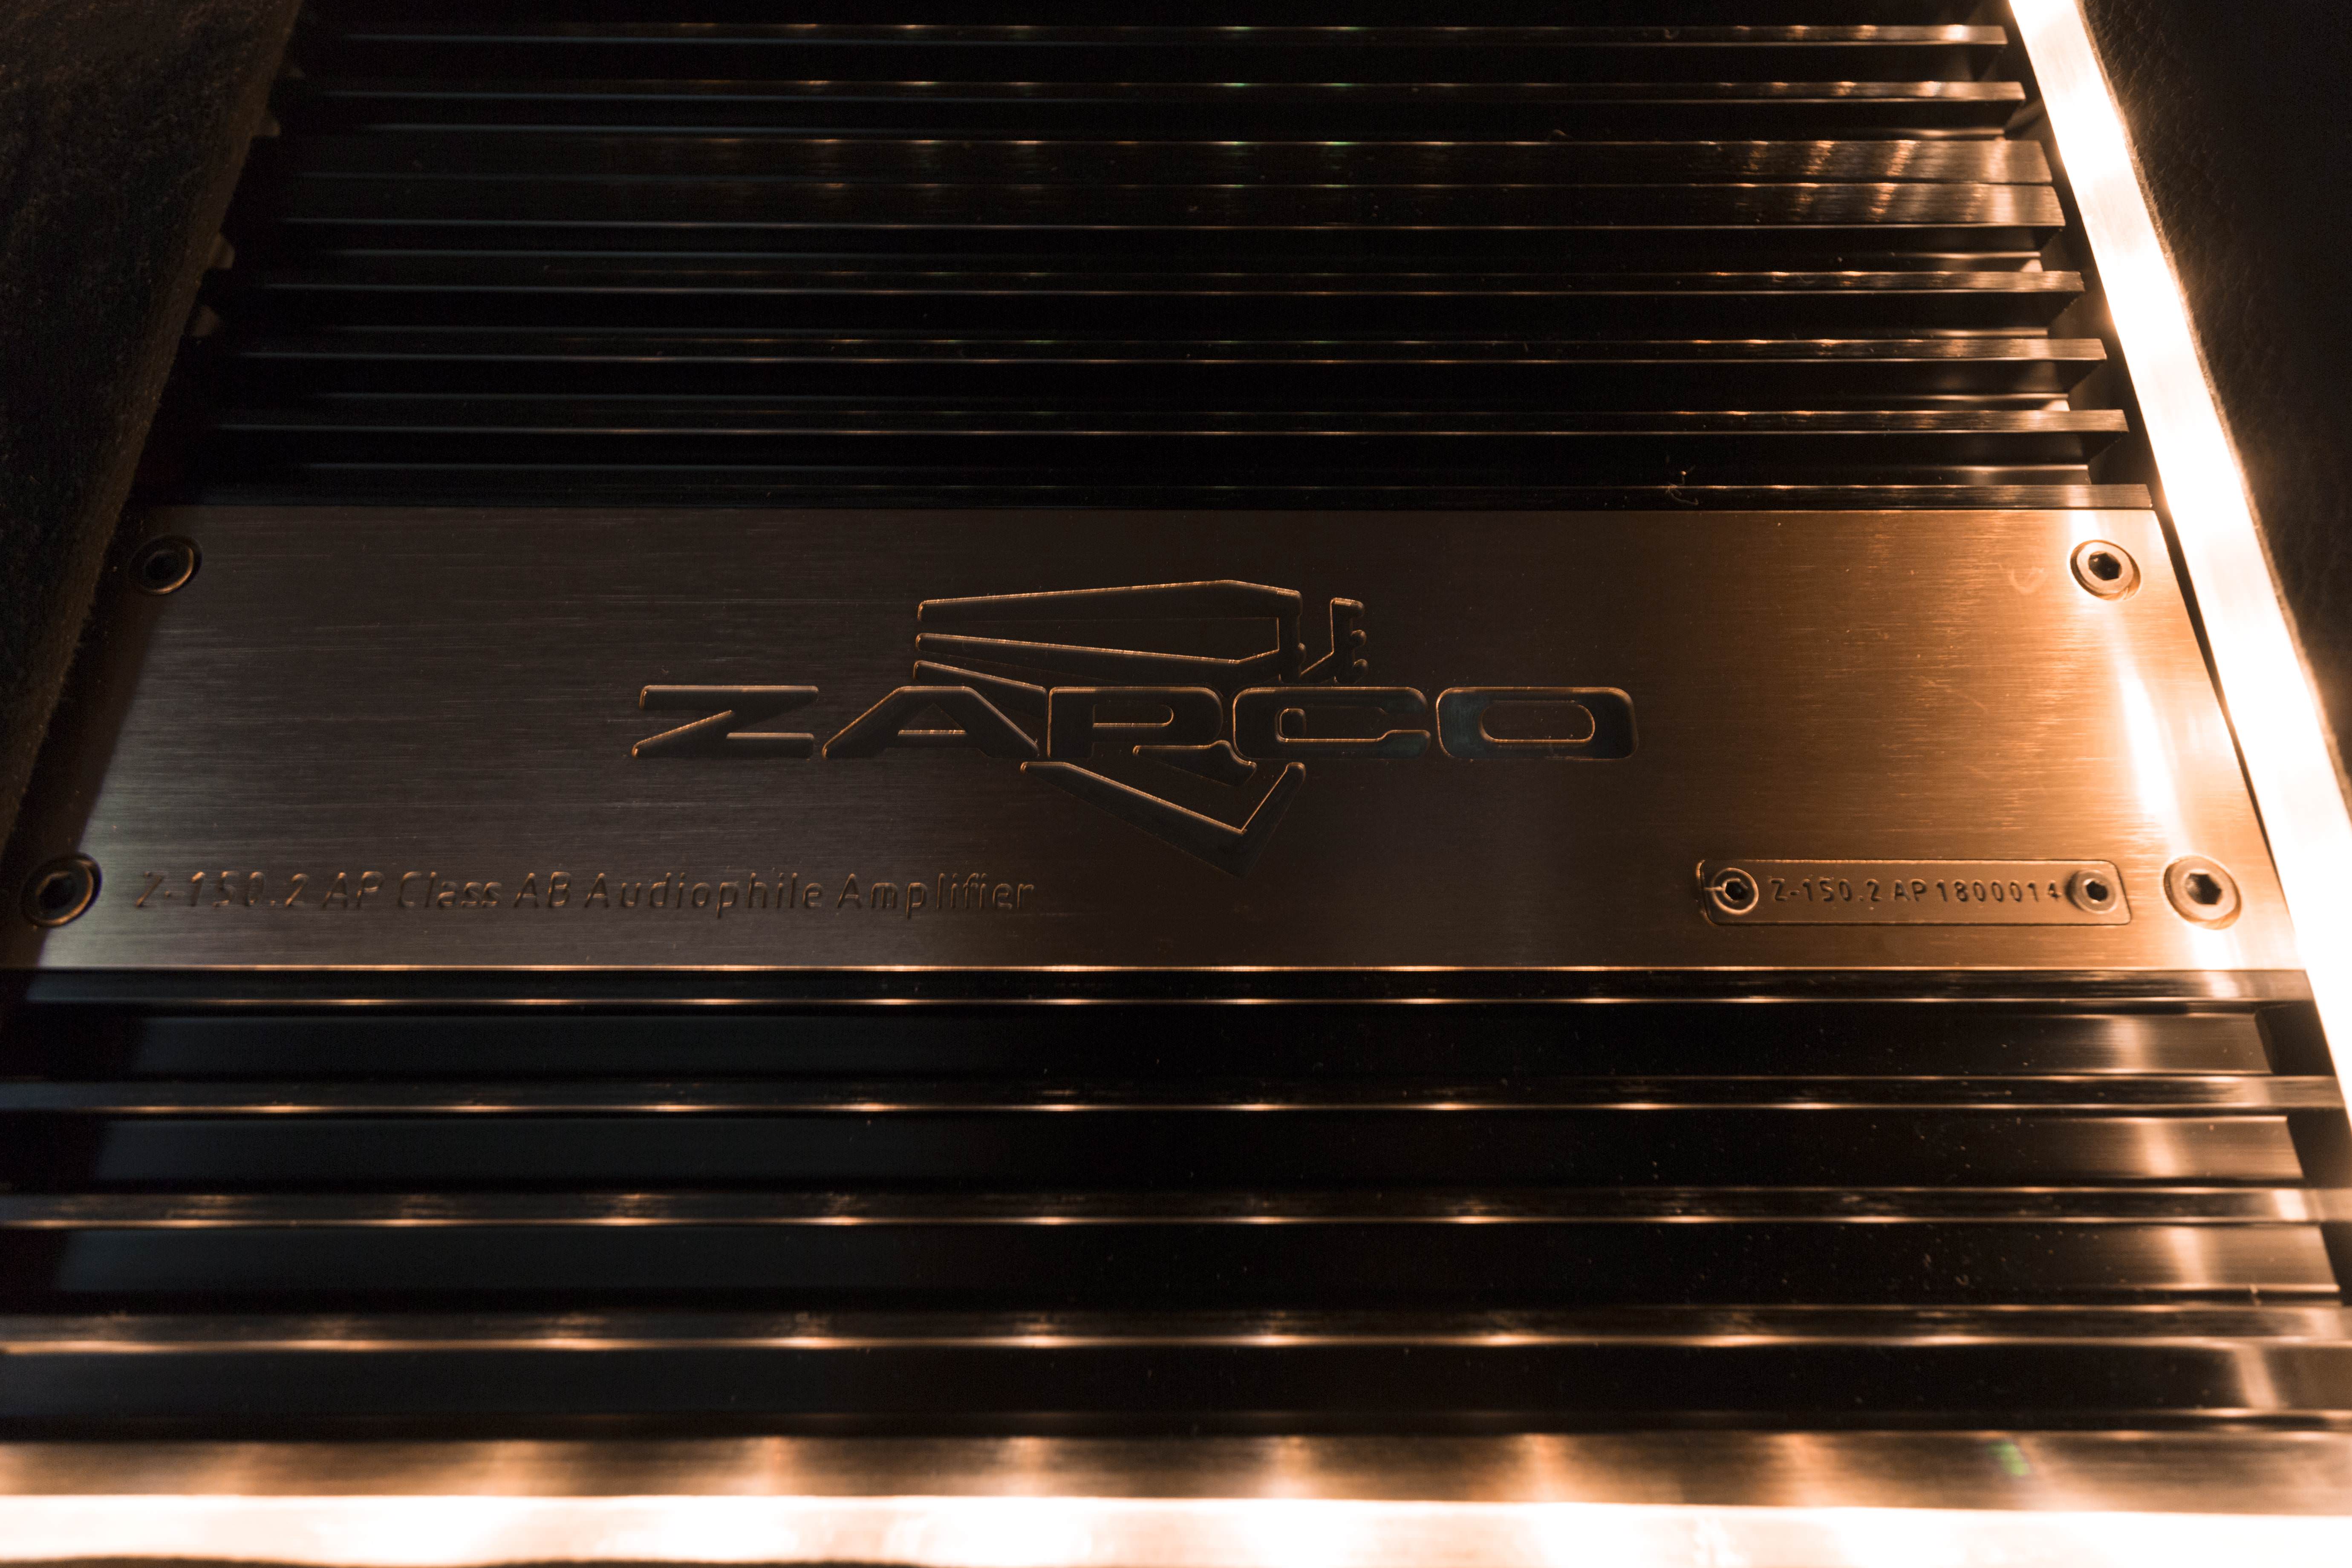
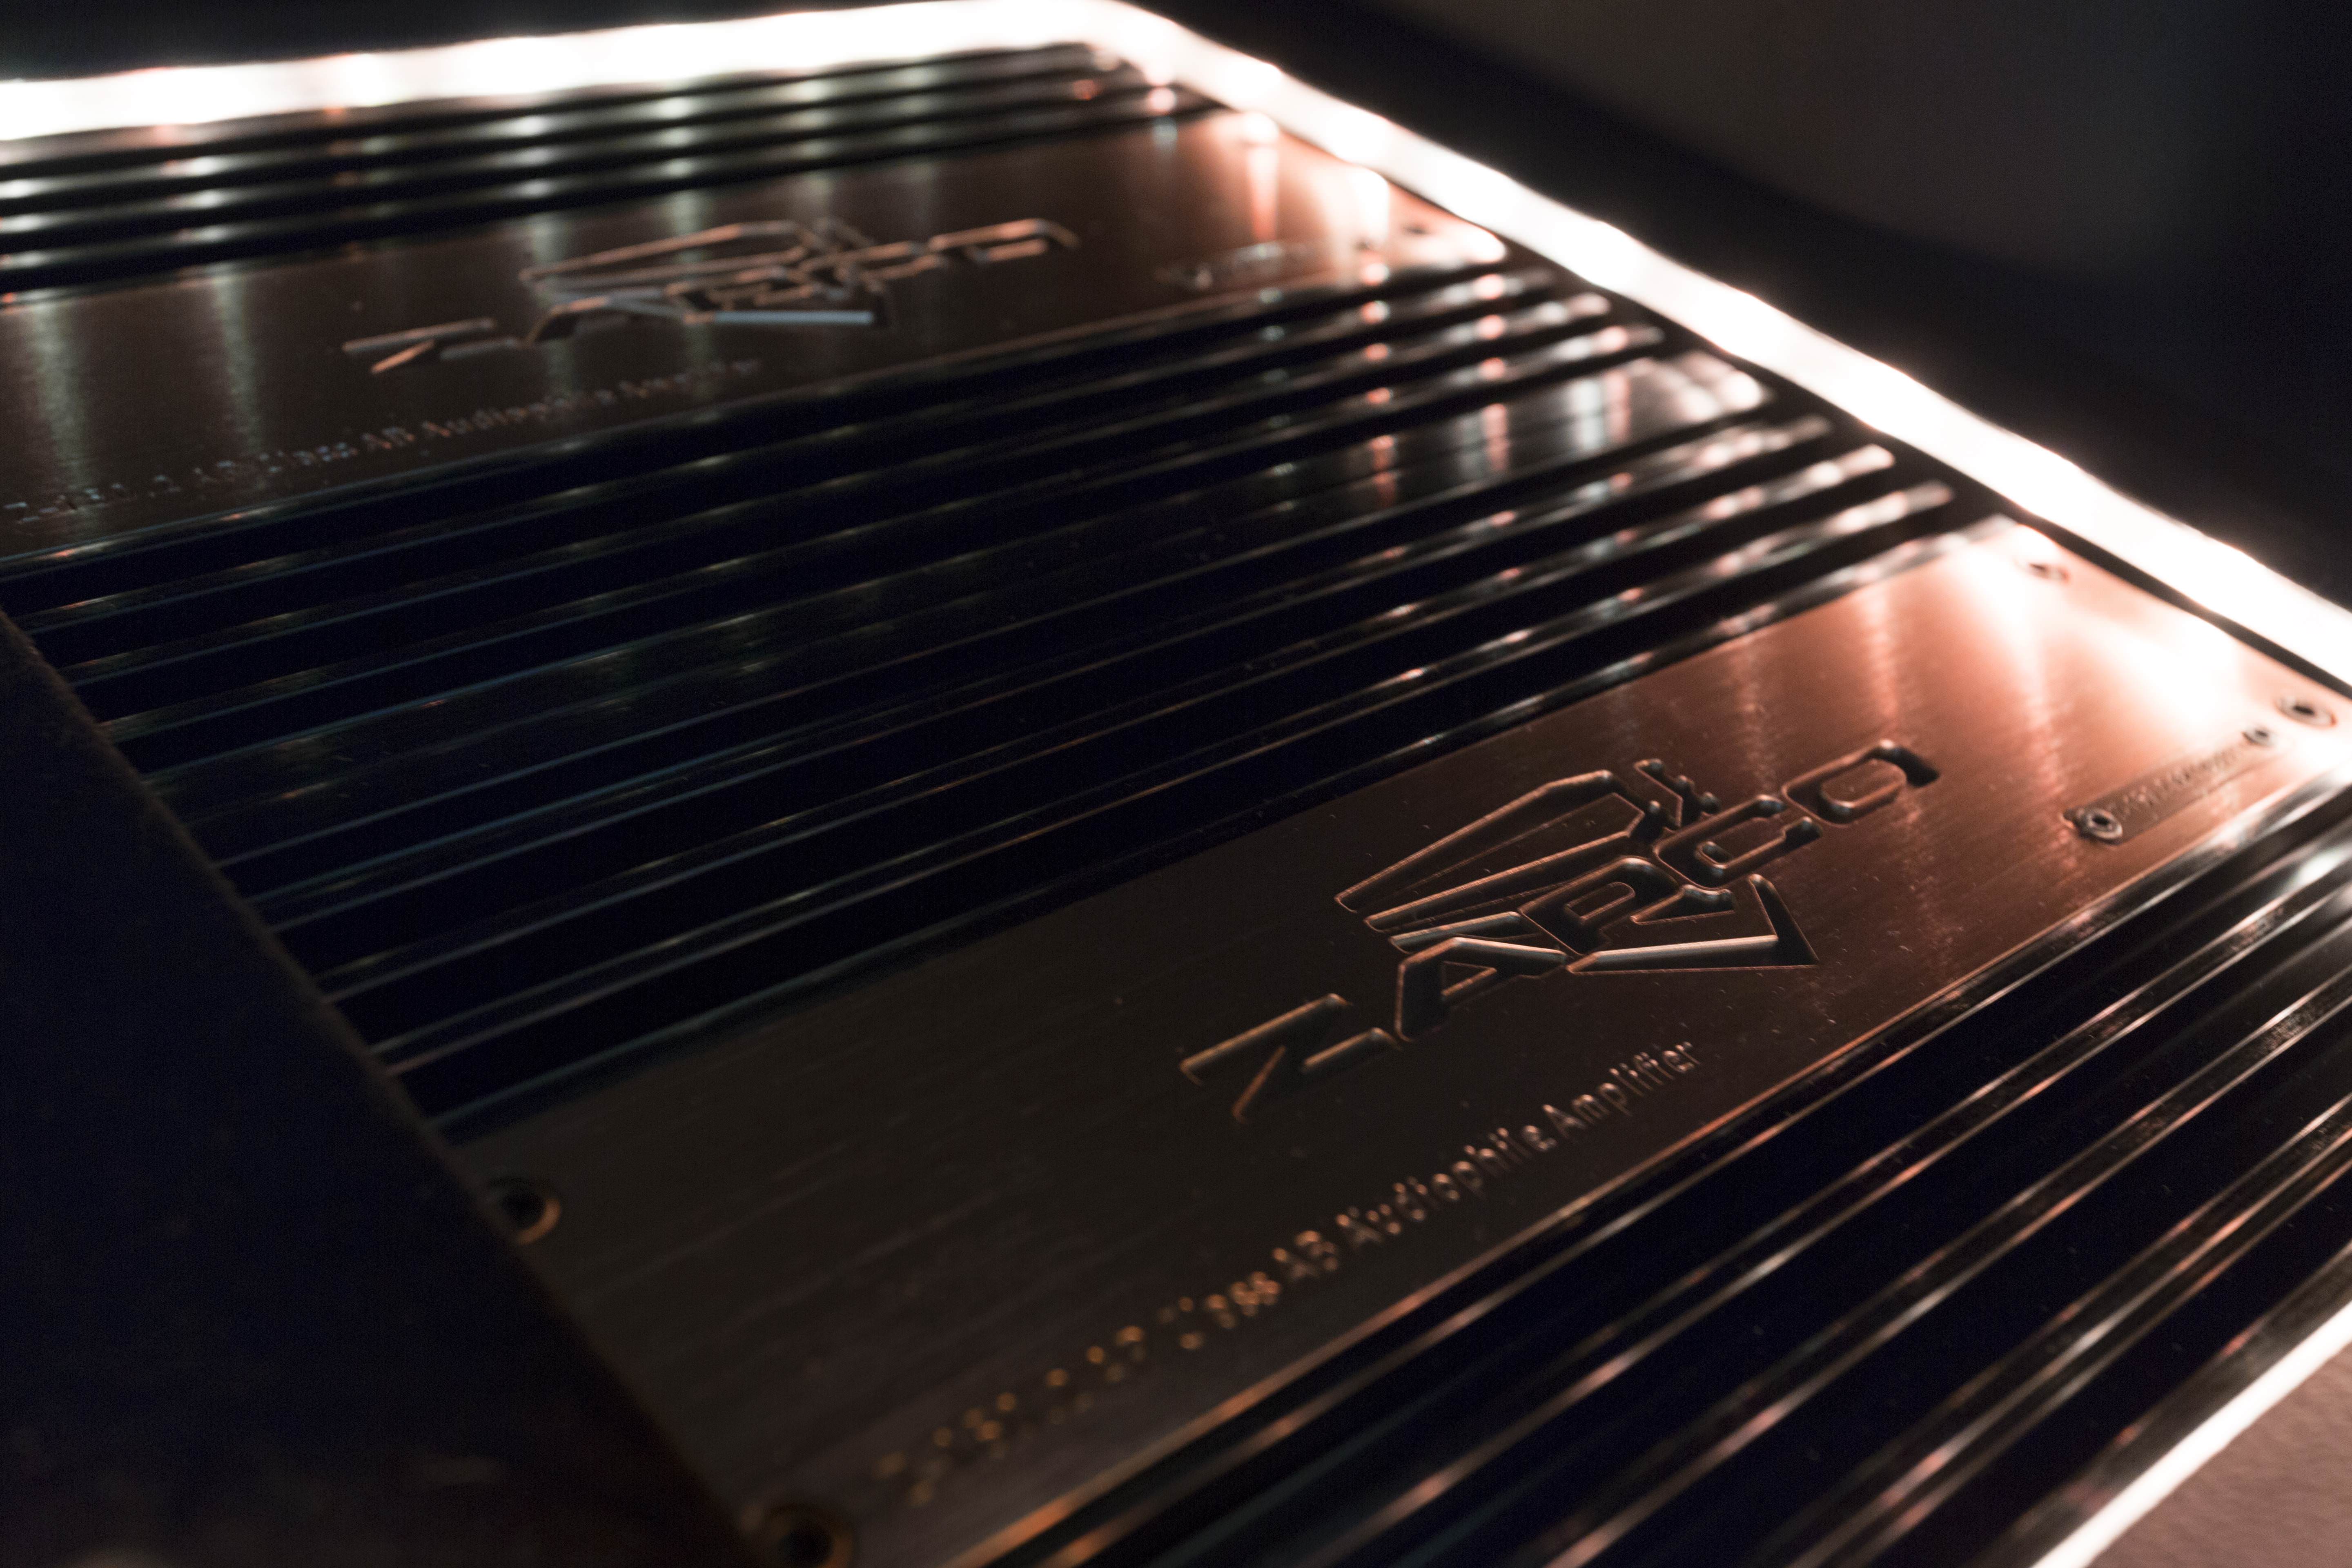
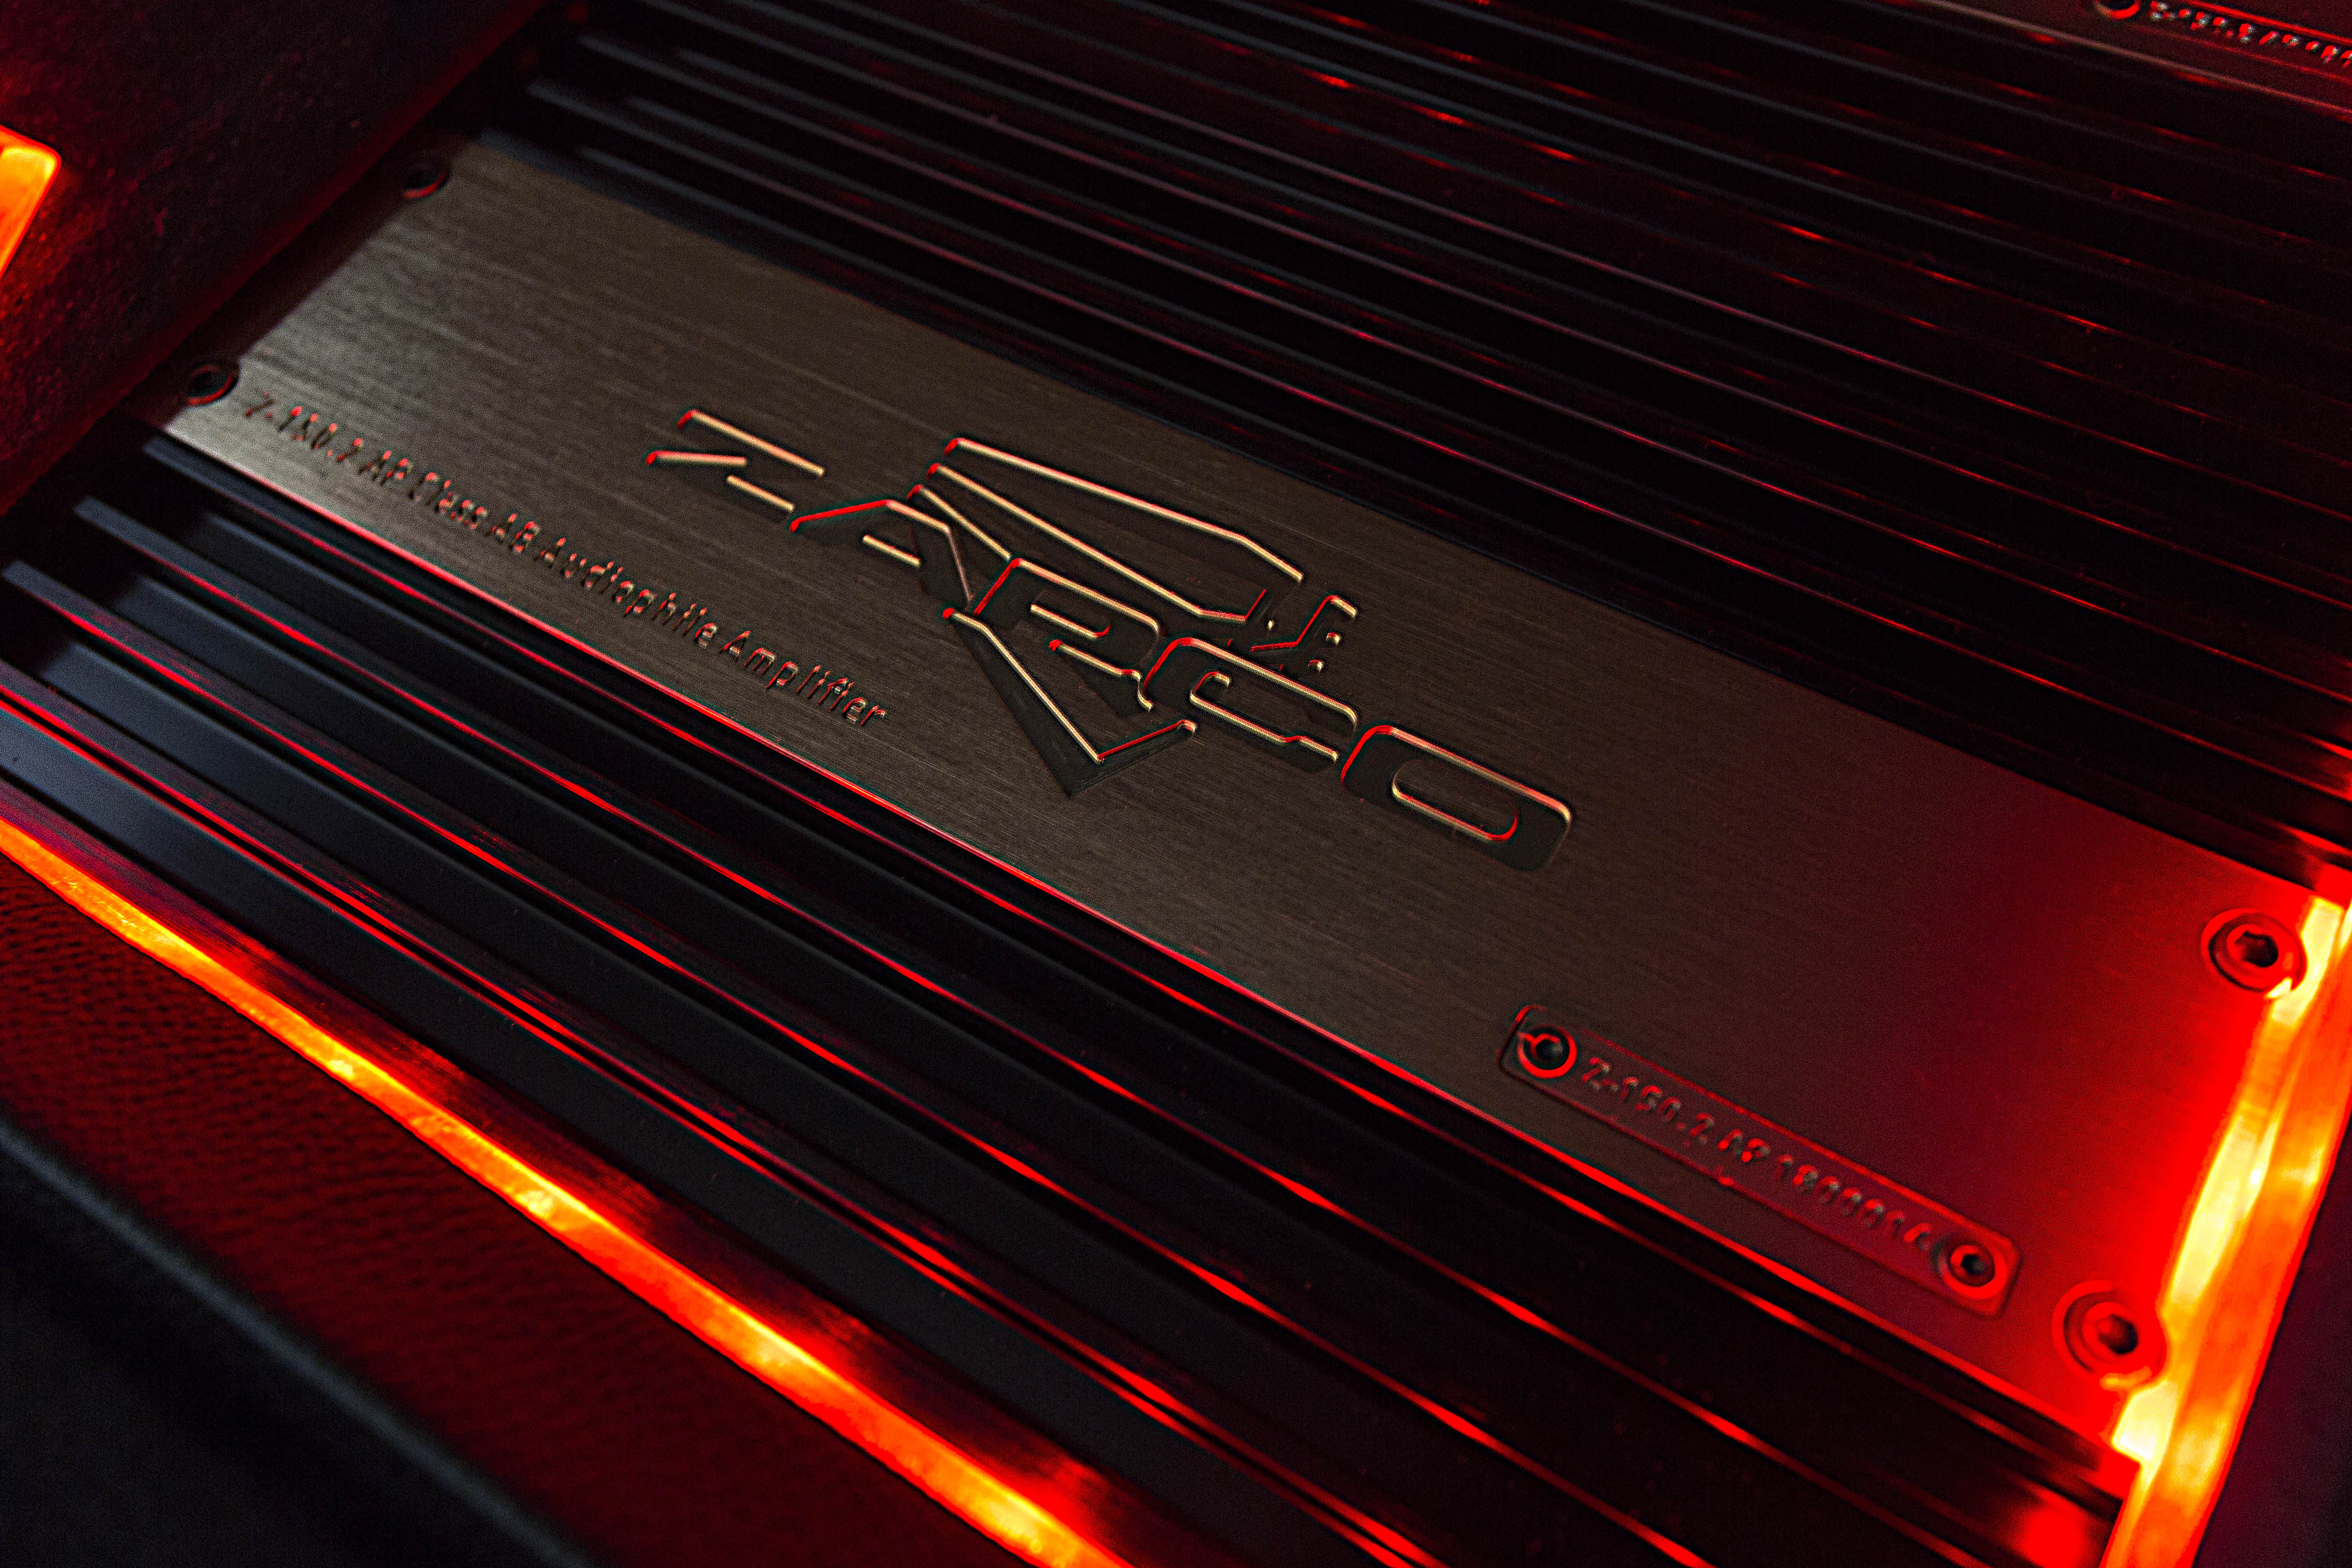
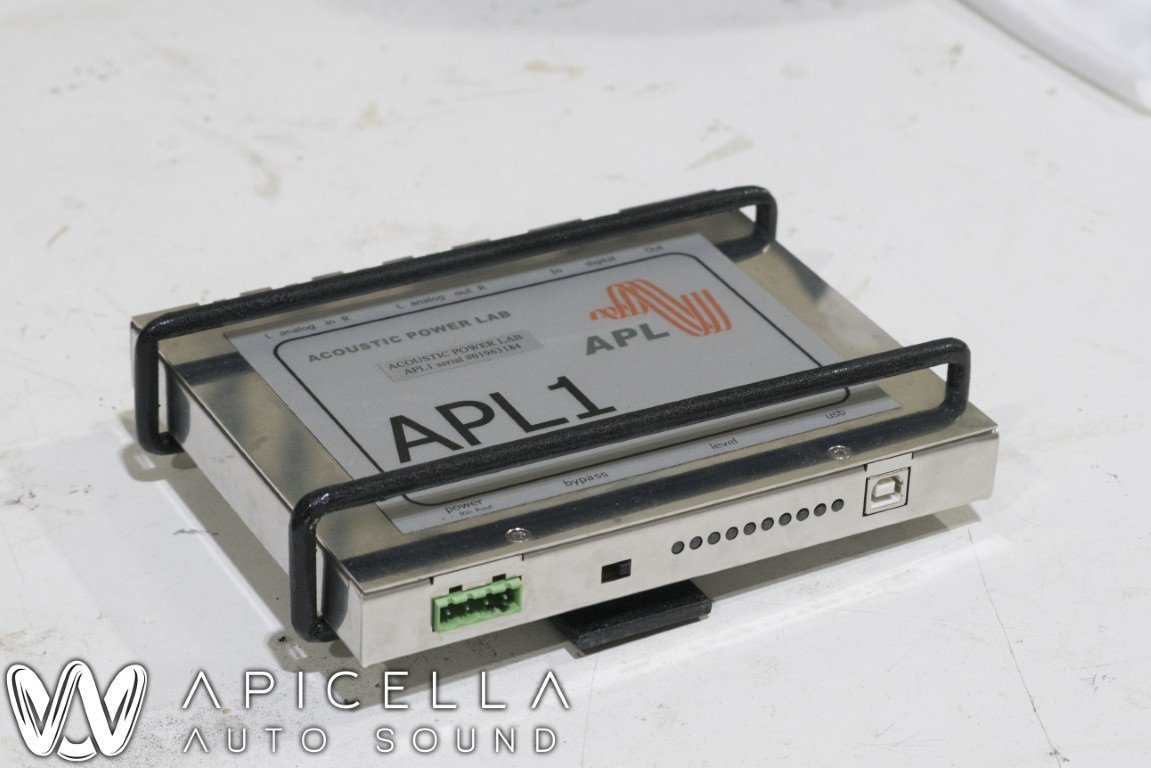
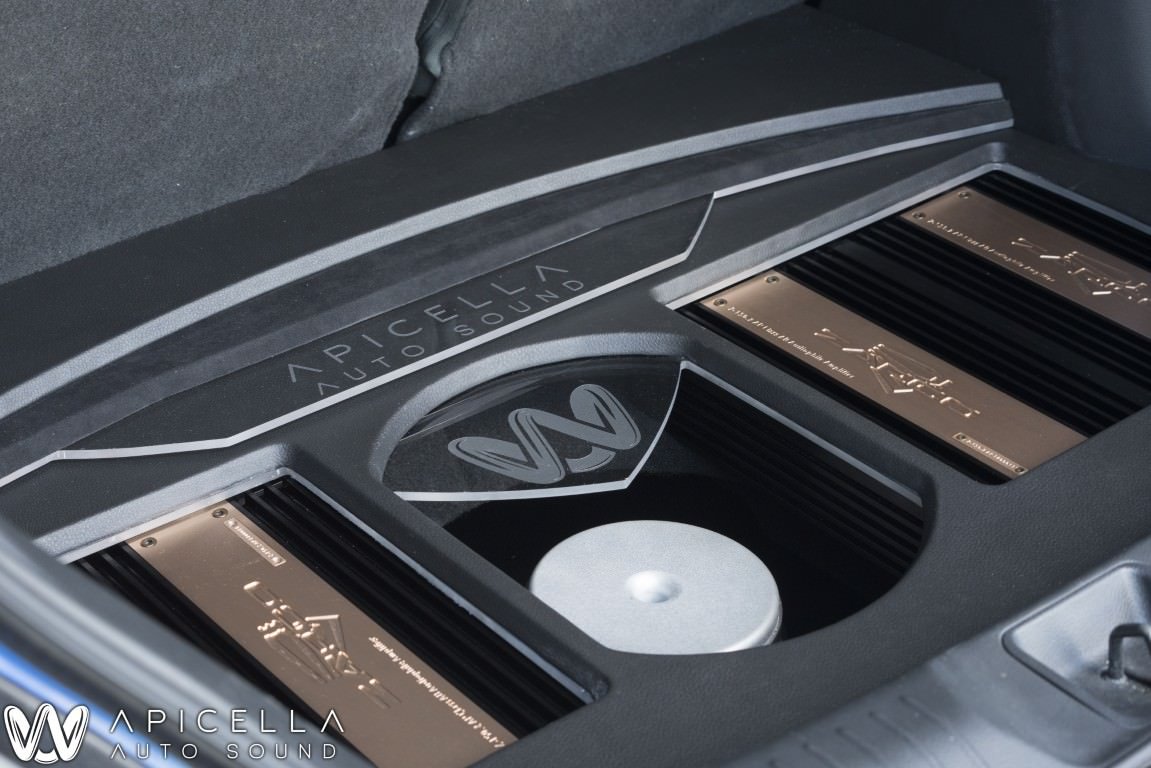
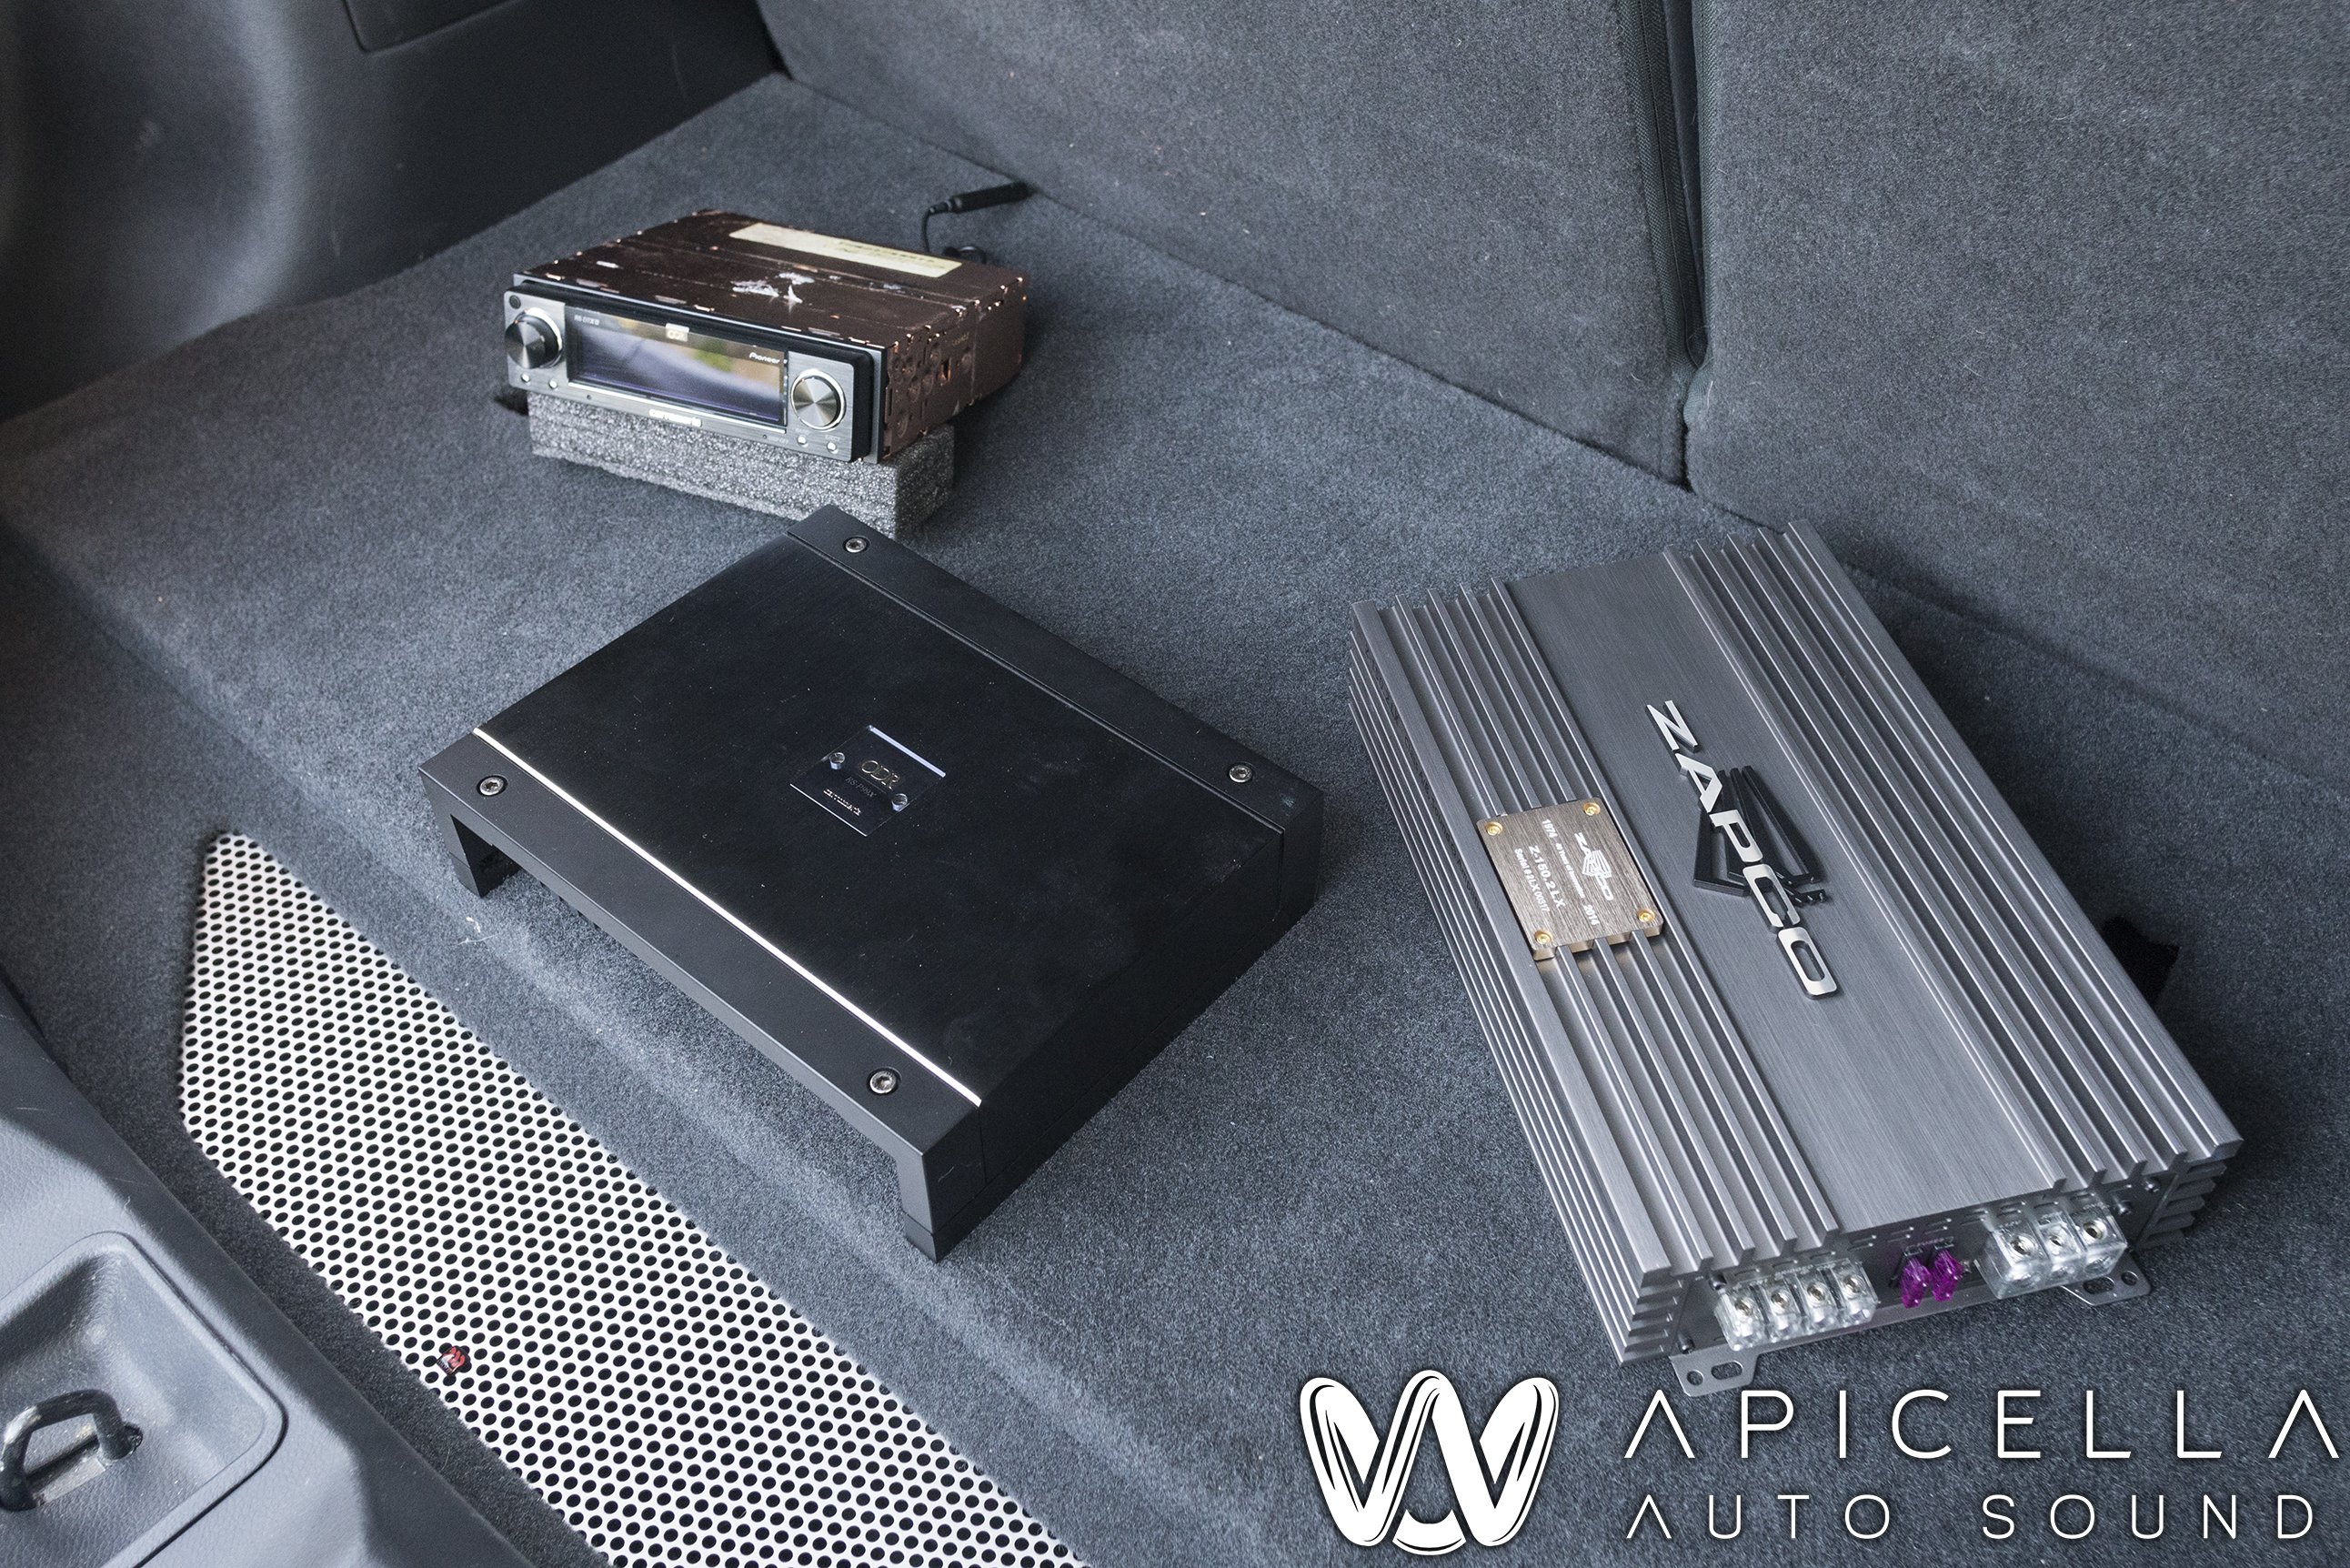
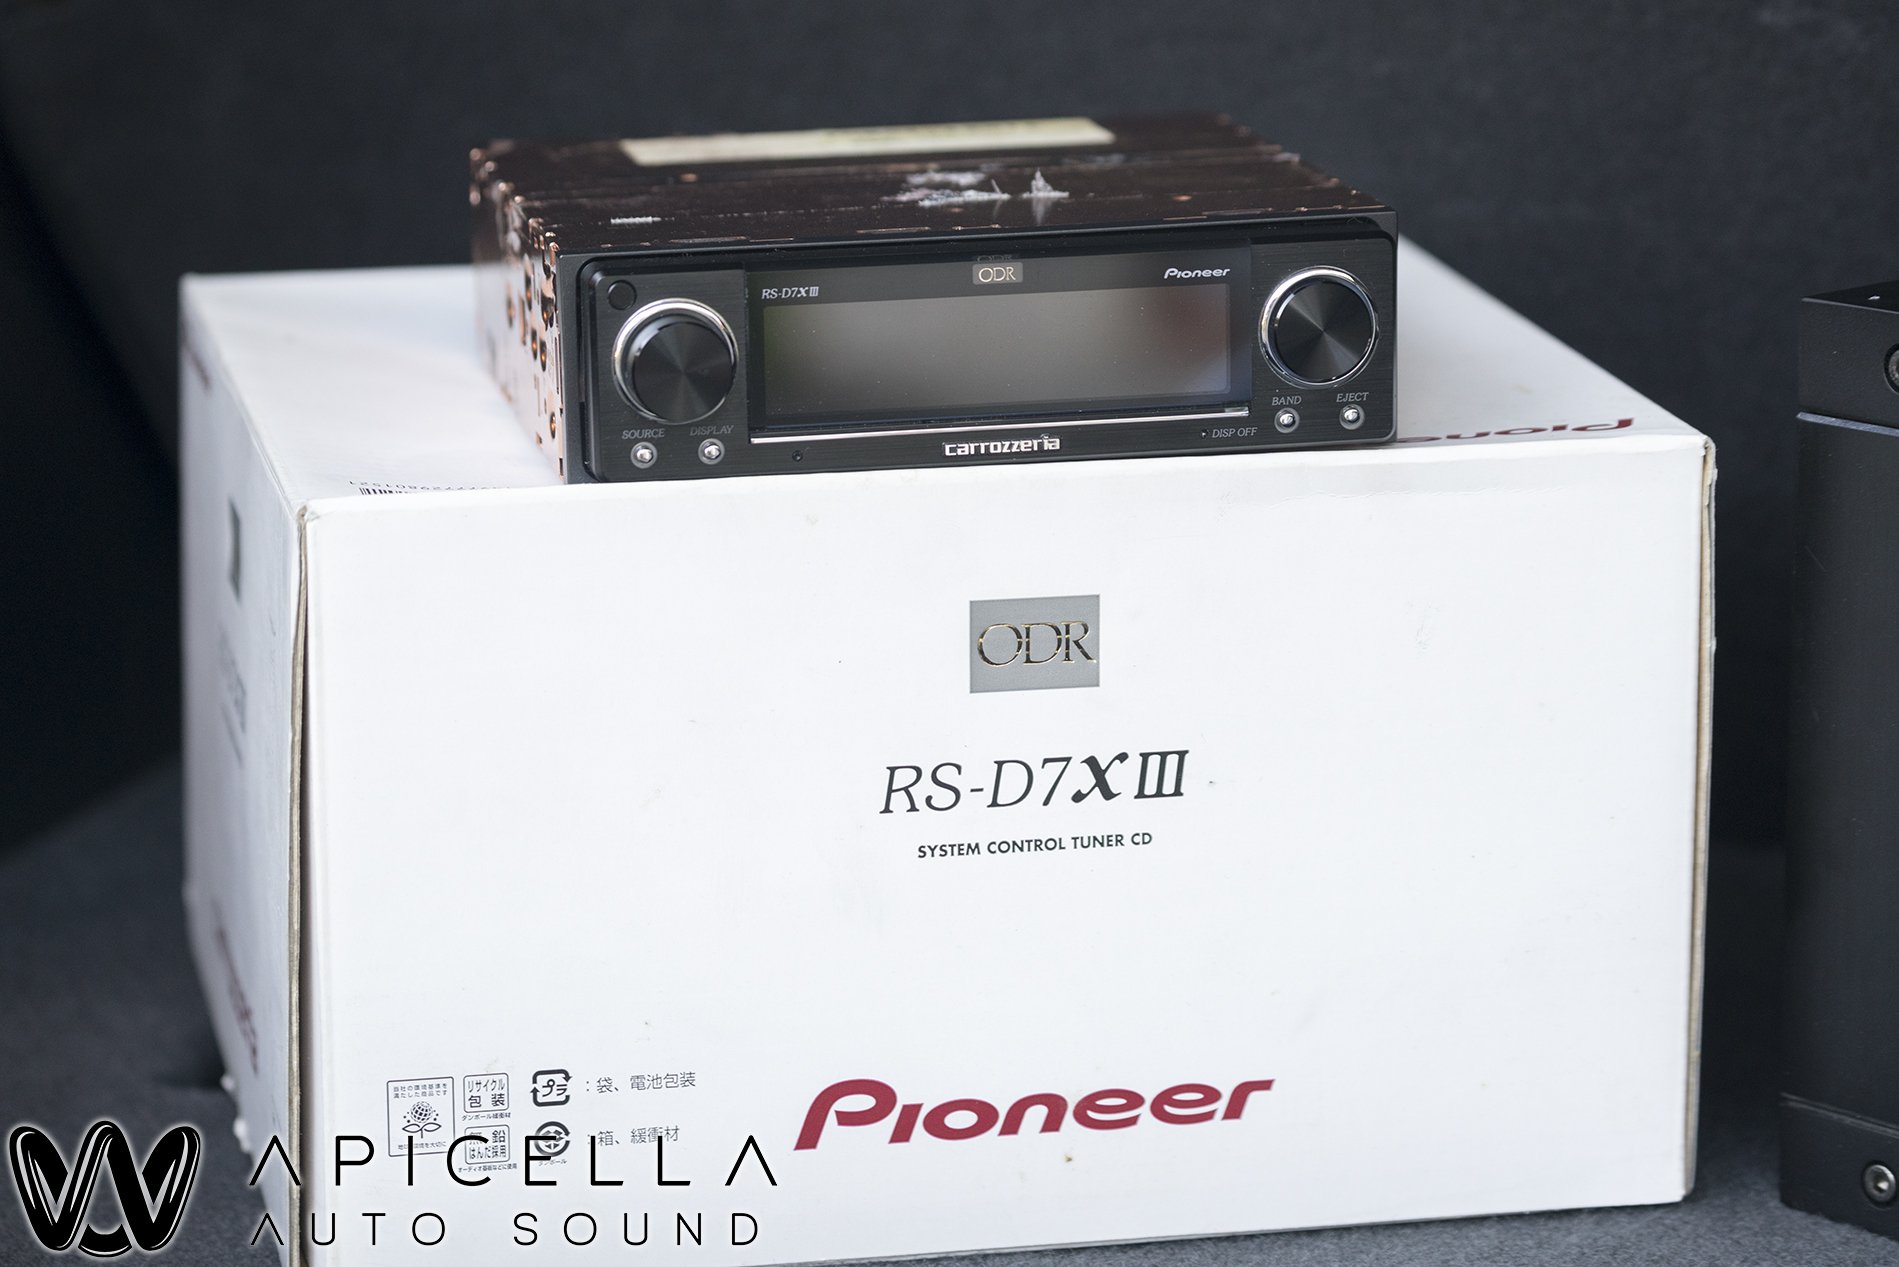
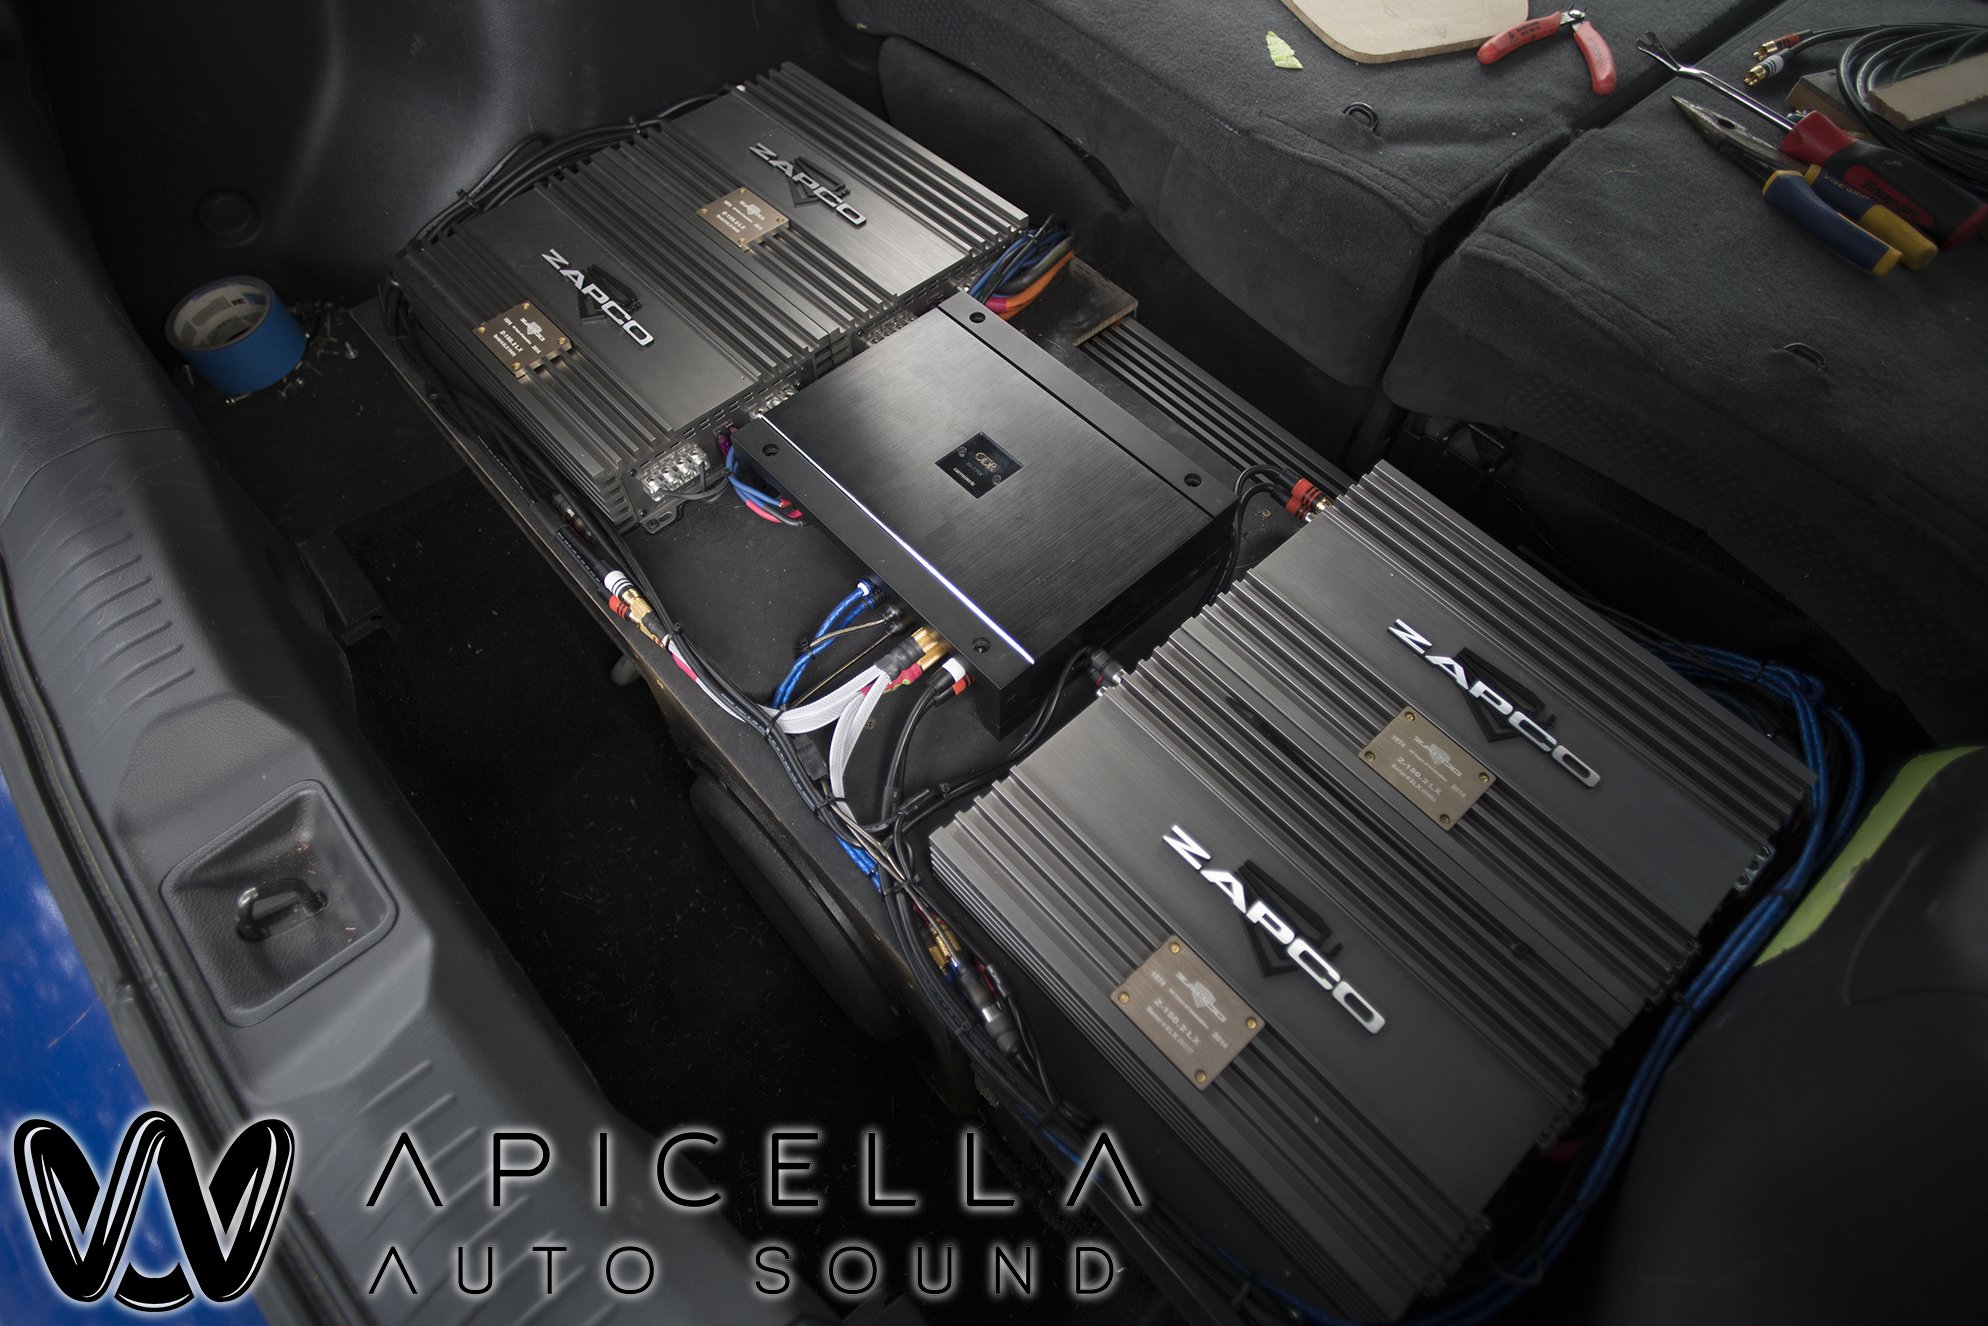
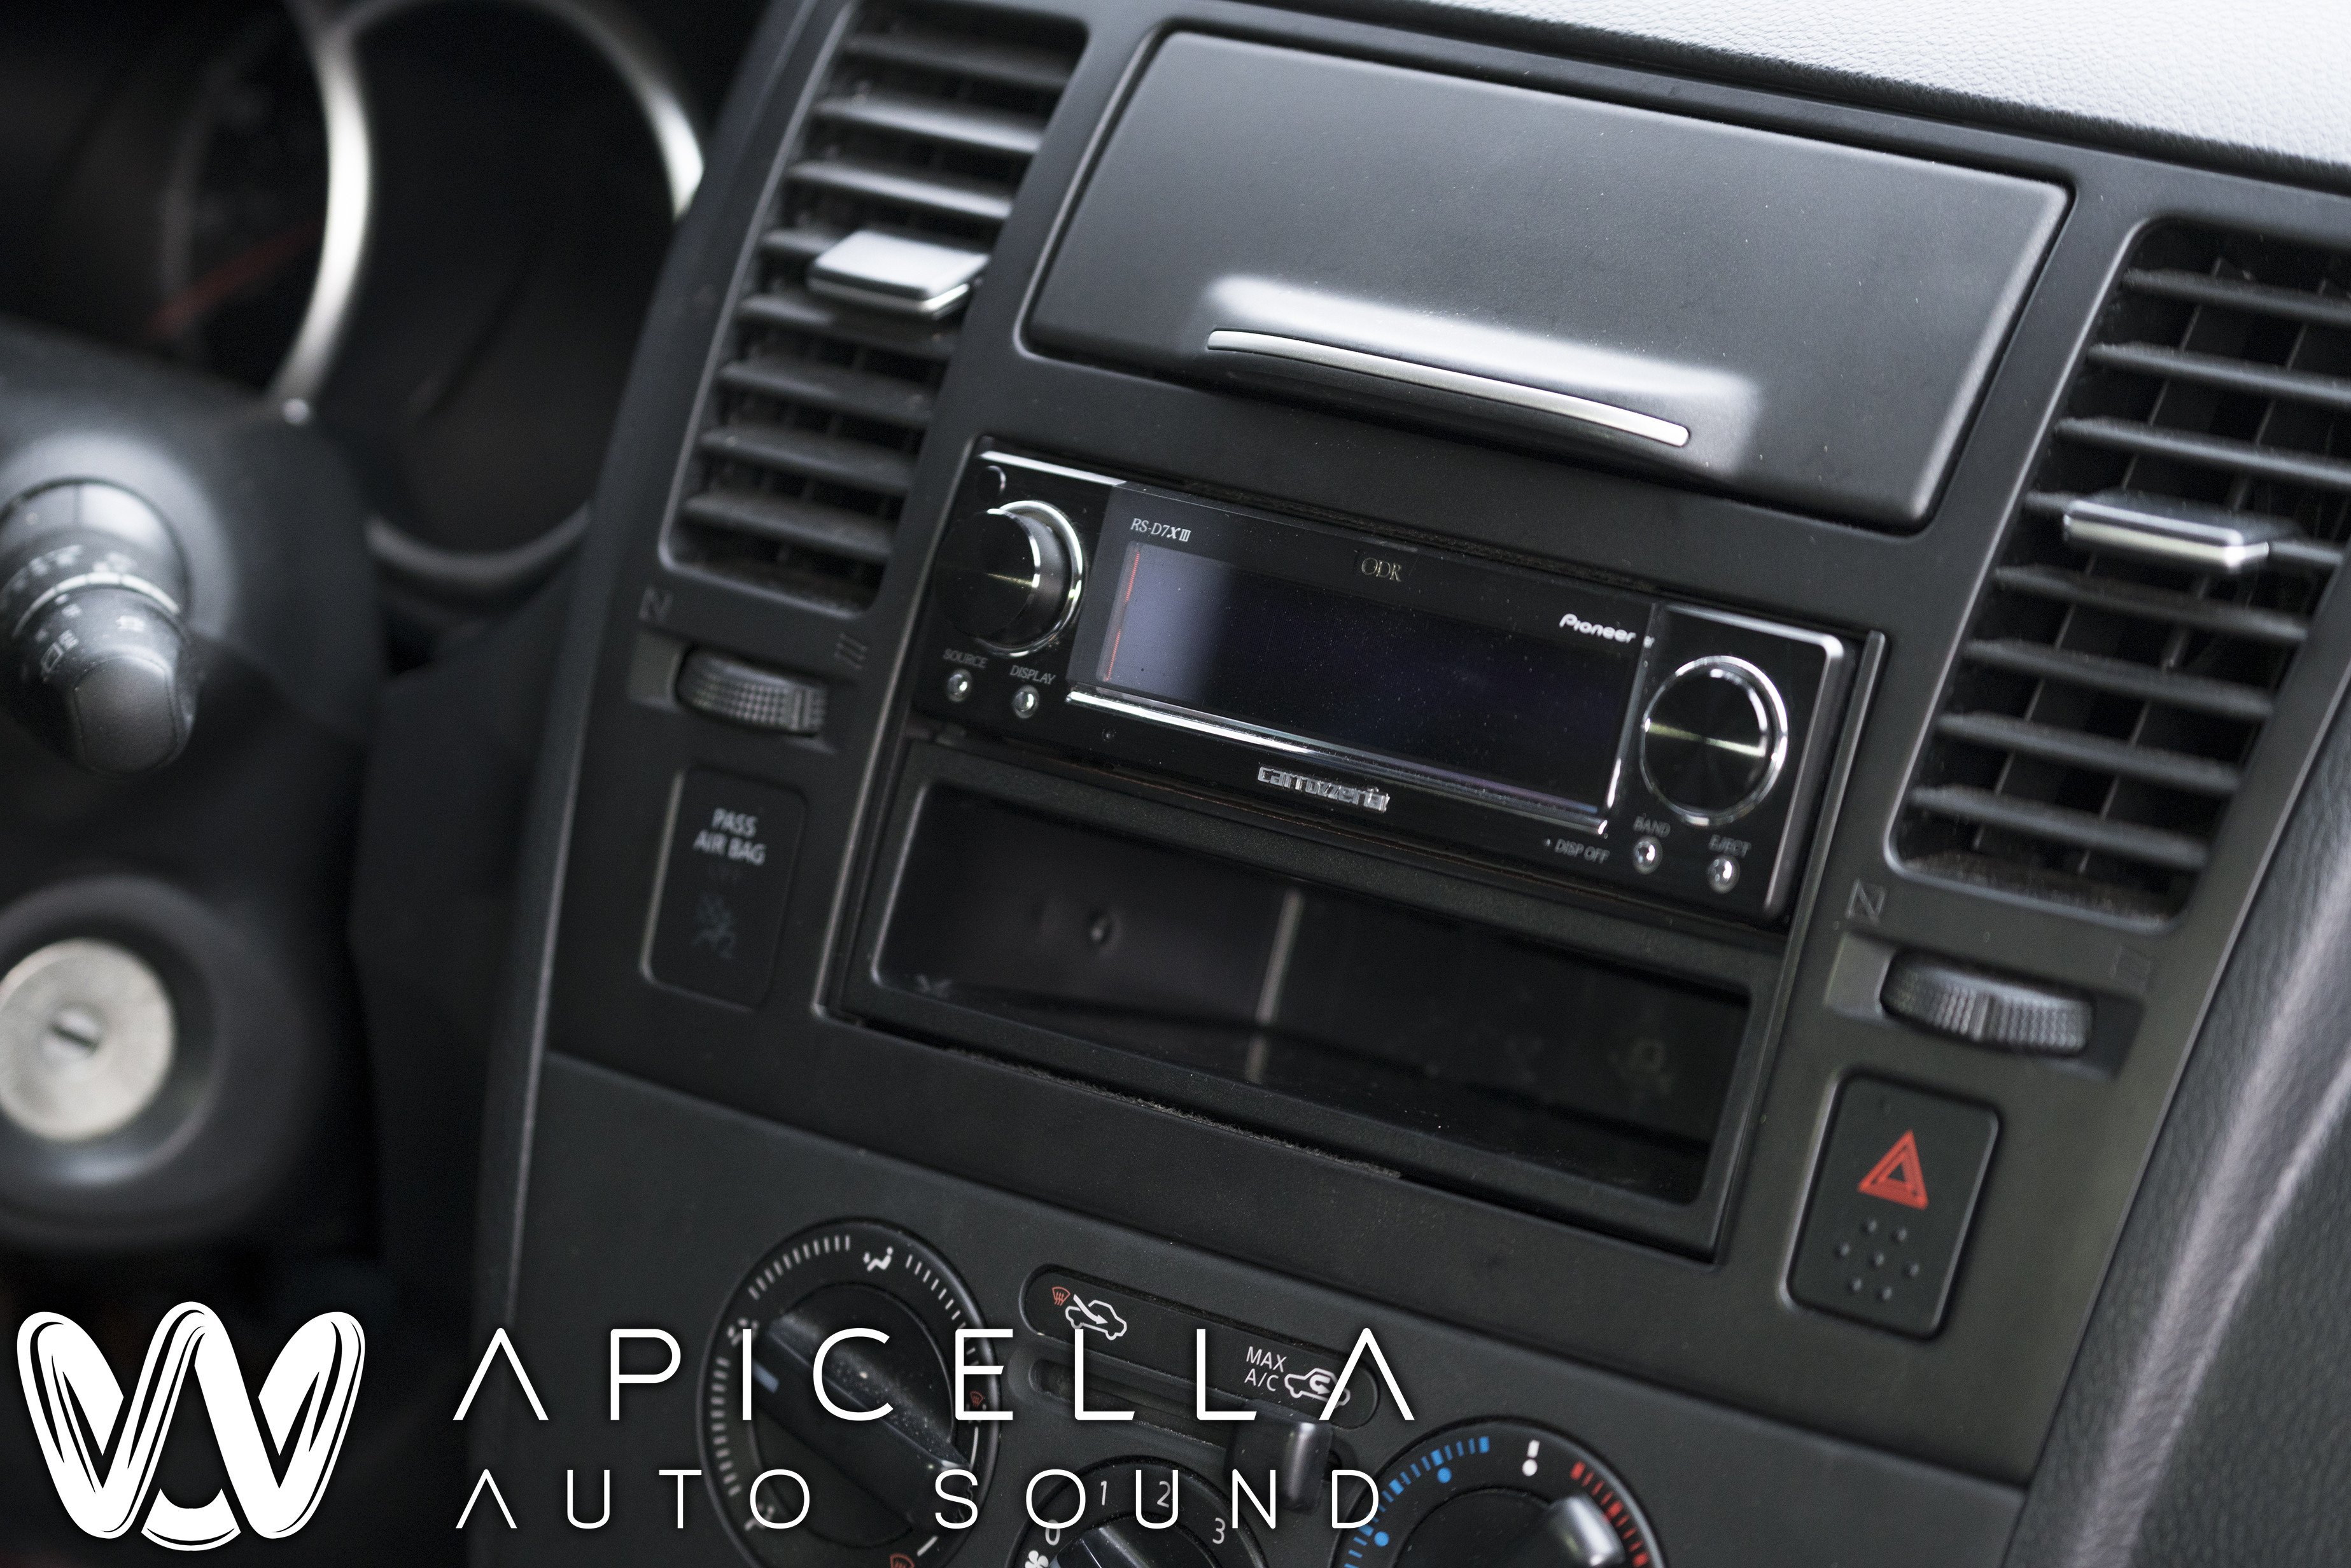
The Carrozzeria ODR Combo, and one of the Zapco Z-150.2LX amps

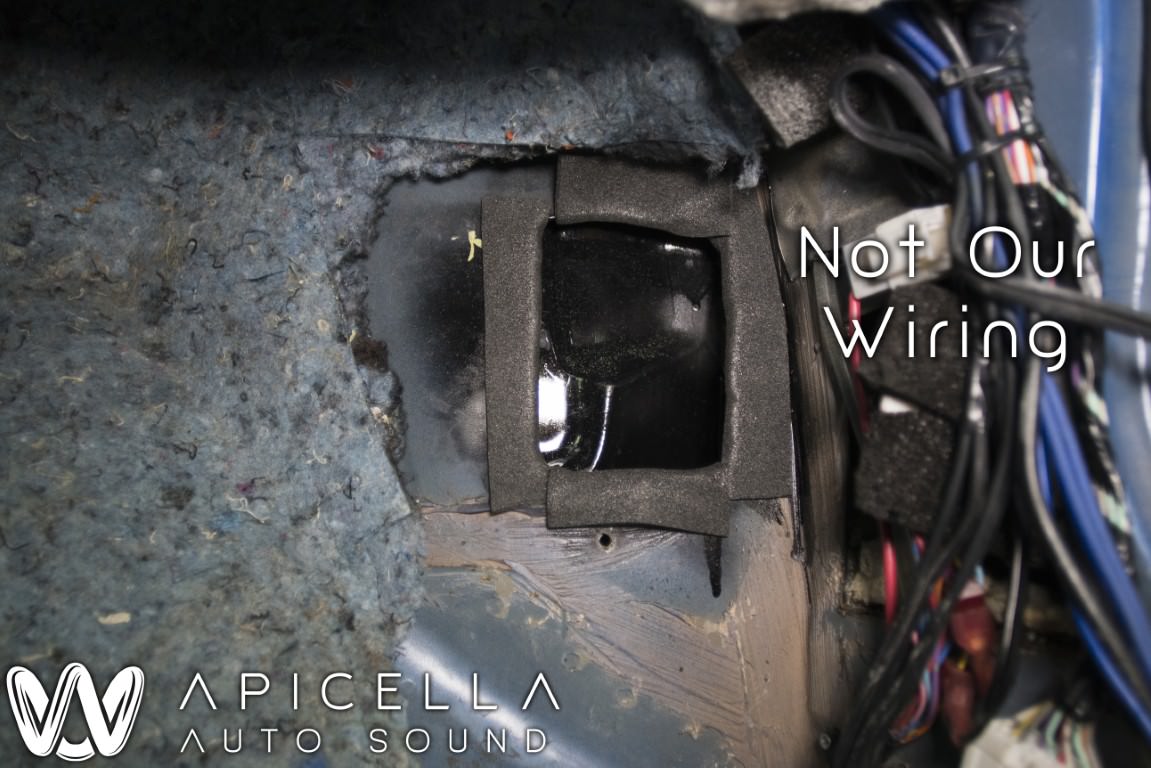
After the install was done by the initial shop, Josh had other shops do some work like adding rear fill. After a bunch of installers were in and out of this car, the wiring had kinda gone south and needed a good amount of going through and reorganization.
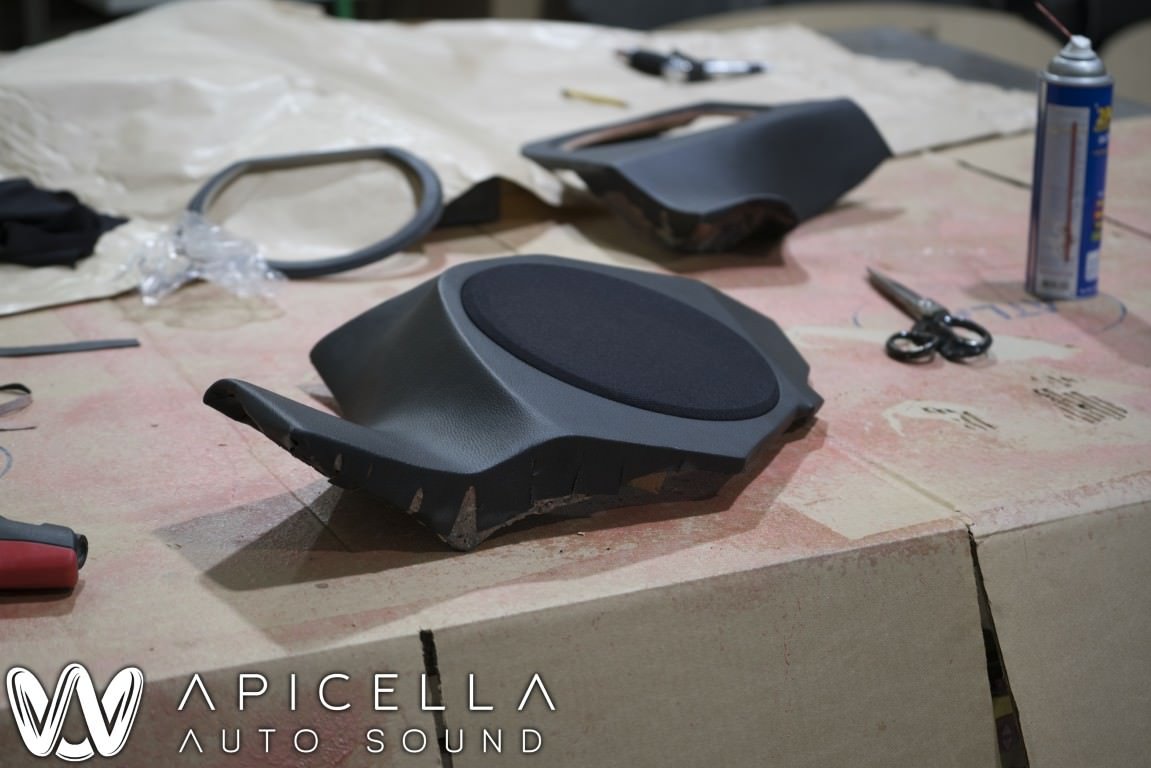
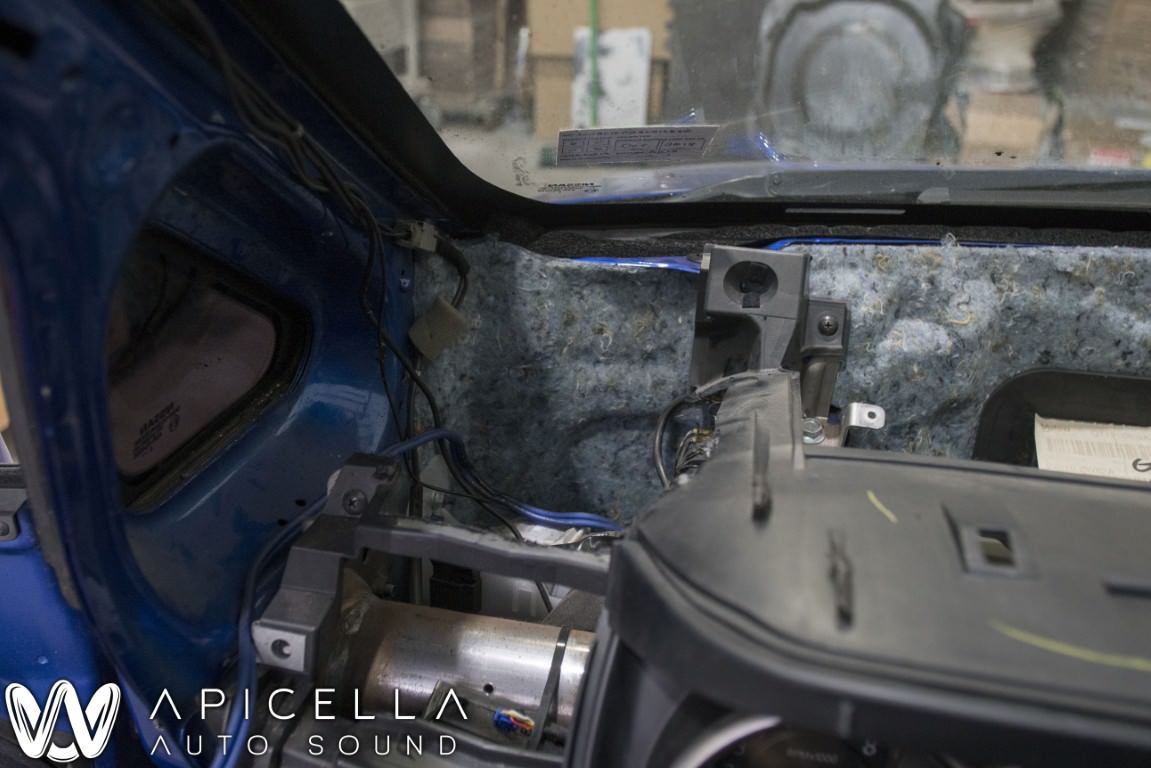
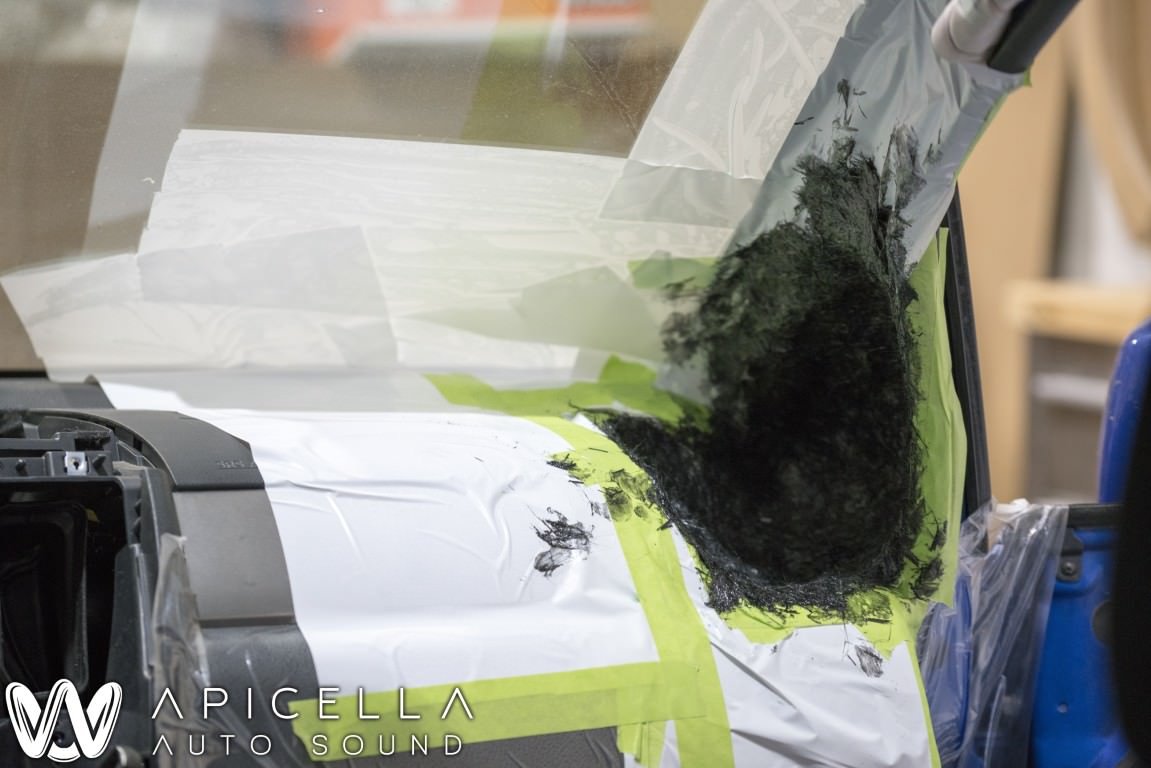
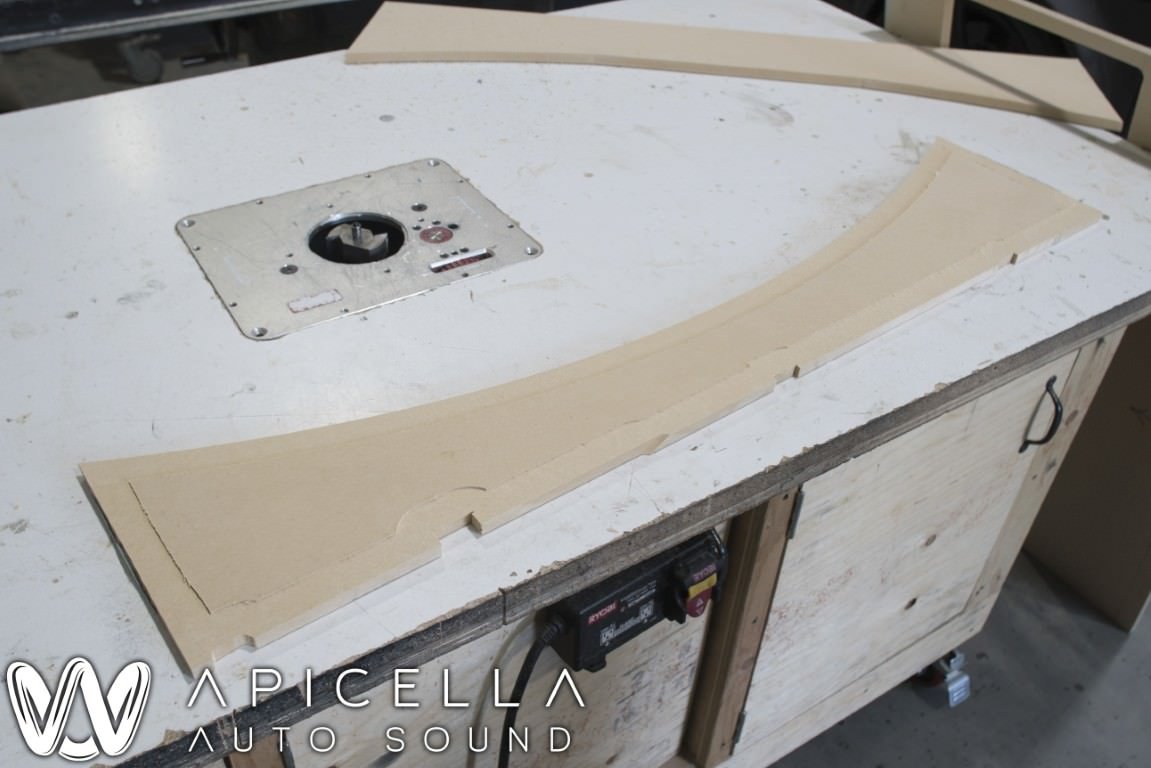
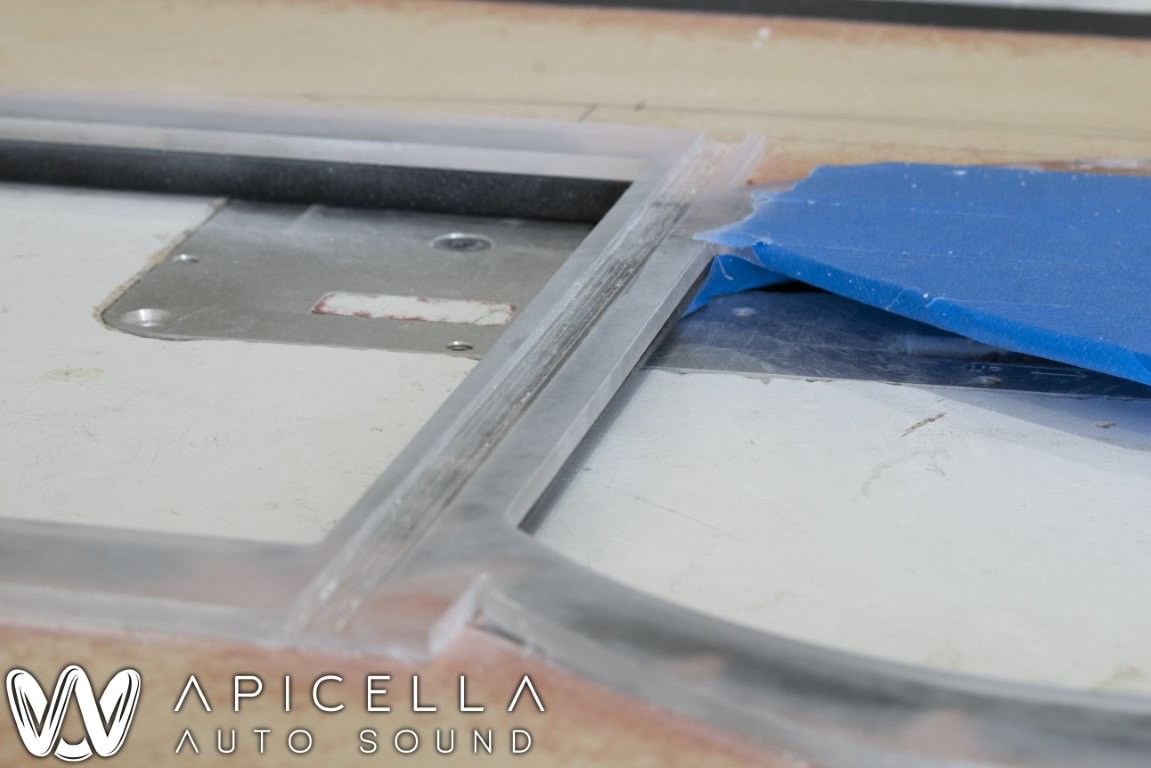
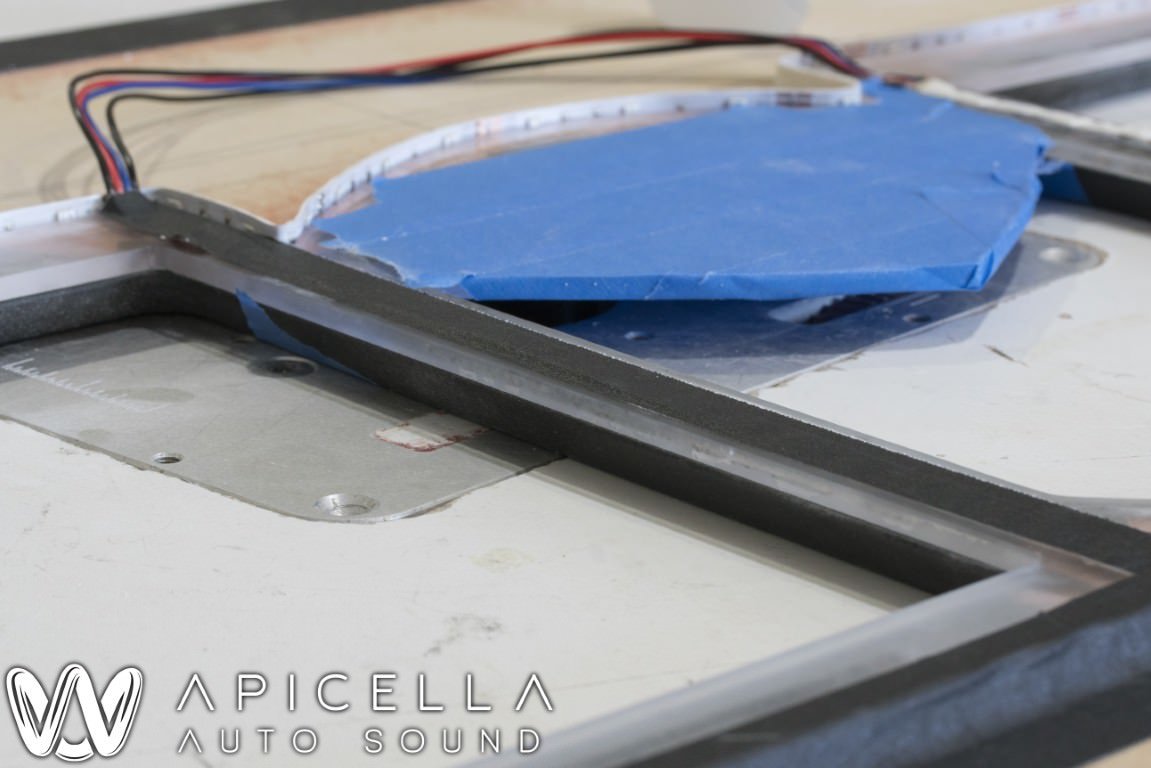
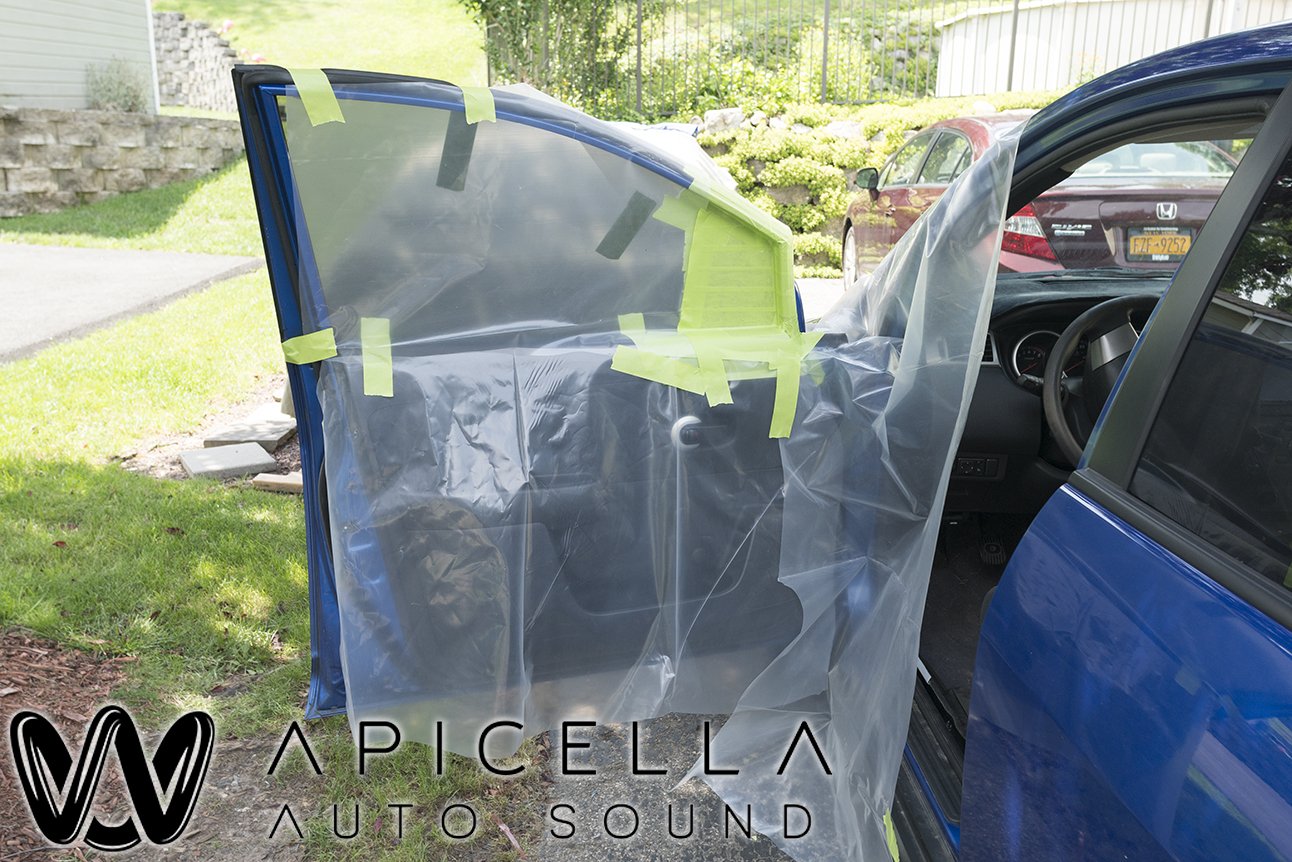
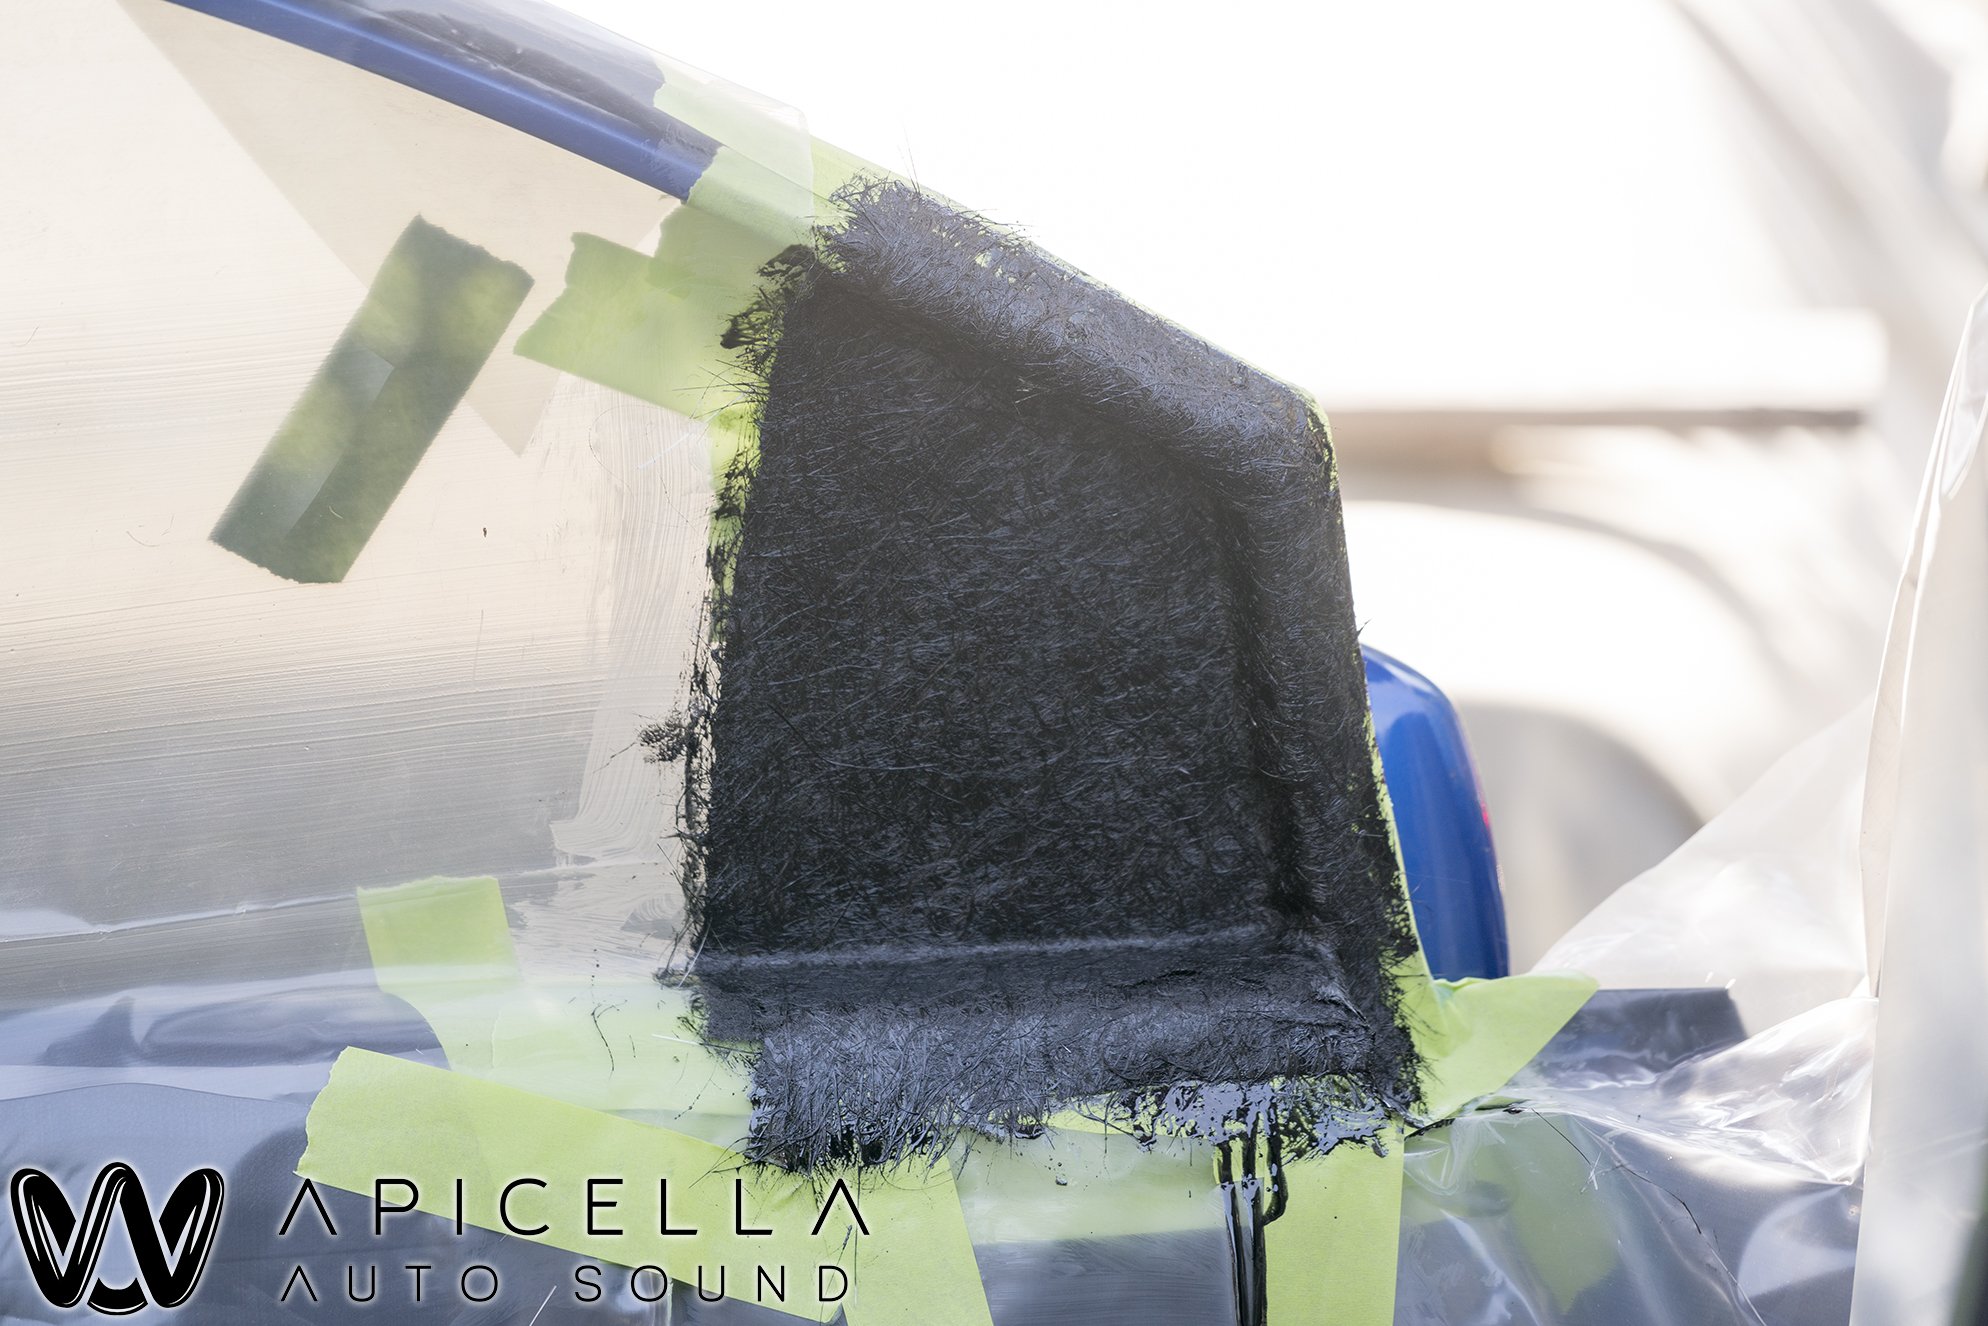
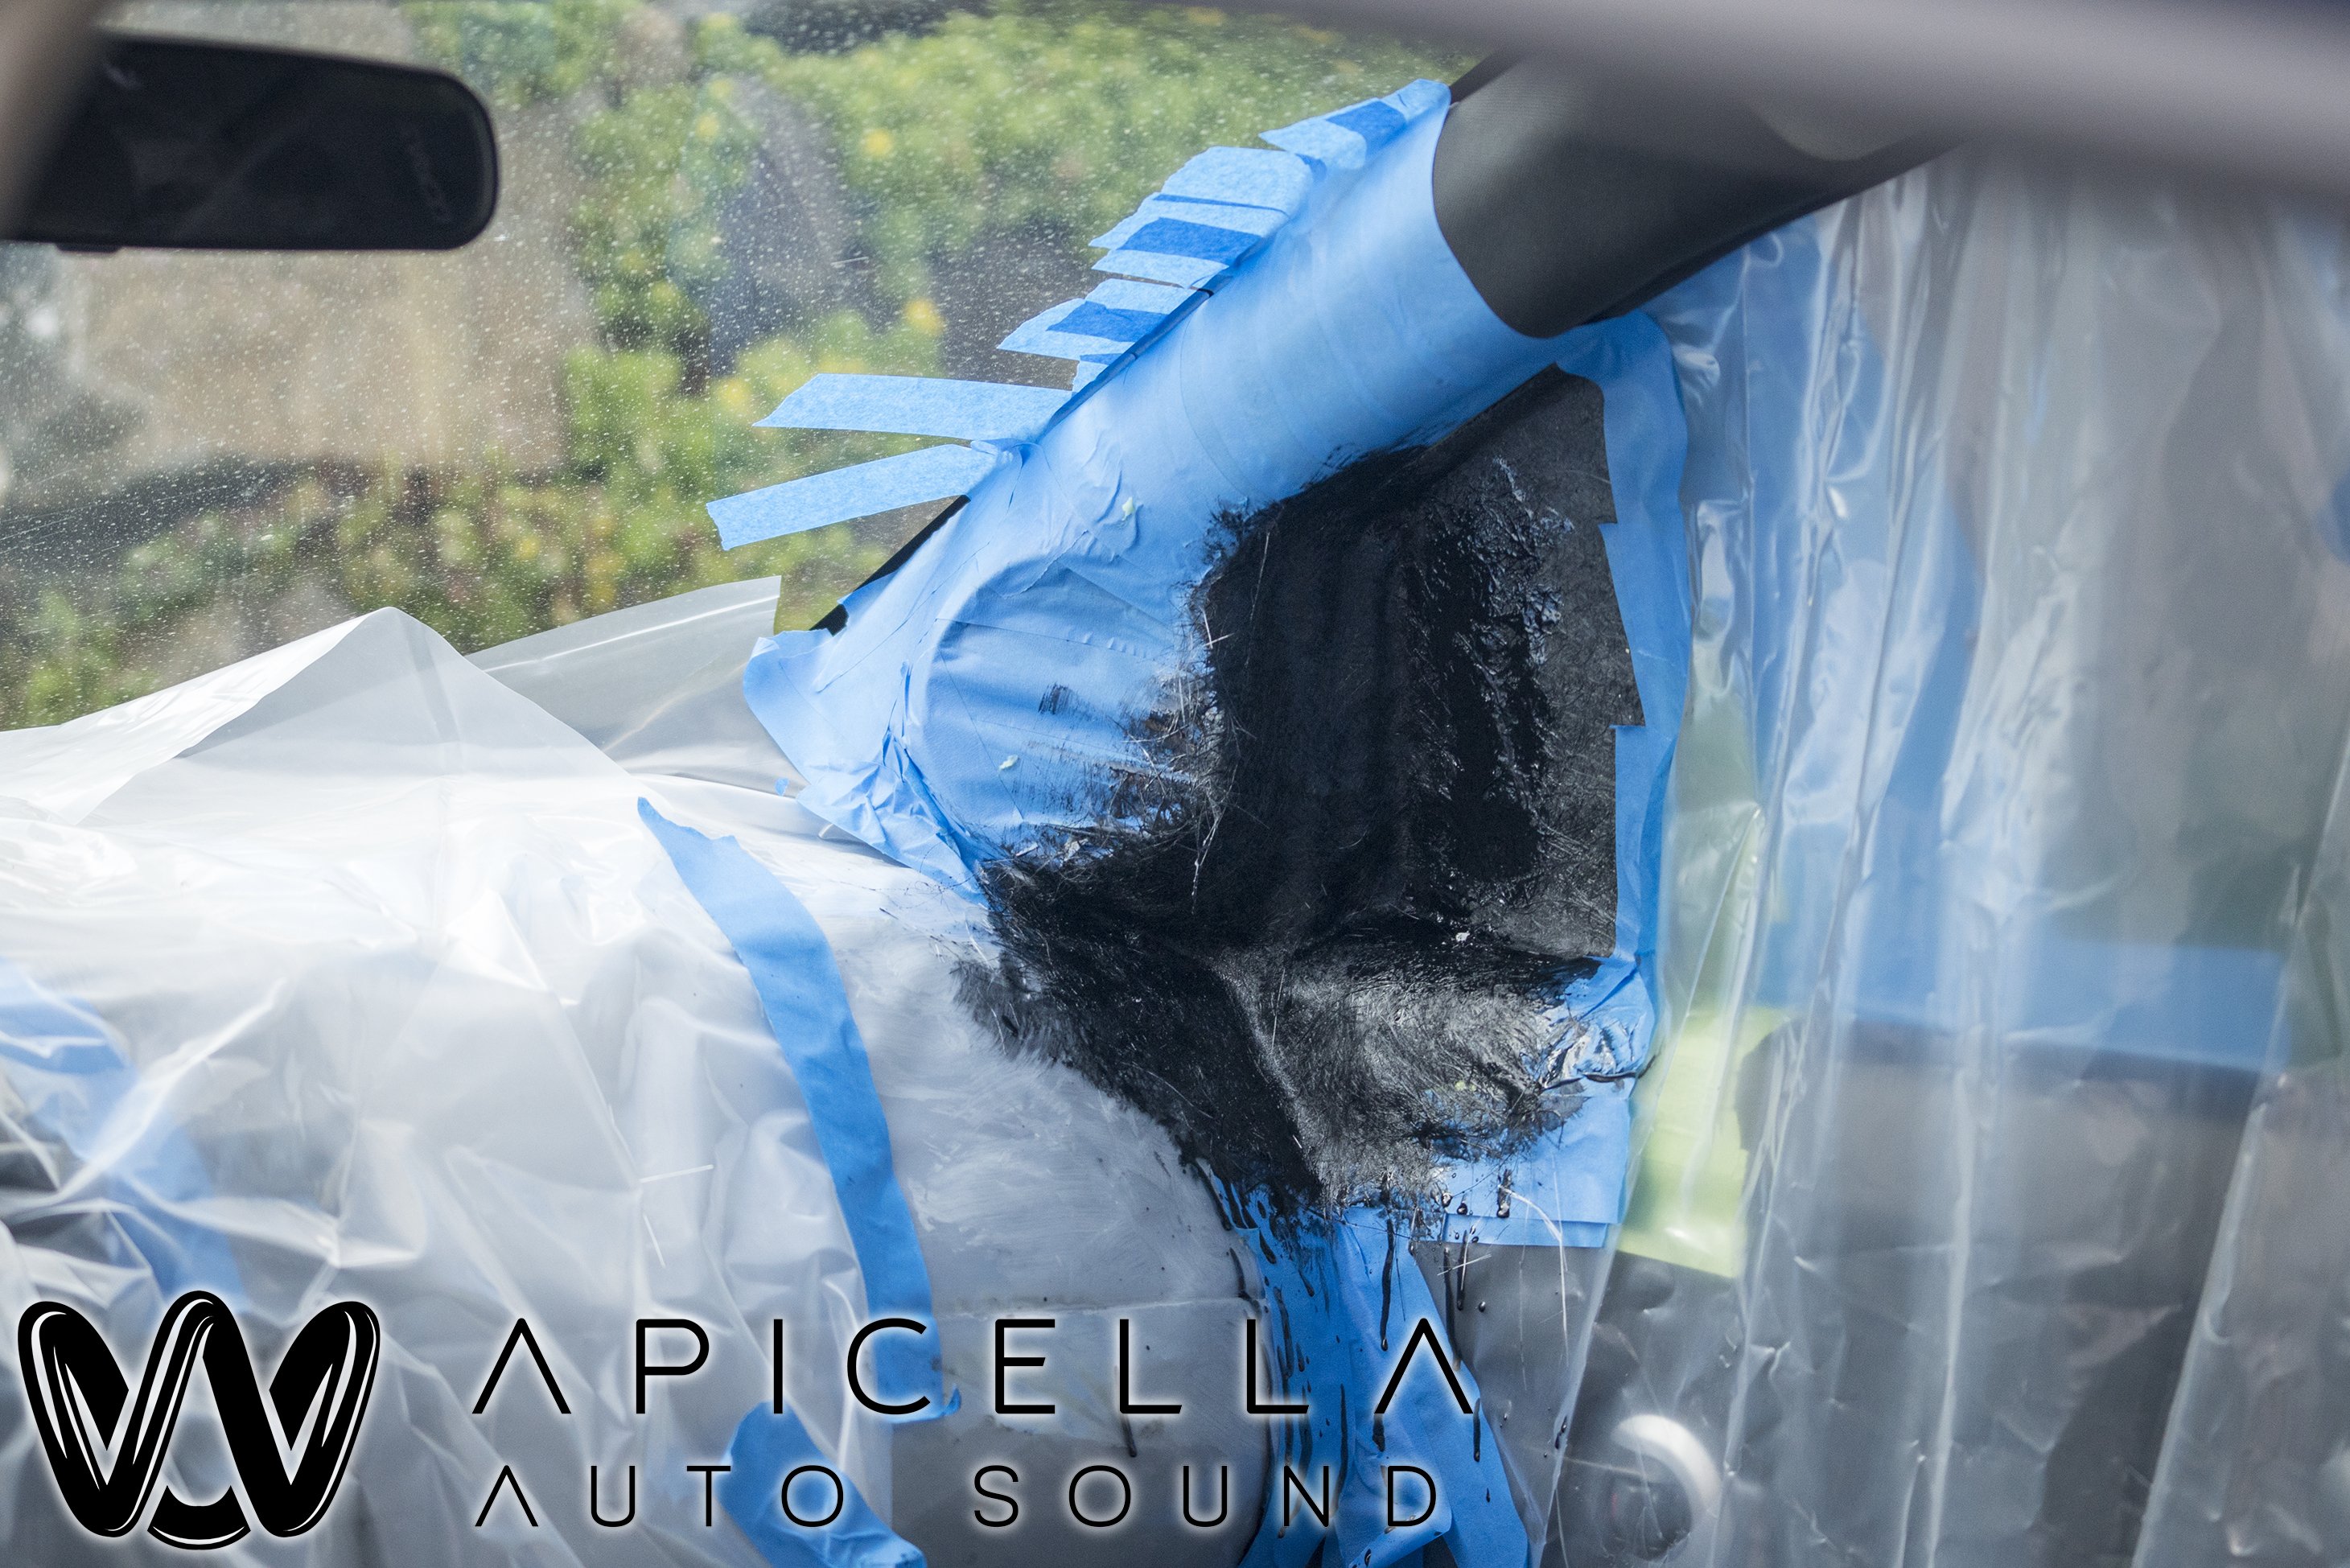
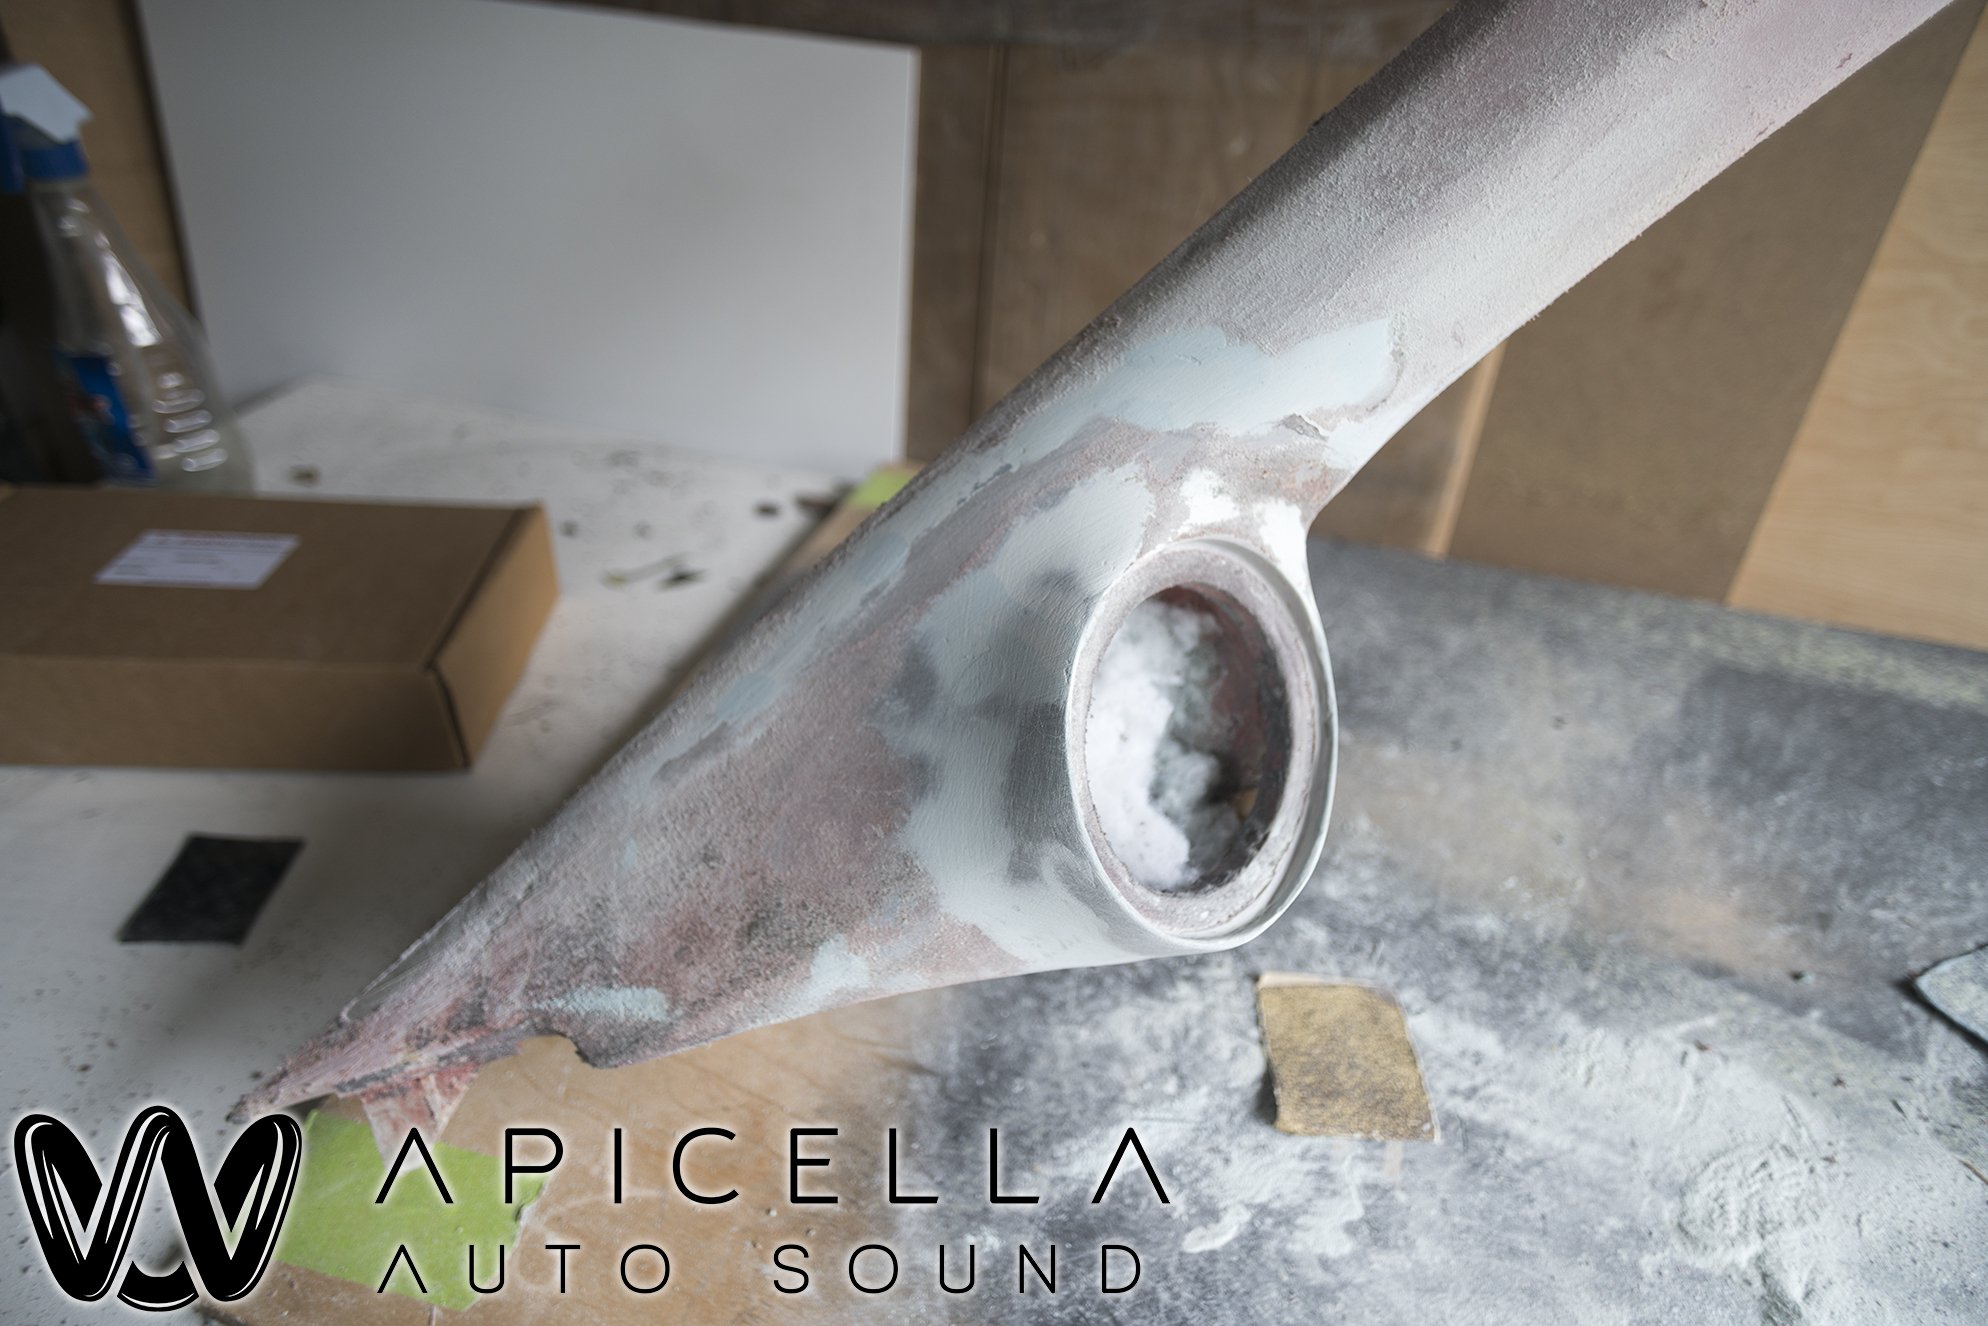
First up was the "sail panels". In this car, there is no sail panel from the factory. So i decided to make one. First mold was made of the door frame, door panel, and window. The next mold was with the door closed and mated up to the A pillar.
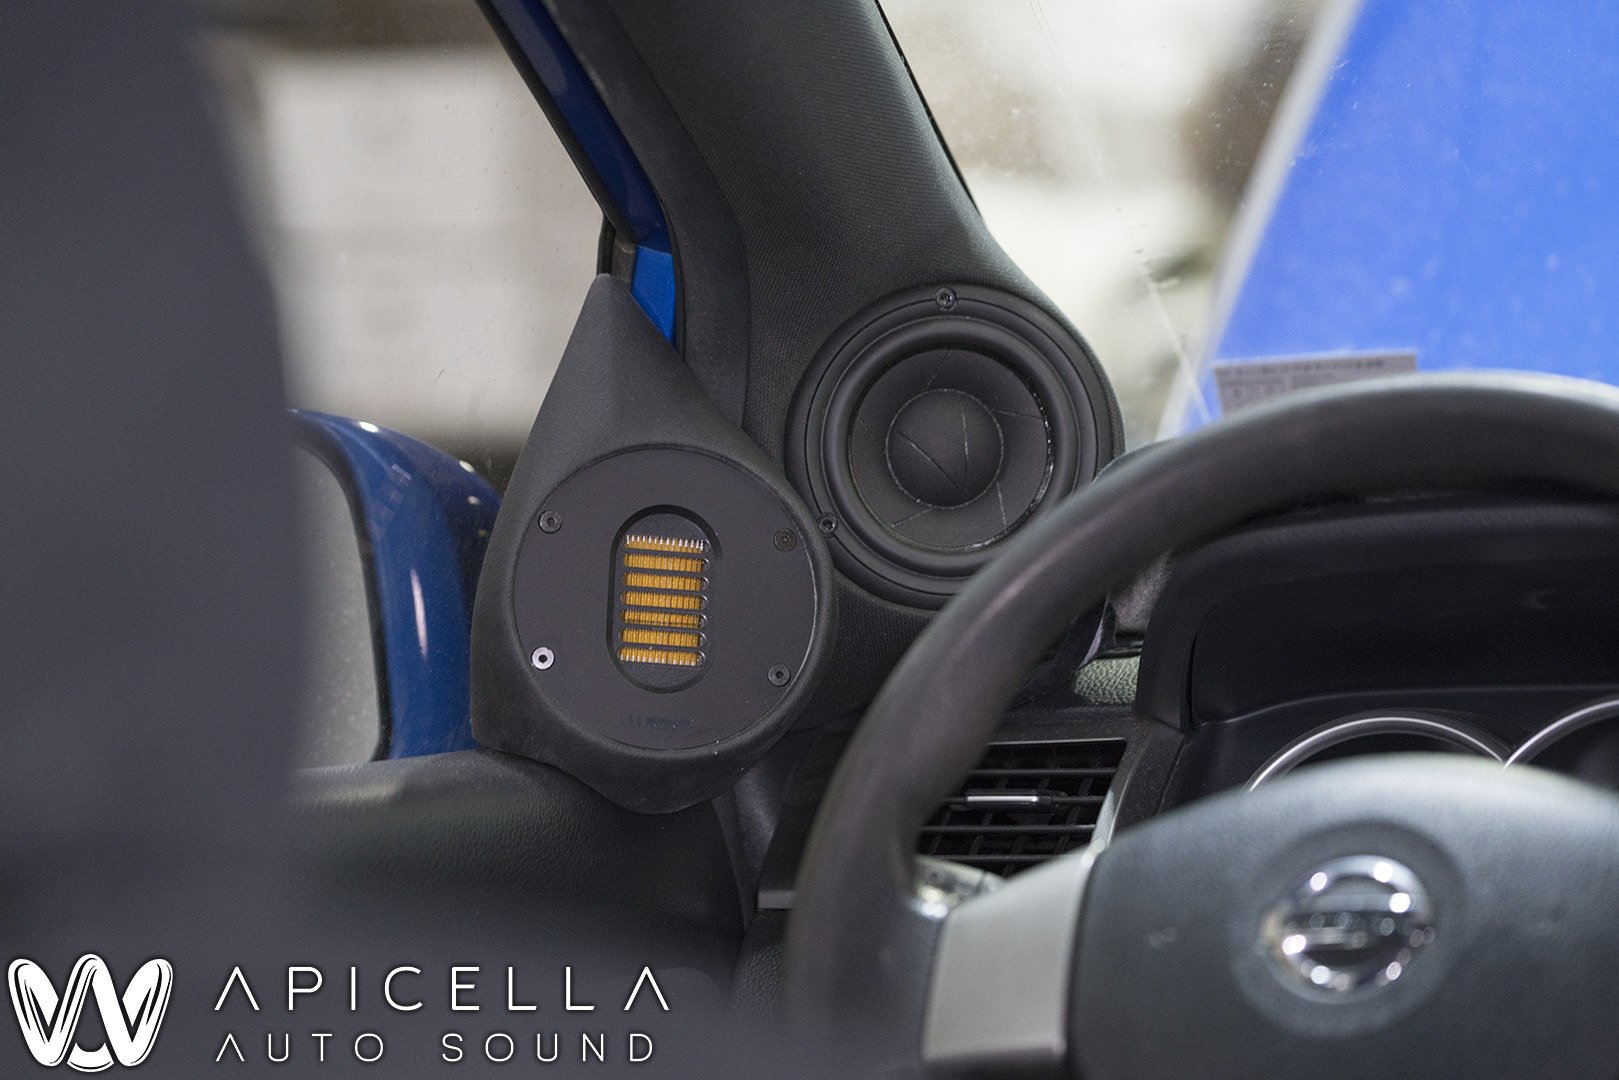
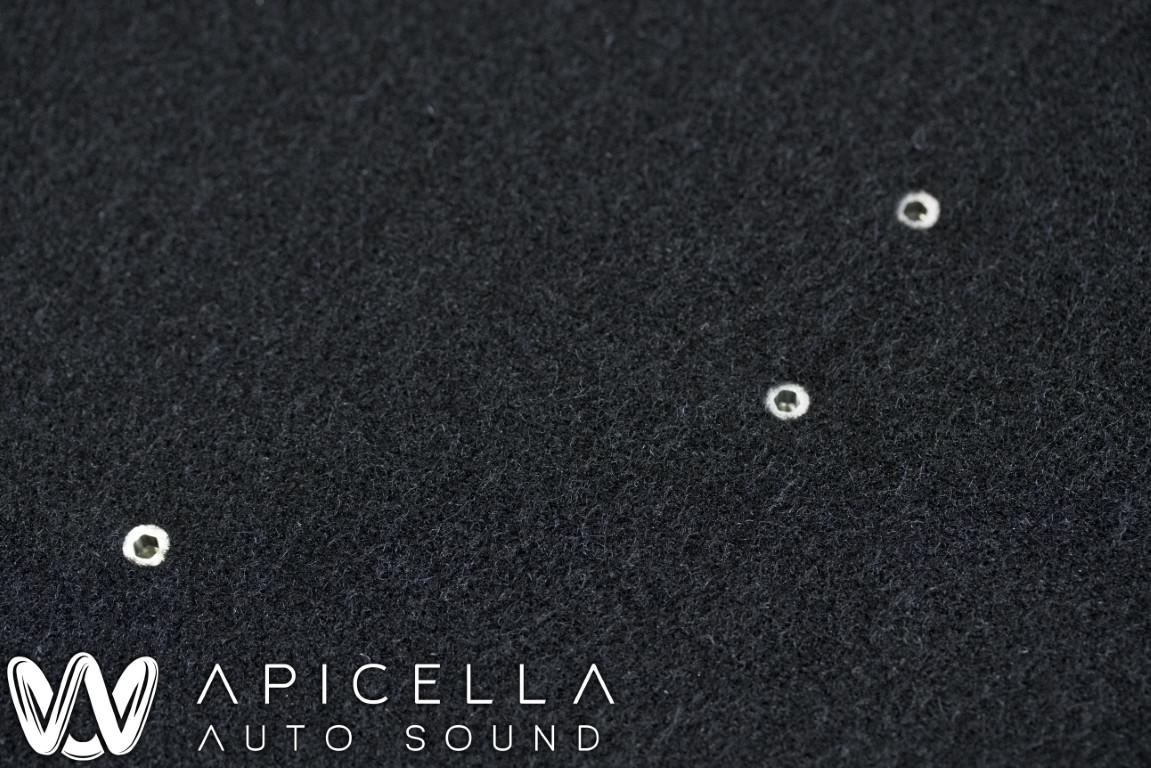
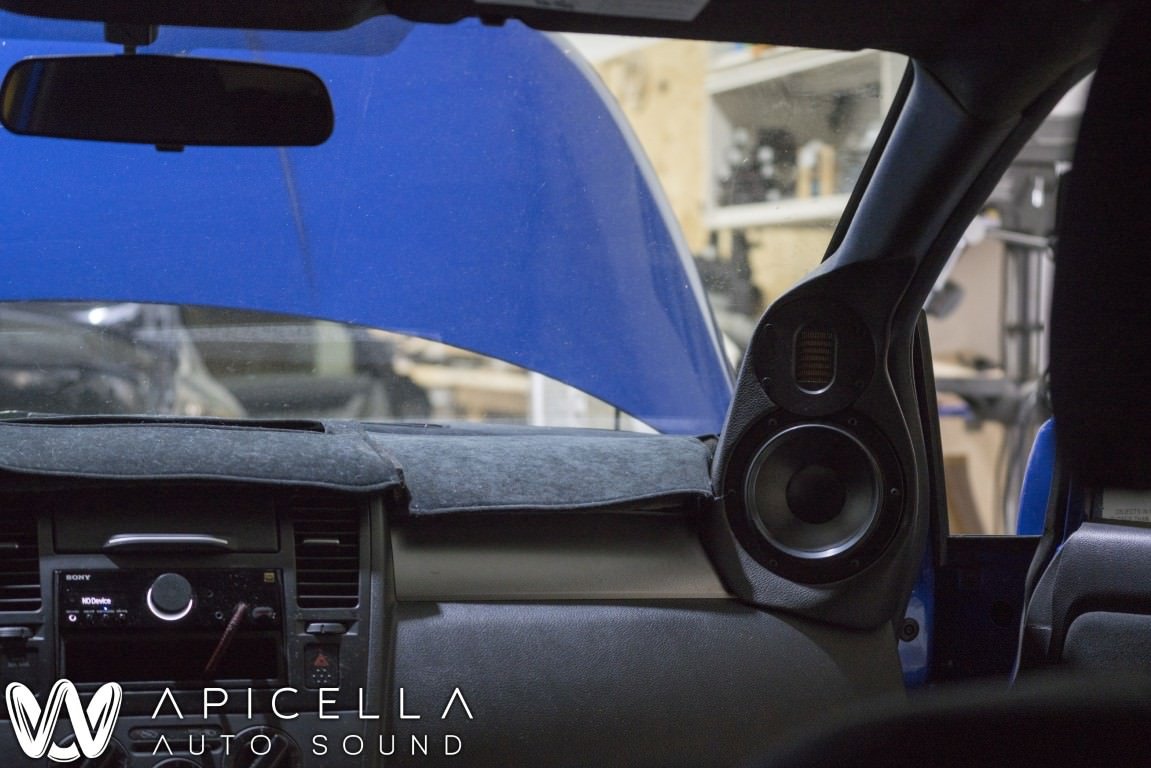
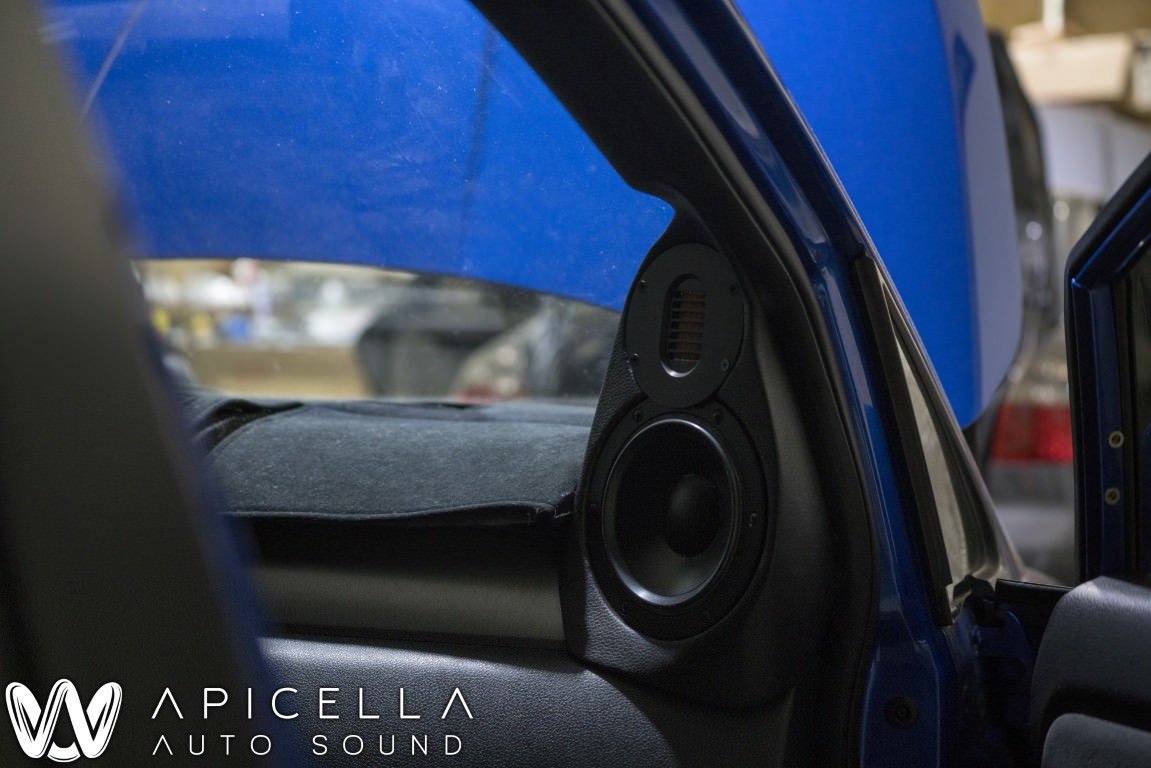
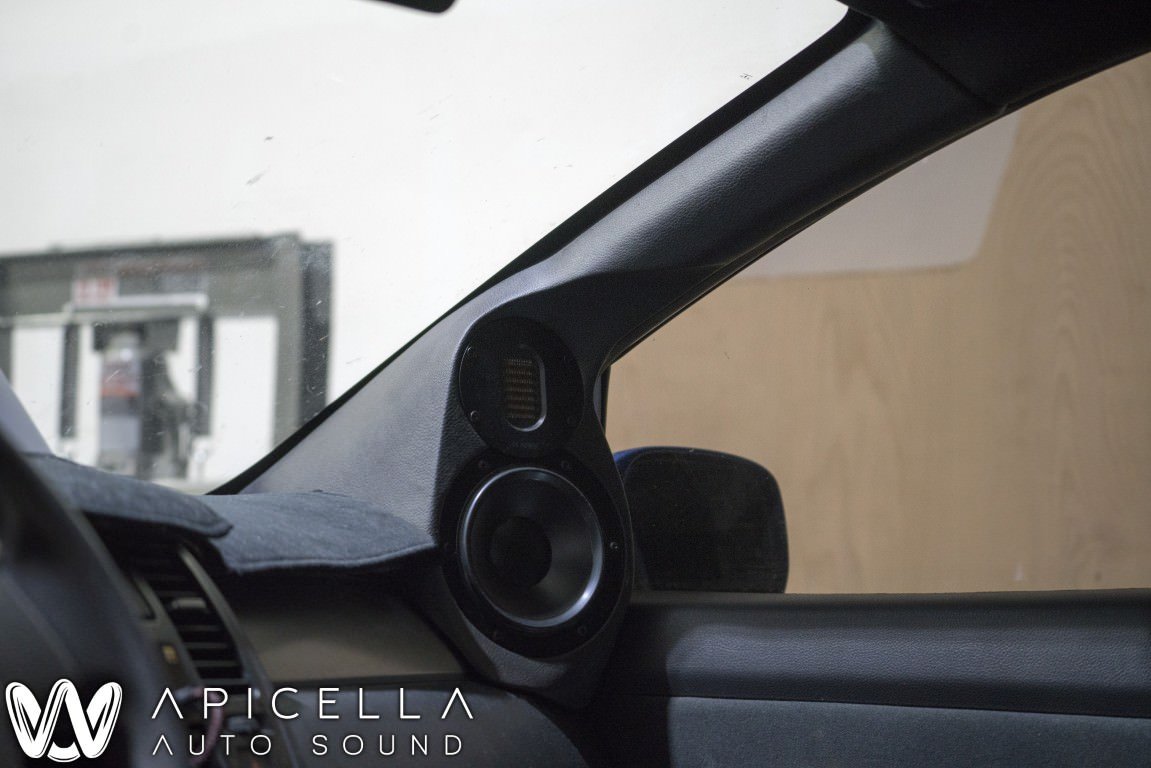
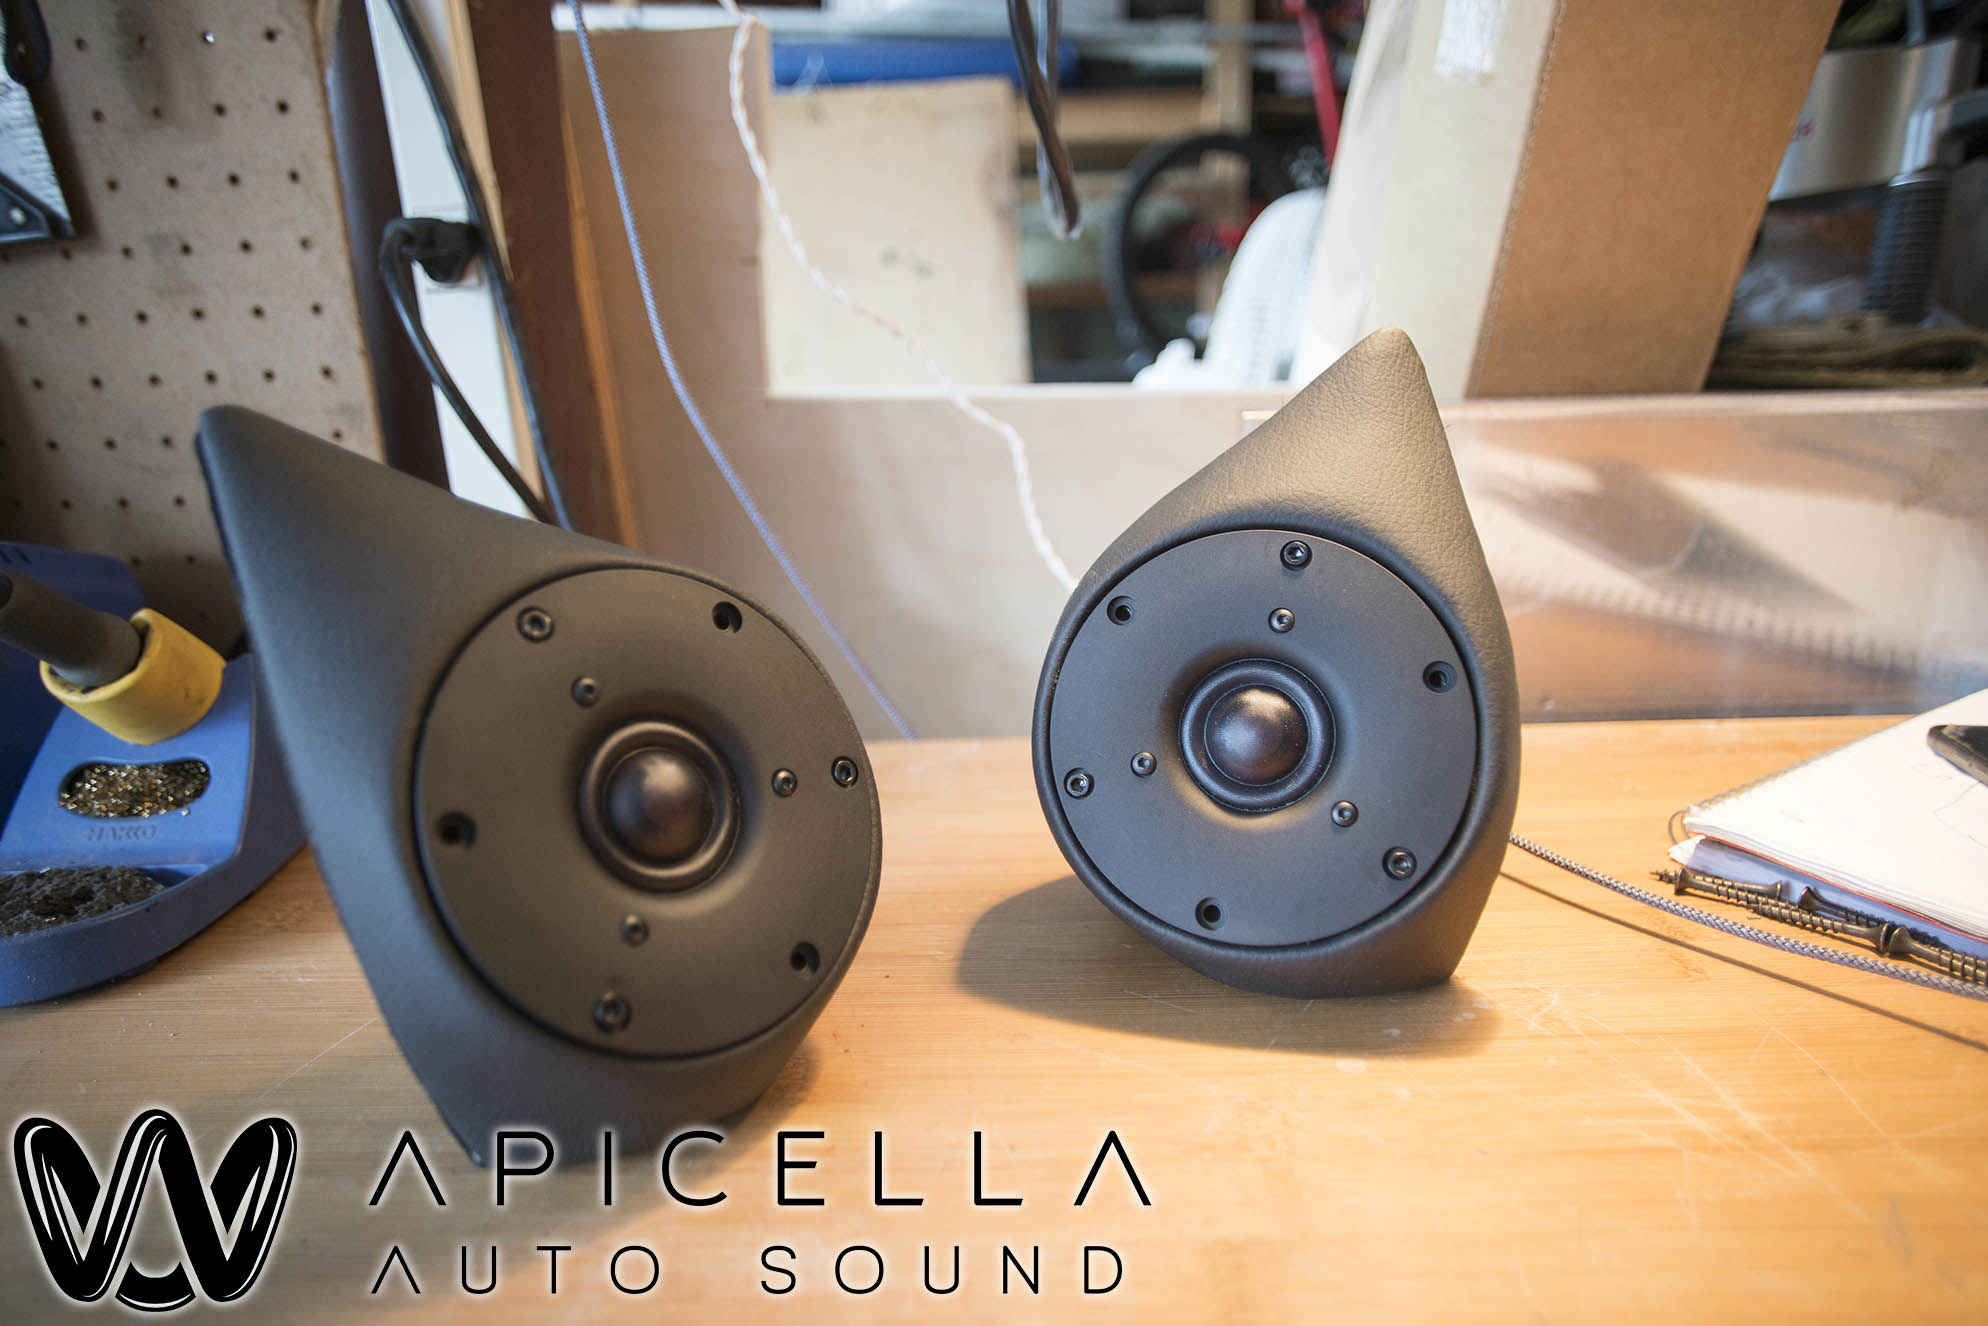
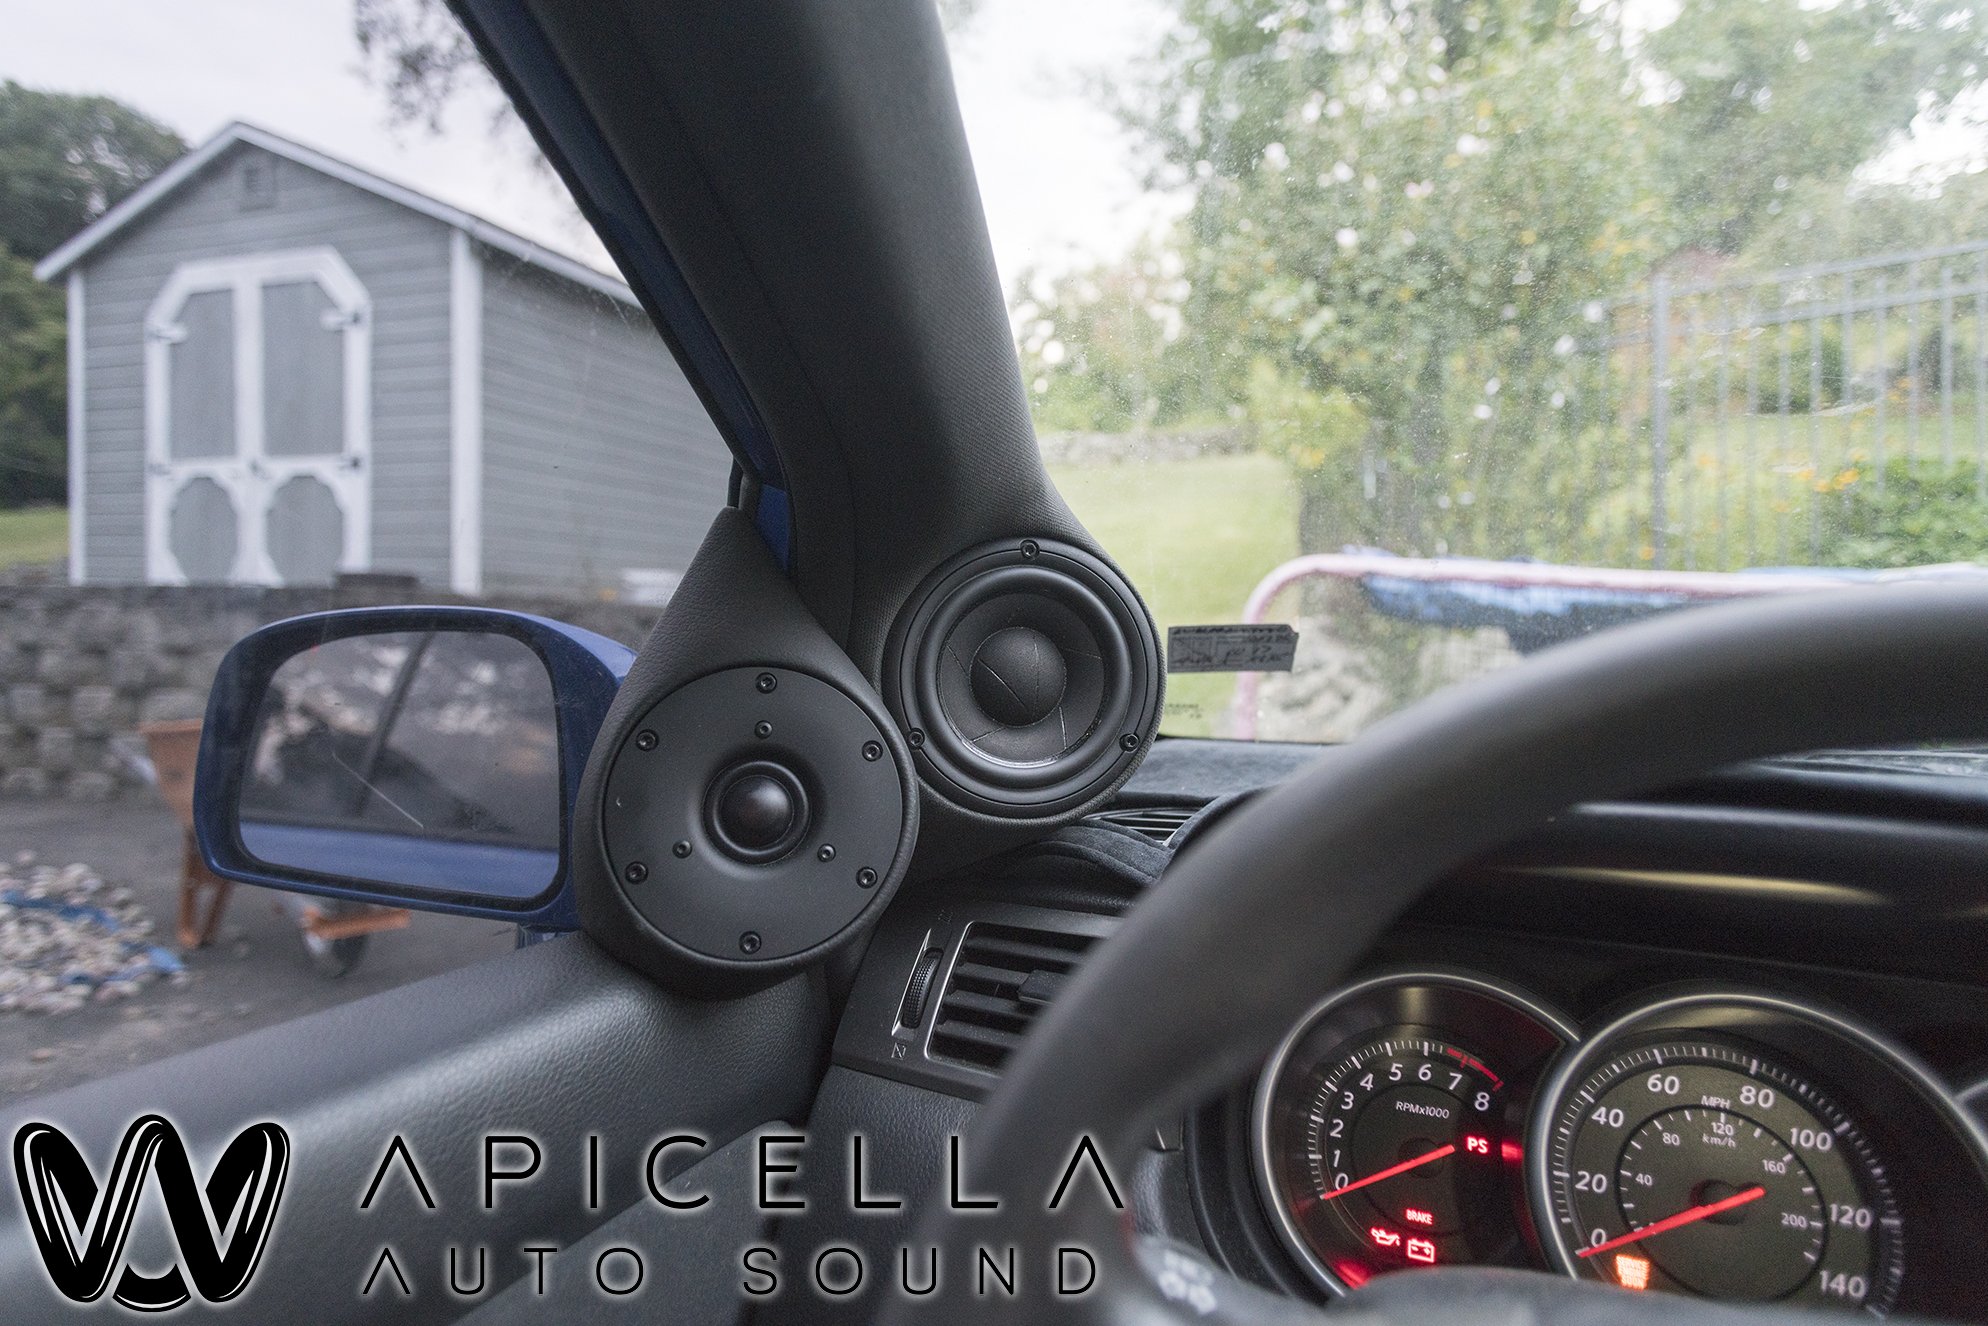
And here we have the finished product. (like i said, im short on photos :/ ). They are secured to the car with riv nuts and Stainless security screws. The window still fully functions with these in place.
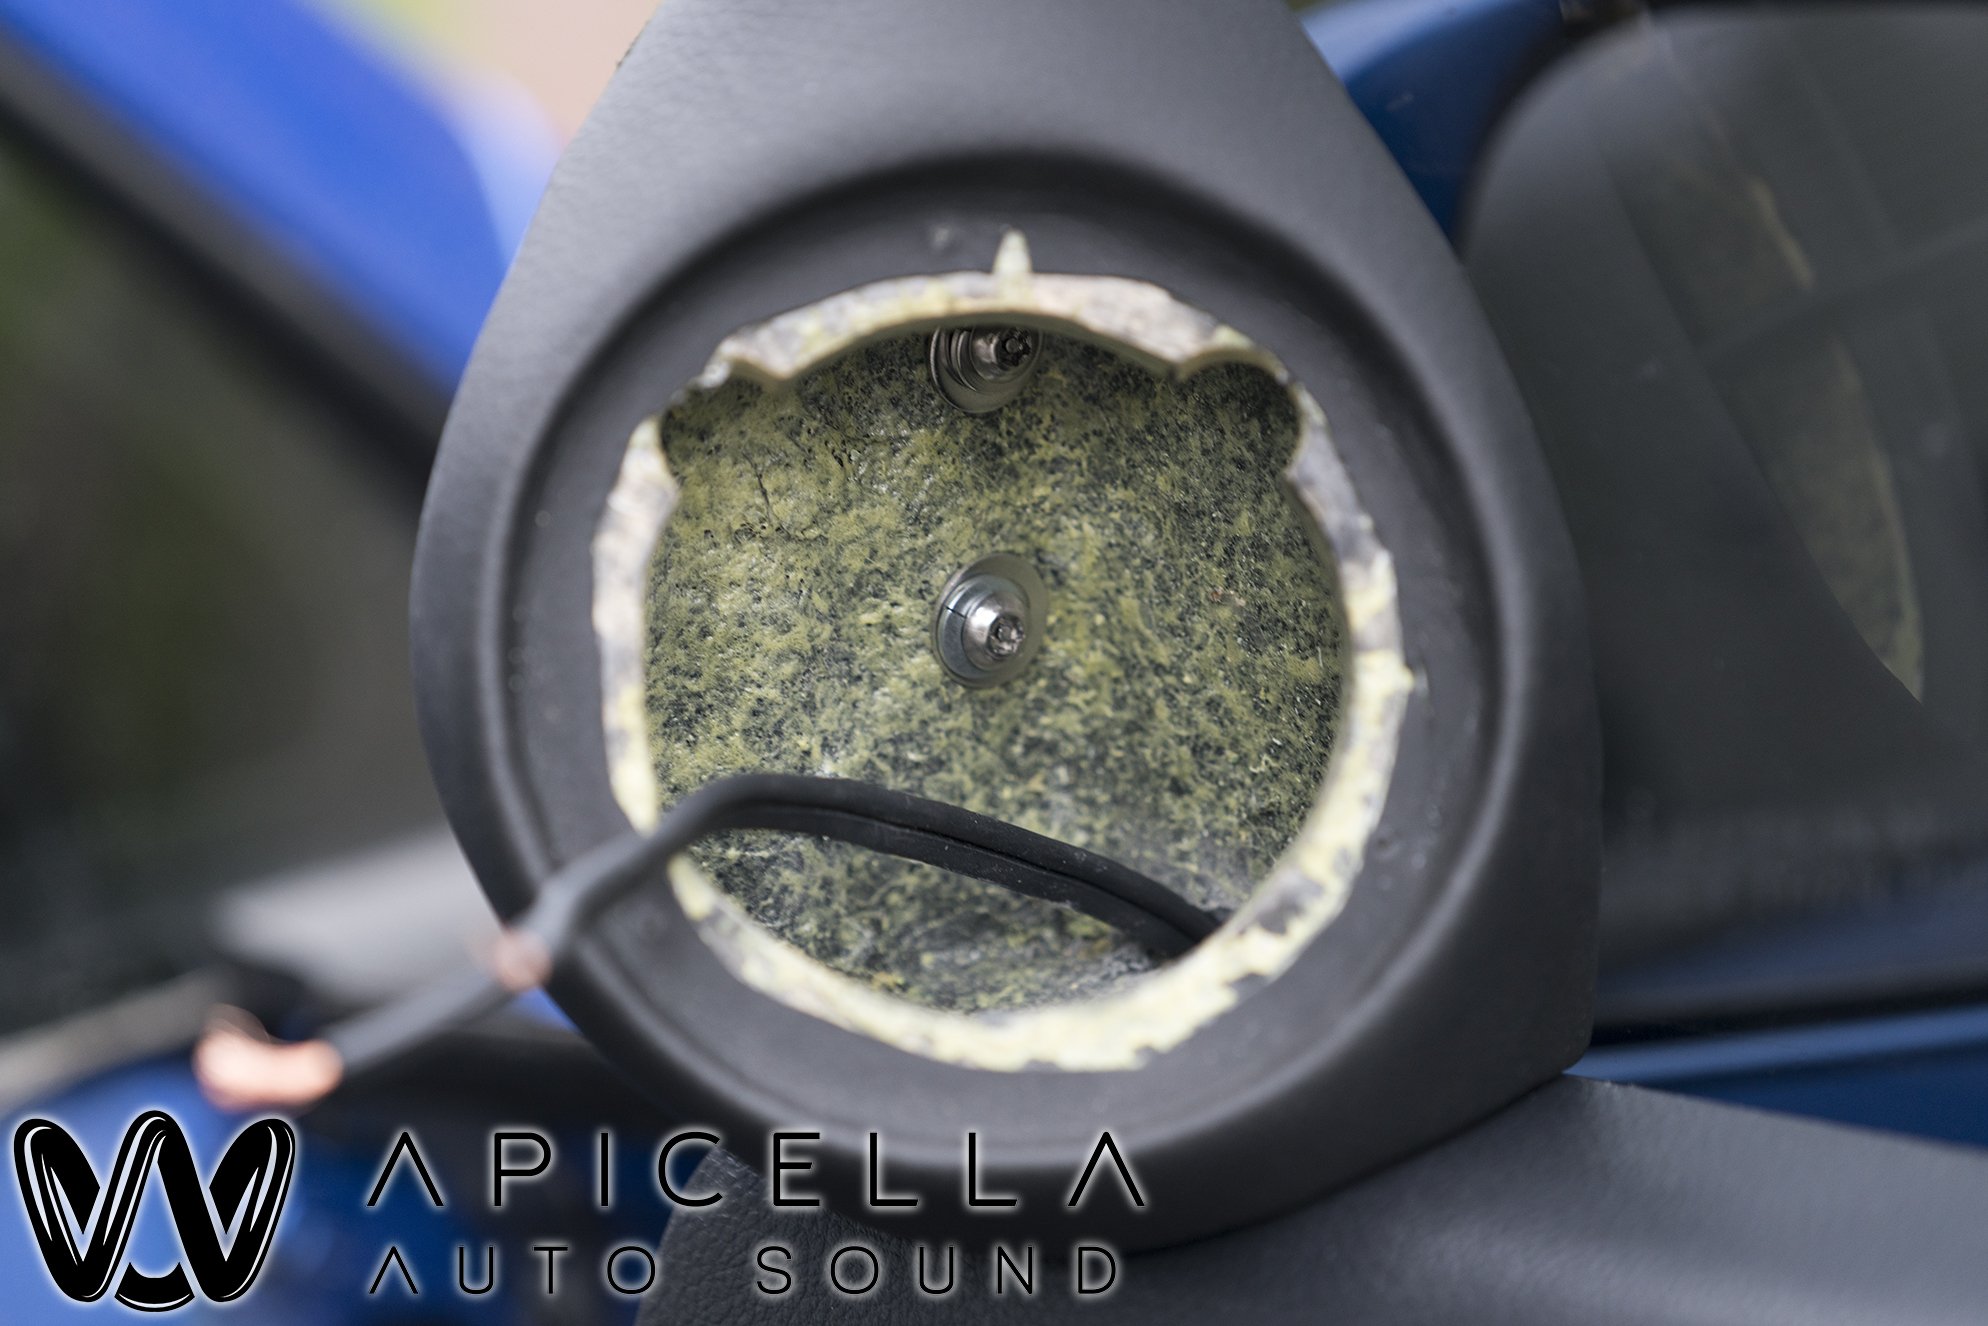
The a pillars flush mount needed to be widened to accept the new, and slightly larger mids. The Scanspeak Revelator 12m.
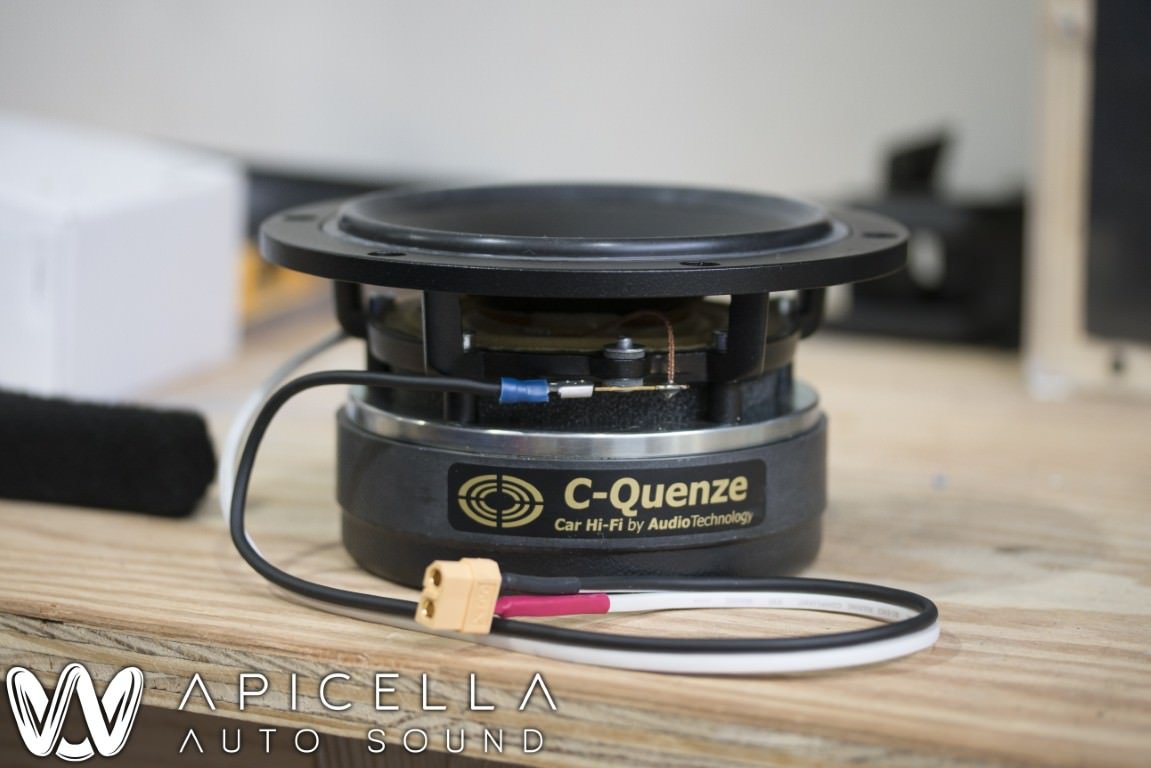
Like all of my installs, each driver got XT60 quick disconnects, solder, and heatshrink.
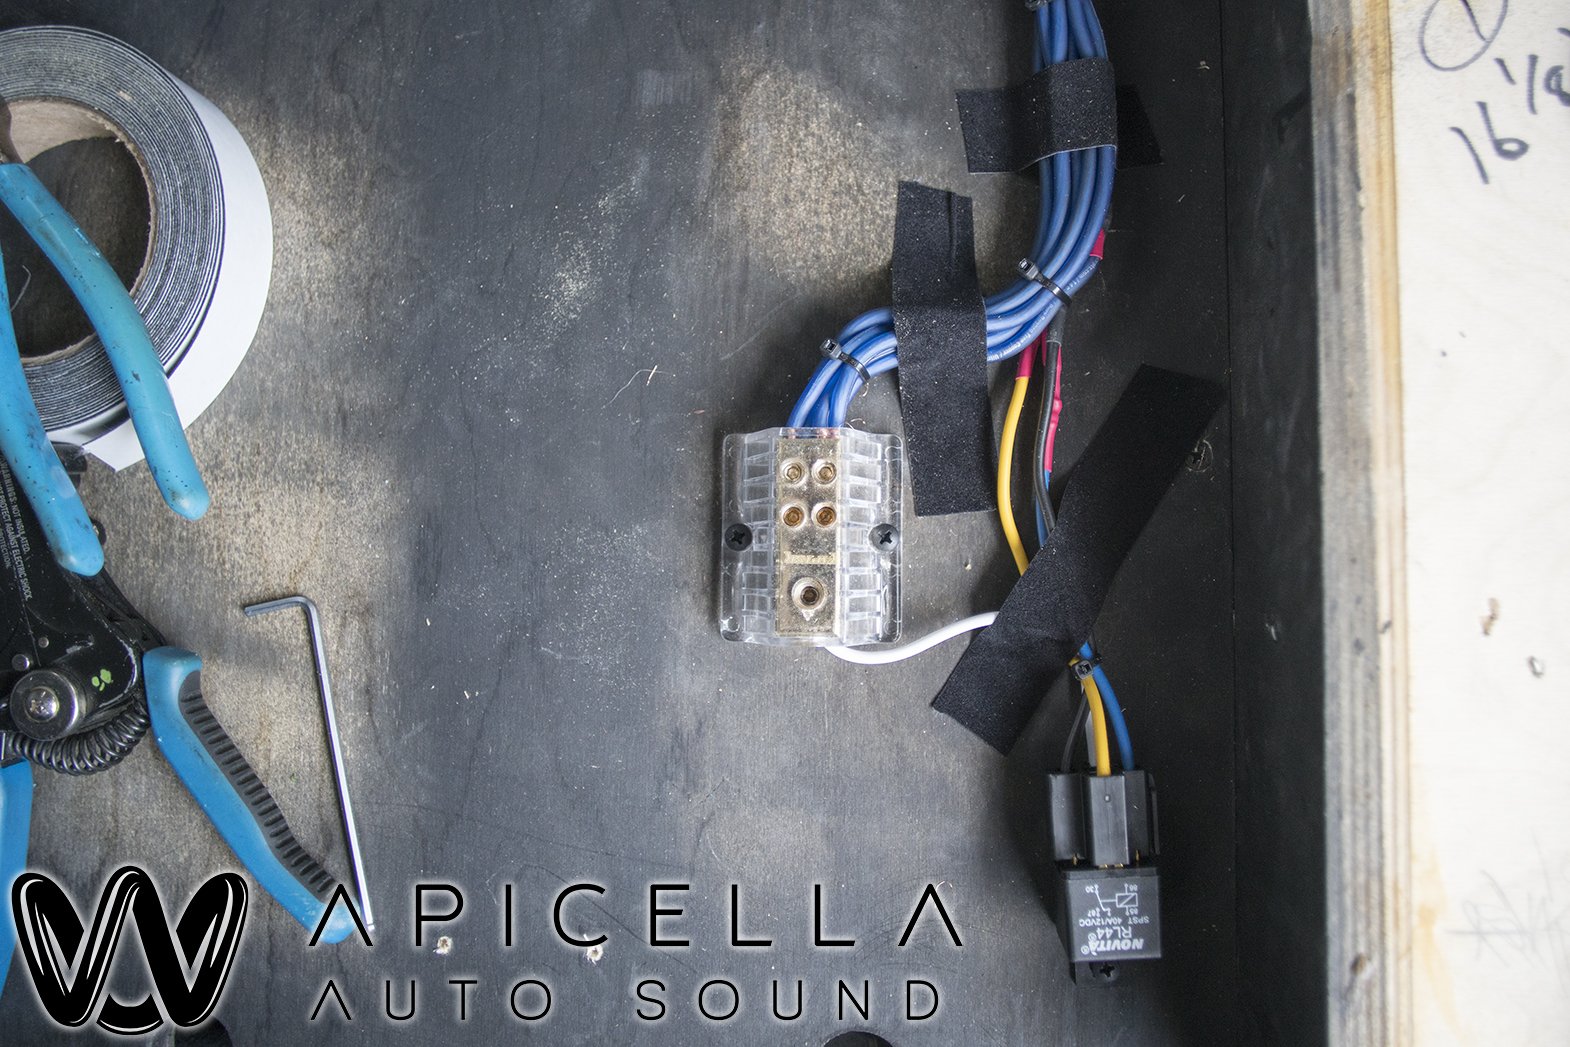
Wiring for the relay to power the amps and LED's
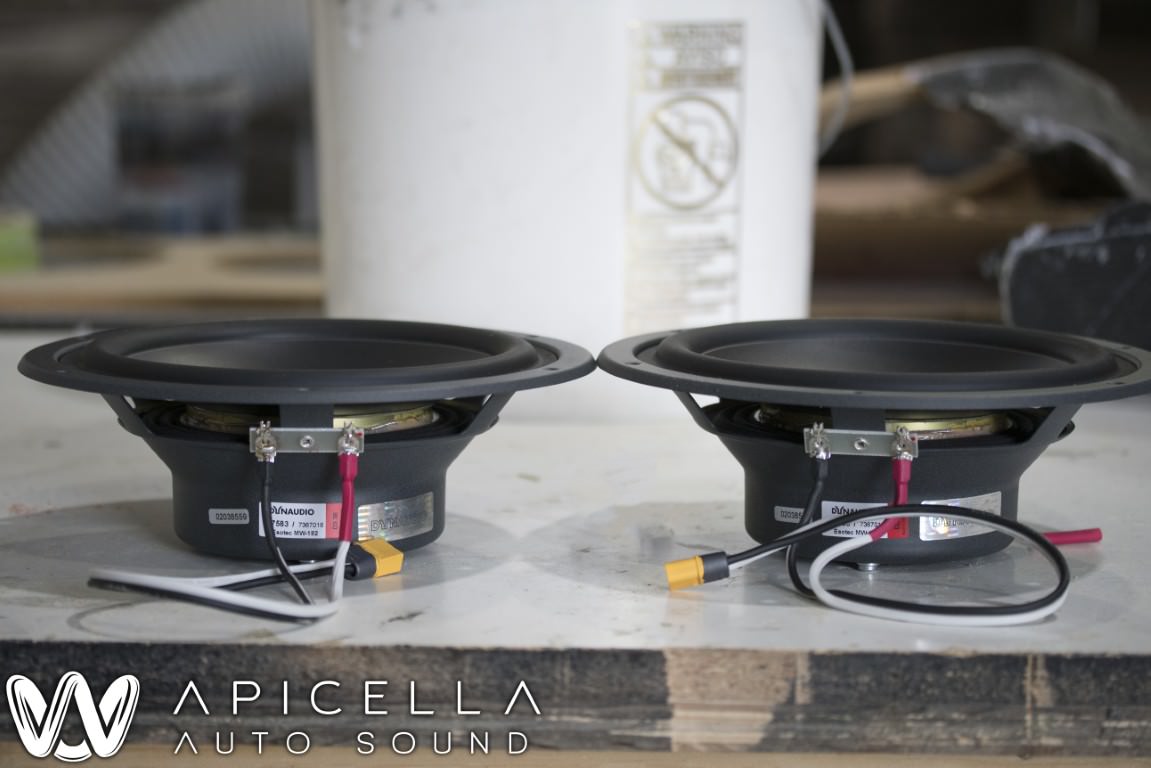
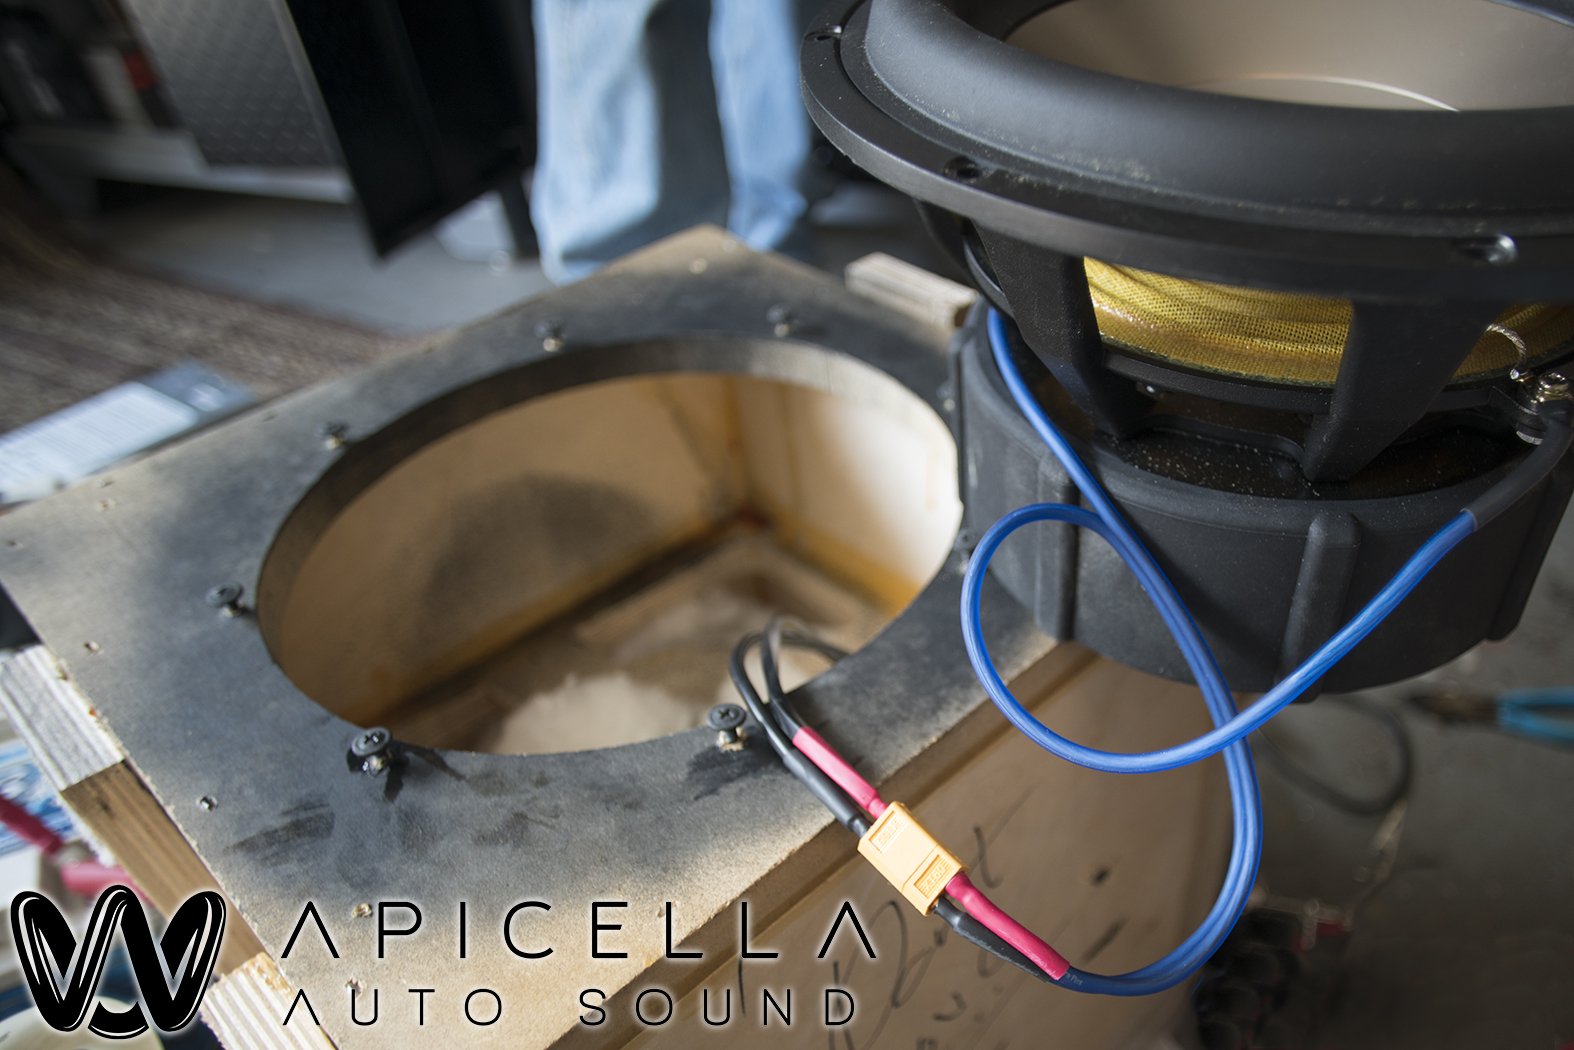
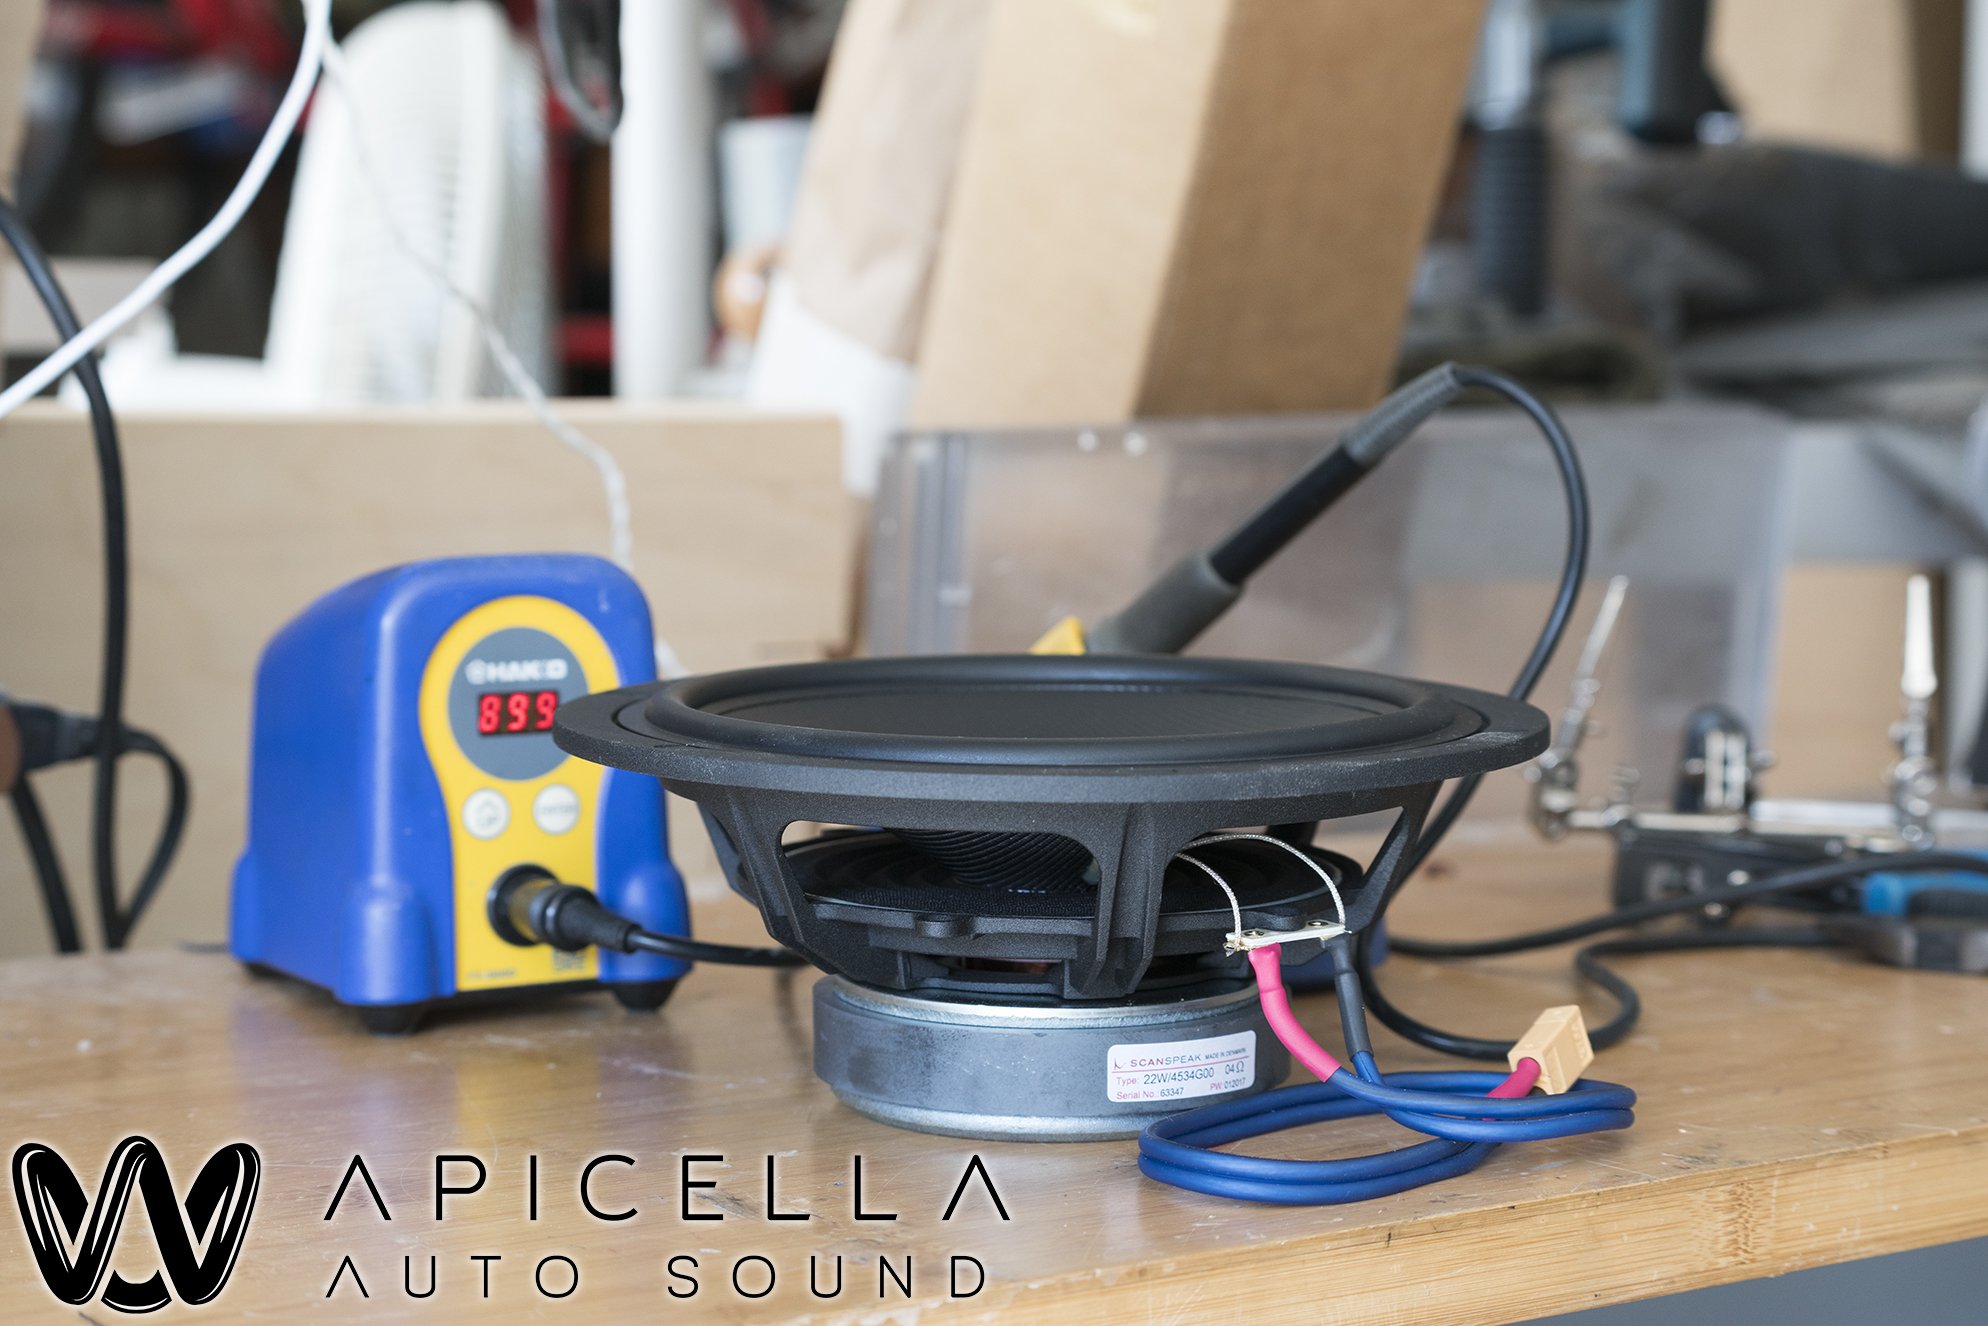
Scanspeak Discovery 22W 8" midbass with xt60 connector soldered and heatshrunk on its pigtail. Do not sleep on these midbass. Very efficient, can play high, can dig low, only needs 0.5 cubic feet.
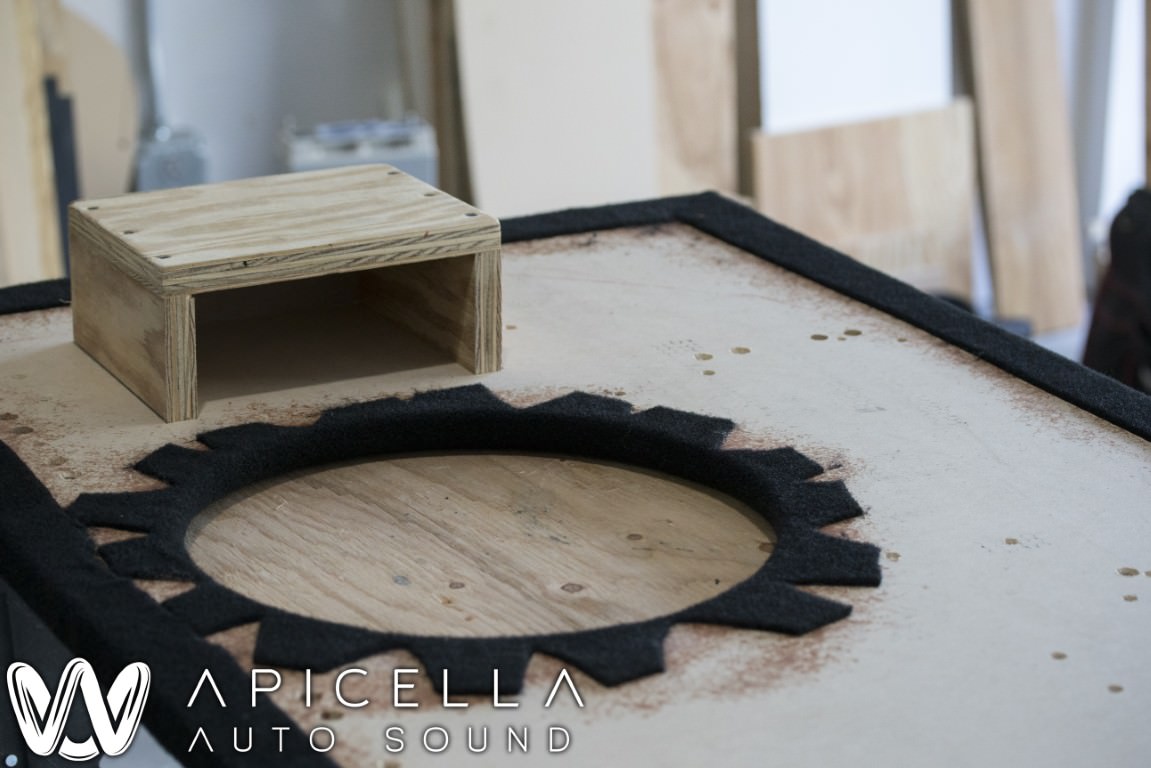
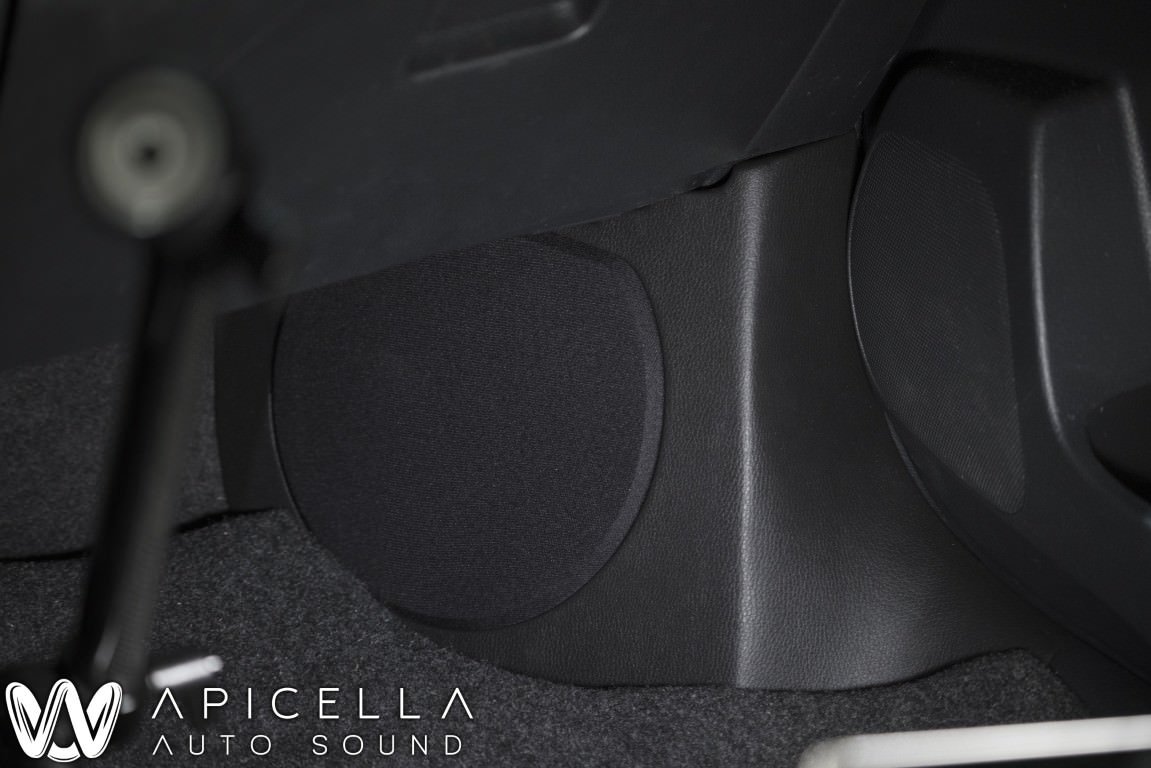
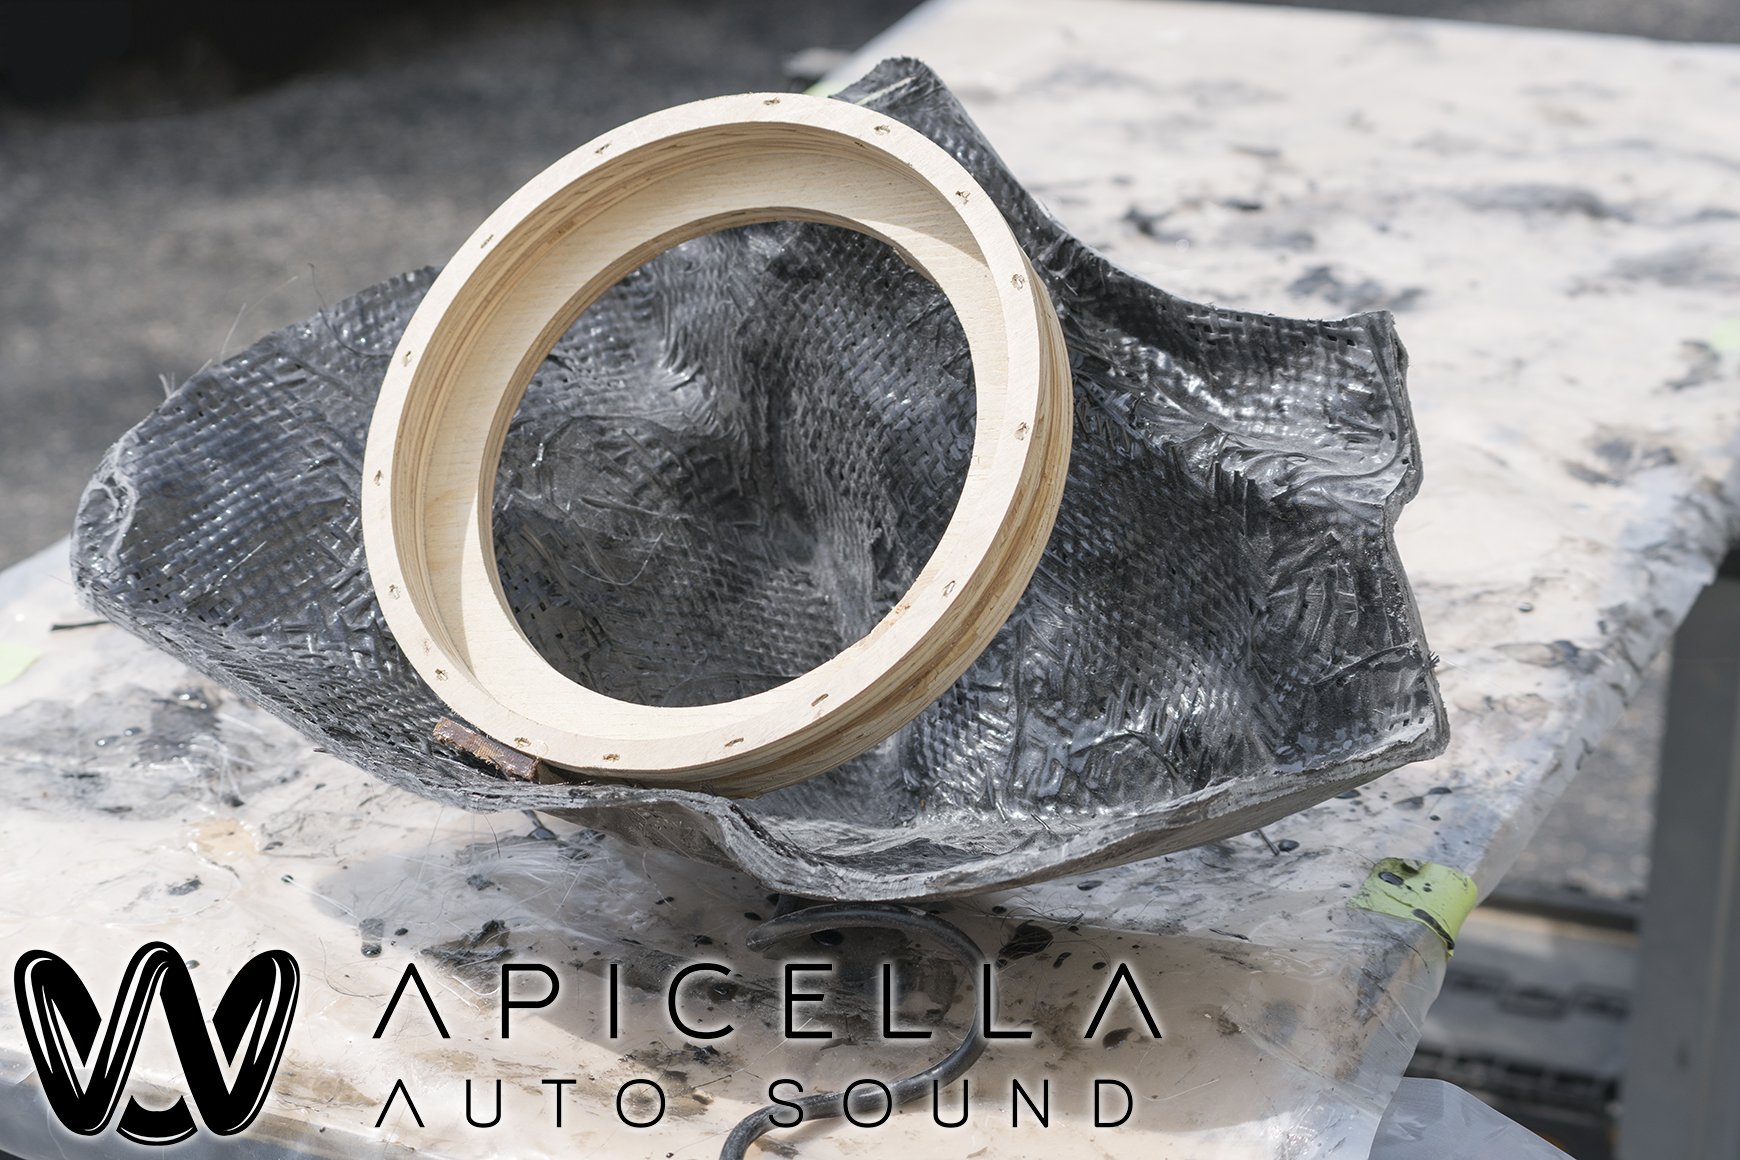
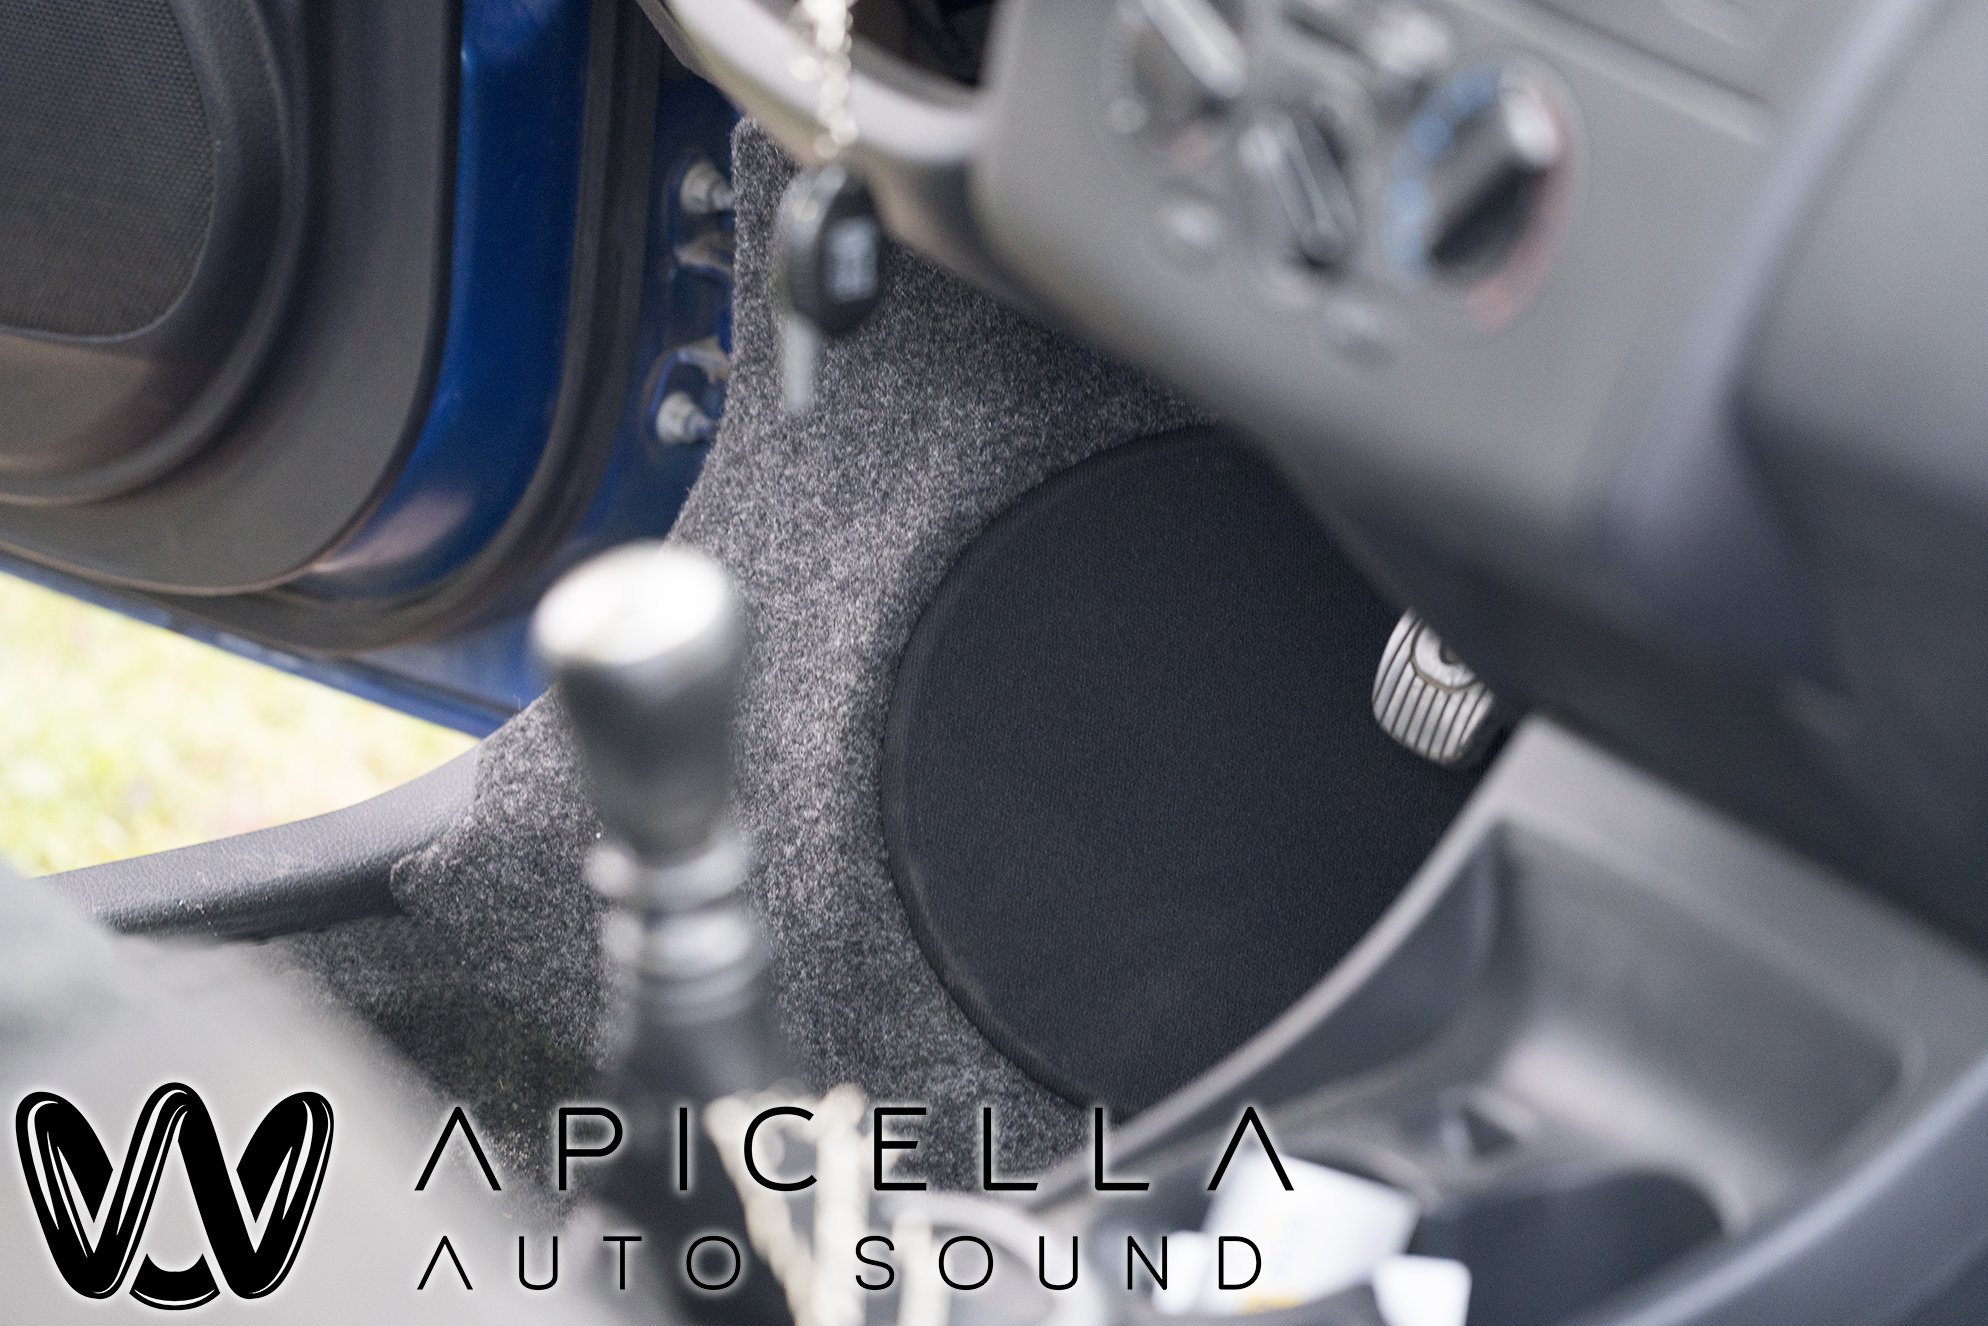
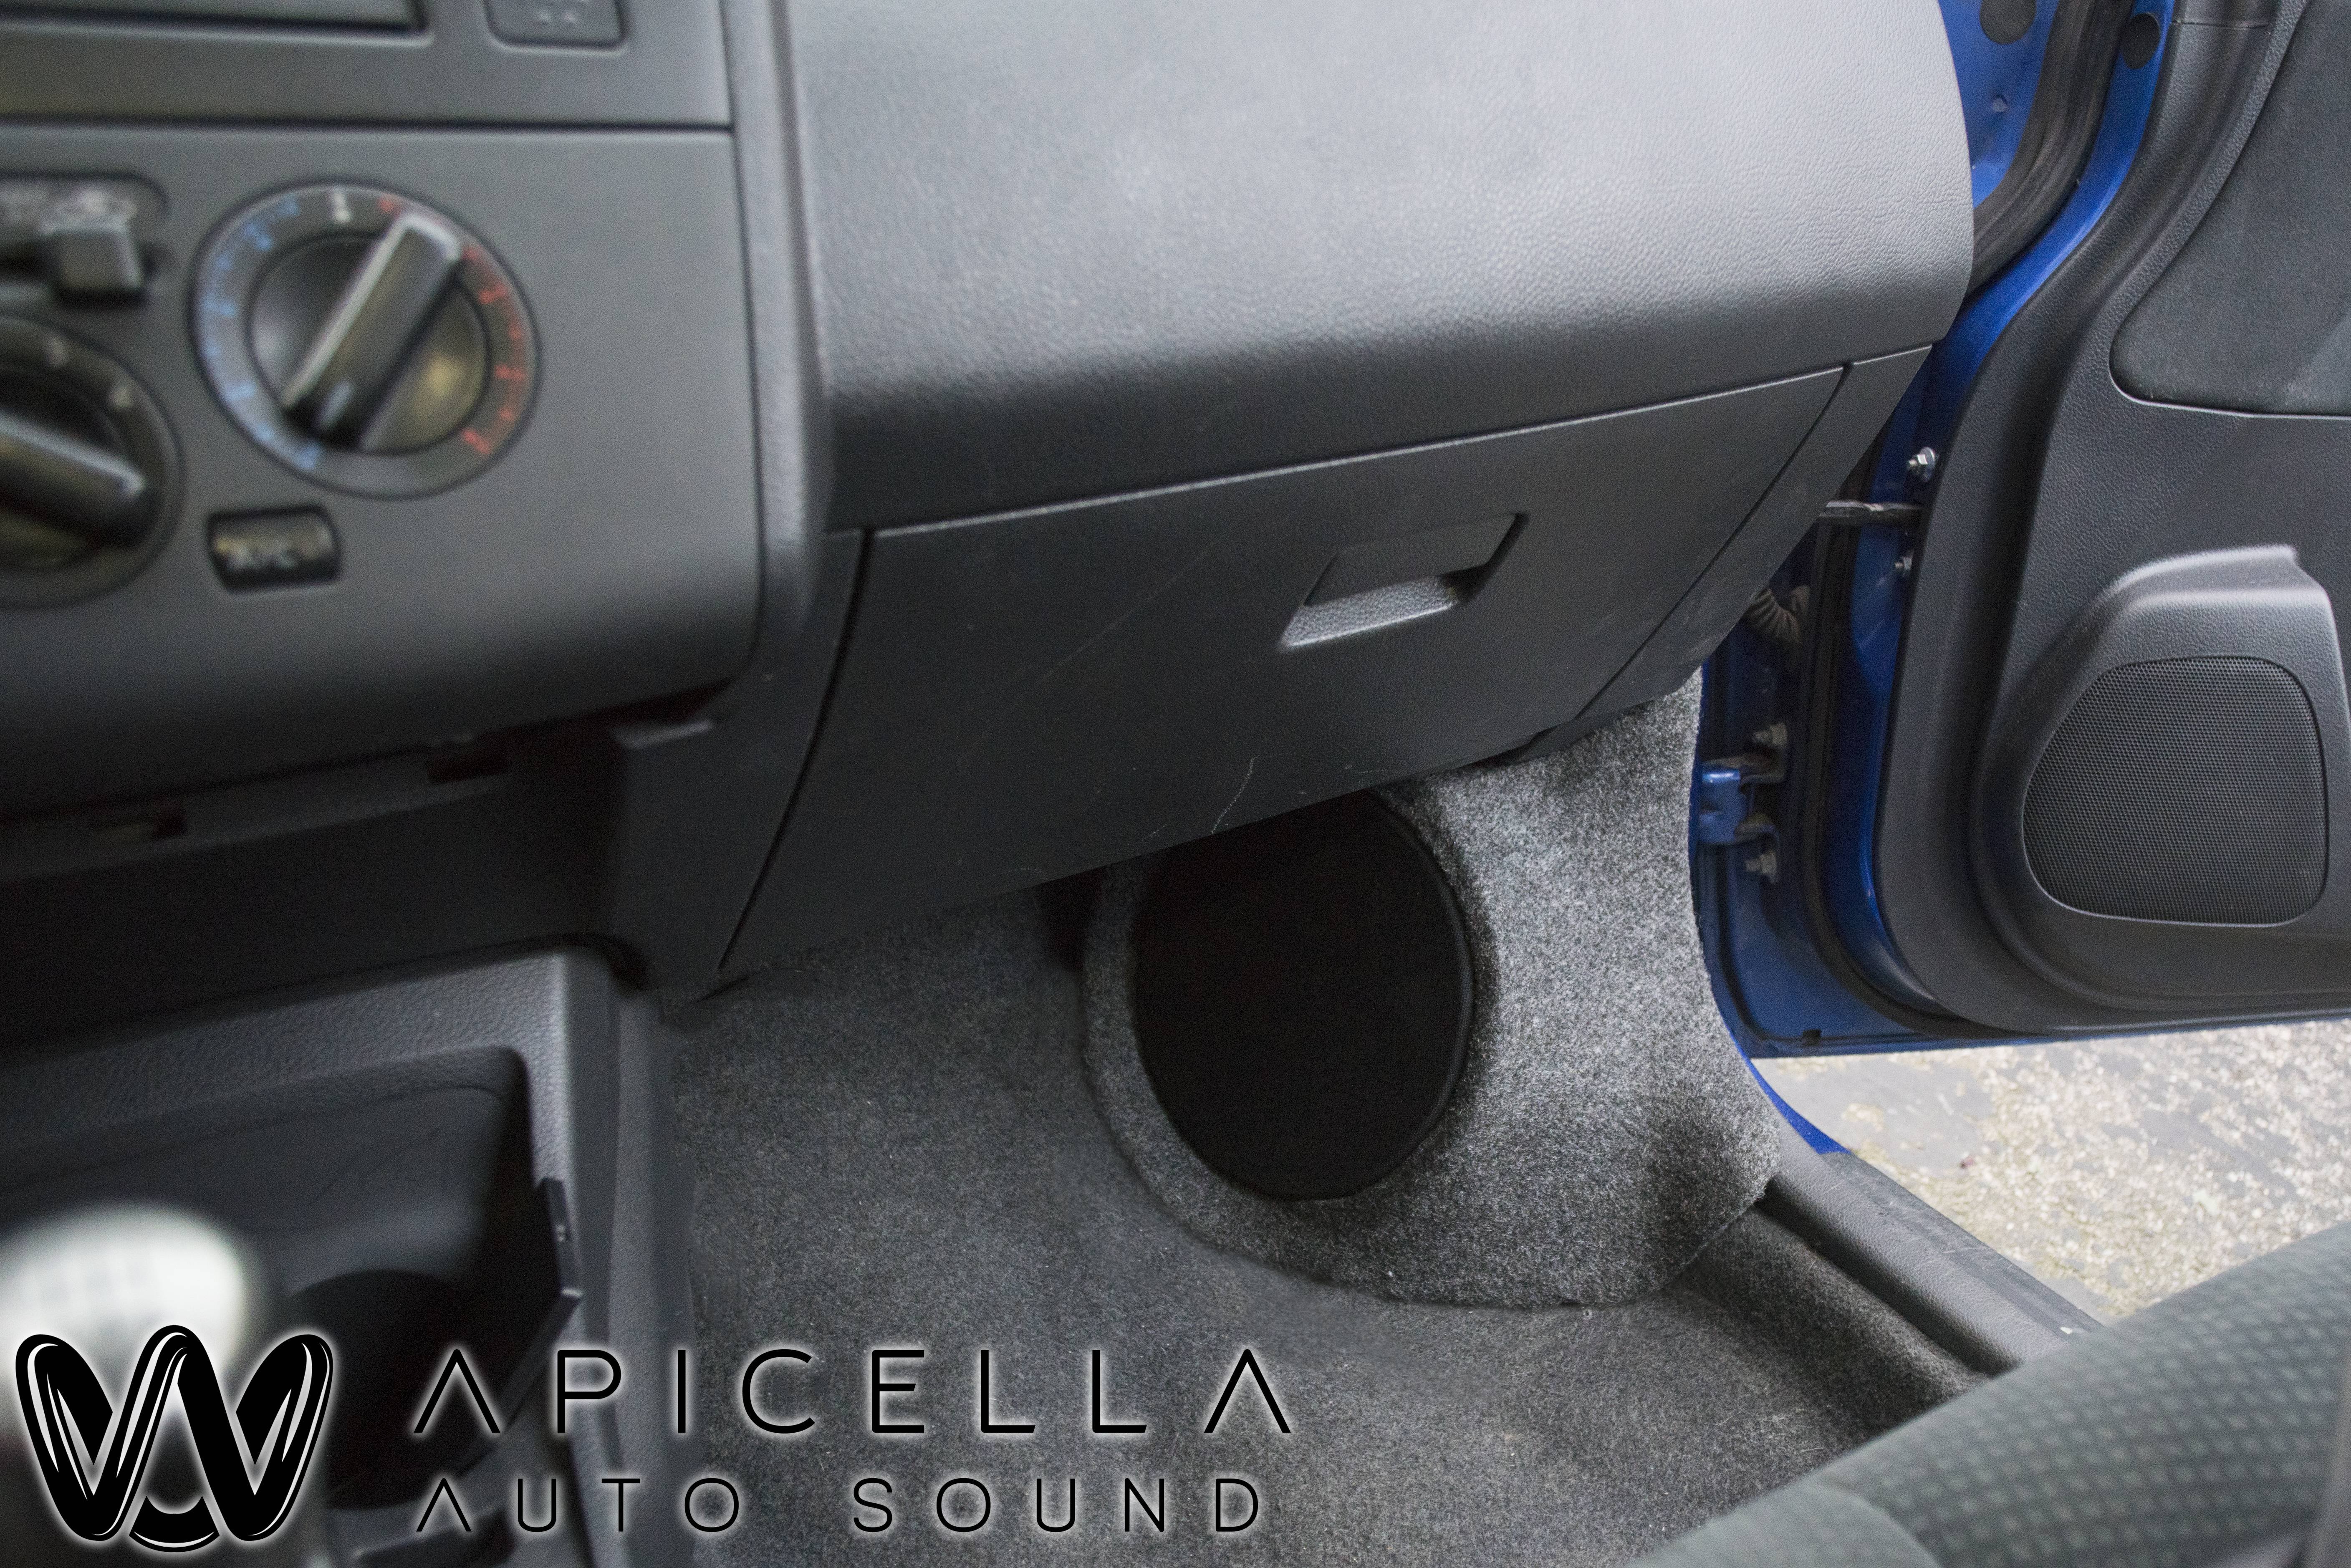
Mold of the kick panel was made, pulled, then strengthened with a layer of carbon fiber, more layers of fiberglass, and another couple layers of carbon fiber. The baffle is made out of 2 pieces of 3/4" Birch
The new amp rack wired up for testing and tuning.
Some teasers of the (almost) finished product.
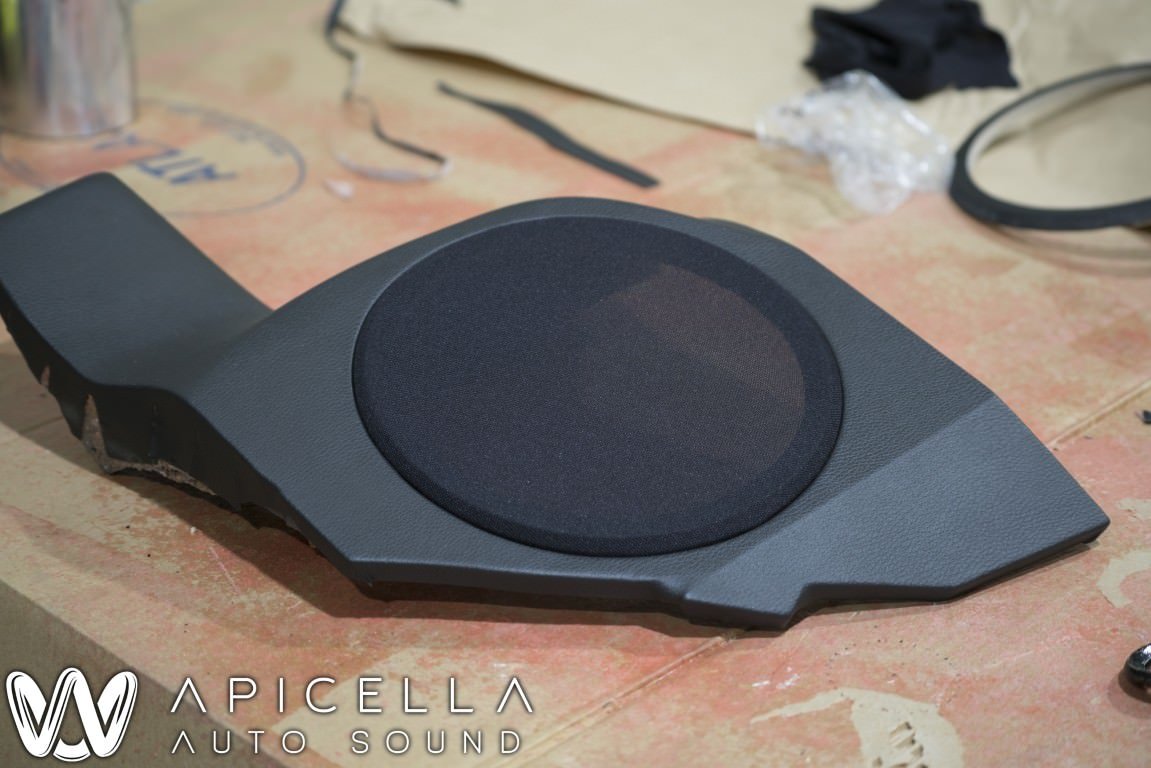
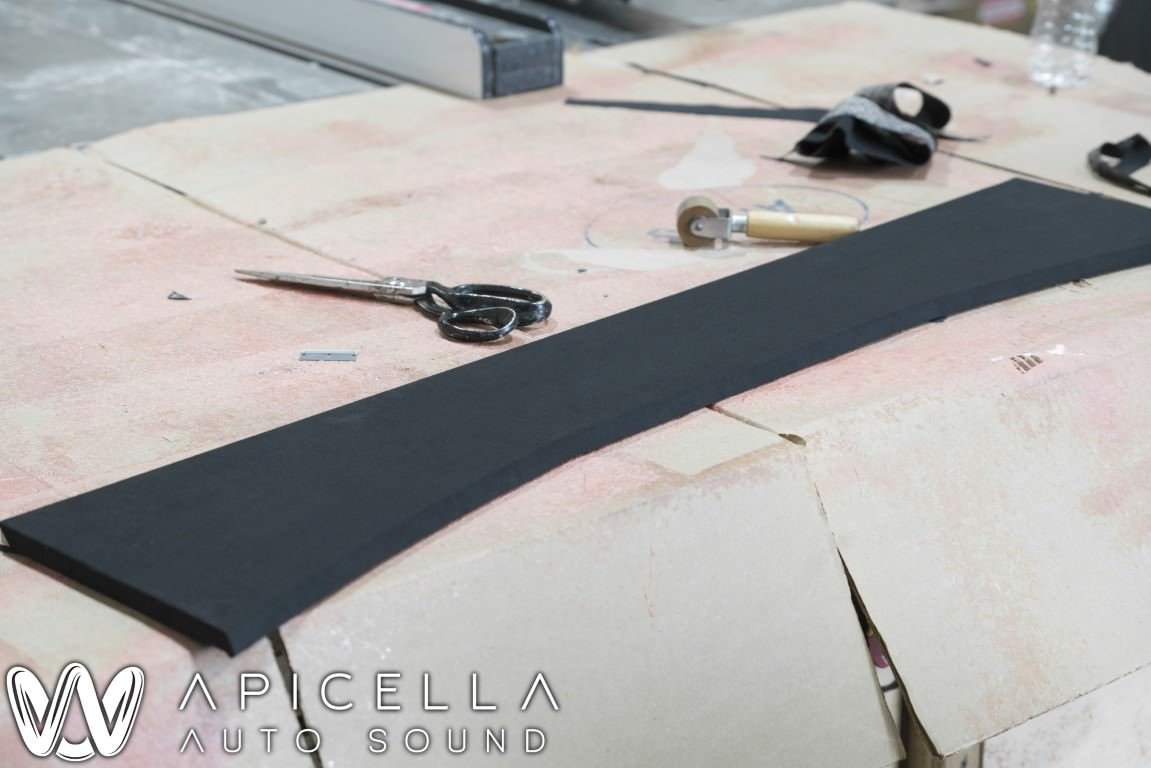
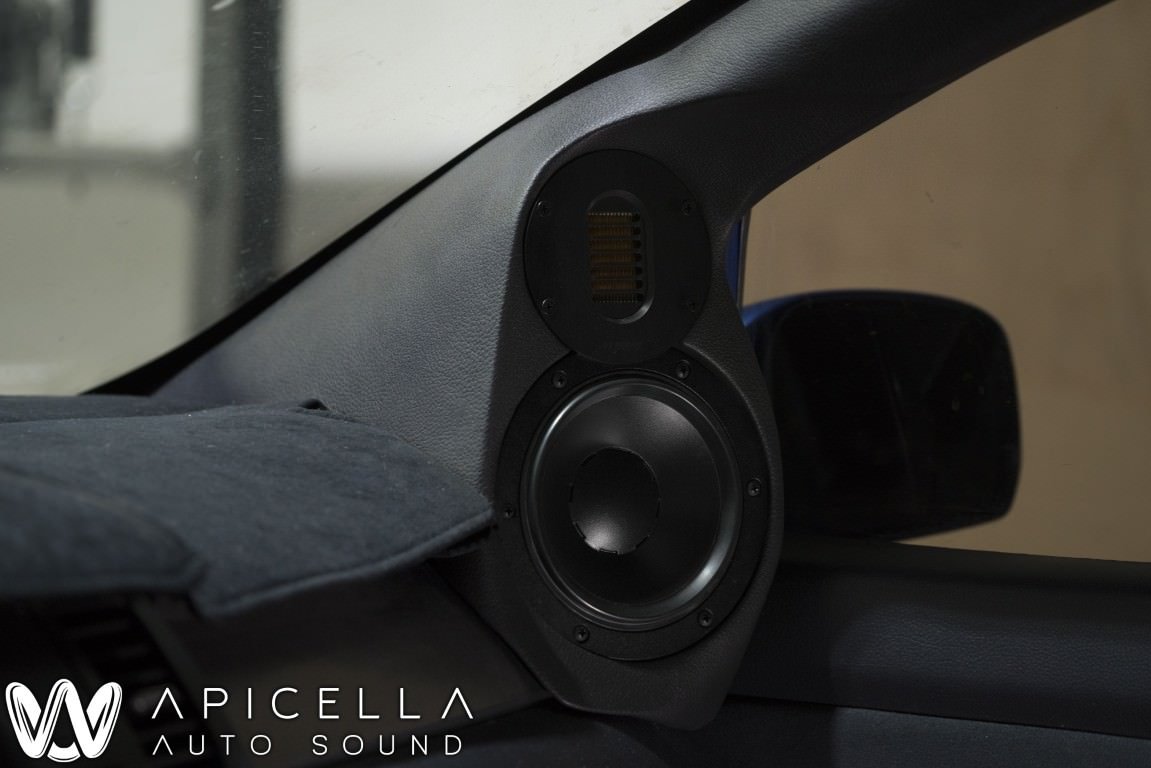
The midbass enclosures with grills. The grill was made out of a negative of the birch baffle, and protects the driver with a steel grill which is all wrapped in grill cloth for aesthetics and to keep out dirt. These were vented from the back into the frame rail of the car to keep it in the MECA modified class. The pillars with the new mids wrapped in matching headliner, and the sails were wrapped with matching vinyl on the front, and black suede on the back sides where it meets the a-pillar as well as the window.
The ODR transport. Just beautiful.

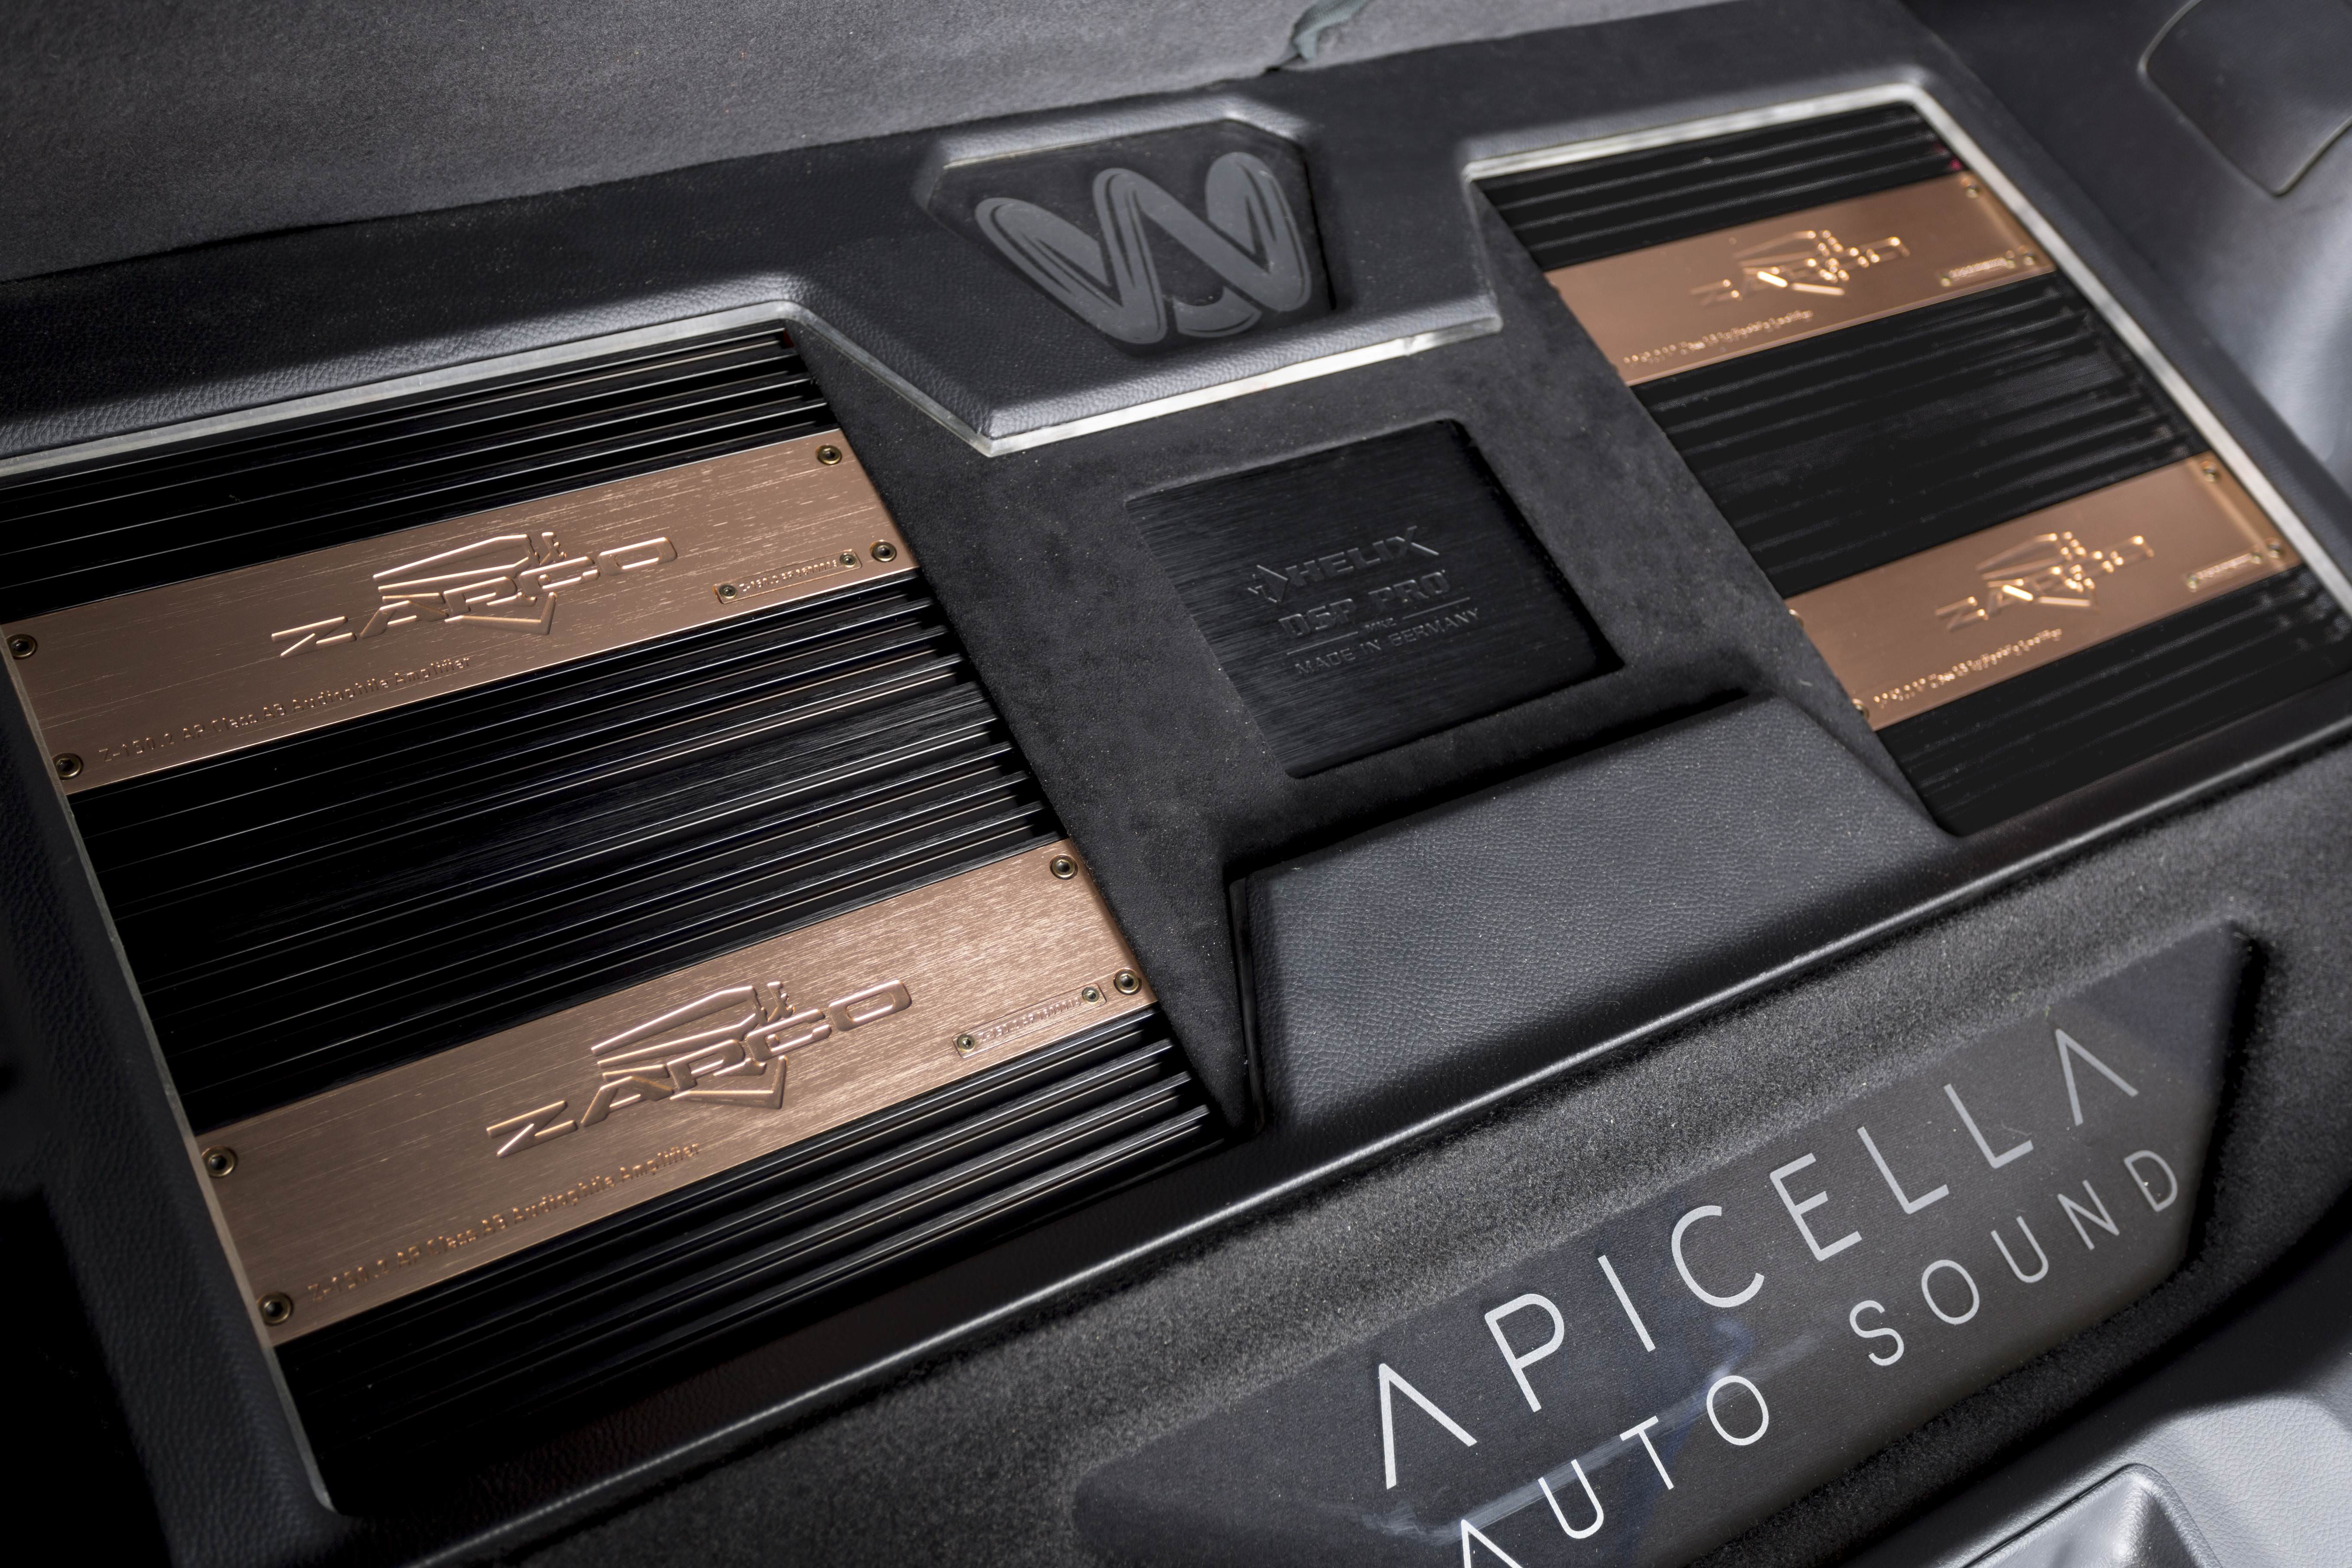
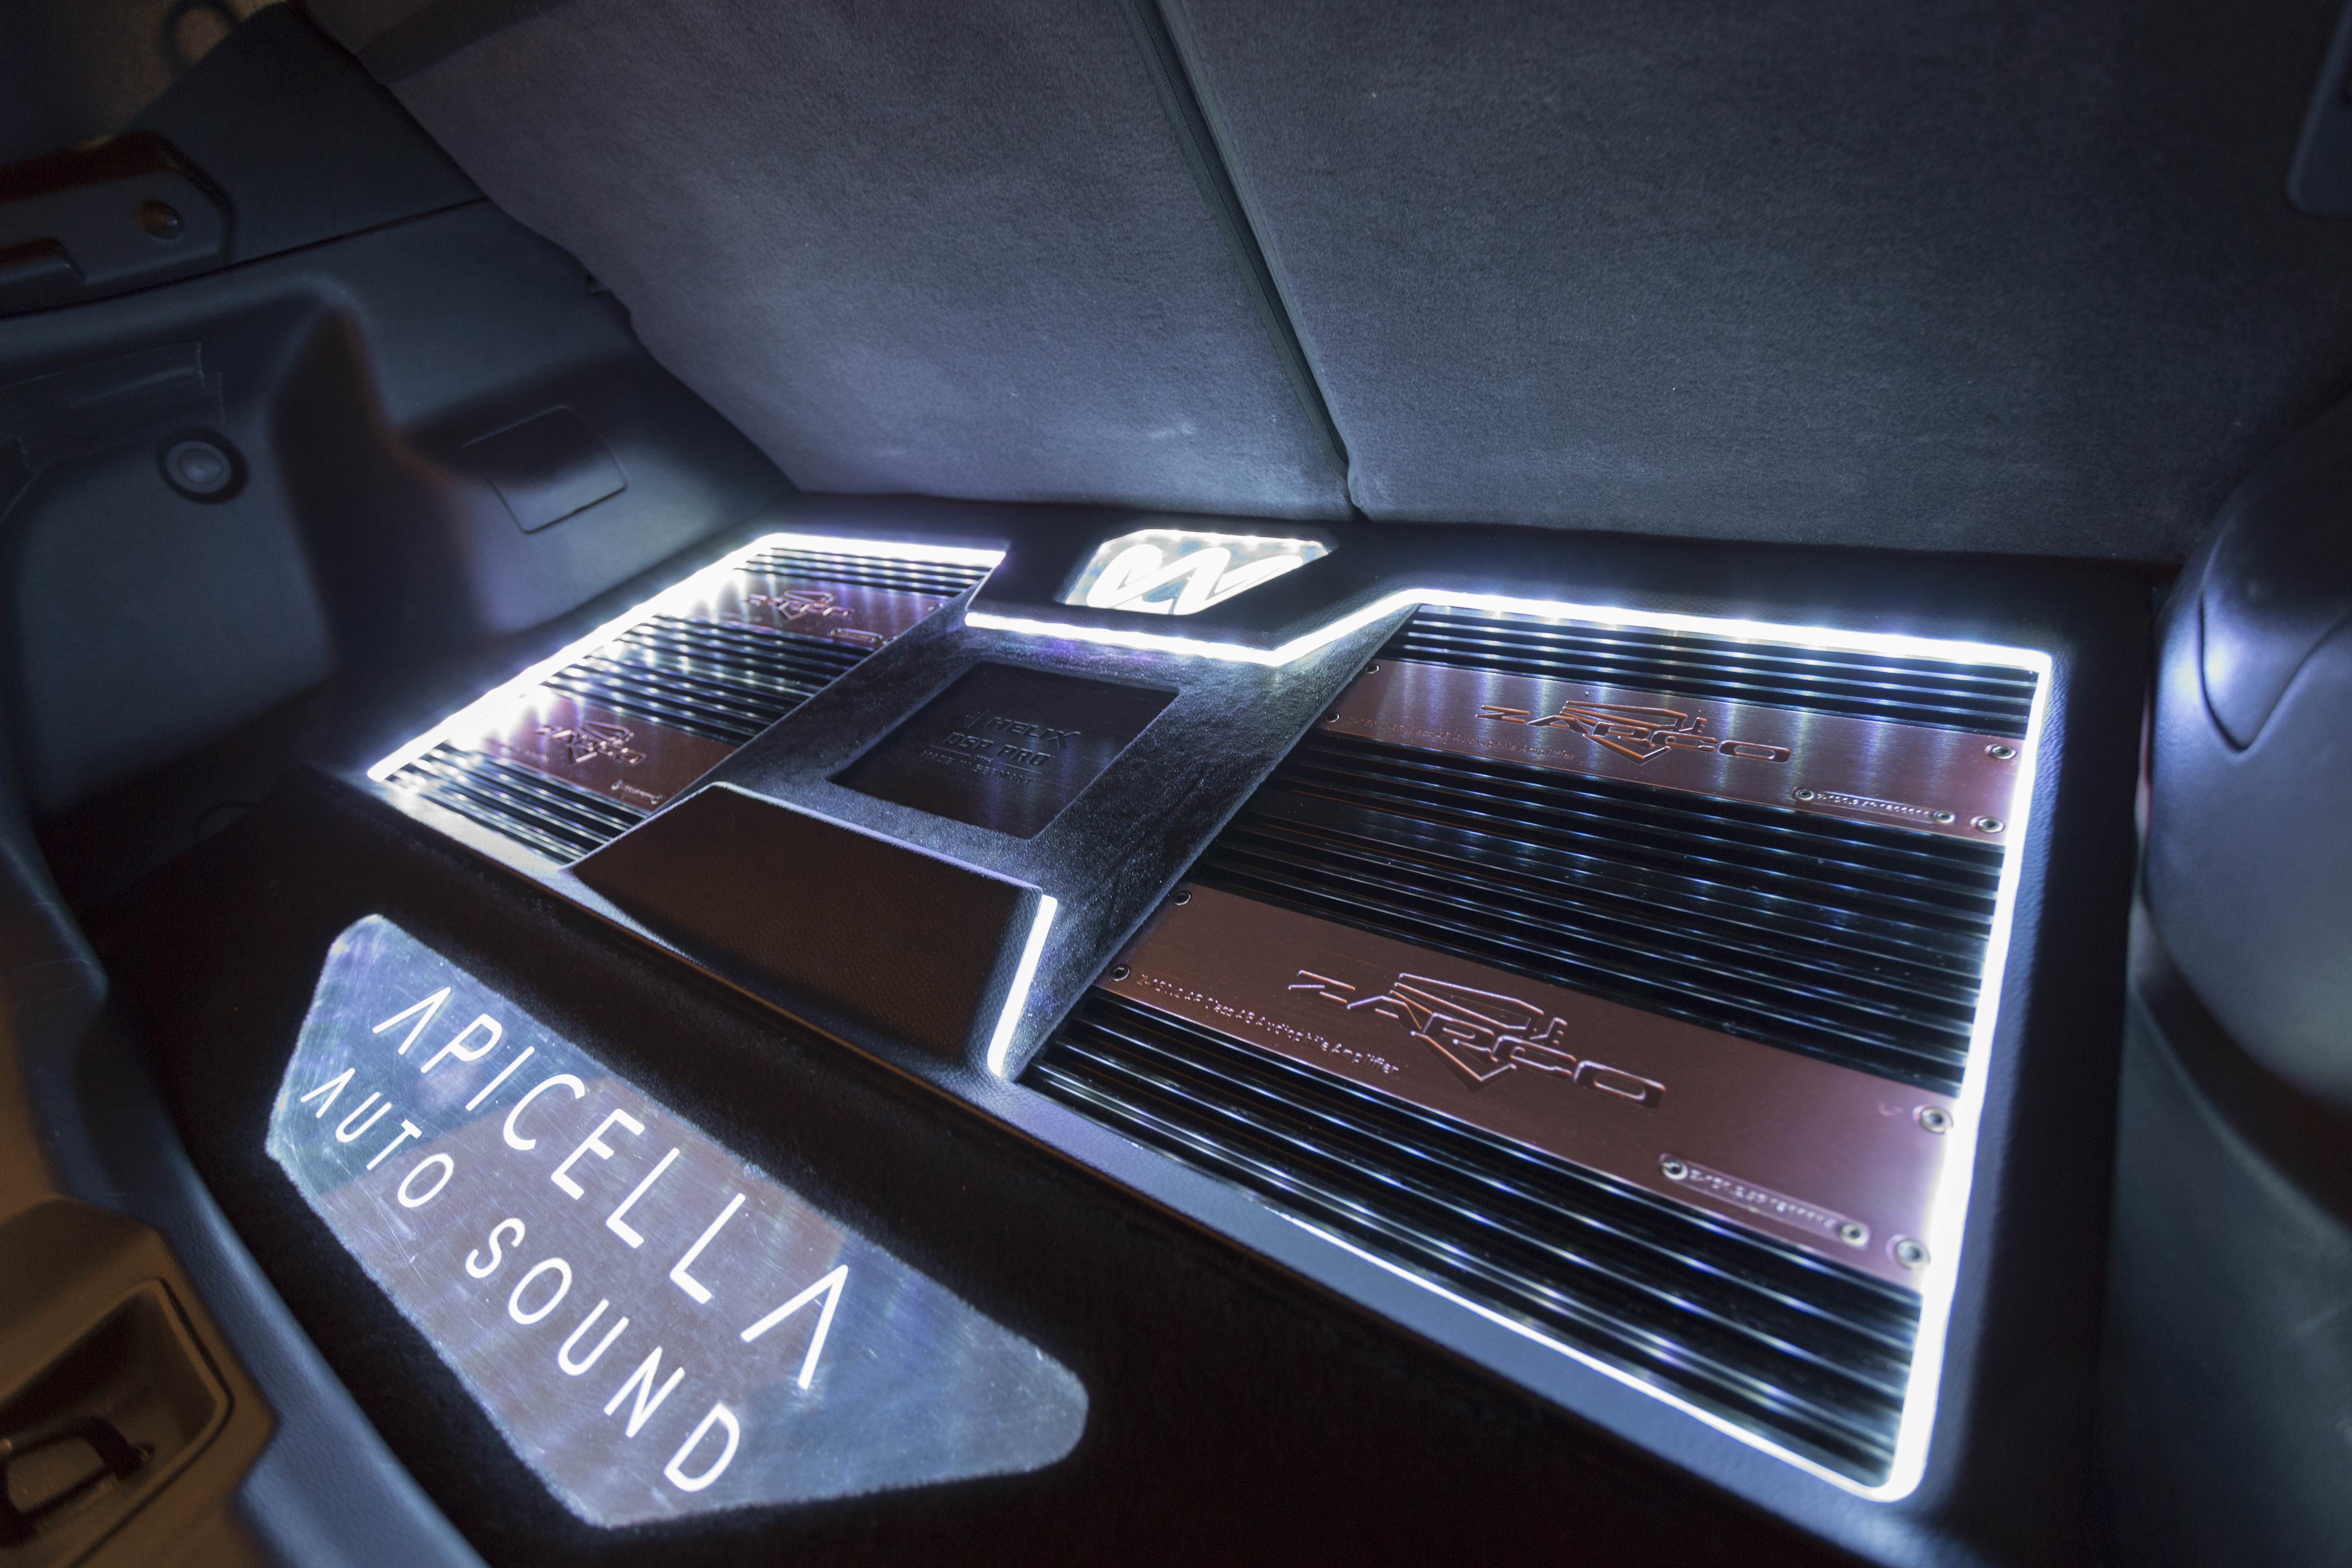
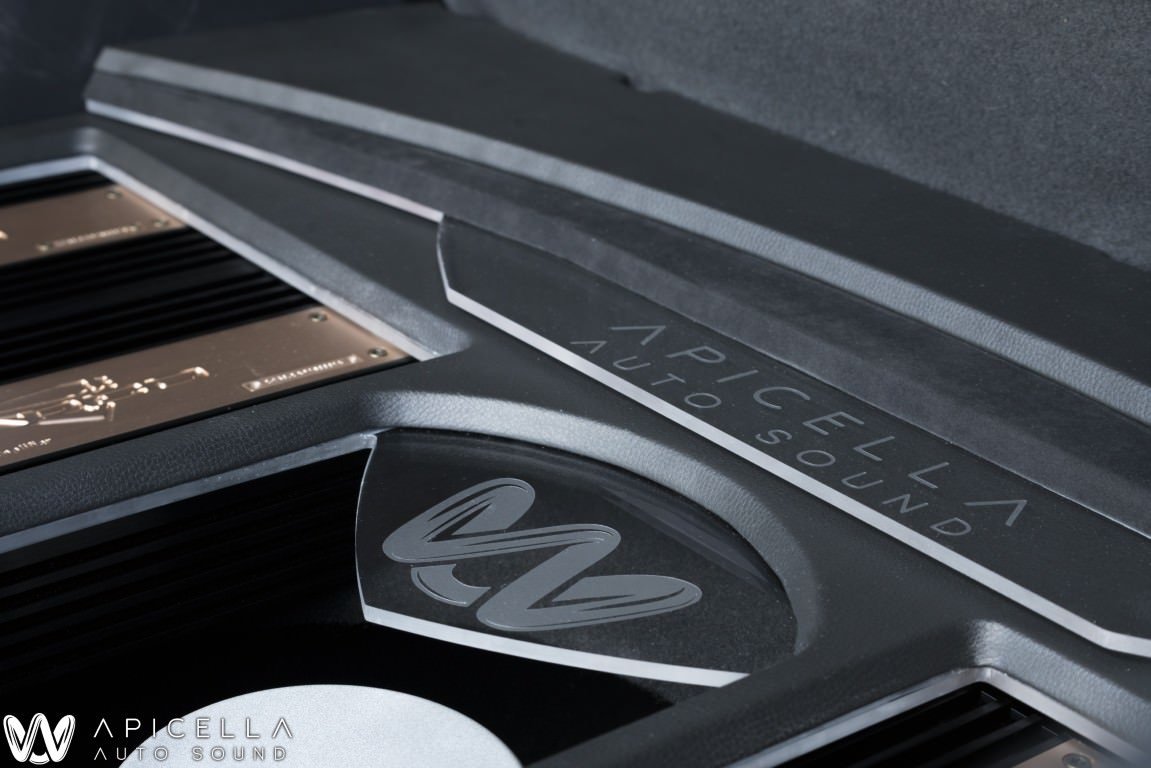
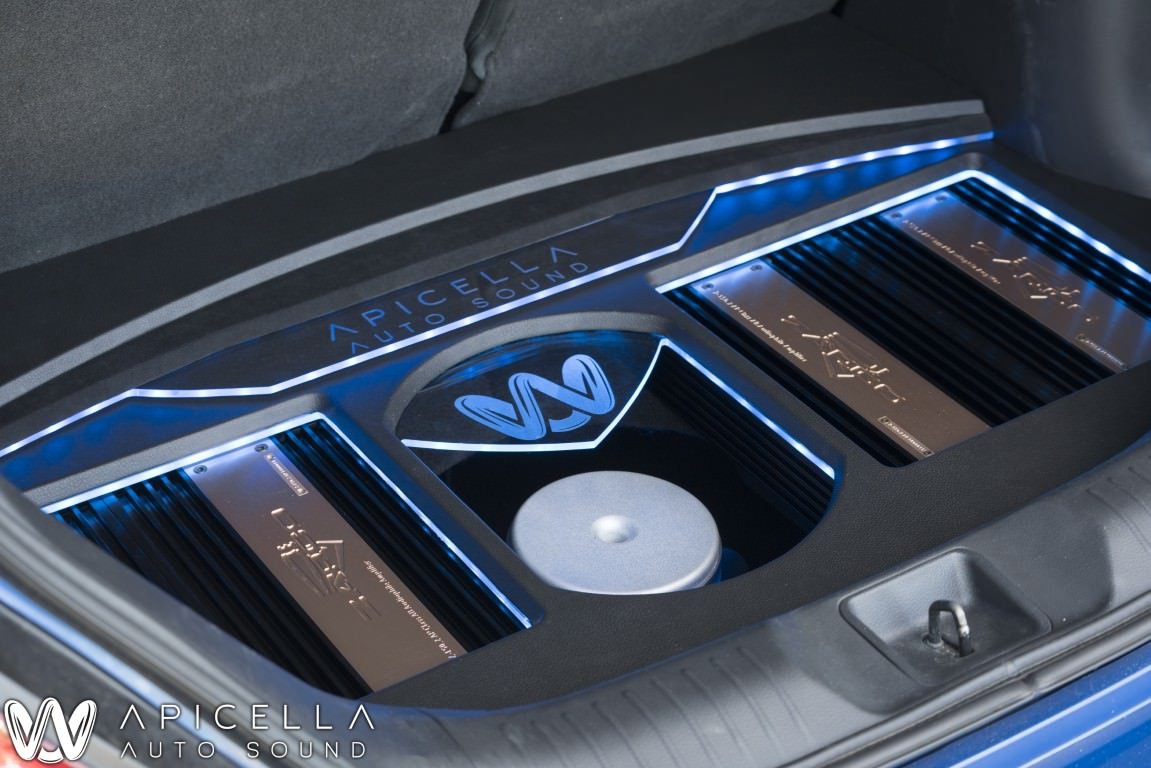
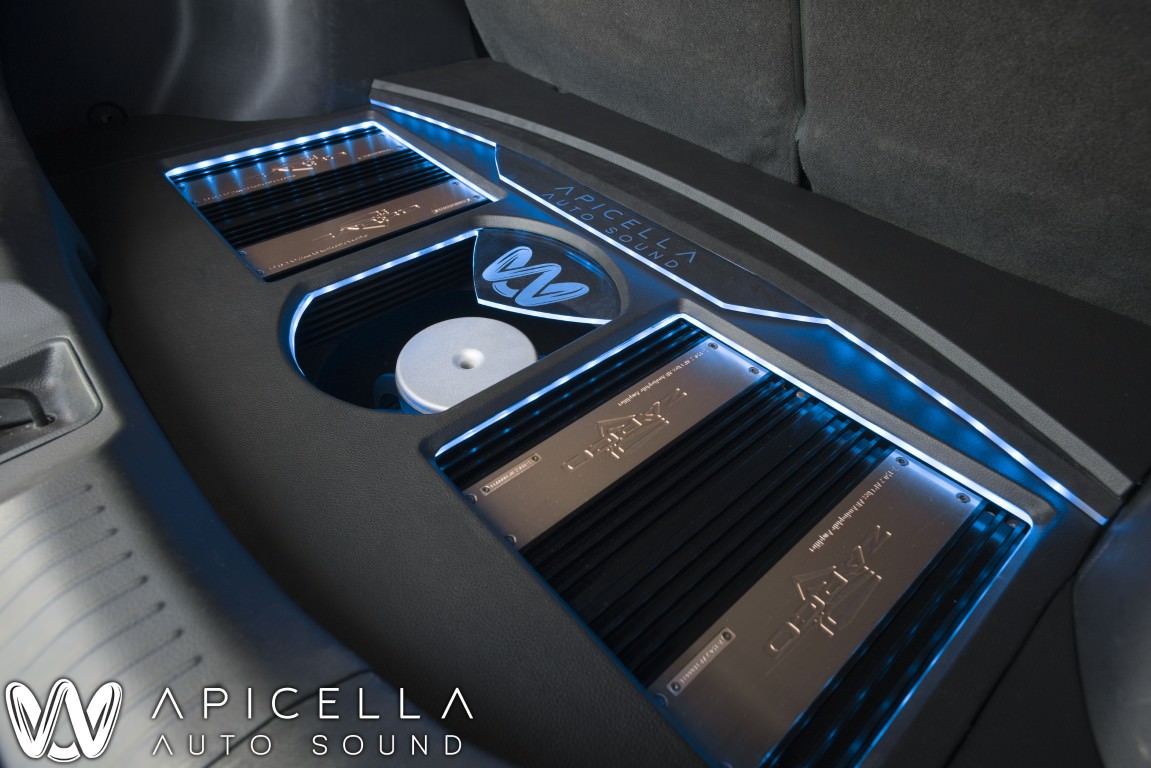
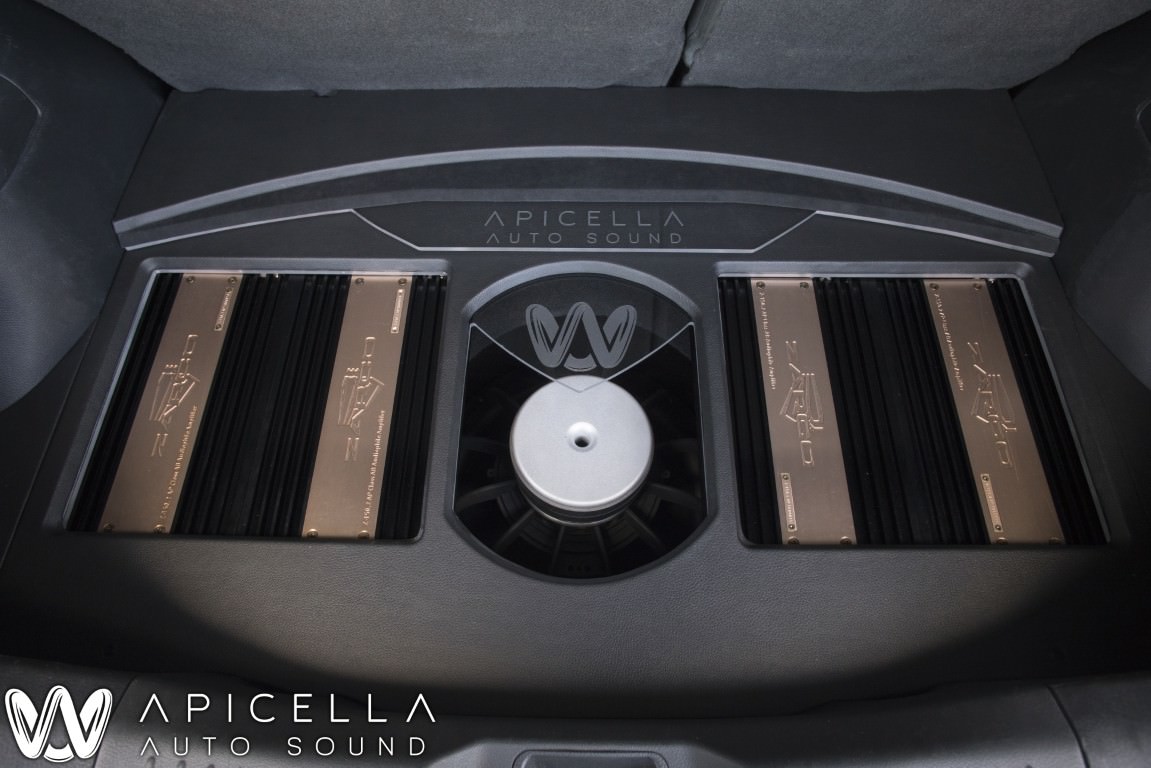
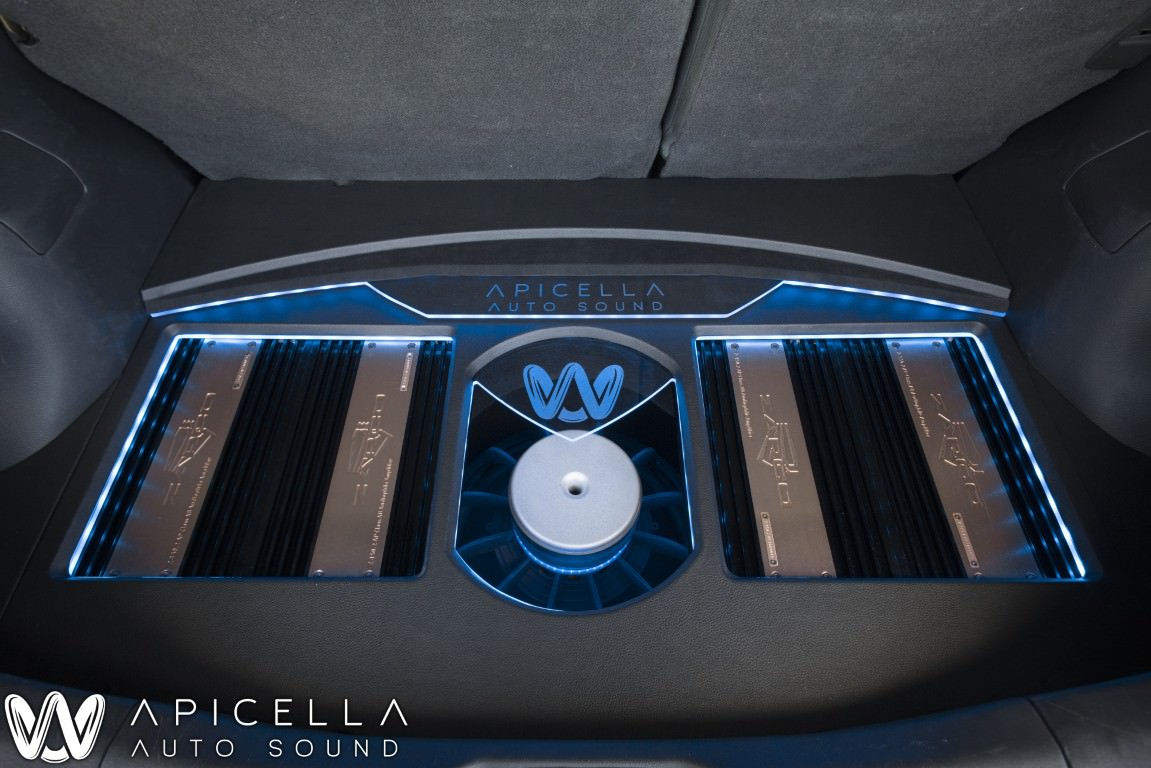
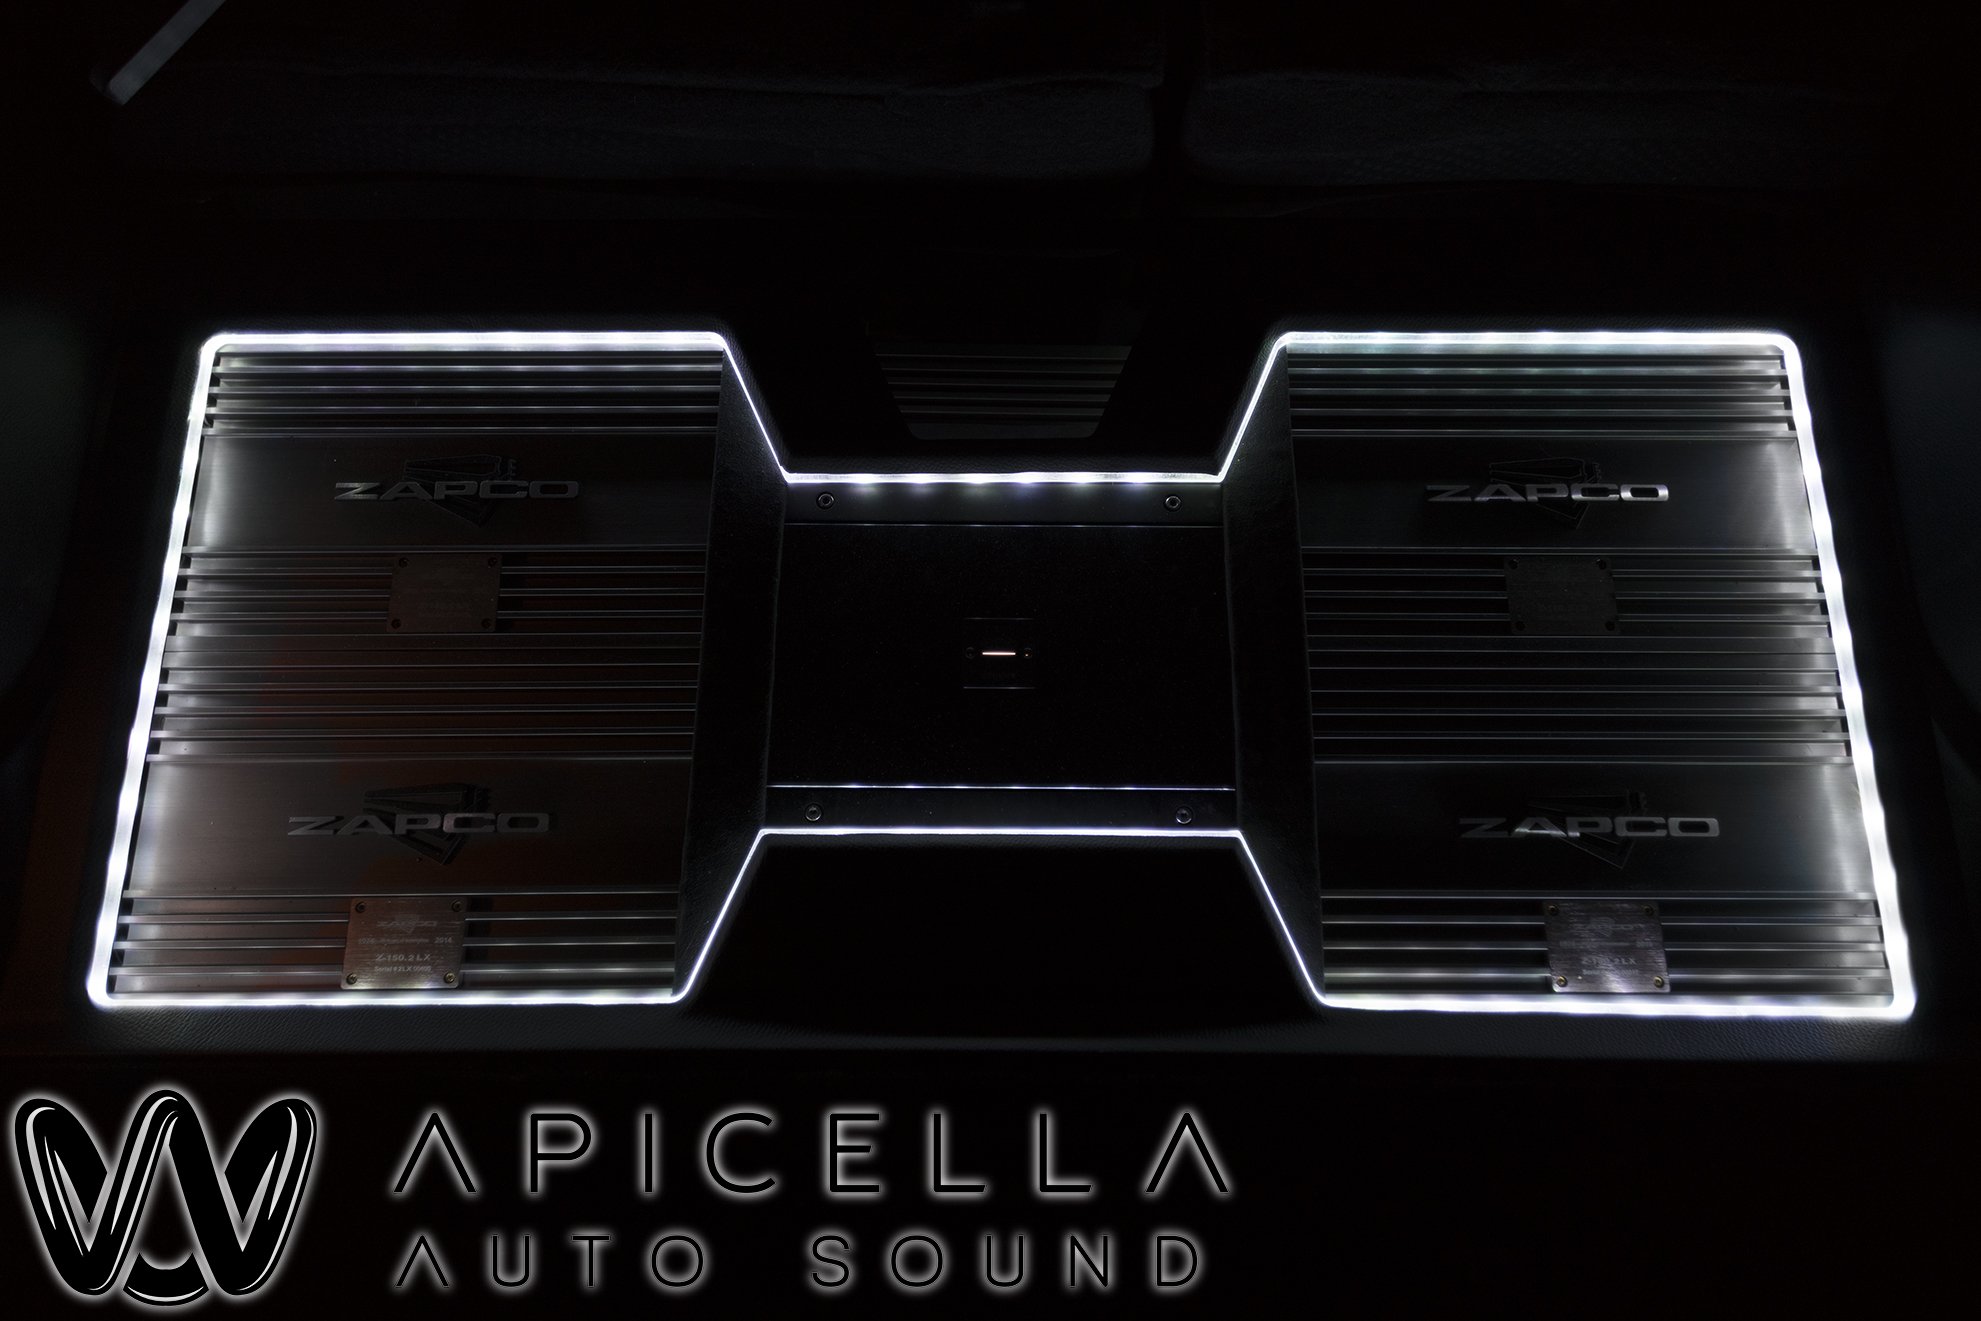
the trunks finished product. (excuse the finger smudges on the acrylic. forgot to clean them before photos. oops)
Maybe 5 years ago, I saw that there was a car audio competition only 3 hours away from me (thats reasonable for NY). This is back when i first started helping at a shop and didnt know to much so this was all very new to me and i was pretty shy and nervous when i went. Fortunately, i was introduced to Josh, who is the owner of this Nissan Versa. At the time he had a Kia with a badass install that sounded killer. He actually won MECA's Best of Best of Show that year at World Finals. Josh and the installers Tom and Steve were more than happy to talk about the car, as well as give me a demo. I was absolutely floored. I've never in my life until then heard something like it. I think that was the moment that got me to where i am now in this hobby/business. Fast forward 5 years, and i get a message from Josh wanting to update the install in his Nissan Versa. It was a pretty good feeling considering the story above. First, i must say the original install was awesome, and sounded incredible. But, Josh is a competitor. He wasnt ok with knowing he will go to world finals this year and not take first (there were a few cars in his class that were just better, even if it was only by a hair. But at this level, every little bit matters). He told me what he wanted to do, and i told him its on. At first he had a few Zapco Z-150.2LX amps for the front speakers (Morel Elate Ti 6.5 and morel hybrid integra 4), a Z-150.2 for the sub, and a ST-2X for rear fill. This was all controlled by an Alpine radio with optical out to a Helix Pro DSP. Many know that the Helix, and the other equipment is about as good as it gets in their respective categories, but josh wanted more. In comes a Carrozzeria ODR RS-D7xIII CD transport with the ODR RS-P99 processor, and an all scanspeak front stage, with 4 of the Z-150.2LX amps for the front stage, and some new speaker locations. Kick panels for midbass, and custom sail panels for the tweeters.
***NOTE***
Unfortunately, i wasnt very good this time around in terms of staying on top of photos of progress. I pretty much only have starting and finishing photos and not much detail in between. After a while you kinda just forget :/
Here is the trunk and a-pillars when it came to me. Done by one of the best when it comes to high end, sound quality car audio.
The Carrozzeria ODR Combo, and one of the Zapco Z-150.2LX amps
After the install was done by the initial shop, Josh had other shops do some work like adding rear fill. After a bunch of installers were in and out of this car, the wiring had kinda gone south and needed a good amount of going through and reorganization.
First up was the "sail panels". In this car, there is no sail panel from the factory. So i decided to make one. First mold was made of the door frame, door panel, and window. The next mold was with the door closed and mated up to the A pillar.
And here we have the finished product. (like i said, im short on photos :/ ). They are secured to the car with riv nuts and Stainless security screws. The window still fully functions with these in place.
The a pillars flush mount needed to be widened to accept the new, and slightly larger mids. The Scanspeak Revelator 12m.
Like all of my installs, each driver got XT60 quick disconnects, solder, and heatshrink.
Wiring for the relay to power the amps and LED's
Scanspeak Discovery 22W 8" midbass with xt60 connector soldered and heatshrunk on its pigtail. Do not sleep on these midbass. Very efficient, can play high, can dig low, only needs 0.5 cubic feet.
Mold of the kick panel was made, pulled, then strengthened with a layer of carbon fiber, more layers of fiberglass, and another couple layers of carbon fiber. The baffle is made out of 2 pieces of 3/4" Birch
The new amp rack wired up for testing and tuning.
Some teasers of the (almost) finished product.
The midbass enclosures with grills. The grill was made out of a negative of the birch baffle, and protects the driver with a steel grill which is all wrapped in grill cloth for aesthetics and to keep out dirt. These were vented from the back into the frame rail of the car to keep it in the MECA modified class. The pillars with the new mids wrapped in matching headliner, and the sails were wrapped with matching vinyl on the front, and black suede on the back sides where it meets the a-pillar as well as the window.
The ODR transport. Just beautiful.
the trunks finished product. (excuse the finger smudges on the acrylic. forgot to clean them before photos. oops)