2016 VW Golf R - Revised Again. Audio Development, Scanspeak, Satori, Sony

  • 4
    Participant count
  • Participant list

SkizeR
10+ year member

Member
218
57
New York
Some of you may remember this install i previously did in a 2016 VW Golf R..

http://www.caraudio.com/forums/car-audio-build-logs-cars-trucks-suvs/634060-2016-volkswagen-golf-r-rebuild-audiofrog-brax-helix-illusion-audio.html

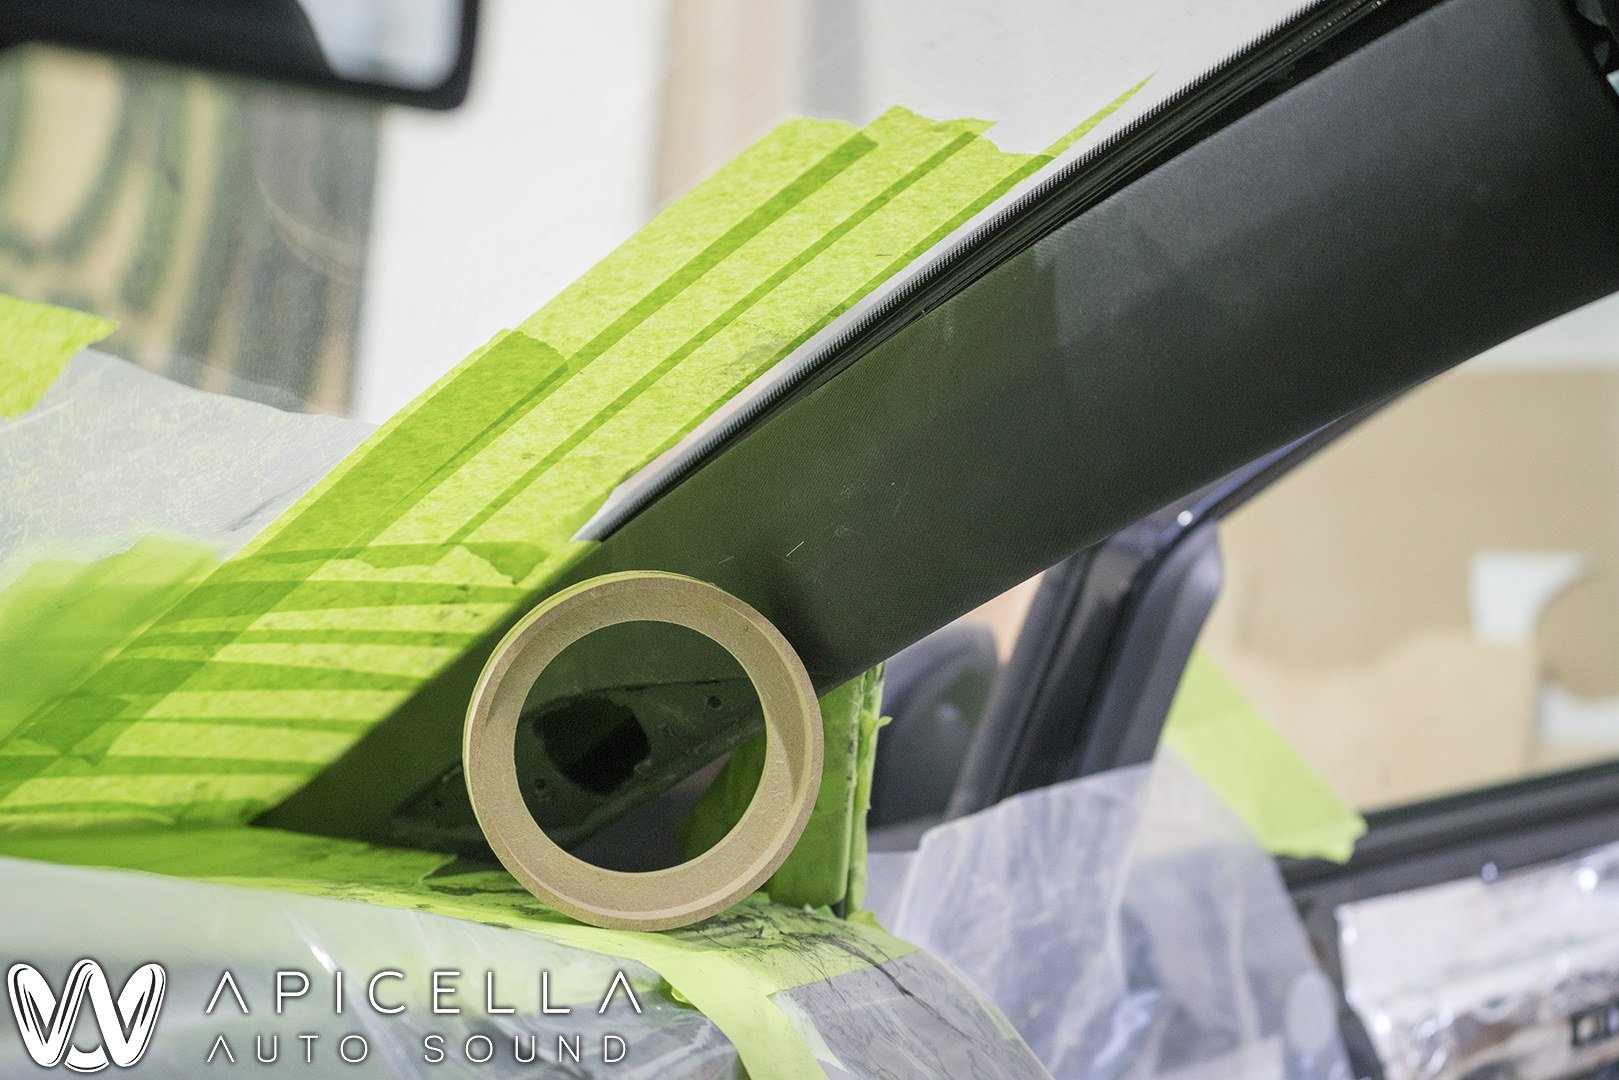
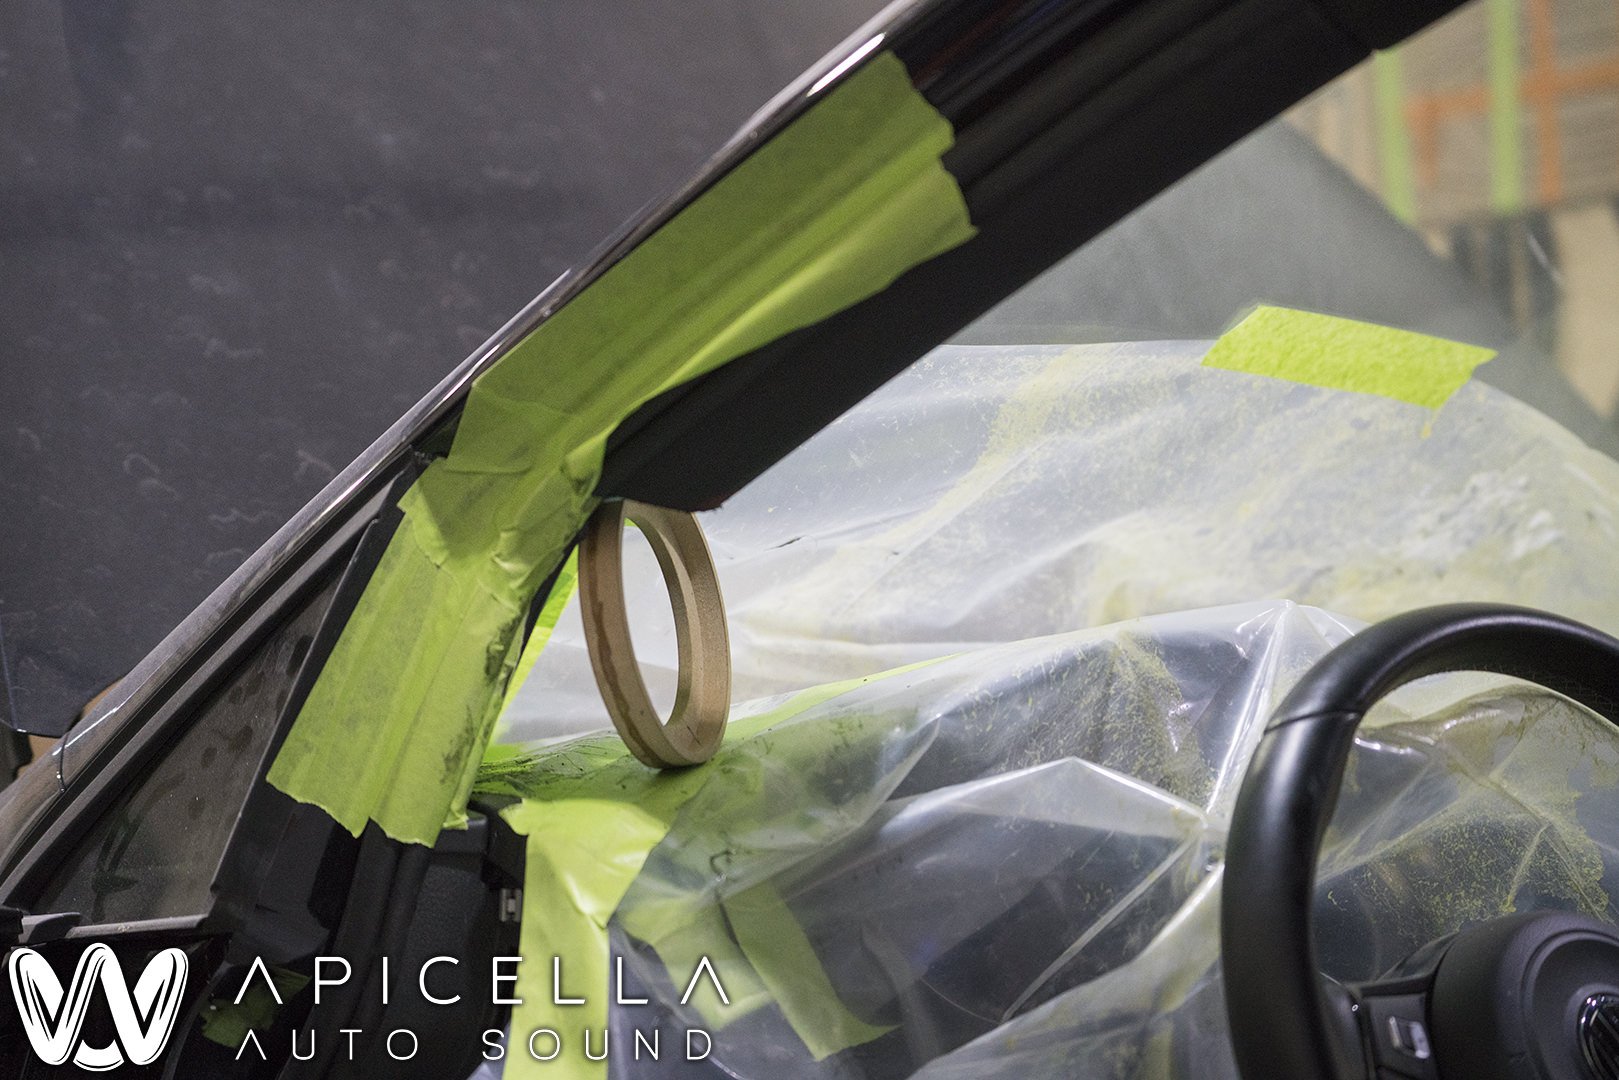
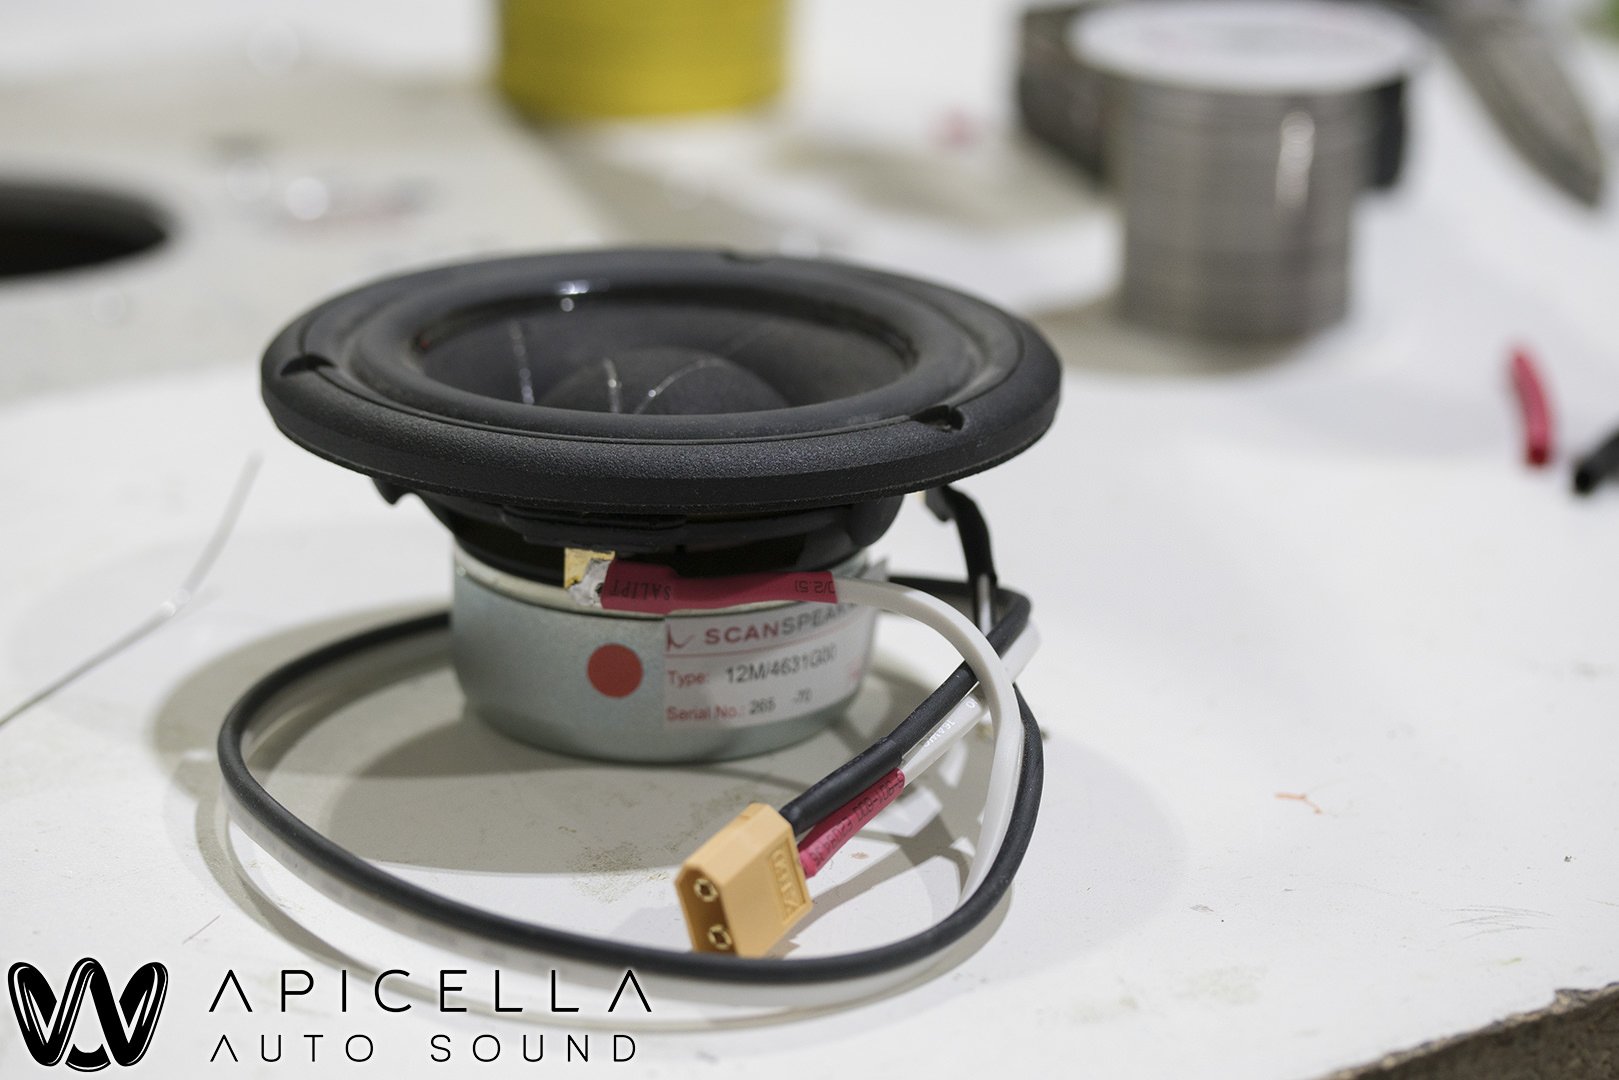
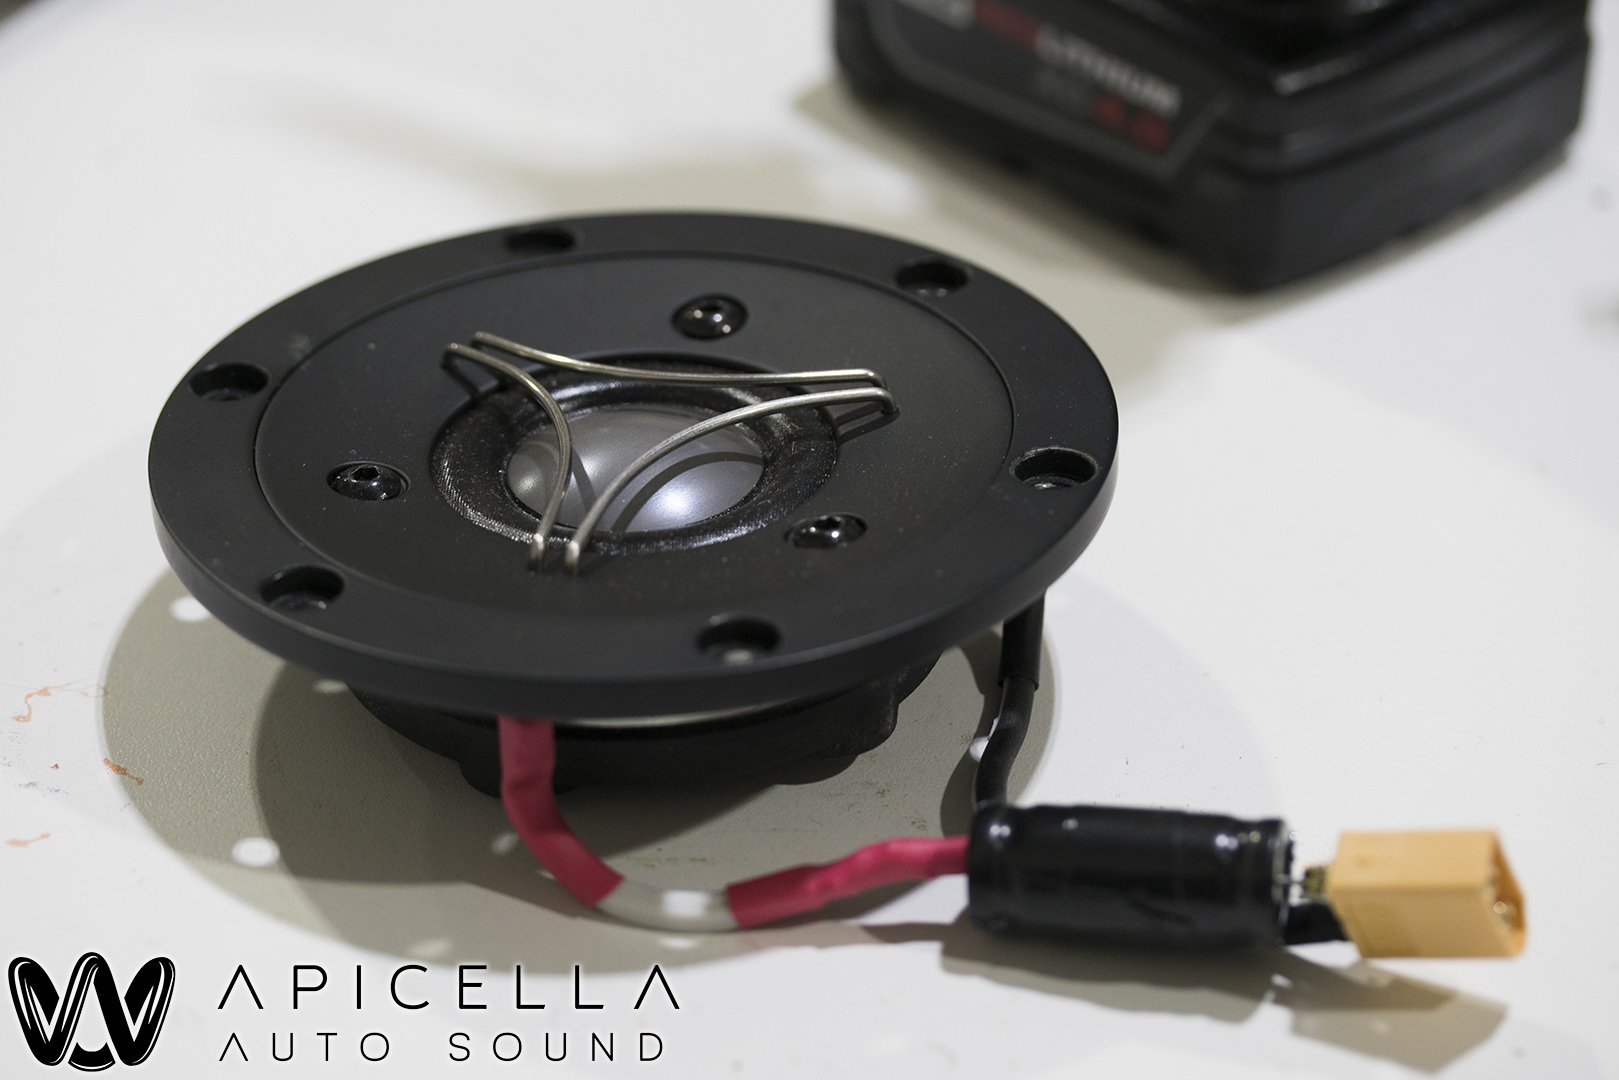
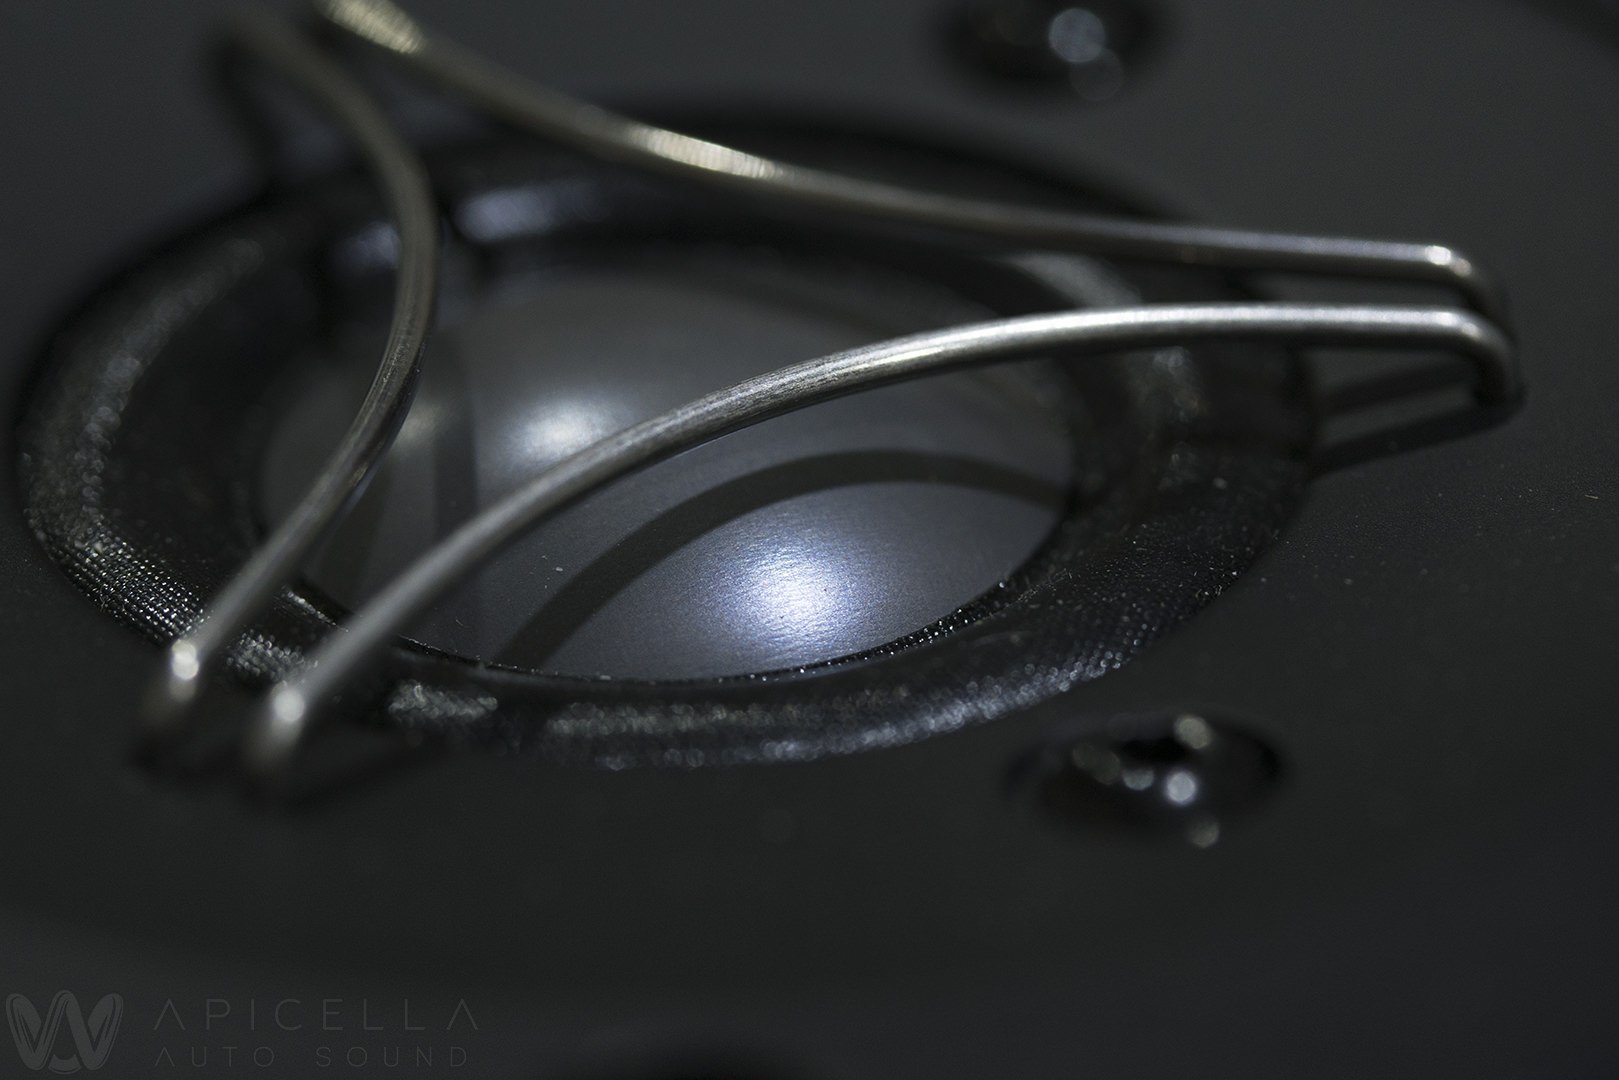
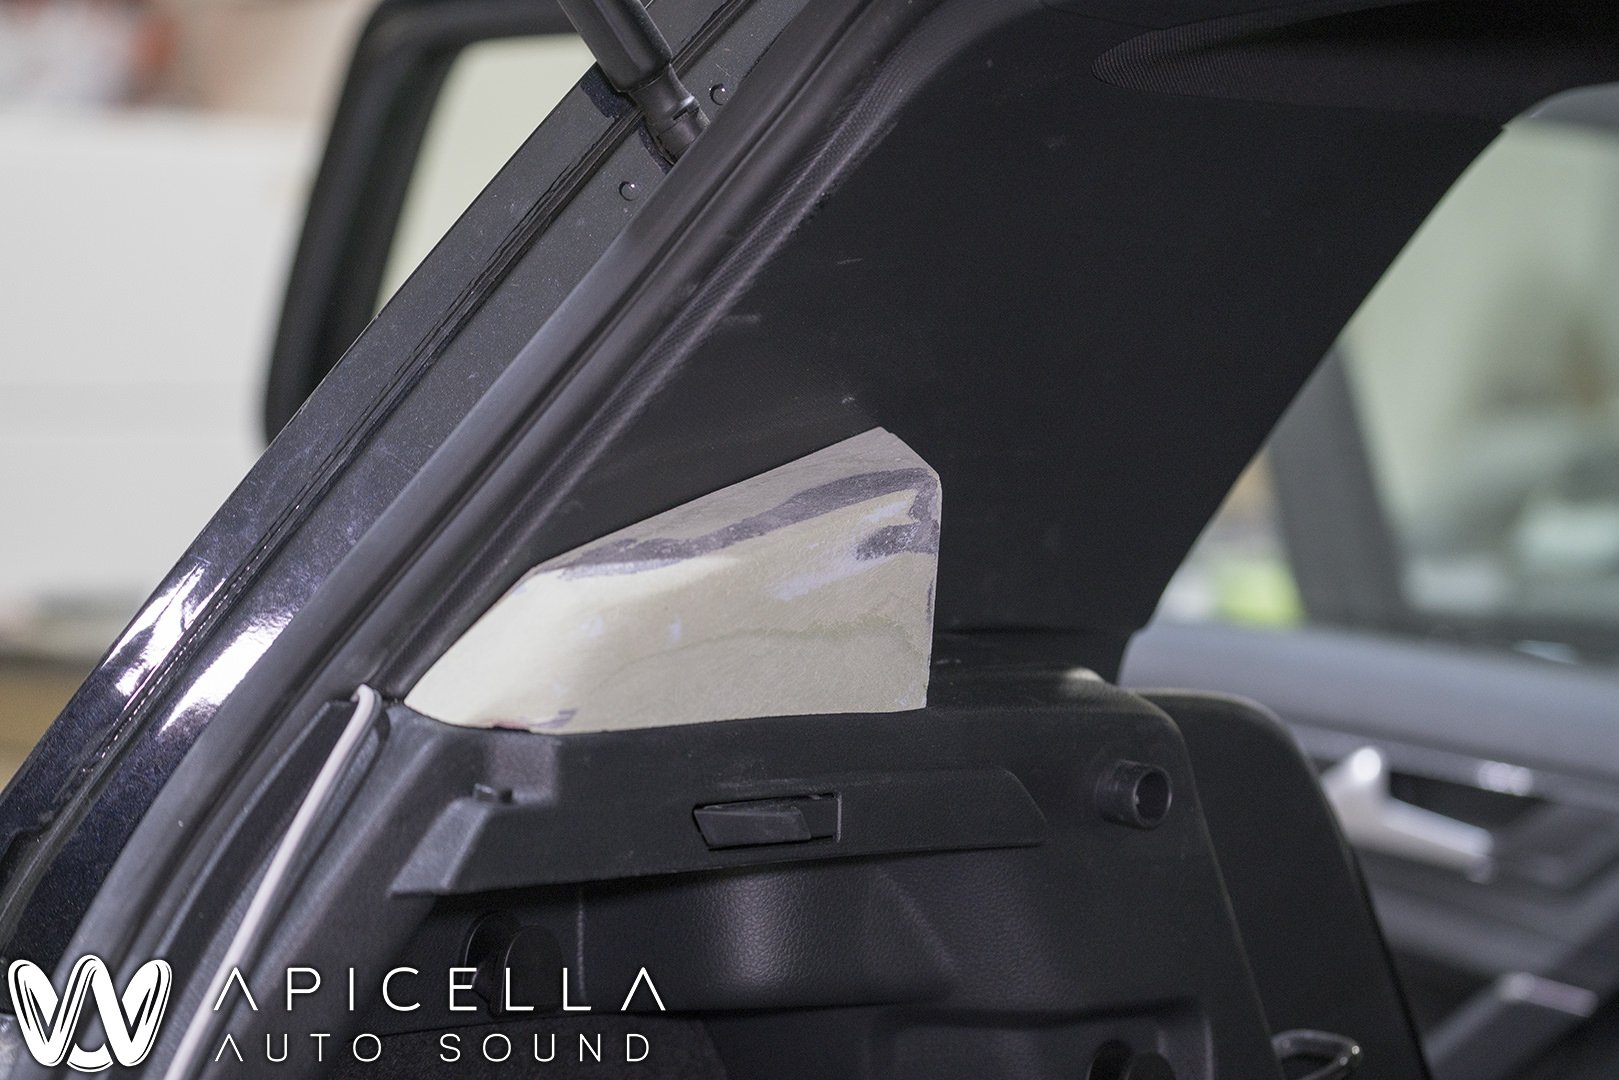
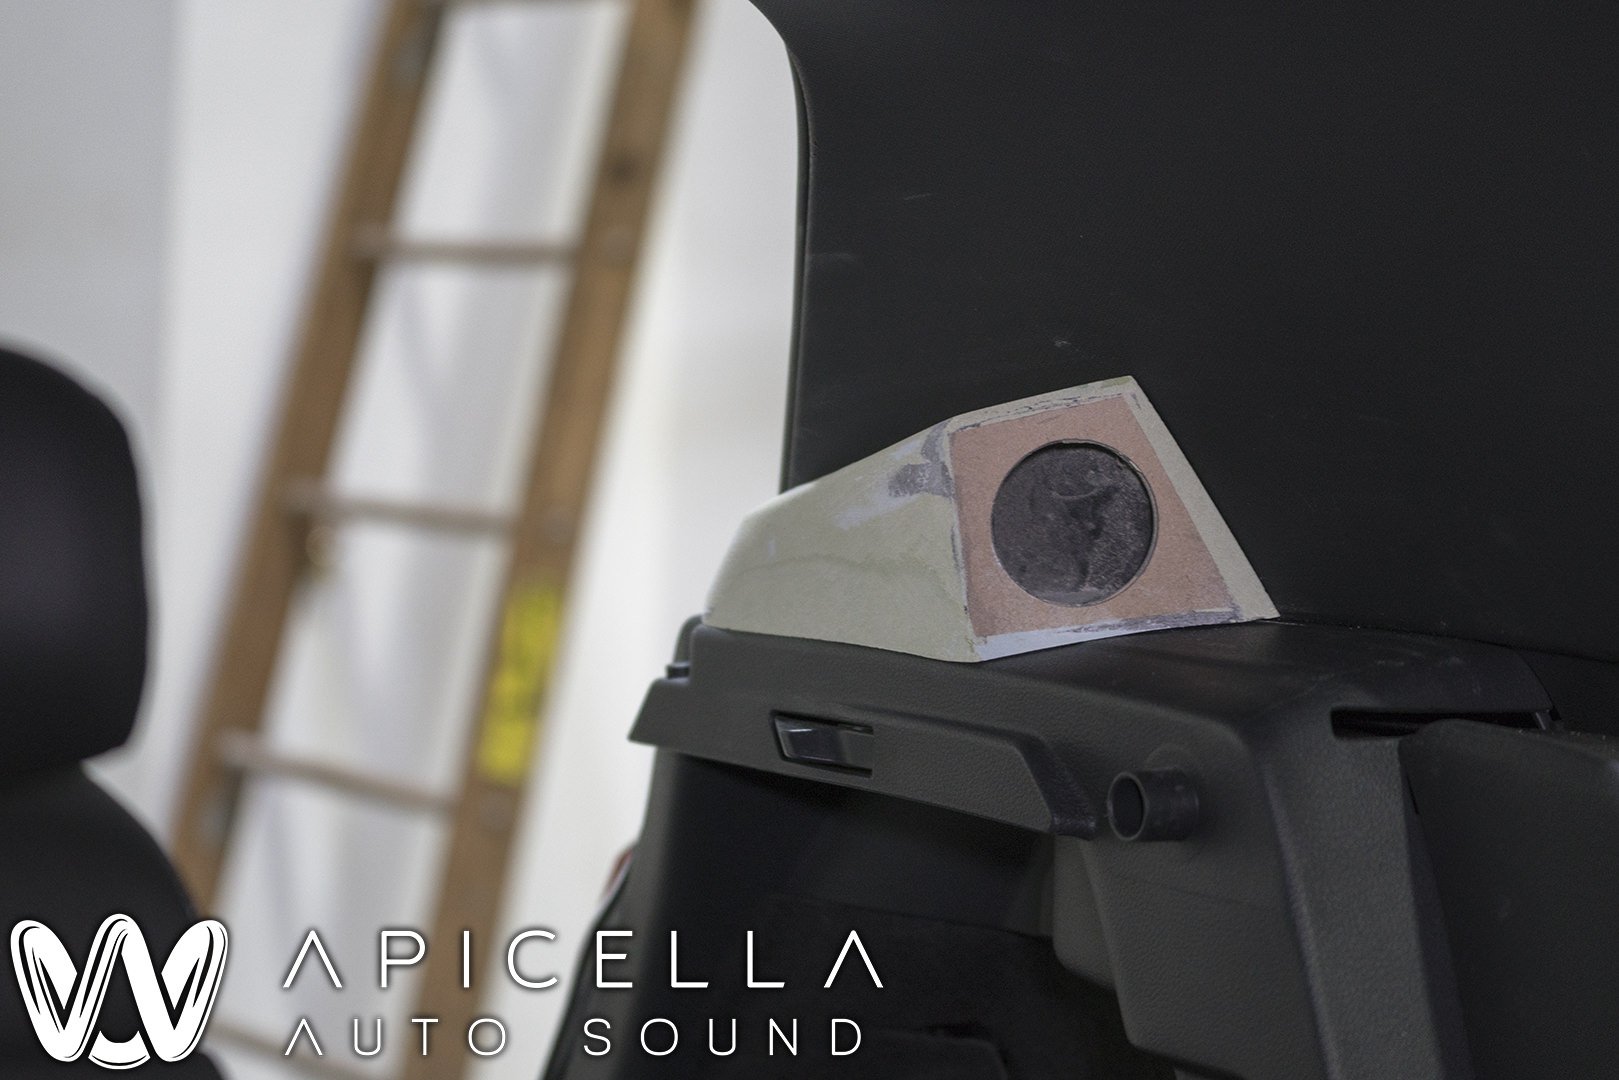
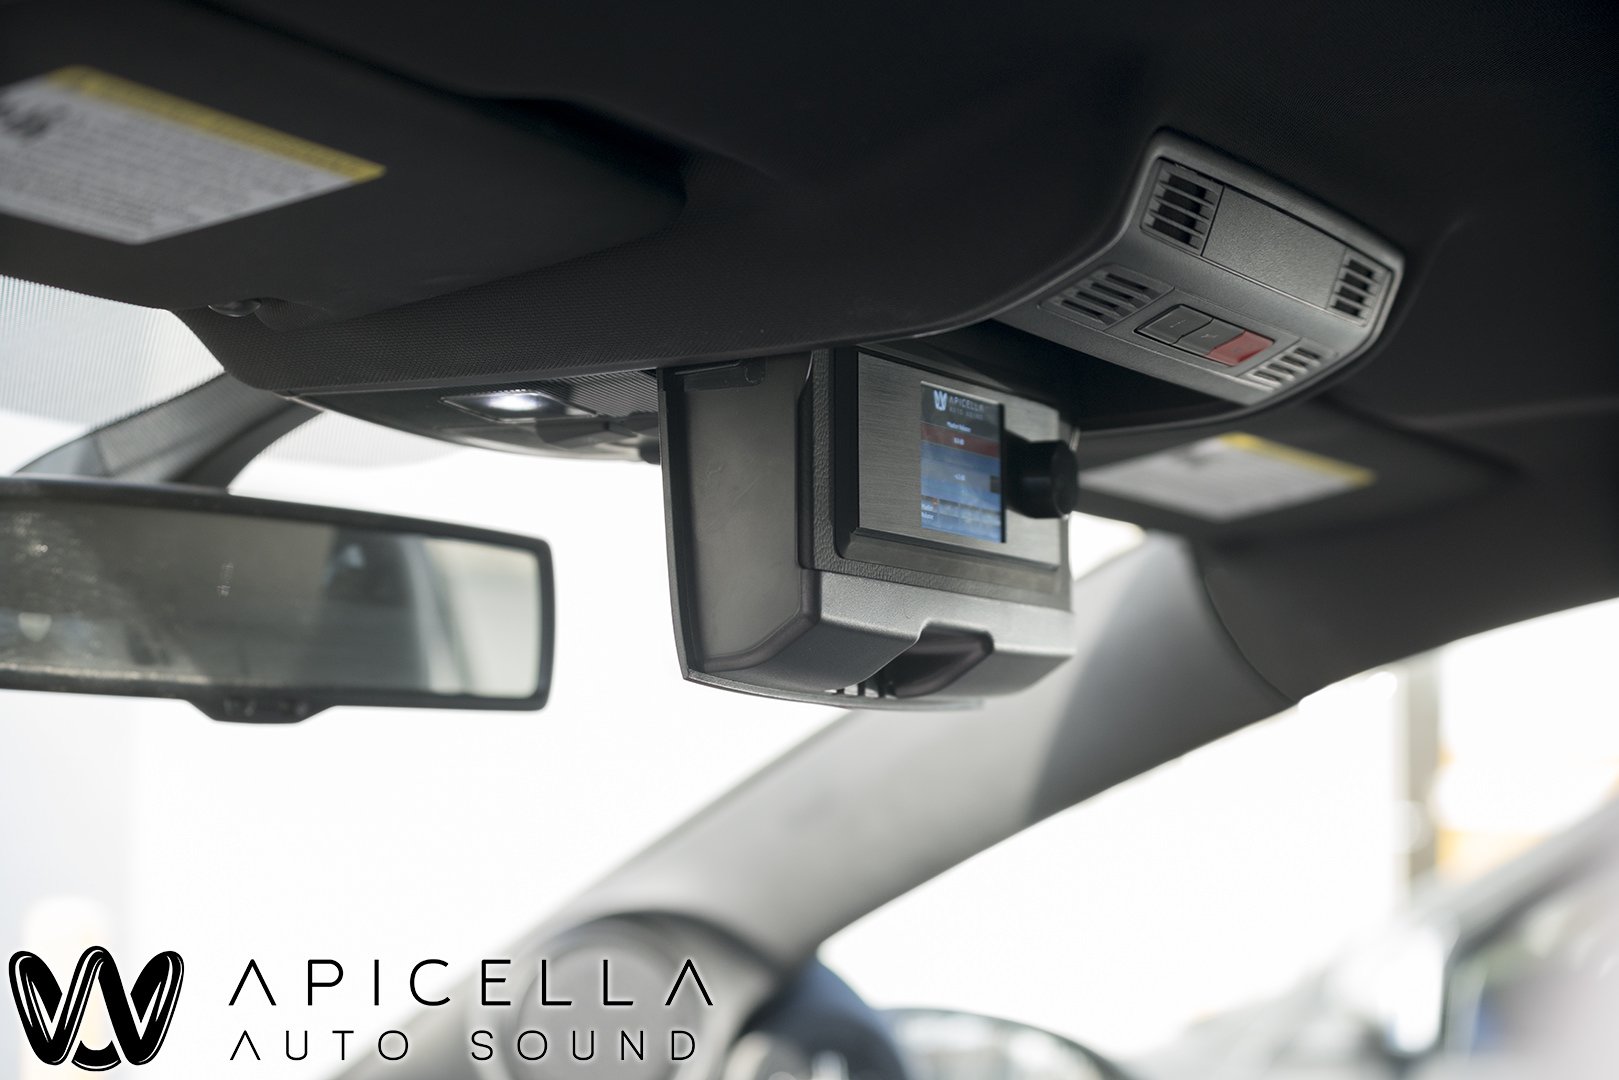
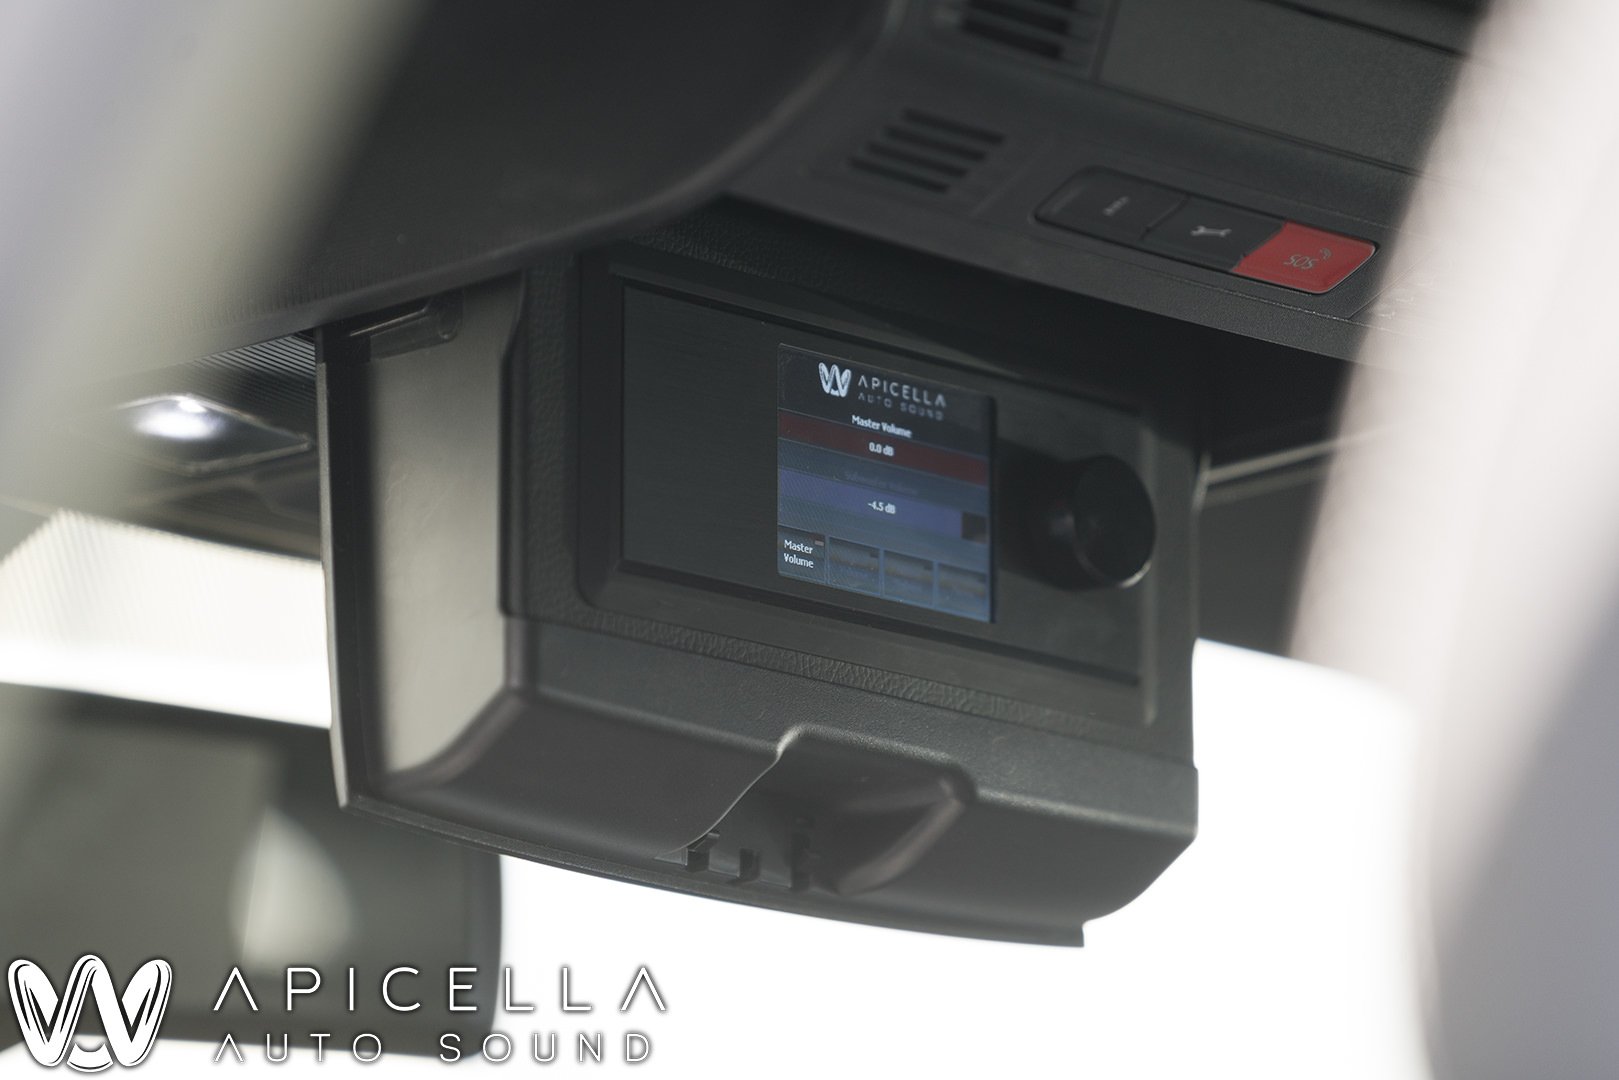
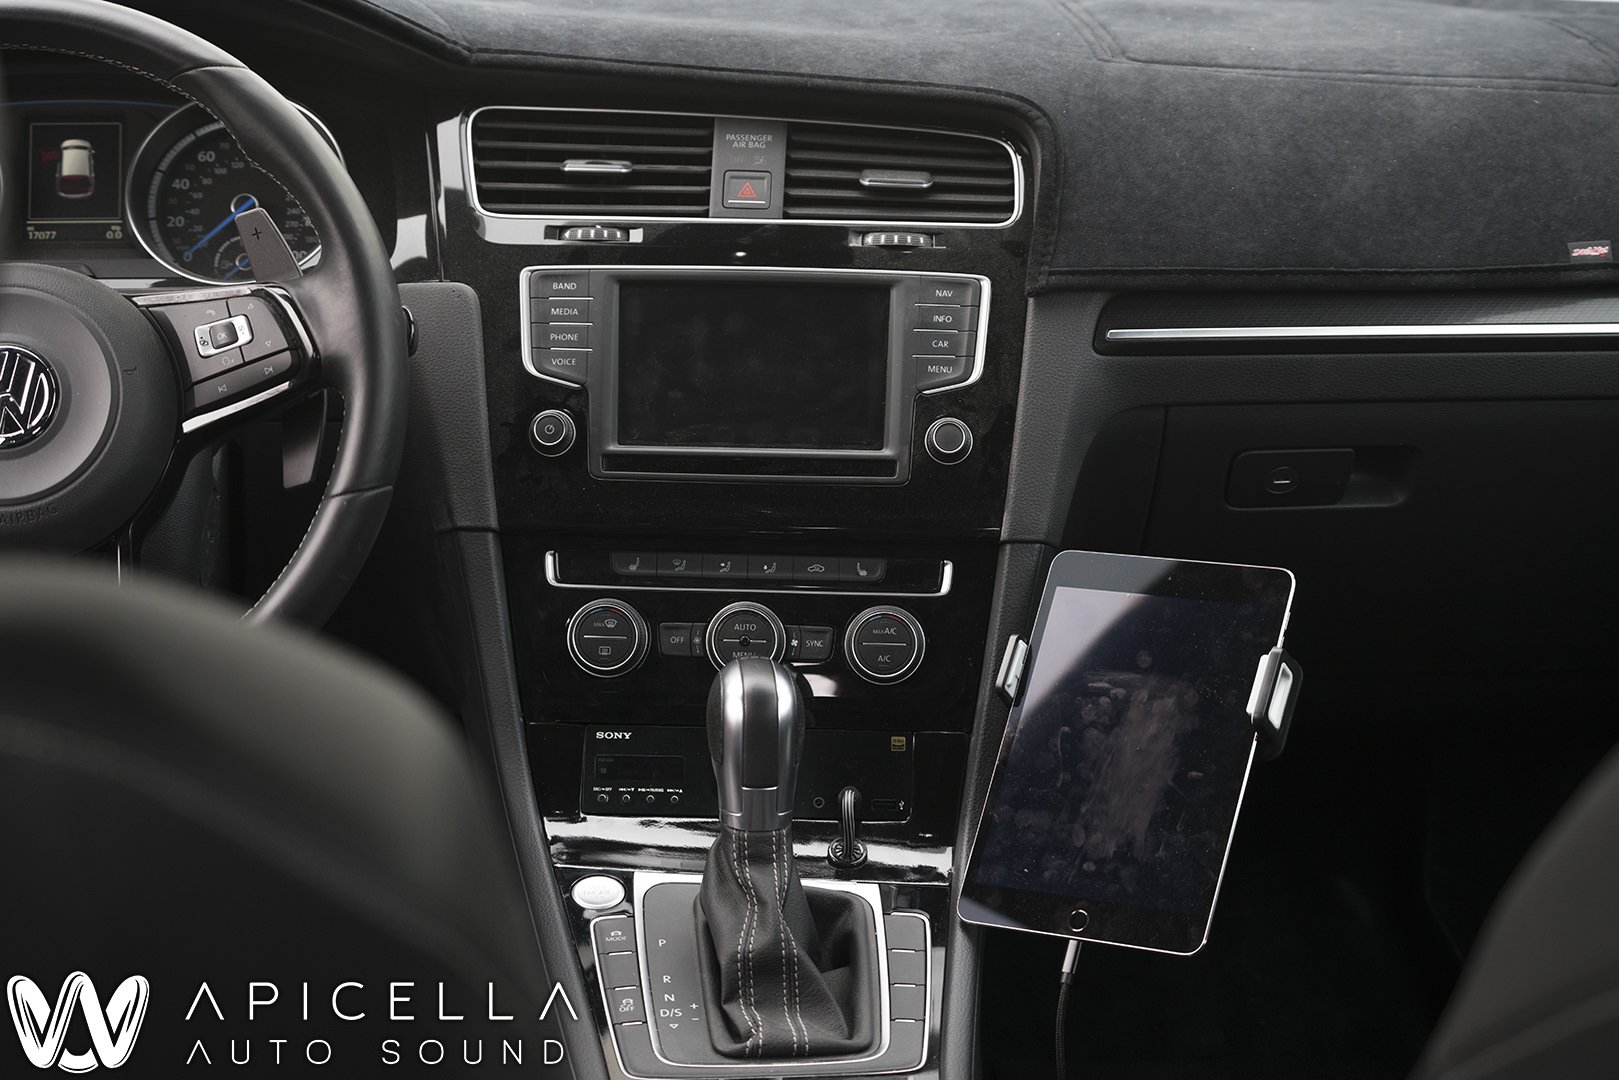
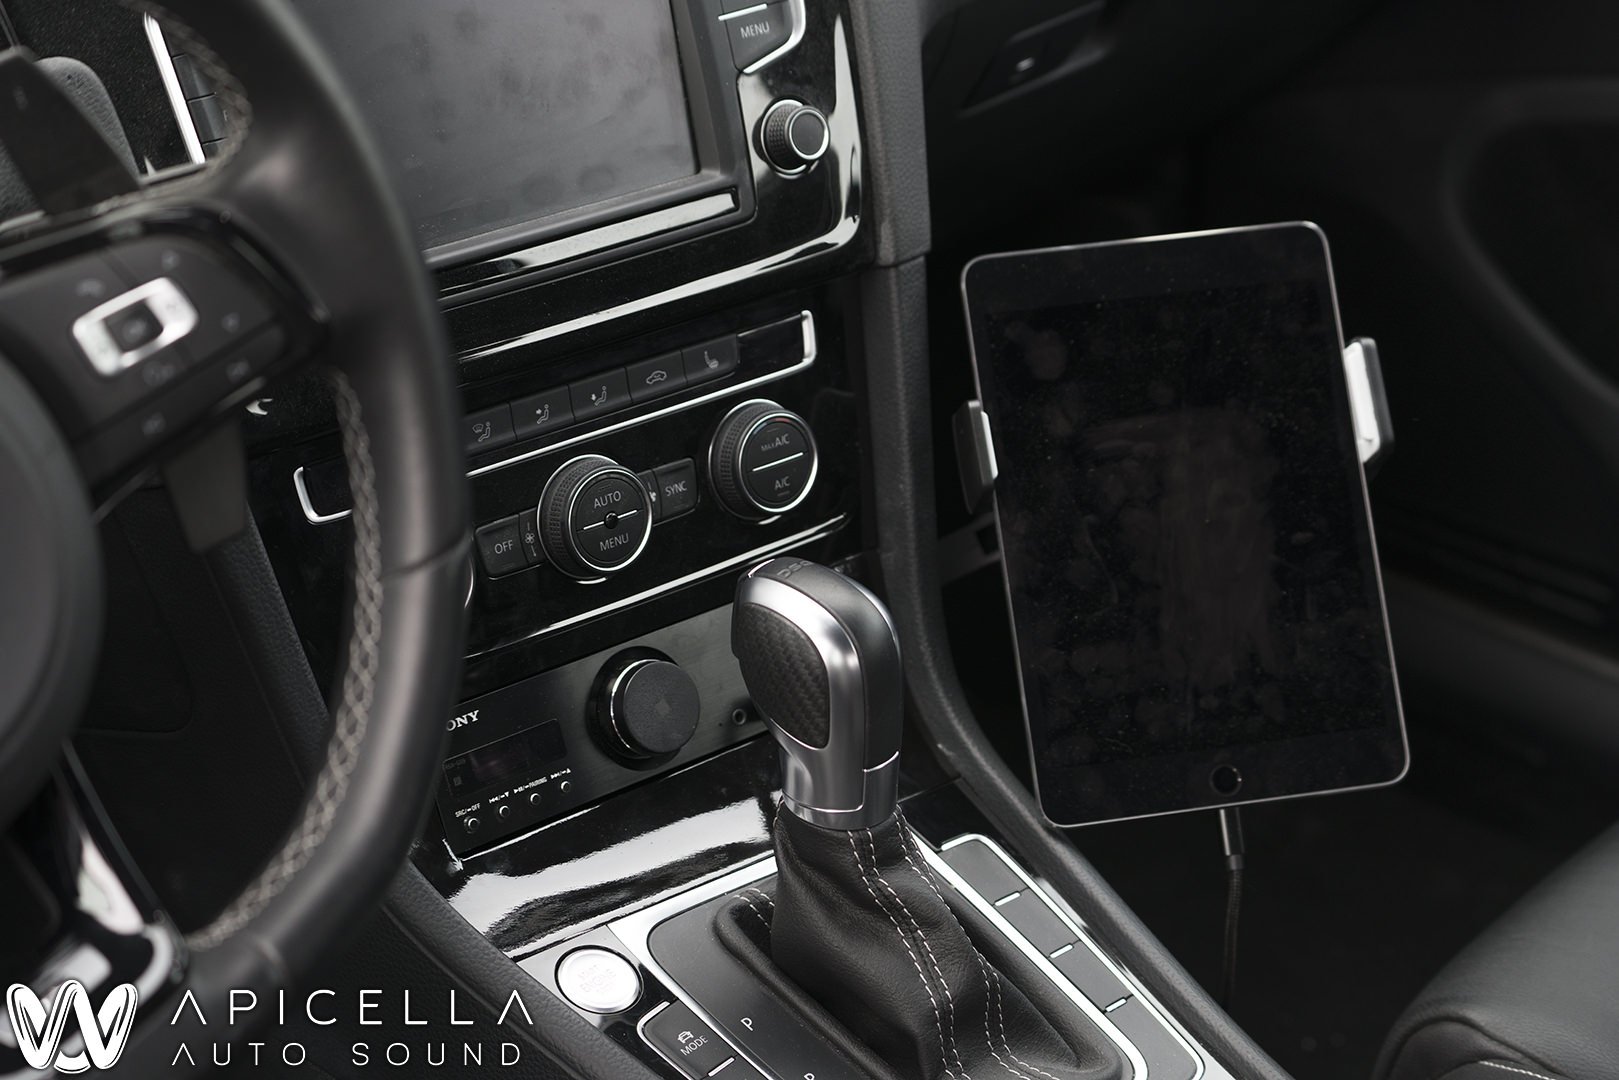
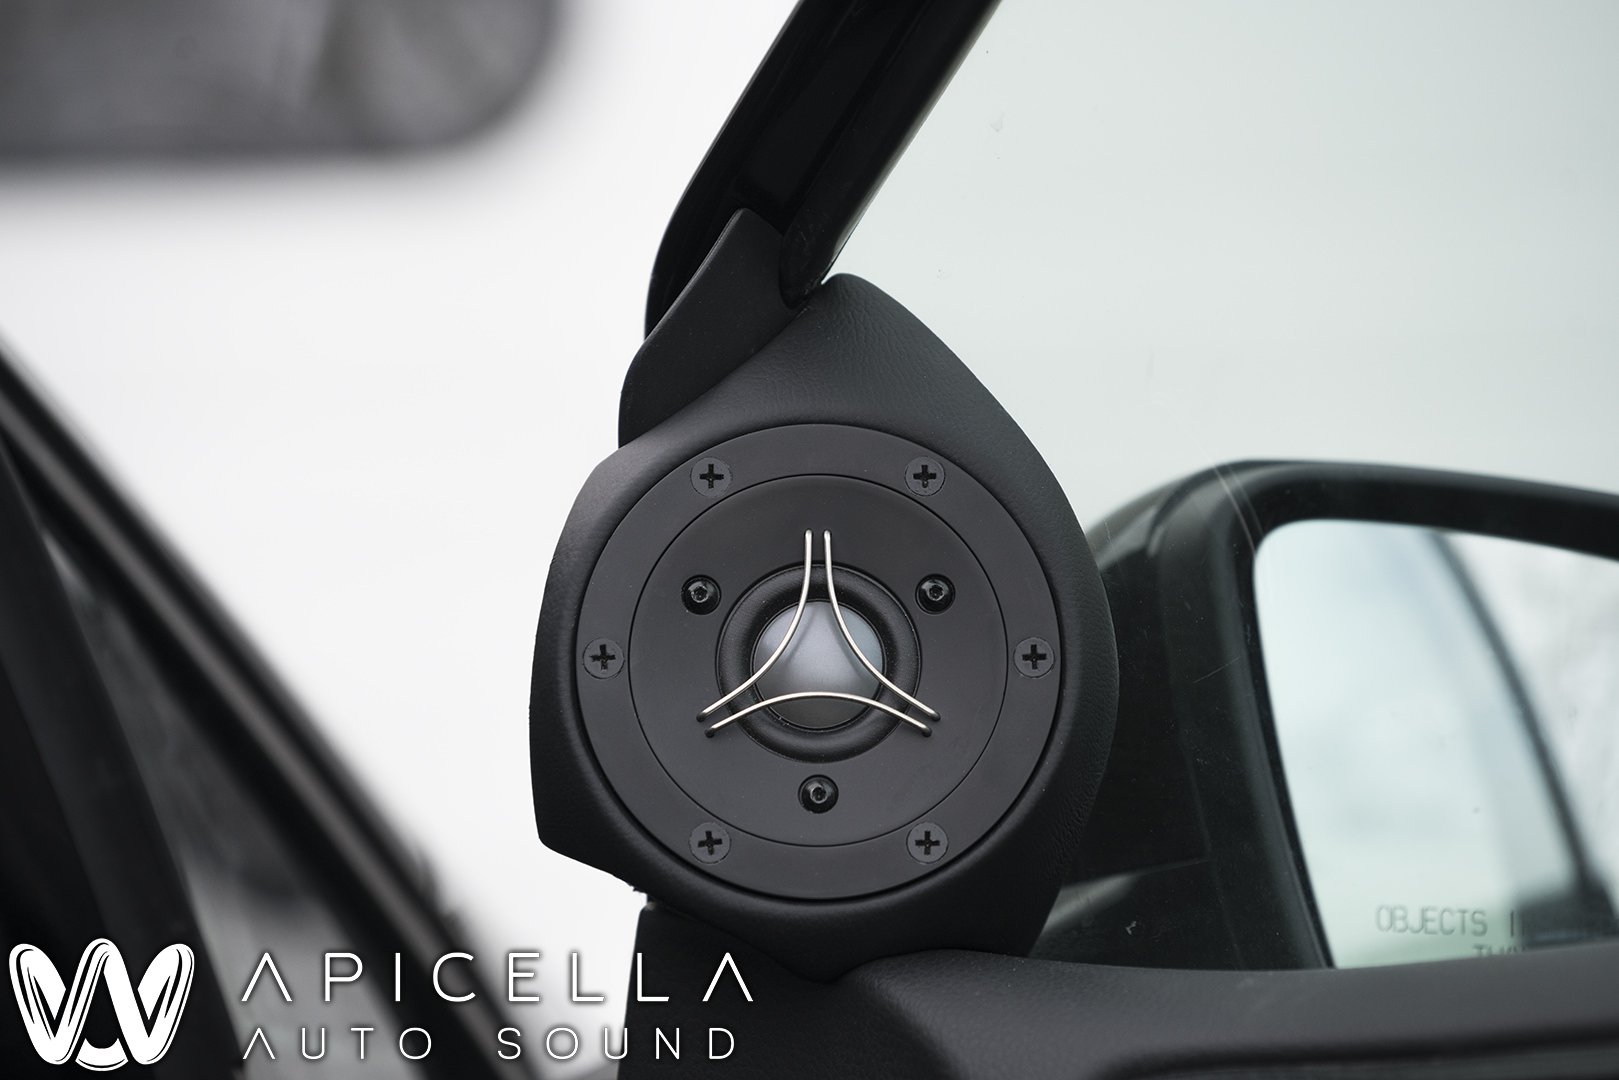
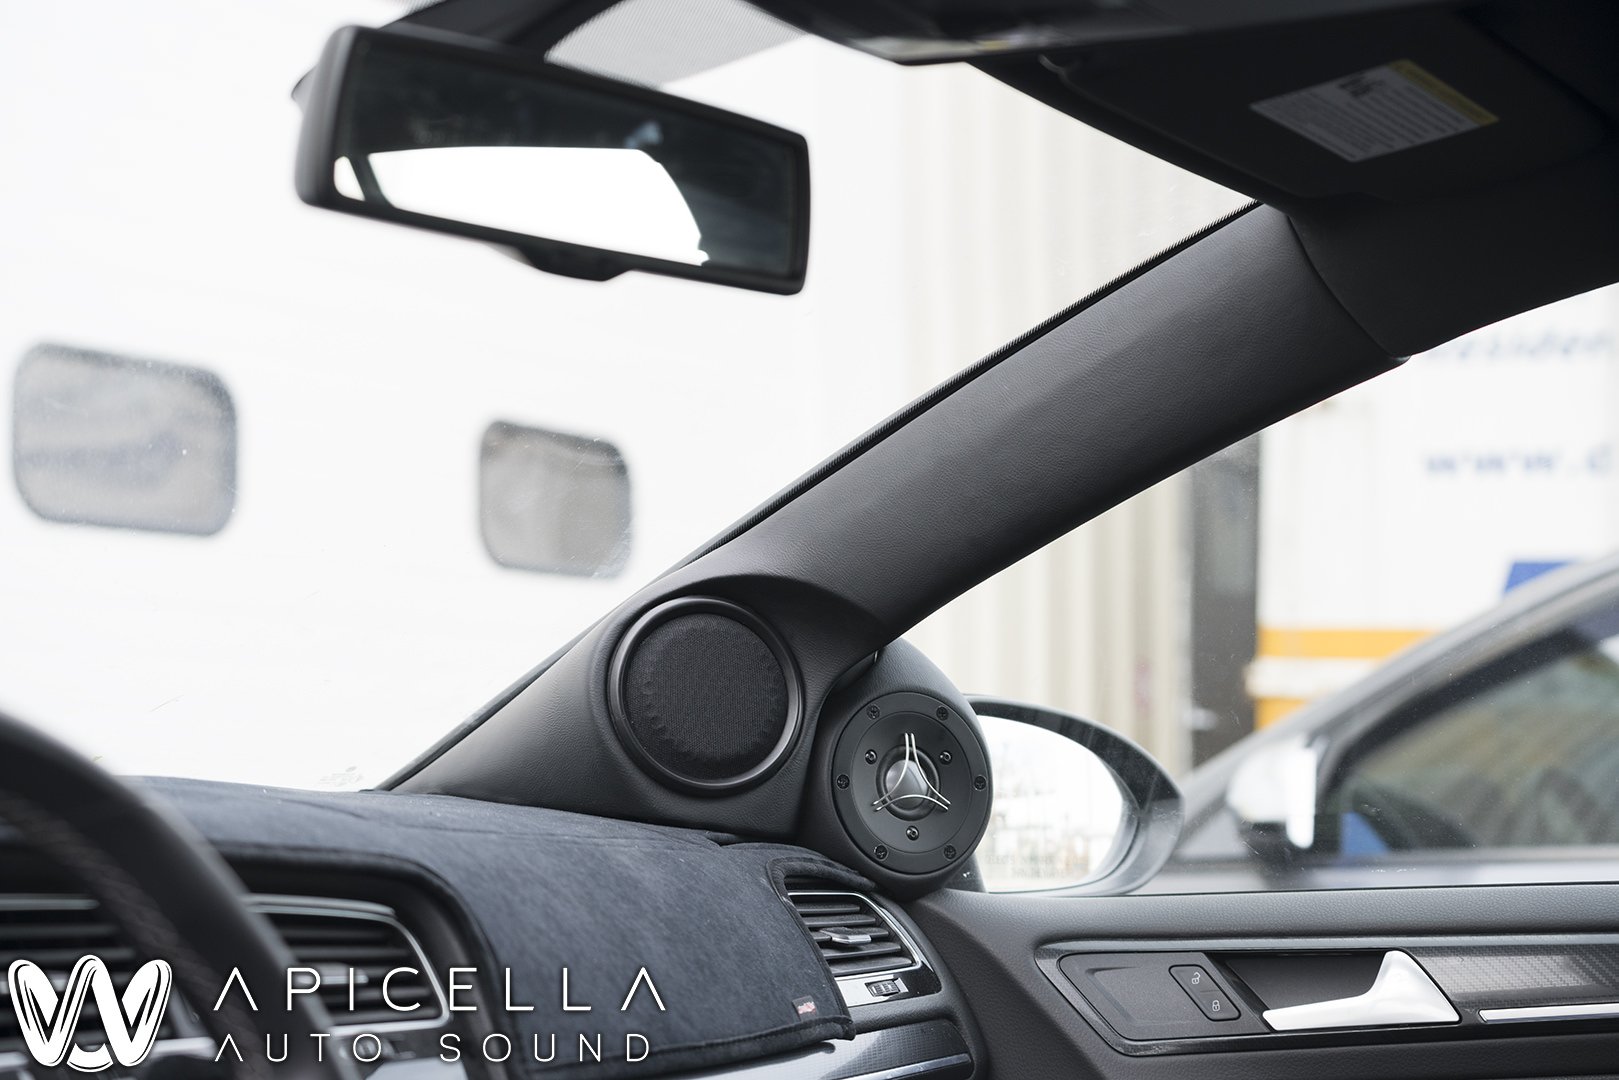
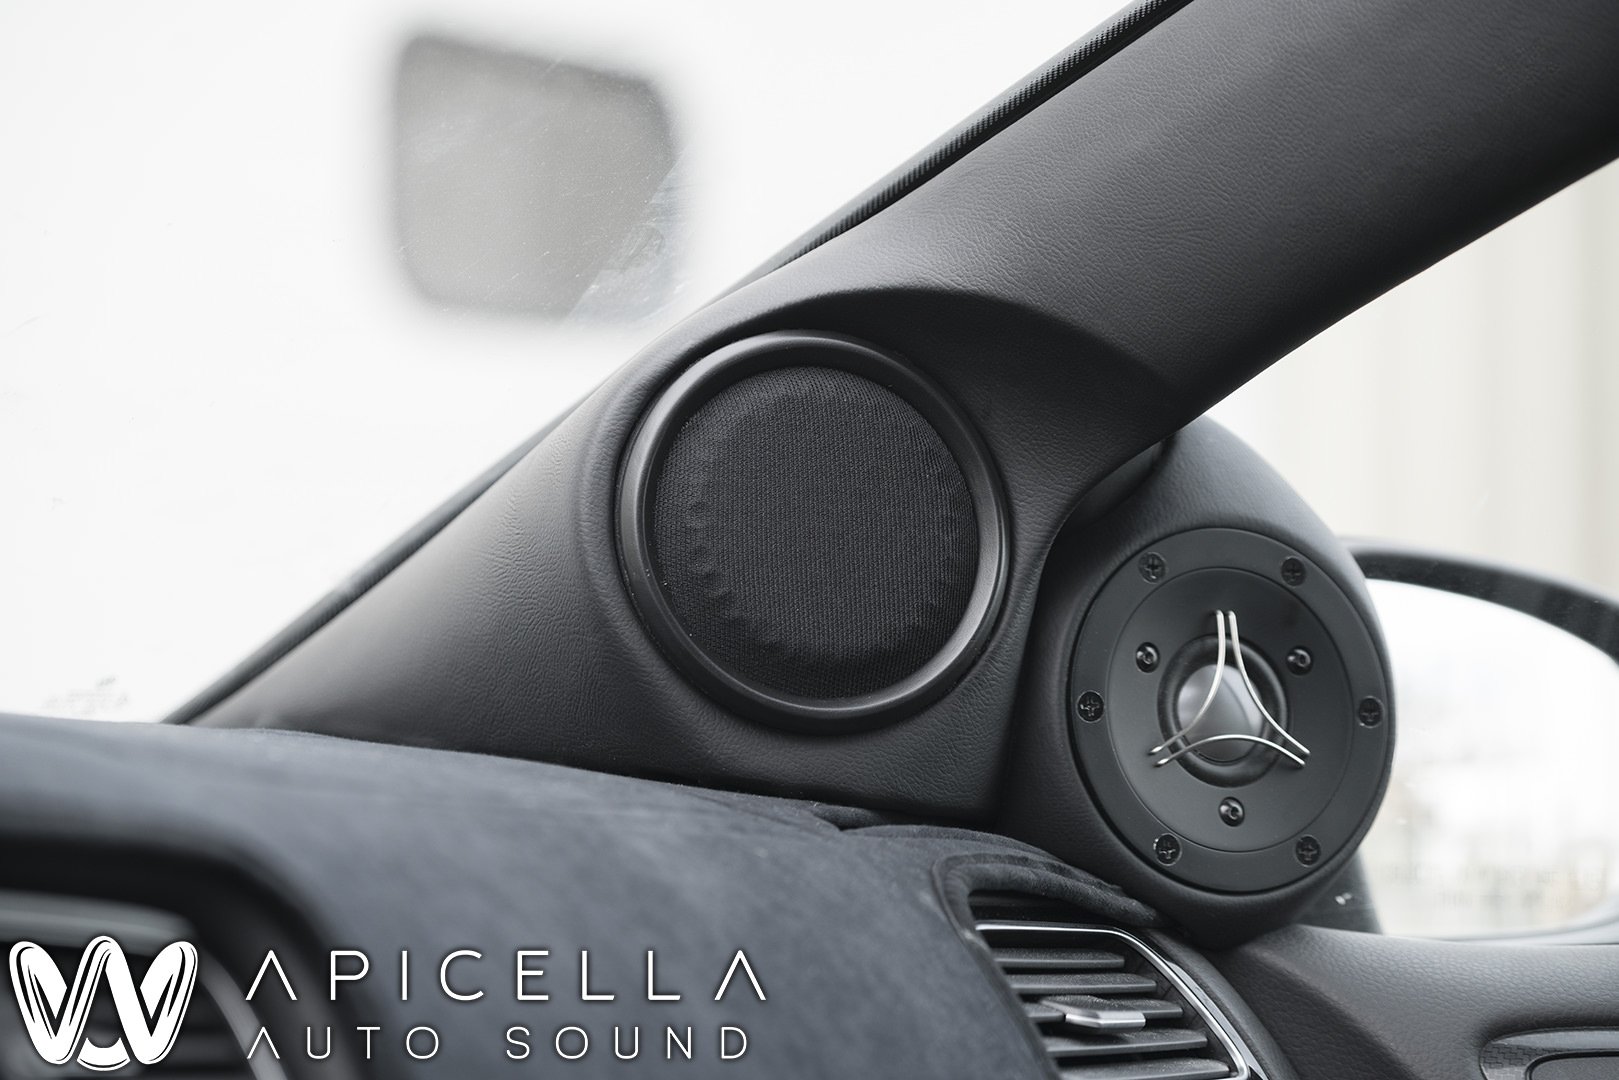
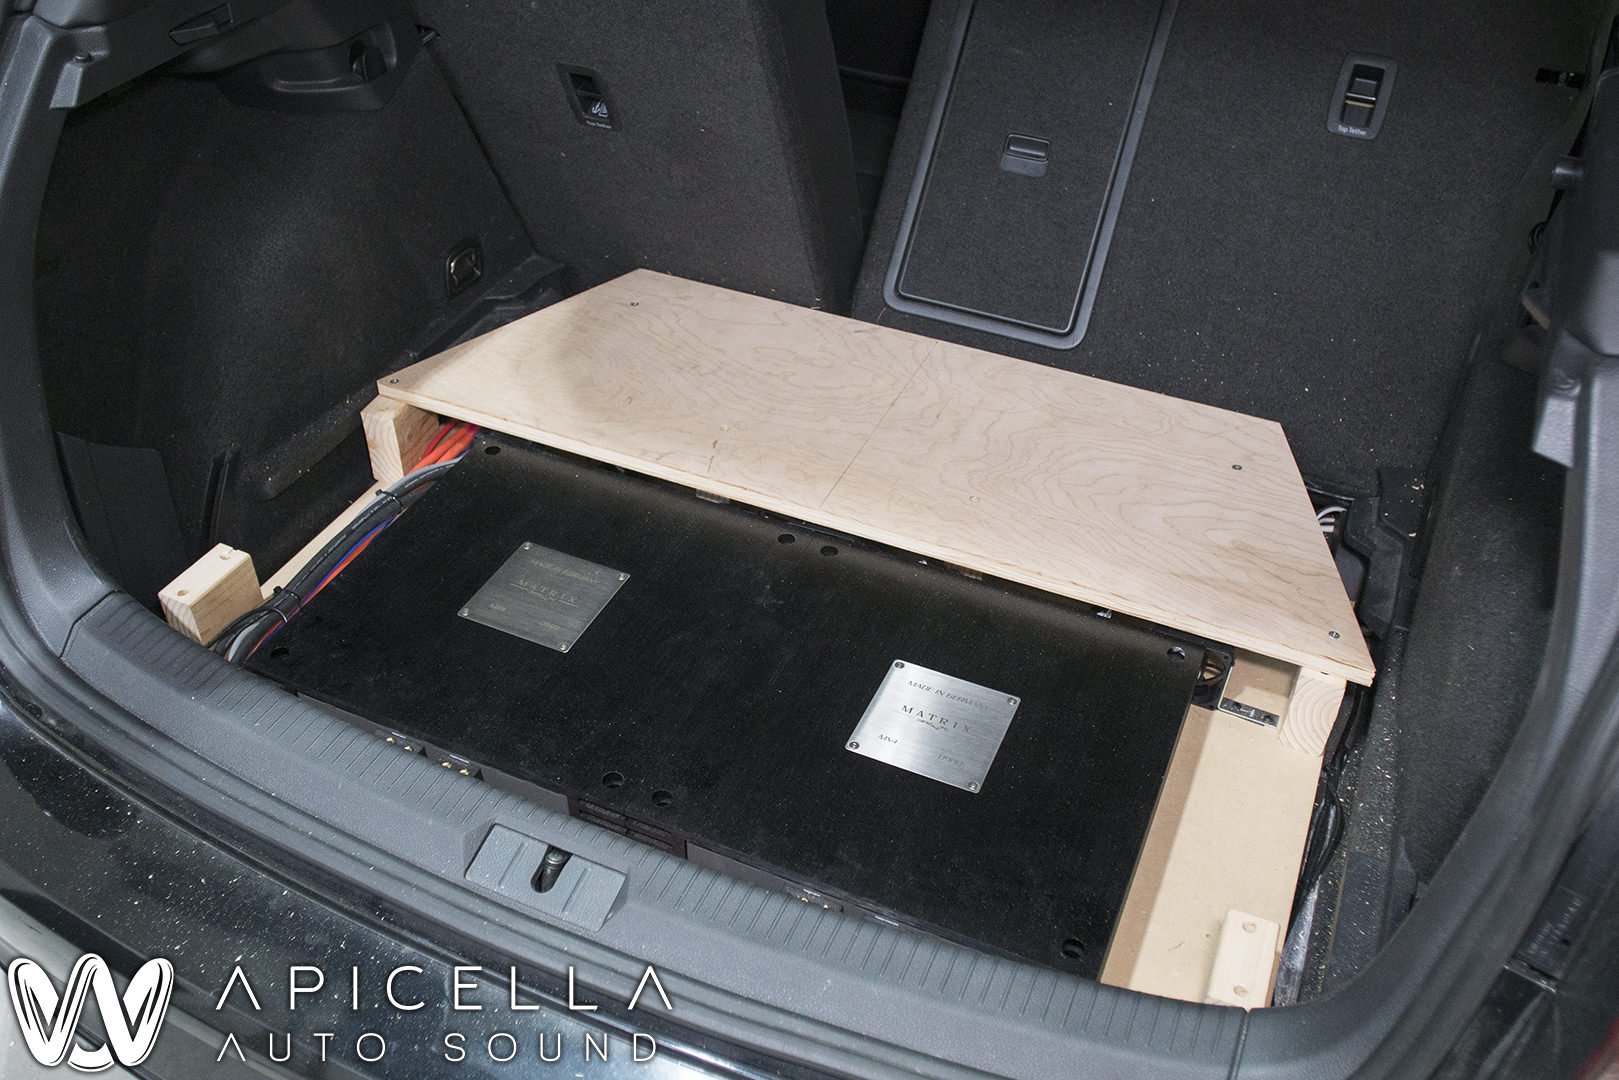
Well, like most car audio fanatics hes back for more upgrades. This time its a front stage rebuild, rear fill, and a Sony RSX-GS9 with an iPad mini. The front stage now consists of Audio Development W800NEO 8" midbass in custom kick panels, Scanspeak 12m midranges in the A-Pillars, and Satori TW29BN-B tweeters in the sail panels. Rear fill is using 2" Tang Band full ranges. All of this was to be installed with complete accurate reproduction of the signal in mind. What you wont see in this build log is the small 2 channel Arc Audio "micro" amplifier to power the rear fill, and the JL Audio Fix which fixes the oem sources signal and converts it to digital. The purpose of this is to well, give us a predictable signal so the same tune can be used between the Sony radio and the oem radio. It also gave us a digital out which was needed since you cant use the low level and high level inputs at the same time on the helix.

Side note, i apparently formatted my SD card on my camera or misplaced some photos before saving them to my computer somewhere during the kick panel, rear fill and a pillar build. Sorry :/

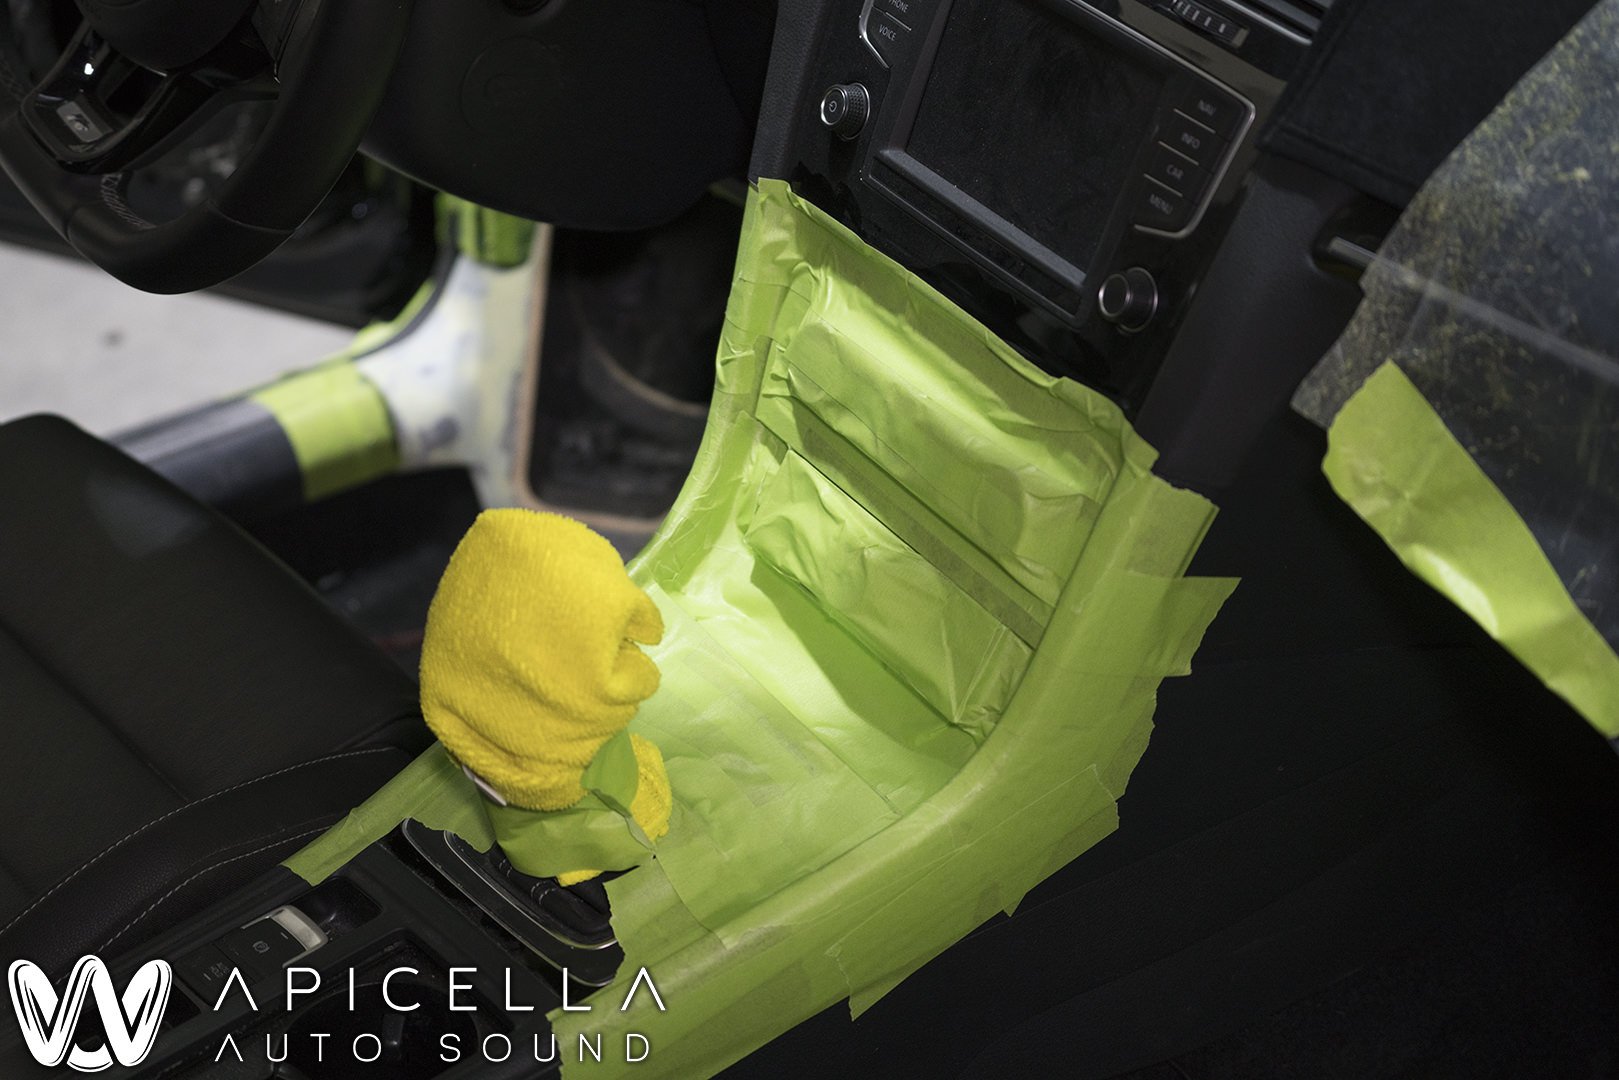
First things first was the kick panels. Some carpet was trimmed on both sides, and wires/plugs were moved on the driver side. These kicks were great as the car had these "cubbies" right behind where the kicks are, and where your feet would be, and had holes leading right into them. Because of this no crazy mods or ridiculously sized kicks were needed to get plenty of airspace.

Ia3A1Rp.jpg


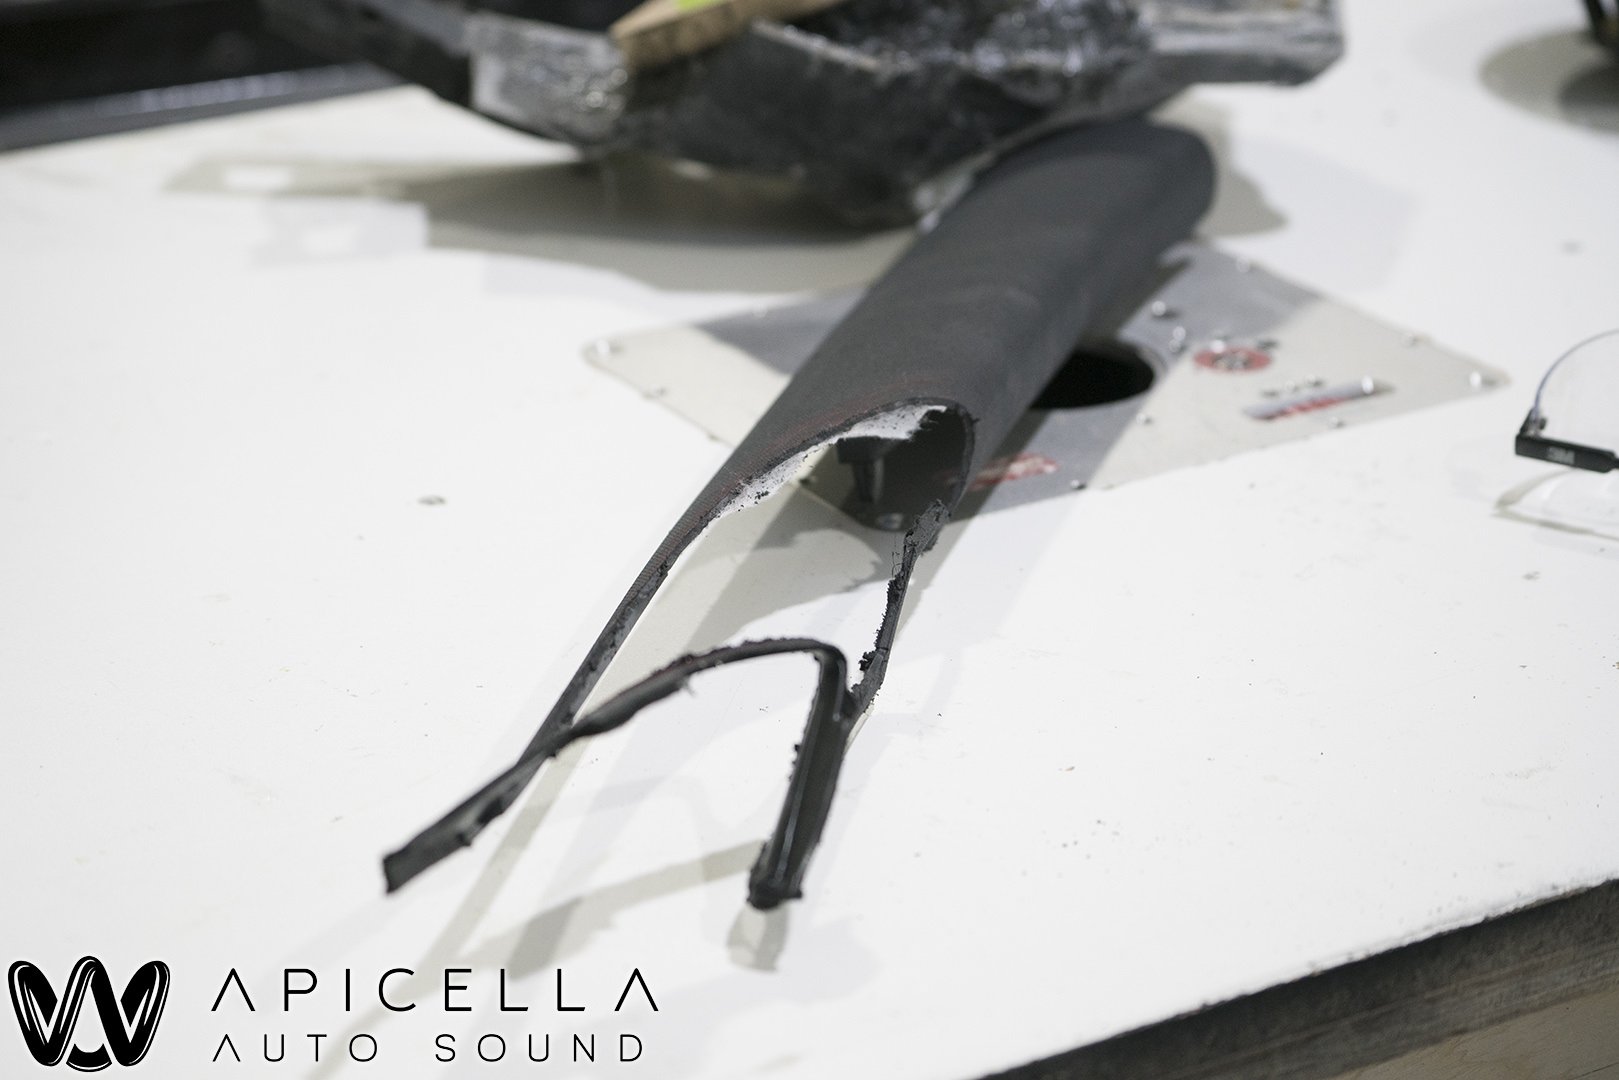
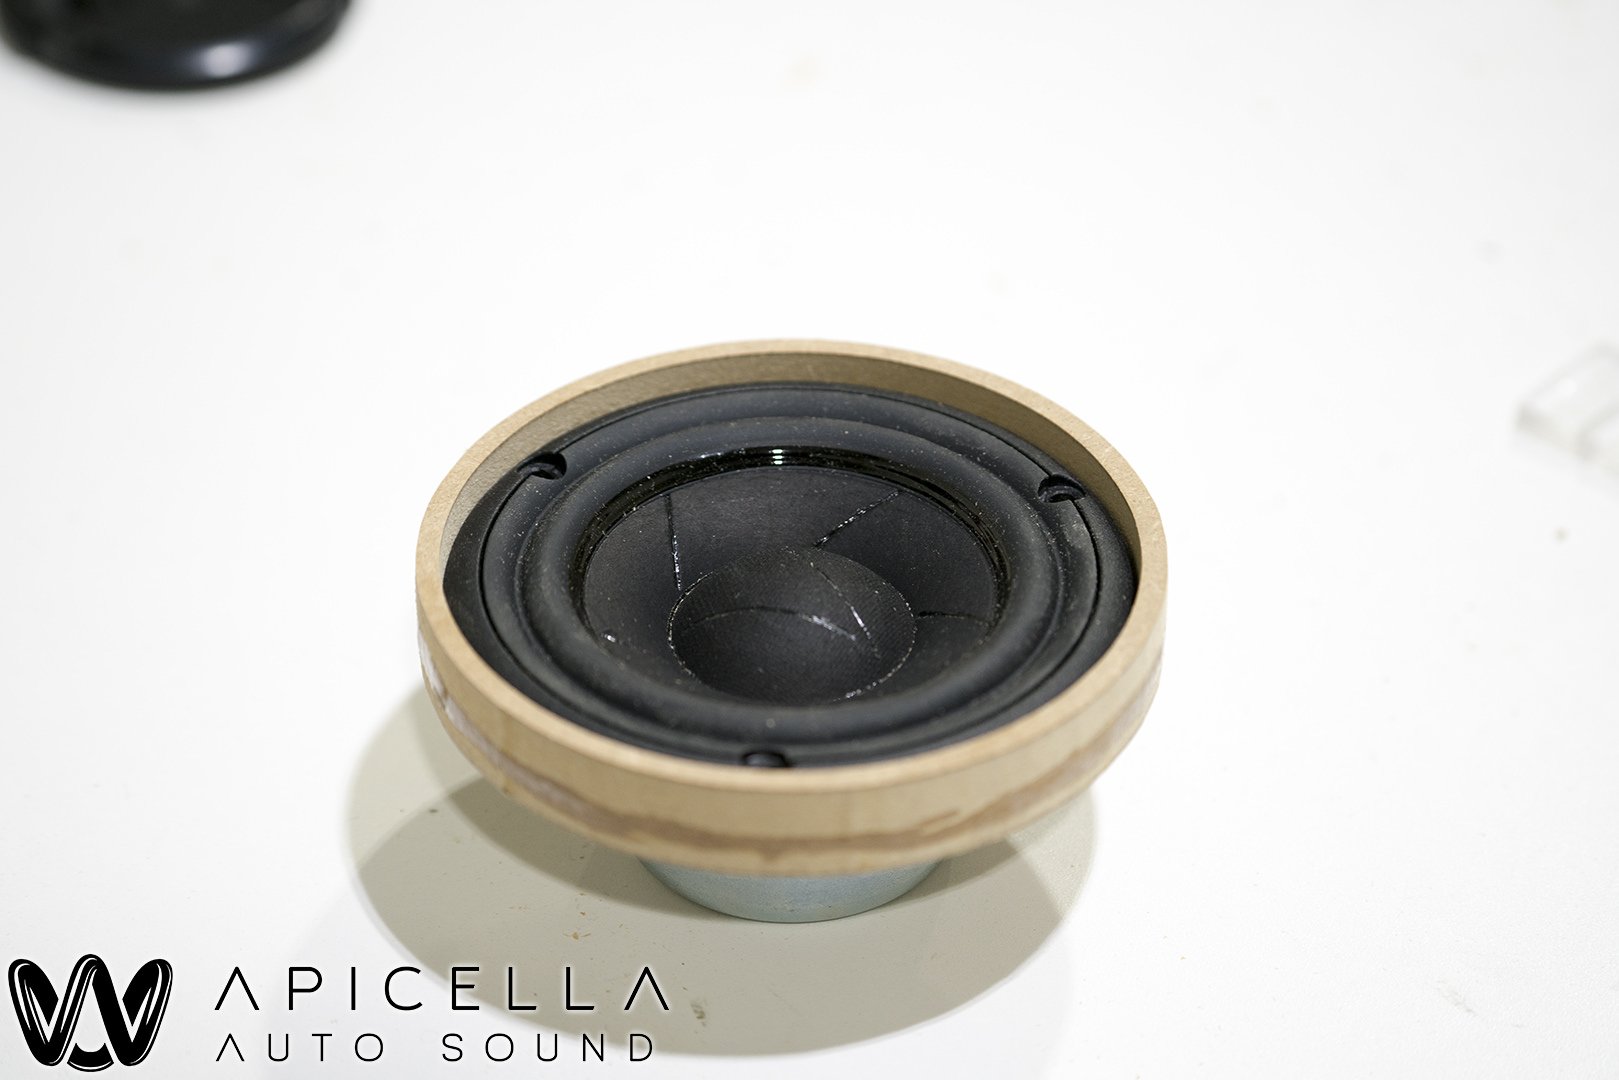
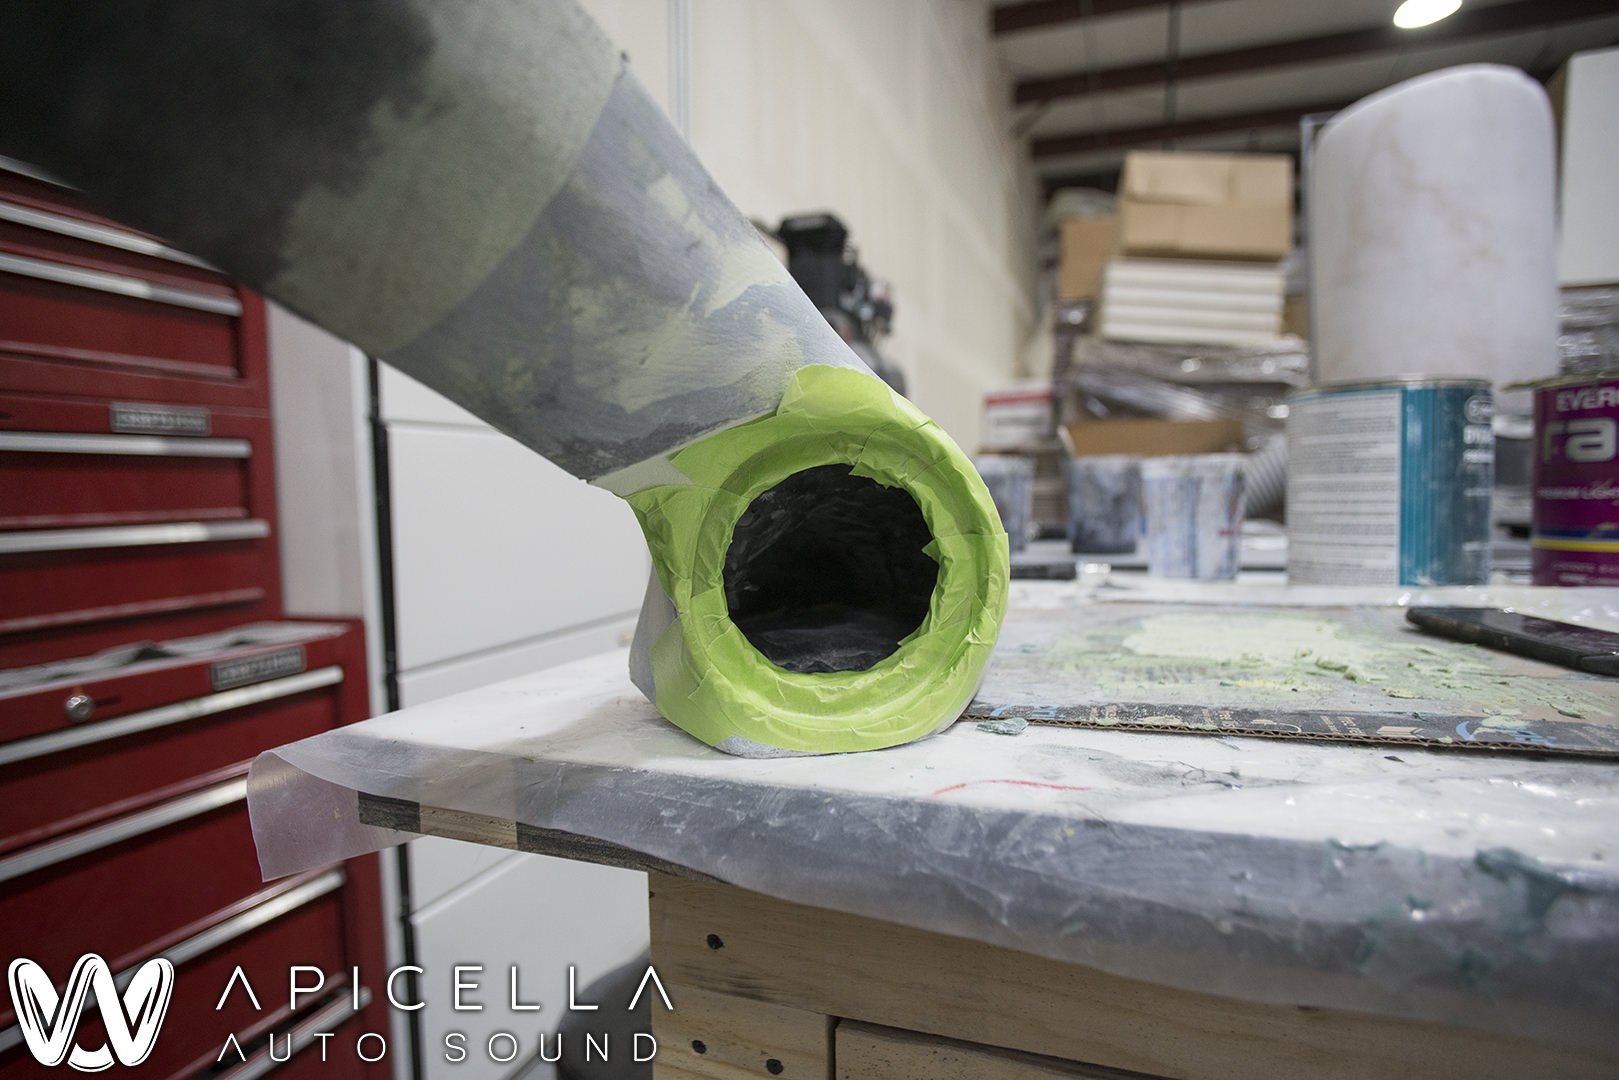
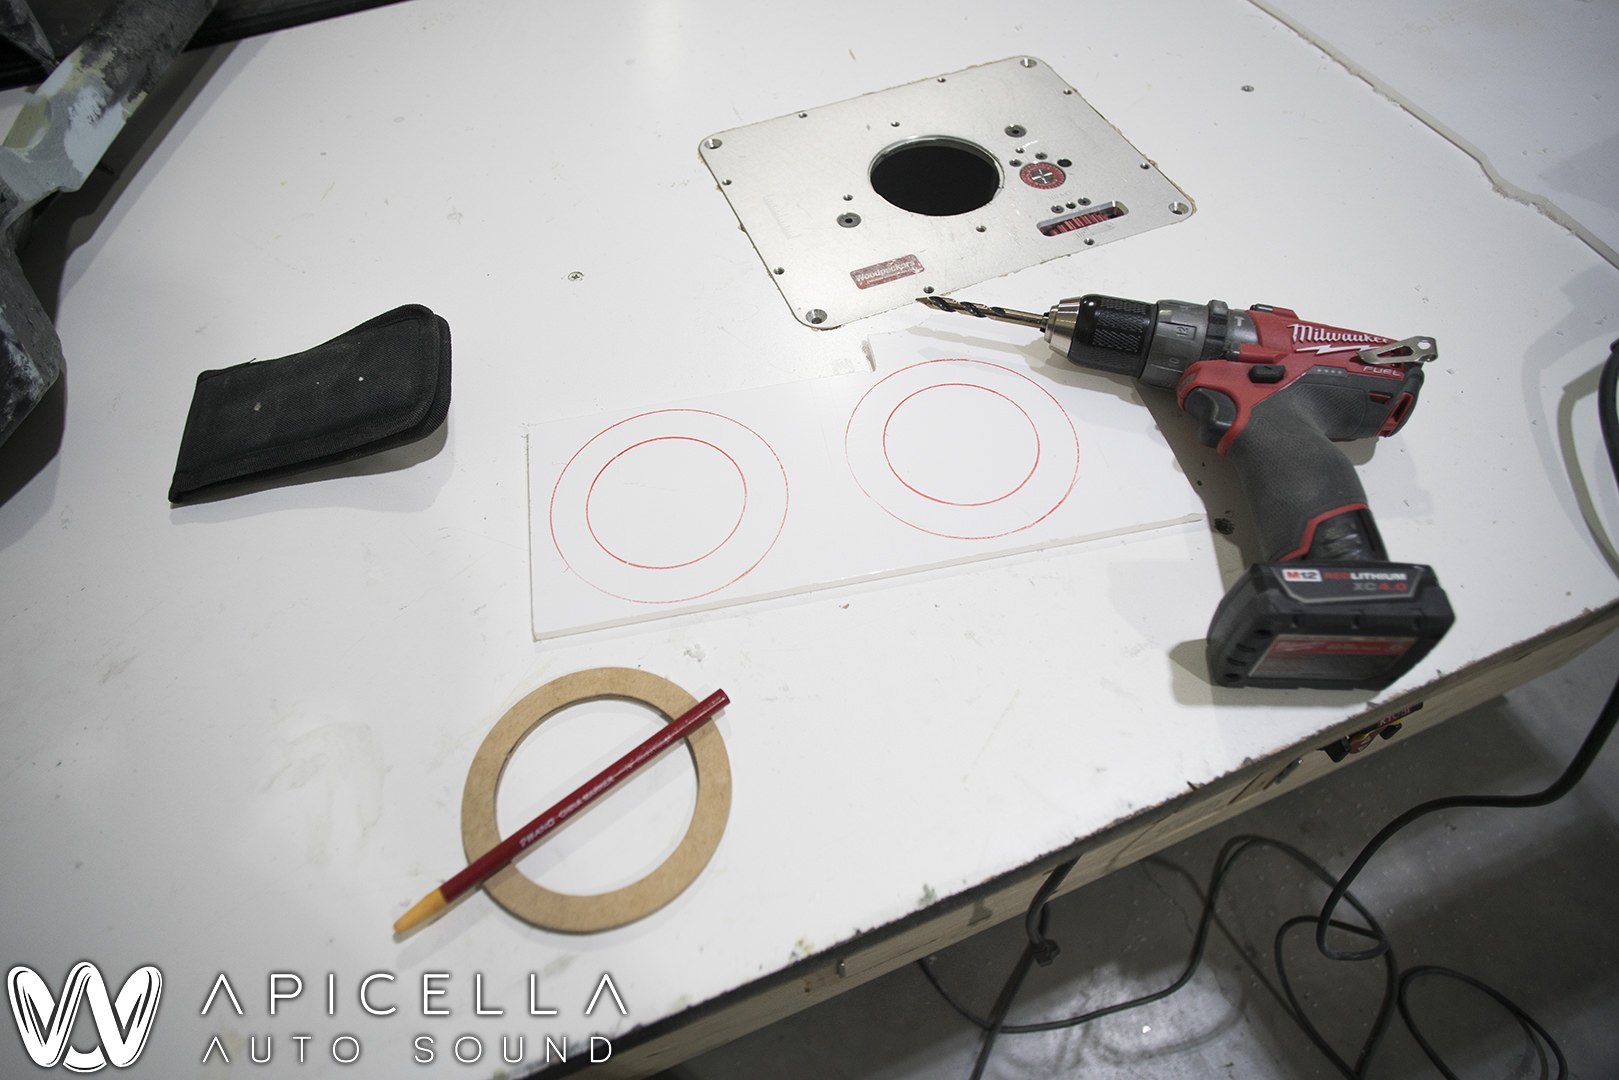
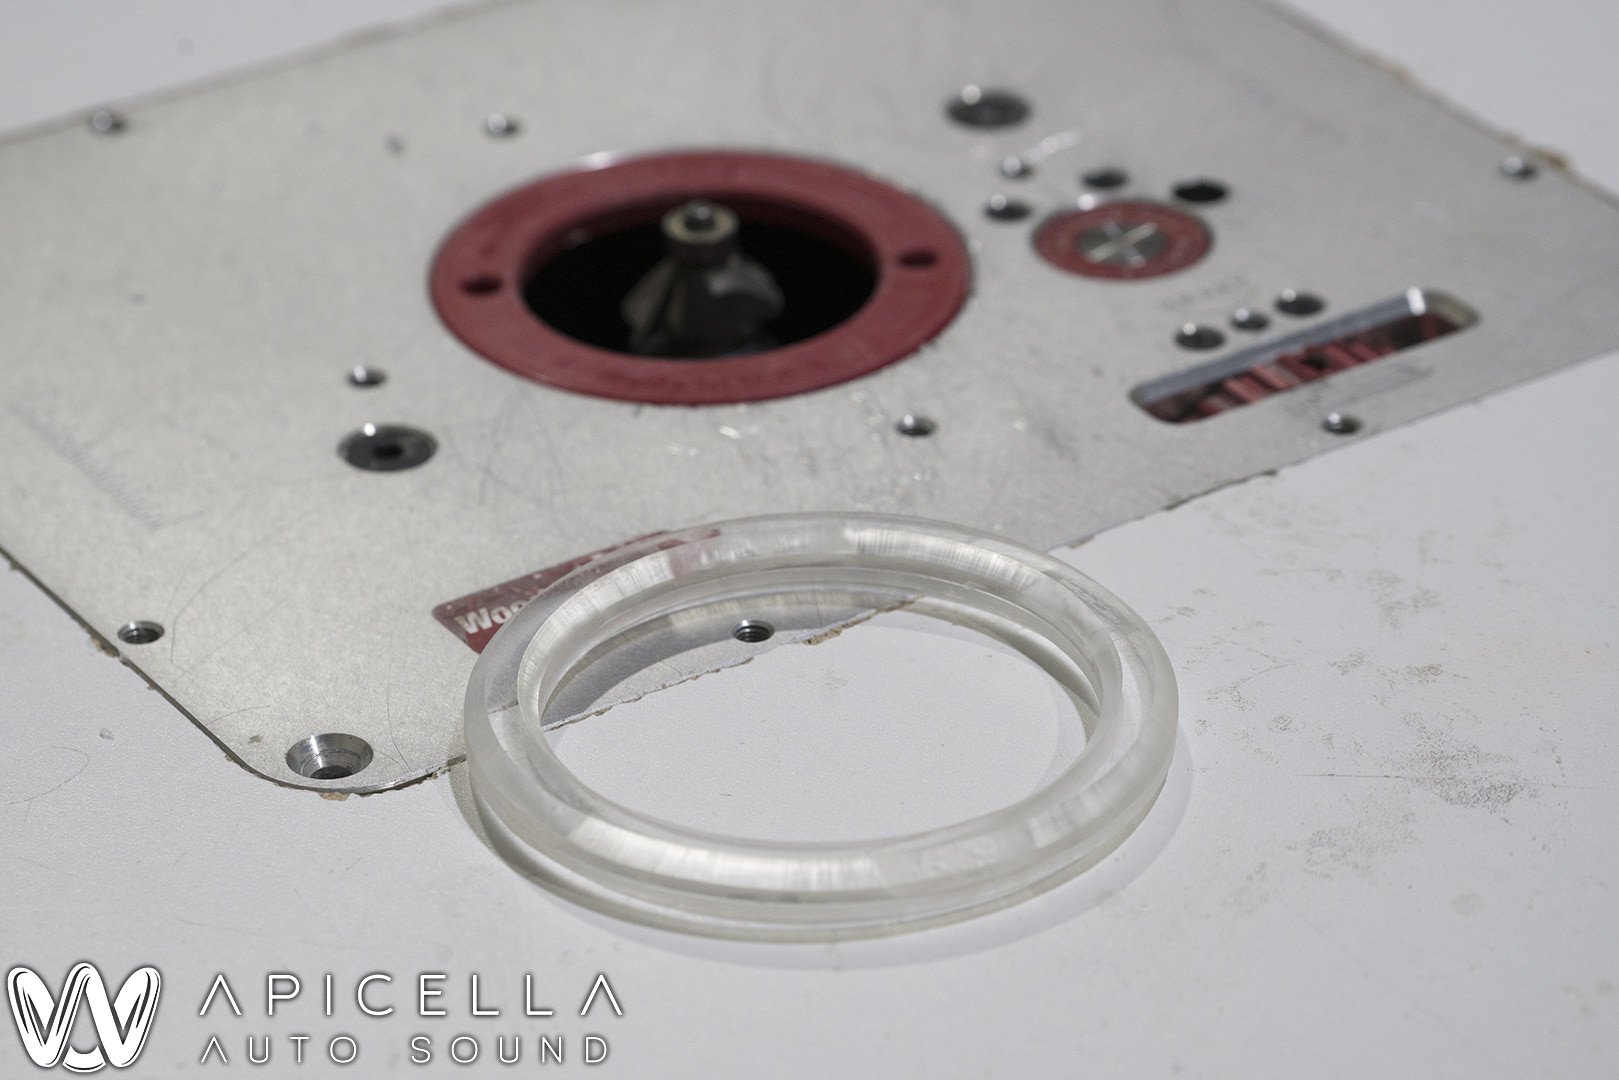
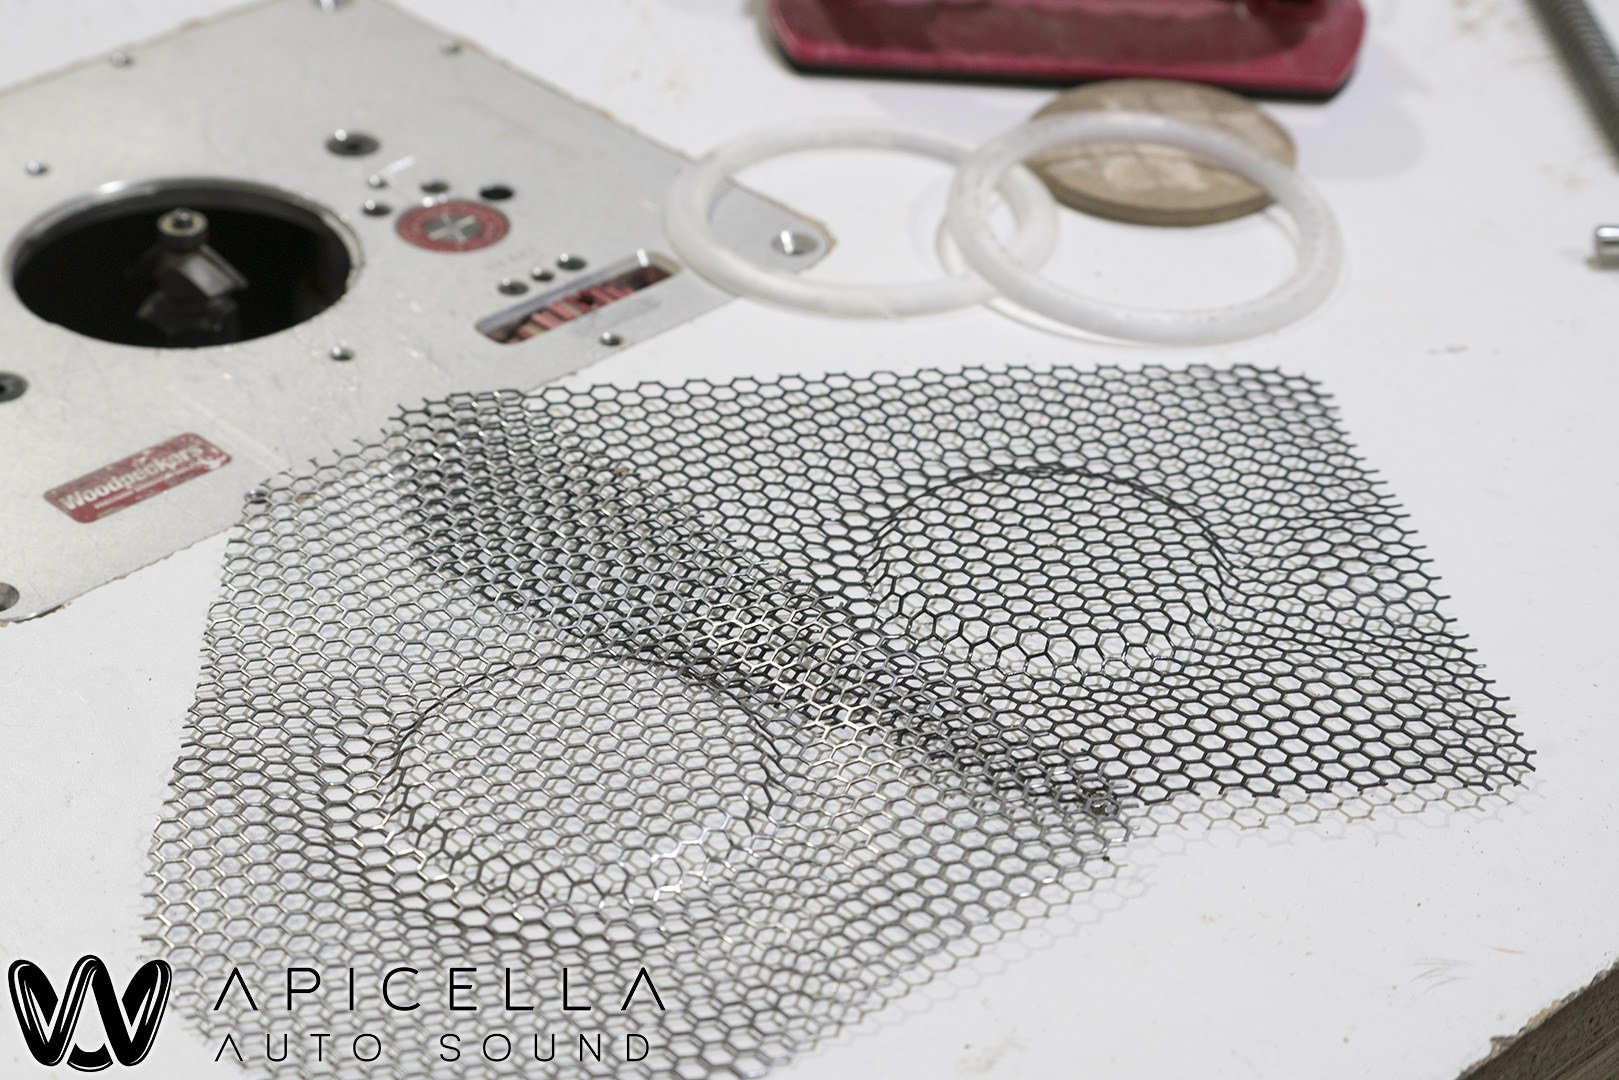
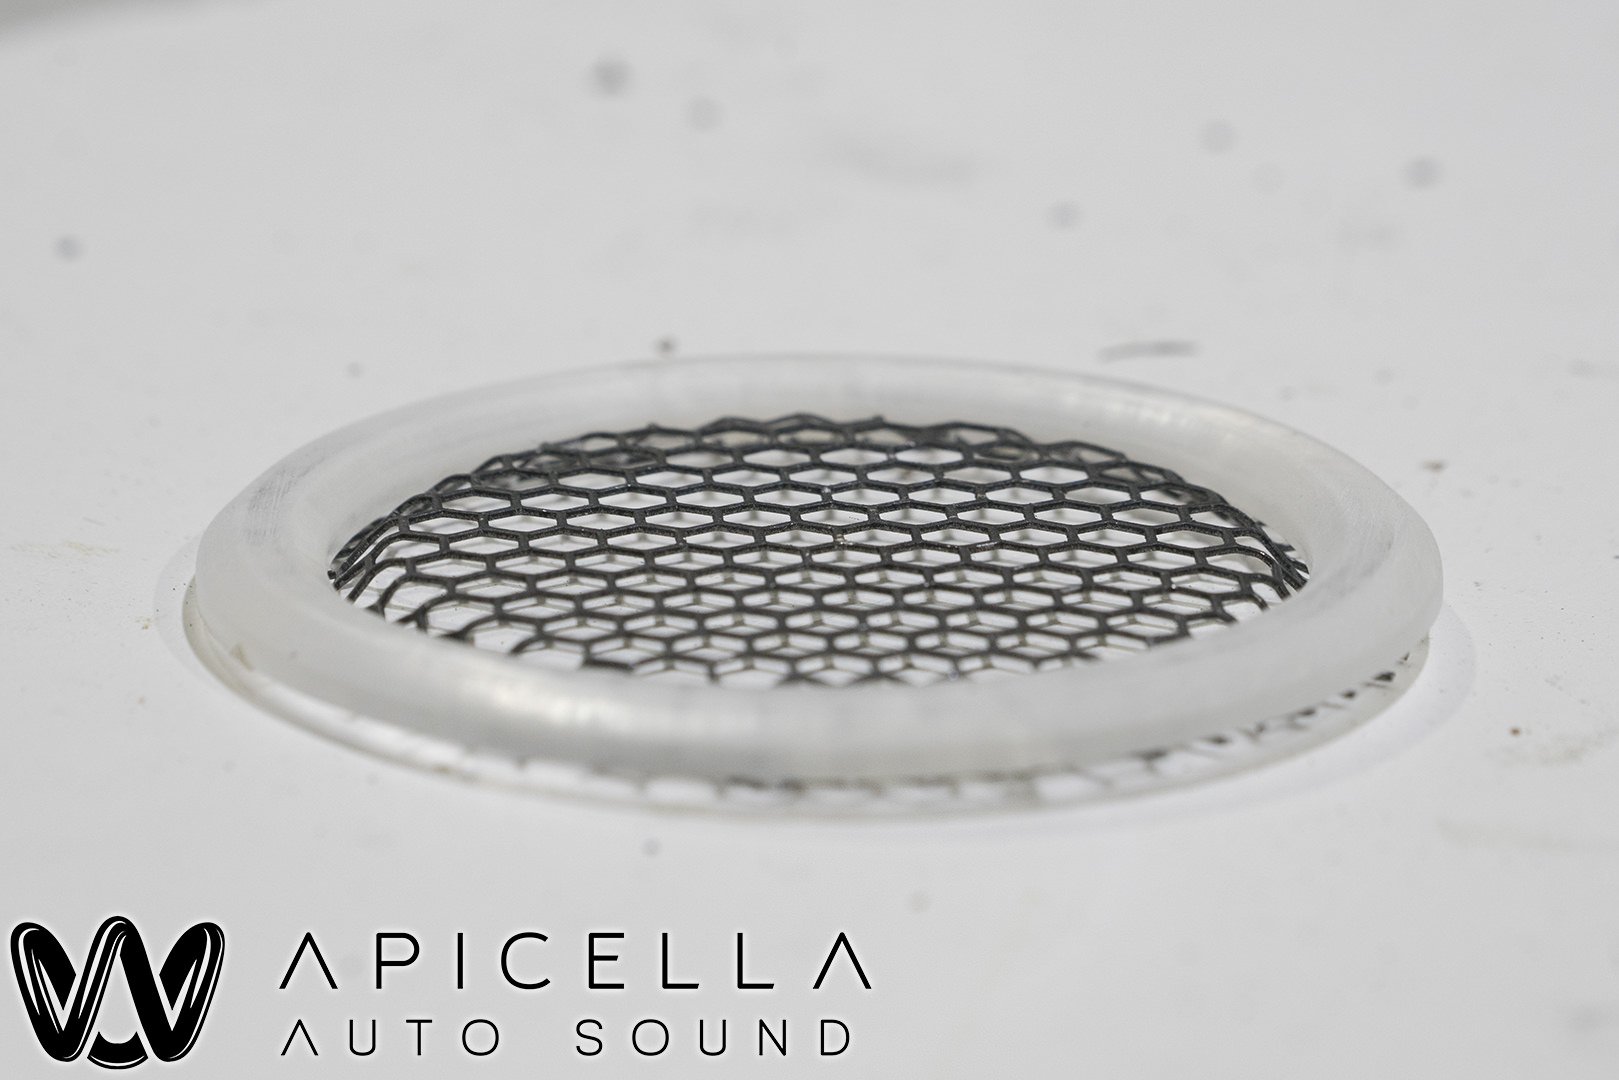
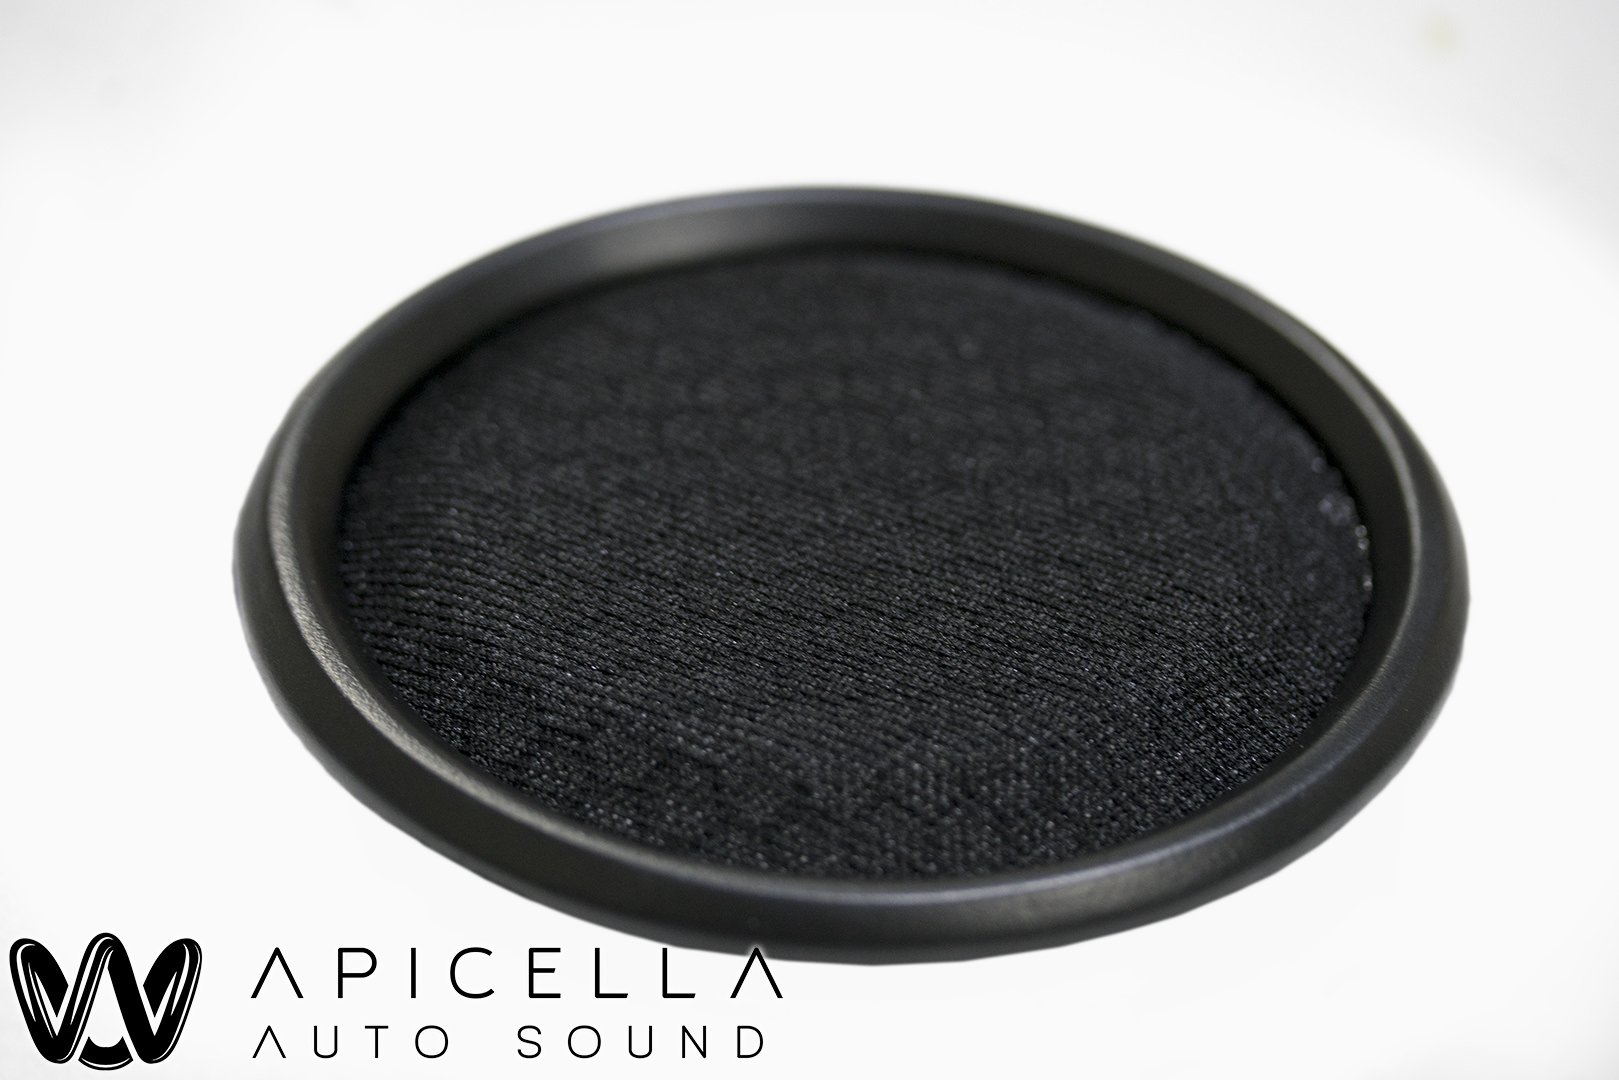
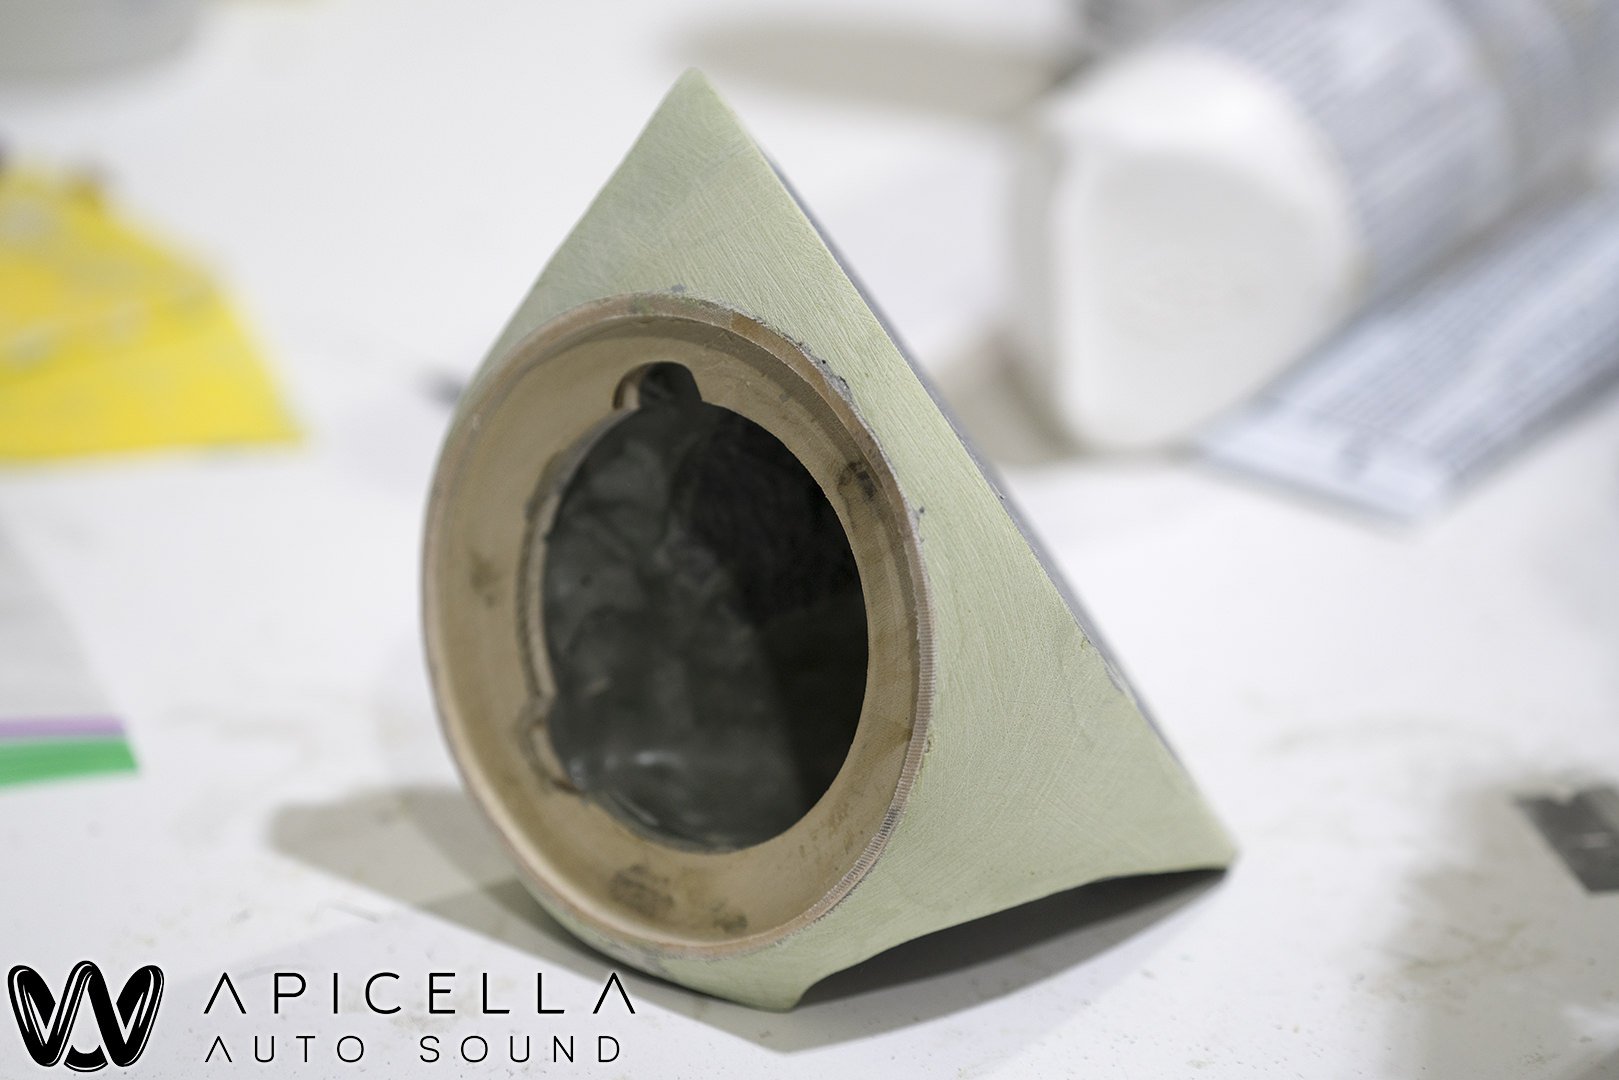
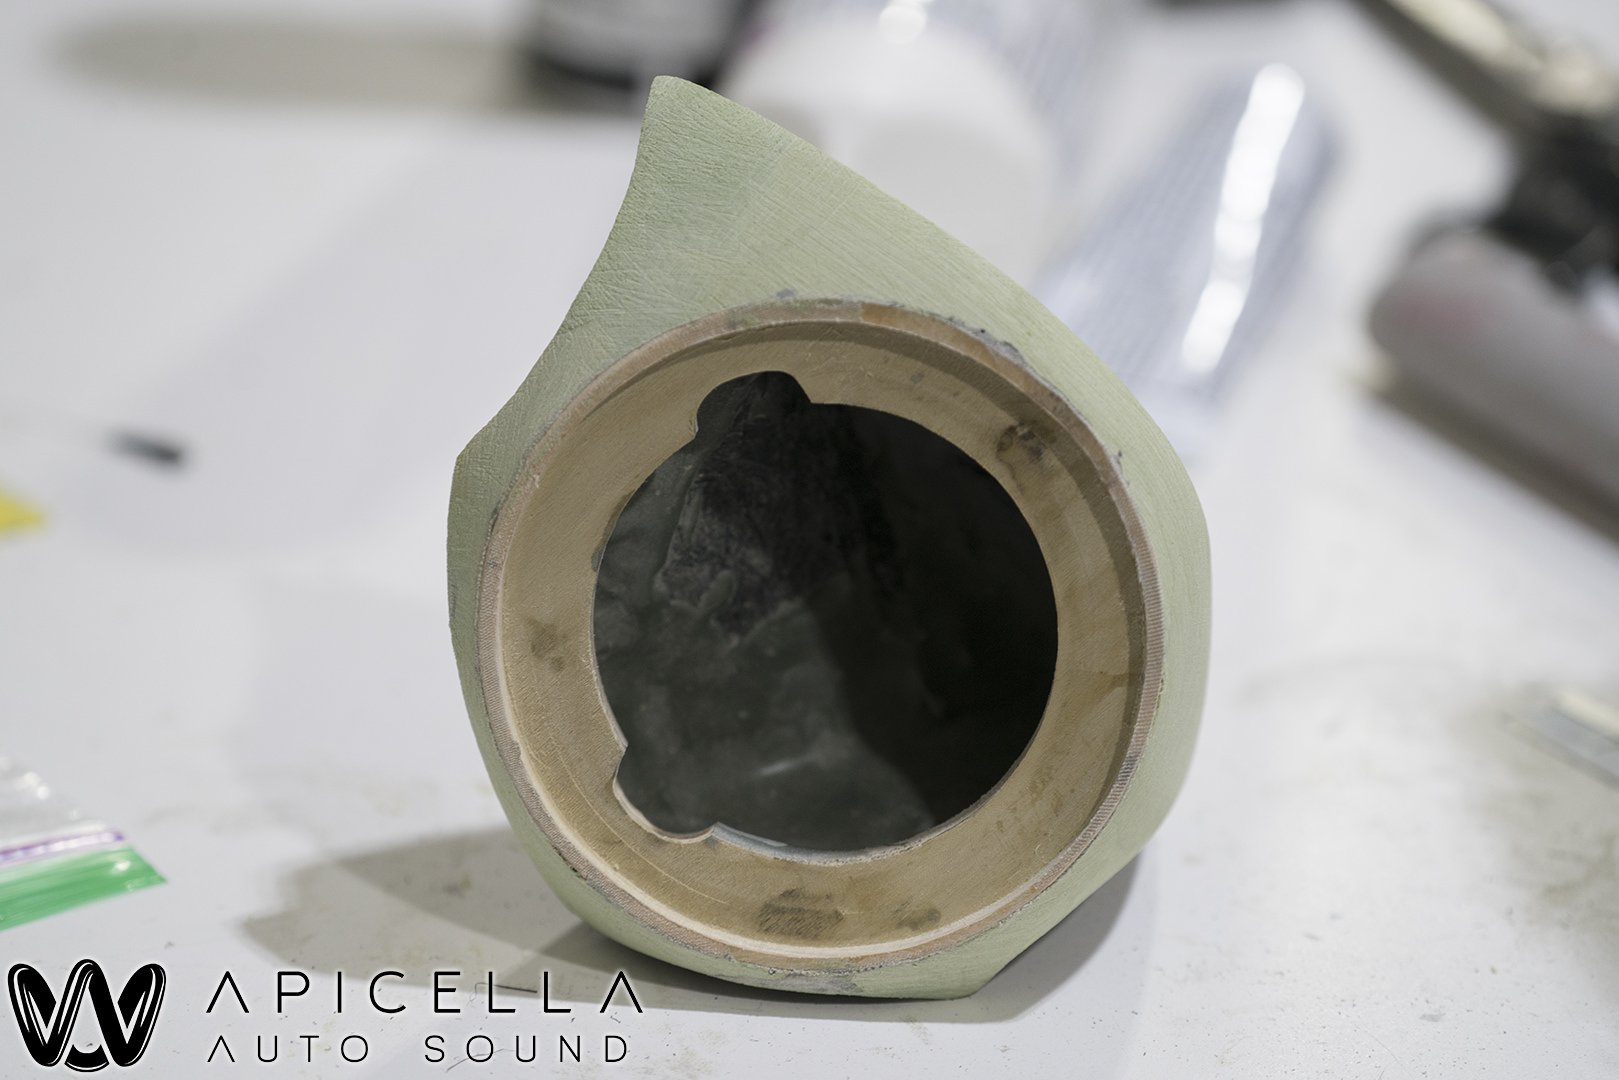
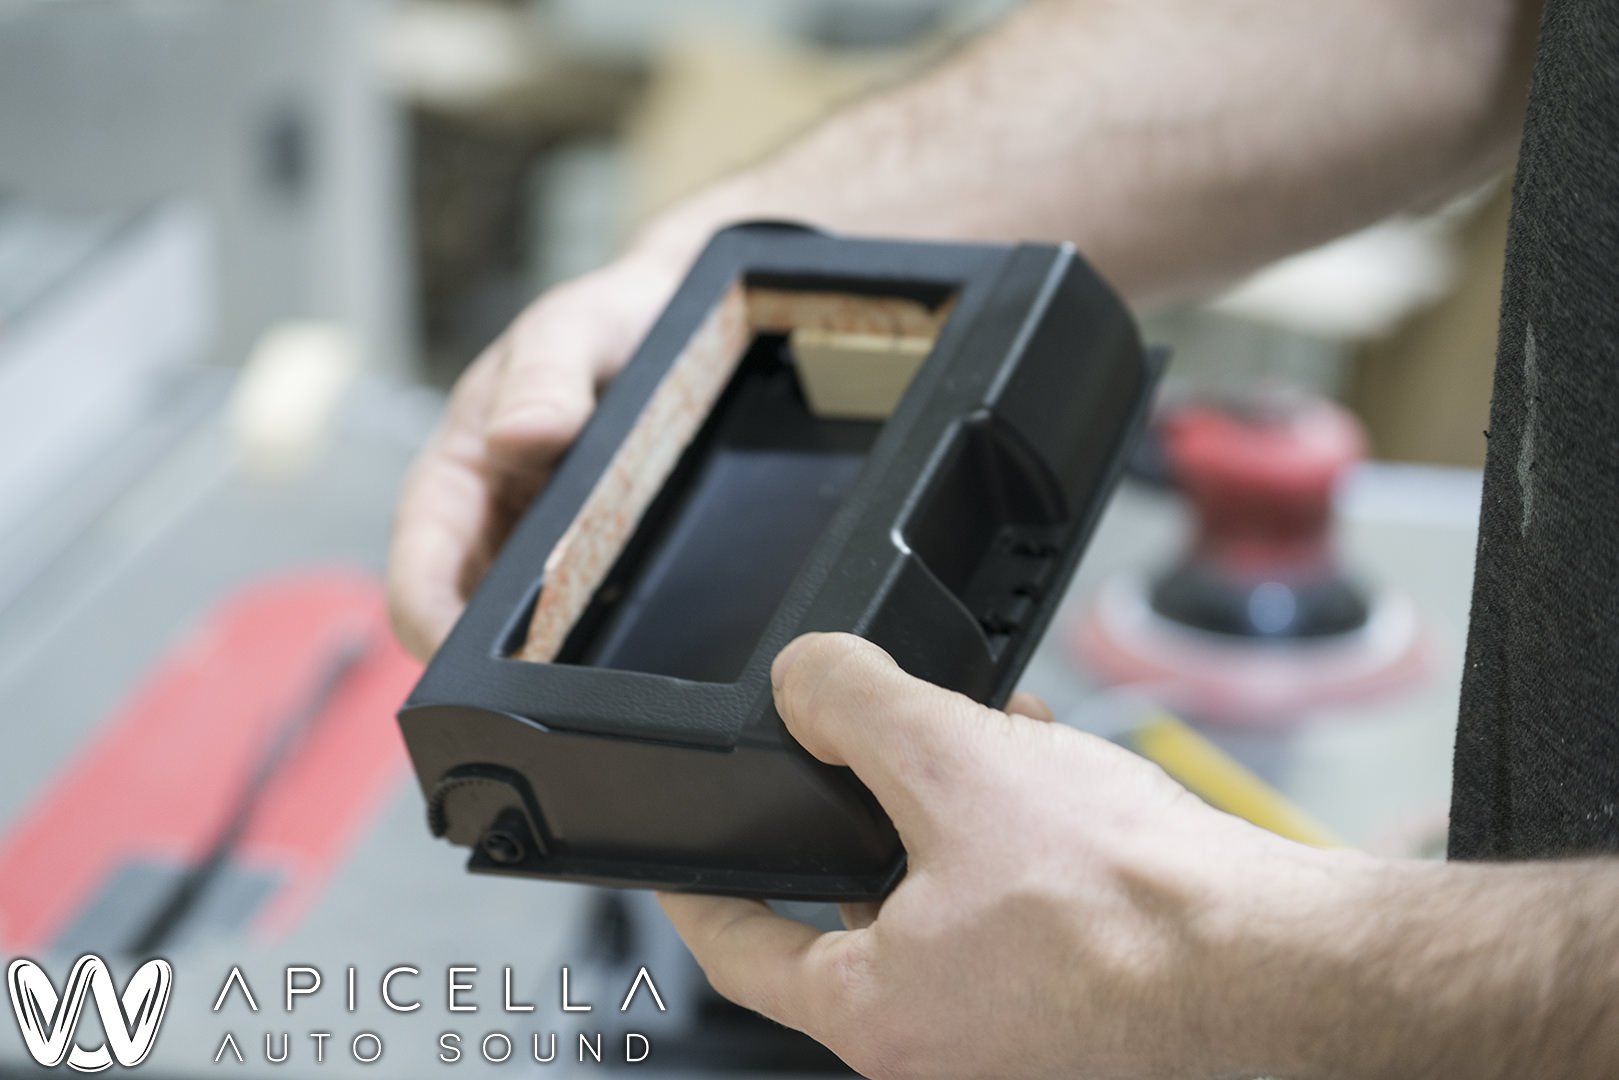
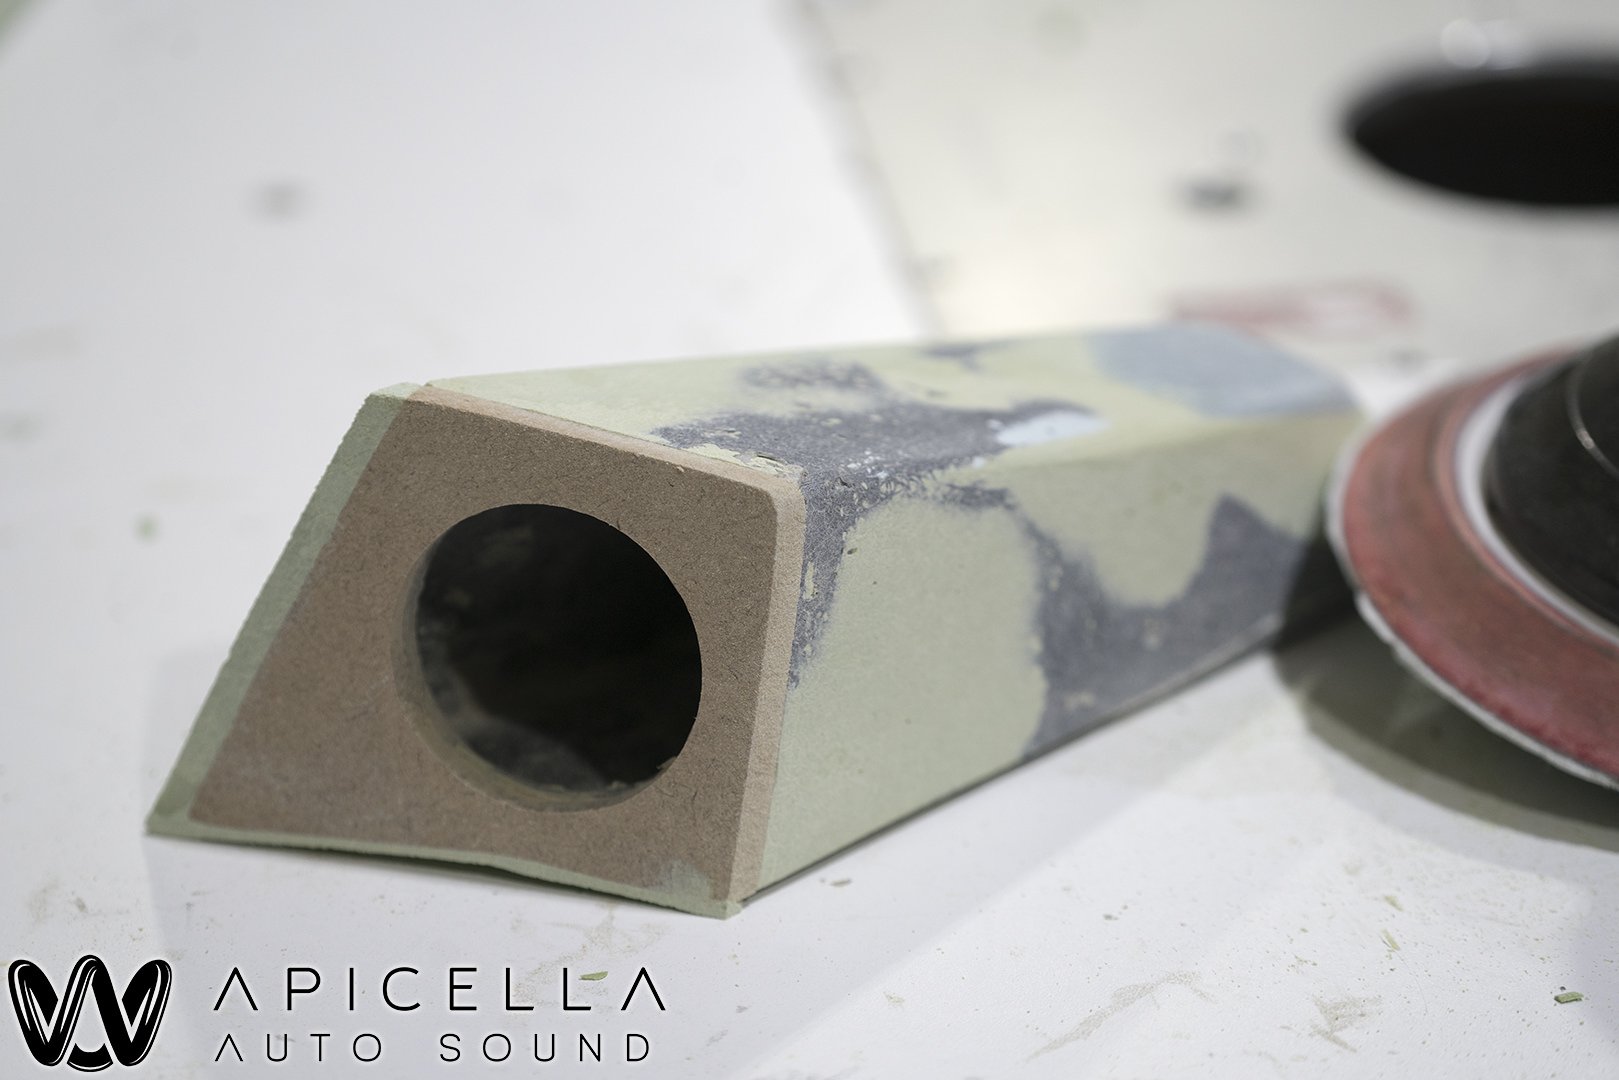
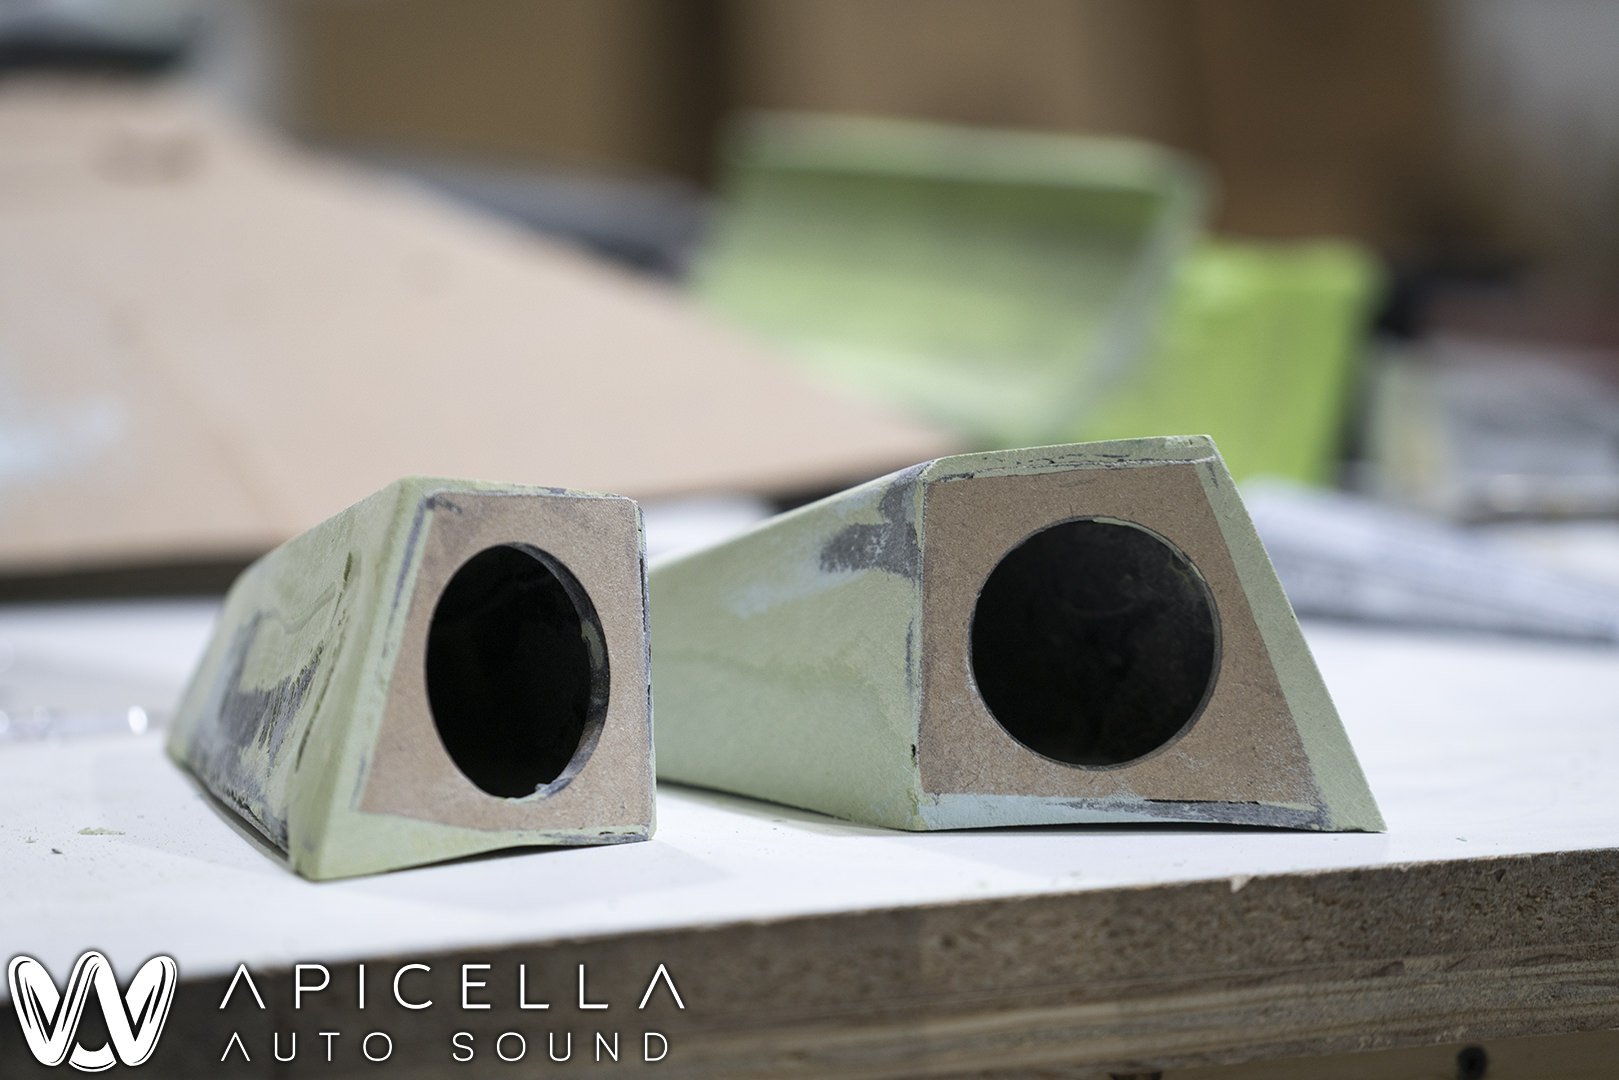
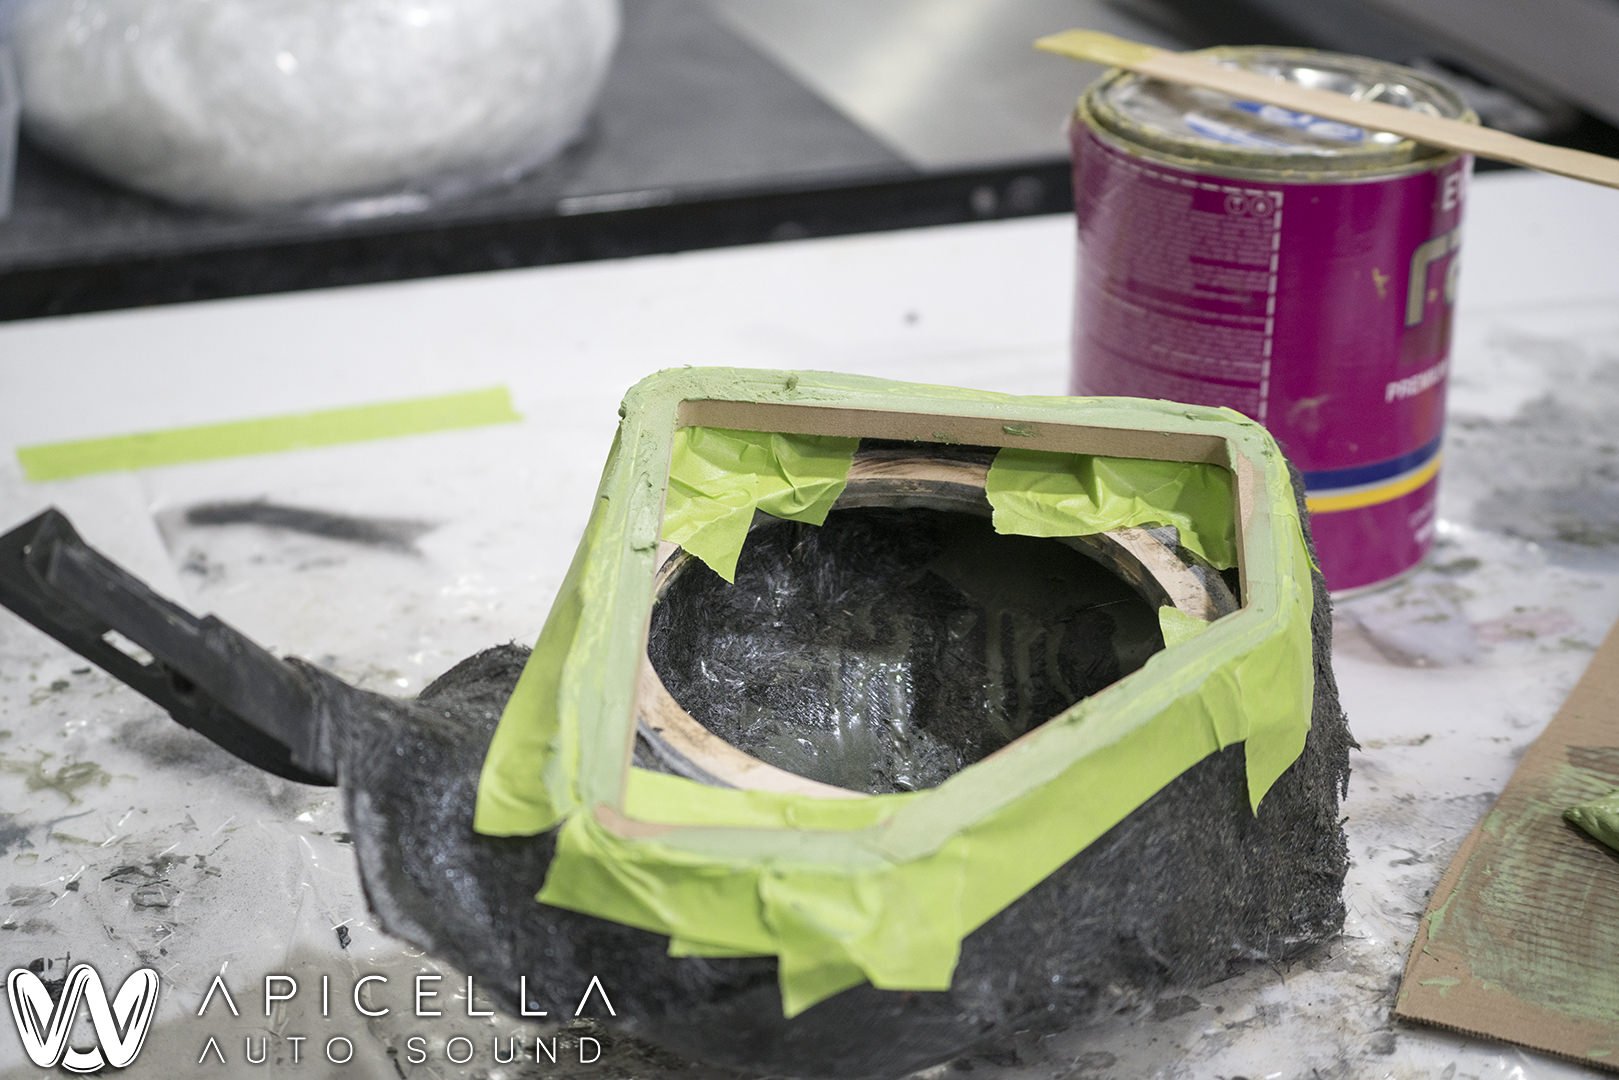
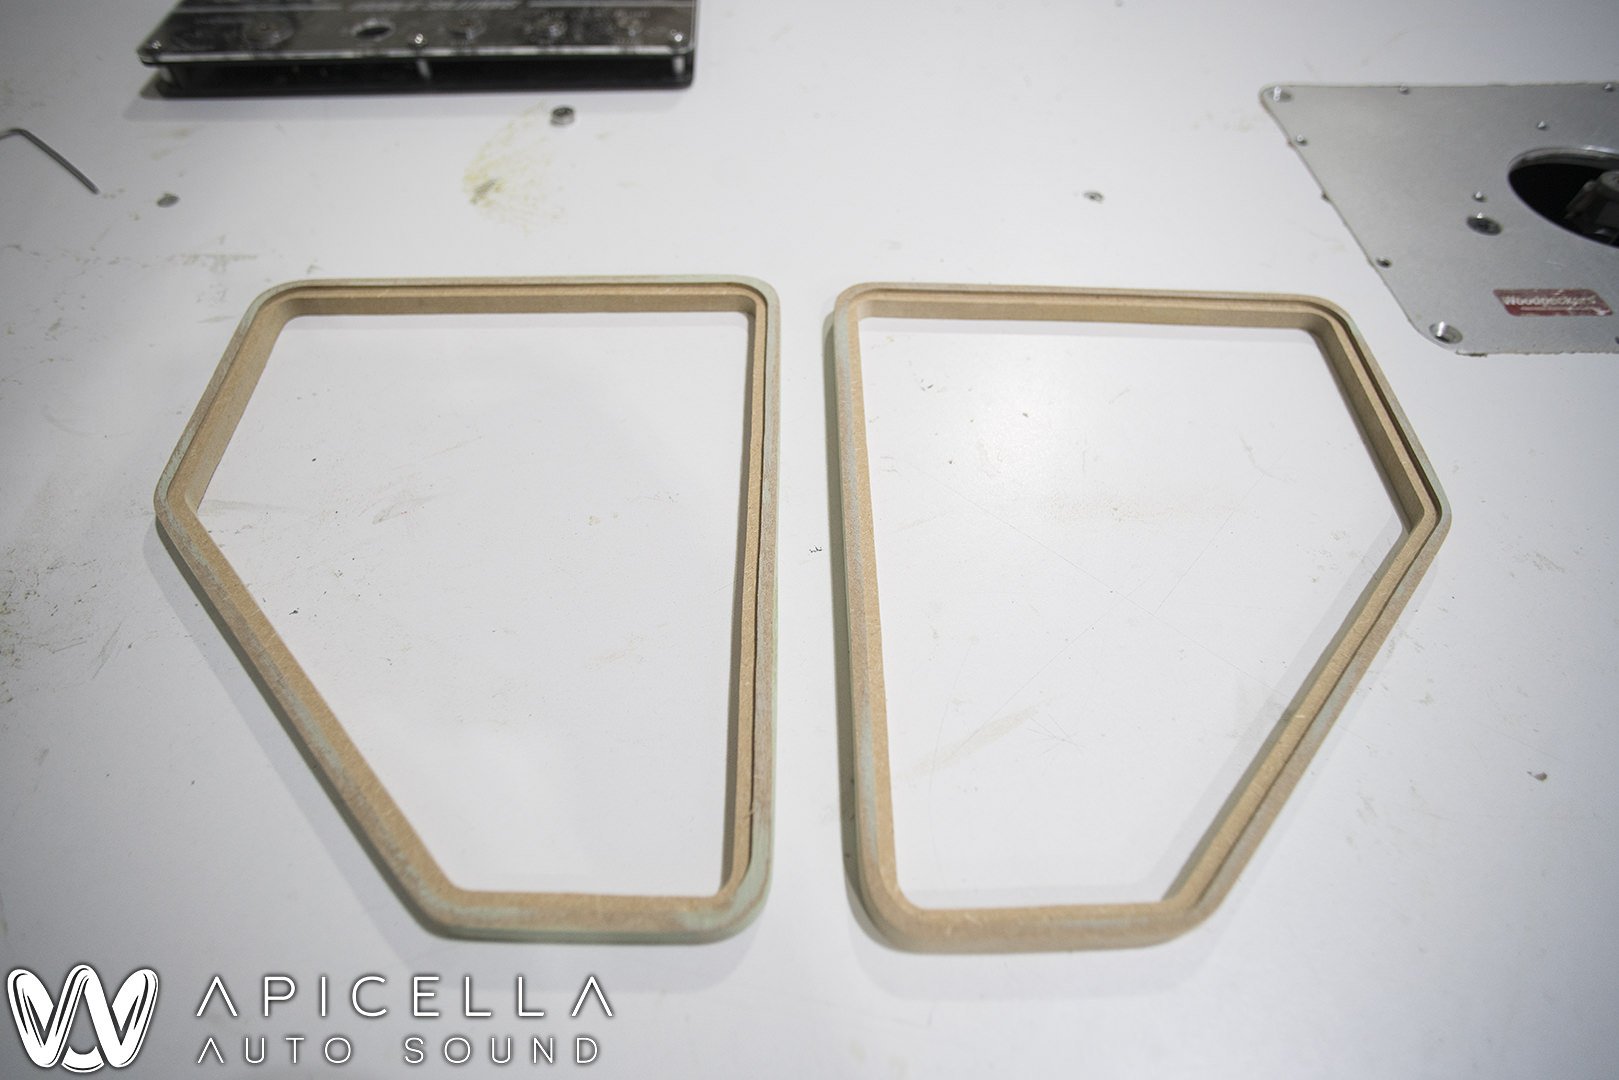
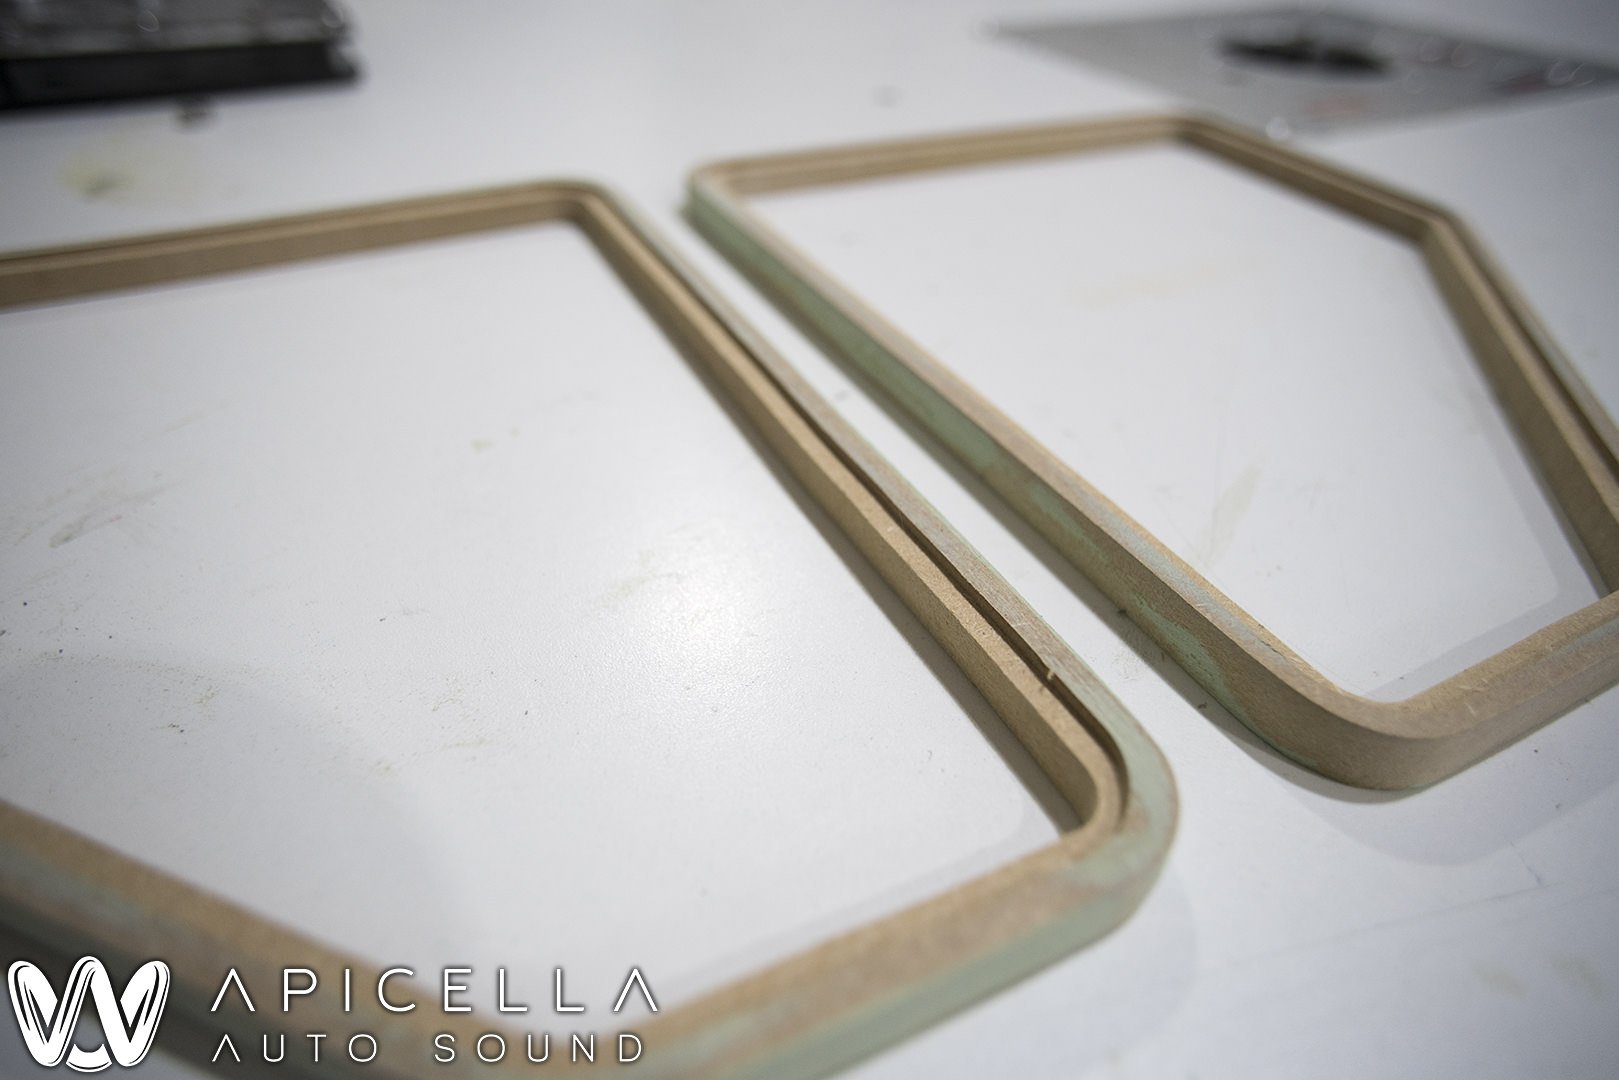
Like i said, i lost a lot of pics from the first few things in this build. Molds were made, baffles were cut and attached, kicks were glassed to withstand a nuke, and grills and their housings were made and attached. Here is the inner part of the grill being filled to assure a tight fit with no inconsistencies. After that the grill inserts were rabbeted to flush mount some steel grill to protect the drivers from wandering feet.

j5Zi6Rt.jpg


orbNonw.jpg


ApbIp05.jpg


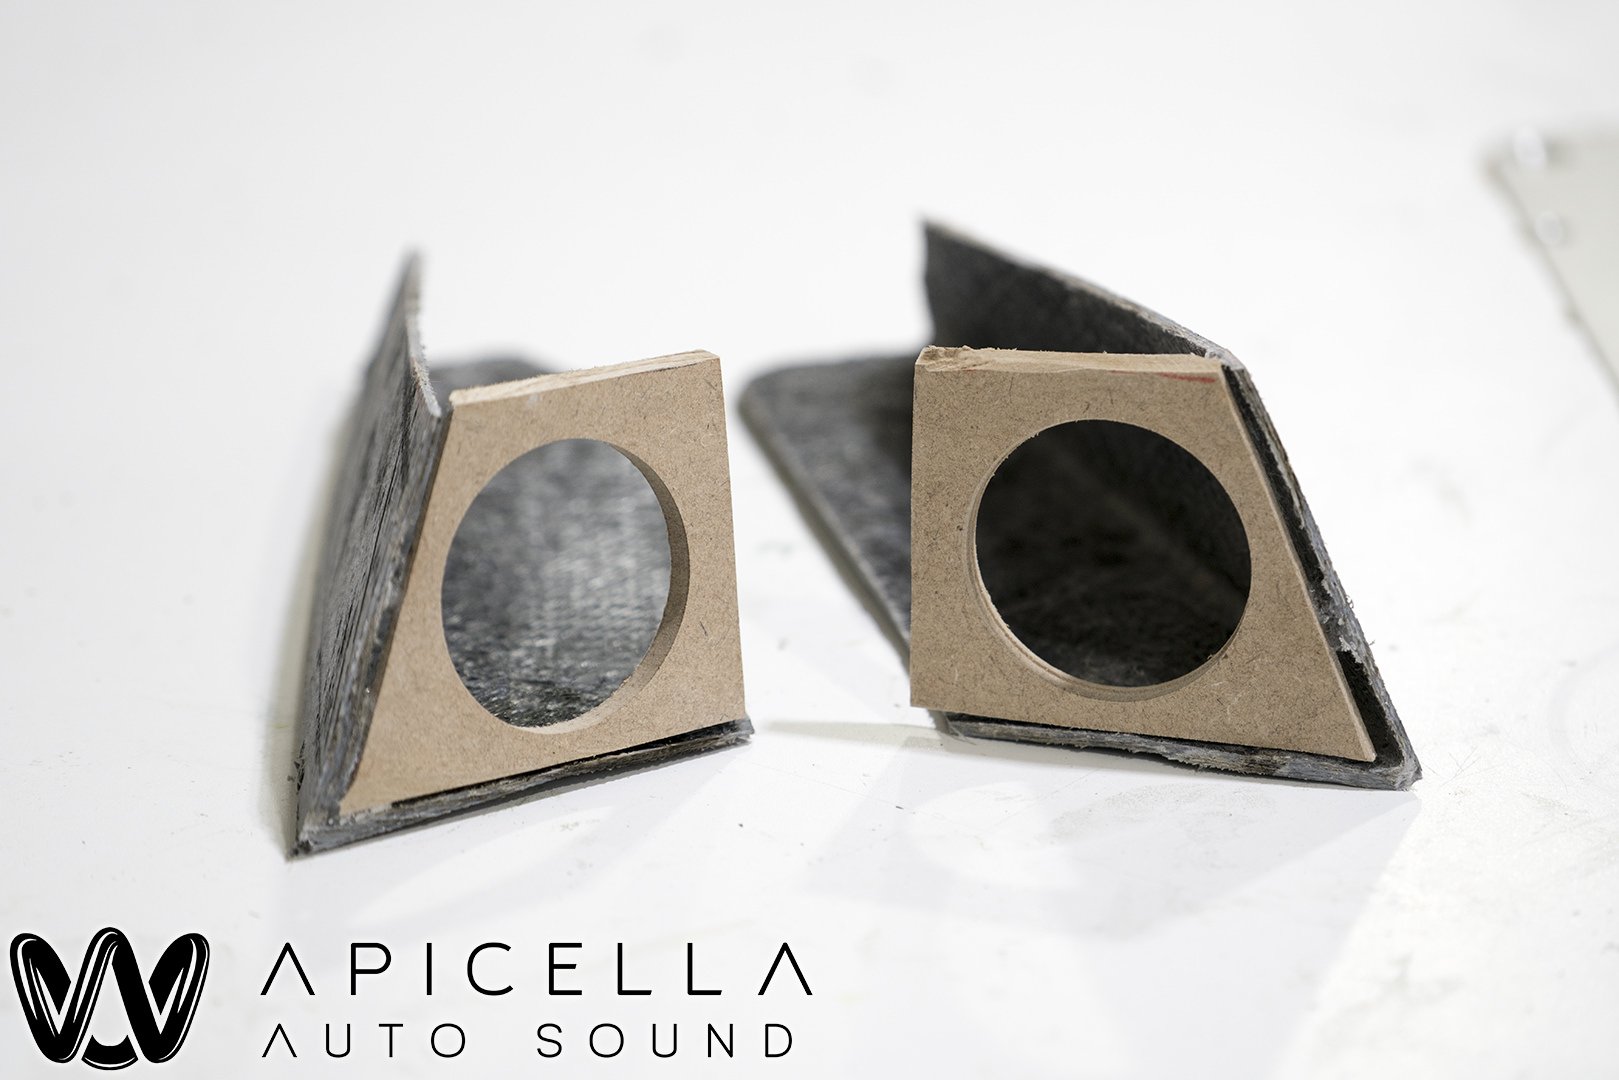
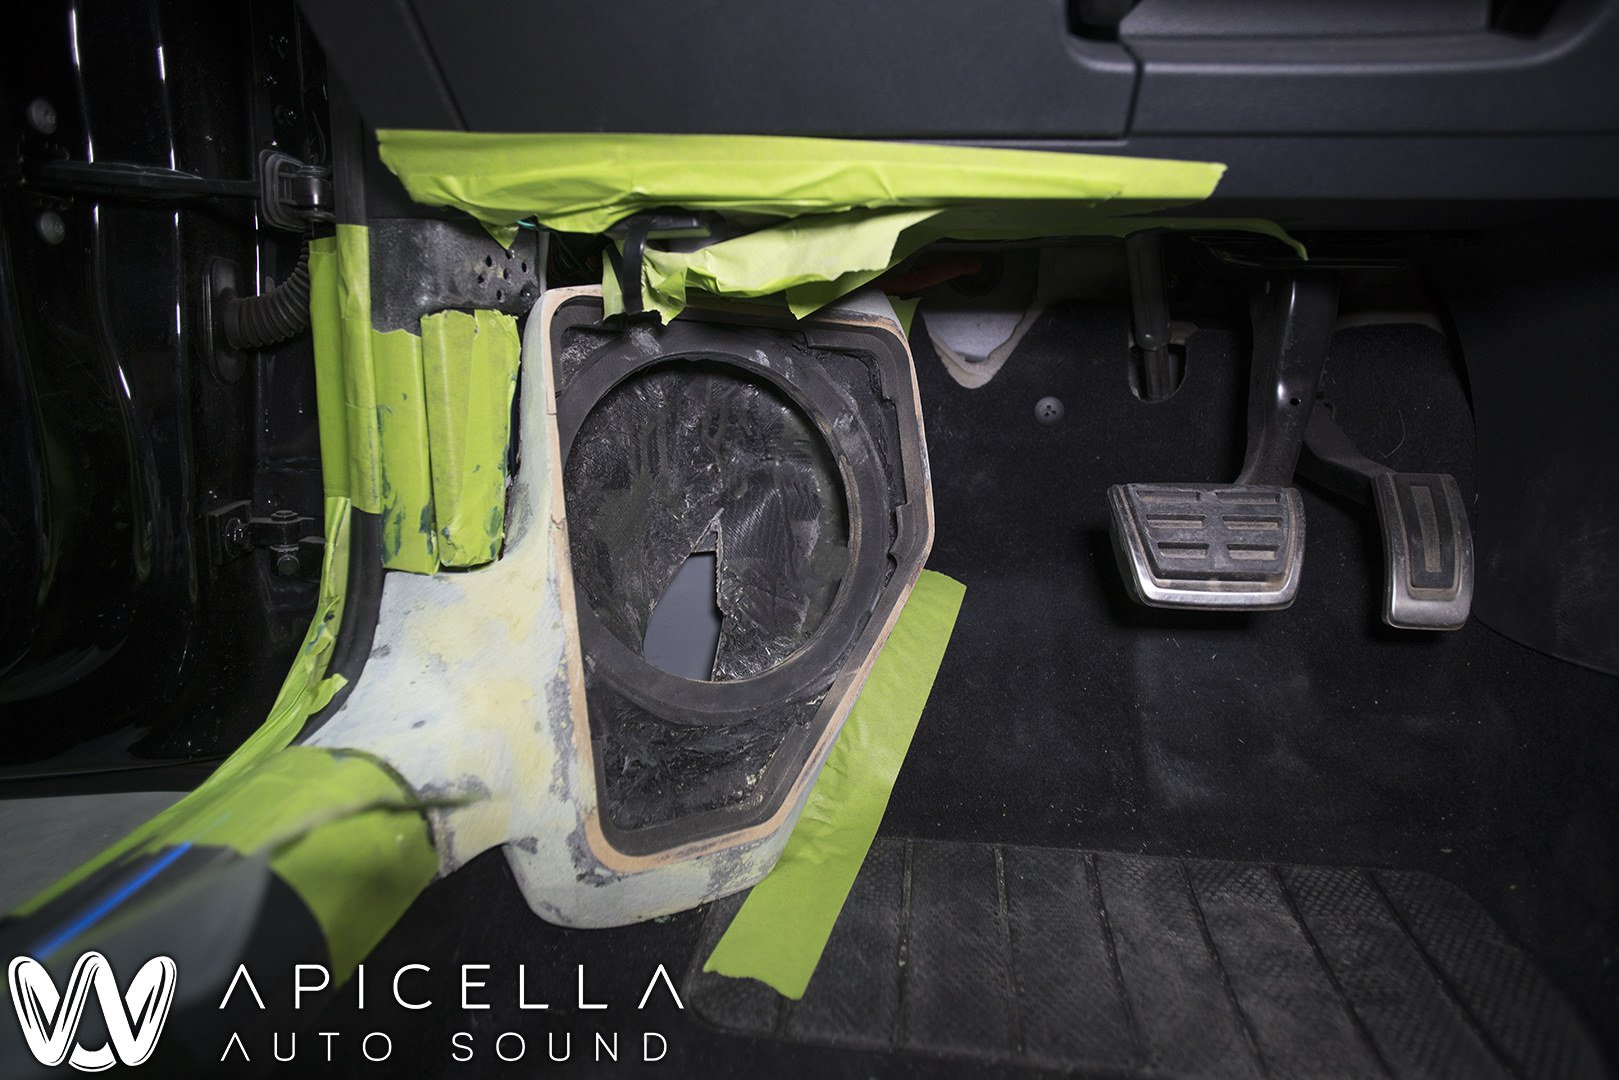
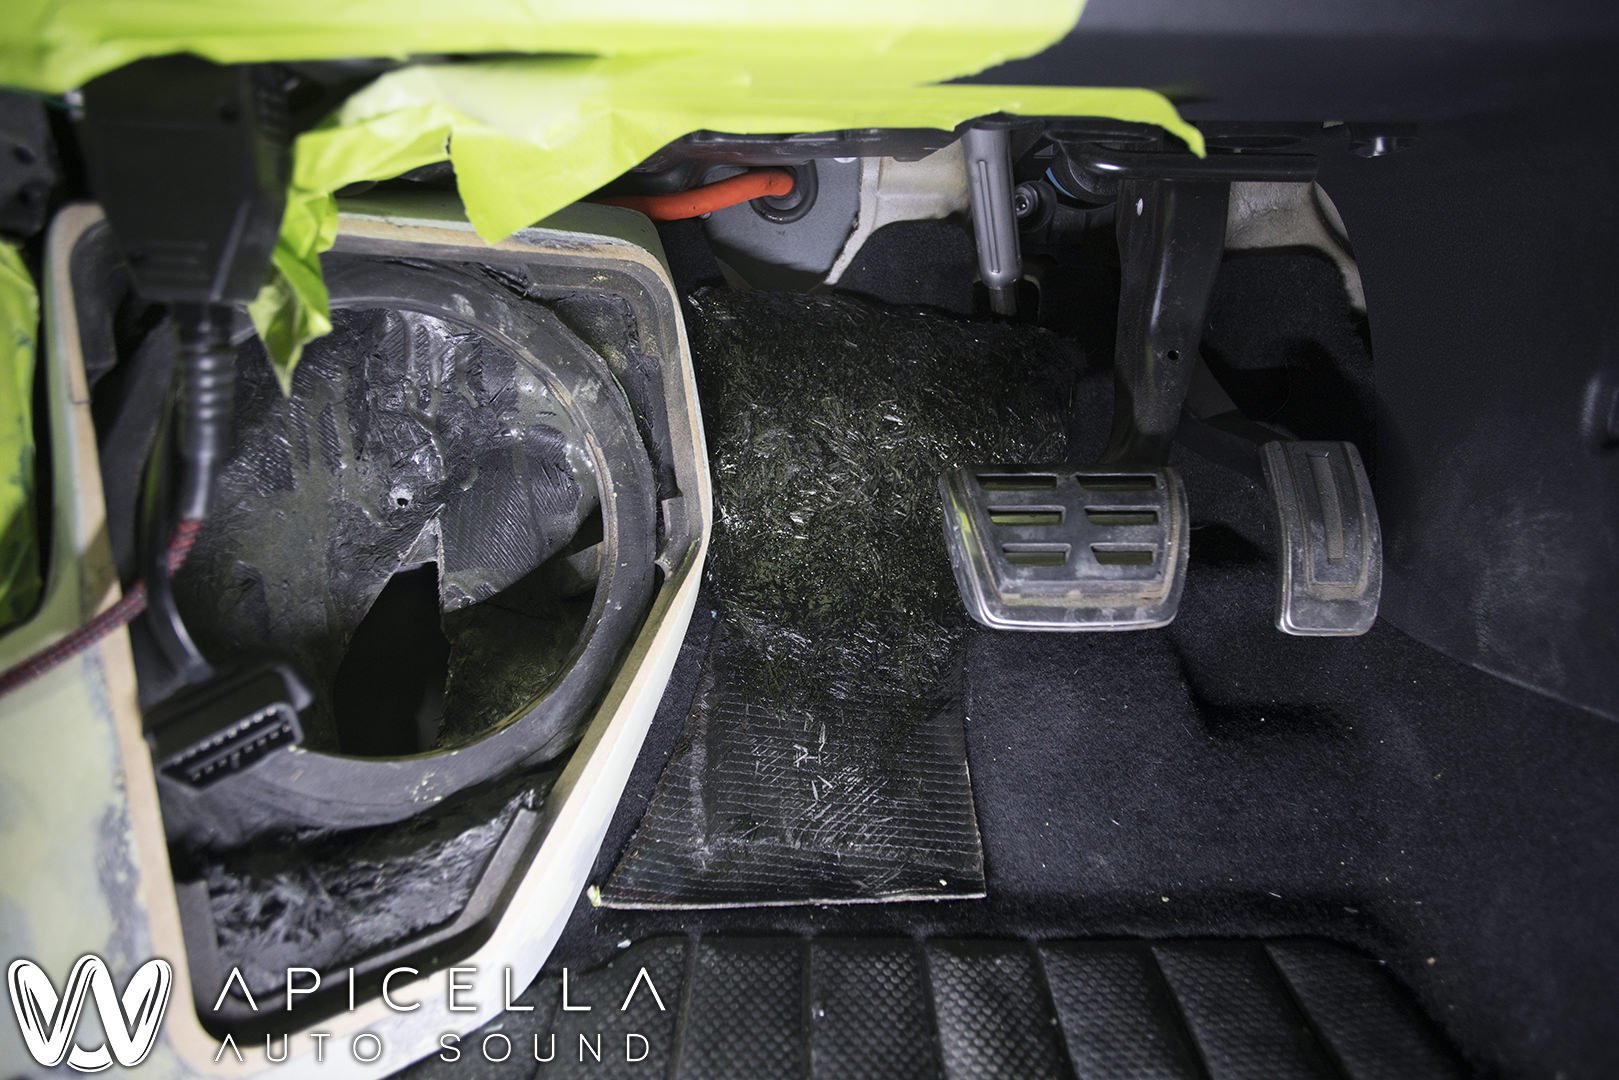
Test fit of the driver side kick. behind the opening on the back of the mold you can see the hole that vents into its own enclosed airspace. The factory hood release was also retained.

AuoXdSM.jpg


Wdn0VJy.jpg


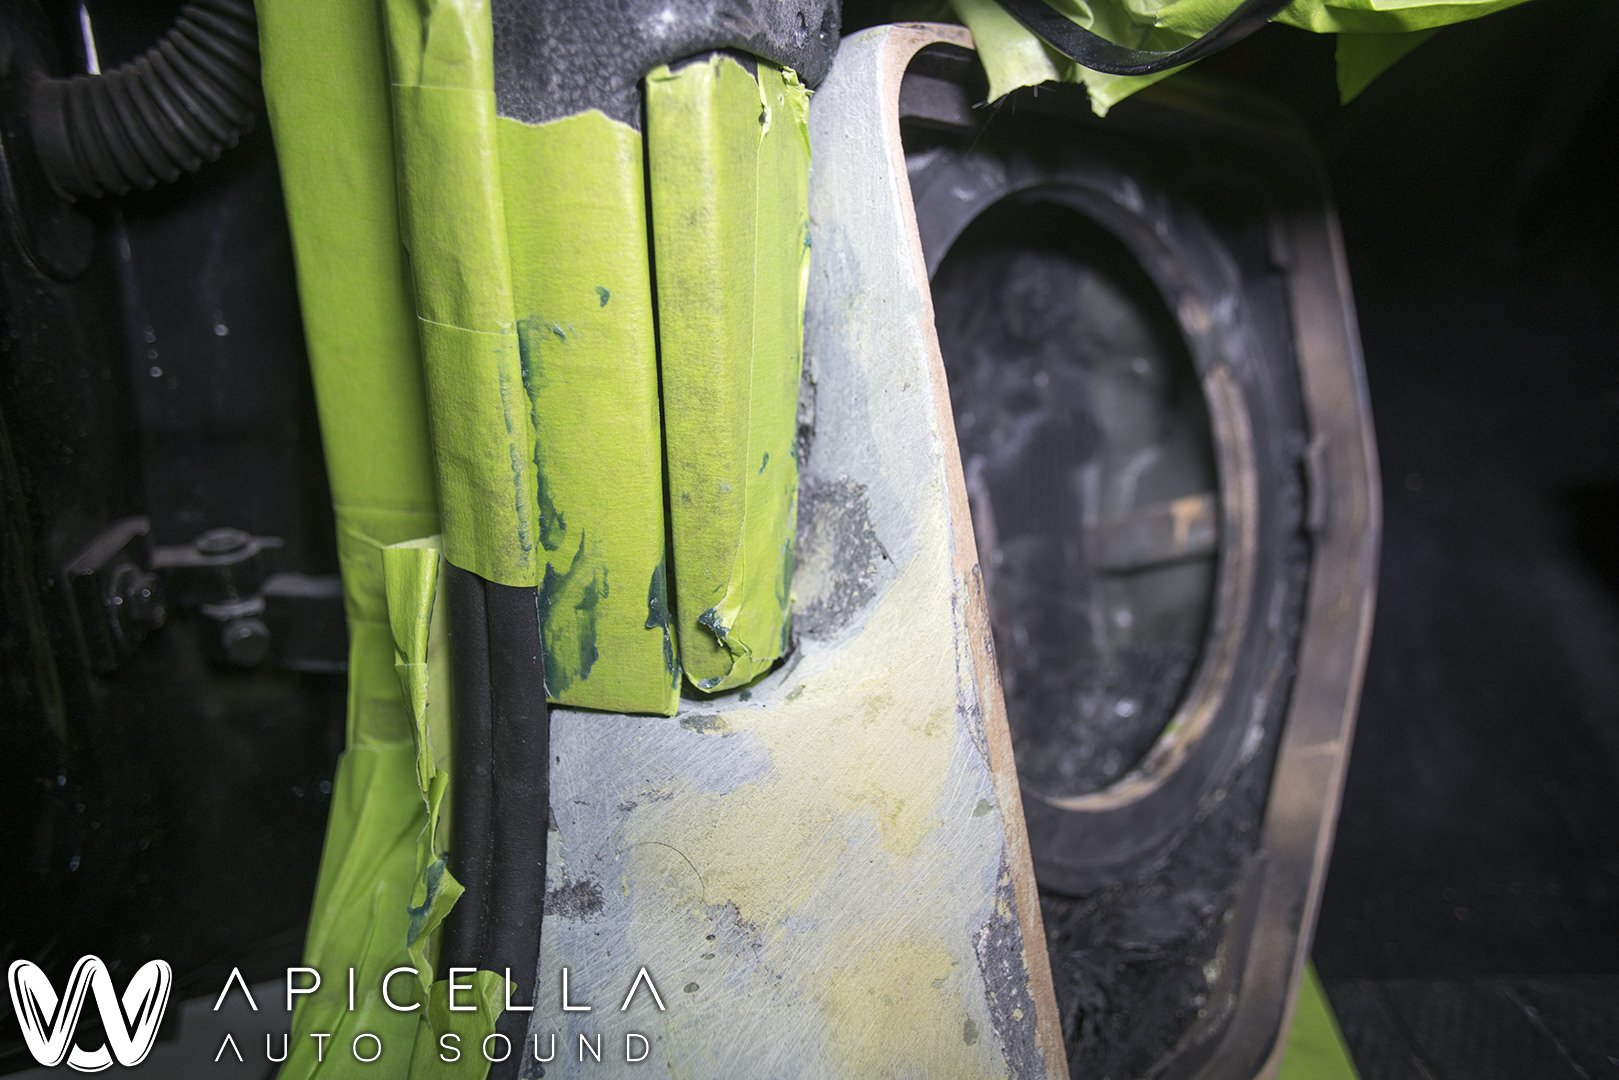
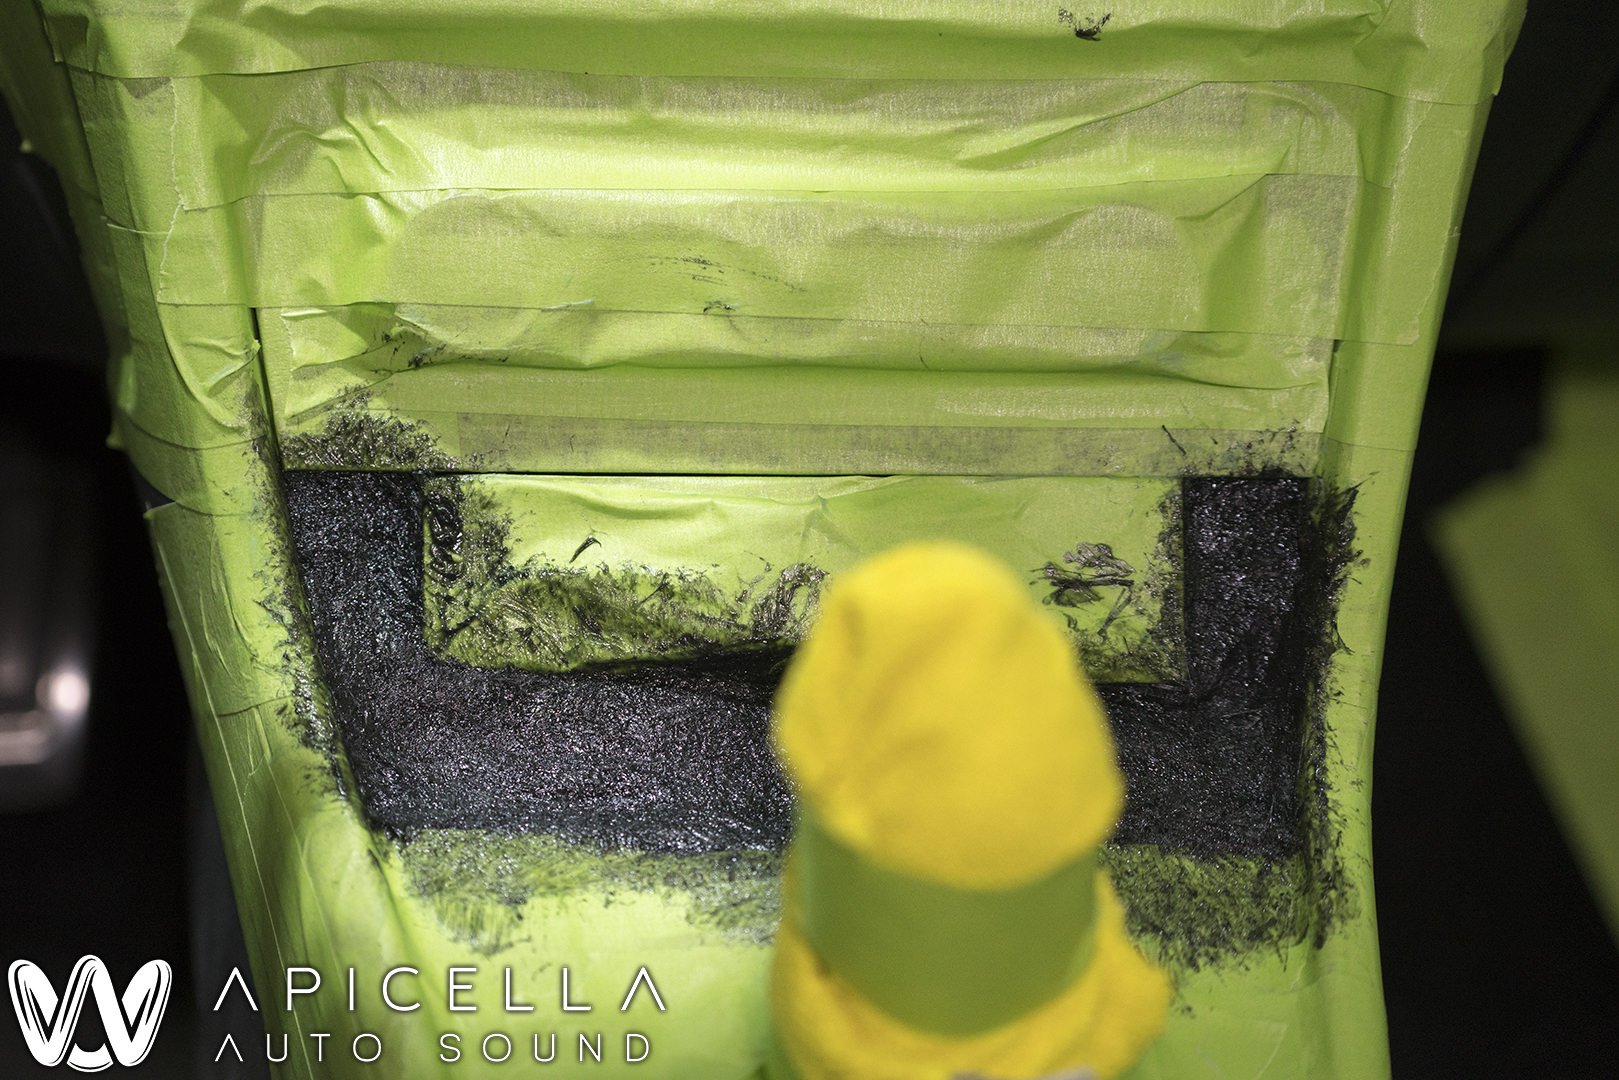
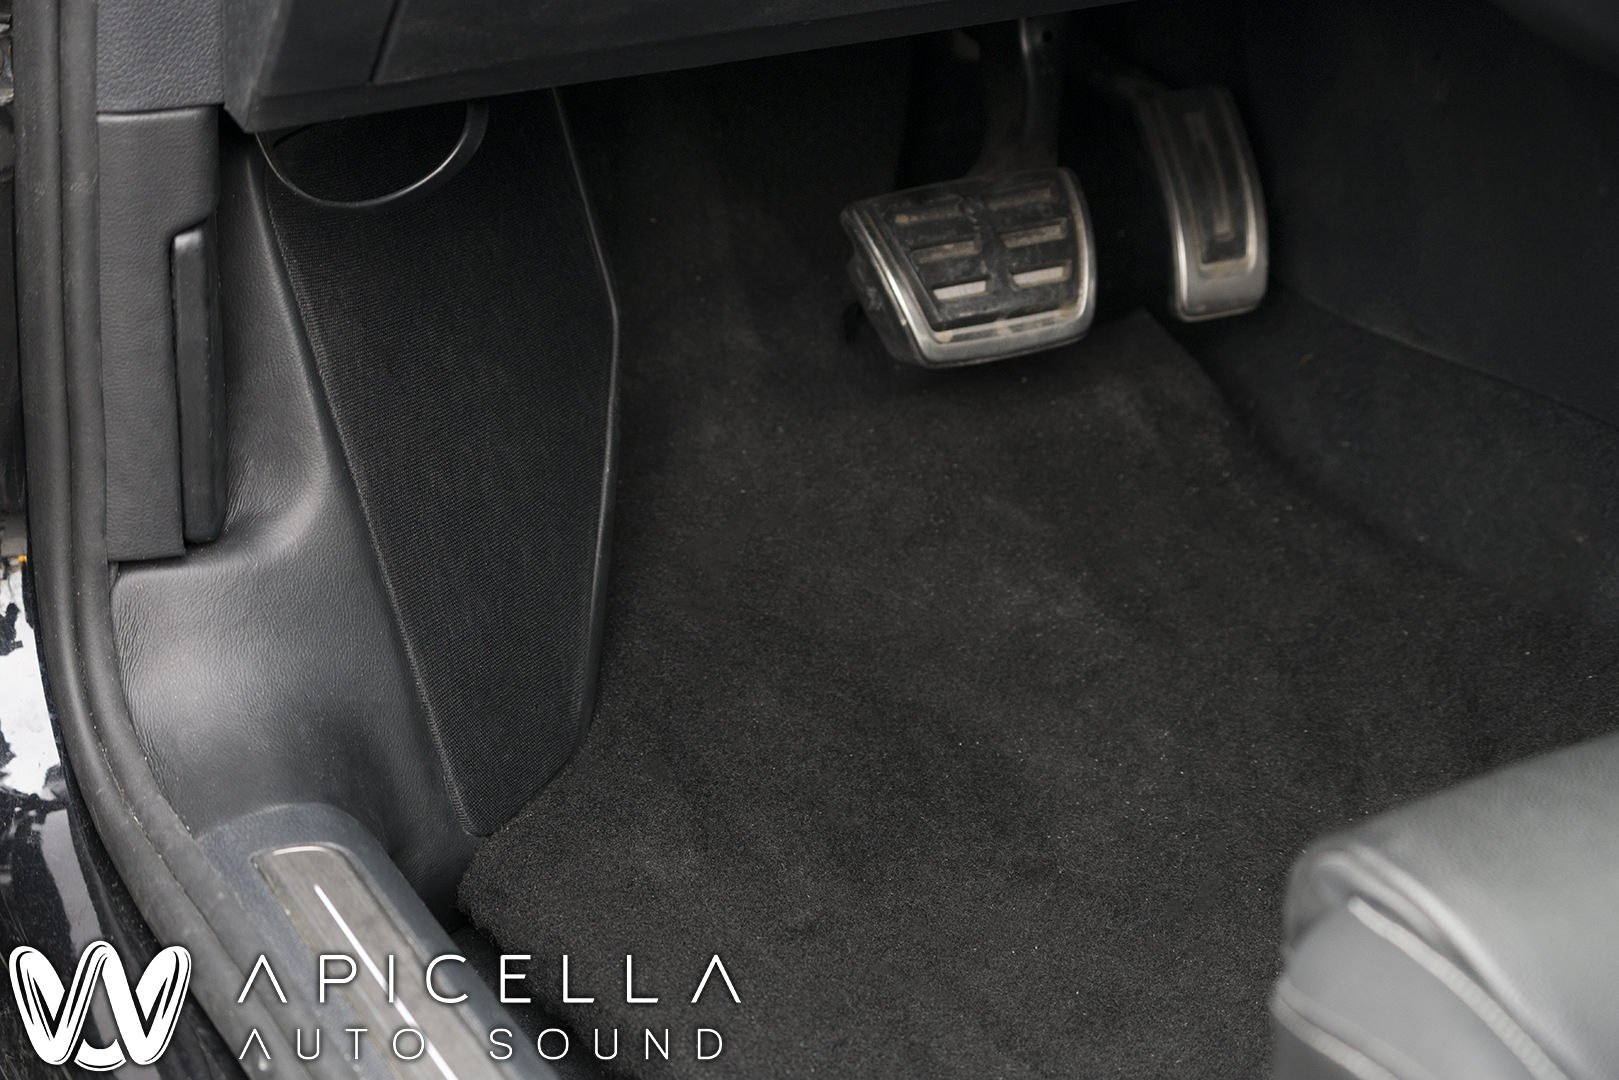
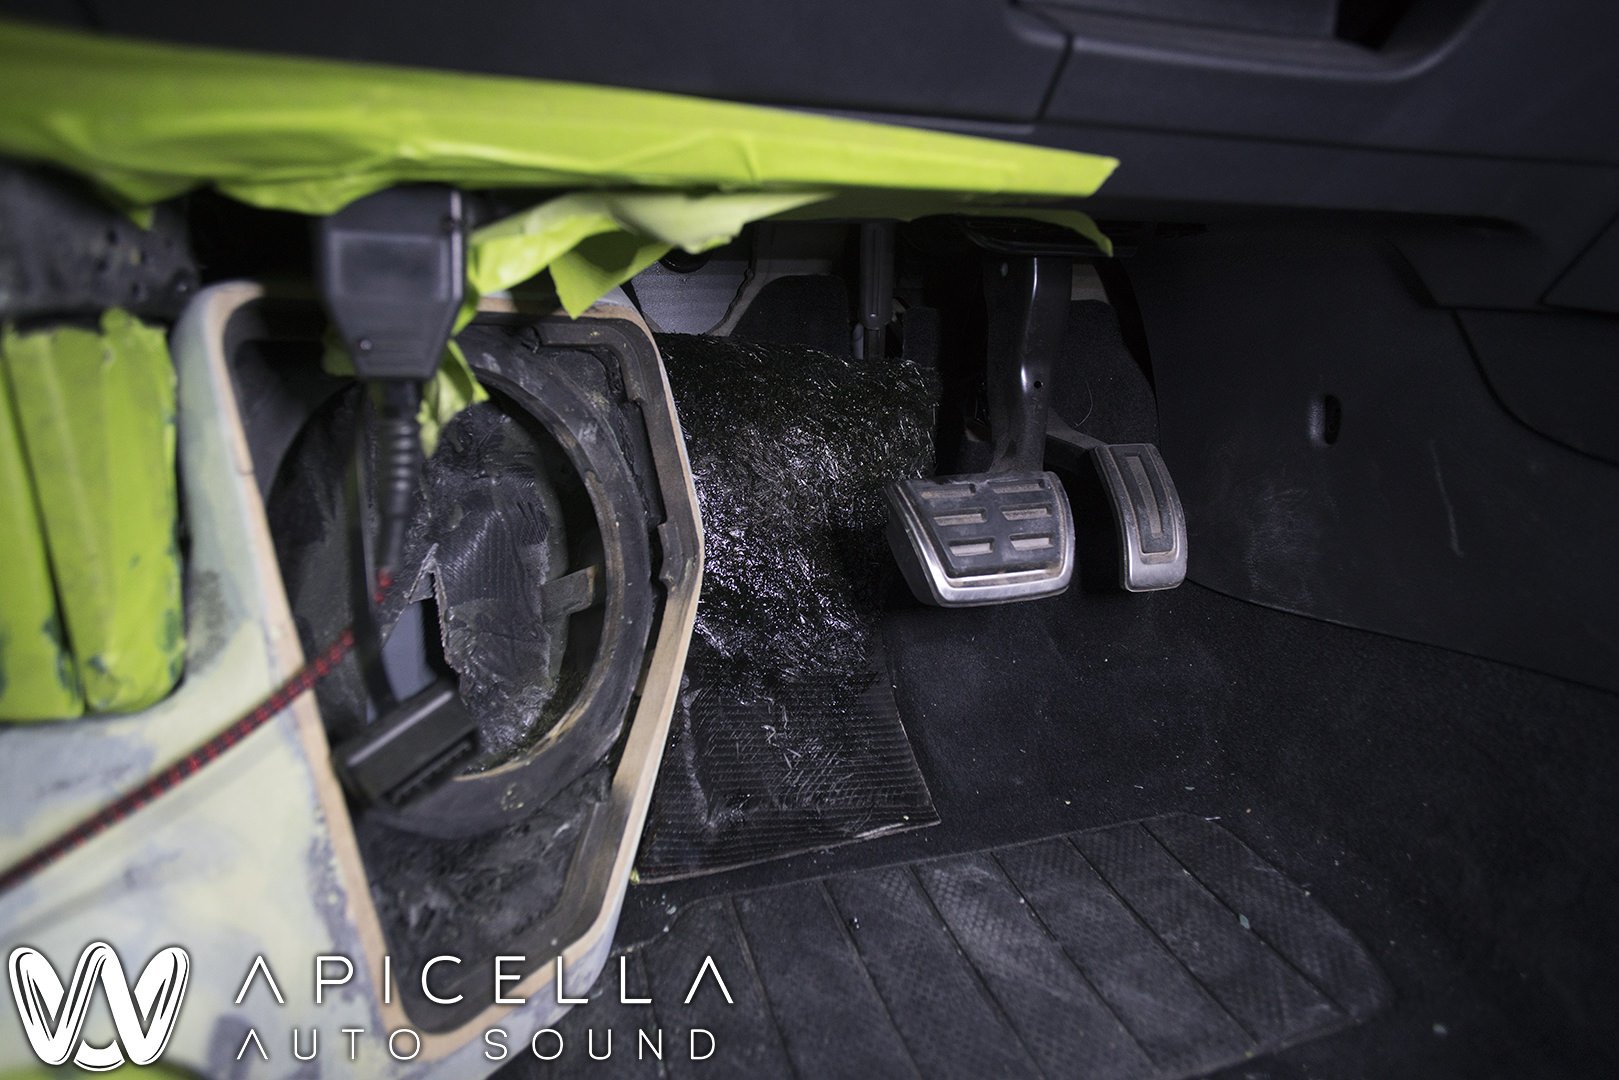
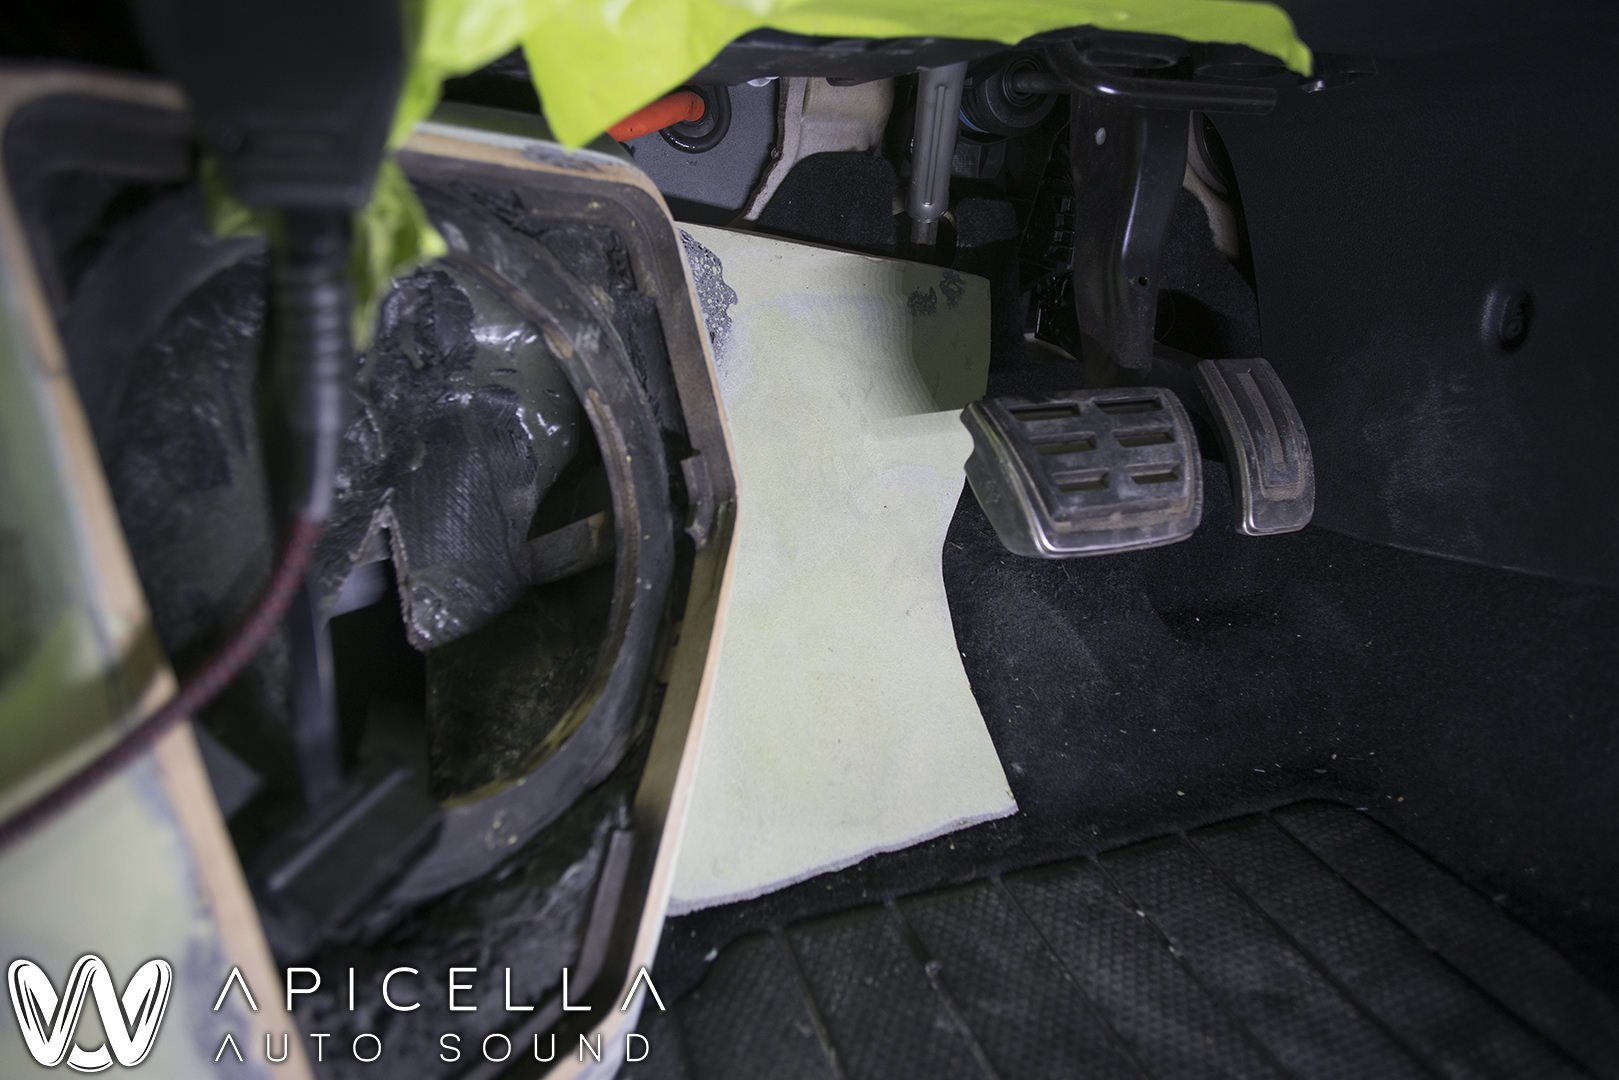
The space between the kick and the brake pedal had an inconstant floor that wasnt the best to rest your foot on. To counter that, i made a filler piece that is much more stable and comfortable to rest your foot on. It was filled with glass mat filler.

V3c4xGM.jpg


X2apfW7.jpg


PWl950s.jpg


As mentioned before the main focus of this rebuild was total accuracy. Since i already have done work in this car and save all of my before and after measurements, i looked over the Before measurements from the last pillar mounted midranges, the frequency response of the previous midrange, and the frequency response of the new midrange. For the passenger side, it seemed like firing right on axis was the best bet to get the right frequency response and levels with the desired crossovers was firing on axis. The driver side on the other hand, seemed to have a slightly rising response in the upper frequencies in the pillar location. In order to combat this i aimed them at the passenger side D- pillar, a little less on axis than the passenger side. The difference isnt very noticeable, but its a nice step to take to make sure things are sounding the best they can. Another thing was that Mike wanted to compete, so i did what i can to keep him out of an unnecessarily high class. Here i am getting a general idea of how i want to put the pillars.

WXmpngS.jpg


New pillars were acquired from the dealer for this, and immediately cut up. Driver side aiming. More cutting needed to be done to prevent blocking of the top of the speaker.

oTdAGxD.jpg


4ALR1Yf.jpg


Scanspeak 12m in its baffle.

side note: when making small flush mount baffles out of mdf, i add some CA glue to where the "flush mount" meets the mounting part of the baffle. This is to prevent it from splitting as they sometimes do. The 12's were then wired up with XT60 connectors, a standard practice here.

OUKg37u.jpg


EJSWG8q.jpg


Pillar and dash taped up and prepped for the first molds. The little triangle window space was once again utilized

Nz6yIWJ.jpg


Again, not sure what happened to the photos in between the last photo and this. But here is the pillar ready to get wrapped. The tape was to prevent the baffle from getting wet as i used water to measure their volume. Each side measured about 1.1 liters or airspace. A **** good amount for these drivers, especially considering how thick they are build up while taking up minimal space.

SPD6L9i.jpg


Grills were made to prevent the 12m cones from deteriorating from UV rays as they arent exactly made for car use. The outer ring is made out of acrylic. After the acrylic pieces were routed, some hexagon steel mesh was pressed to add some dimension. They were then painted, and mesh wrapped over with grill cloth.

HqqT6W7.jpg


WXmTeu0.jpg


ZamTvU3.jpg


OeM6vQR.jpg


s21MU3h.jpg


I waited to start the sail panels after the a-pillars were finished because Mike wanted them to look like they were "one" and belonged together. I made the sail panel mold to the a pillar and follow its shape. here is the first mold being made. After the mold was pulled, it was trimmed, baffles made and attached, fleece stretched, resin and glass mat applied, filled, and sanded. here they are ready for wrap.

abSS7Ur.jpg


qvVWxKJ.jpg


6kmrWYH.jpg


Some beautiful tweeters here. Some caps were placed in line with them to prevent damage from user error or equipment failure.

Pp351eO.jpg


IsyxpUw.jpg


Next up was the Sony RSX-GS9 install. Remember how the director was in the last install (done by the previous installer, not myself). Well, it wasnt the best. It was inside of a cubby that had a flip up door that was under the HVAC controls. It wasnt the best install, and wasnt a great location as it was recessed inside of this small cubby. So, we ditched the cubby and replaced it with the Sony and a fitting bezel. Behind the tape, the sony is installed with two L-brackets that get bolted down with factory hardware and is flush with the hvac control bezels surface. The bezel was made of of 1/4" chop strand fiberglass filler. Pretty **** strong. It is secured via pressure from the HVAC controls bezel pushing it into the shifters panel.

UHCS4tH.jpg


ylcRsIJ.jpg


Since the director now didnt have a home, a housing was fabricated and it was placed within the sunglass holder. This was done by my good friend, the same person who helped me install my first system. He is now a part time employee here and helps out when hes not busy with his own photography business. I love having him around. He keeps me in check when im losing my **** mind, has a second outlook on this, has ideas that i may not come up with myself, and i now can get the main fabrication stuff like glassing, routing, making larger and more intricate panels. And most importantly, i can fully trust him.

oWK2iug.jpg


Pics missing from taking the molds of the rear fill pods, but here they are pulled and trimmed with baffles in place. After doing some bondo lines to get them to mate up to the panels perfectly, they were sanded to be wrapped.

owe8wf5.jpg


cPohZDV.jpg


JzQUXd7.jpg


Phgbau7.jpg


23xfOzH.jpg


Here is the Helix Director fully installed.

GpcNNwR.jpg


zq7zUmd.jpg


Sony and iPad install finished. The bezel for the Sony was wrapped in a matching gloss black vinyl. Wish i got some close ups of the Sony while its fully installed. Everything mates up perfectly.

16p1GqV.jpg


s8APD8r.jpg


Kicks done and installed, along with beefed up floormats that i made to reduce tactile feedback. That wire hanging down is for his engines tune and is plugged into the ODB port.

ZRug3WL.jpg


qlOn5fz.jpg


Excuse the dust, this was before it was fully cleaned. here you an see the rear fill pods installed.

m71DeWJ.jpg


YqIa5qe.jpg


jEcW00A.jpg


A-Pillar and sail panels fully installed.

RDLqhXi.jpg


jSwPvMv.jpg


Vwyiz61.jpg


In the end, the car sounded phenomenal. Mike is coming back on friday to do some more tuning to adjust to his preferences/driver break in after doing some listening. The car is on a new level now. The A.D. W800NEO's are extremely impressive, in terms of SQ and output especially considering that they are only 56mm deep.

Thanks for looking!

 
The placement of a speaker in place of the dead pedal is a shame. What a waste of a good driver's car. That's like having a horse cock and saying you'd rather be a social worker instead of a porn star. 

Nice work on the install though.

 
The placement of a speaker in place of the dead pedal is a shame. What a waste of a good driver's car. That's like having a horse cock and saying you'd rather be a social worker instead of a porn star. 

Nice work on the install though.
did you not see the part where i fabricated a new dead pedal? not only that, but the kick is strong enough and uses a thick metal grill that you can put your feet on it if you really wanted to.

 
So Mike wanted more output from the subs after his last revision as that was by far his weakest link. He finally decided to give up some trunk space (a trunk that he doesnt use anyway lol) and install a pair of Audiofrog GB12's in 1 cubic foot per side sealed enclosure. We also added a Zapco Z-2KDii to power them. Adding all of this to such a small trunk and leaving it partially functional was a real challenge. We ended up hiding the Zapco amp underneath the brax amps. Another issue was the heat the the Brax MX4 amps create. They get hotter than any amp ive come across by a long shot. So, we installed 5 fans that are on a switch to circulate new air into the amp rack. Sorry, no pics with the edge lit acrylic lit up. The result was easily the most impressive car i have done to date. The overall sound is just killer. Can do very well if he gets to a competition, but it doesnt seem like he has any interest in it. But whats cool is when you turn that director sub volume control from -18 (setting for SQ with a linear response), to all the way up to zero and the GB 12's just take it and put out the most impressive sounding bass ive heard in a car to date. So god damn loud, but so god damn clean, and not a hint of rattle (thanks VW). Seriously. If you get the chance to listen to this car at a meet, ask him to turn that volume up.
 

7vgH62c.jpg


QWh5OUv.jpg


GUDbVTY.jpg


HiqIFL1.jpg


ZHjH8fo.jpg


Activity
No one is currently typing a reply...
Old Thread: Please note, there have been no replies in this thread for over 3 years!
Content in this thread may no longer be relevant.
Perhaps it would be better to start a new thread instead.

Similar threads

This would go a long way to alleviating the dimming issue, up to around 4000 watts. It can handle 100A continuous and up to 285A 7 second burst...
6
394
Well, there is always a bypass that can be McGuyvered. So next time you want to tackle that task, post it. We can help.
9
684
I'll be making it some time in the next few weeks. But that's my next project. This car. It belongs to my brother. But I'm working on it...
3
98

About this thread

SkizeR

10+ year member
Member
Thread starter
SkizeR
Joined
Location
New York
Start date
Participants
Who Replied
Replies
11
Views
3,759
Last reply date
Last reply from
SkizeR
Subwoofer remote.jpg

MrG

    Apr 18, 2024
  • 0
  • 0
20240416_012638.jpg

MrG

    Apr 18, 2024
  • 0
  • 0

Latest topics

Top