And here we have it! The very first build of 2018 and very first FULL build at Apicella Auto Sounds new location!
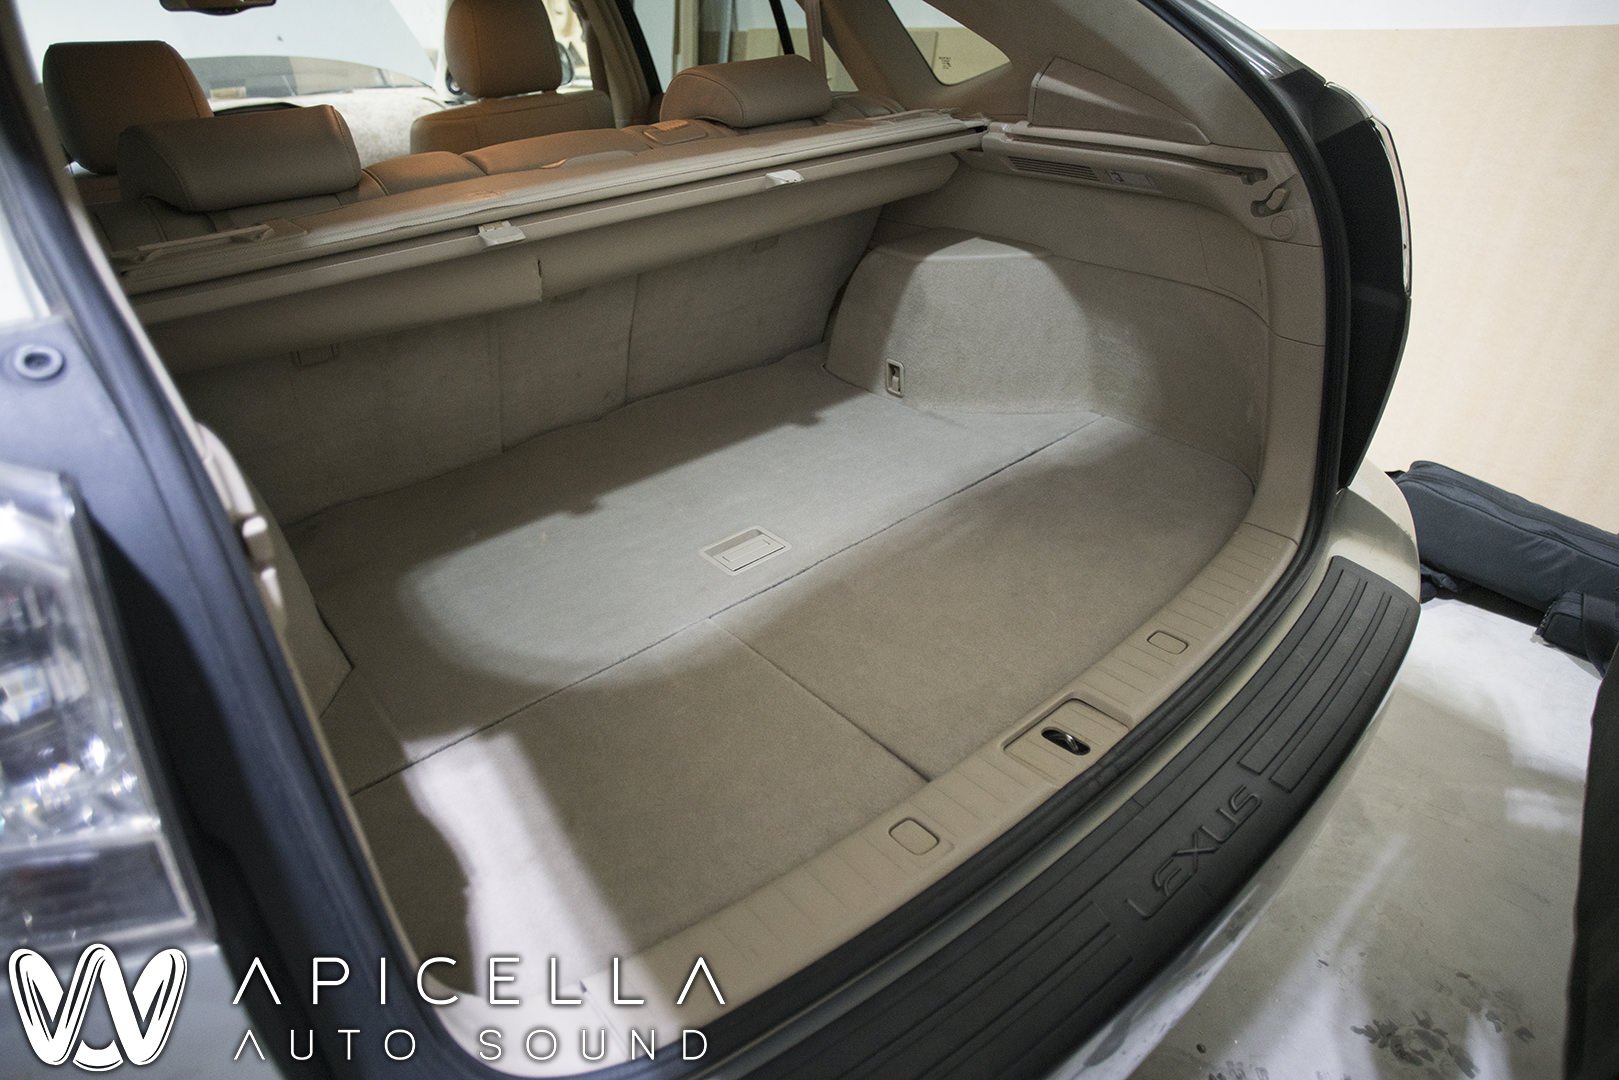
Robert contacted me about 6 weeks ago looking to do a build in his newly acquired 2006 Lexus RX330. Over that time we went over ideas, constraints, timing, etc etc. Just before the new year he was able to drive from Richmond Virginia all the way up to New York to finally let me get my hands on it.
Over the weeks leading up, we also tossed ideas as to what equipment would be best for his goals, which were to maintain a semi-stock look while giving the best possible sound quality as he has plans on competing in the future, and not take up to much space.
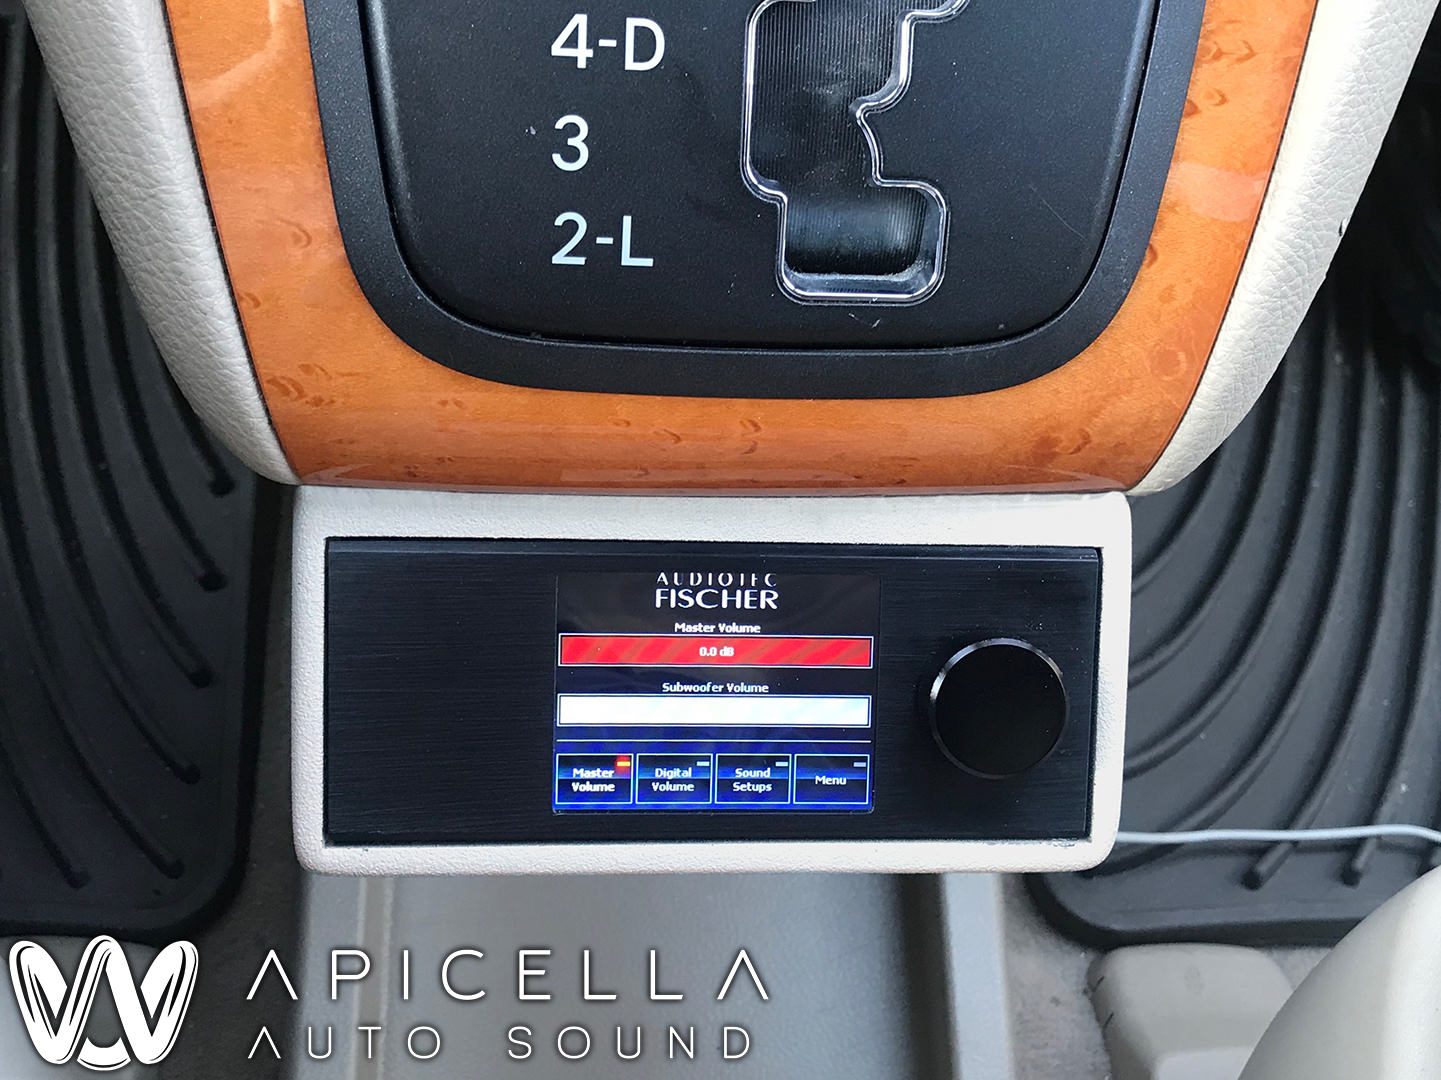
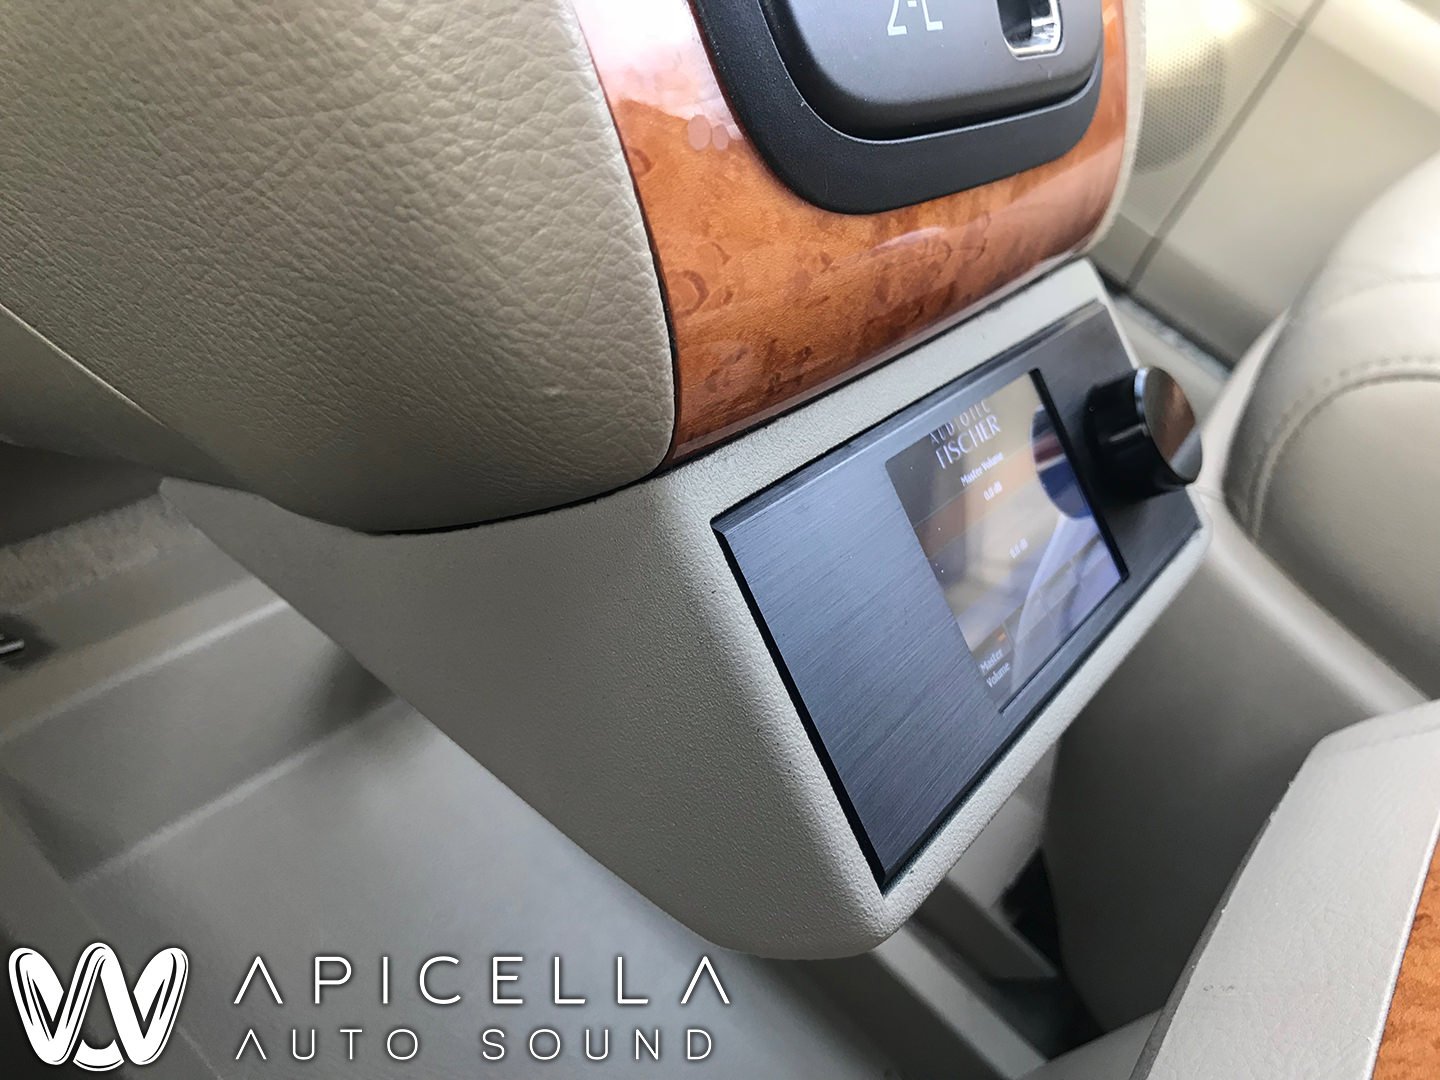
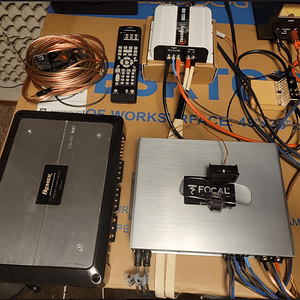
The equipment we settled on were:
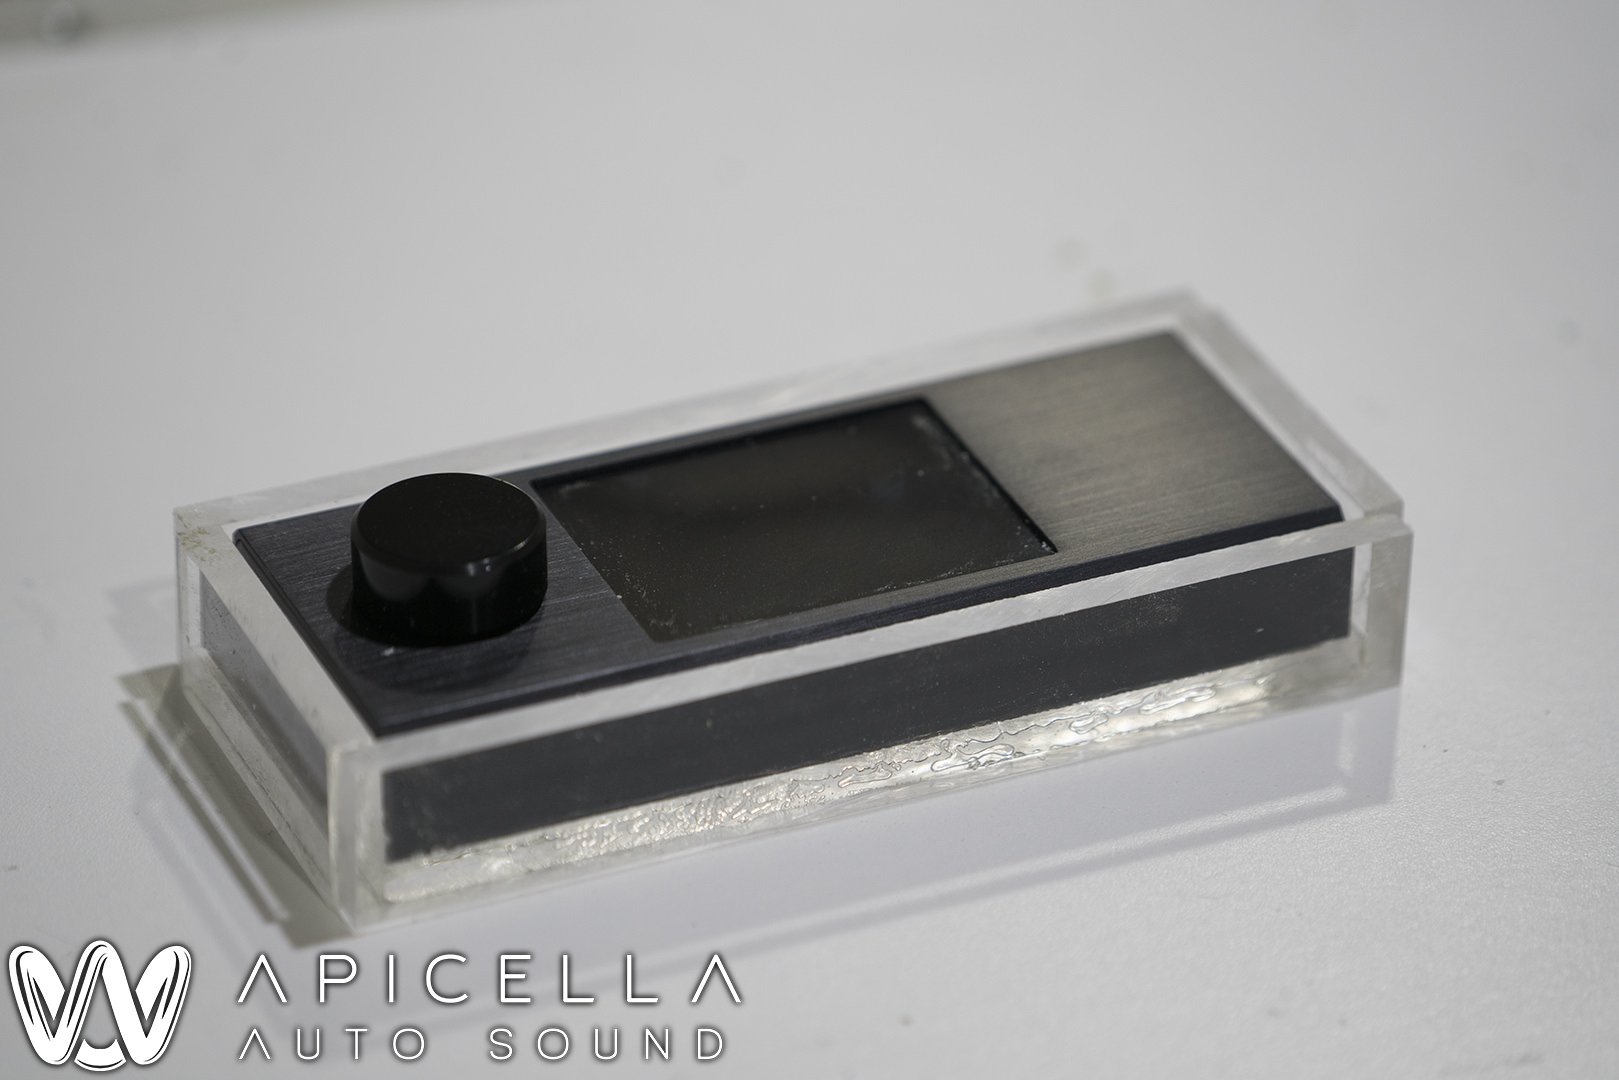
Pioneer 6200 (already installed)
Audible Physics Ram 2Q
Audiofrog GS690
Tang Band 2" fullrange
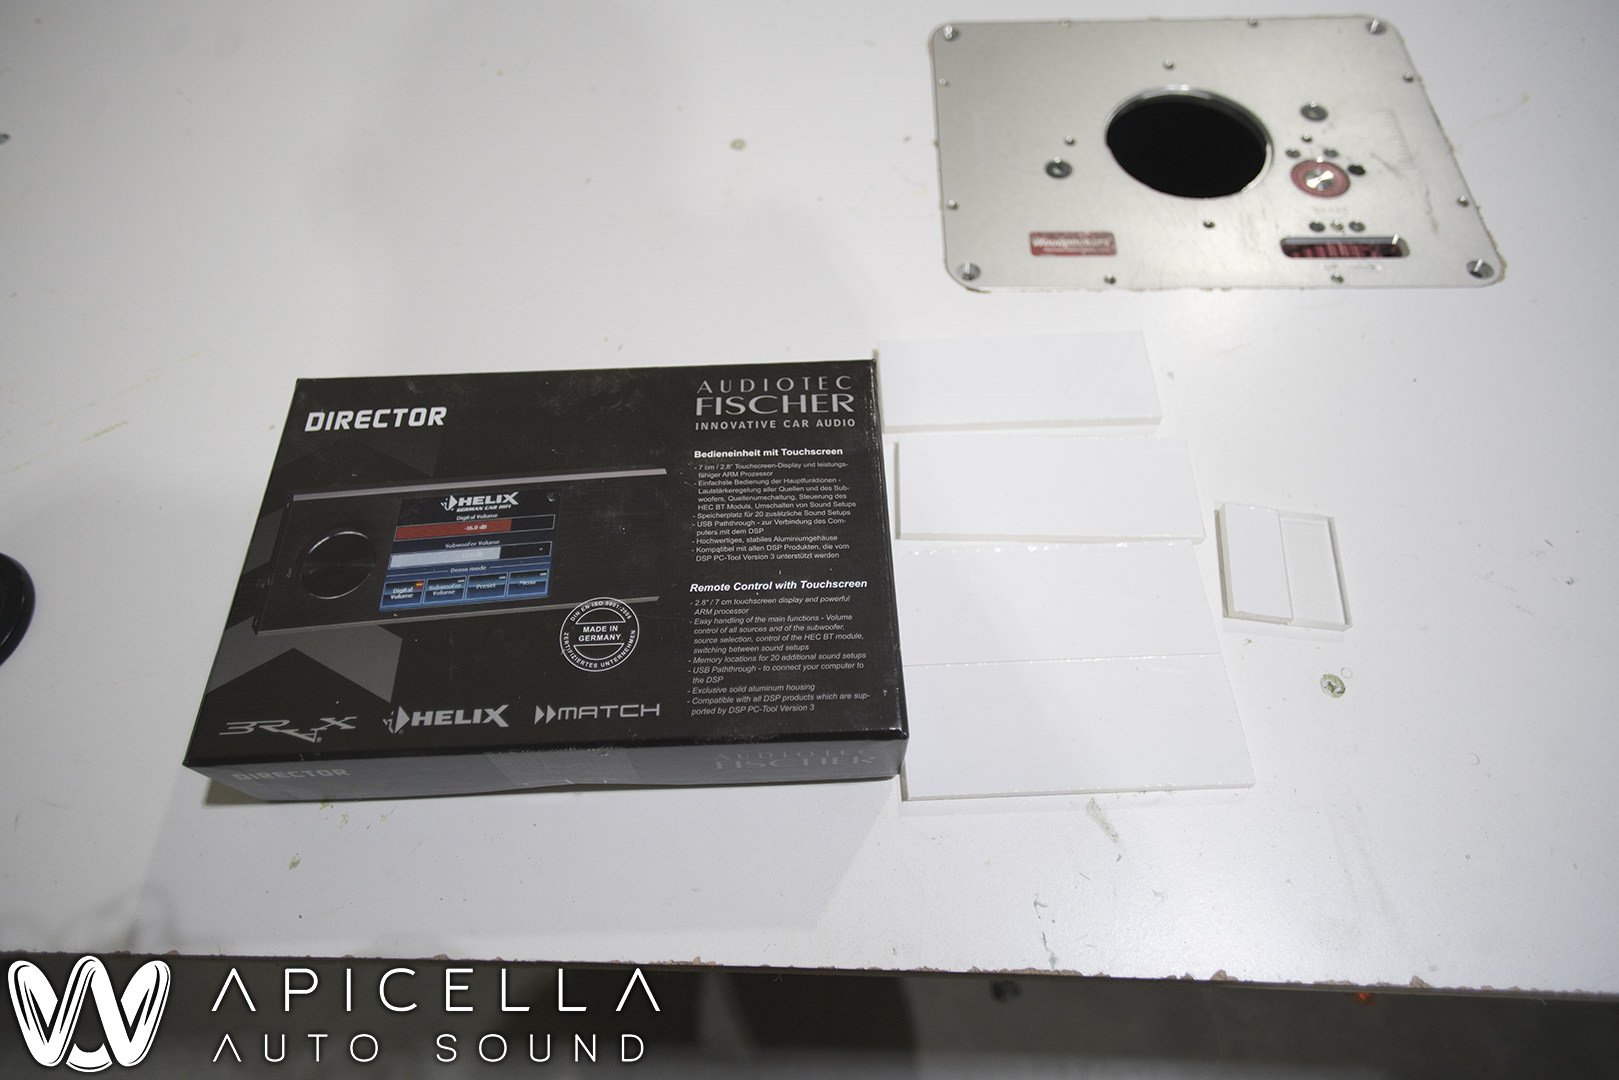
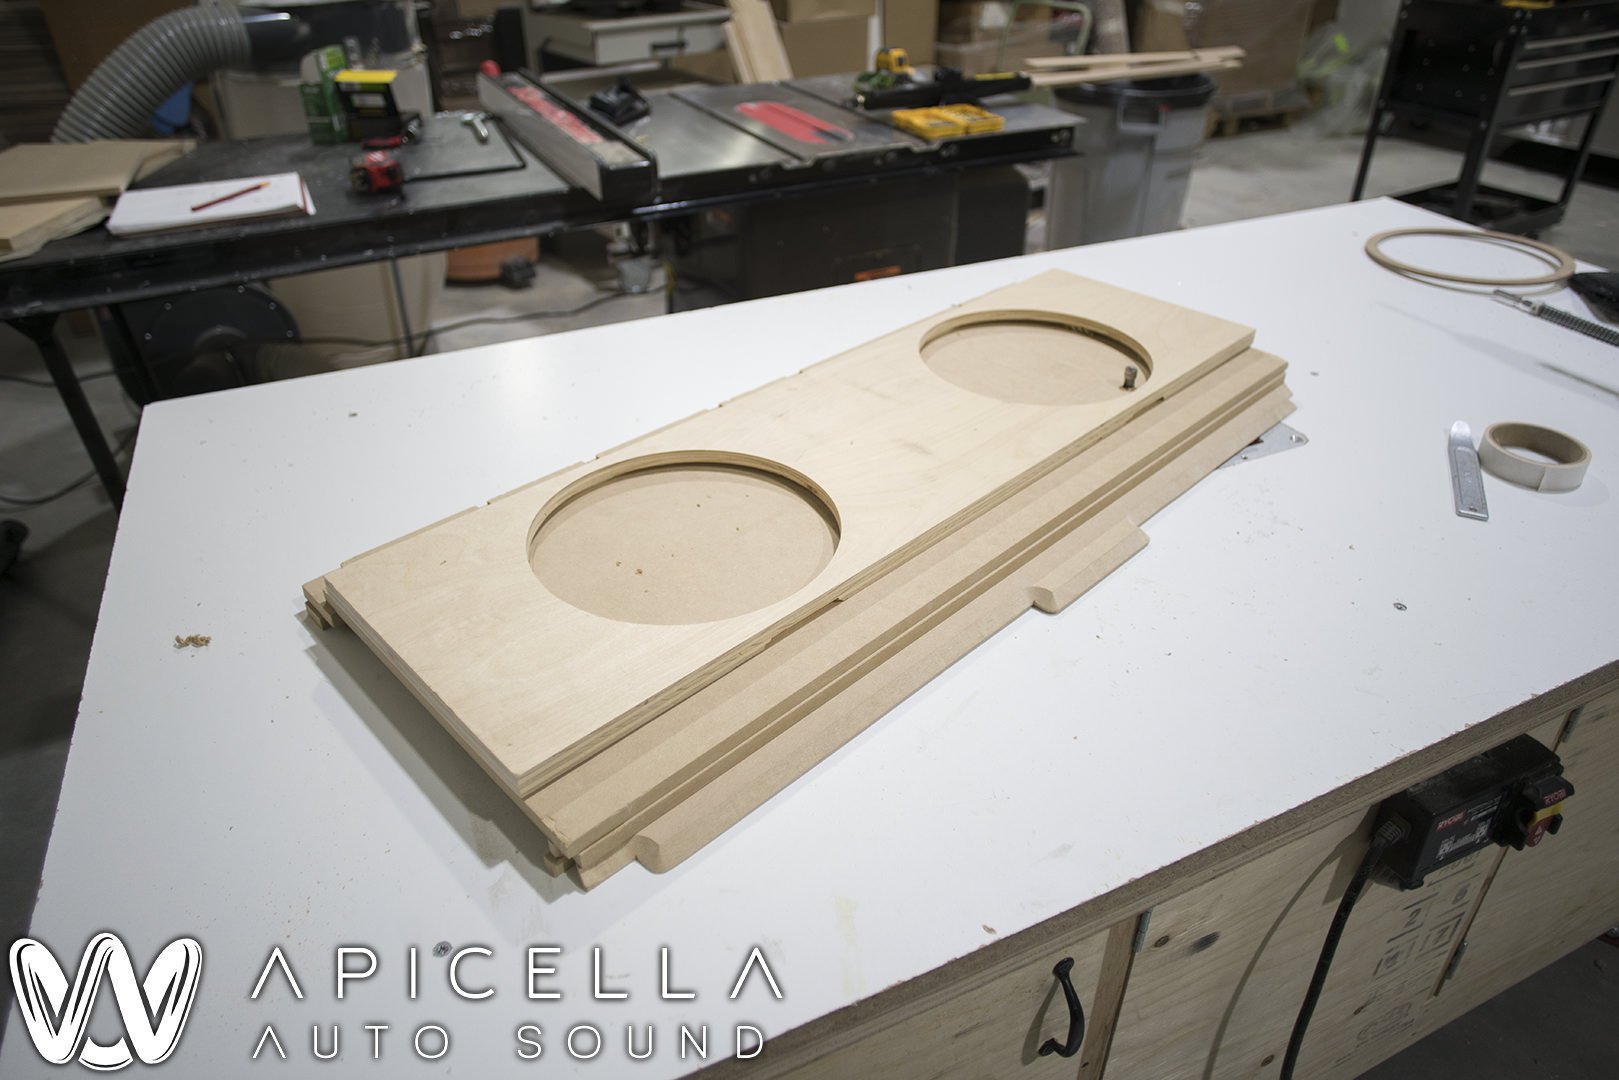
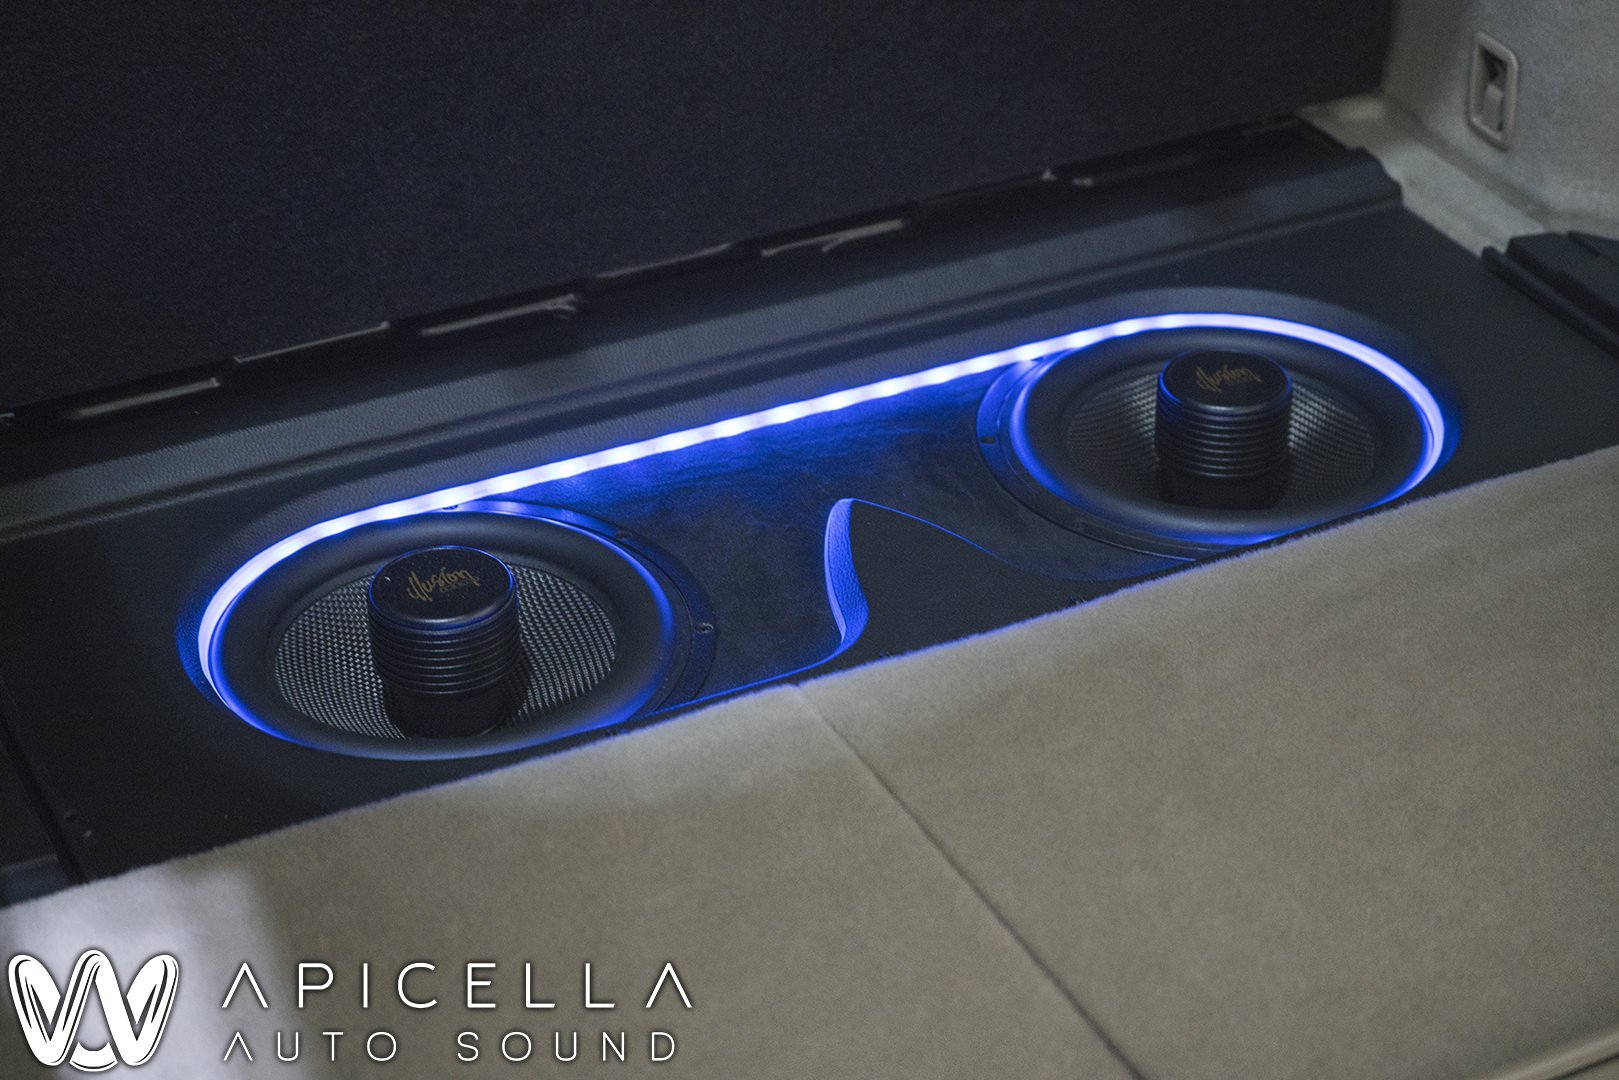
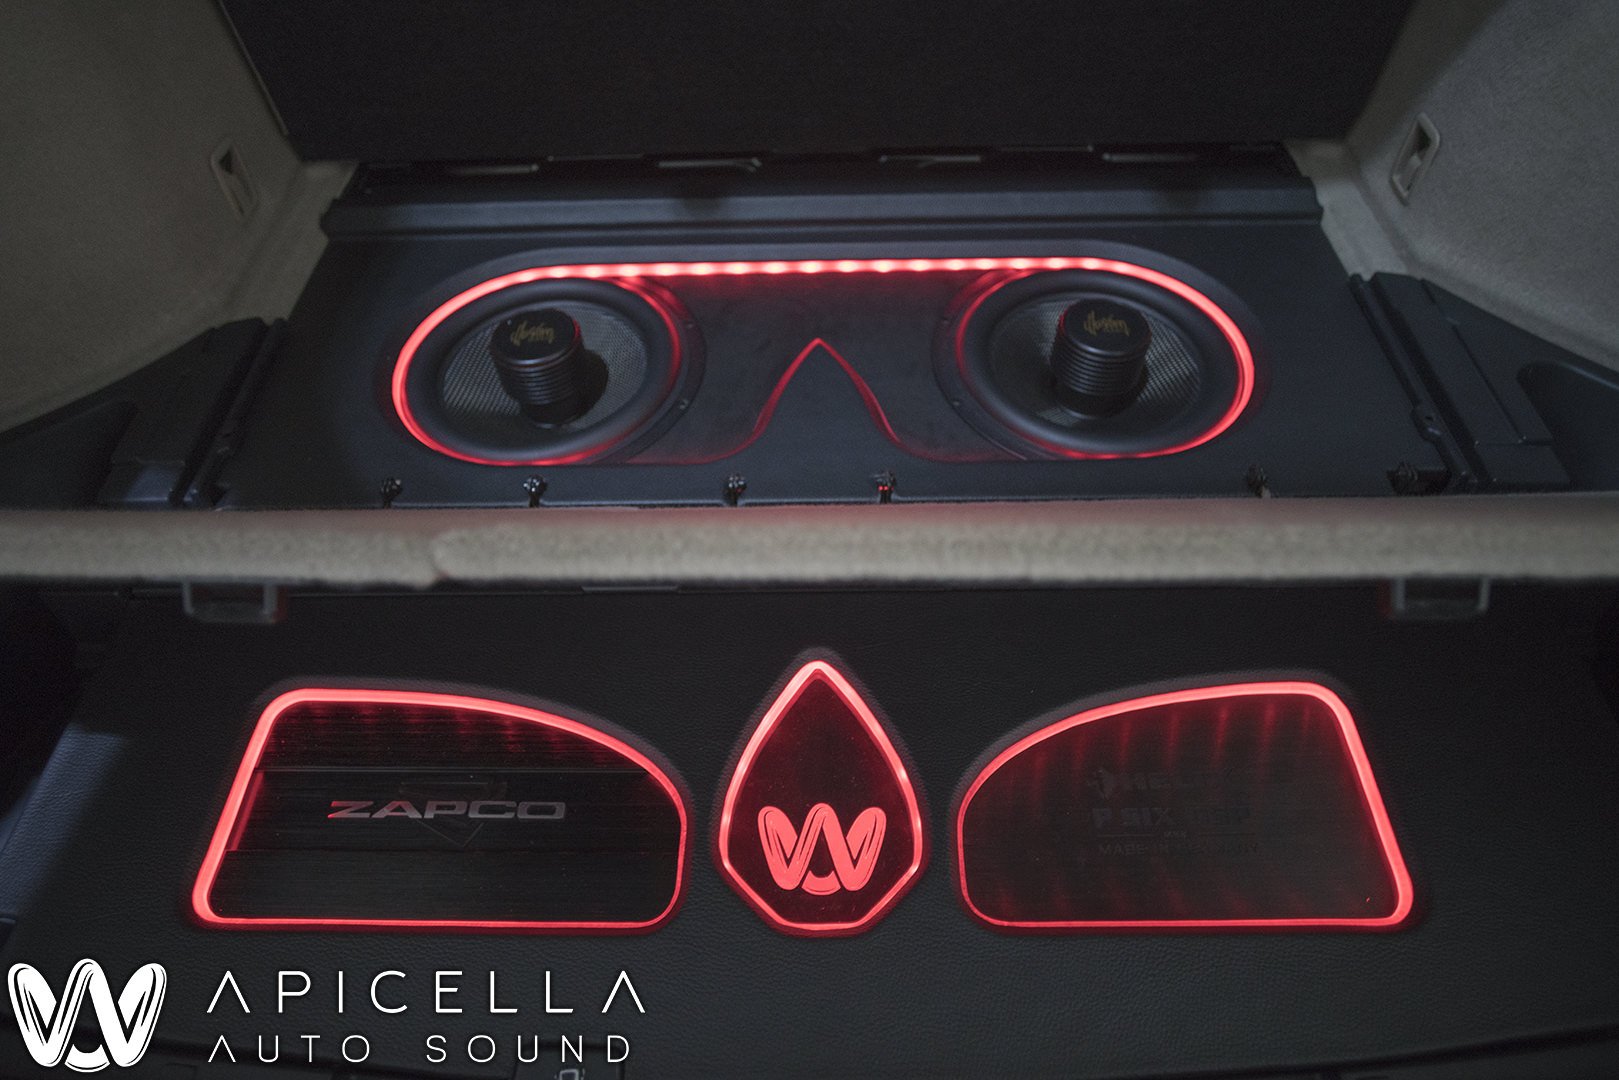
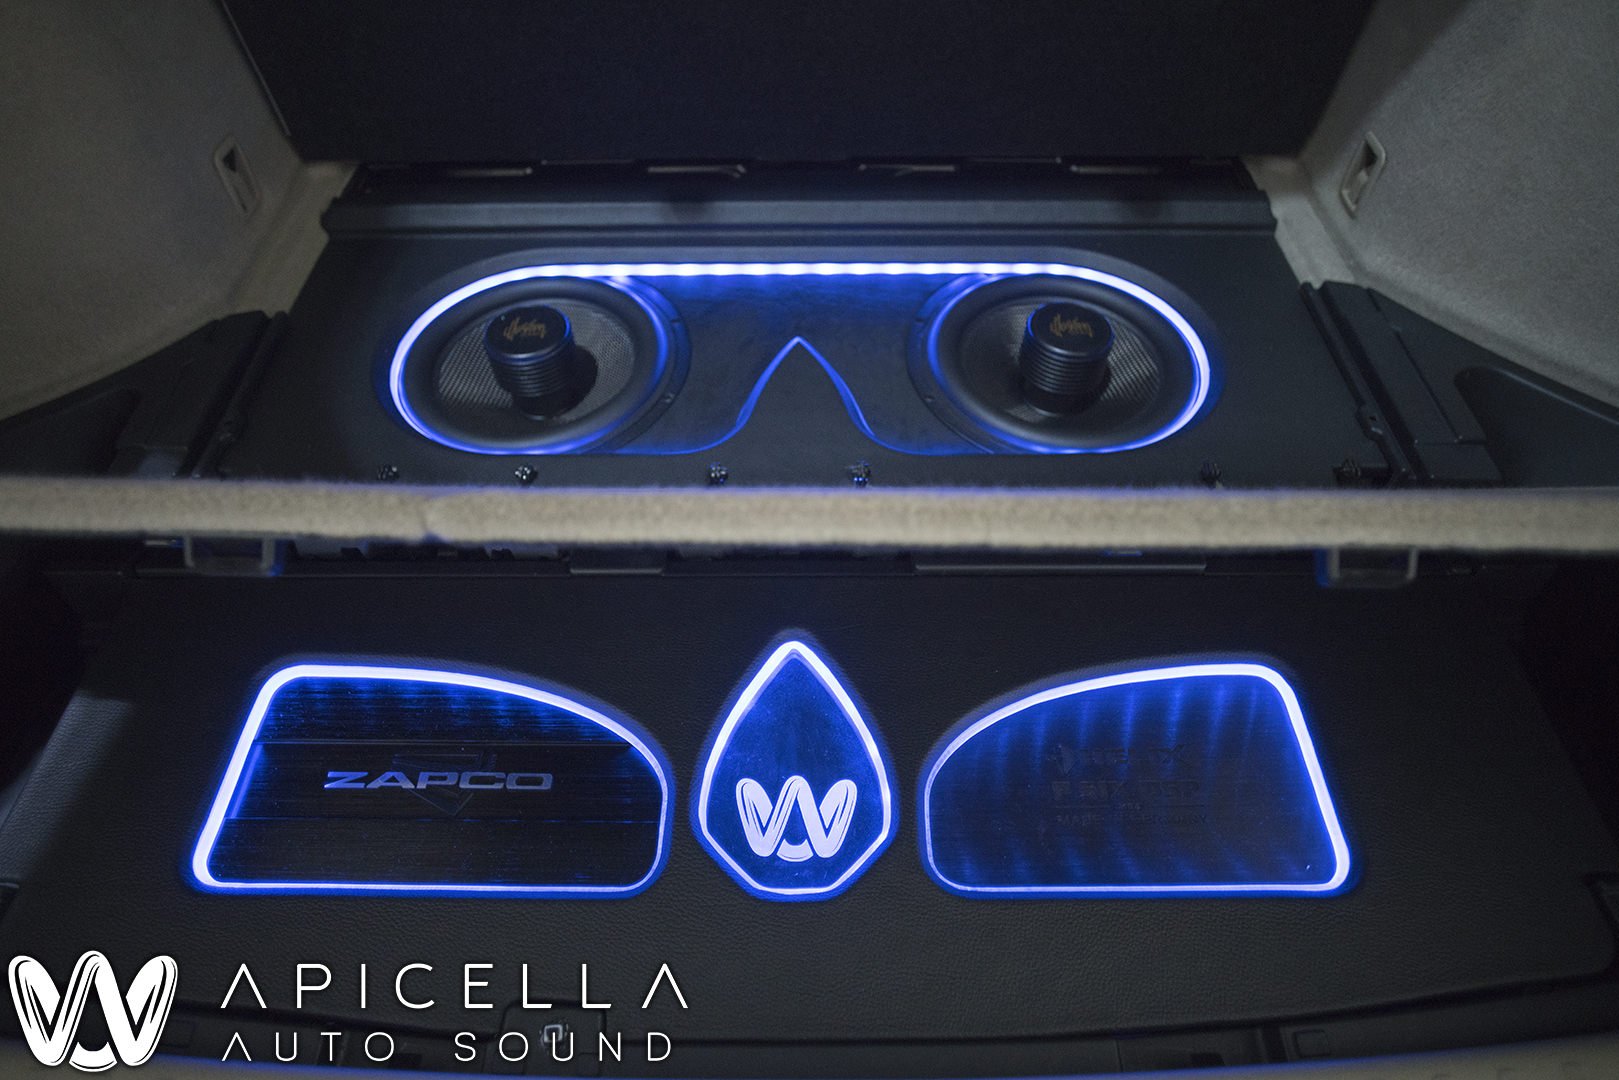
(2) Illusion Audio C10Helix Director
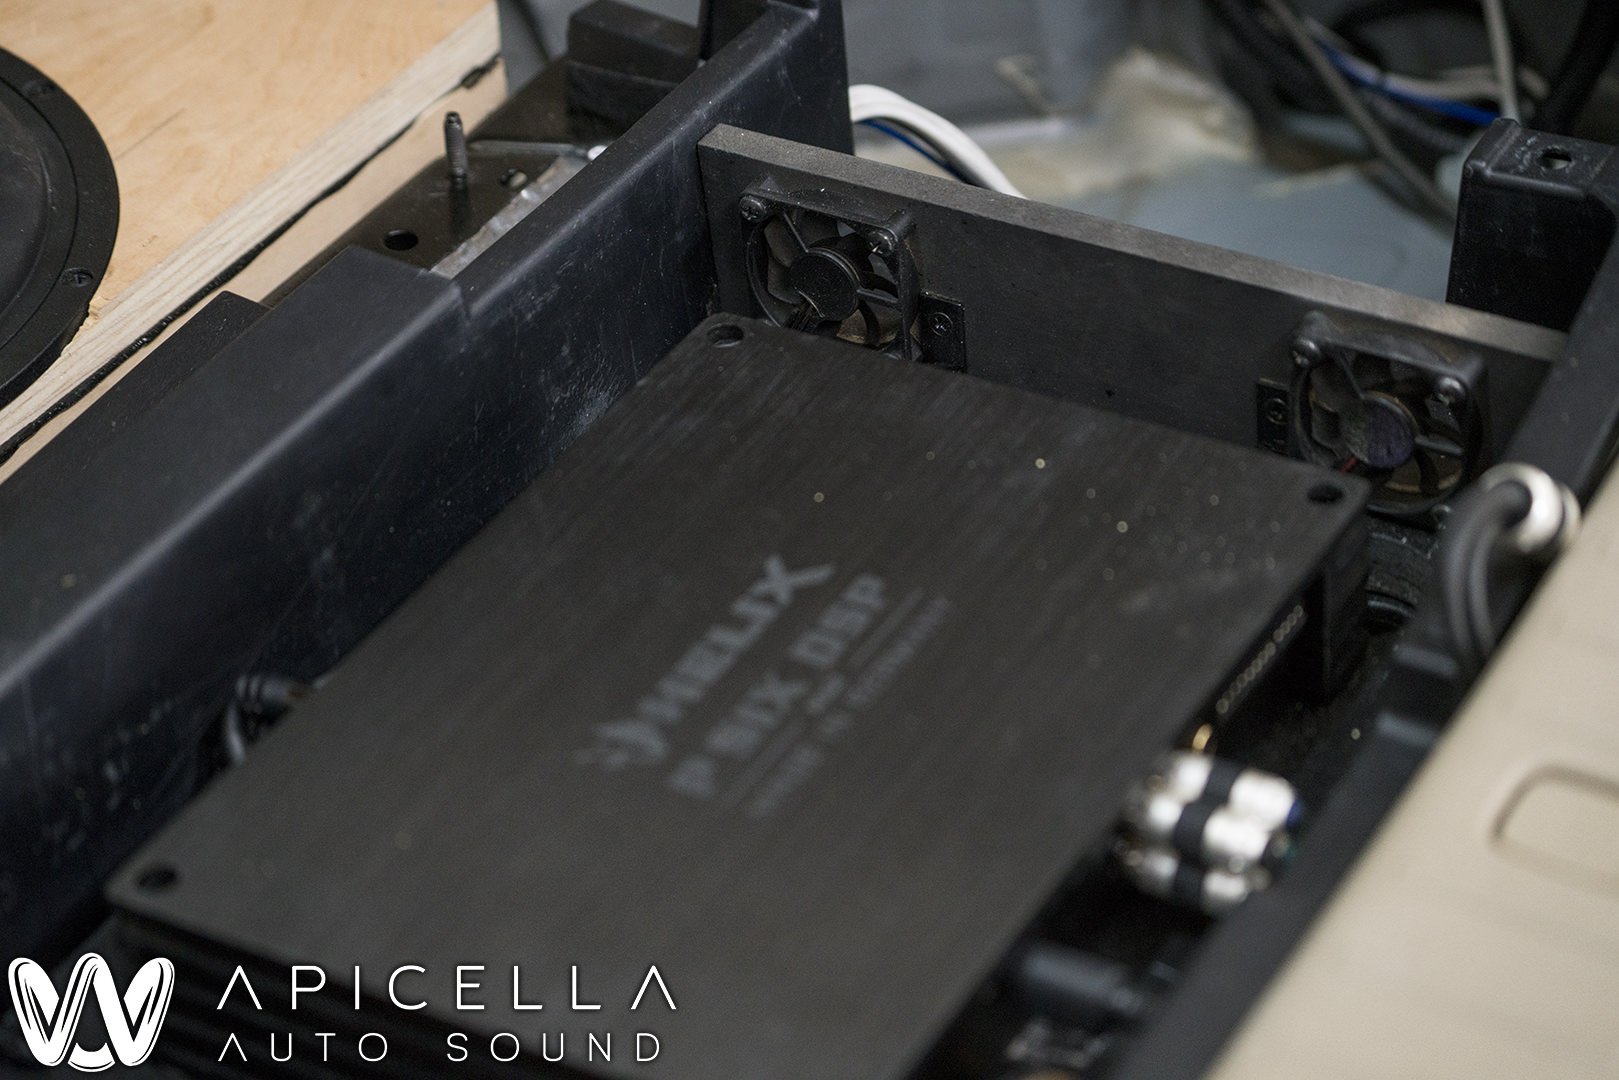
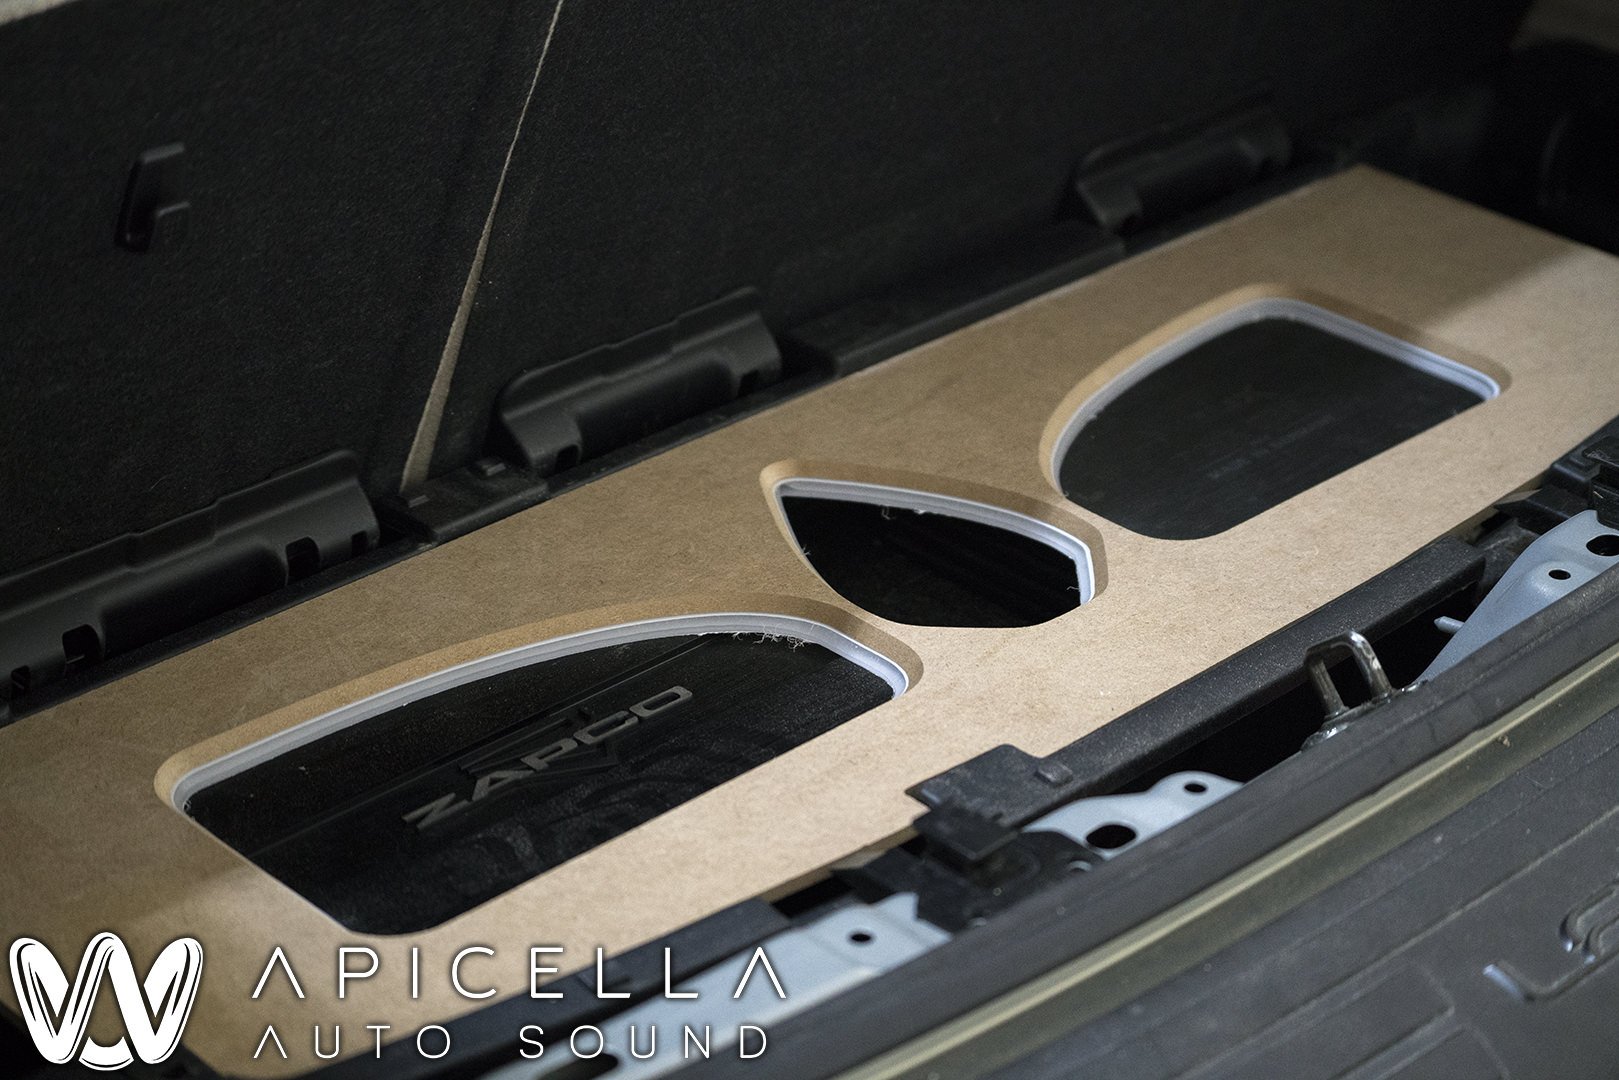
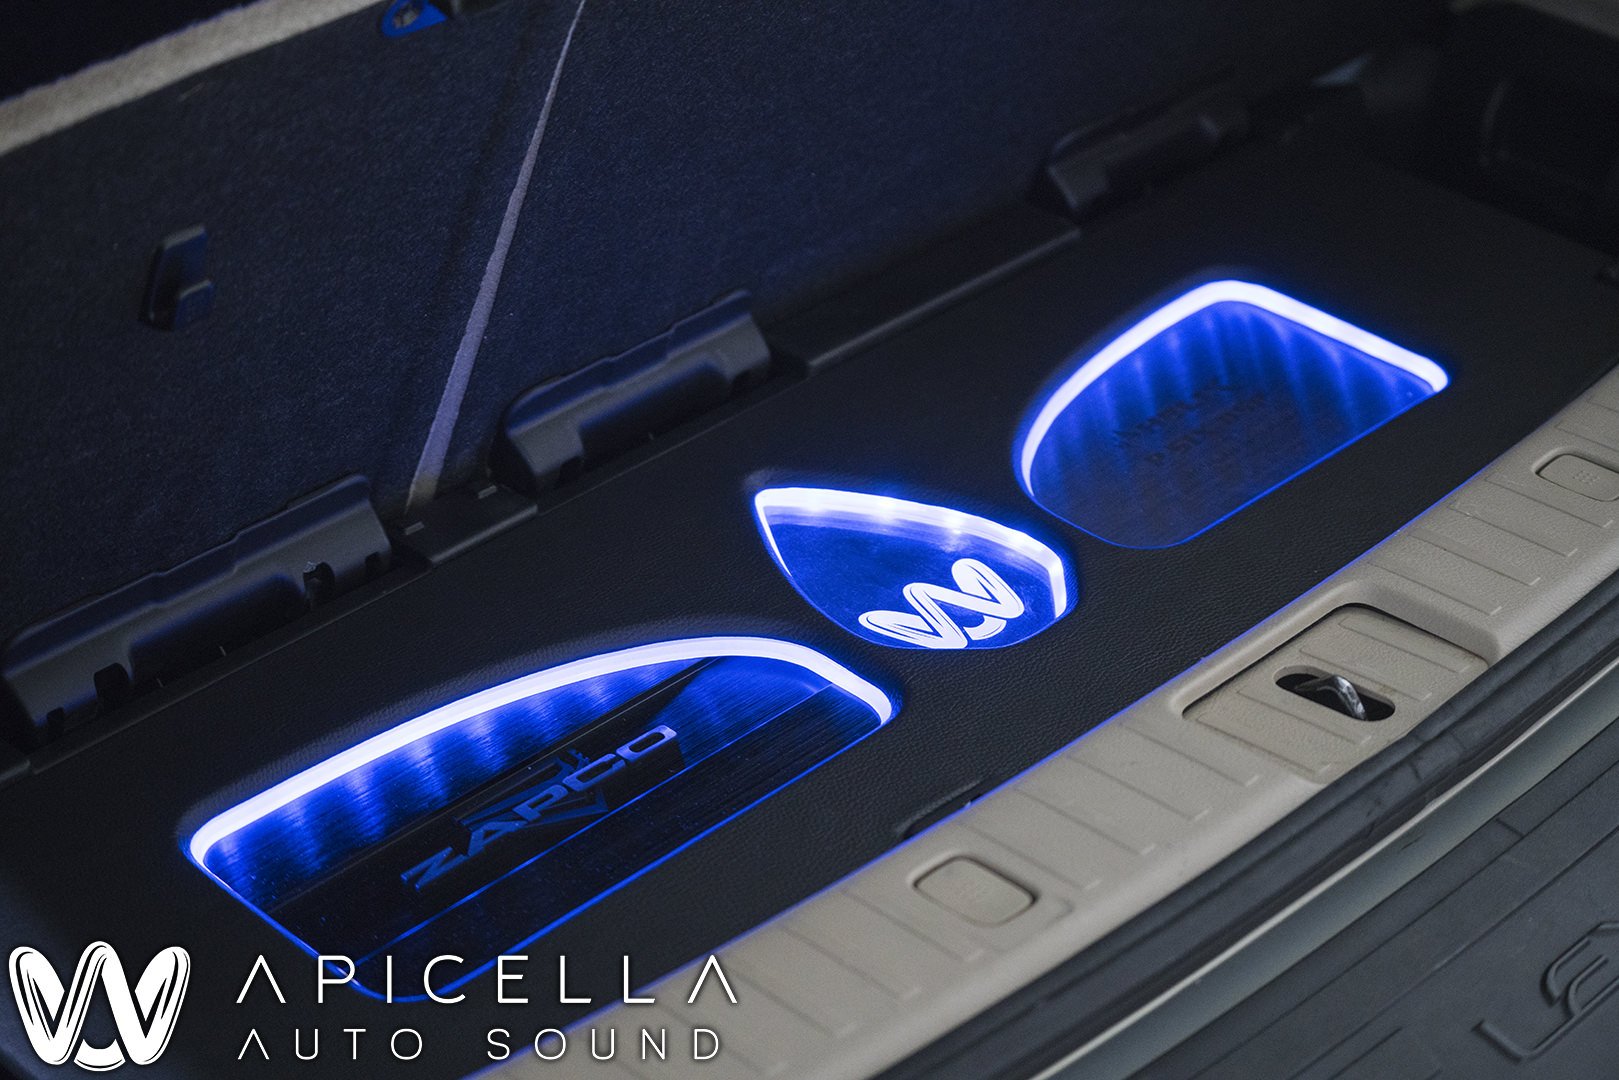
Helix PSIX MK2
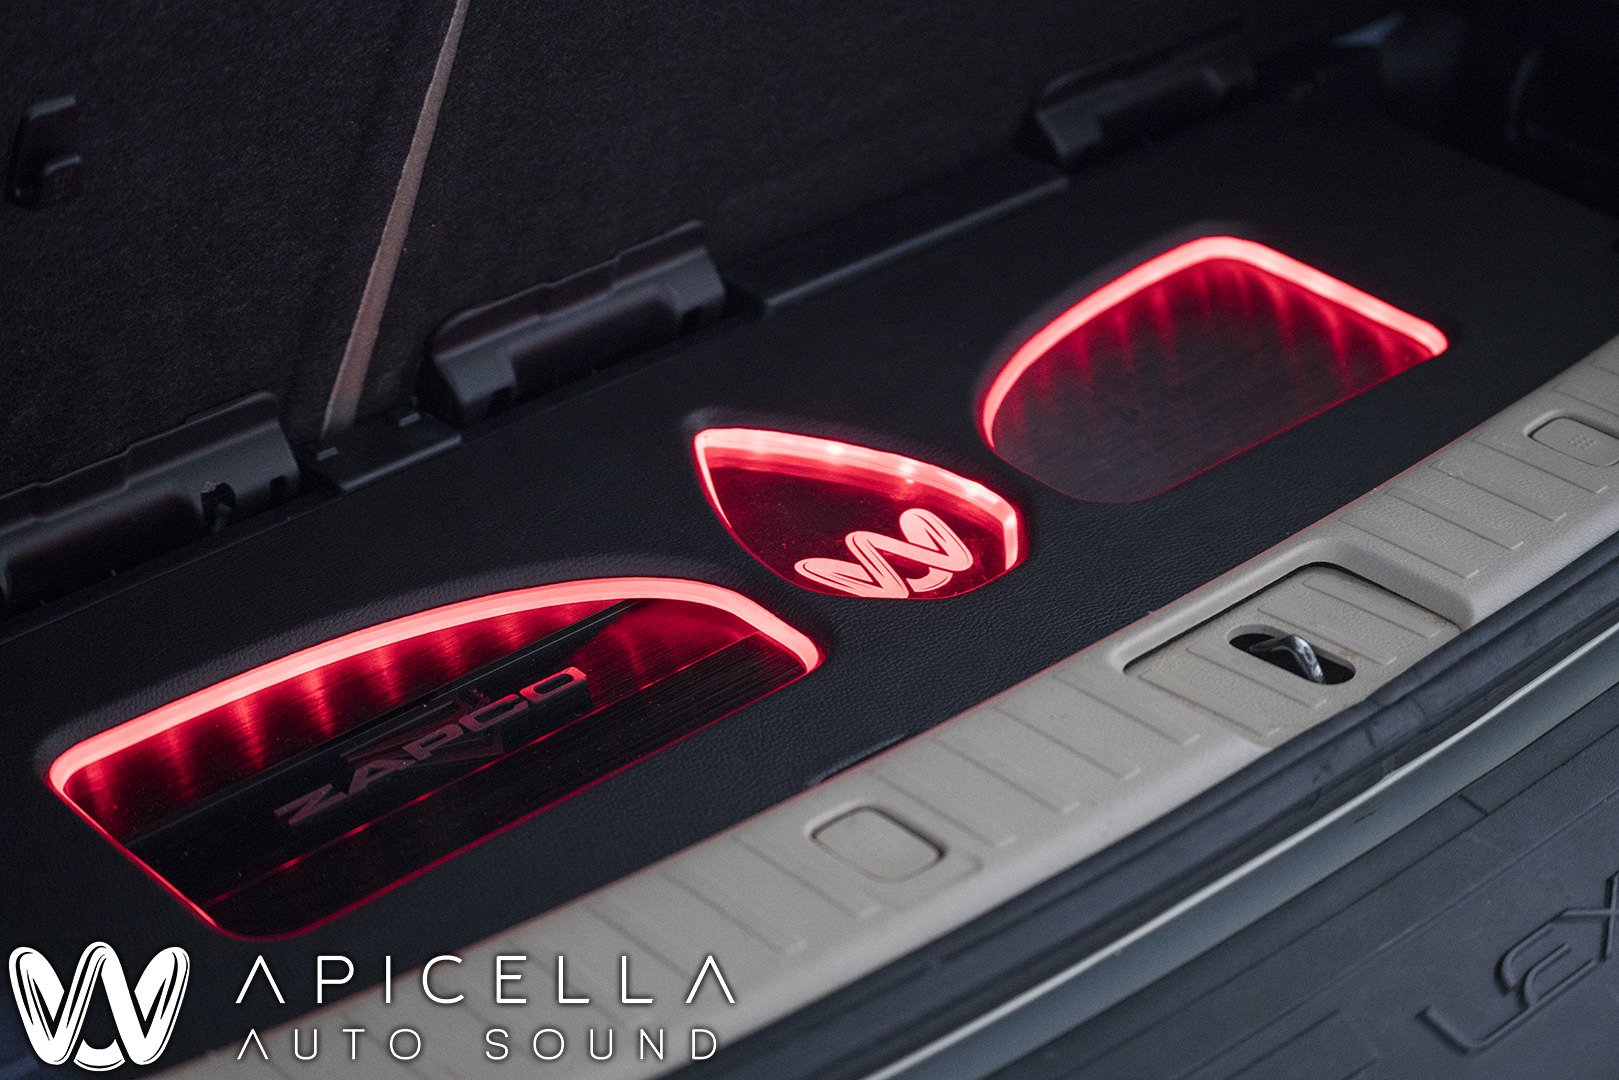
Zapco ST-1000XMii
Before we get into things, i want to give a huge thank you to my friend Matei (who got me into this hobby) for helping me out for a few days (and kinda made himself a part time employee lol), and Kevin "Mullings" for helping out for a day. Thank you!
Another side note... apparently when you work 65 hours in 4 days, your brain goes numb to things that dont fully matter and i may have forgotten to get various finished pictures.. Robert will be sending me some soon.
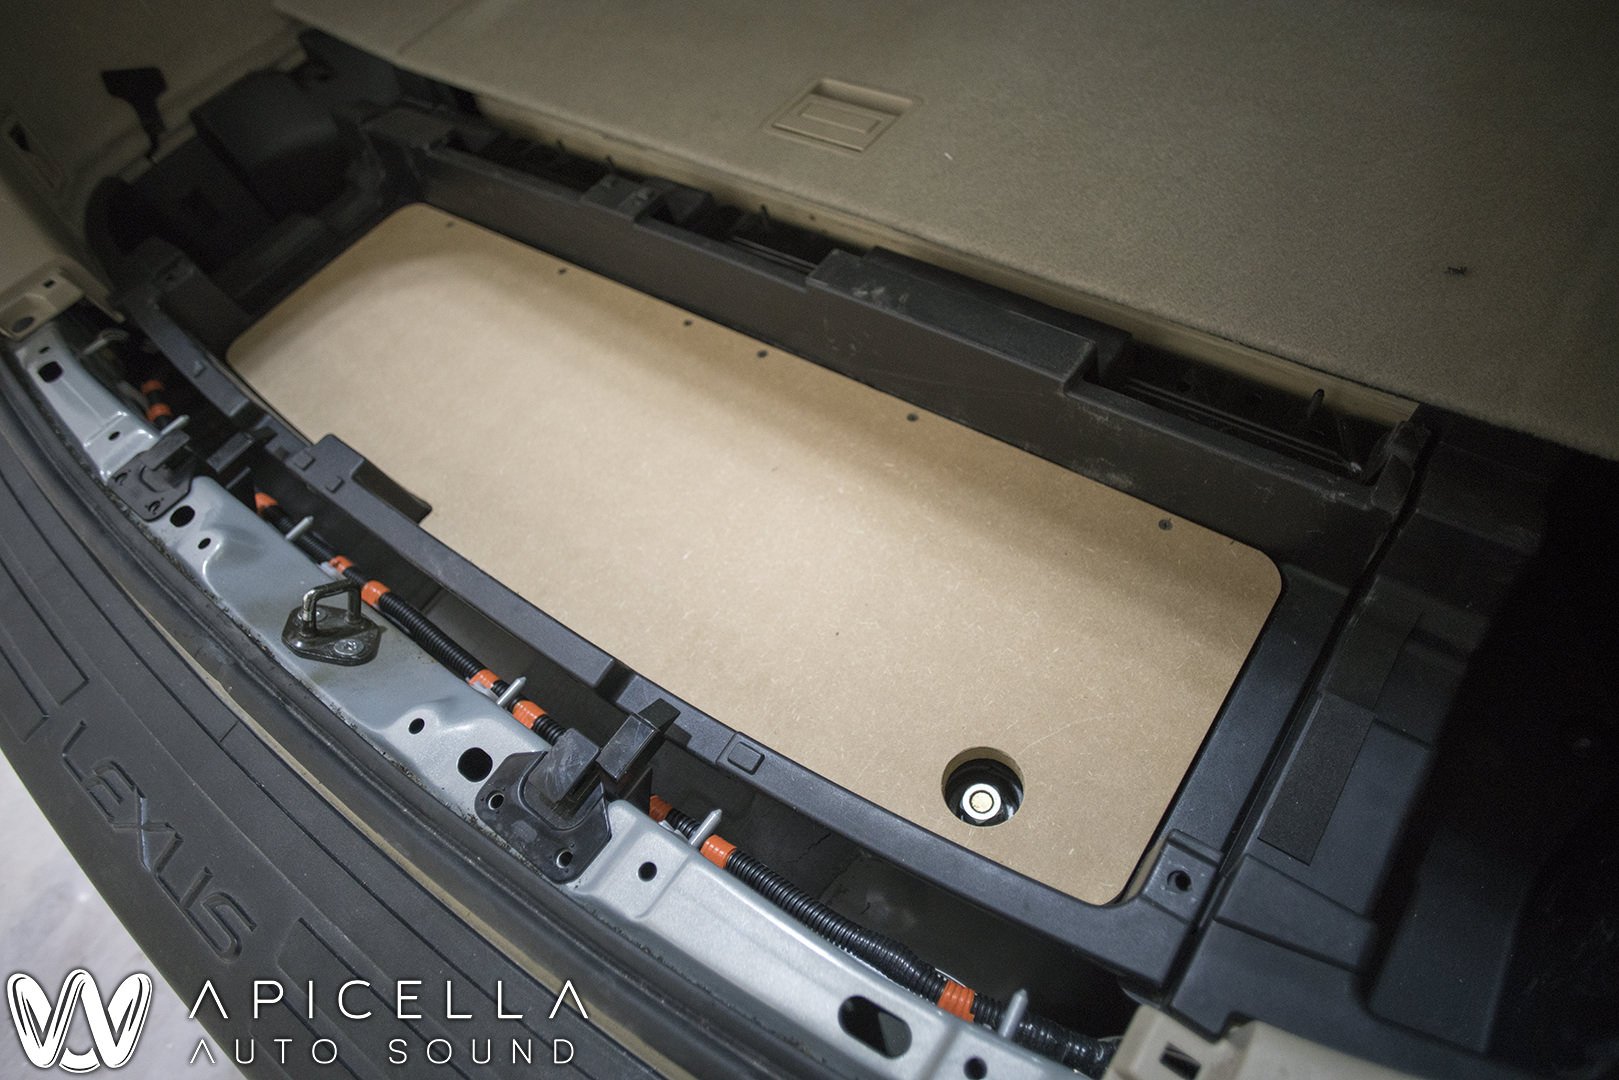
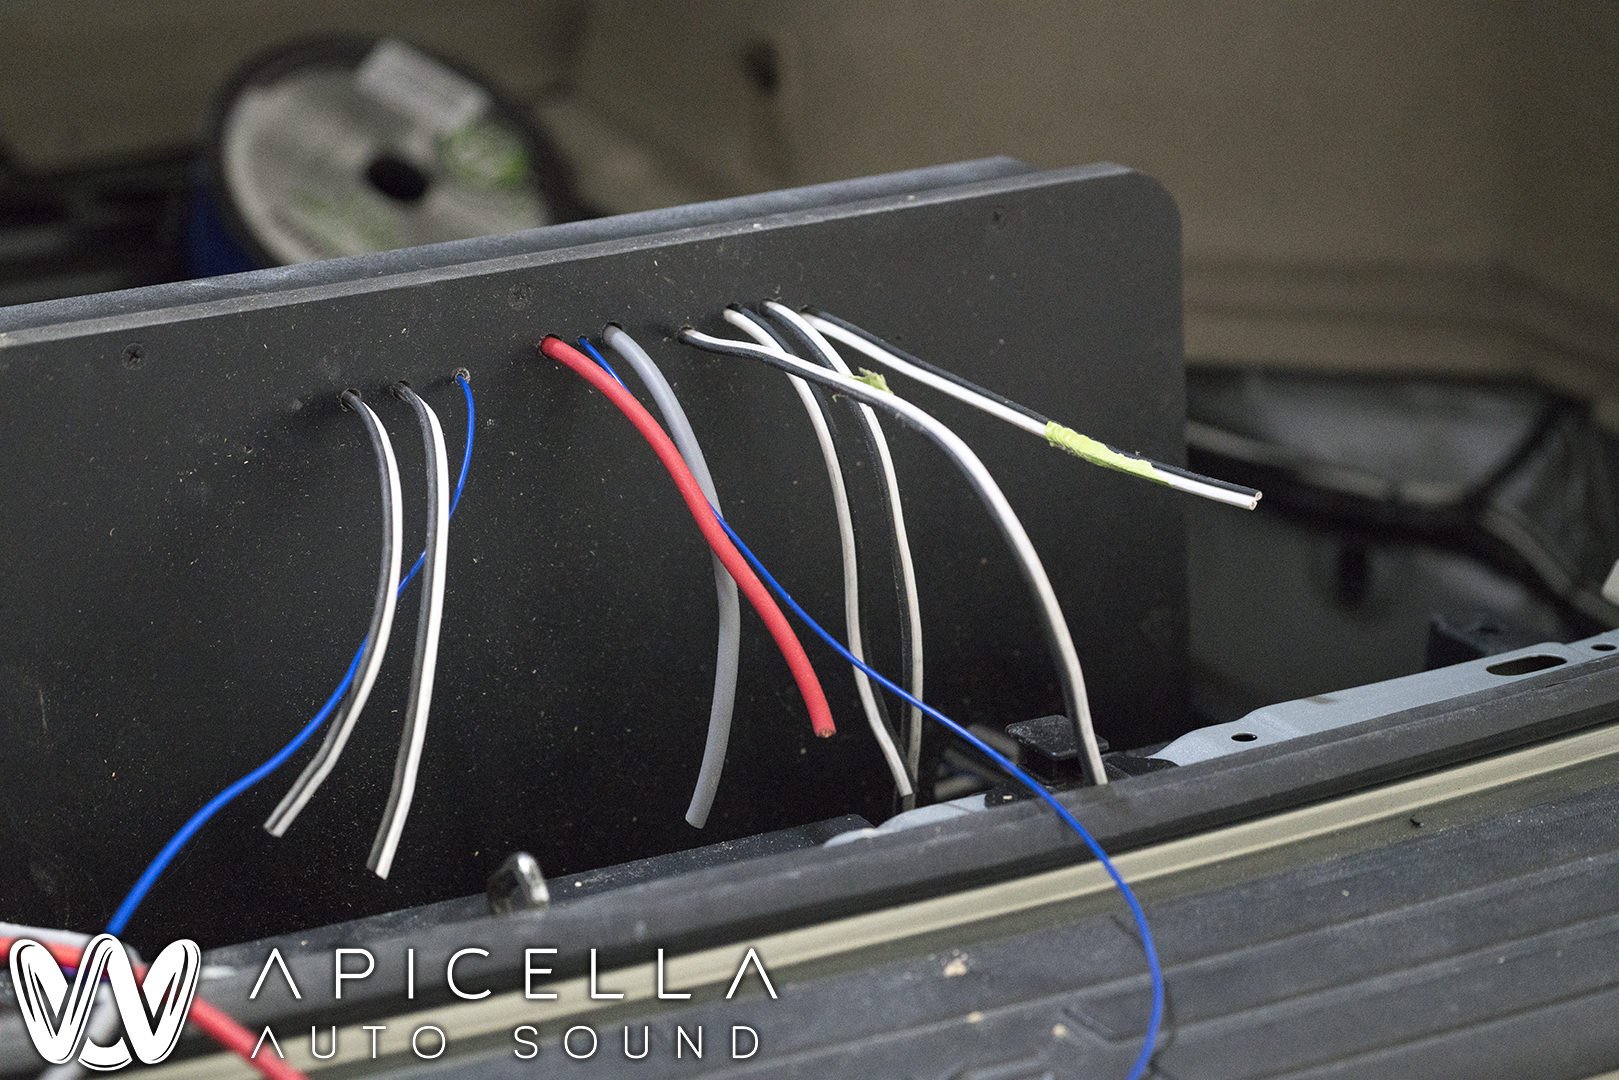
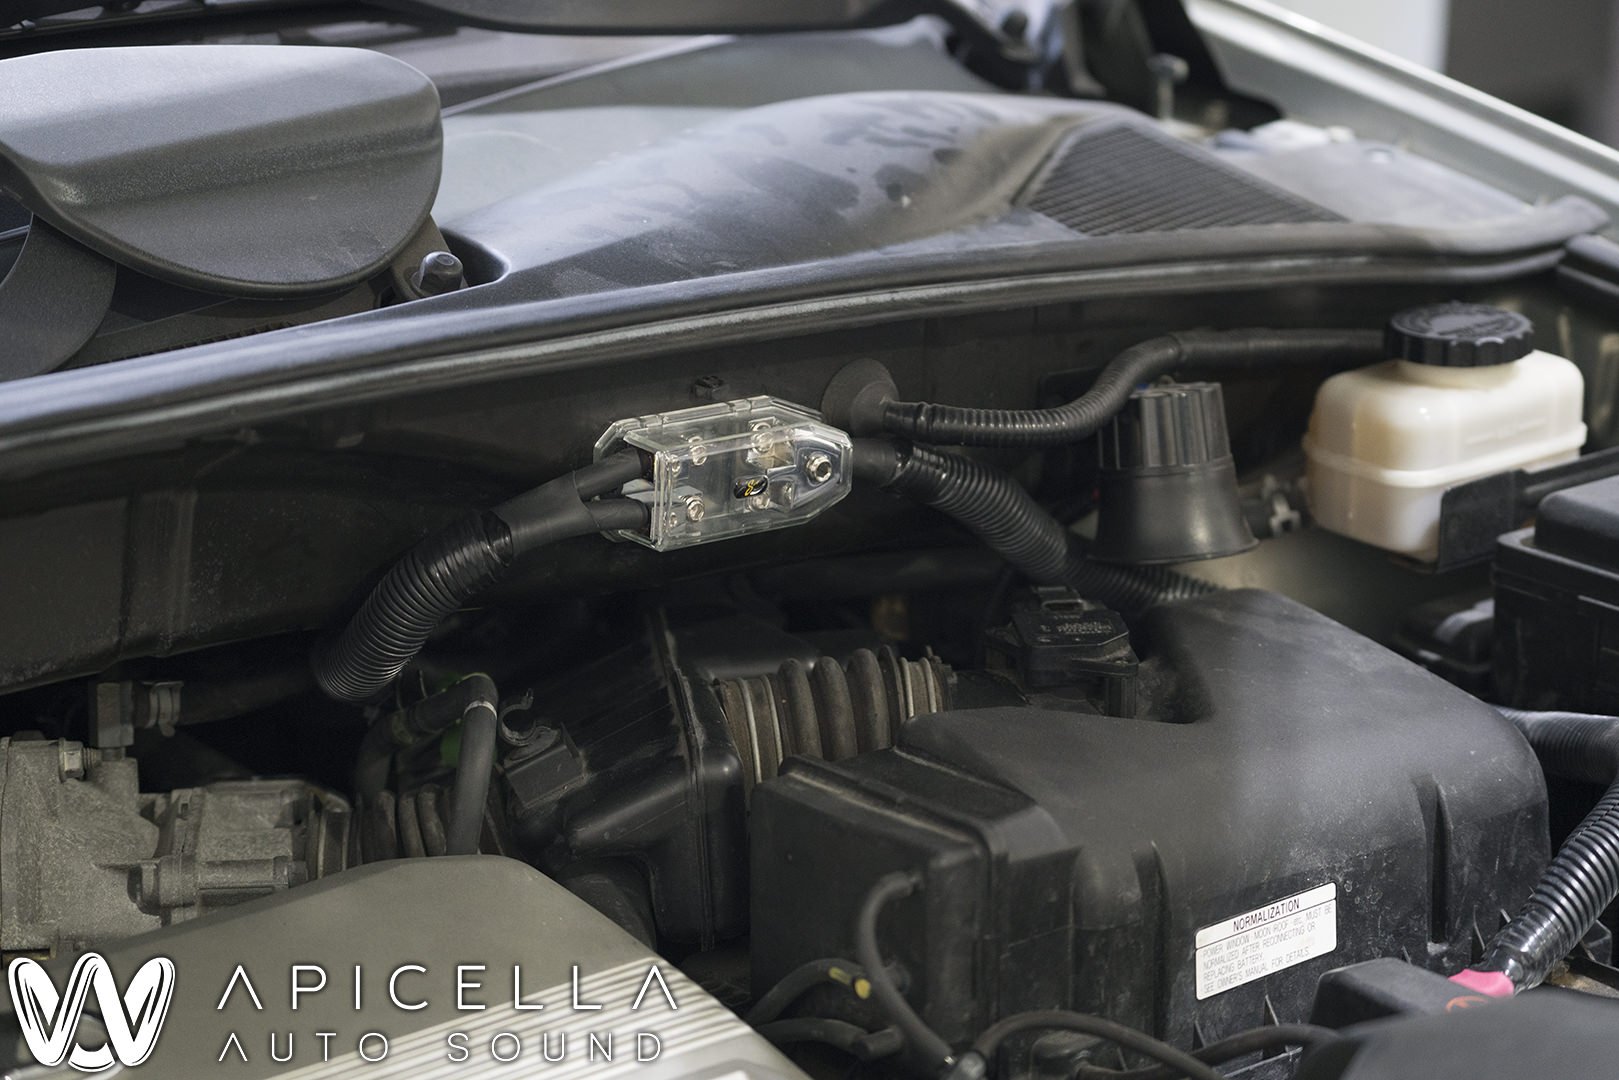
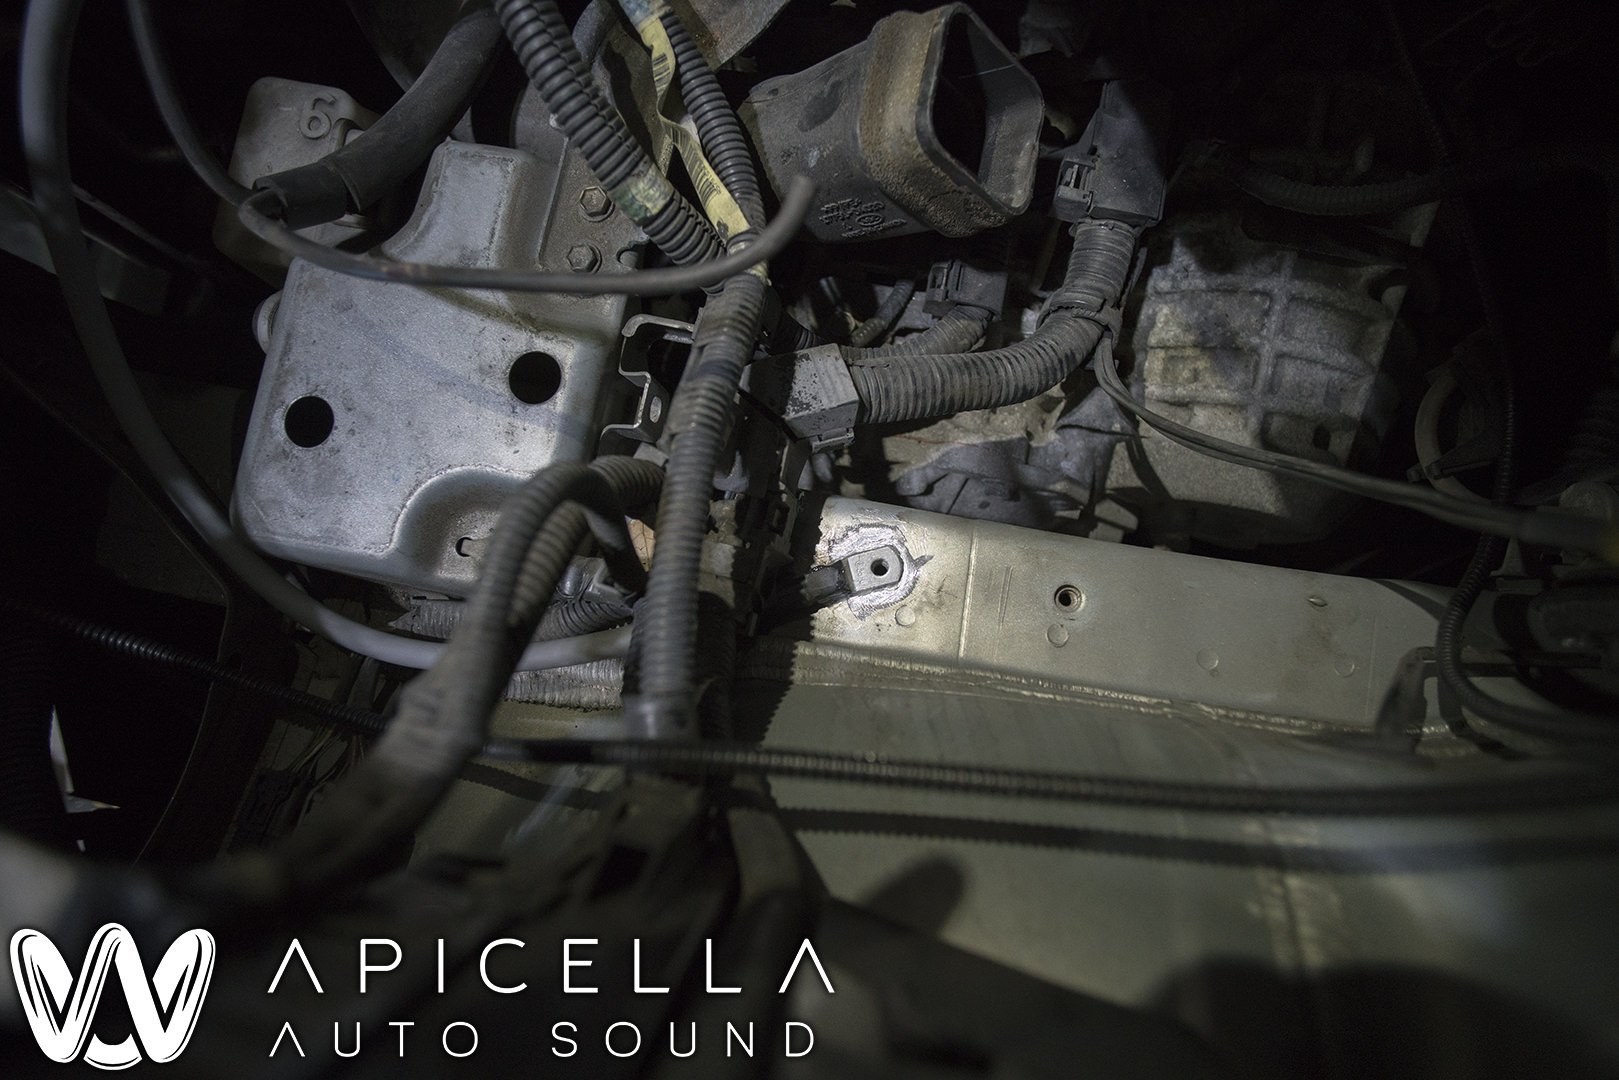
Heres the main power wire fusing. 0 gauge from battery and split to the alternator and to the amps, along with the additional upgraded battery ground to the frame.
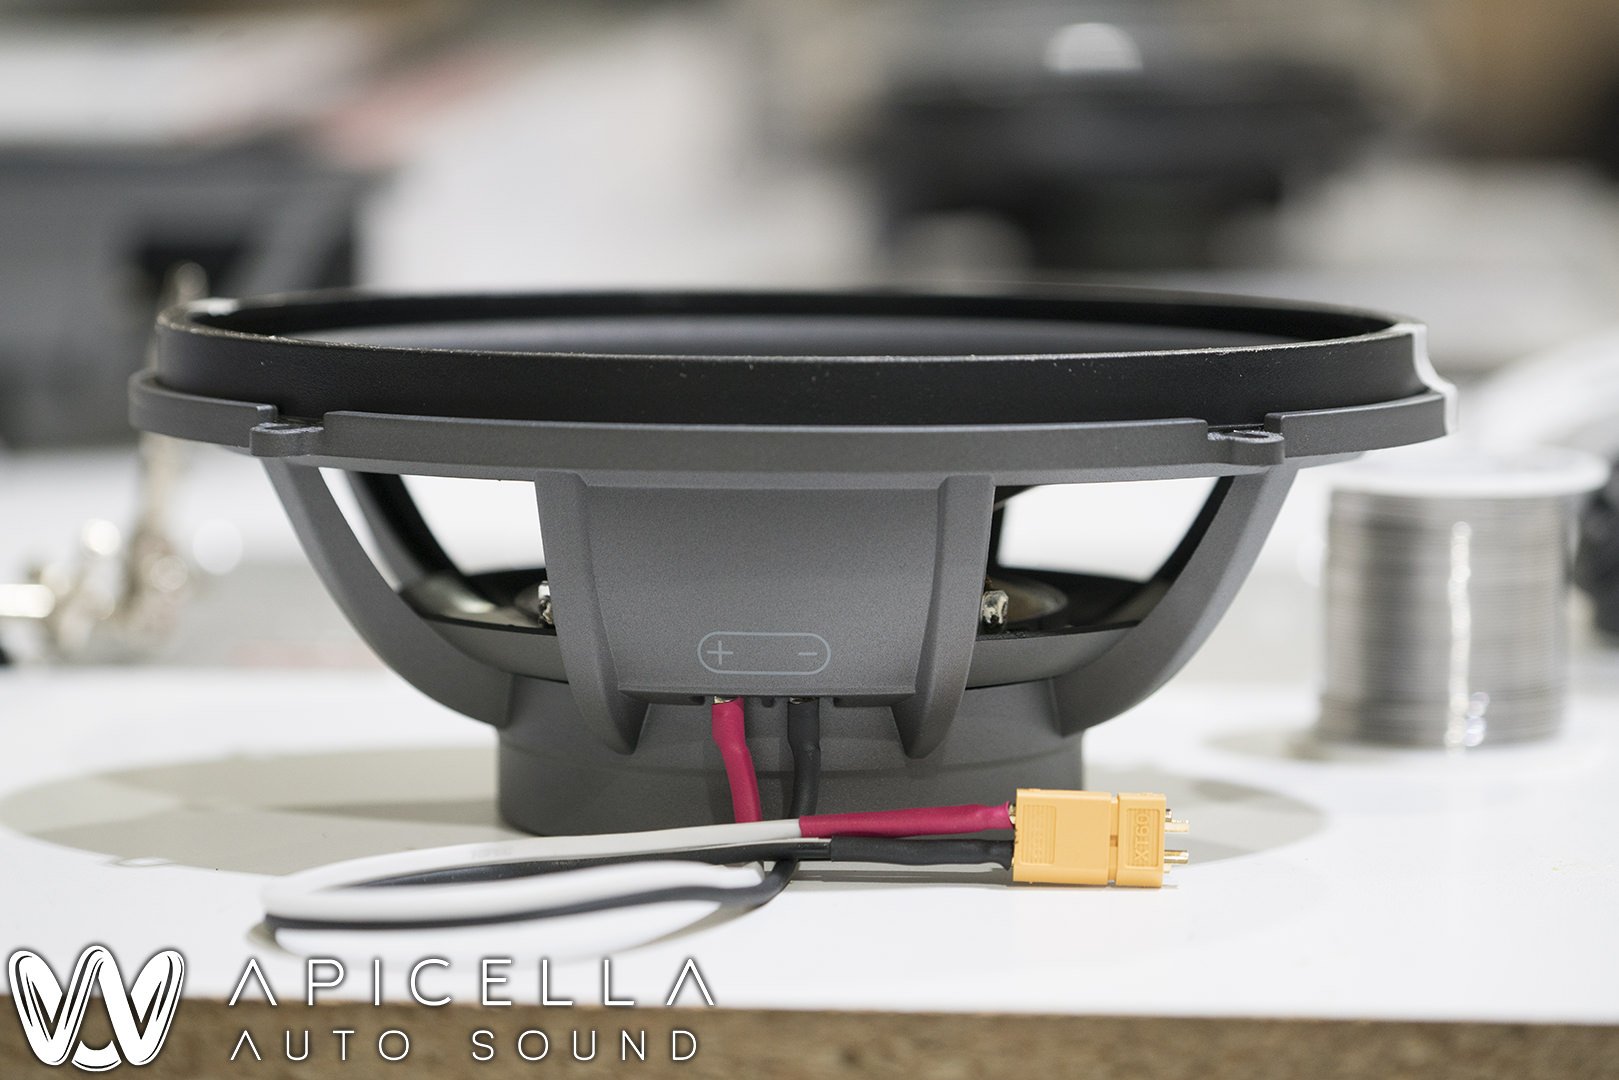
GS690 with our standard wiring practices.
Note: Audiofrog does not advise soldering to the GS series terminals due to the plastic housing. I trusted my soldering skills to get it done without any harm and succeeded. YMMV
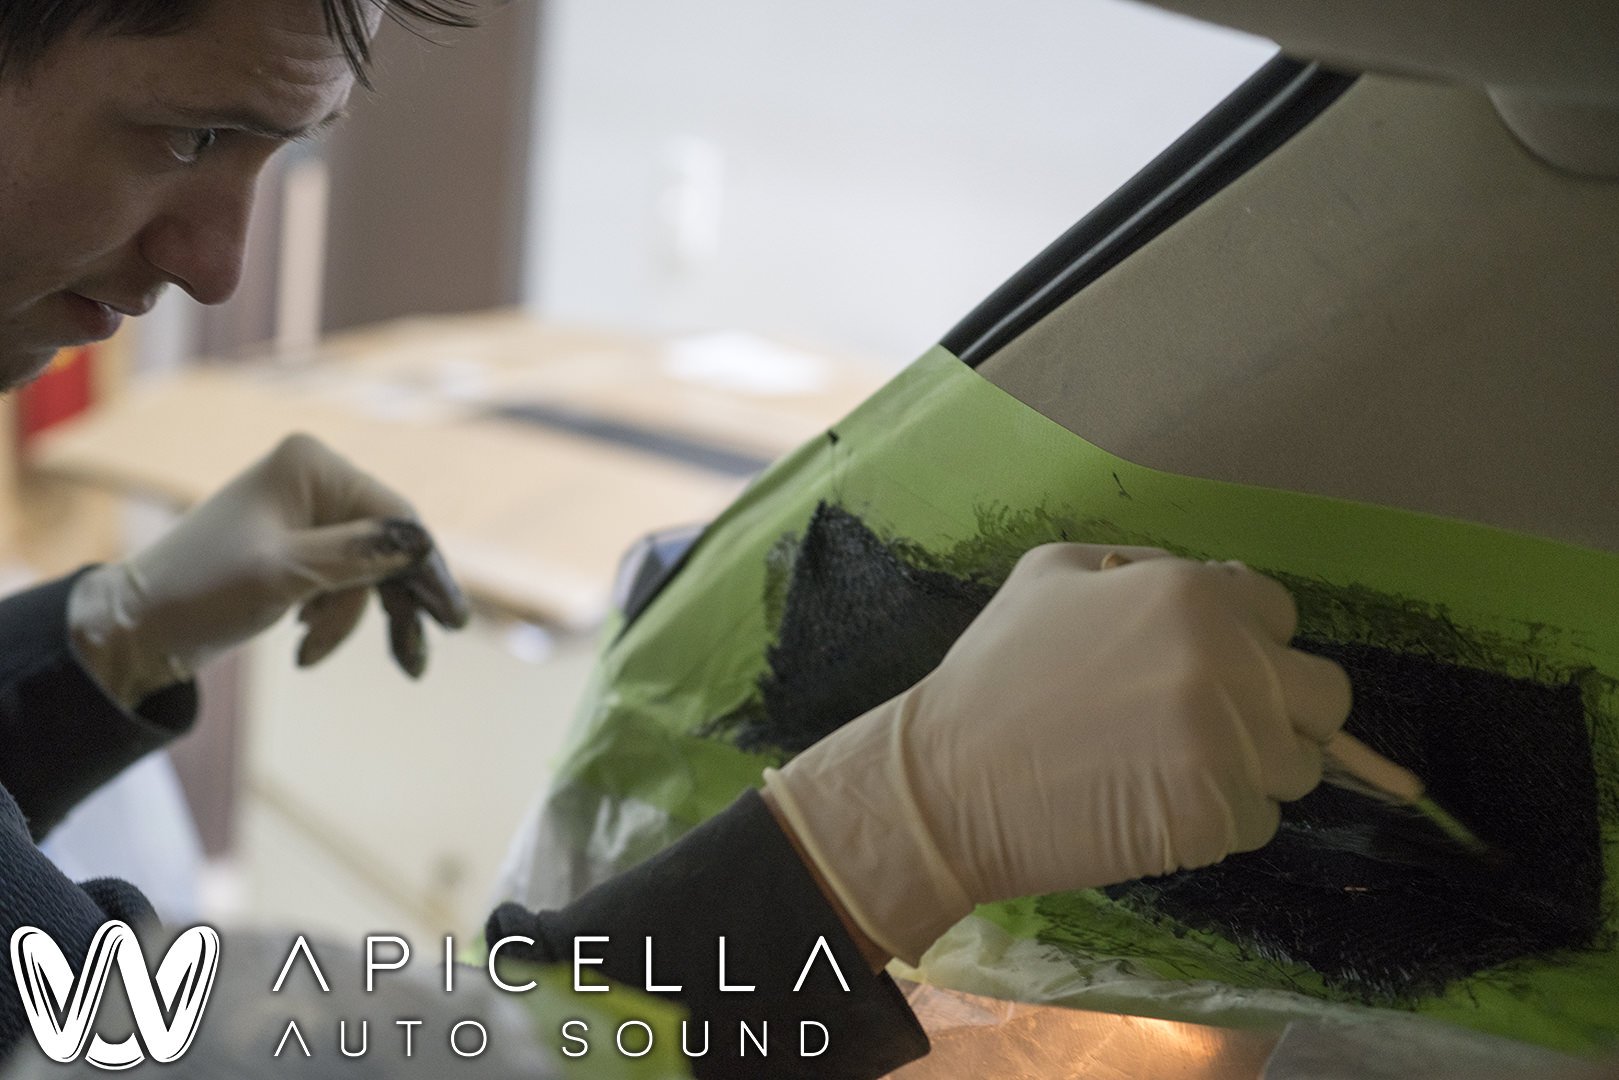
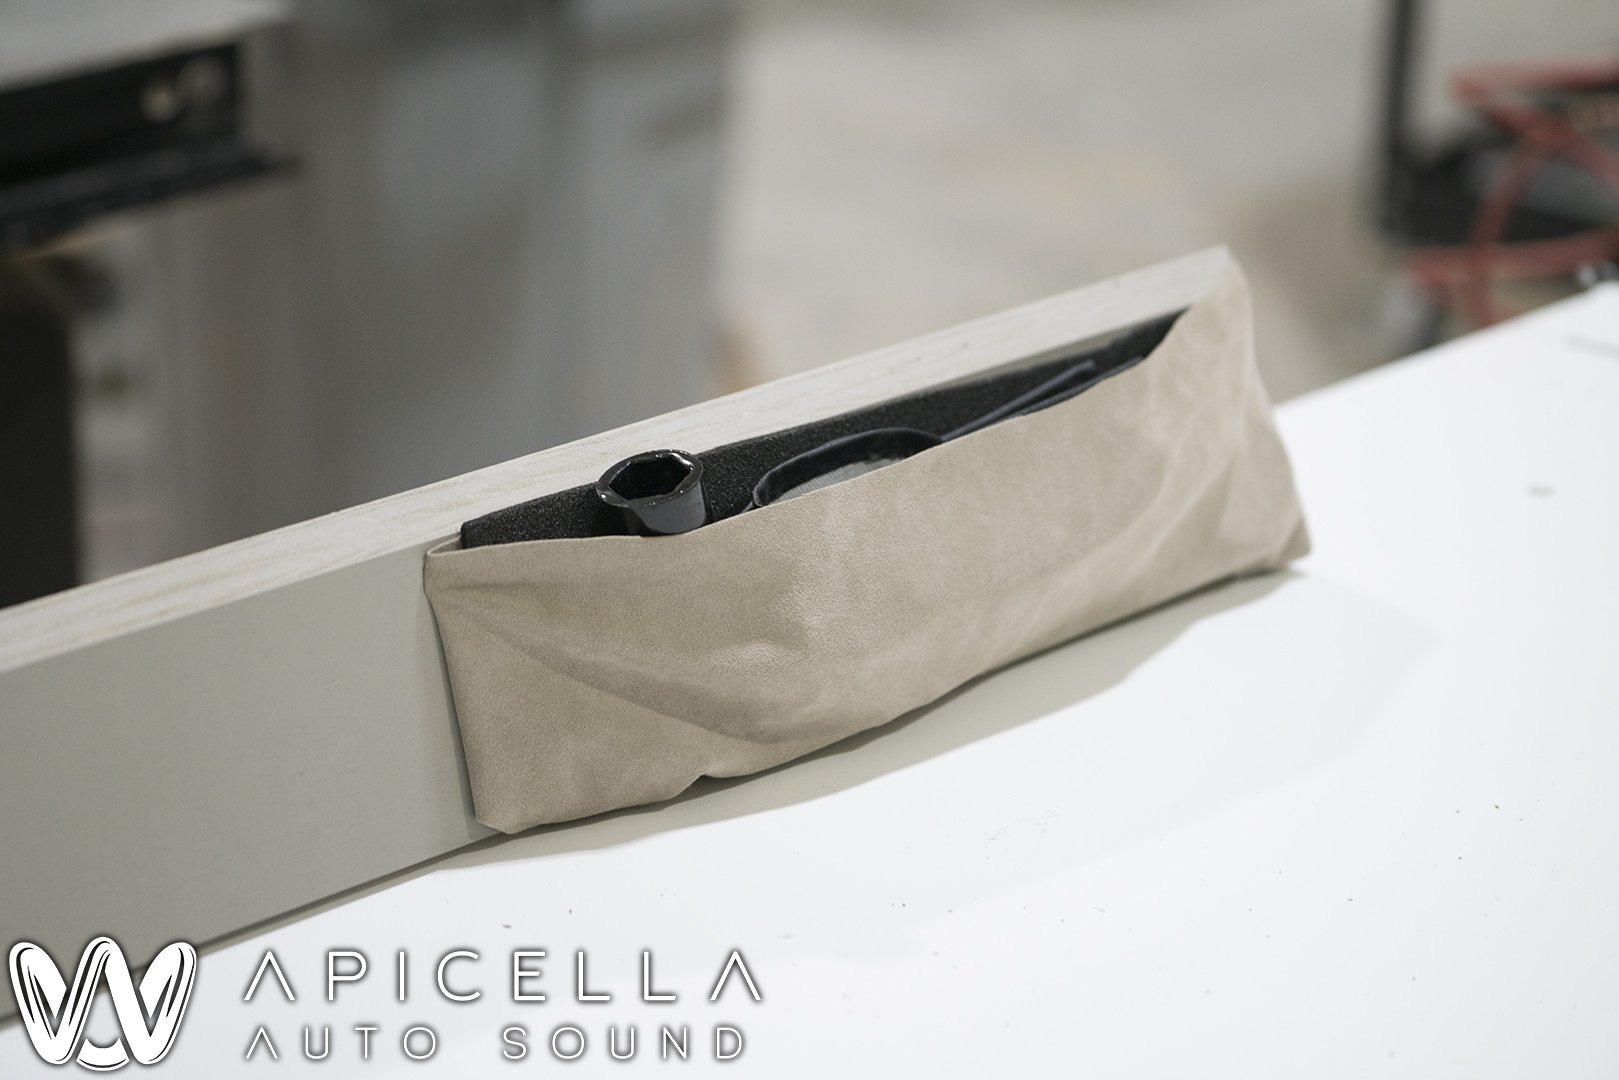
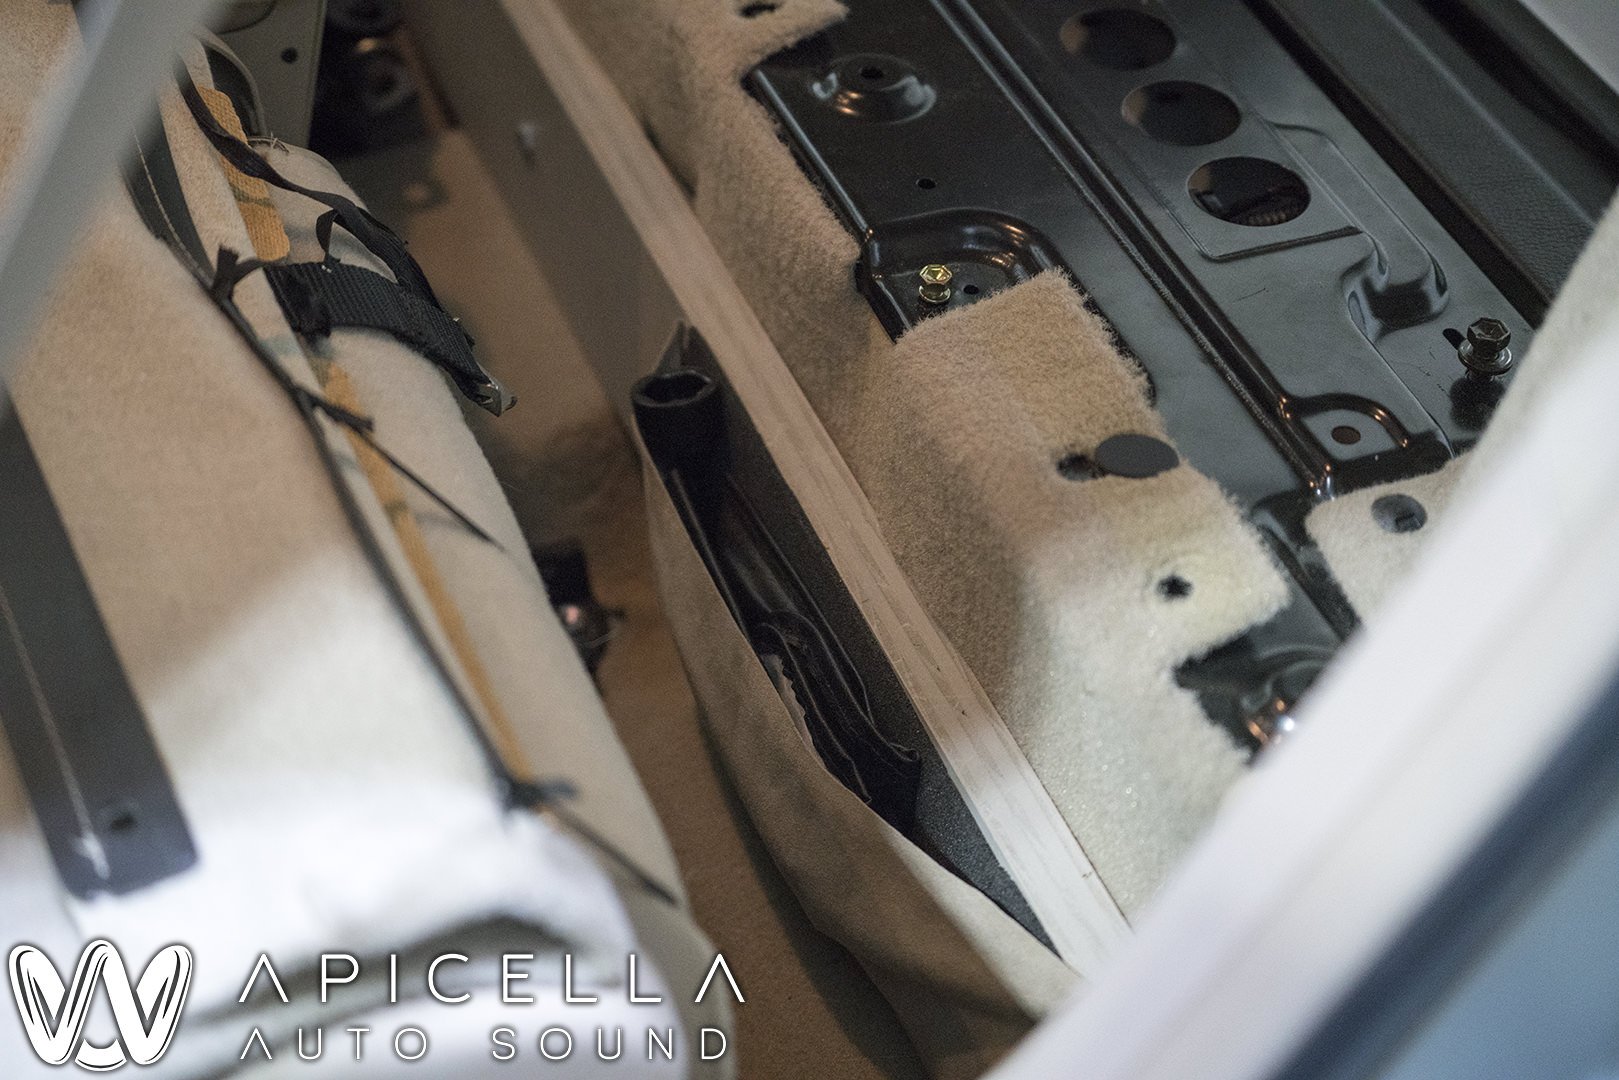
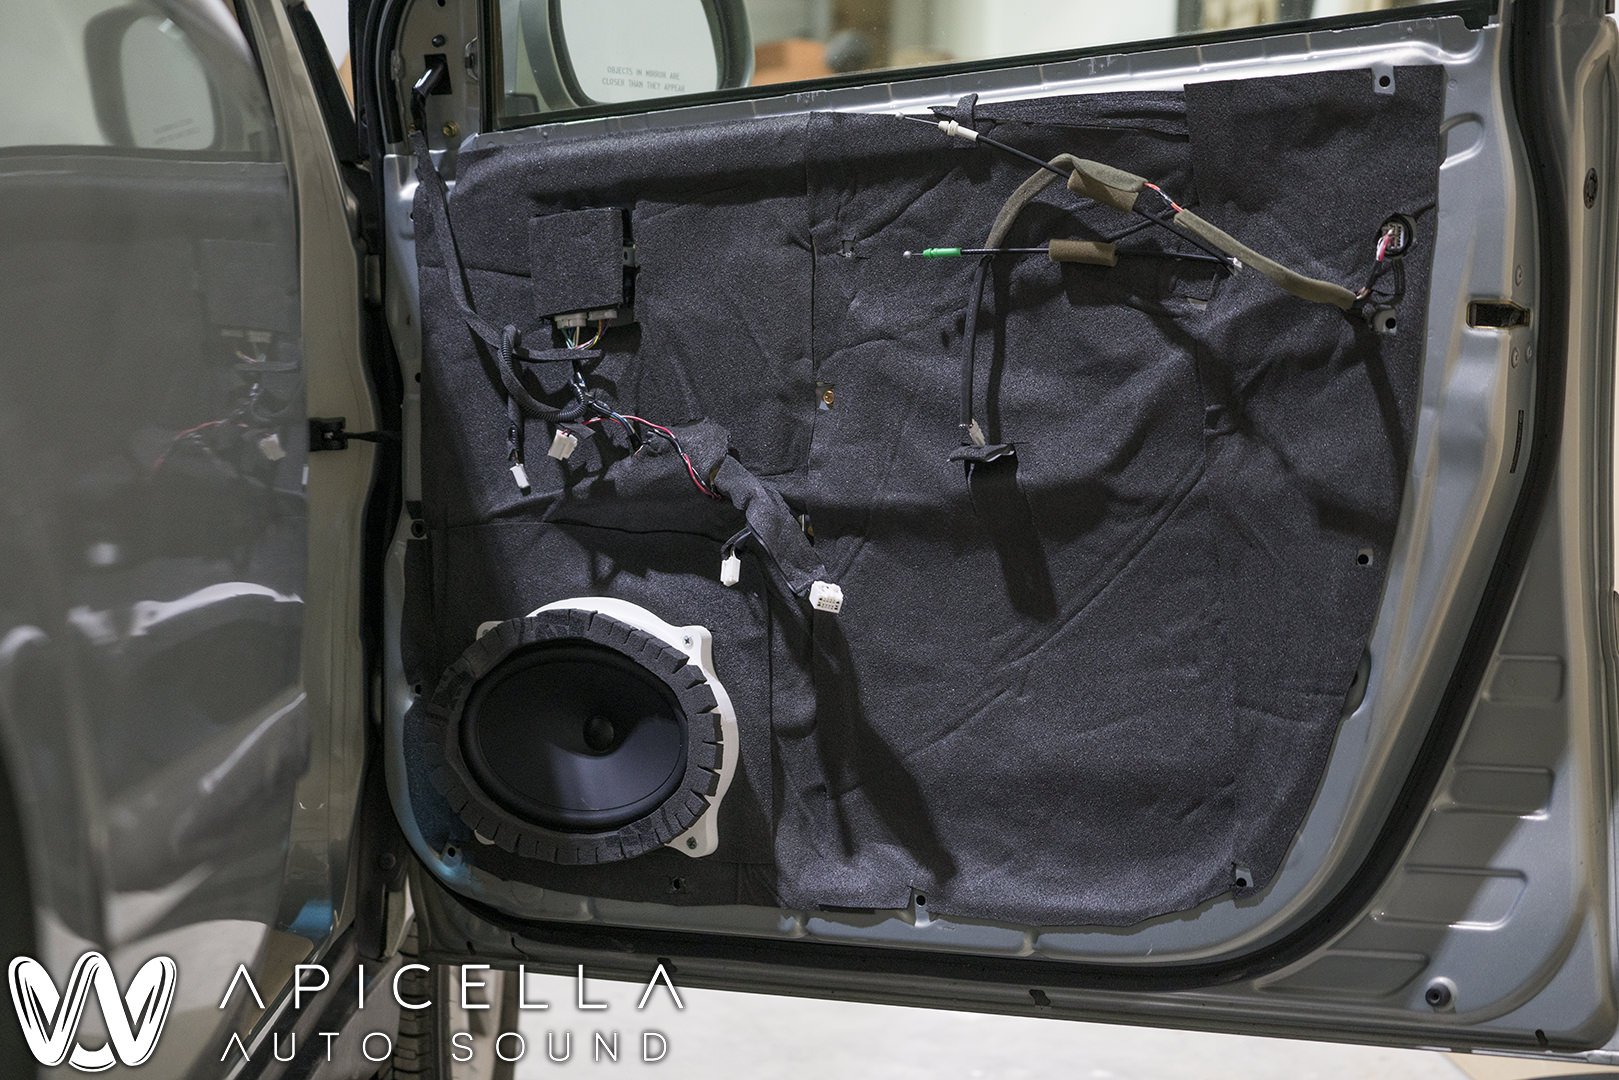
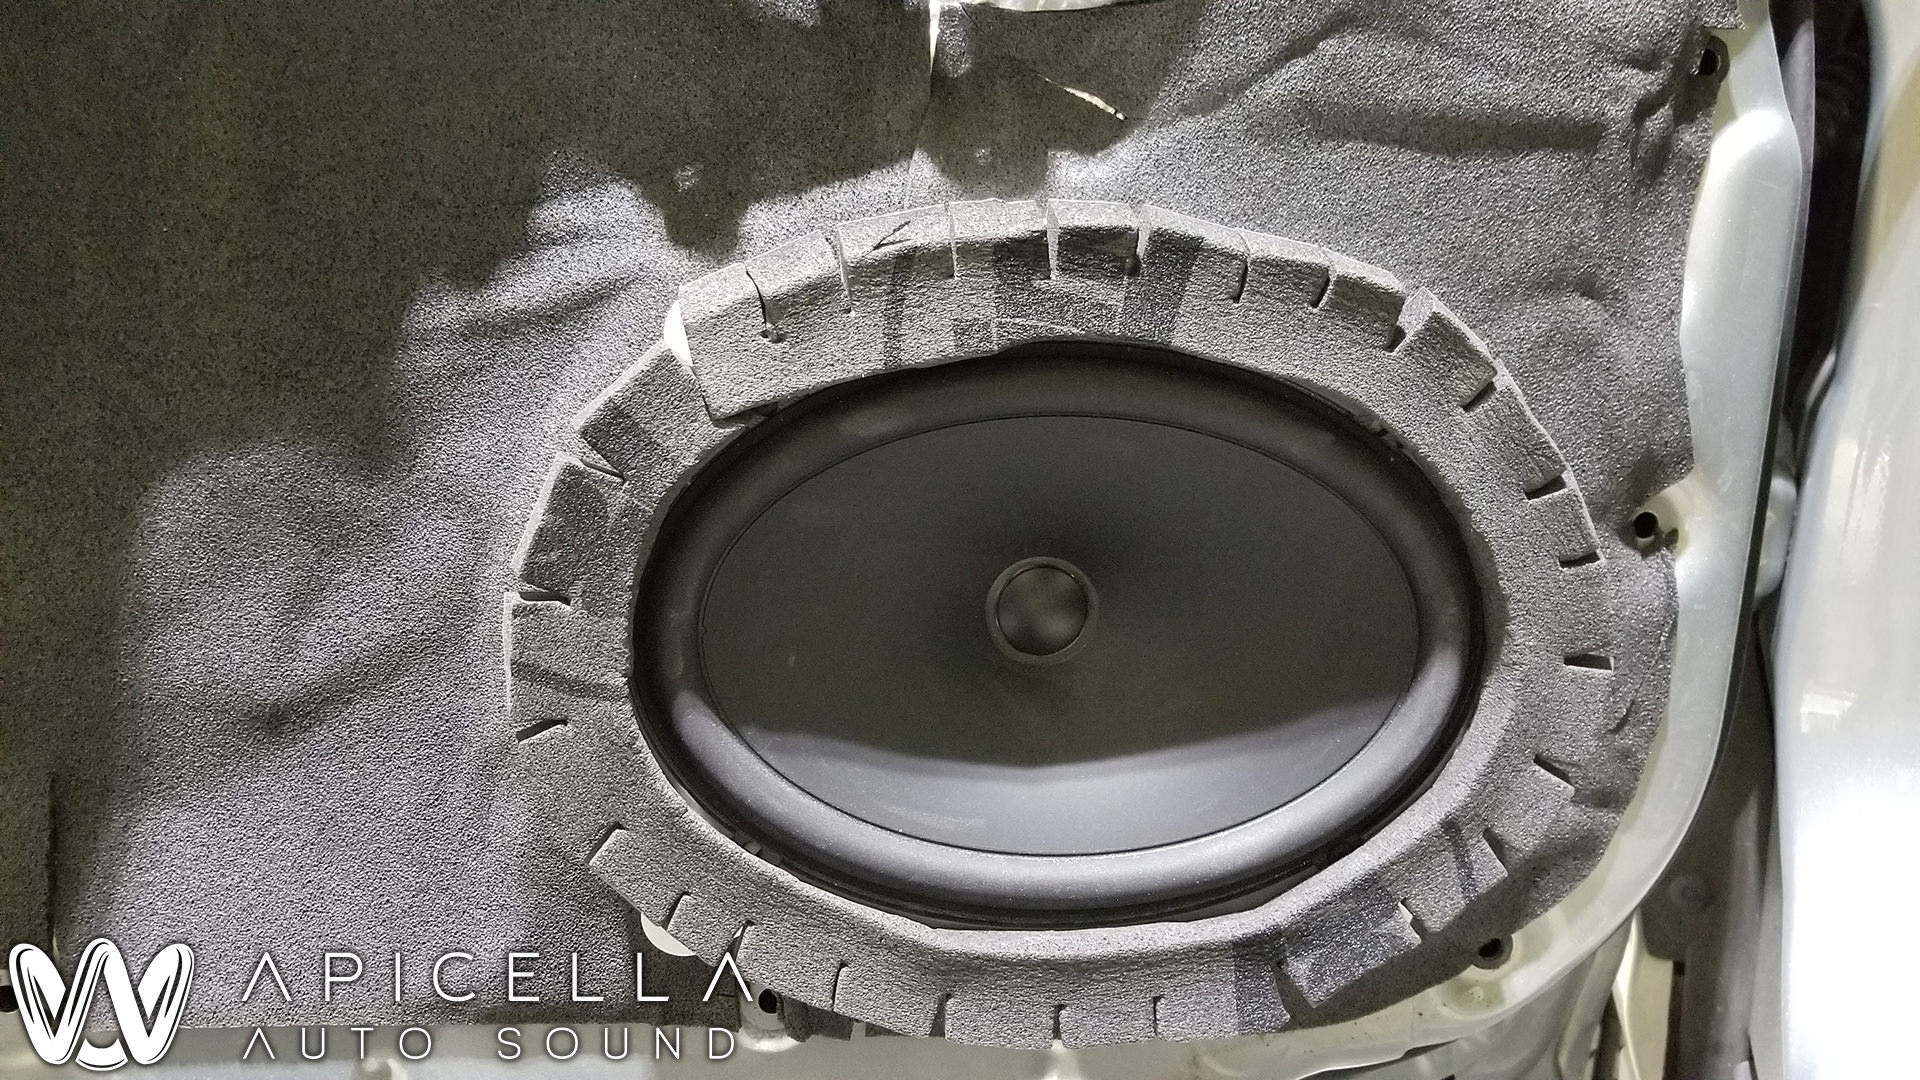
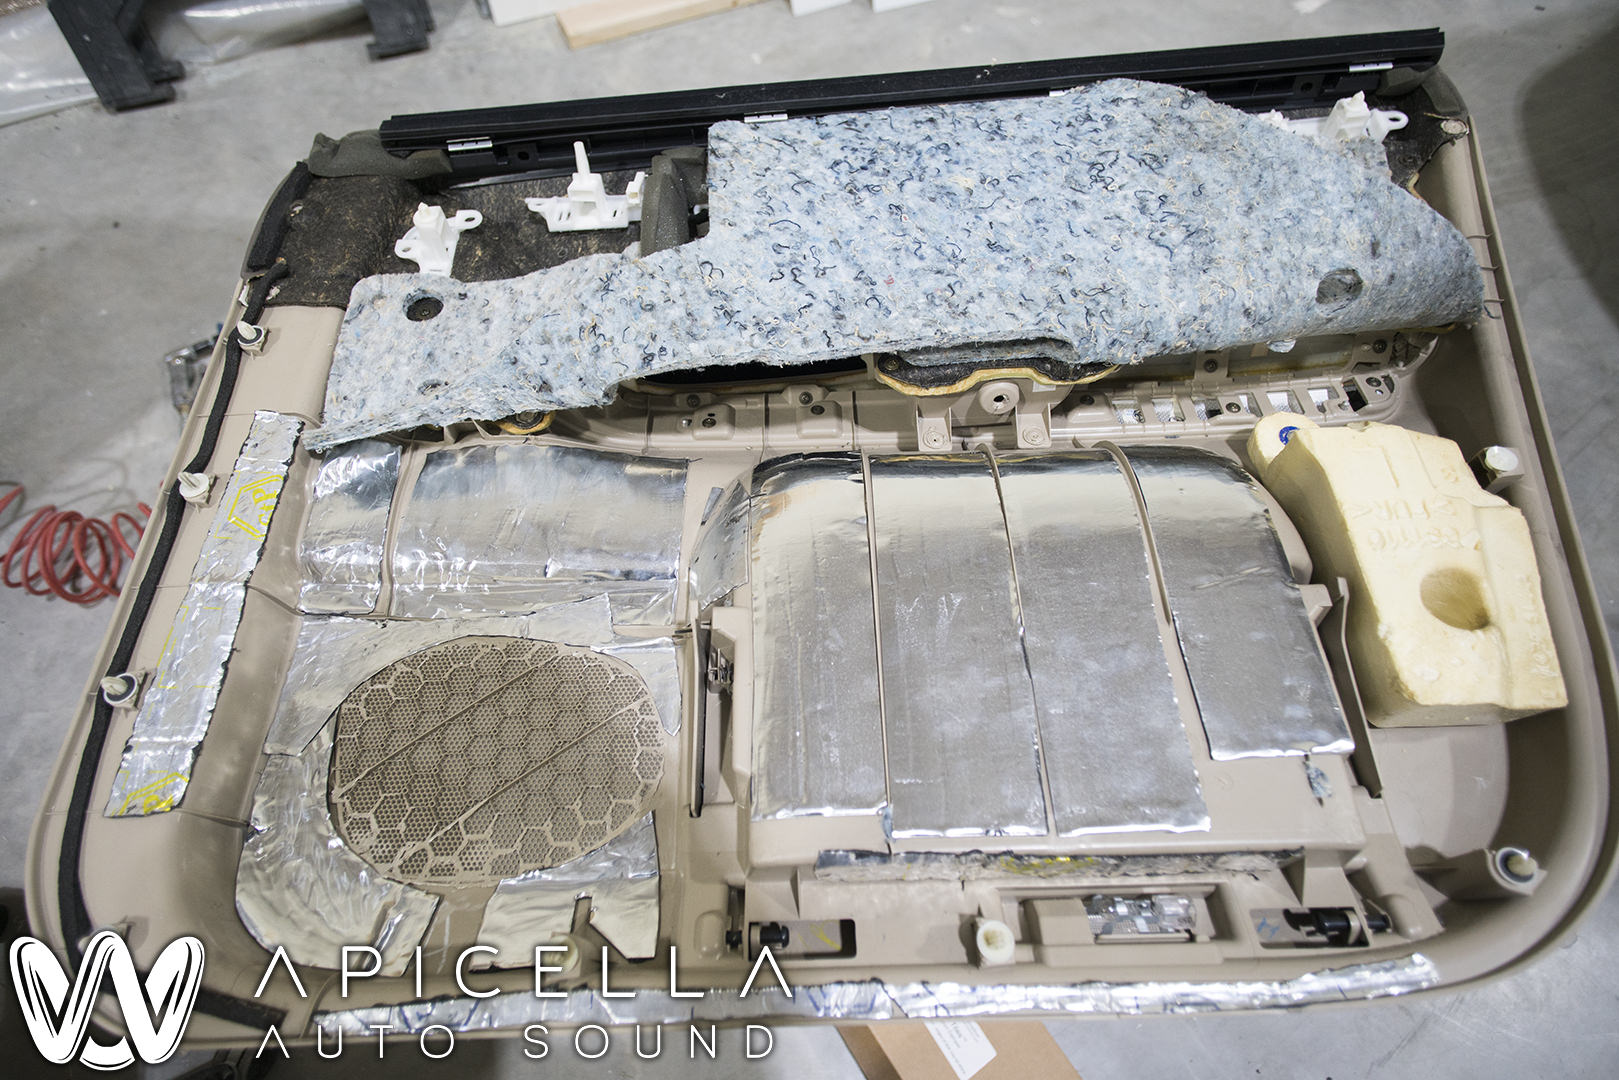
Doors fully deadened with about 8 SDS tiles per door, holes sealed up with aluminum and deadener and GS690's installed on composite baffles that use the oem mounting locations. On top of the GS690's is closed cell foam rings to couple the airspace in front of their cone to the cabin, while isolating them from the door panel and taking the airspace behind the door panel out of the equation. Also a close up of the closed cell foam rings that i make instead of using the pre-made open cell foam ones, which defeat their own intention of sealing the airspace while decoupling the door. The door panels were also hit with deadener and were spot treated with CLD, foam, etc to prevent any rattles and resonances.
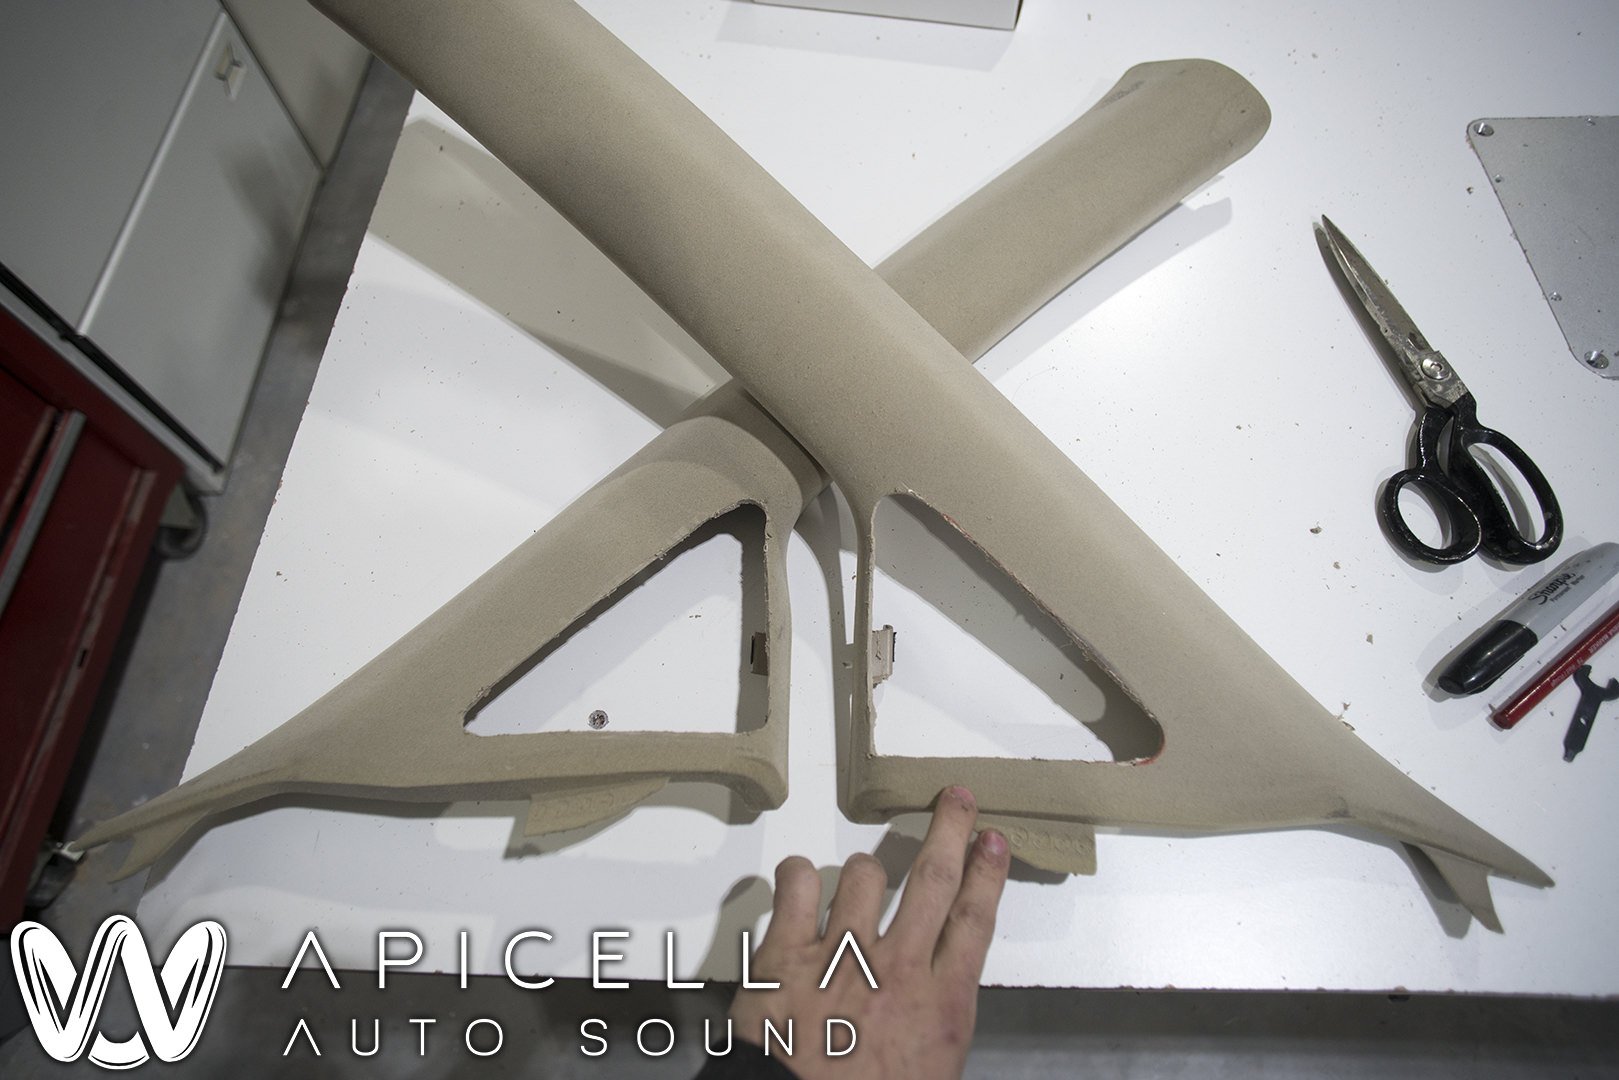
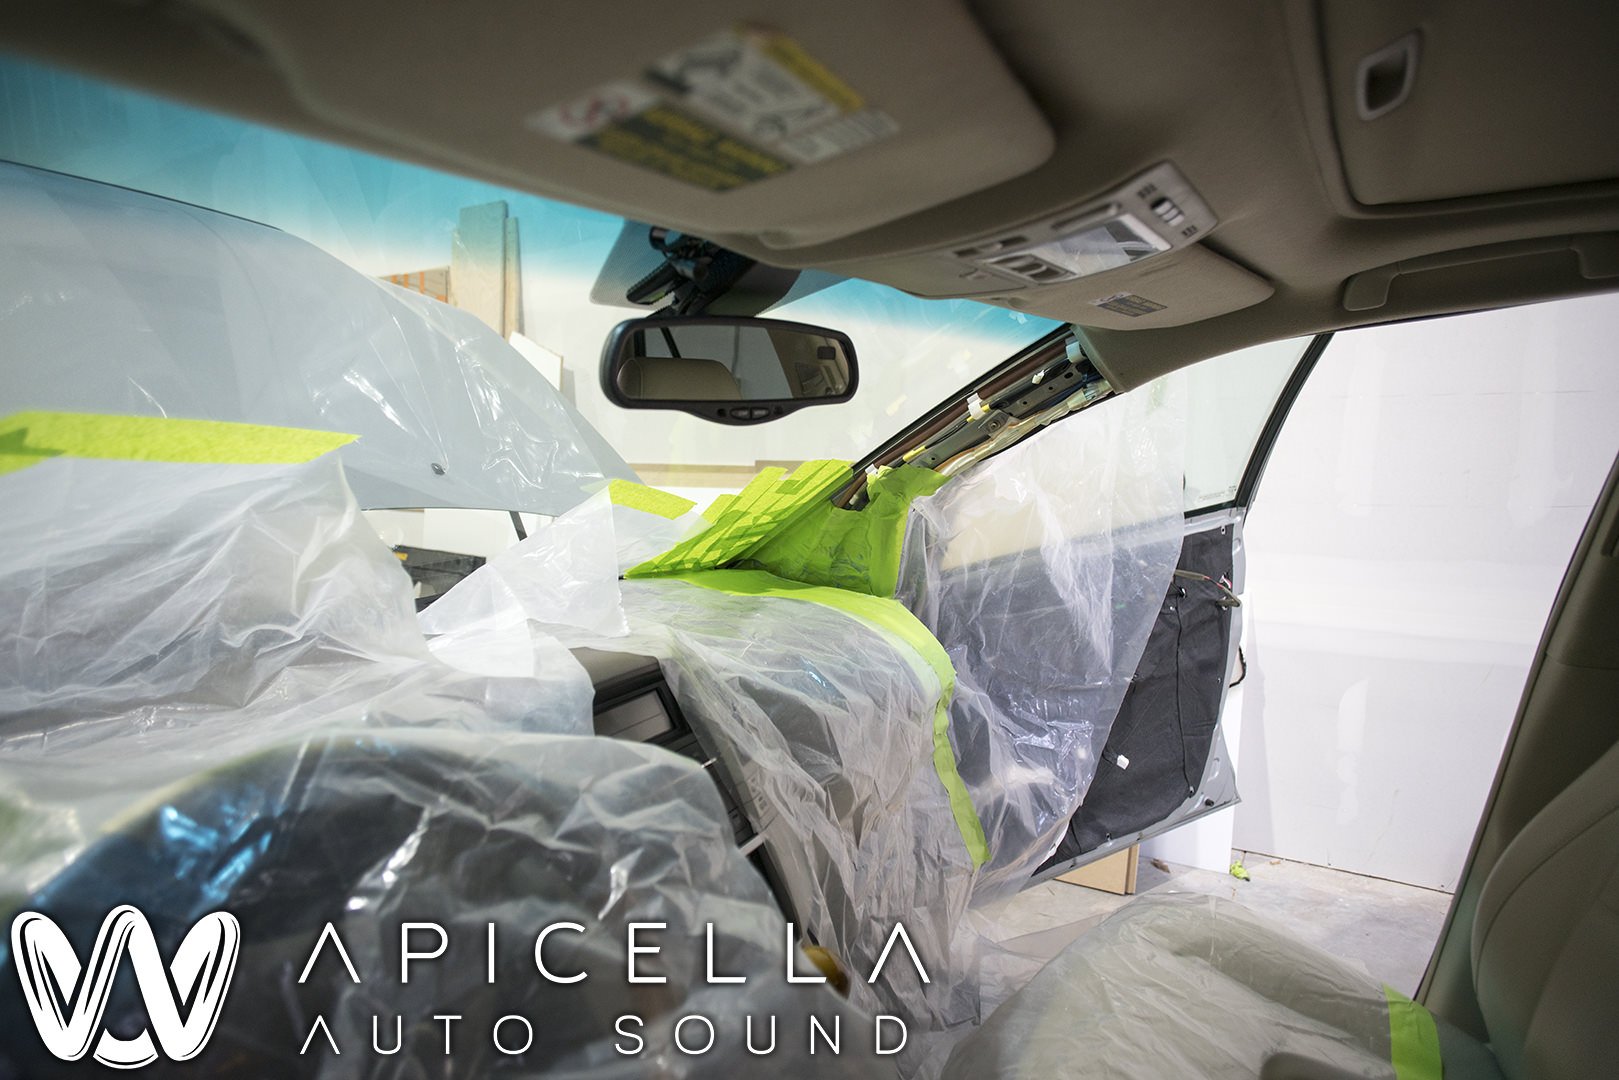
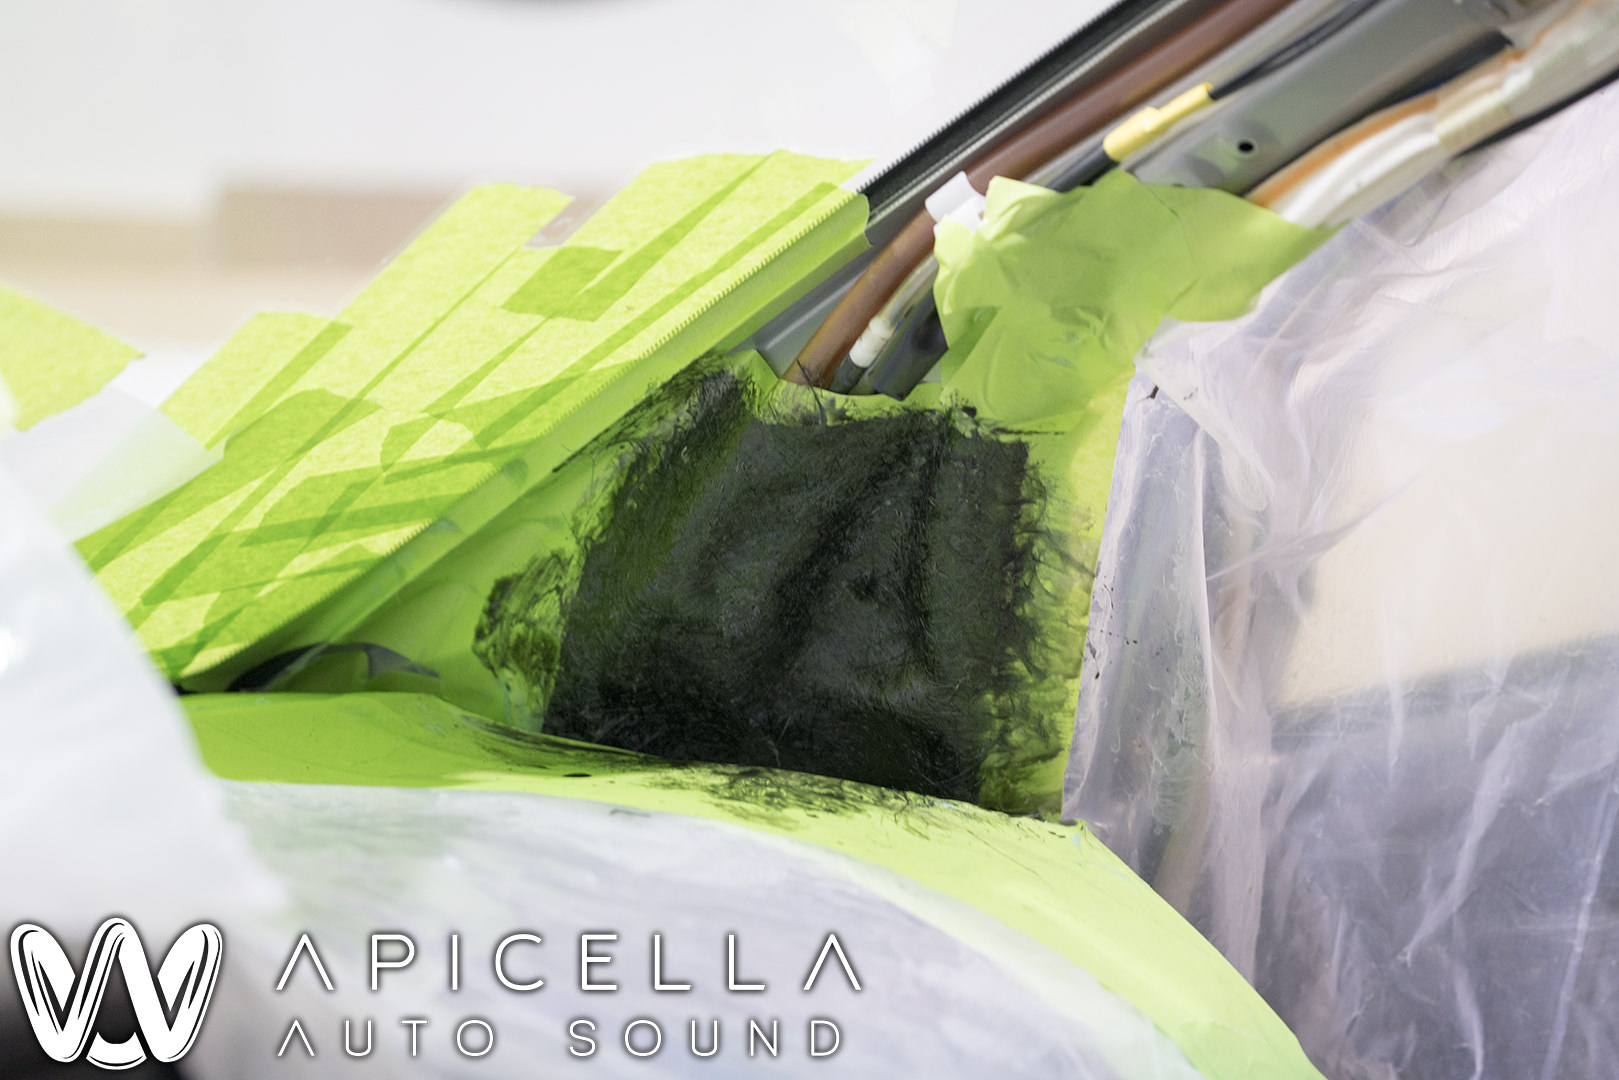
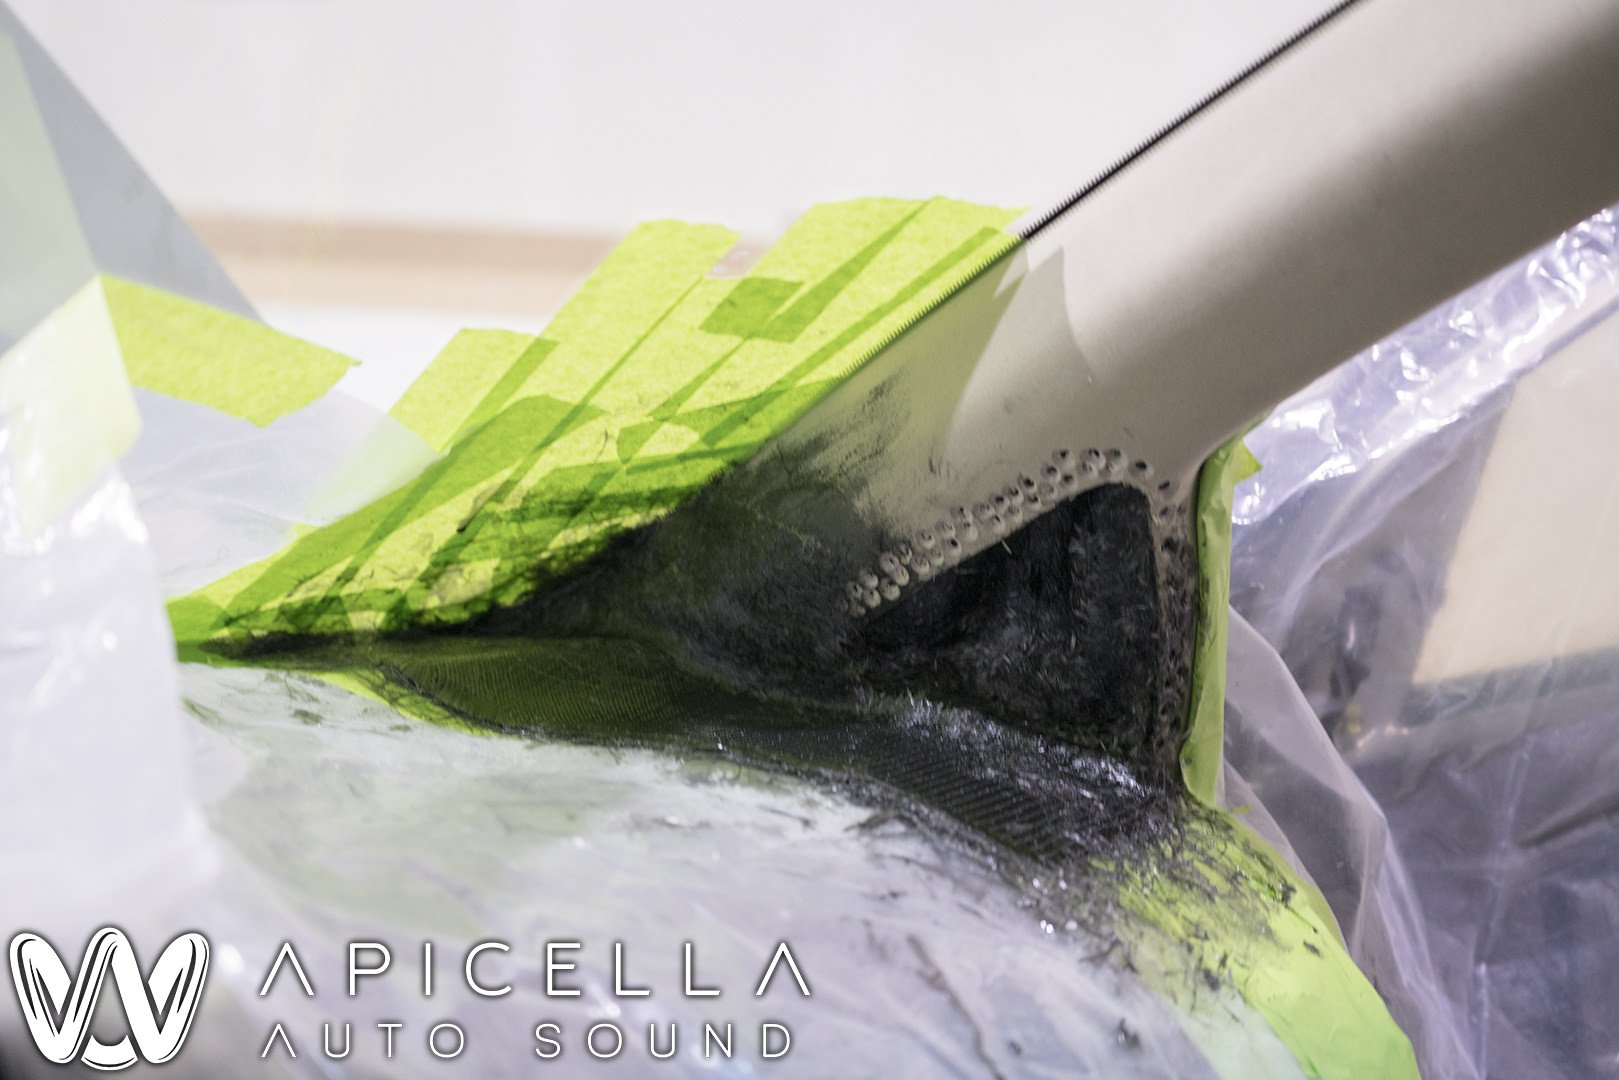
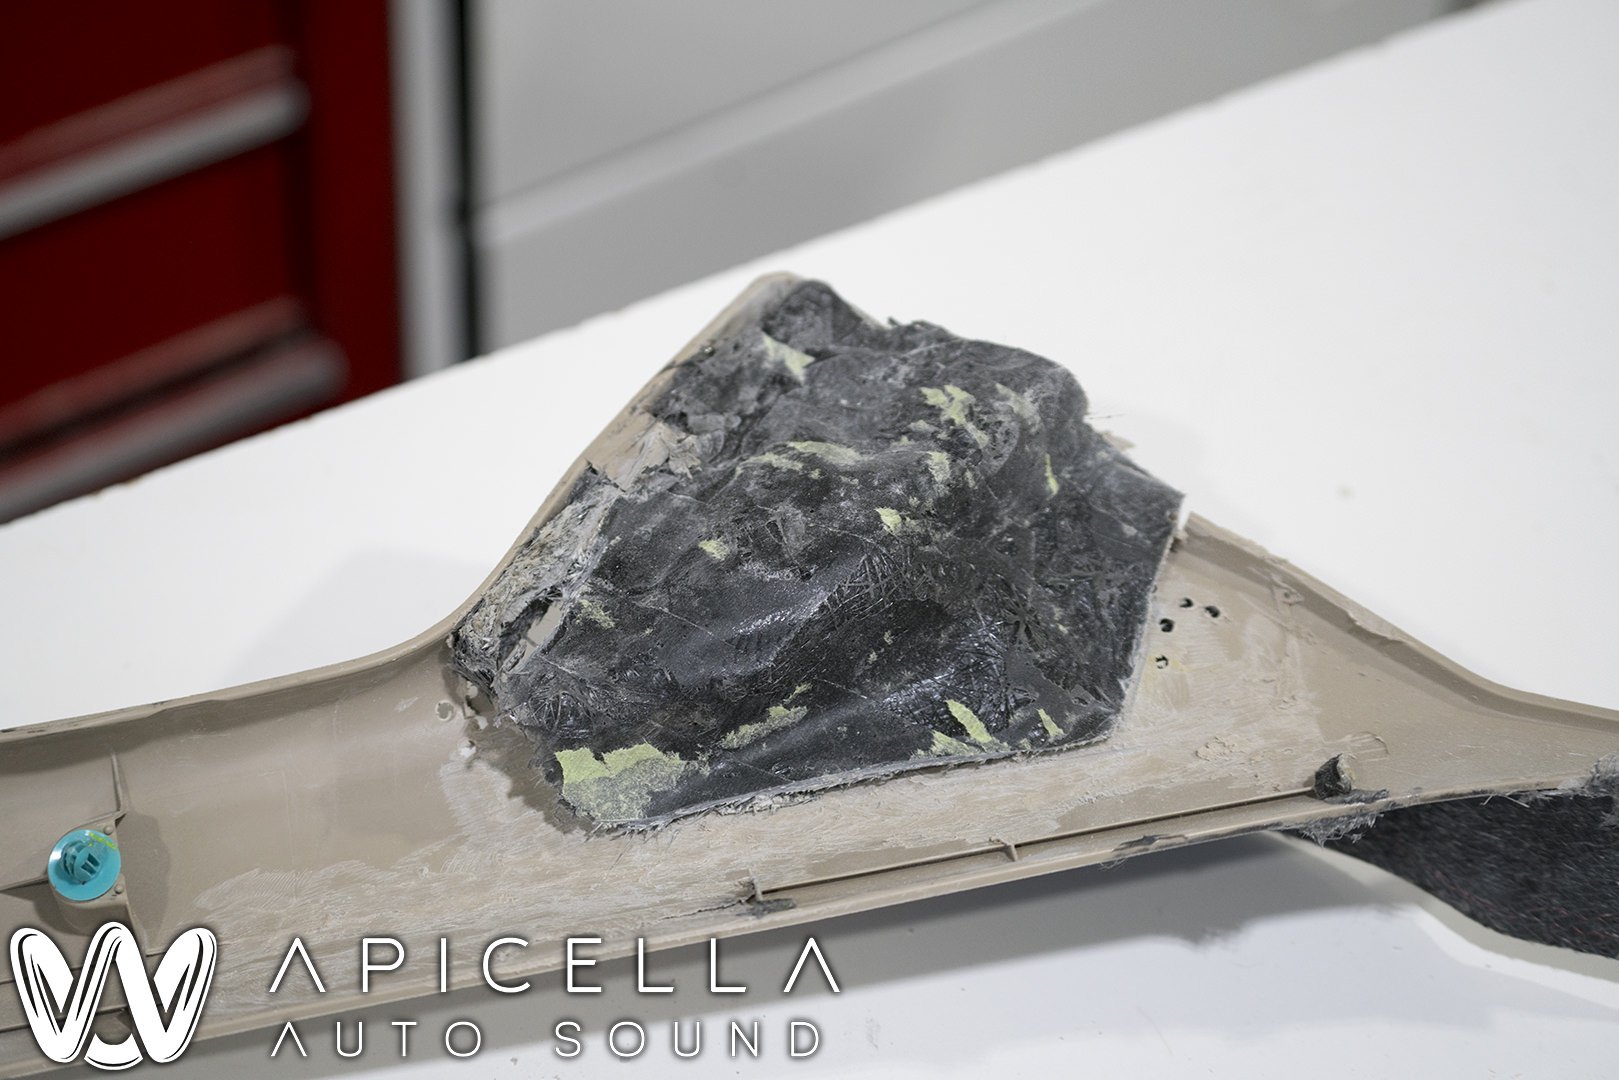
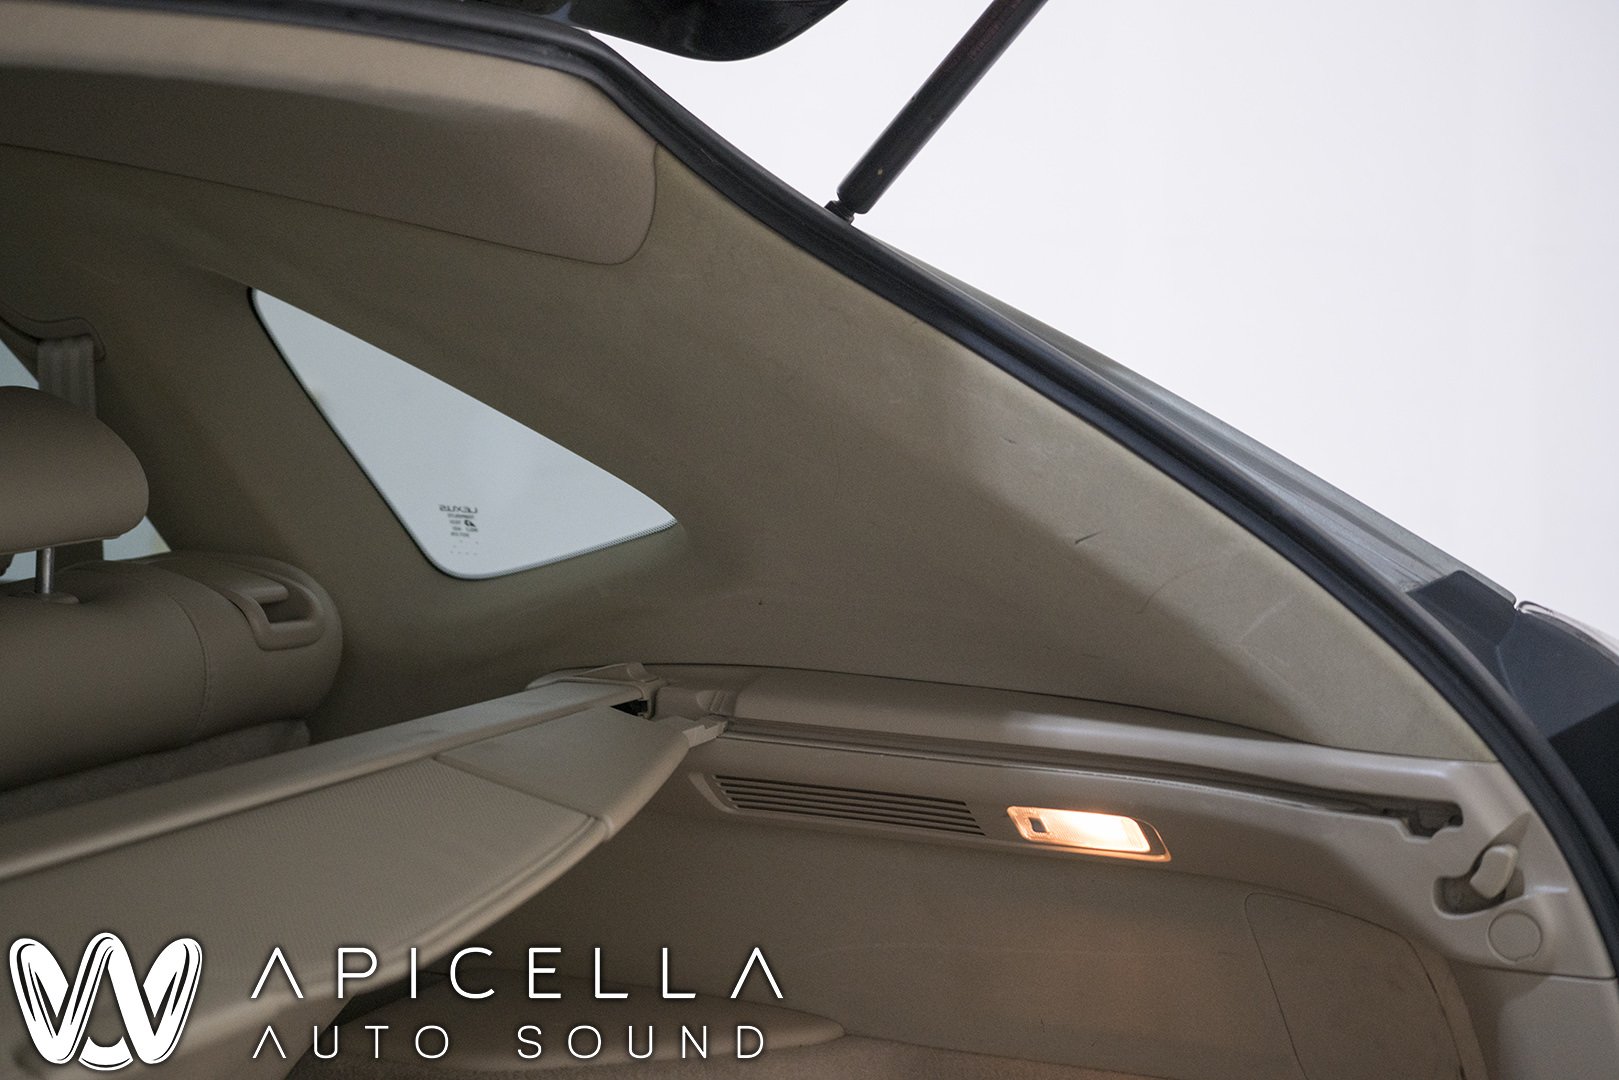
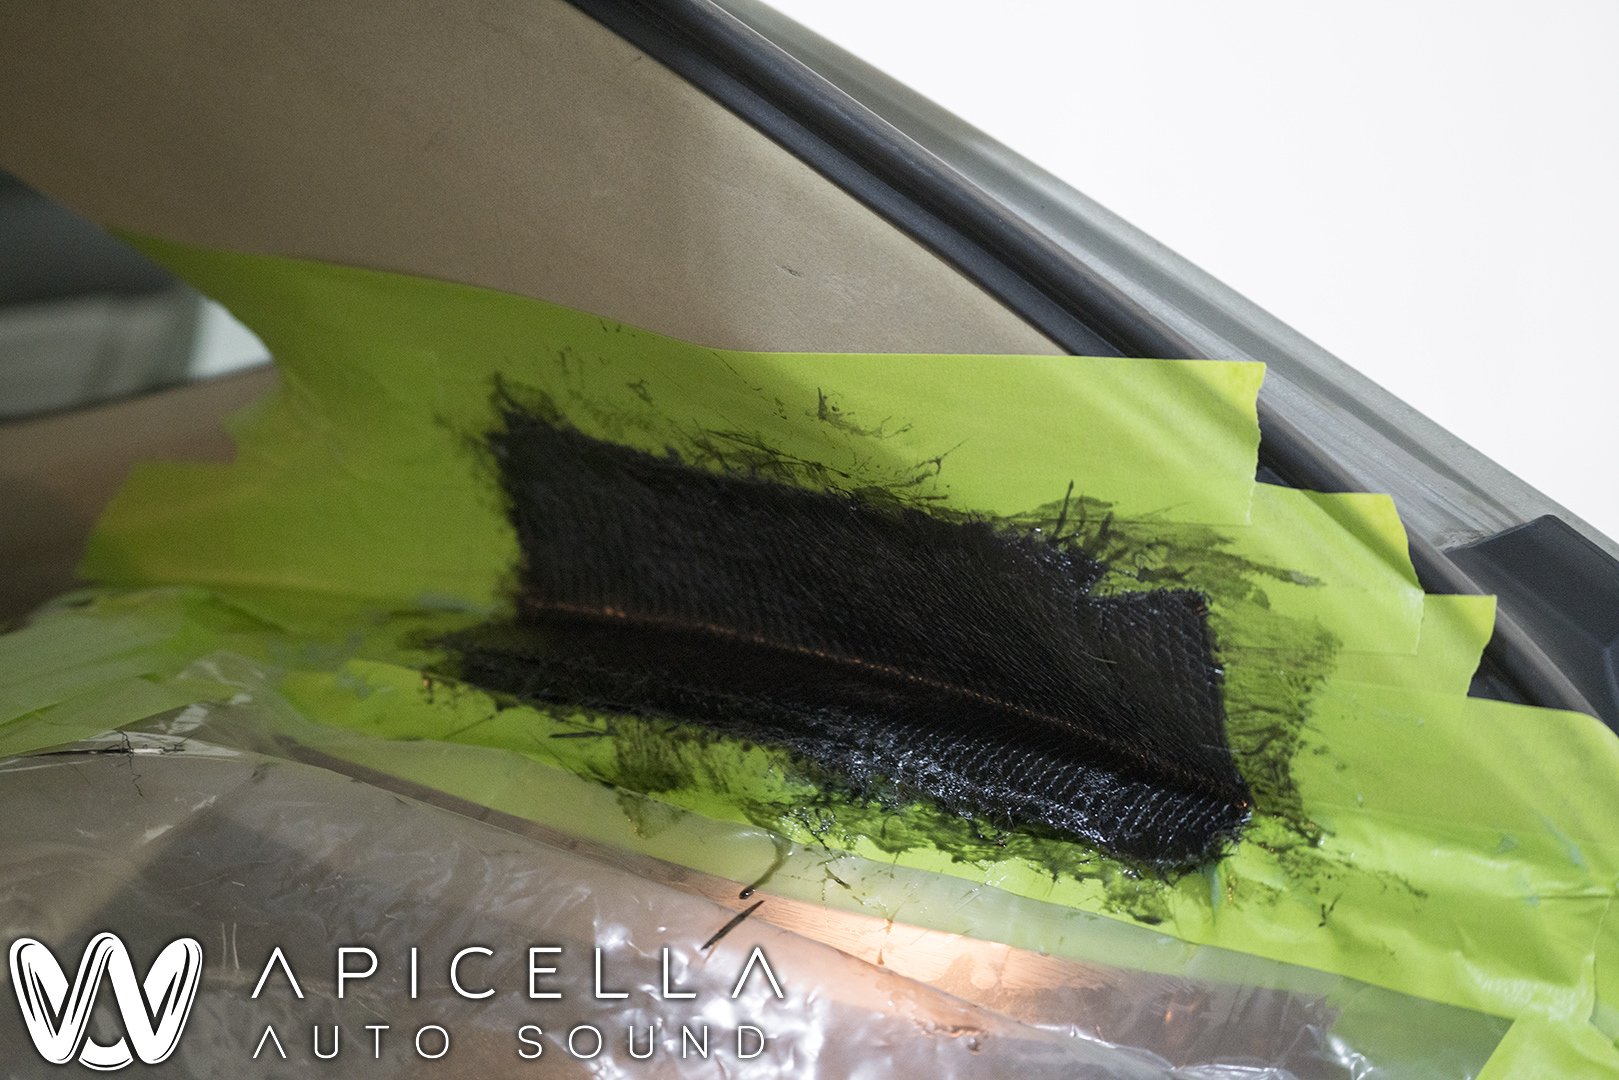
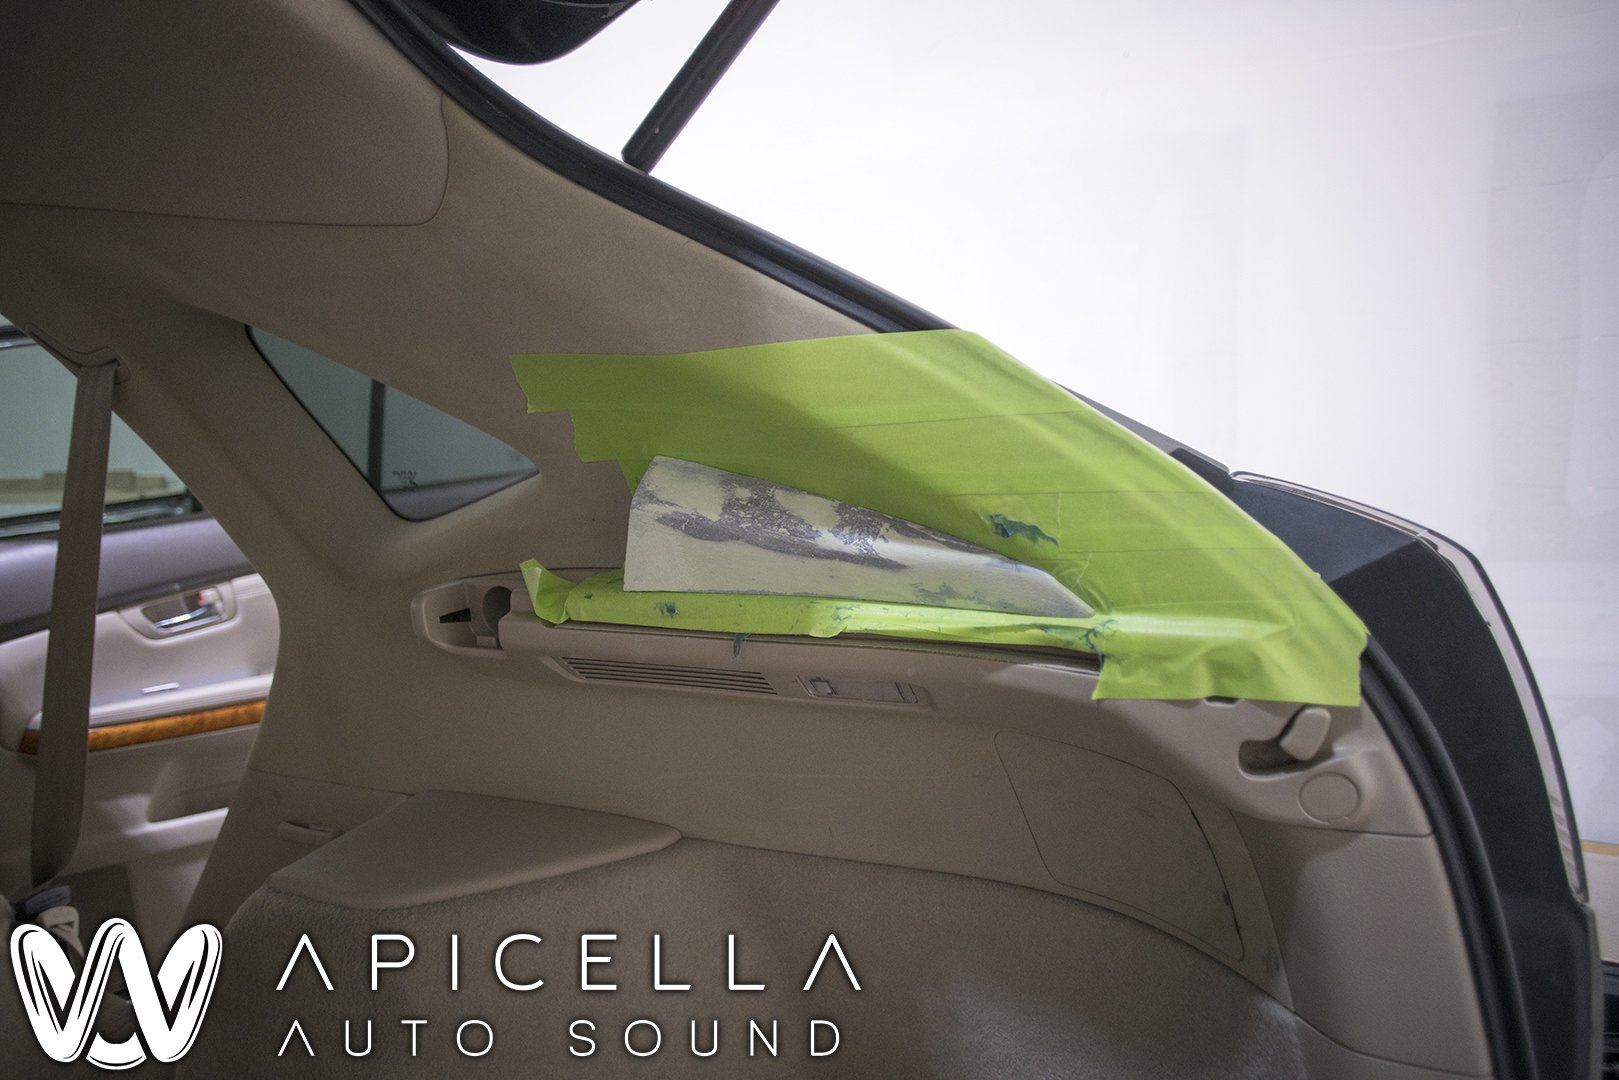
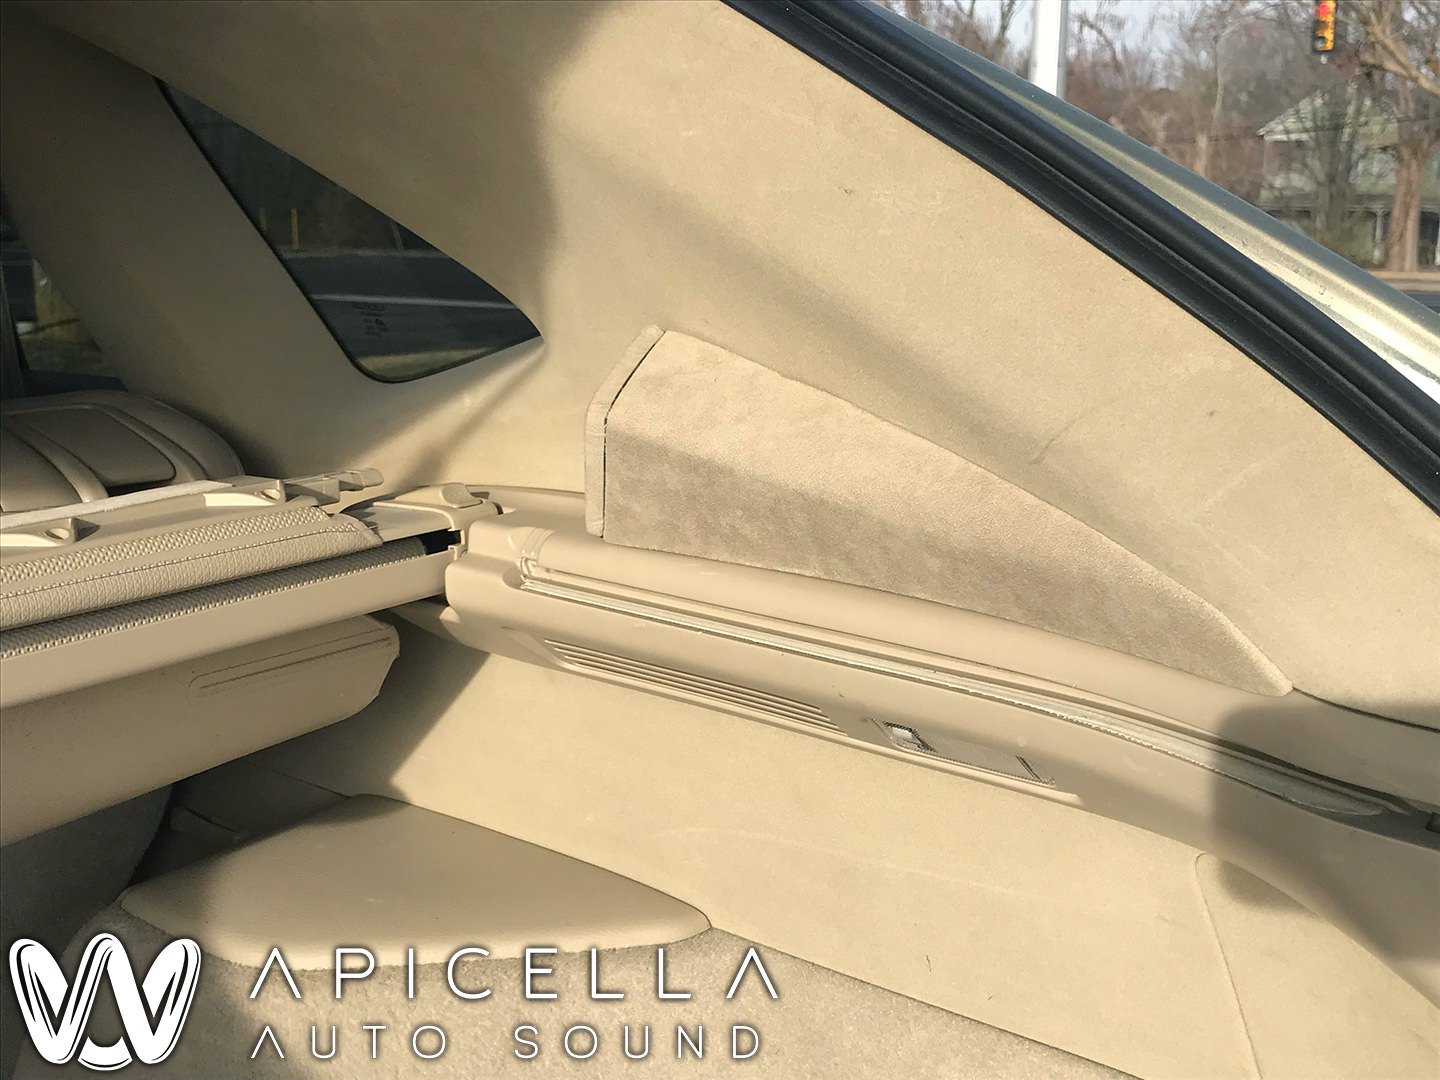
On to the A pillars, which i forgot to get finished and installed pics of //content.invisioncic.com/y282845/emoticons/frown.gif.a3531fa0534503350665a1e957861287.gif
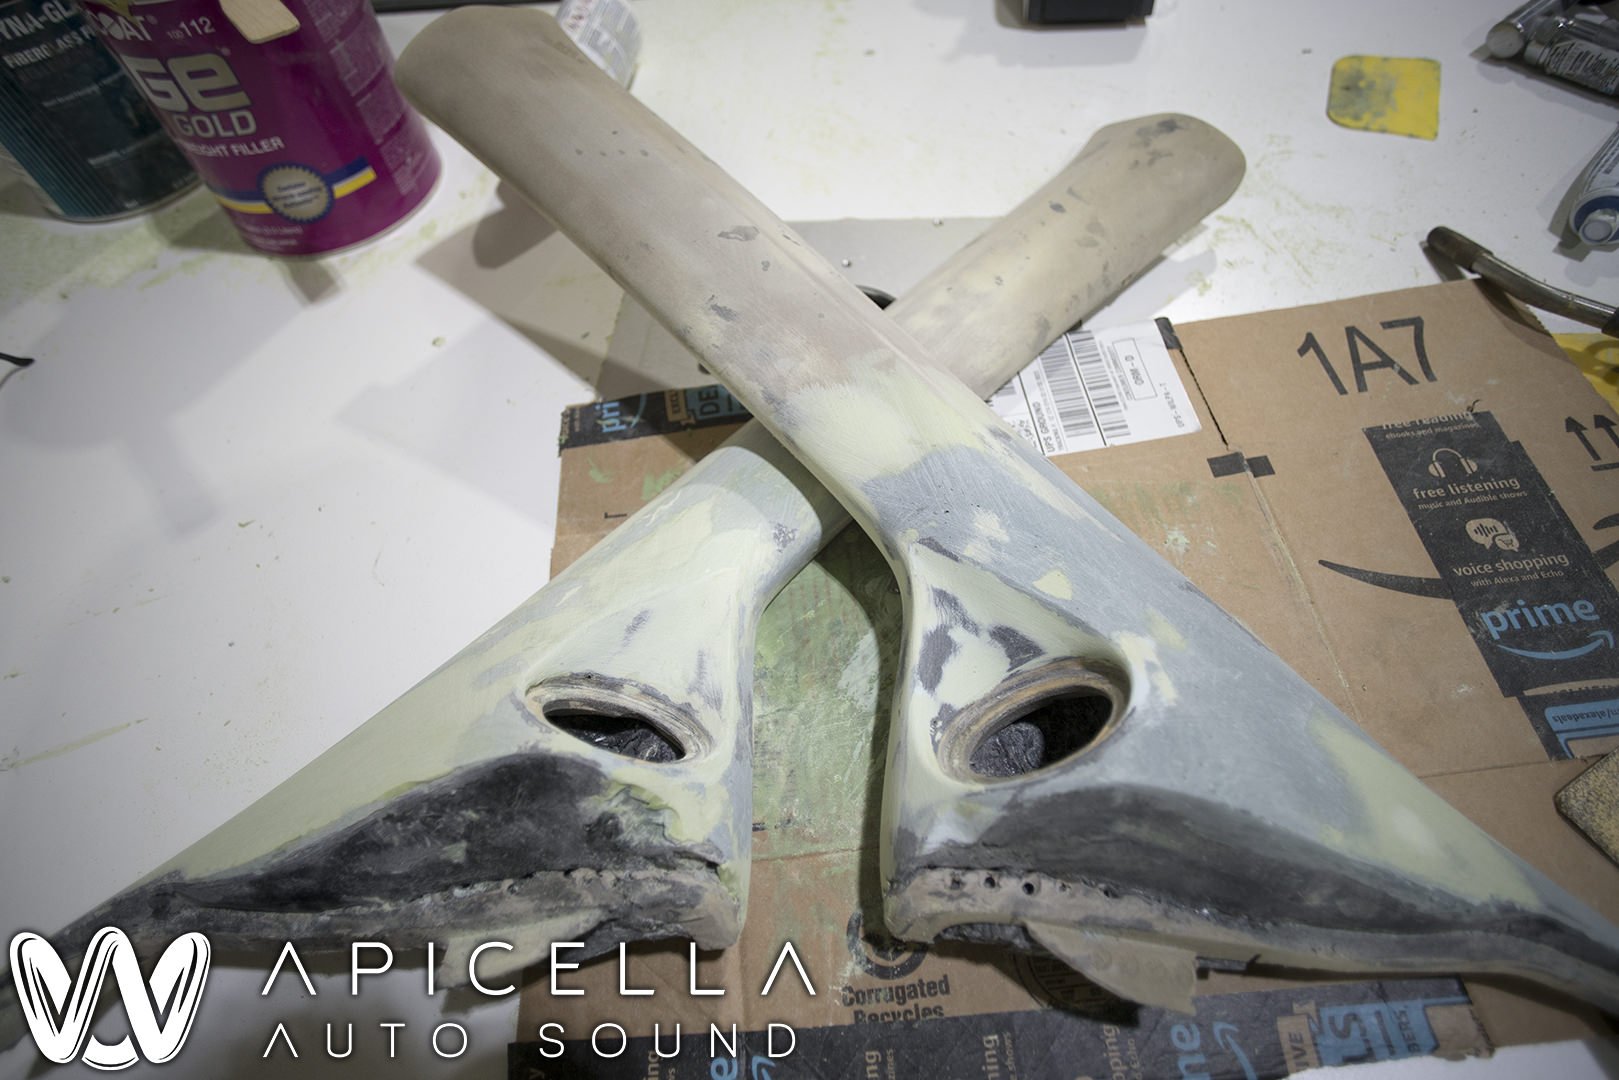
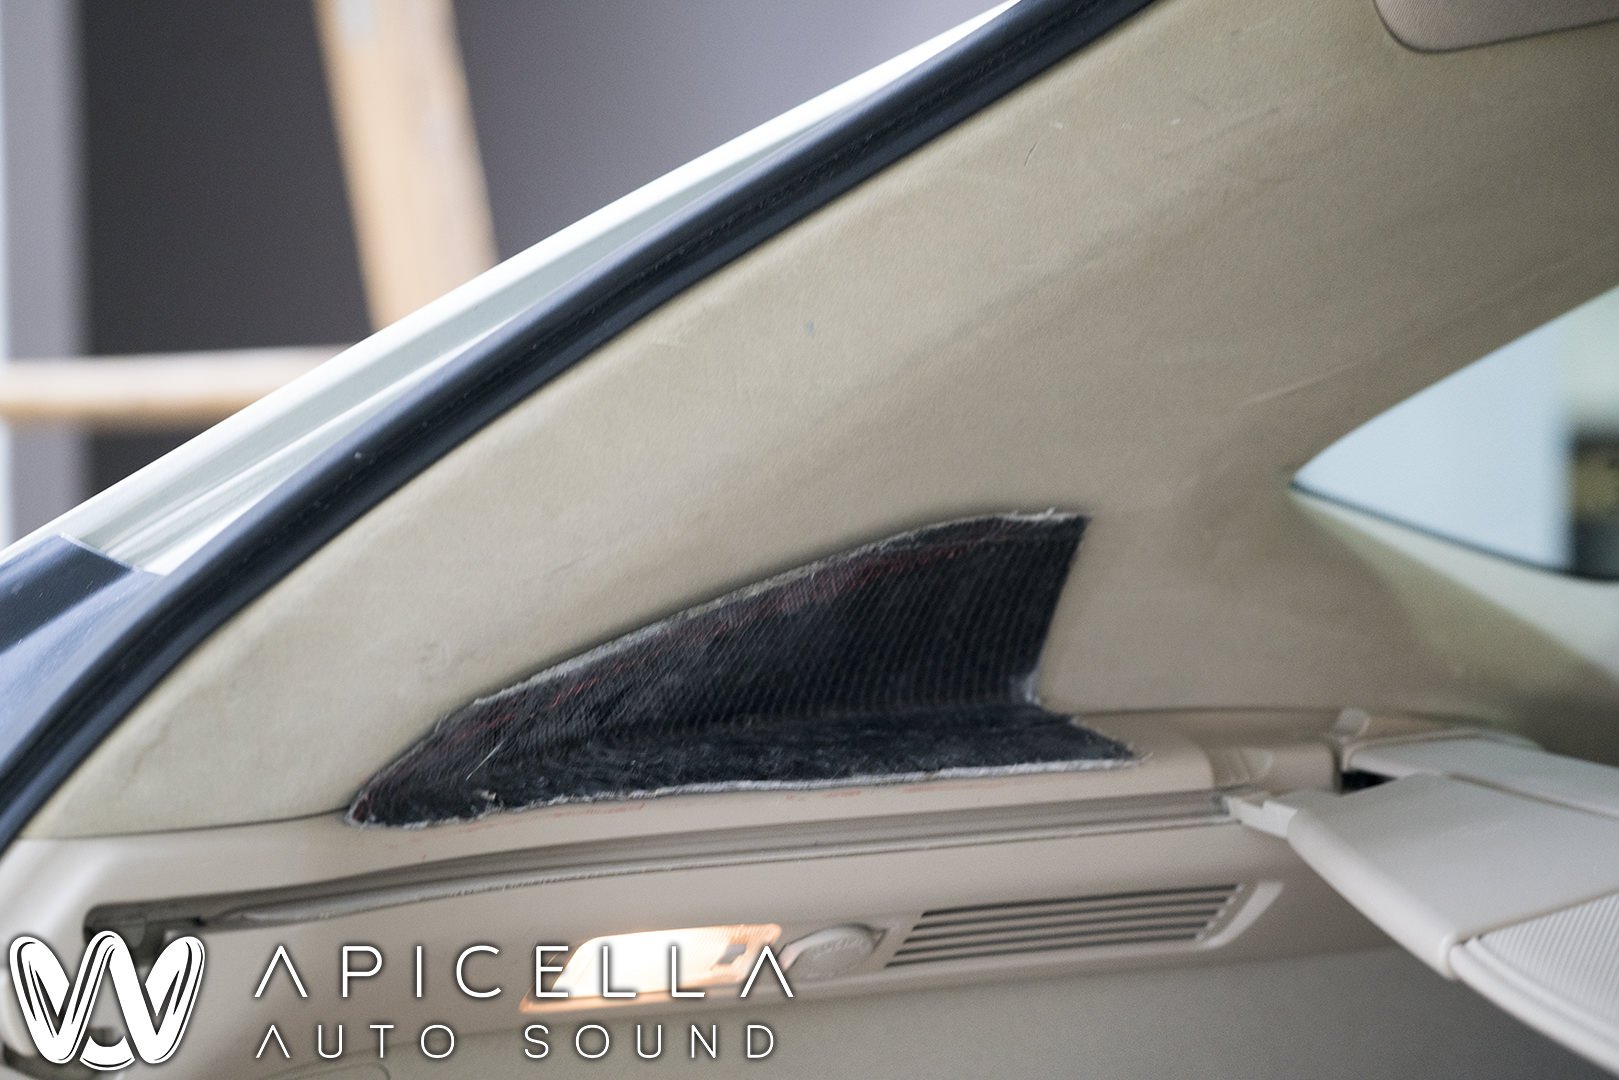
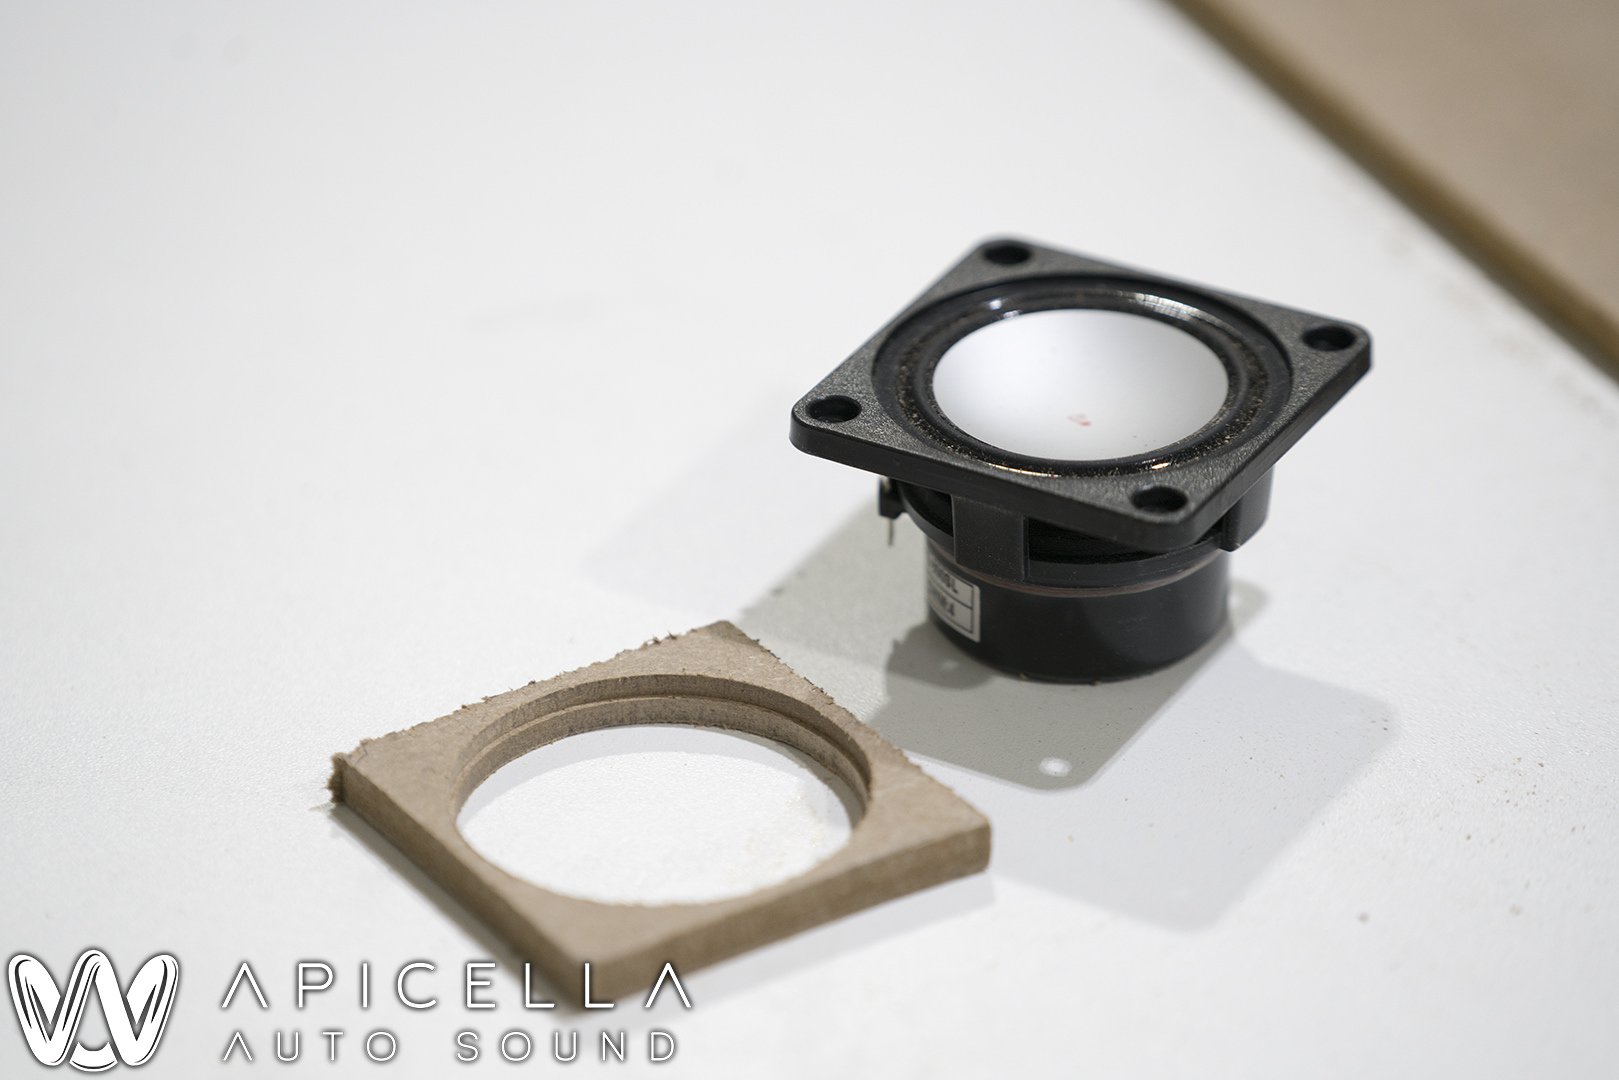
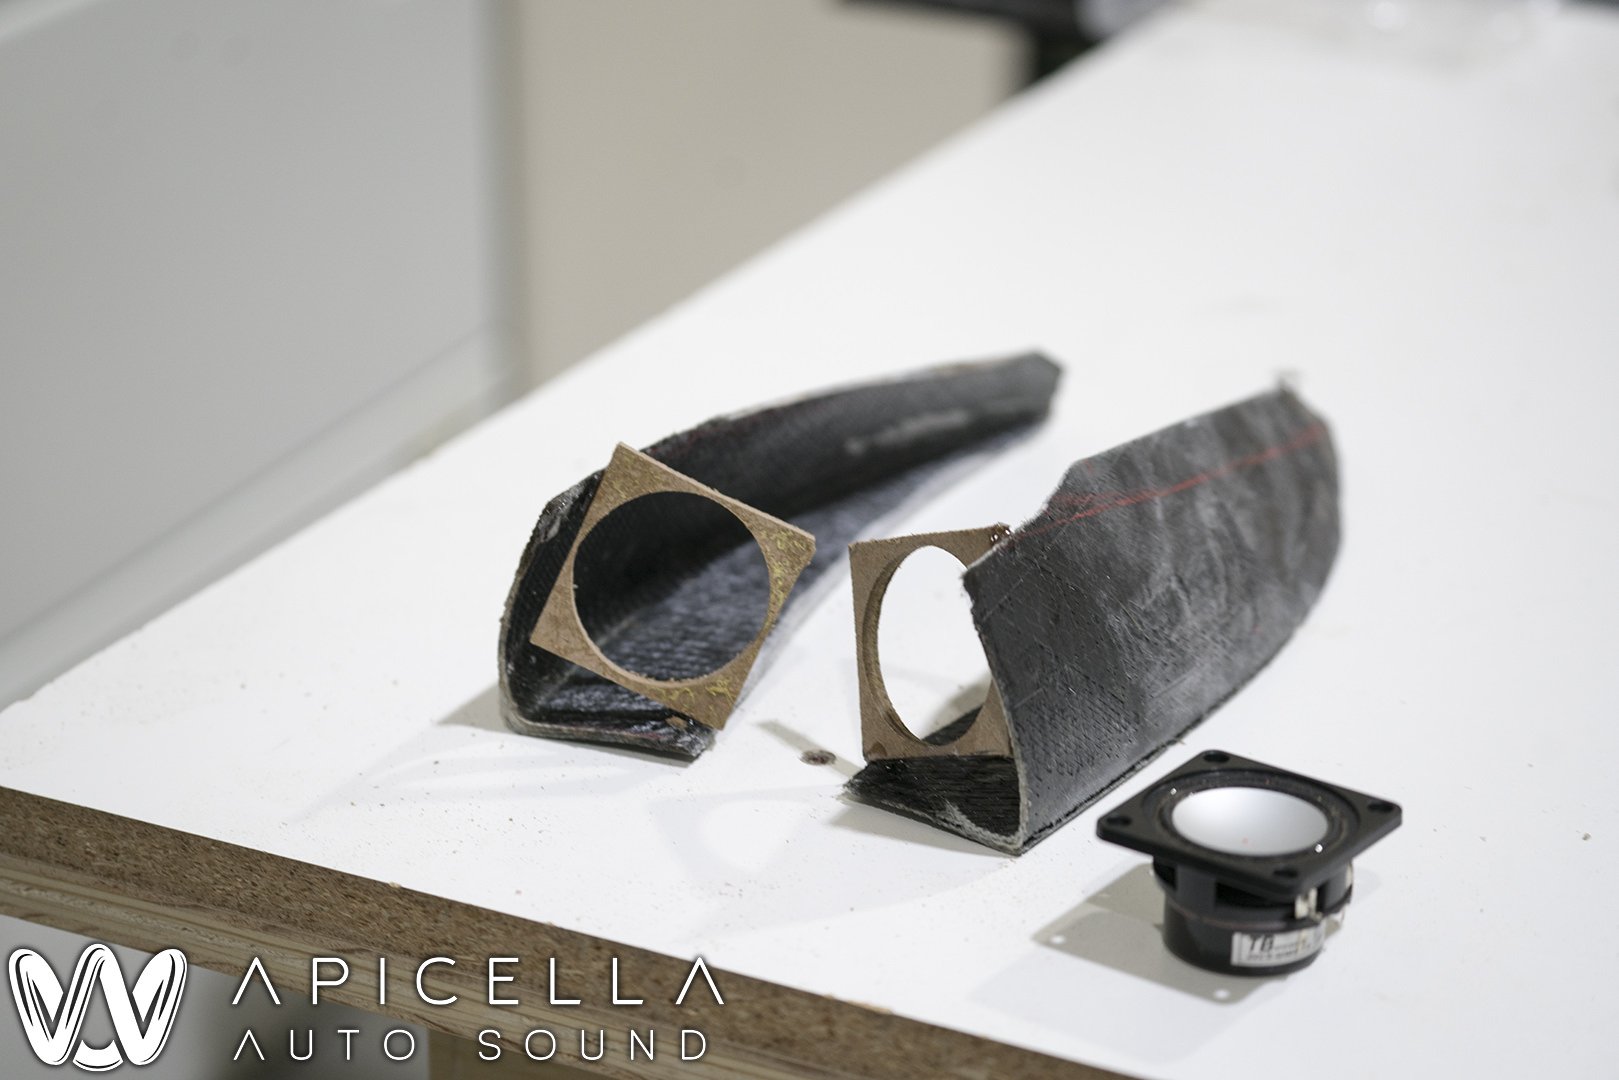
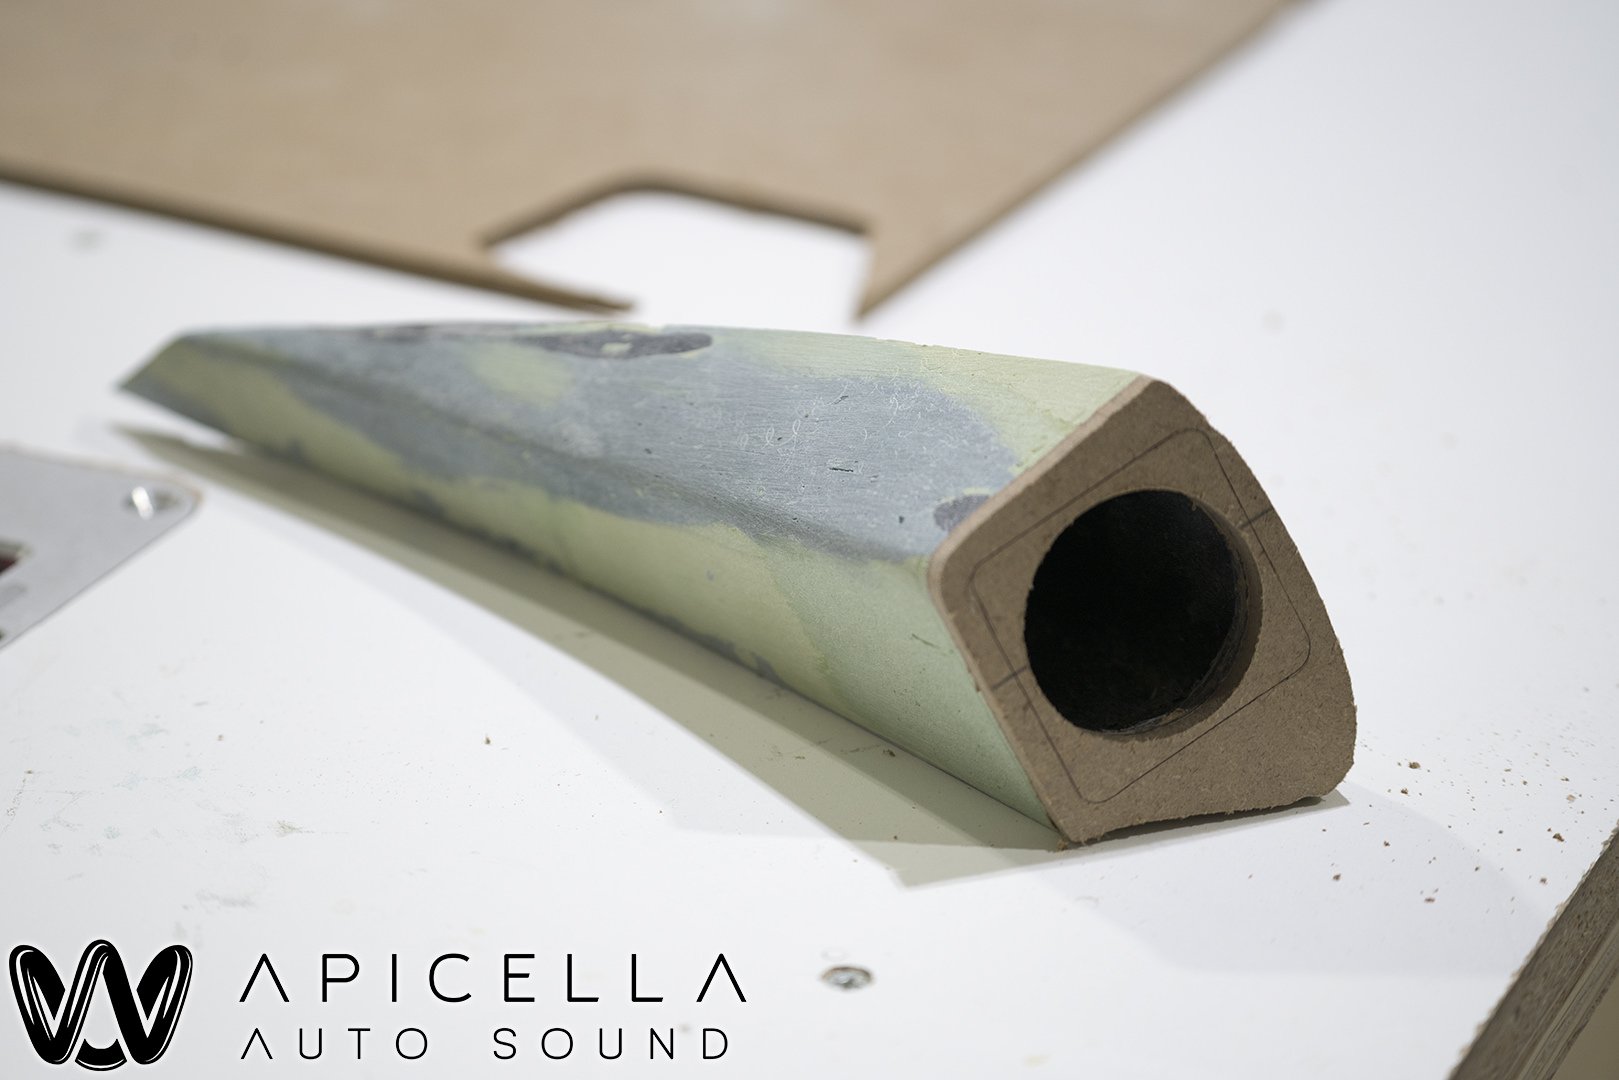
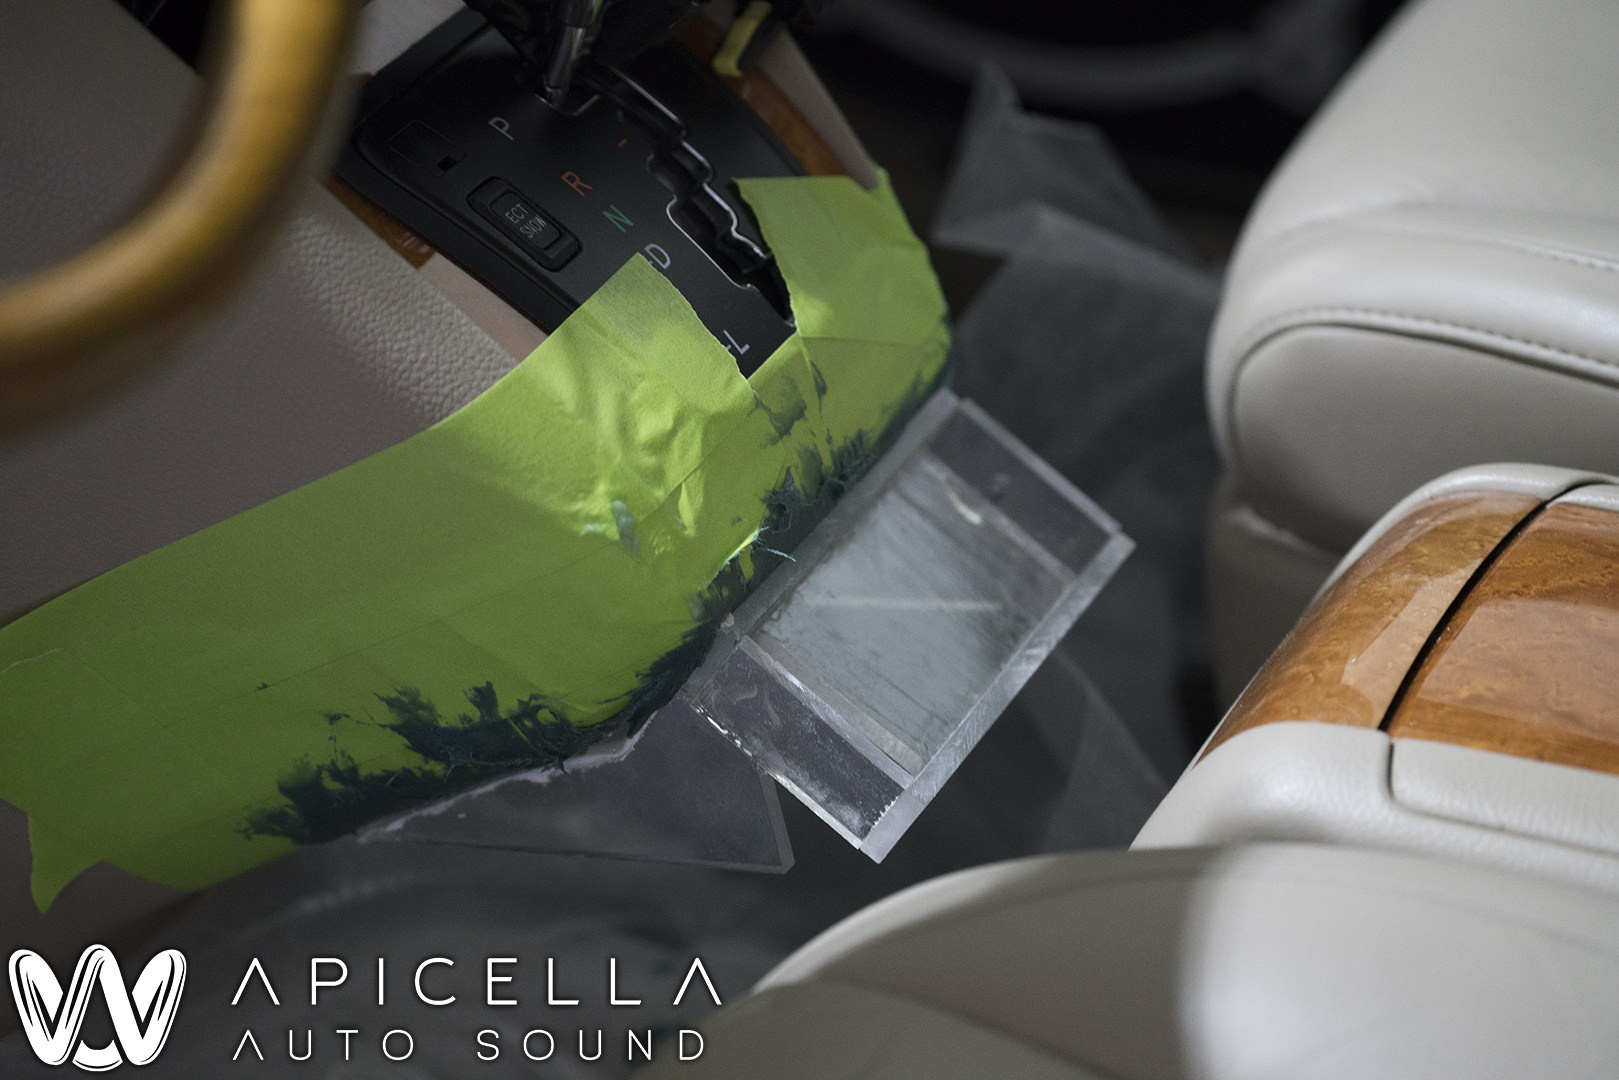
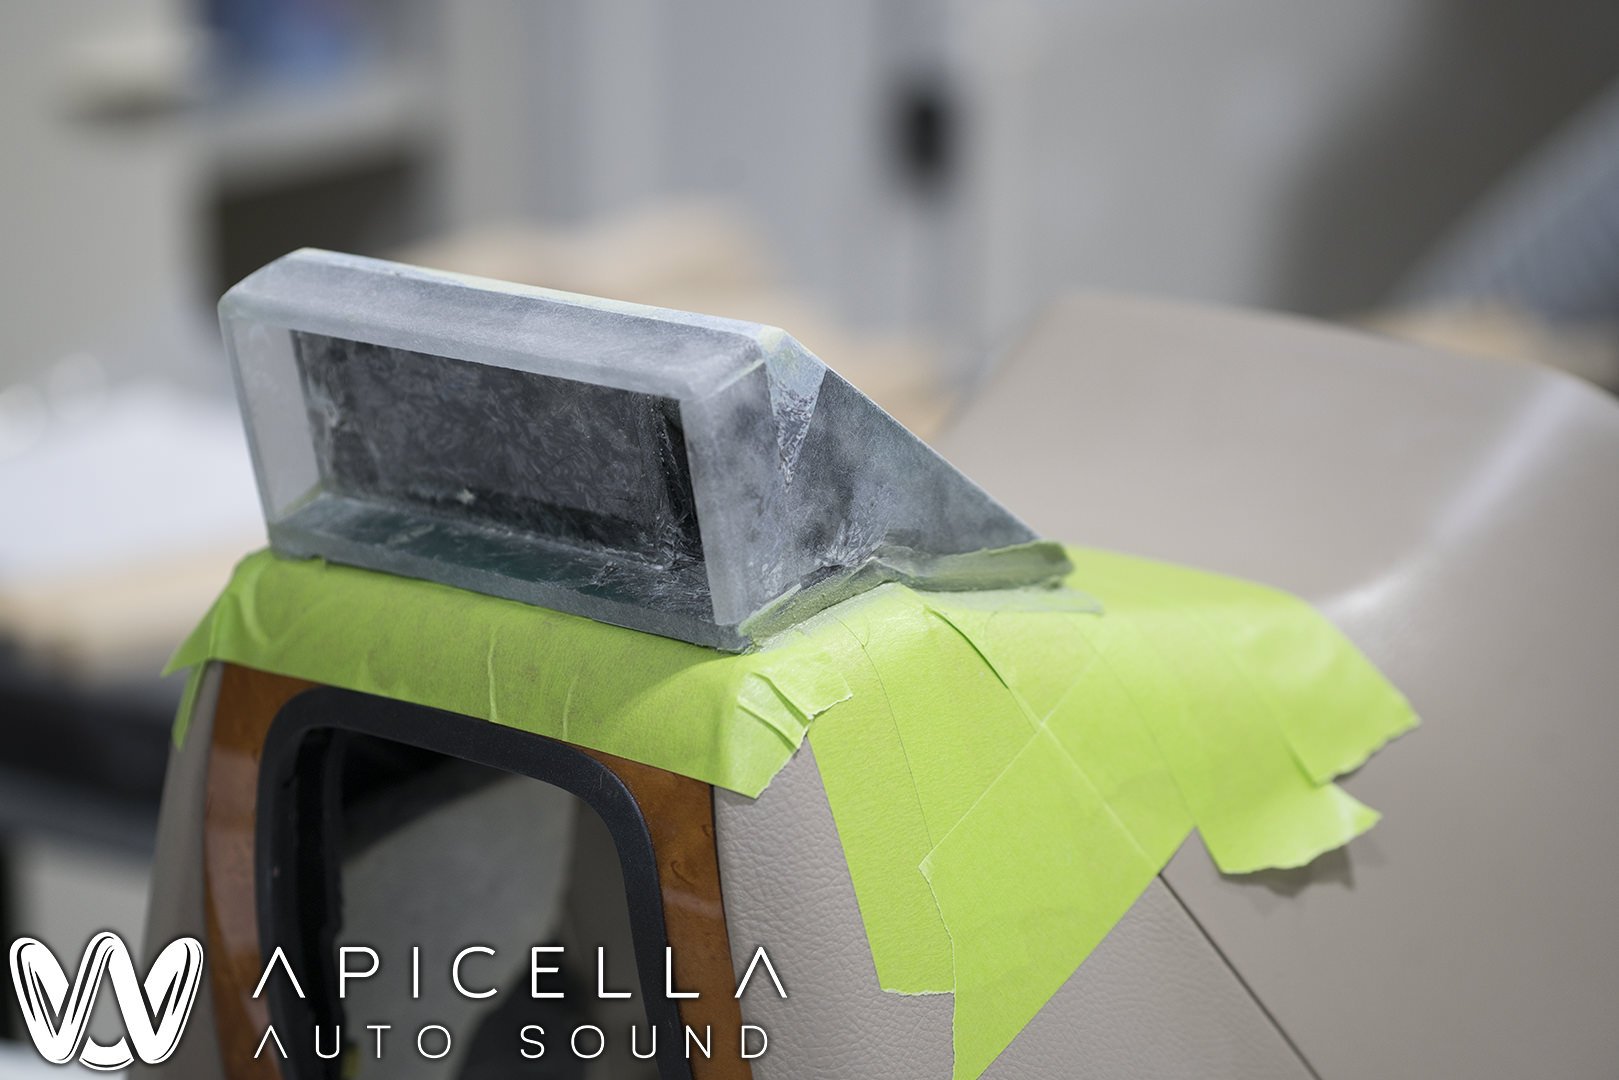
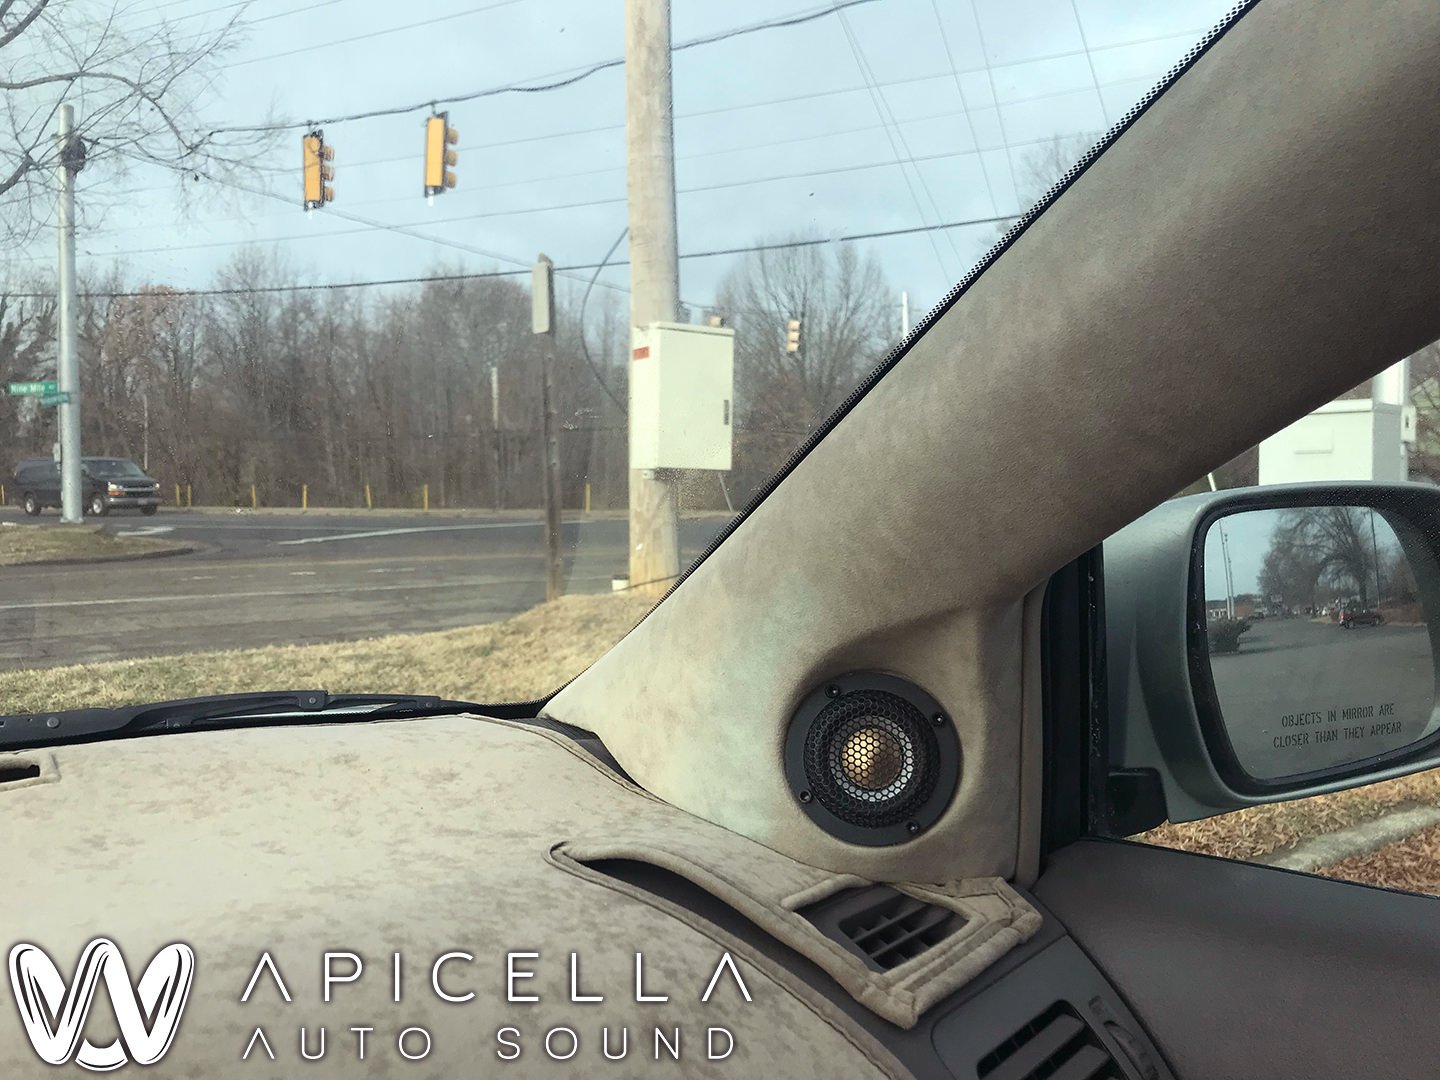
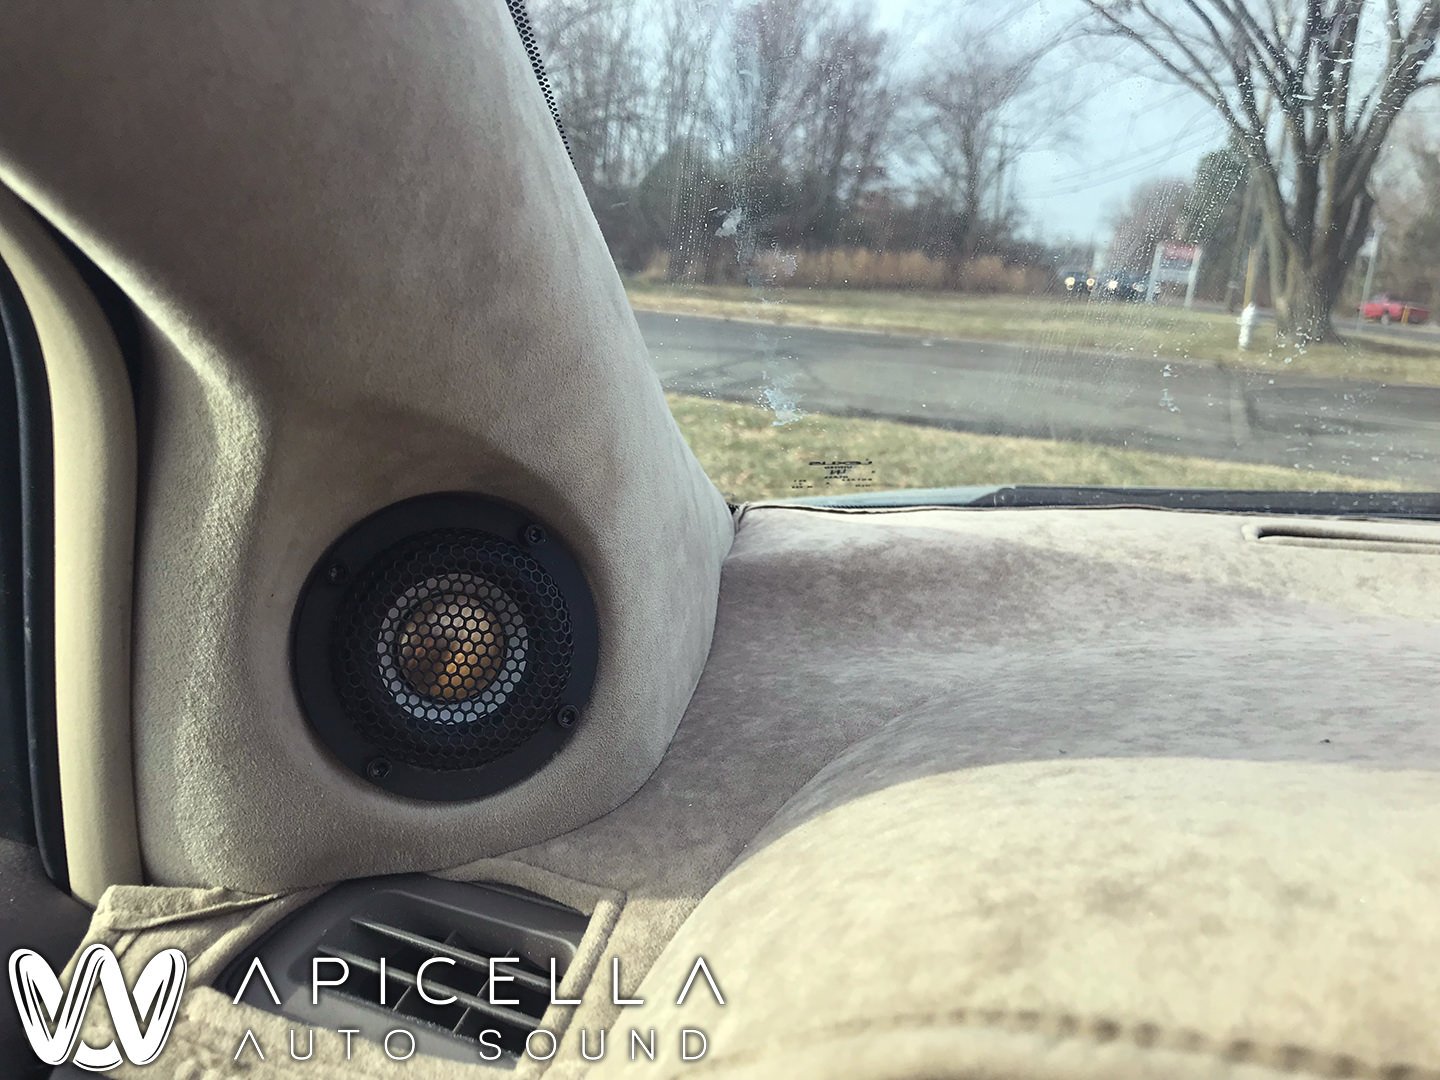
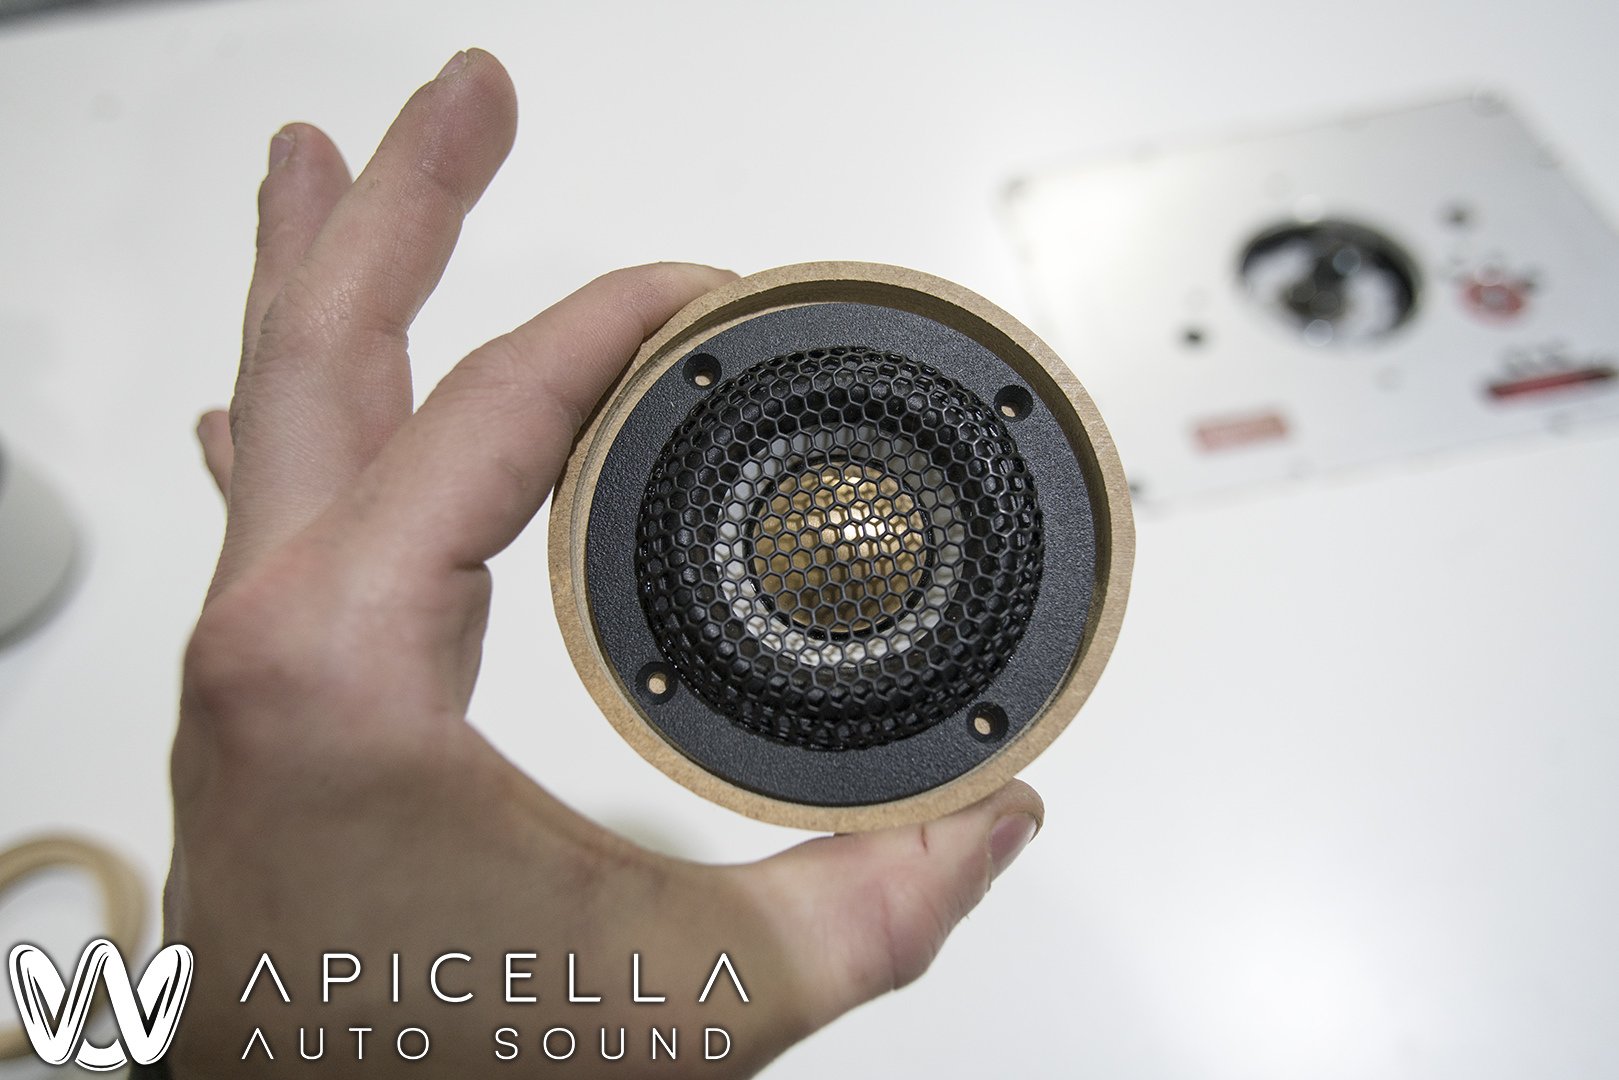
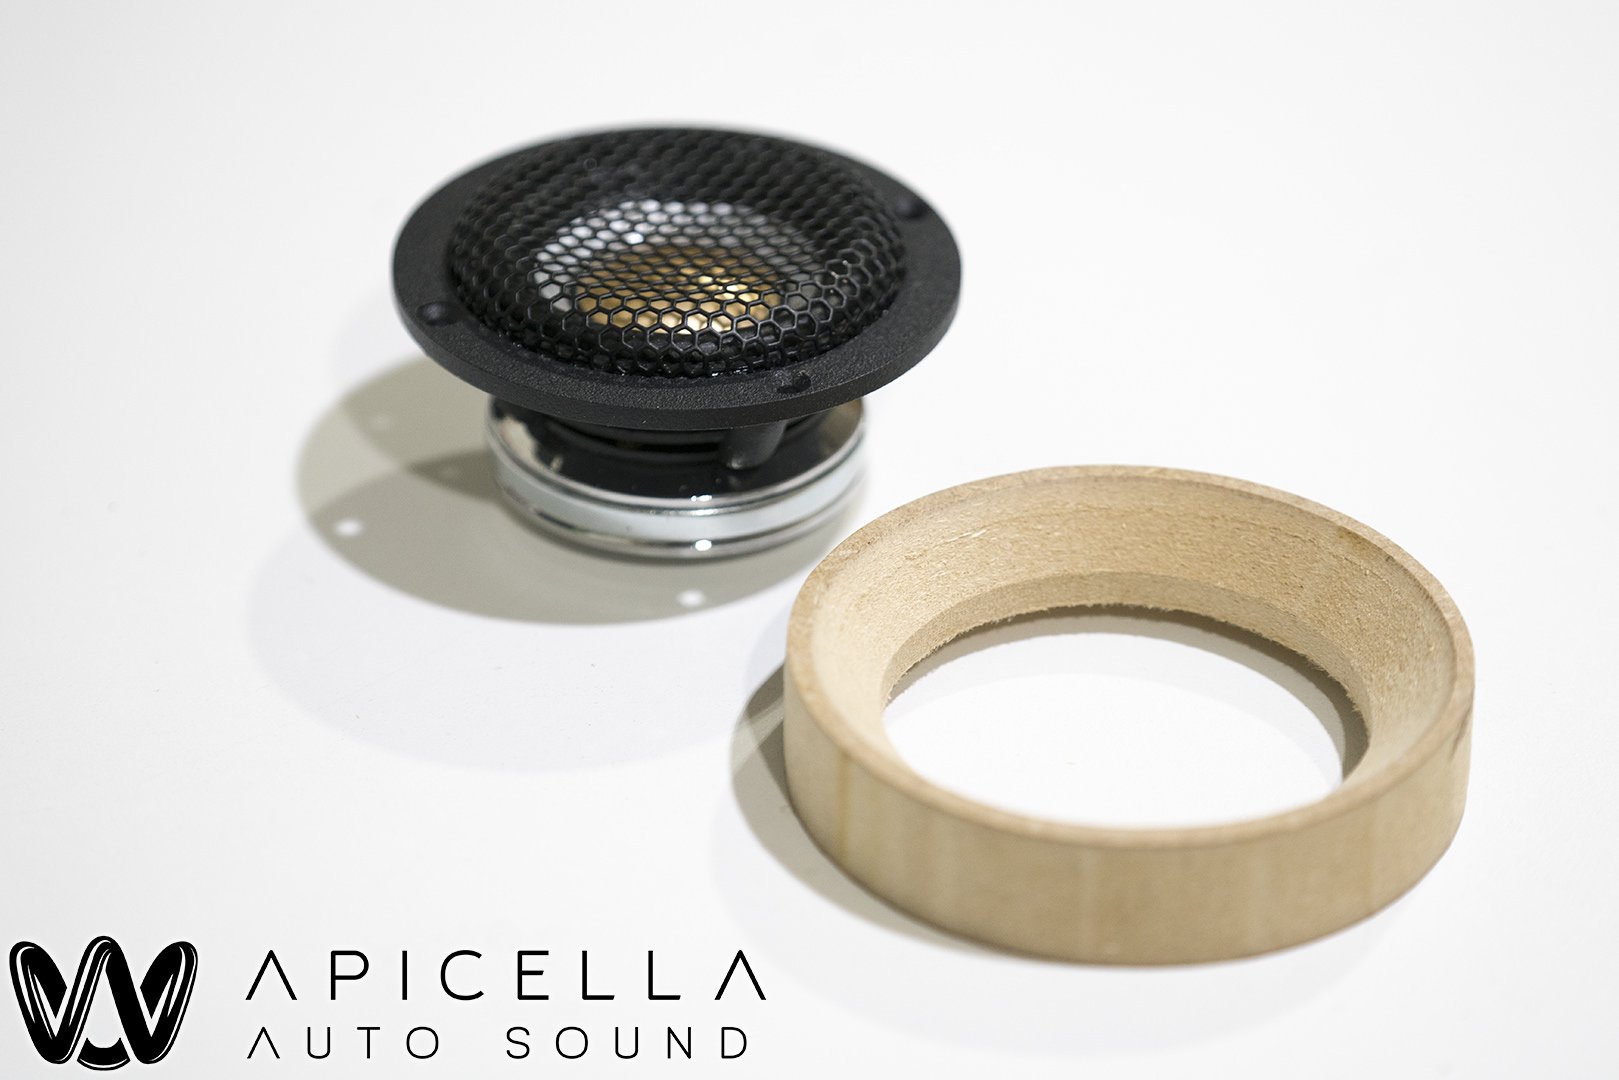
We decided on using the Audible Physics RAM 2Q as a wideband. The pillars feature fully sealed enclosures, are on axis, and are sunken in enough to qualify for street class in MECA with their new rules for 2018. They are flush mounted into the baffles and leave enough wiggle room to wrap the pillars and still have them fit nicely.
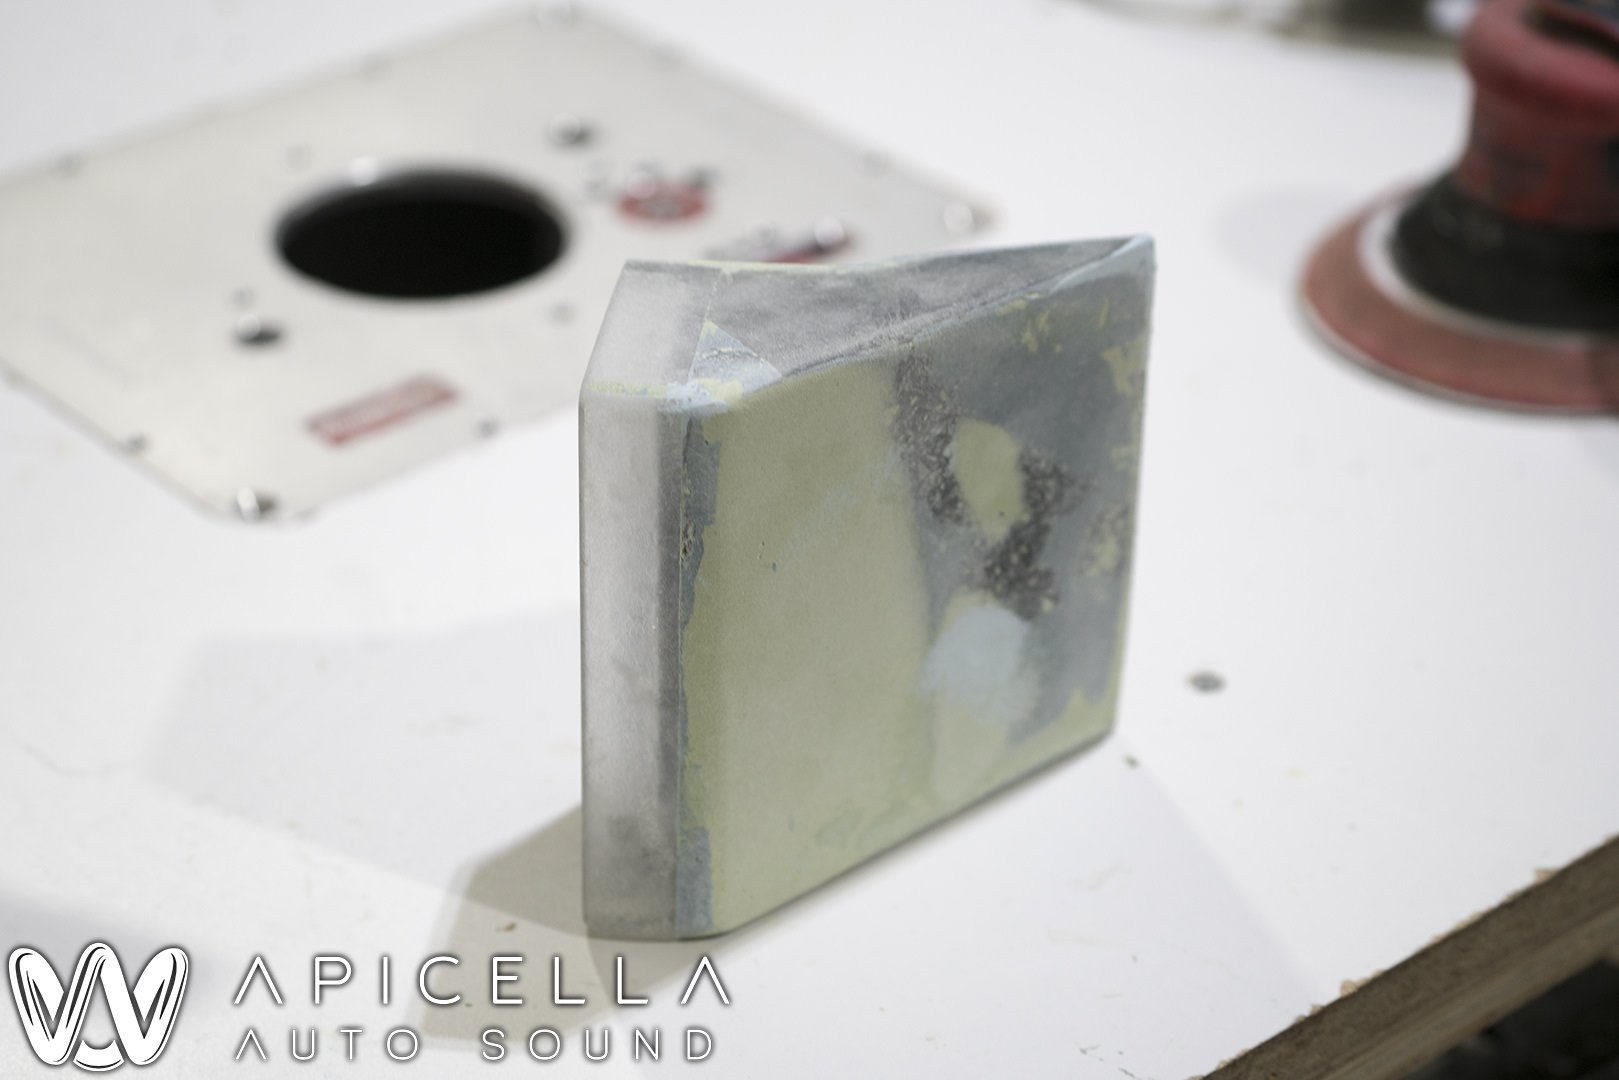
Also, the RAM 2Q and the chamfered backside of their baffle
Robert contacted me about 6 weeks ago looking to do a build in his newly acquired 2006 Lexus RX330. Over that time we went over ideas, constraints, timing, etc etc. Just before the new year he was able to drive from Richmond Virginia all the way up to New York to finally let me get my hands on it.
Over the weeks leading up, we also tossed ideas as to what equipment would be best for his goals, which were to maintain a semi-stock look while giving the best possible sound quality as he has plans on competing in the future, and not take up to much space.
The equipment we settled on were:
Pioneer 6200 (already installed)
Audible Physics Ram 2Q
Audiofrog GS690
Tang Band 2" fullrange
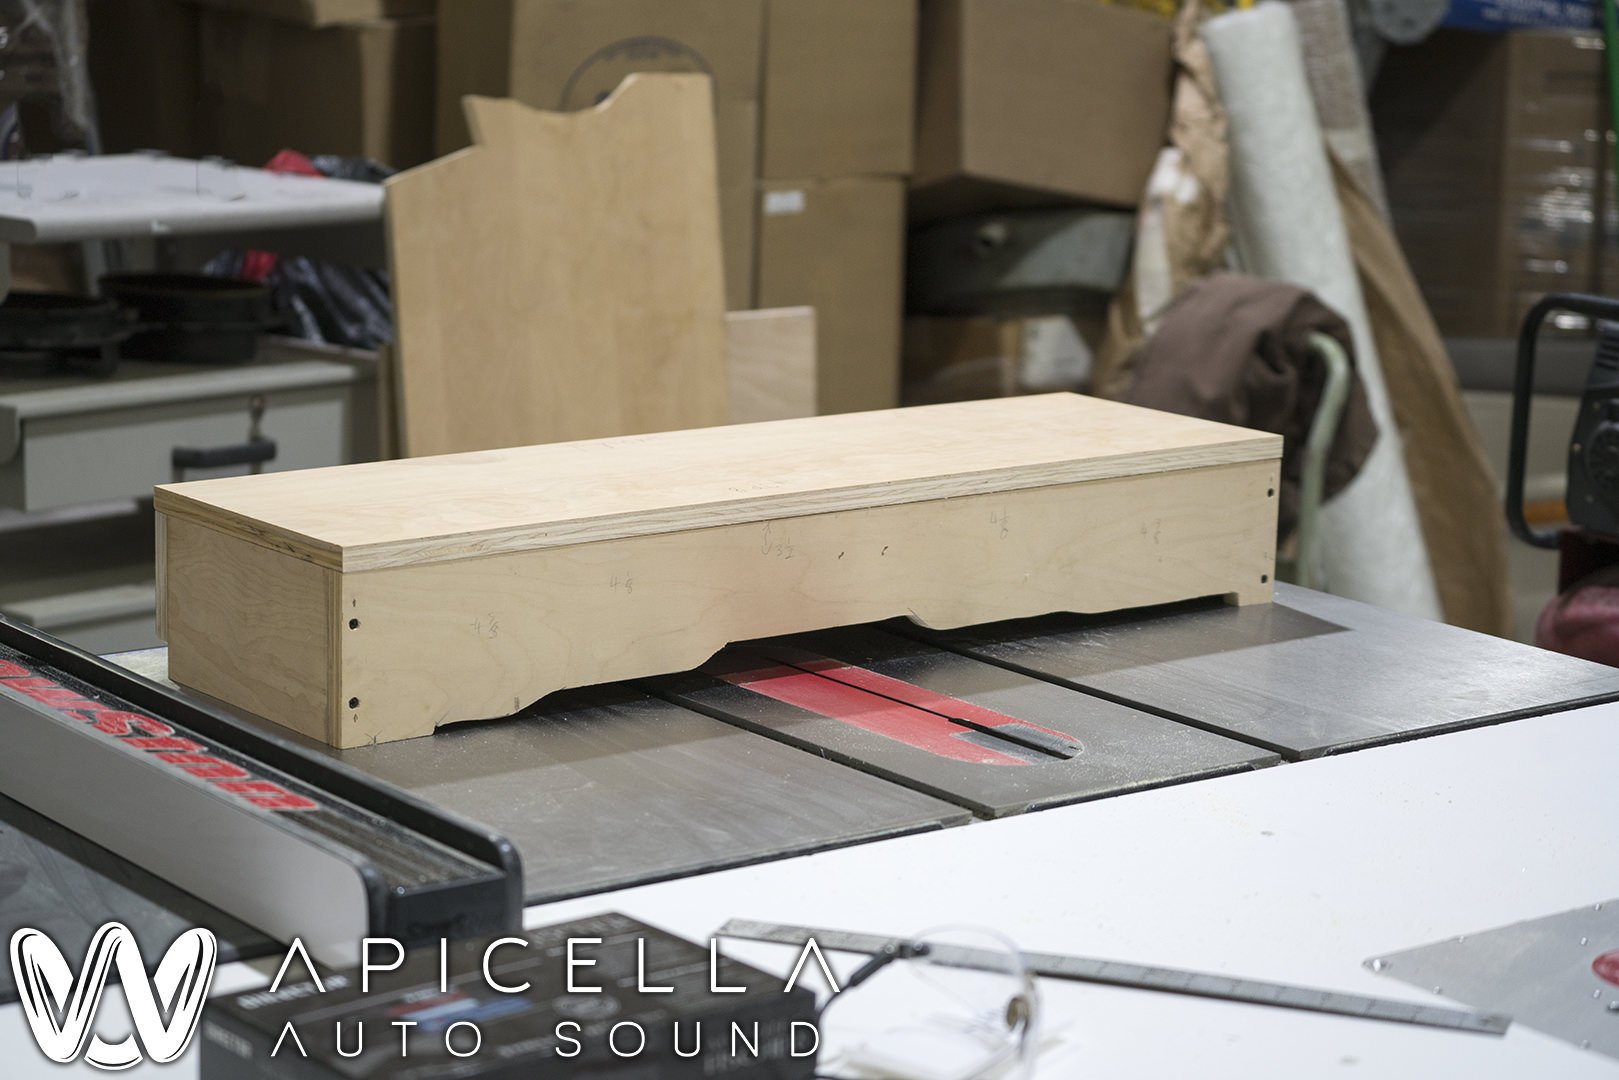
(2) Illusion Audio C10Helix Director
Helix PSIX MK2
Zapco ST-1000XMii
Before we get into things, i want to give a huge thank you to my friend Matei (who got me into this hobby) for helping me out for a few days (and kinda made himself a part time employee lol), and Kevin "Mullings" for helping out for a day. Thank you!
Another side note... apparently when you work 65 hours in 4 days, your brain goes numb to things that dont fully matter and i may have forgotten to get various finished pictures.. Robert will be sending me some soon.
Heres the main power wire fusing. 0 gauge from battery and split to the alternator and to the amps, along with the additional upgraded battery ground to the frame.
GS690 with our standard wiring practices.
Note: Audiofrog does not advise soldering to the GS series terminals due to the plastic housing. I trusted my soldering skills to get it done without any harm and succeeded. YMMV
Doors fully deadened with about 8 SDS tiles per door, holes sealed up with aluminum and deadener and GS690's installed on composite baffles that use the oem mounting locations. On top of the GS690's is closed cell foam rings to couple the airspace in front of their cone to the cabin, while isolating them from the door panel and taking the airspace behind the door panel out of the equation. Also a close up of the closed cell foam rings that i make instead of using the pre-made open cell foam ones, which defeat their own intention of sealing the airspace while decoupling the door. The door panels were also hit with deadener and were spot treated with CLD, foam, etc to prevent any rattles and resonances.
On to the A pillars, which i forgot to get finished and installed pics of //content.invisioncic.com/y282845/emoticons/frown.gif.a3531fa0534503350665a1e957861287.gif
We decided on using the Audible Physics RAM 2Q as a wideband. The pillars feature fully sealed enclosures, are on axis, and are sunken in enough to qualify for street class in MECA with their new rules for 2018. They are flush mounted into the baffles and leave enough wiggle room to wrap the pillars and still have them fit nicely.
Also, the RAM 2Q and the chamfered backside of their baffle