2012 Toyota 4Runner SQ+ build

lowcel
10+ year member

Senior VIP Member
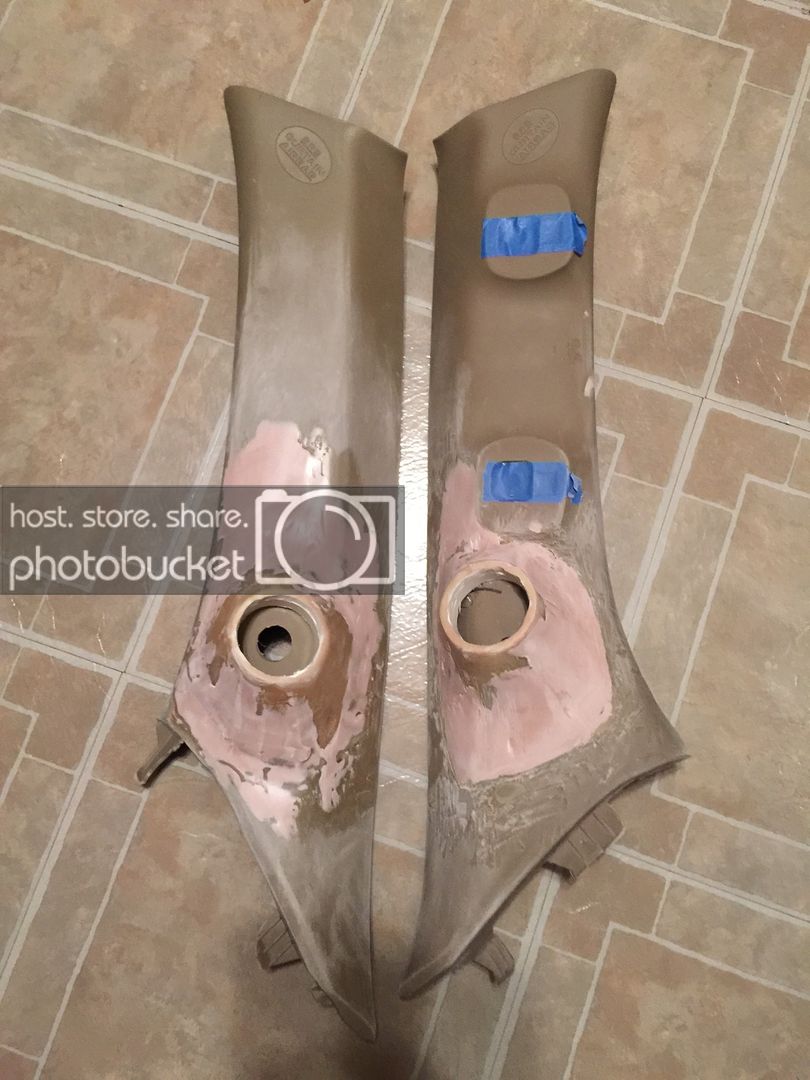
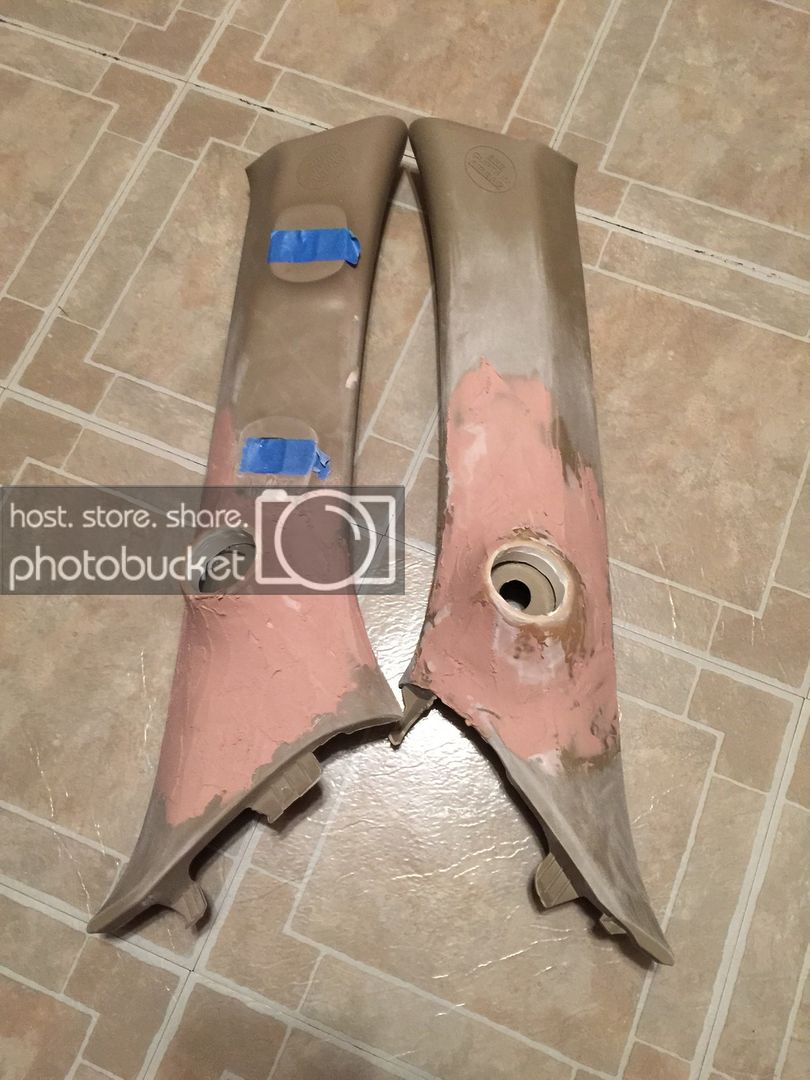
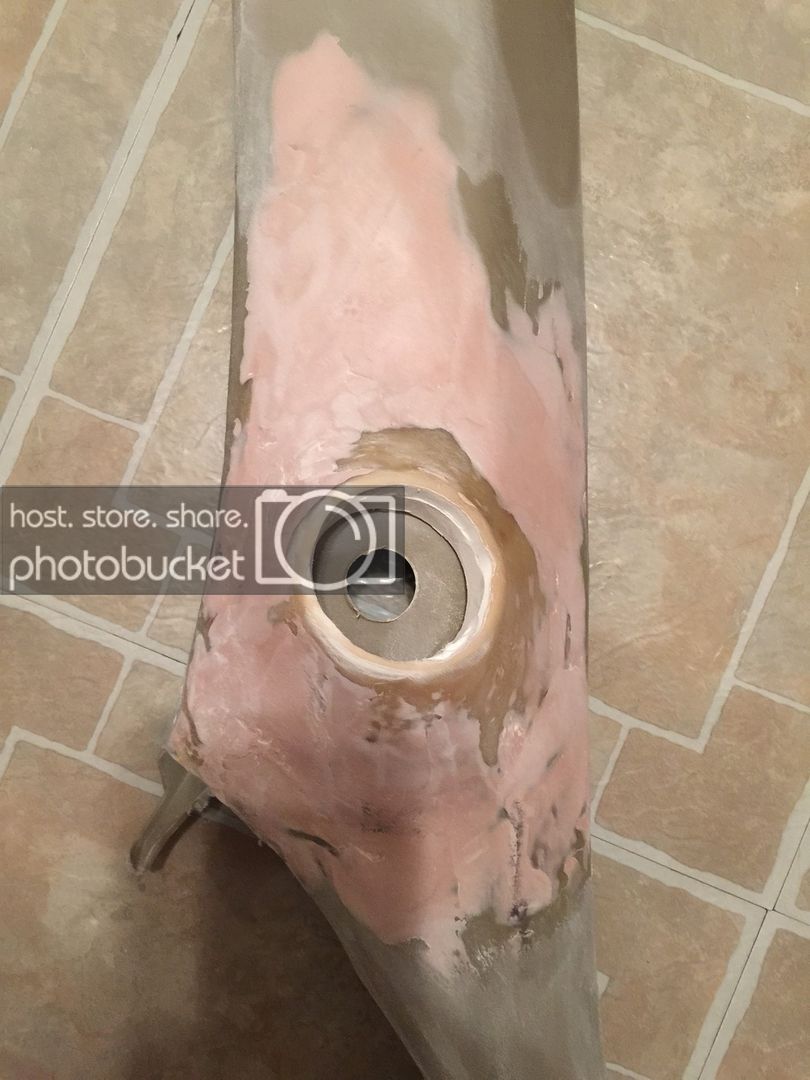
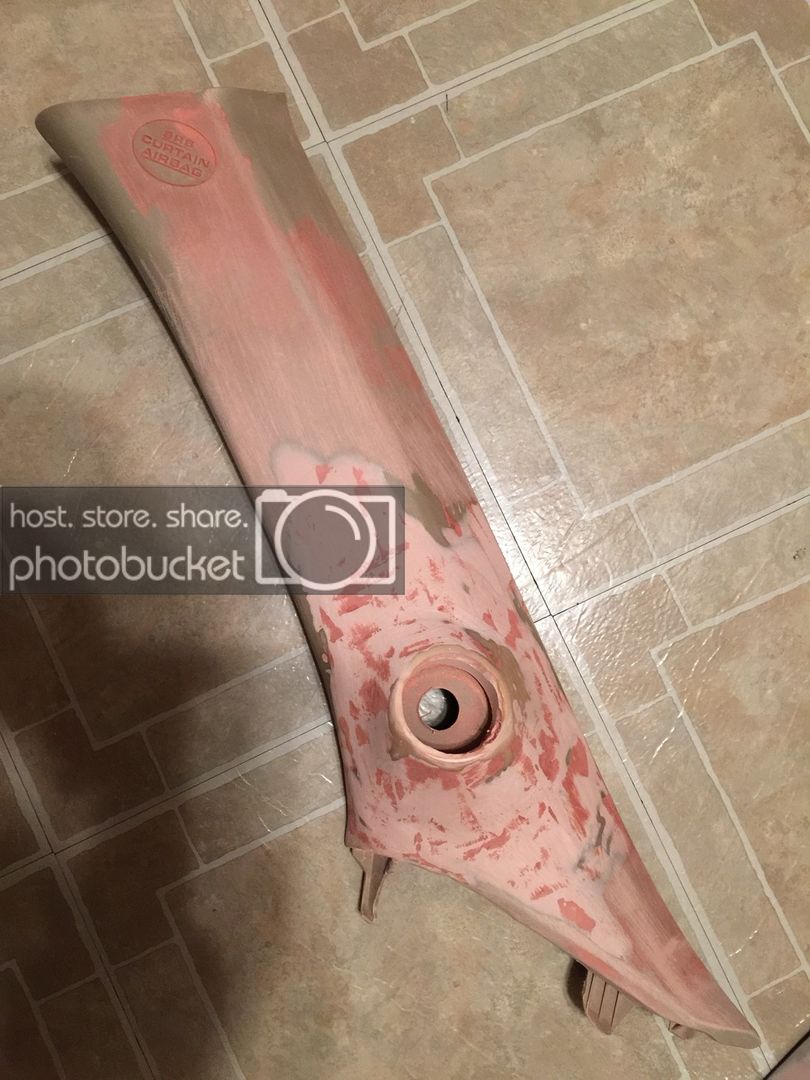
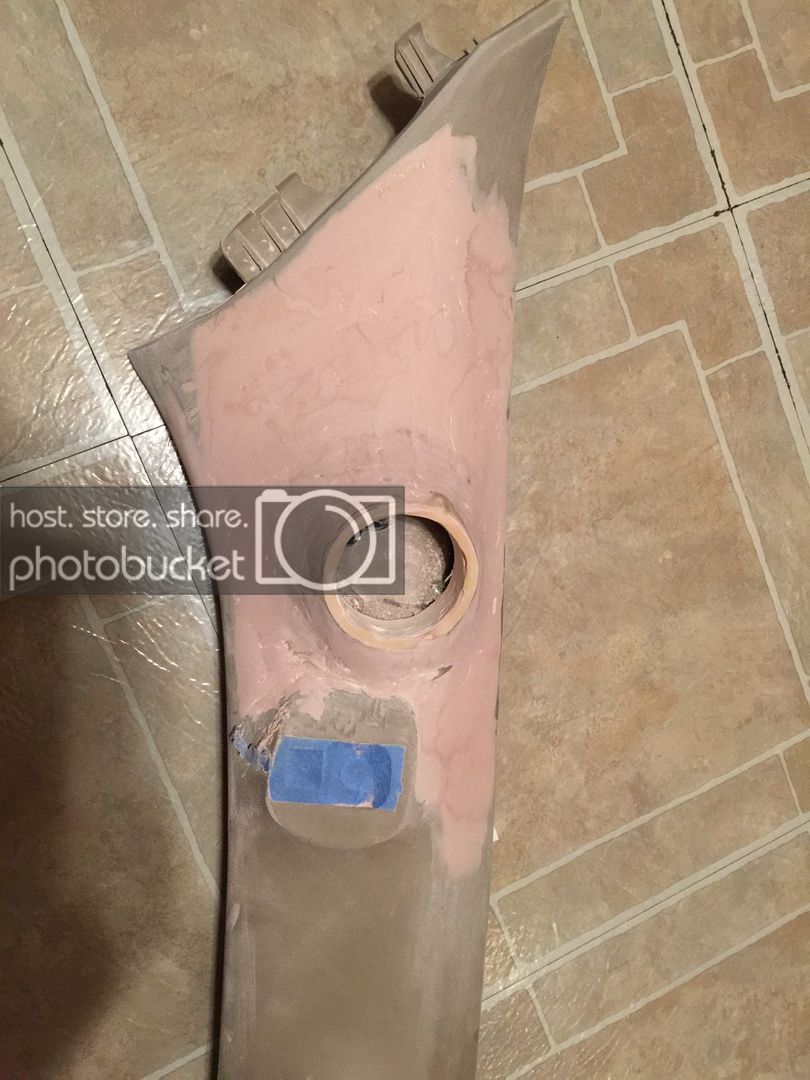
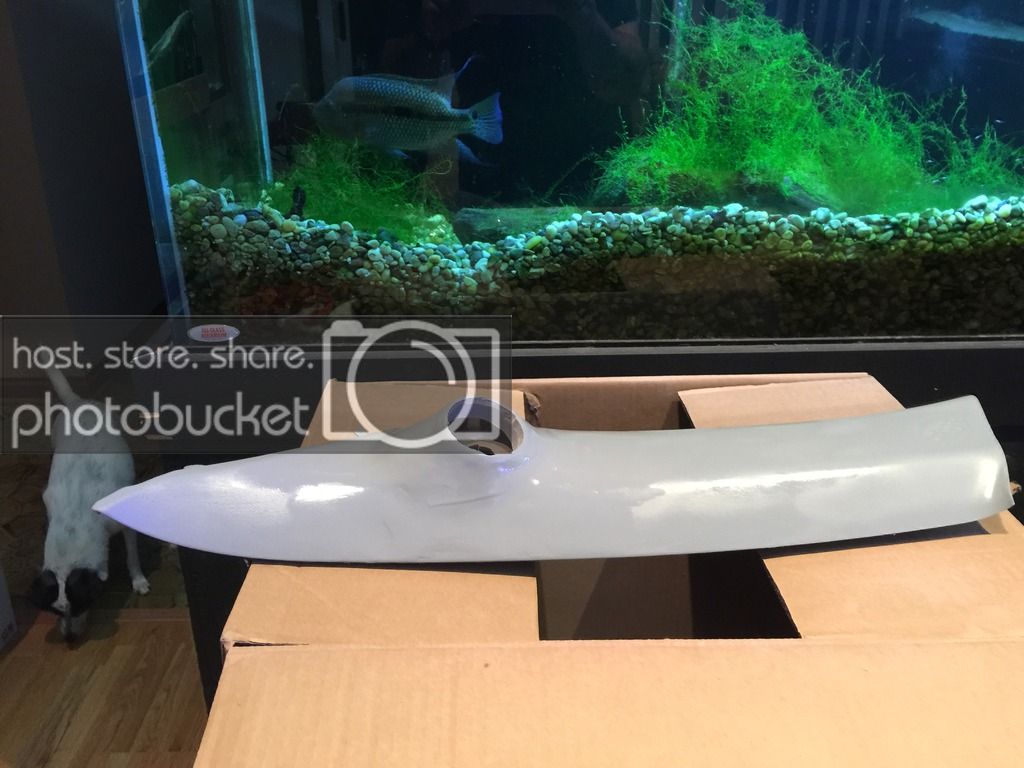
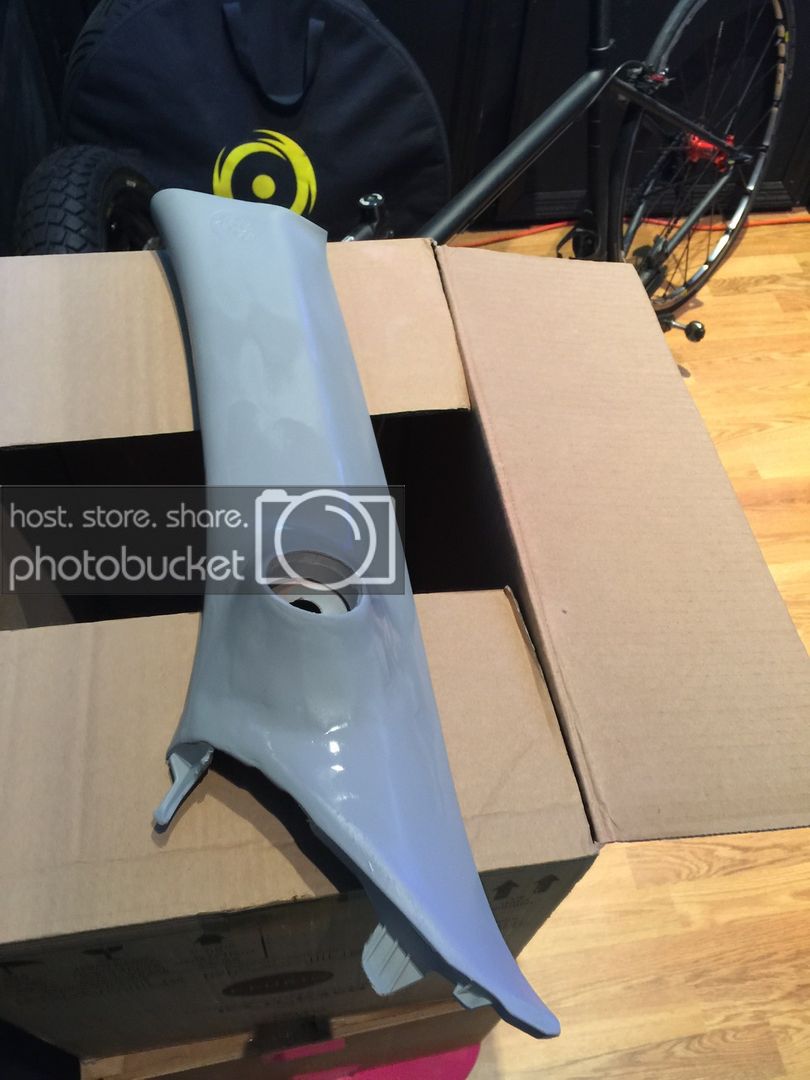
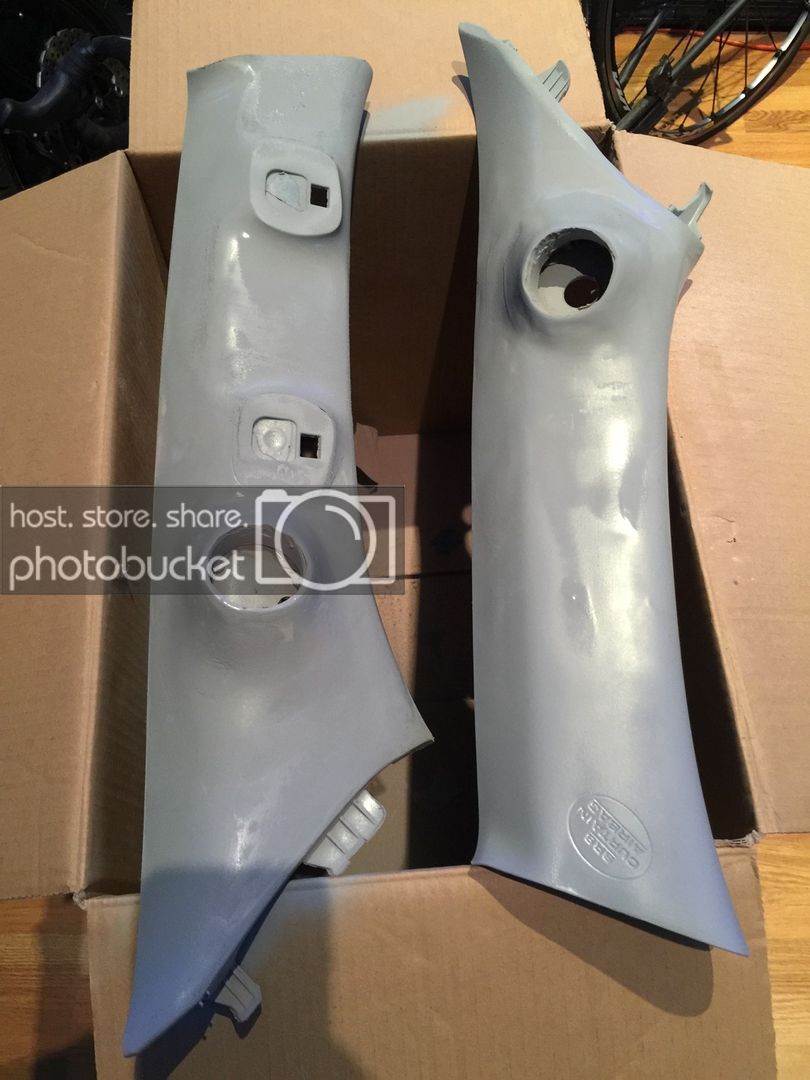
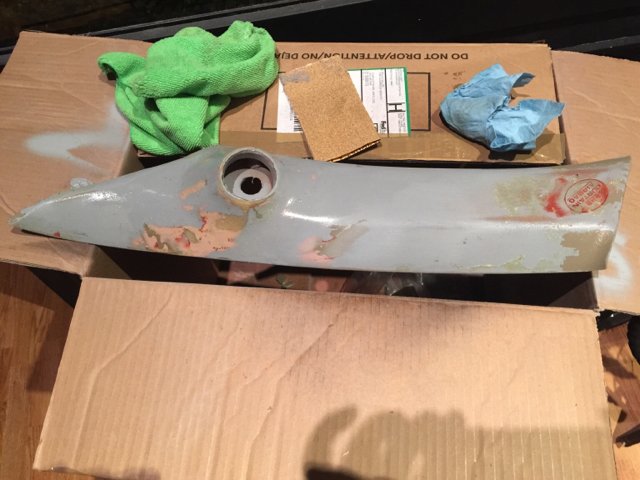
So about a year ago I installed a small system in my 4Runner and thought I would be happy with it. Unfortunately that isn't the case. I plan on taking everything out except for the head unit and starting over. I have already sound deadened the five doors. Once it warms up I plan on sound deadening the floor and other side panels. The final step will be the roof.

I plan on attending some competitions this year. I'm not using top of the line equipment but I think it will sound pretty good. Depending on how much I get into competing will determine where the build goes next.

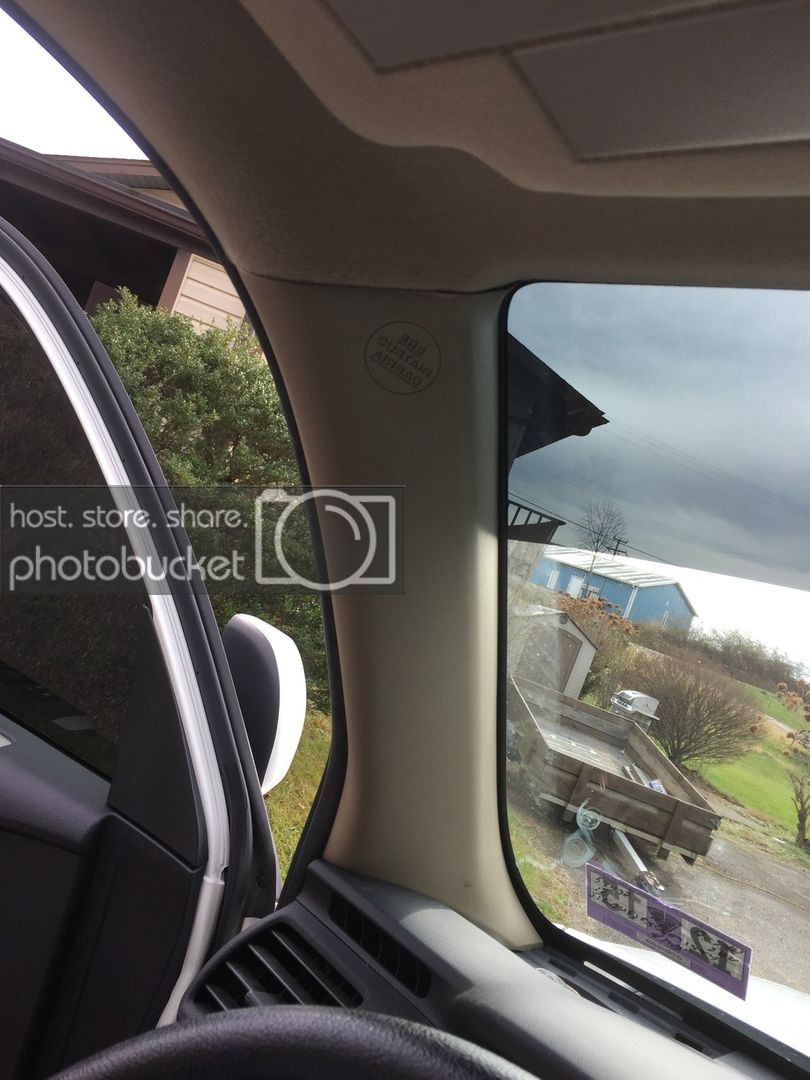
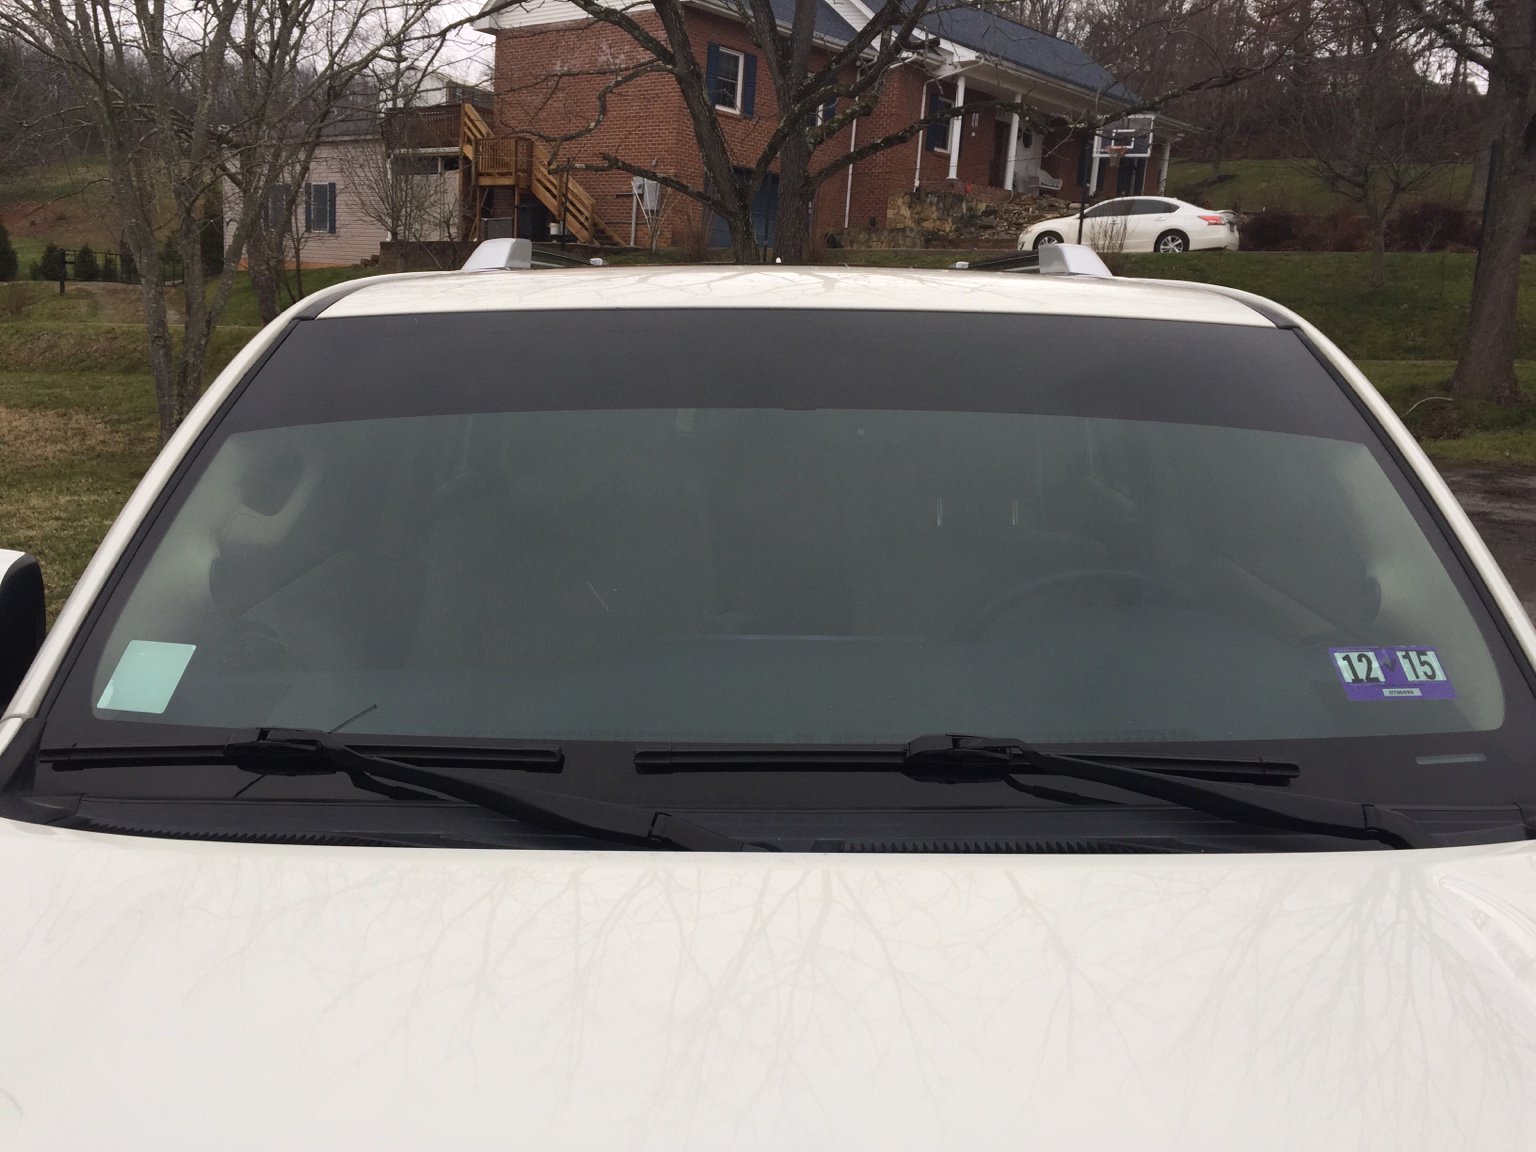
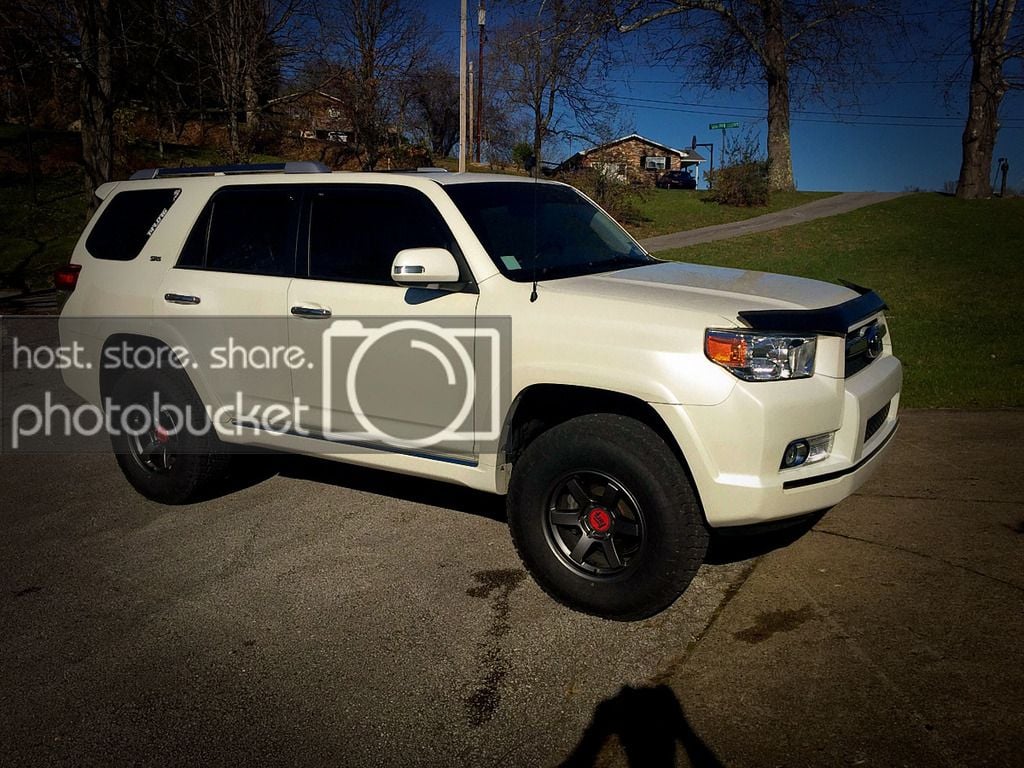
Here is the vehicle, a 2012 Toyota 4Runner with a small lift and some aftermarket wheels and tires.

IMG_8036-1_zpsywwqmlaz.jpg


The current system consists of the following:

Kenwood DDX372BT head unit with a Pioneer ND-BC6 camera

AudioControl EQL equalizer

MB Quart RA1000.4 amp

RE Audio SEX12v2 sub in a prebuilt ported enclosure

Alpine SPR-60C 6 1/2 components

The new system is going to consist of:

Kenwood DDX372BT head unit with Pioneer camera
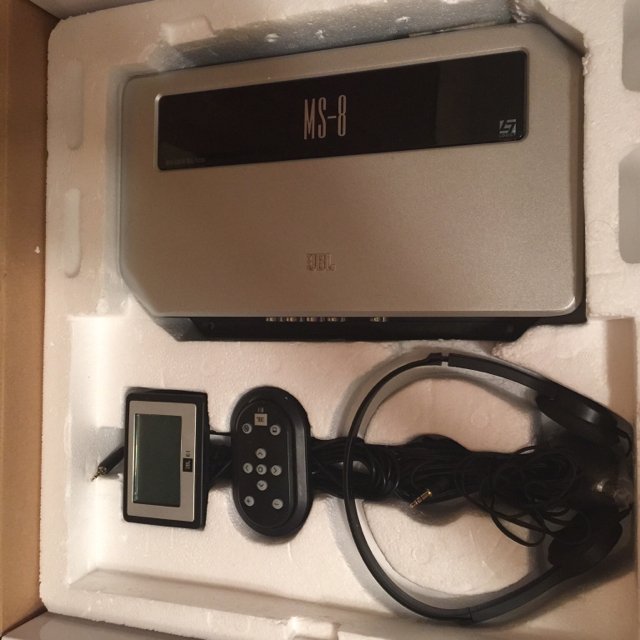
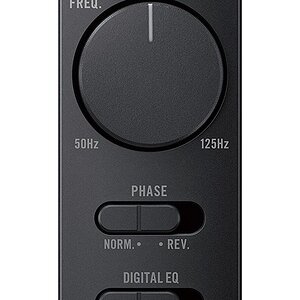
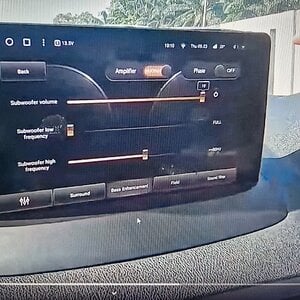
JBL MS-8 DSP

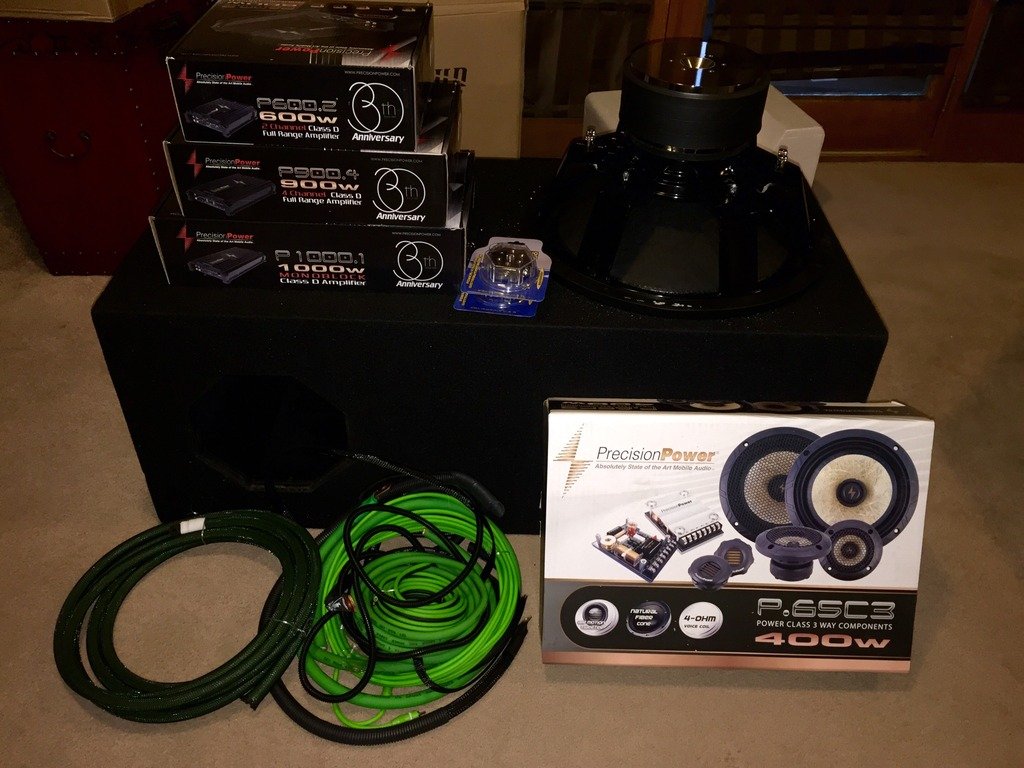
Precision Power P1000.1 amp

Precision Power P600.2 amp

Precision Power P900.4 amp

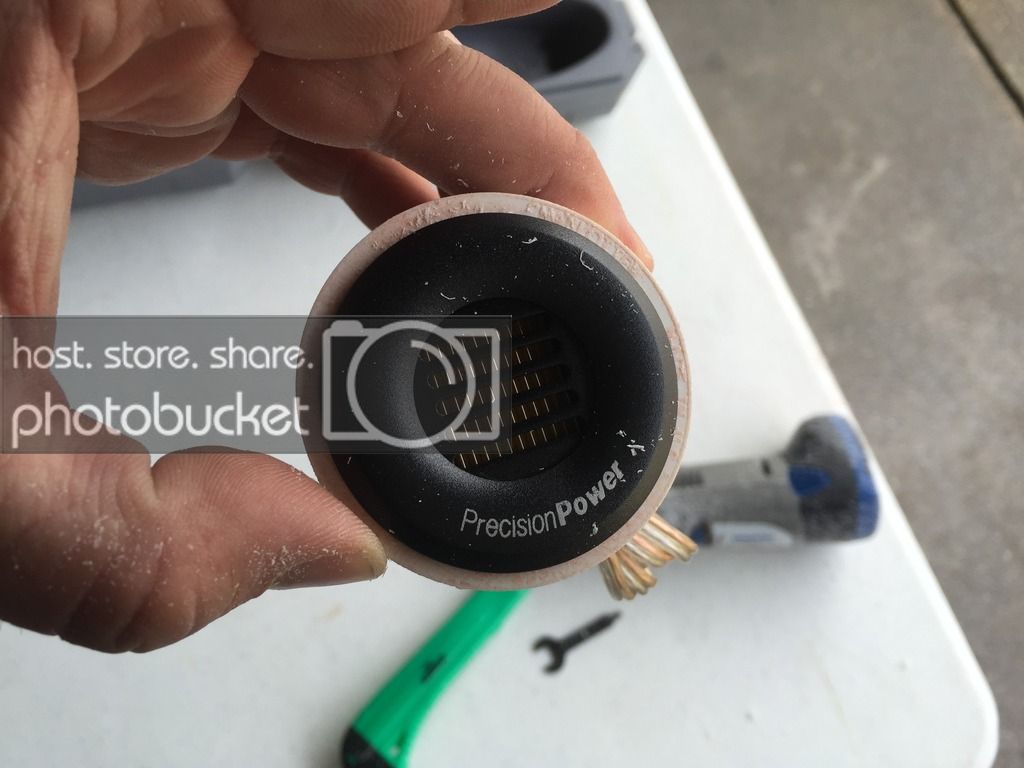
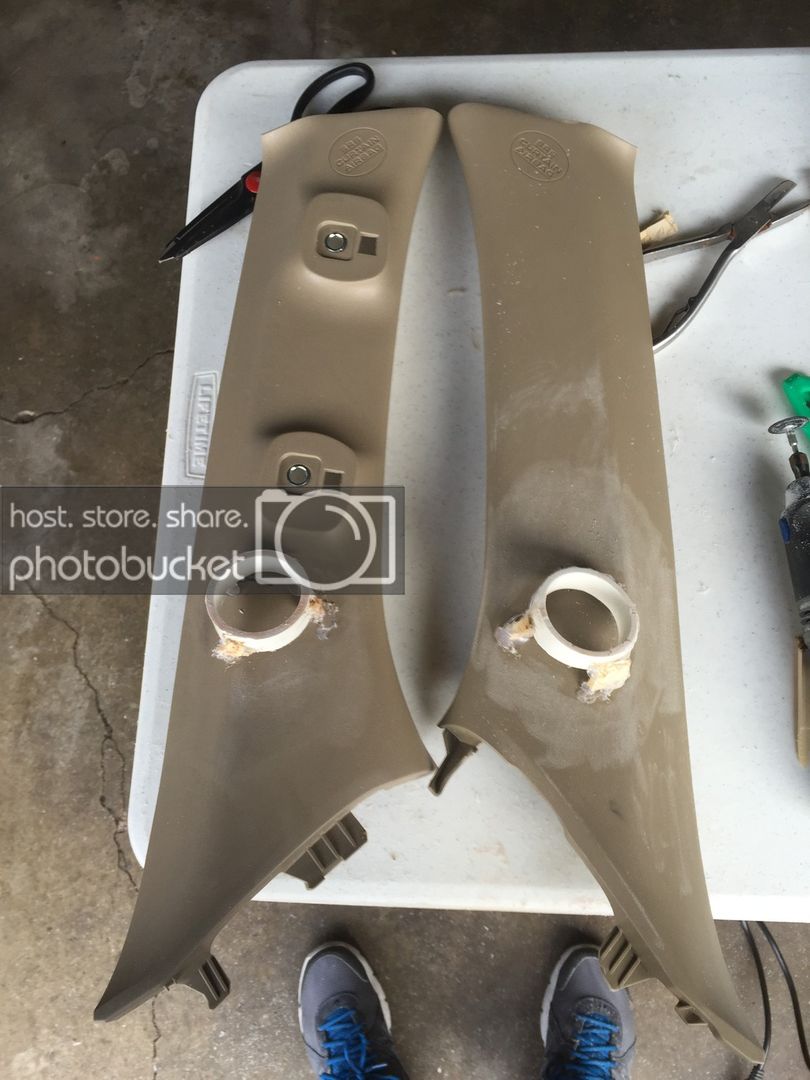
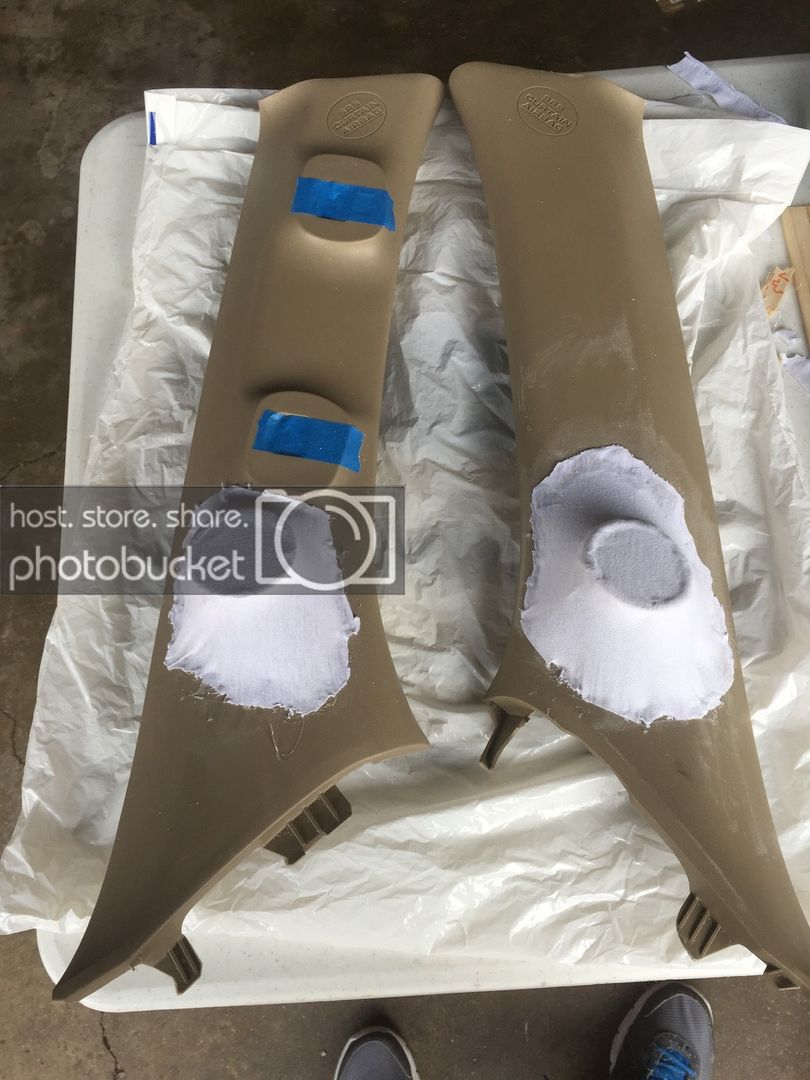
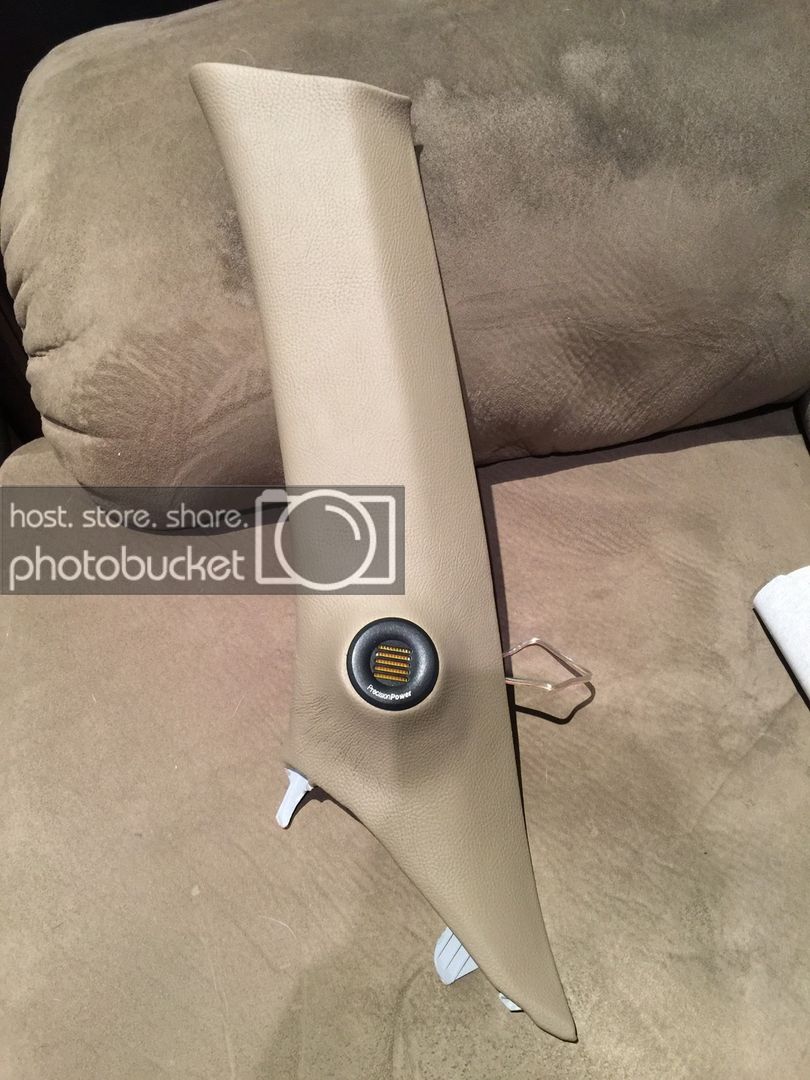
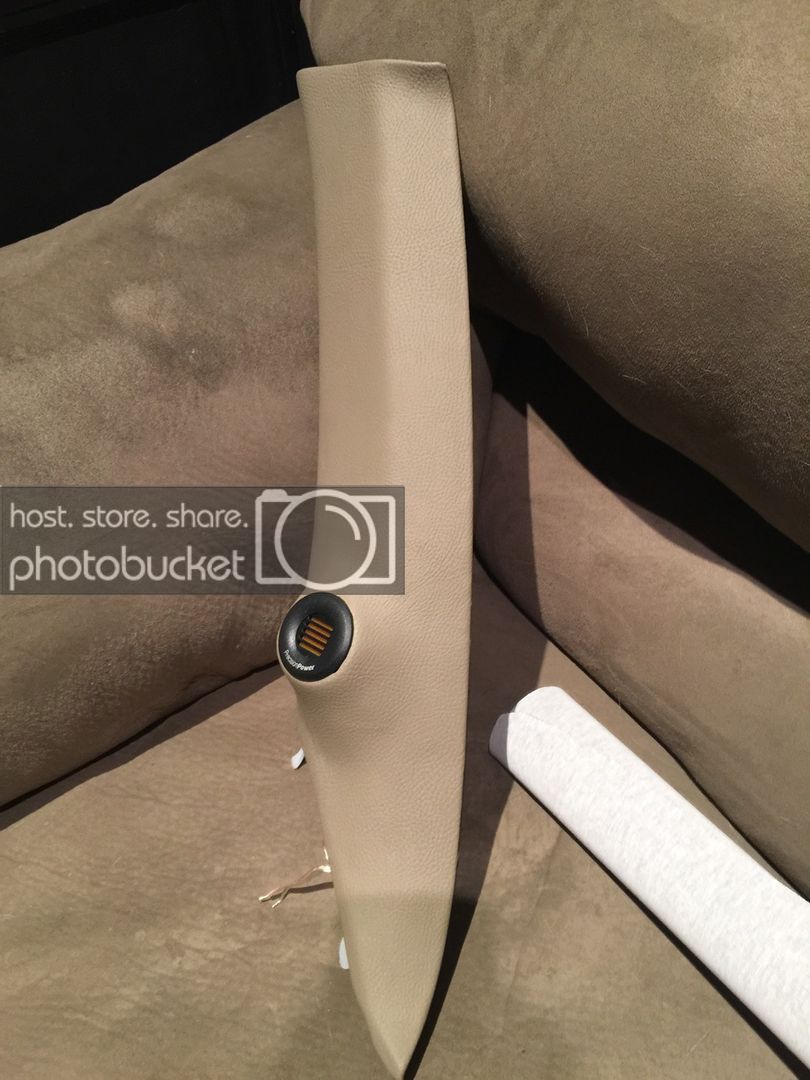
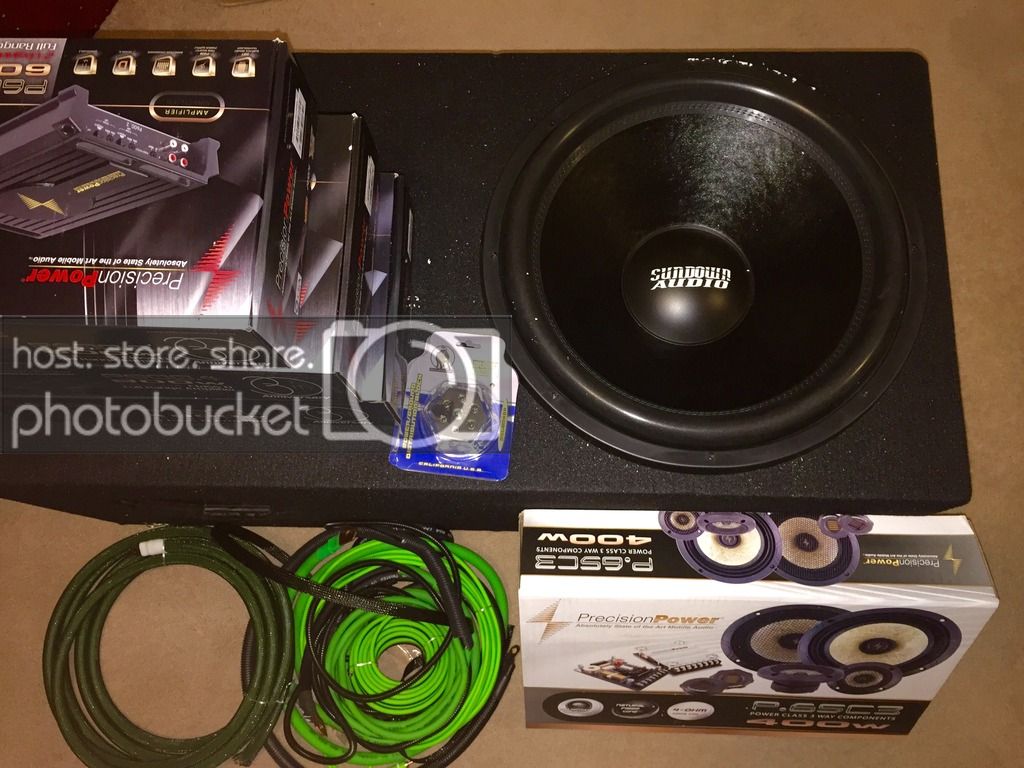
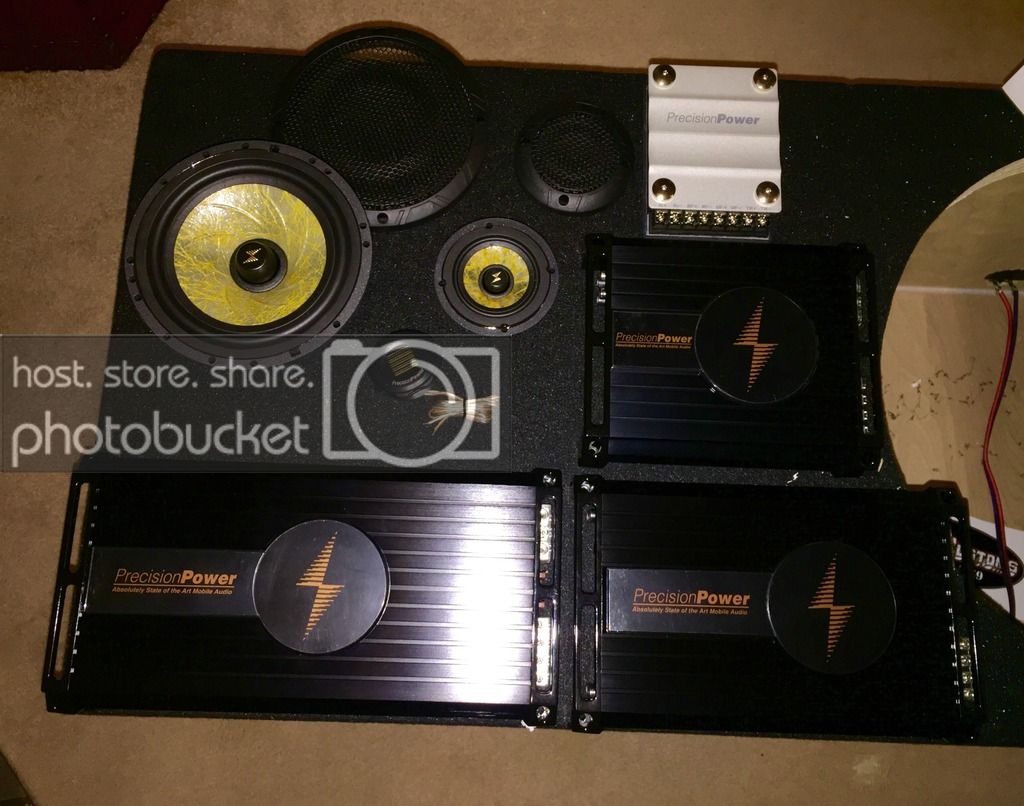
Precision Power P65c3 component set

Sundown SA18 sub in a CSCStang custom enclosure edit - Switching to three JL Audio 12W3's in a sealed enclosure.

Wiring is going to be a mix of Sky High and Soundqubed.

edit - I've decided to run rear fill so I placed an order for a pair of PPI P.652 6-1/2" coax's for the rear doors. I will power them off of the JBL MS-8's internal amp.

83BF740D-0911-4688-94A1-332038AF5C0F_zpsqo3rmz4l.jpg


5882DF07-F551-4766-9222-D47385EBADB4_zpsx2npetei.jpg


B3E28EE4-F8EE-474B-A146-0ACE95CEB19E_zpsvp28zfqg.jpg


Last edited by a moderator:
I started the install today. It was a nice day so I wanted to take advantage of it. The first job is fiberglass a-pillars to house the tweeters. I plan on competing in the IASCA rookie class and the MECA street class. Both of these classes require all front speakers to be in factory locations with the exceptions of the tweeters.

This is my first time doing this so bare with me. I'm sure I will make some mistakes but as long as I learn from them that's okay.

Factory pillars.

09BB49C9-FA00-427D-9F99-20CDE4970749_zpsywtd3apm.jpg


I went to Home Depot and found some 1-1/2 pvc couplings that the tweeters fit perfectly inside. I trimmed them down to the depth of the tweeter.

25C6C3C8-F313-4AEB-84C1-ED4C07671D20_zpsjp4hn4xo.jpg


I used small pieces of wood and hot glue to hold the mounts in place.

BD74F4A1-0429-4D95-988E-9A951C2A795C_zpstwaex5lc.jpg


I next wrapped pieces of an old t-shirt and glued it down with hot glue.

1EFAC7CF-50EC-4CA2-9F6B-3F33CED74586_zpsknm3iqo9.jpg


After that I put two coats of fiberglass on them. They are now drying. I'm hoping to get some time to sand them and apply some bondo tomorrow. I don't have a garage so I am limited on when I get to work on the install.

E21CF7FD-BF54-416F-AD4F-ABDDB6C1687C_zpsr4gjkhyt.jpg


I was able to get some more work done to the pillars today.

First step, drilled some holes to give the fiberglass something to hold onto a little better. I should have done this at the beginning but I didn't know. I then added one last layer of fiberglass resin. Like I said before, this is a learning experience.

D81A2345-A478-4B20-B8F9-FDC8B44AFB6E_zpsnewujxdw.jpg


Next step, bondo! This is after sanding the first coat.

7CC10E31-CF37-4C02-93AF-C862231E07B2_zpsbki2kx7m.jpg


This is after adding the second coat. Unfortunately that is all for today since it is now dark and I don't have a garage.

1450E694-EBB8-4A2F-BF20-B331E99DA6A5_zpsdbnpxzxg.jpg


Small change of plans, I have decided to sell the 18" sub and enclosure and go a different route. I just placed an order for three JL Audio 12w3v3 4 ohm subs. I will be putting them in a sealed enclosure.

Anyway, today I managed to freeze my *** off while sanding the pillars with the last few minutes of daylight I'll see for the next few days.

Here is the passenger side, it still has a ways to go but I'm happy with how it is looking so far.

01C27092-096B-4FB7-9844-1224CC9D484D_zpsm701v3ns.jpg


Here is the driver's side.

2FB2F306-6F19-4C1A-B567-D47624D491A8_zps7trxv78p.jpg


I didn't get a chance to work on anything yesterday but I did manage to sell the Sundown SA18 sub and I opened up the MS-8 to check it out. So pretty...

c0f99525dd96398e9db893629717ea50.jpg


I know my updates are boring but I'm doing them anyway. //content.invisioncic.com/y282845/emoticons/biggrin.gif.d71a5d36fcbab170f2364c9f2e3946cb.gif

Spent another hour or two working on the pillars, mostly sanding. I have the driver's side ready for primer and some final sanding. The passenger pillar has a little more work to do.

D5C440BB-A09A-45B7-8F9B-3B9D122ACBB7_zpsfuav8nn8.jpg


B0BCD7E1-736E-4DA2-886A-0A7BDE517195_zps33dkivgz.jpg


They are getting a little closer every day. I placed the order for vinyl today, it will arrive tomorrow. I really hope it matches up.

I primered the pillars today, it really shows the problem areas. Hopefully I'll finish them up tomorrow and try my hand at wrapping them tomorrow or Saturday.

44870A34-6E22-4AF1-8D03-B8F4549F00DE_zps2u4vbral.jpg


95DD0A75-264A-43A6-9987-B19E270A62E9_zpstnfrisie.jpg


B8E14F06-B203-4B42-A362-0188DE4C9581_zpsnxmmenom.jpg


I know you are probably tired of seeing pictures of a-pillars but guess what, I posting more pictures of a-pillars.

The driver's side is done. I got a couple of stretch marks but I think I learned a little something from my mistakes. Hopefully the passenger side comes out a little better.

D3D491C4-B0F0-4021-9063-08FEEE74C78B_zpstcs32qer.jpg


BE33867D-1835-454A-886A-2C6FDC7C499F_zpsaxmrbooc.jpg


8C5955E1-89CA-436D-B81A-61906E0056E1_zpsyarea8qz.jpg


Passenger side is installed. They aren't perfect but I will live with them for a while. The tweeter isn't hooked up yet and won't be for a couple of weeks.

F39E48B2-747E-4012-AD7F-94275CF67F4C_zpsxpfhmv7y.jpg


7827C95F-DA76-4D7D-980F-8ACAE60D0EC8_zpsueopvqfz.jpg


F5545581-EDBF-4B5D-BE66-A374FC7CB17A_zpsyai5owhp.jpg


Activity
No one is currently typing a reply...
Old Thread: Please note, there have been no replies in this thread for over 3 years!
Content in this thread may no longer be relevant.
Perhaps it would be better to start a new thread instead.

Similar threads

Disconnect the RCA's or hi-level input to the JBl amp. turn the system on, If the noise continues, it's a ground or noise issue with the amp.If it...
1
431
Thanks for the link to this video, I've seen this one before but it's not for component speakers which is what I'm going to install and the part...
4
536
Try crutchfield.com and use the application that gives you replacement options for system components. I ripped out the entire system in my Mustang...
2
927
It is in eBay. It is a bit more complicated. You clip off the gray blocks on your radio's harness and splice in the new harness by color matching...
7
1K
Nice, much better looking version Ford than its American counterpart. Go down to the local stereo shop and tell them you want to the work yourself...
1
982

About this thread

lowcel

10+ year member
Senior VIP Member
Thread starter
lowcel
Joined
Location
Charleston, WV
Start date
Participants
Who Replied
Replies
169
Views
22,709
Last reply date
Last reply from
Bacovish
Subwoofer remote.jpg

MrG

    Apr 18, 2024
  • 0
  • 0
20240416_012638.jpg

MrG

    Apr 18, 2024
  • 0
  • 0

Latest topics

Top