Okay well I had this thread on another forum and had always intended to bring it here to but forgot. So I'm gonna picture dump all the pictures I have now and update as I go.
*
Since Ive joined this forum ive been fasinated with all the great build logs on here. You might see alot of things in my build that look some what similar as this is my first big build so im just trying what i have seen done. This will be a budget build, It will be a long going build as i will buy everything piece by piece. Im always working on something car audio related so there will be tons of pictures.
*
*
Current Equipment:
Head Unit- Pioneer touch screen navi
Components- kicker
Wire- 1/0 Knukonceptz with BIG 3
Sub amp- Soundstream Ta1.3000d
Components amp- NONE
Subs- (x2) Alpine Type R 15's
*
*
Planned Equipment:
Head Unit- Pioneer AppRadio 3
Components- Soundstream
Wire- x2 runs 2/0 welding cable
Sub amp- Soundstream Ta1.3000d
Components Amp- Soundstream Ta4.720
Subs- (x4) Sundown E Series 15's
*
*
*
*
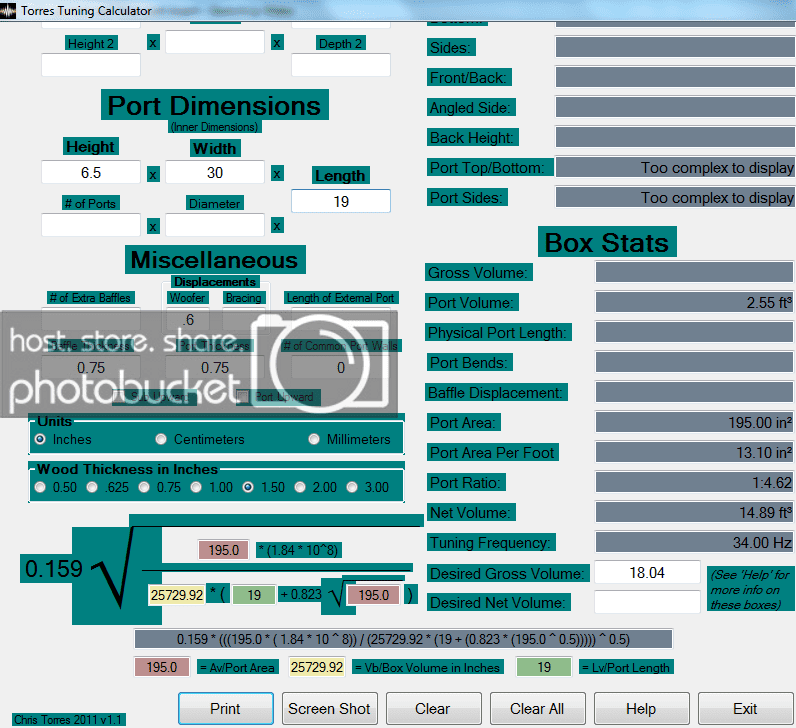
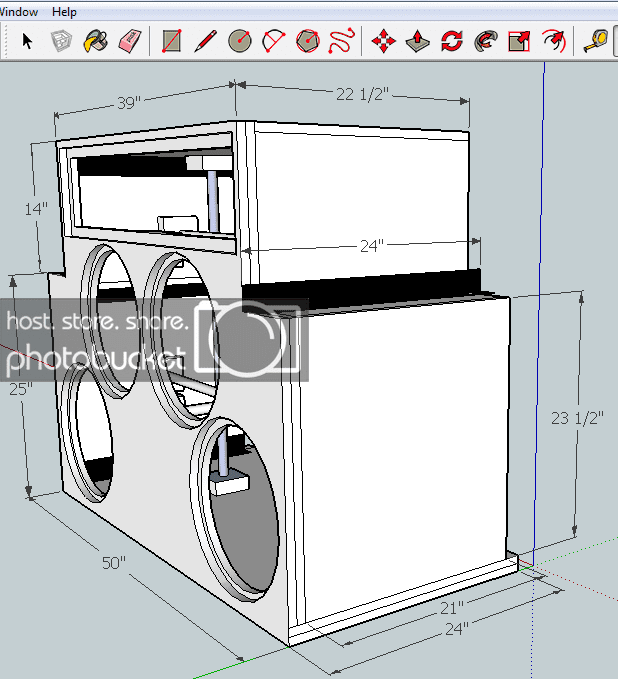
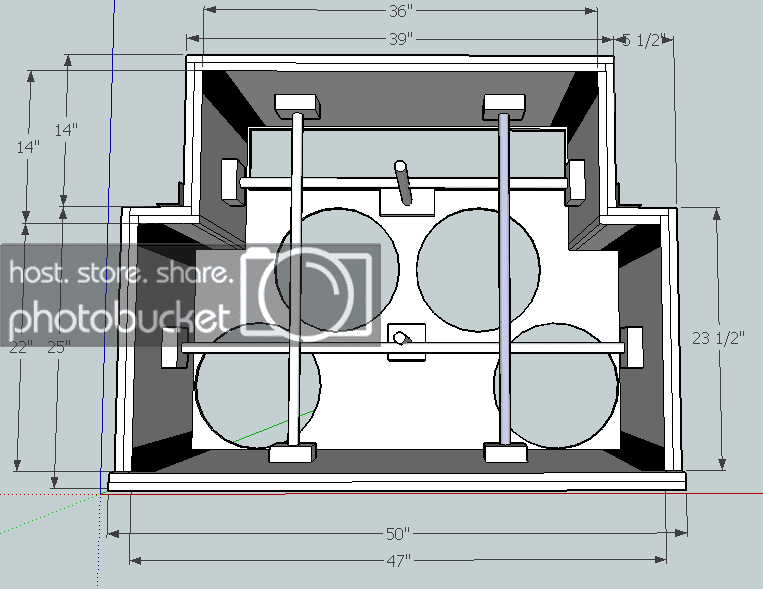
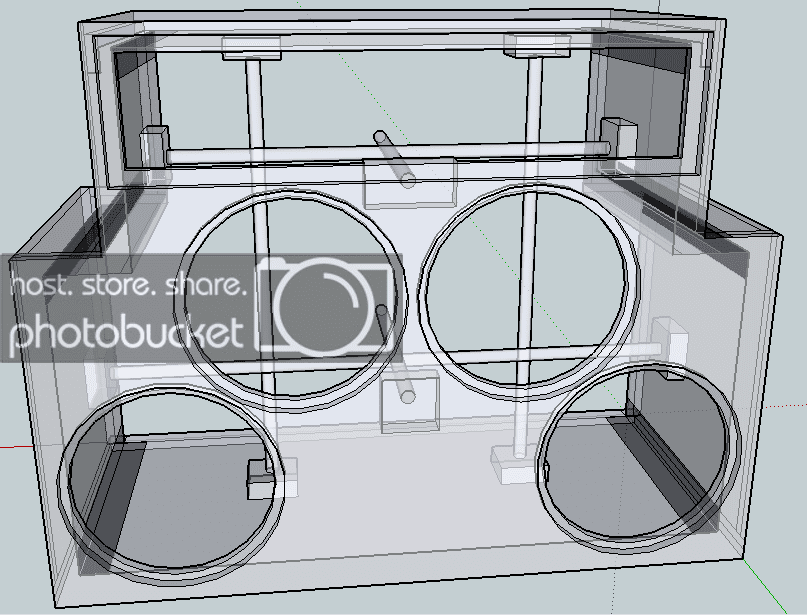
Went back and forth between designs for this box. Its going to be a "C" pillar wall. I finally decided on a design. here it is.
*
04 Toyota Seqioua Budget Wall 4 SUNDOWN E15's
*
Since Ive joined this forum ive been fasinated with all the great build logs on here. You might see alot of things in my build that look some what similar as this is my first big build so im just trying what i have seen done. This will be a budget build, It will be a long going build as i will buy everything piece by piece. Im always working on something car audio related so there will be tons of pictures.
*
*
Current Equipment:
Head Unit- Pioneer touch screen navi
Components- kicker
Wire- 1/0 Knukonceptz with BIG 3
Sub amp- Soundstream Ta1.3000d
Components amp- NONE
Subs- (x2) Alpine Type R 15's
*
*
Planned Equipment:
Head Unit- Pioneer AppRadio 3
Components- Soundstream
Wire- x2 runs 2/0 welding cable
Sub amp- Soundstream Ta1.3000d
Components Amp- Soundstream Ta4.720
Subs- (x4) Sundown E Series 15's
*
*
*
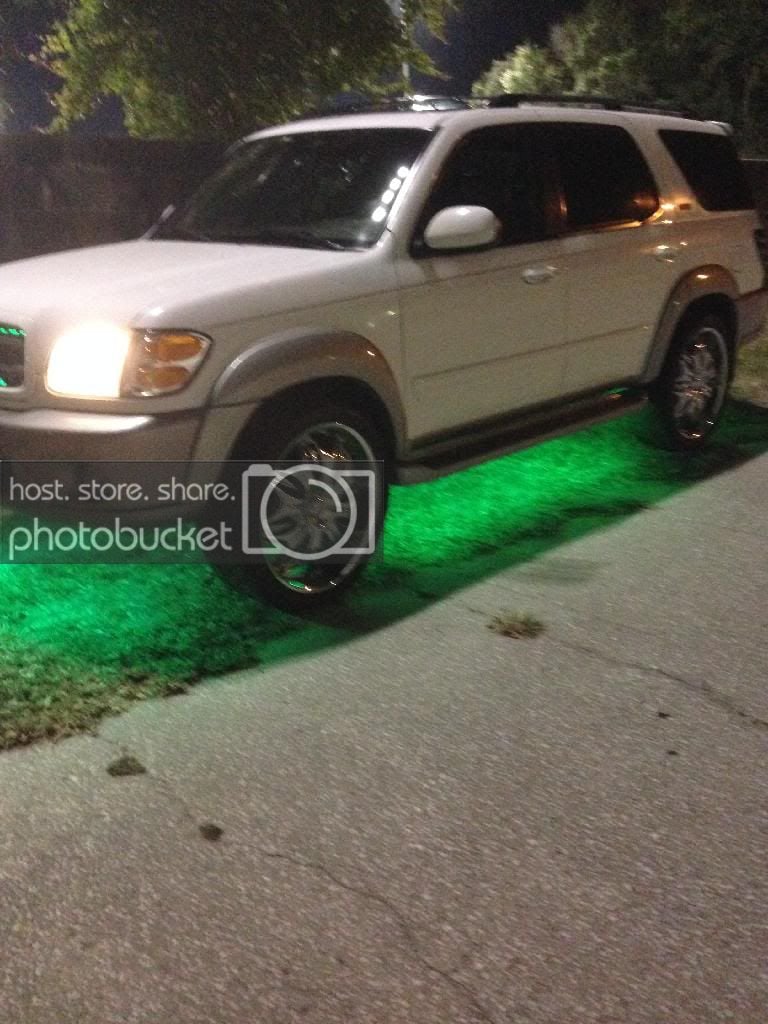
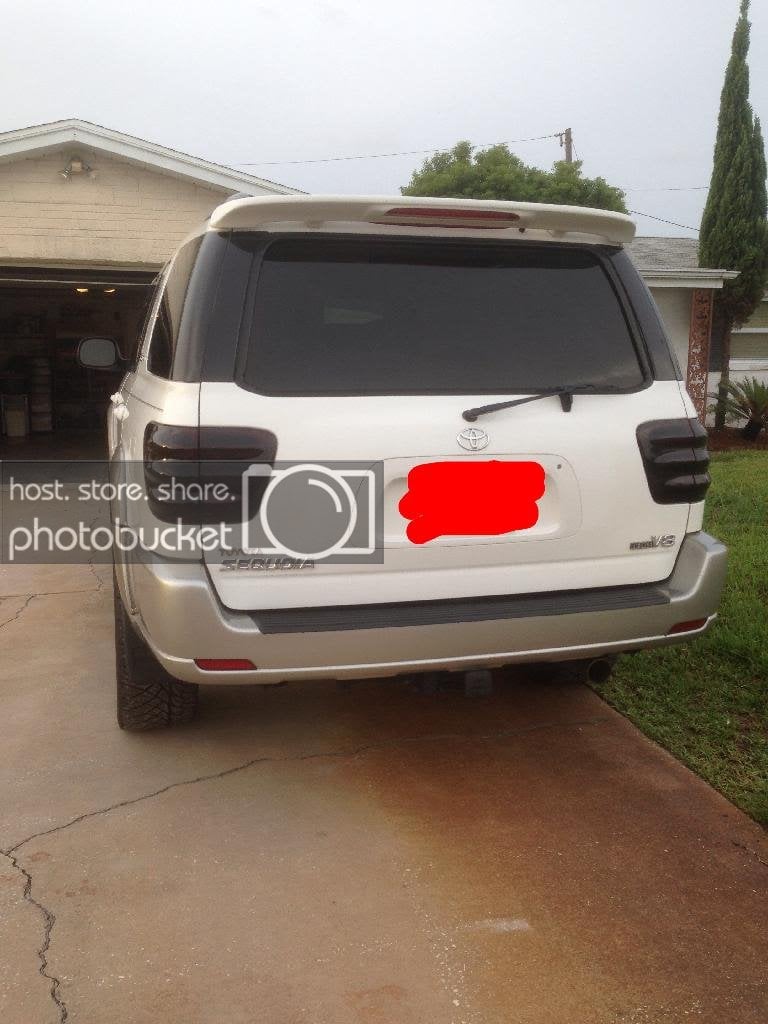
Heres The Car
Heres The Car


*
*
The Enclosure
Went back and forth between designs for this box. Its going to be a "C" pillar wall. I finally decided on a design. here it is.


*