Dash Removal

  • 5
    Participant count
  • Participant list
You need to pop out the piece in front of the dash piece that hold's the hu in pop that piece out first then there will be screws that hold the piece that was it was over or clips . Try that that's how most dashes are if you need any other help man just pm me . I've pulled alot of dashes.

 
Found this online:

There are TWO HIDDEN screws that are accessed from below the "trim plate"

Anyway, here are the instructions from the factory manual:

1) Open the ashtray or the cupholder.

2) Remove the following sets of screws:

- Two screws from the front of the trim panel. For access to the front screws, remove the ashtray or the cupholder.

- Two screws from the bottom of the trim panel. For access to the bottom screws, remove the console storage box.

3) Use a small, flat-bladed tool in order to remove the upper tabs on the IP accessory trim plate from the instrument panel.

4) Disconnect the electrical connectors, if equipped.

5) Remove the IP accessory trim plate from the instrument panel.

Those 2 screws can be a REAL PAIN to find, if you don't know where to look. I will try to find a picture or drawing of them.

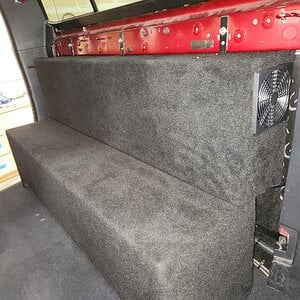
 
LMAO its like audiobahn user and Mls go around to the same forums and back each other up. . . good job guys. . //content.invisioncic.com/y282845/emoticons/smile.gif.1ebc41e1811405b213edfc4622c41e27.gif
Actually I was just bored at work and killing time, but figured if I could help him out I'd try. AU is my cheerleader //content.invisioncic.com/y282845/emoticons/biggrin.gif.d71a5d36fcbab170f2364c9f2e3946cb.gif

 
Found this online:
There are TWO HIDDEN screws that are accessed from below the "trim plate"

Anyway, here are the instructions from the factory manual:

1) Open the ashtray or the cupholder.

2) Remove the following sets of screws:

- Two screws from the front of the trim panel. For access to the front screws, remove the ashtray or the cupholder.

- Two screws from the bottom of the trim panel. For access to the bottom screws, remove the console storage box.

3) Use a small, flat-bladed tool in order to remove the upper tabs on the IP accessory trim plate from the instrument panel.

4) Disconnect the electrical connectors, if equipped.

5) Remove the IP accessory trim plate from the instrument panel.

Those 2 screws can be a REAL PAIN to find, if you don't know where to look. I will try to find a picture or drawing of them.
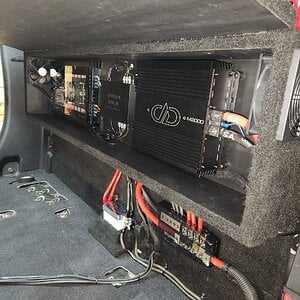
I found the 2 screws in the storage box...but i havent found the other 2 screws yet.

 
I'm going from memory from a 2004 Venture I worked on a couple days ago. Yours may or may not be similar. On mine I had to remove the entire lower storage compartment assembly. After that I could look directly up at the bottom of the cupholder. Pulling the cupholder out as far as it would go revealed two screws through the metal bracket above the cupholder; they're only visible from directly underneath.

 
I'm going from memory from a 2004 Venture I worked on a couple days ago. Yours may or may not be similar. On mine I had to remove the entire lower storage compartment assembly. After that I could look directly up at the bottom of the cupholder. Pulling the cupholder out as far as it would go revealed two screws through the metal bracket above the cupholder; they're only visible from directly underneath.
Thanks...i was looking at it from the wrong angle then.

BTW did you see a good spot i could run the power wires for my amp through on the firewall?

 
well i took apart my dash already, i i hooked up the LOC. but theres not screws in the storage box, there bolts that you have to use pliers on so it took me about 5-10min for each bolt. since the space is so tight.

 
Activity
No one is currently typing a reply...
Old Thread: Please note, there have been no replies in this thread for over 3 years!
Content in this thread may no longer be relevant.
Perhaps it would be better to start a new thread instead.

About this thread

Anonymous User

10+ year member
****** FTW!
Thread starter
Anonymous User
Joined
Location
Bay Area, CA
Start date
Participants
Who Replied
Replies
10
Views
699
Last reply date
Last reply from
Anonymous User
audio3.jpg

pfft

    May 1, 2024
  • 0
  • 0
audio2.jpg

pfft

    May 1, 2024
  • 0
  • 0

Latest topics

Top